Petri Varsa
Ikea makes a nice folding dining table in their Norden series that made a good starting point. Ikea is also very good a publishing dimensions on their website so it is easy to do some initial planning. (See the my scan of a 2" sticky note below. That sticky note is truly all the planning I did.) I estimated that this table would fit 10" Lego base plates quite well without too much cutting. Three would fit down the middle when the table was folded, and 3 X 2-1/2 would fit on each side of the table. That makes 18 plates. I was originally going make blue and pink stripes with the Lego plates (hence the 'B' and 'P' marks on my sticky note) but after consultation with the family I went with a green field in the middle and a blue field on either end of the table. I ended up ordering after-market Lego plates. I chose this vendor because of their colour selection, but in the end we chose colours that would have been available on Lego's official site anyway. The after-market plates are very shiny. One plate had a minor cosmetic defect, but they were otherwise quite good. They are also much more affordable than official Lego plates. See the links section for the products I ordered.

The first step was to assemble the Ikea table. Once assembled, I could start to layout the base plates to see how they fit.
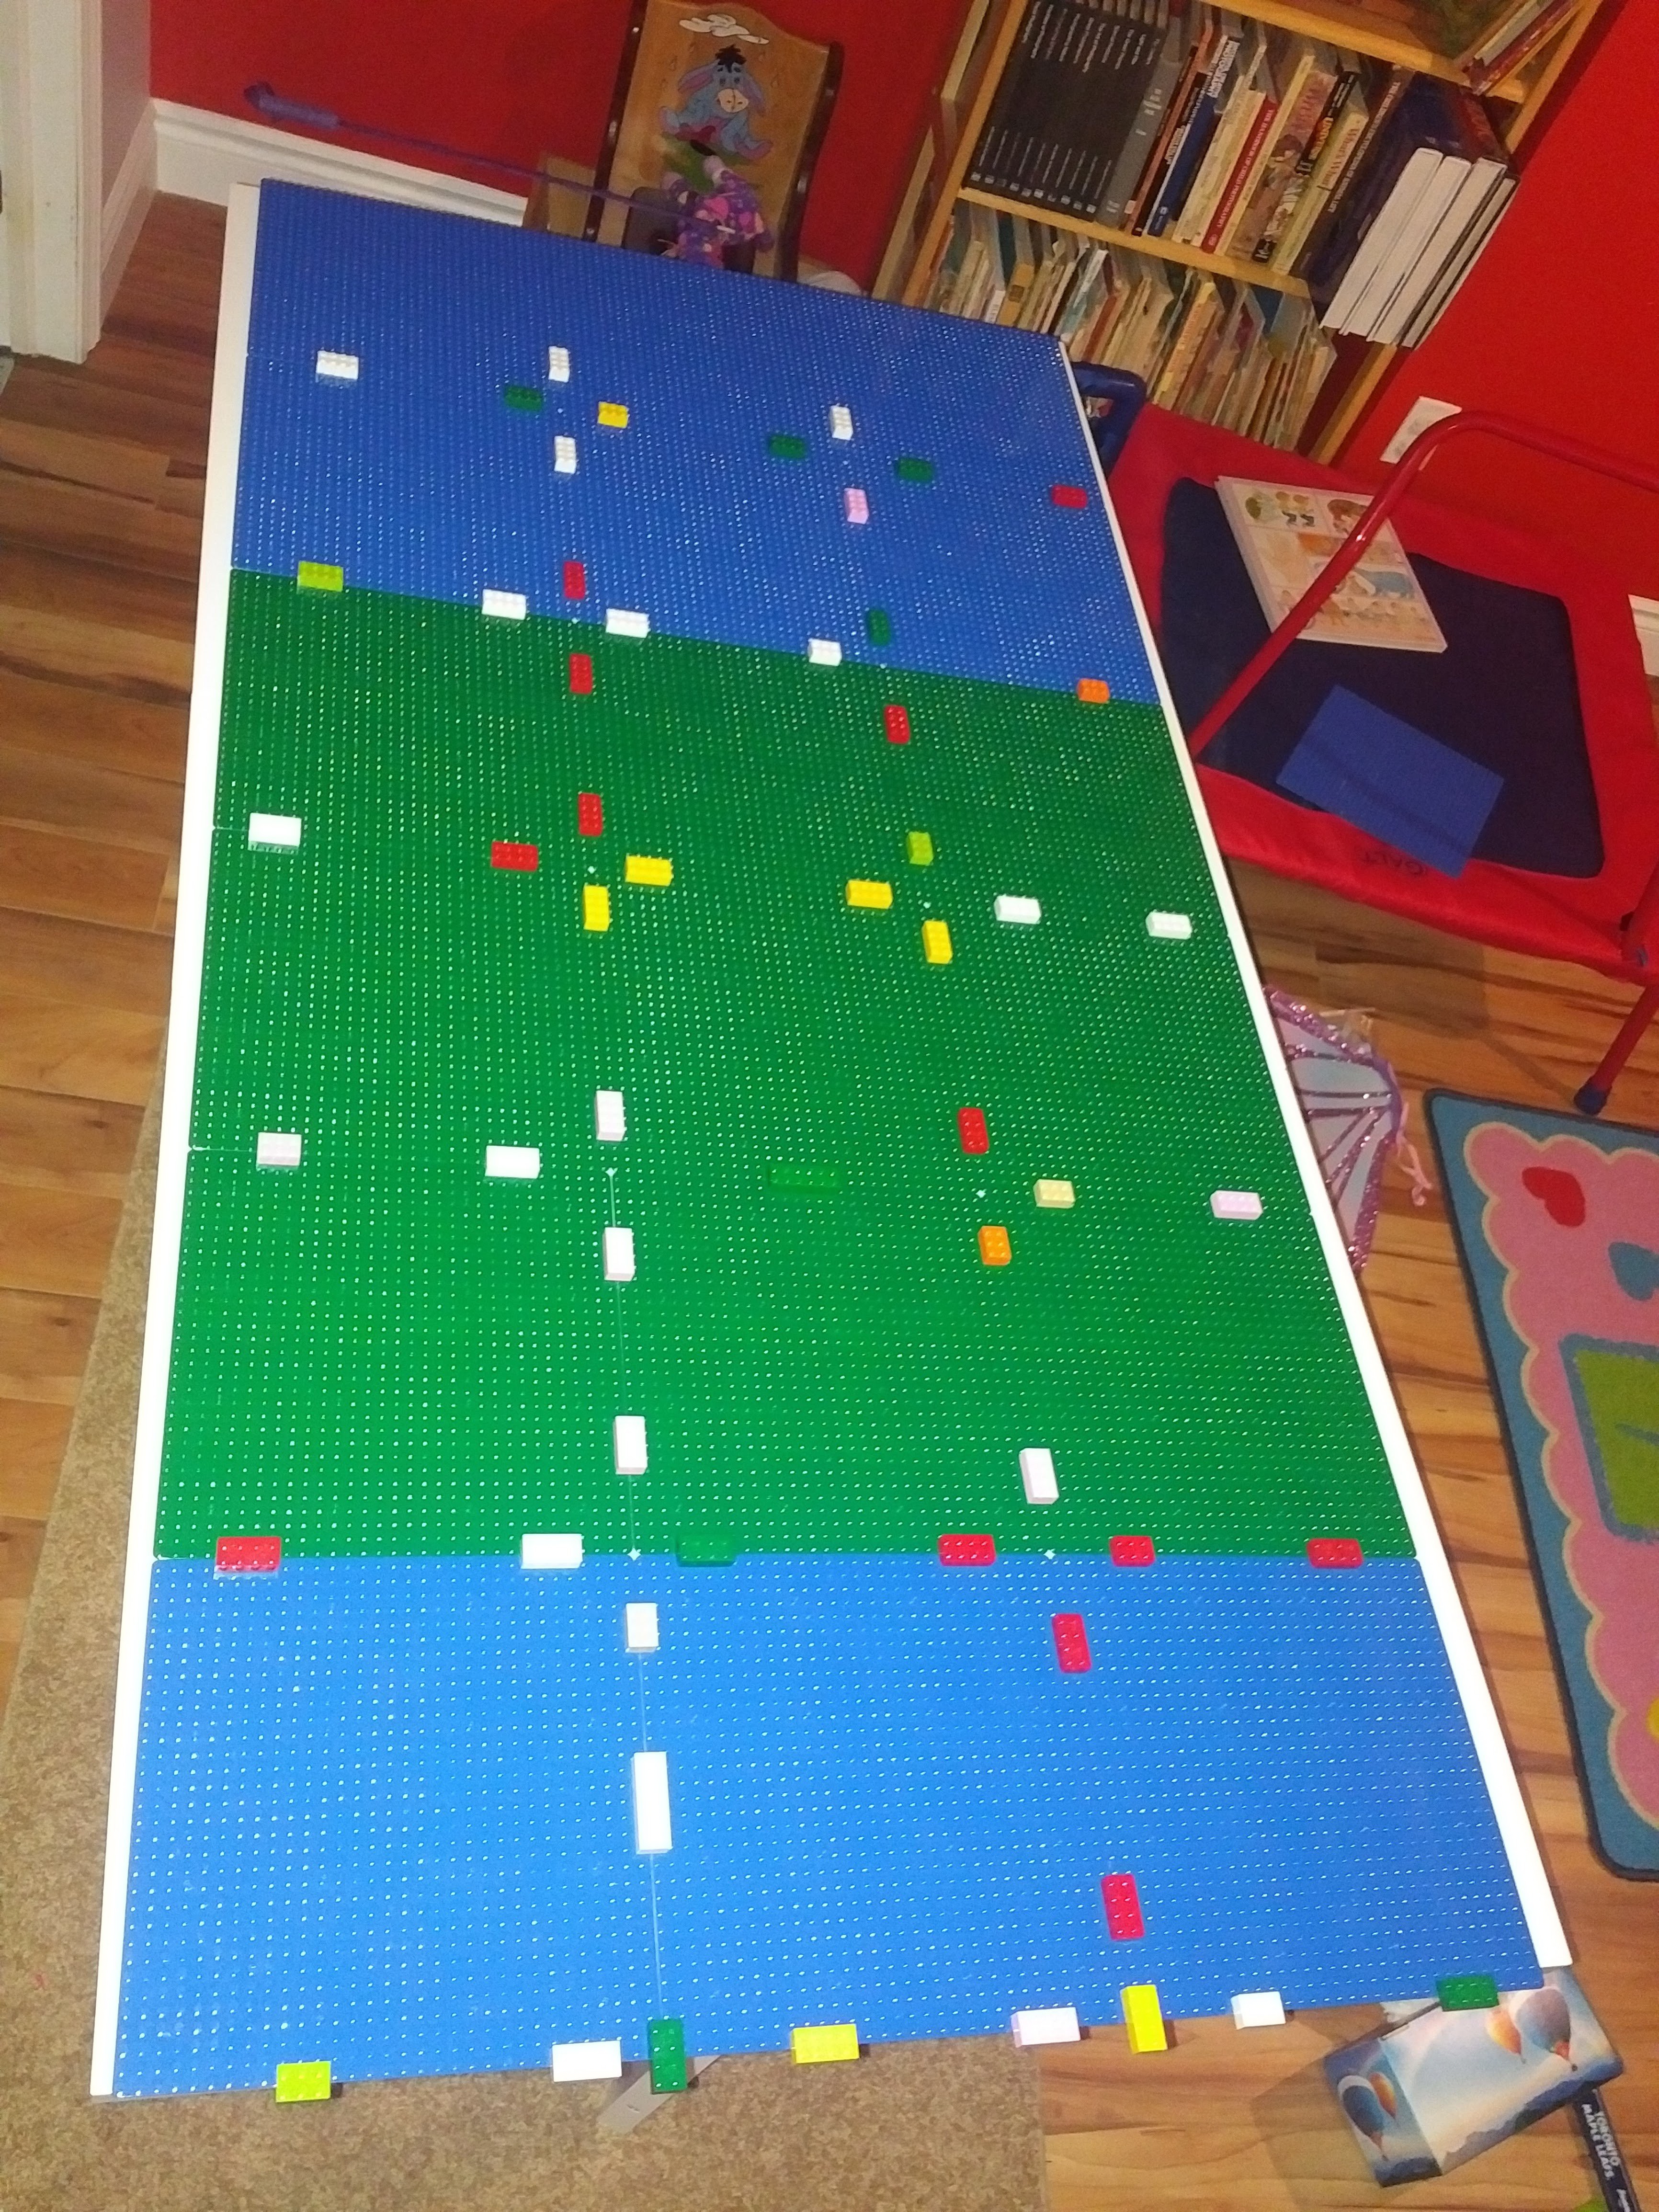
As I estimated, 3 X 7 plates fit very well, but of course this didn't line up with the table's hinges. The center row of green plates is not in the center of the table in the above photo, and the second row of blue plates needed to be cut roughly in half to fit. Laying it out on the table, I could see that I would be one stud short of half a plate on each side.
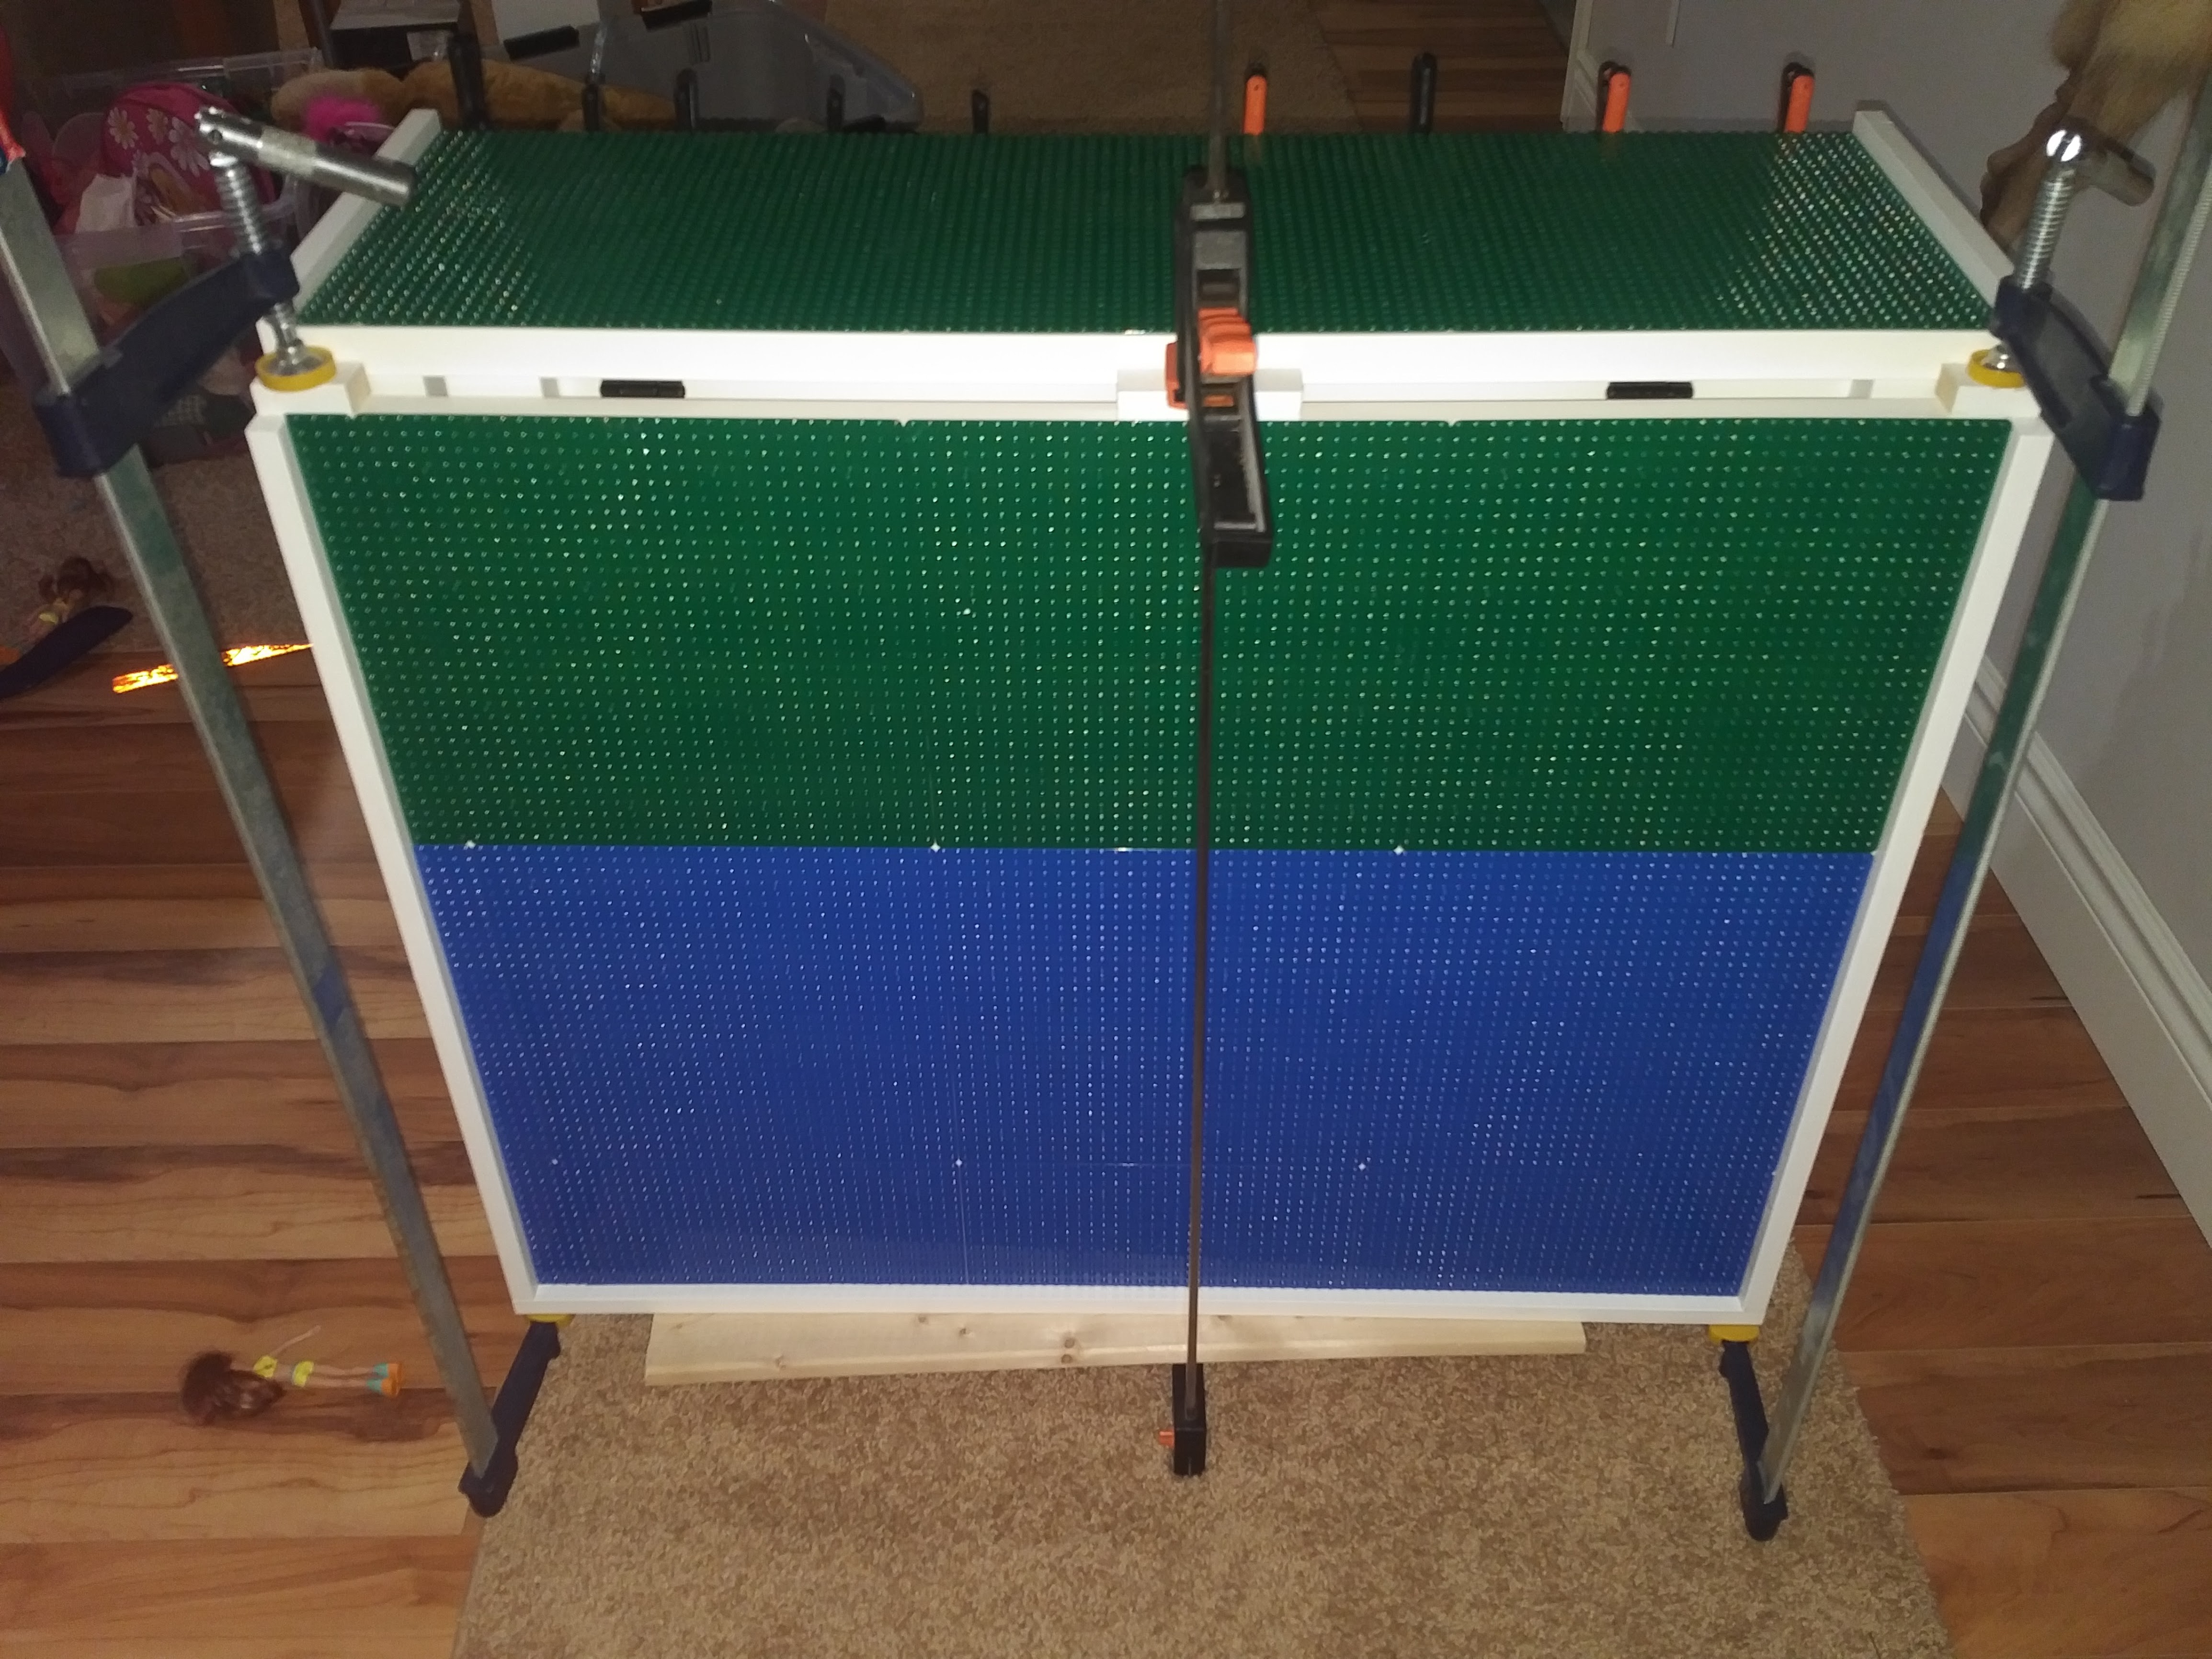
Another consideration is keeping the pieces on the table. One major motivation for building this table to keep Lego pieces off the floor. As such, I wanted to build a lip around the edge of the table. I used primed 1" X 2" MDF from the local big box store to build the edges. Two 8' lengths were enough and left just two small pieces of waste. I measured, cut, and fit all the pieces with clamps first to ensure that the tables folding was not obstructed. I pre-painted all the pieces since I didn't want to drip paint on the Lego base plates. I glued the short center pieces using No More Nails first, and clamped them to dry. Then I did the side pieces for each folding leaf.
Here's a picture of the second leaf clamped and drying.
In this picture, you can see that I'm also measuring my final layout for the base plates. Used 2 X 4 stud bricks to hold the base plates together while measuring. I also determined at this time that the width of this table was just about 4 Lego studs wider than three base plates. I had two extra plates since the product I ordered came in bundles of four and so I decided to cut the extra plates so that the entire surface of the table would be covered in studs. (I had initially thought to leave space on each side of the table without studs.)
Cutting Lego turned out to be surprisingly easy. There are a lot of complicated methods out there, which require steel rulers, or the like, but PeachBricks on Youtube seems to have the best advice. Simply score the plate 4-5 times with a utility knife while using some long flat bricks as a guide. Super easy, and super simple. (I cut my plates on a work table instead of the driveway.) I used some foam sanding blocks to smooth out the cut edges which worked well. I also rounded some of the sharp corners with the same utility knife and sanded them smooth too.
After adding the raised sides, this Ikea table turned out to be just slightly less than three 10" base plates, plus four Lego studs wide. To shave off just a small amount of plastic from the cut four-stud lengths, I scraped the edge of my utility knife along the length of the cut plate about 25 times. It was a bit messy, but it worked really well.
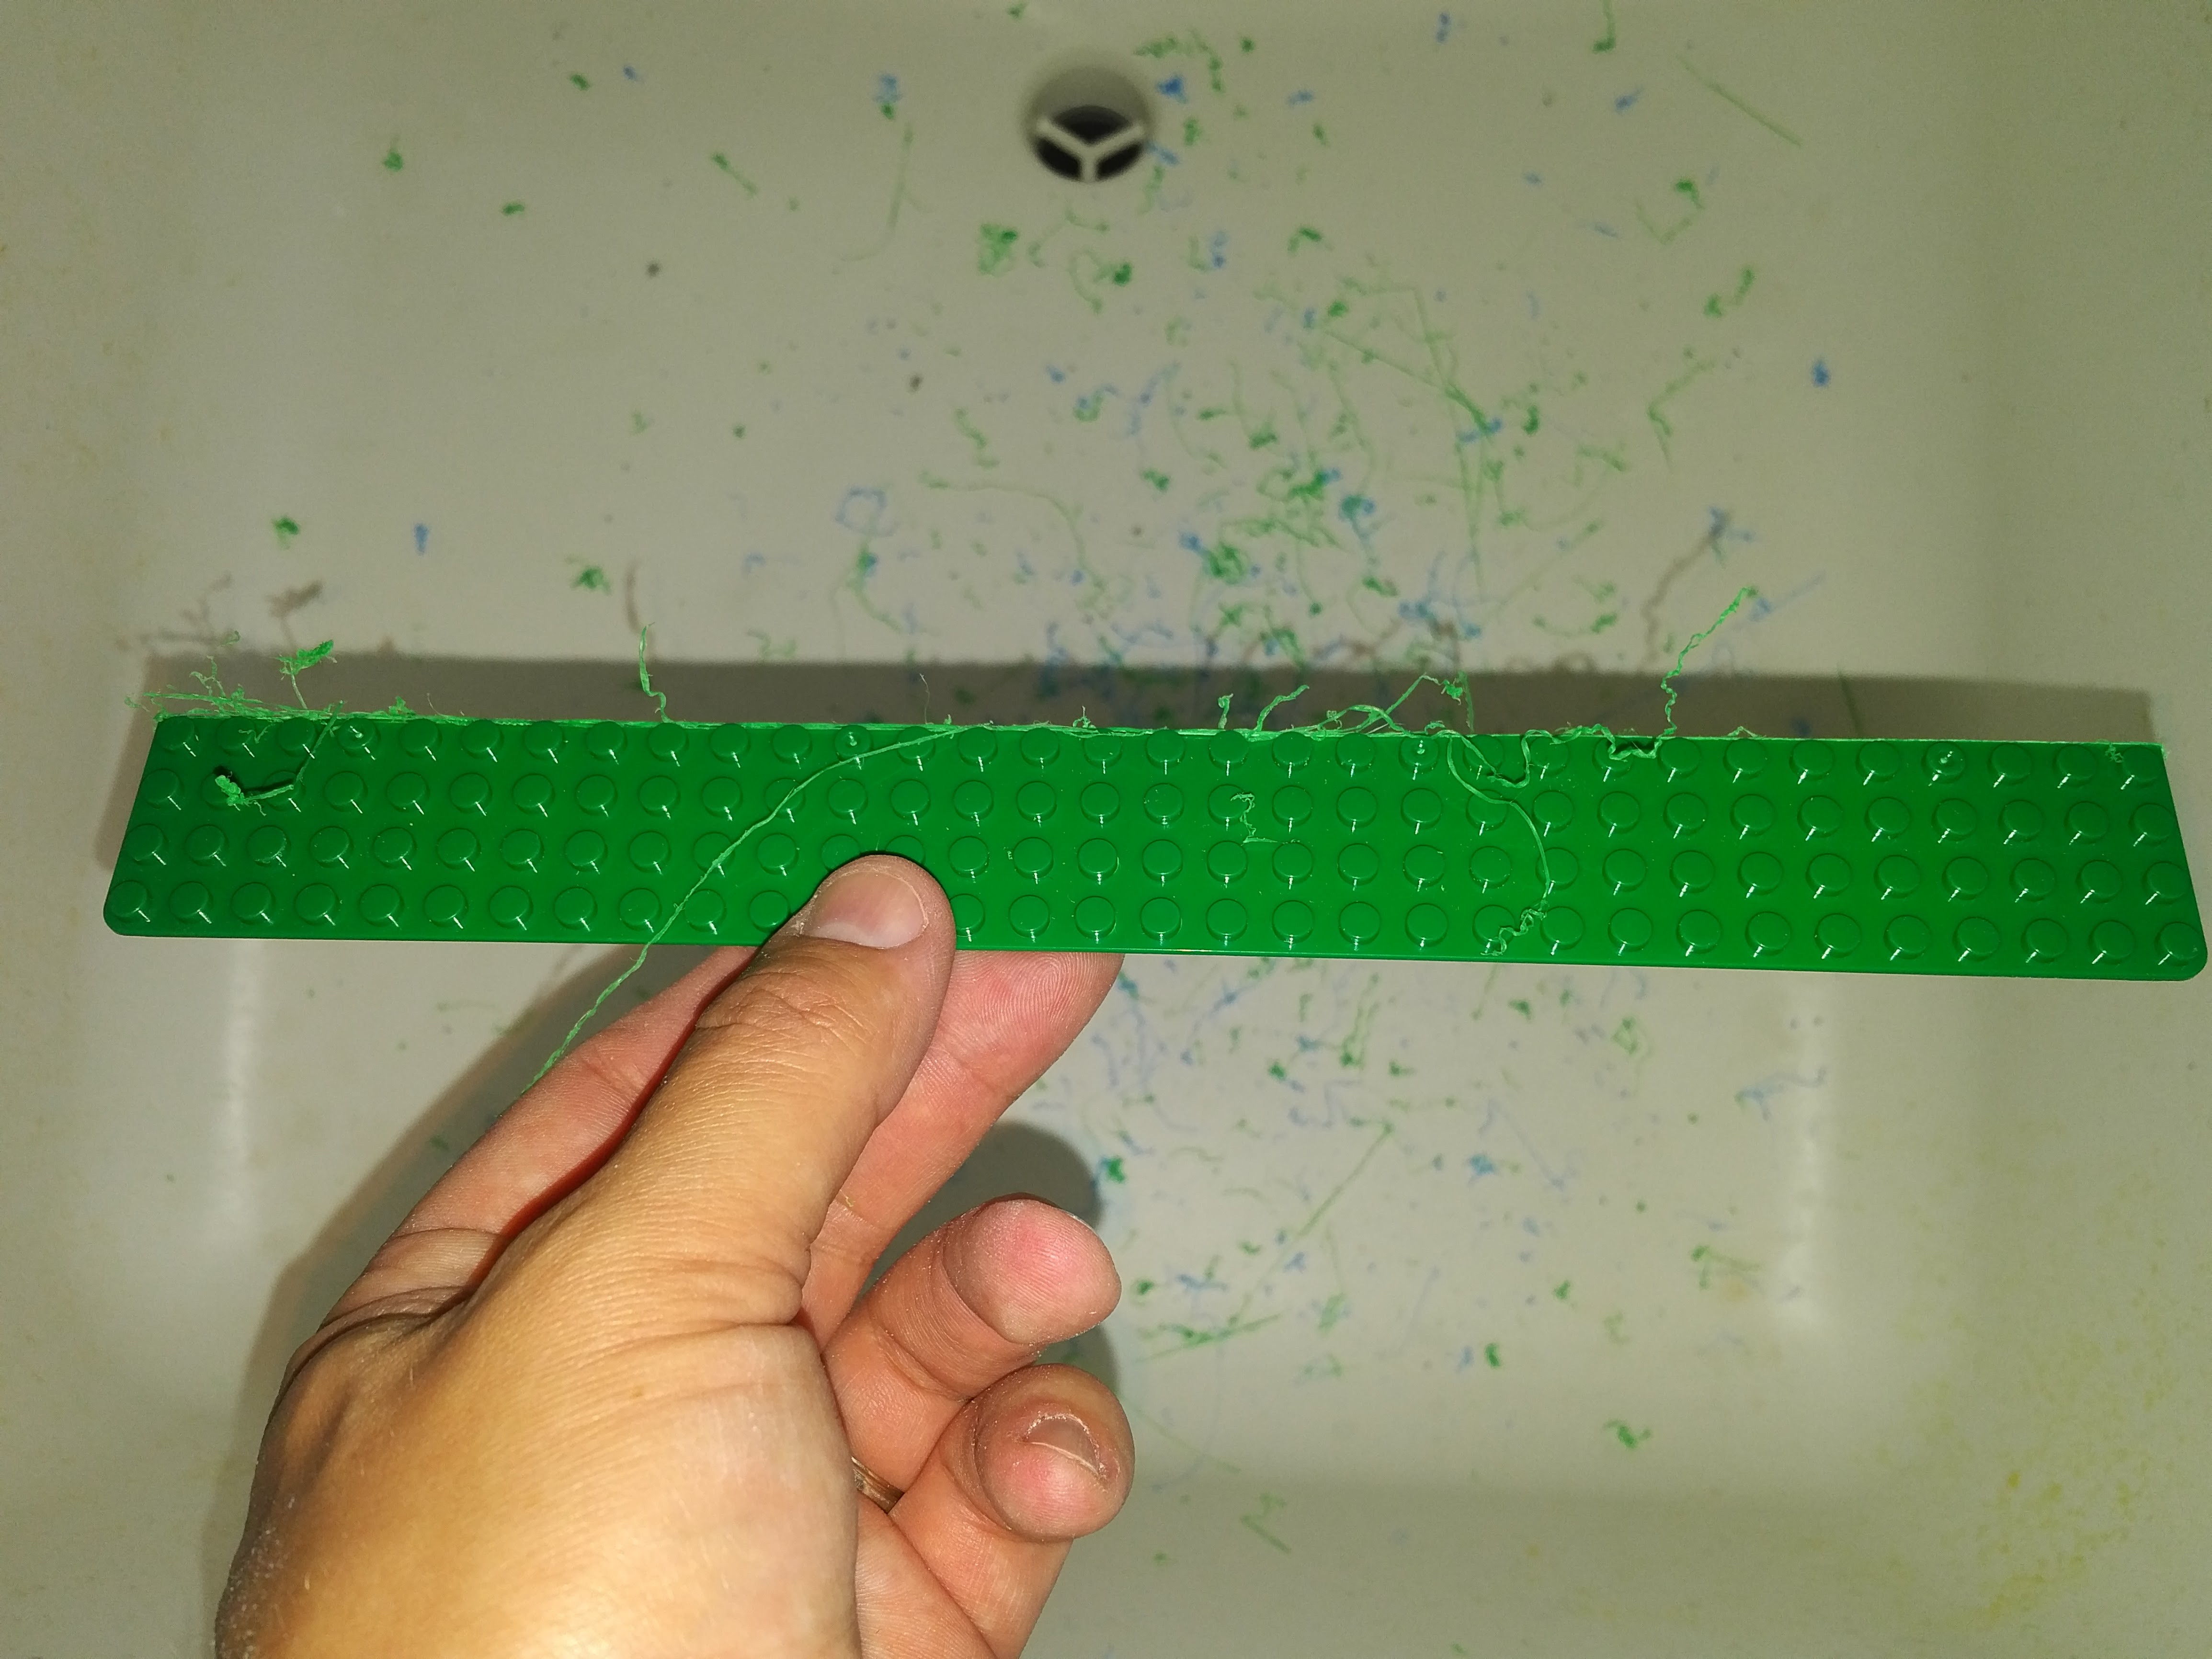
A bit of sanding cleaned the piece up very nicely.
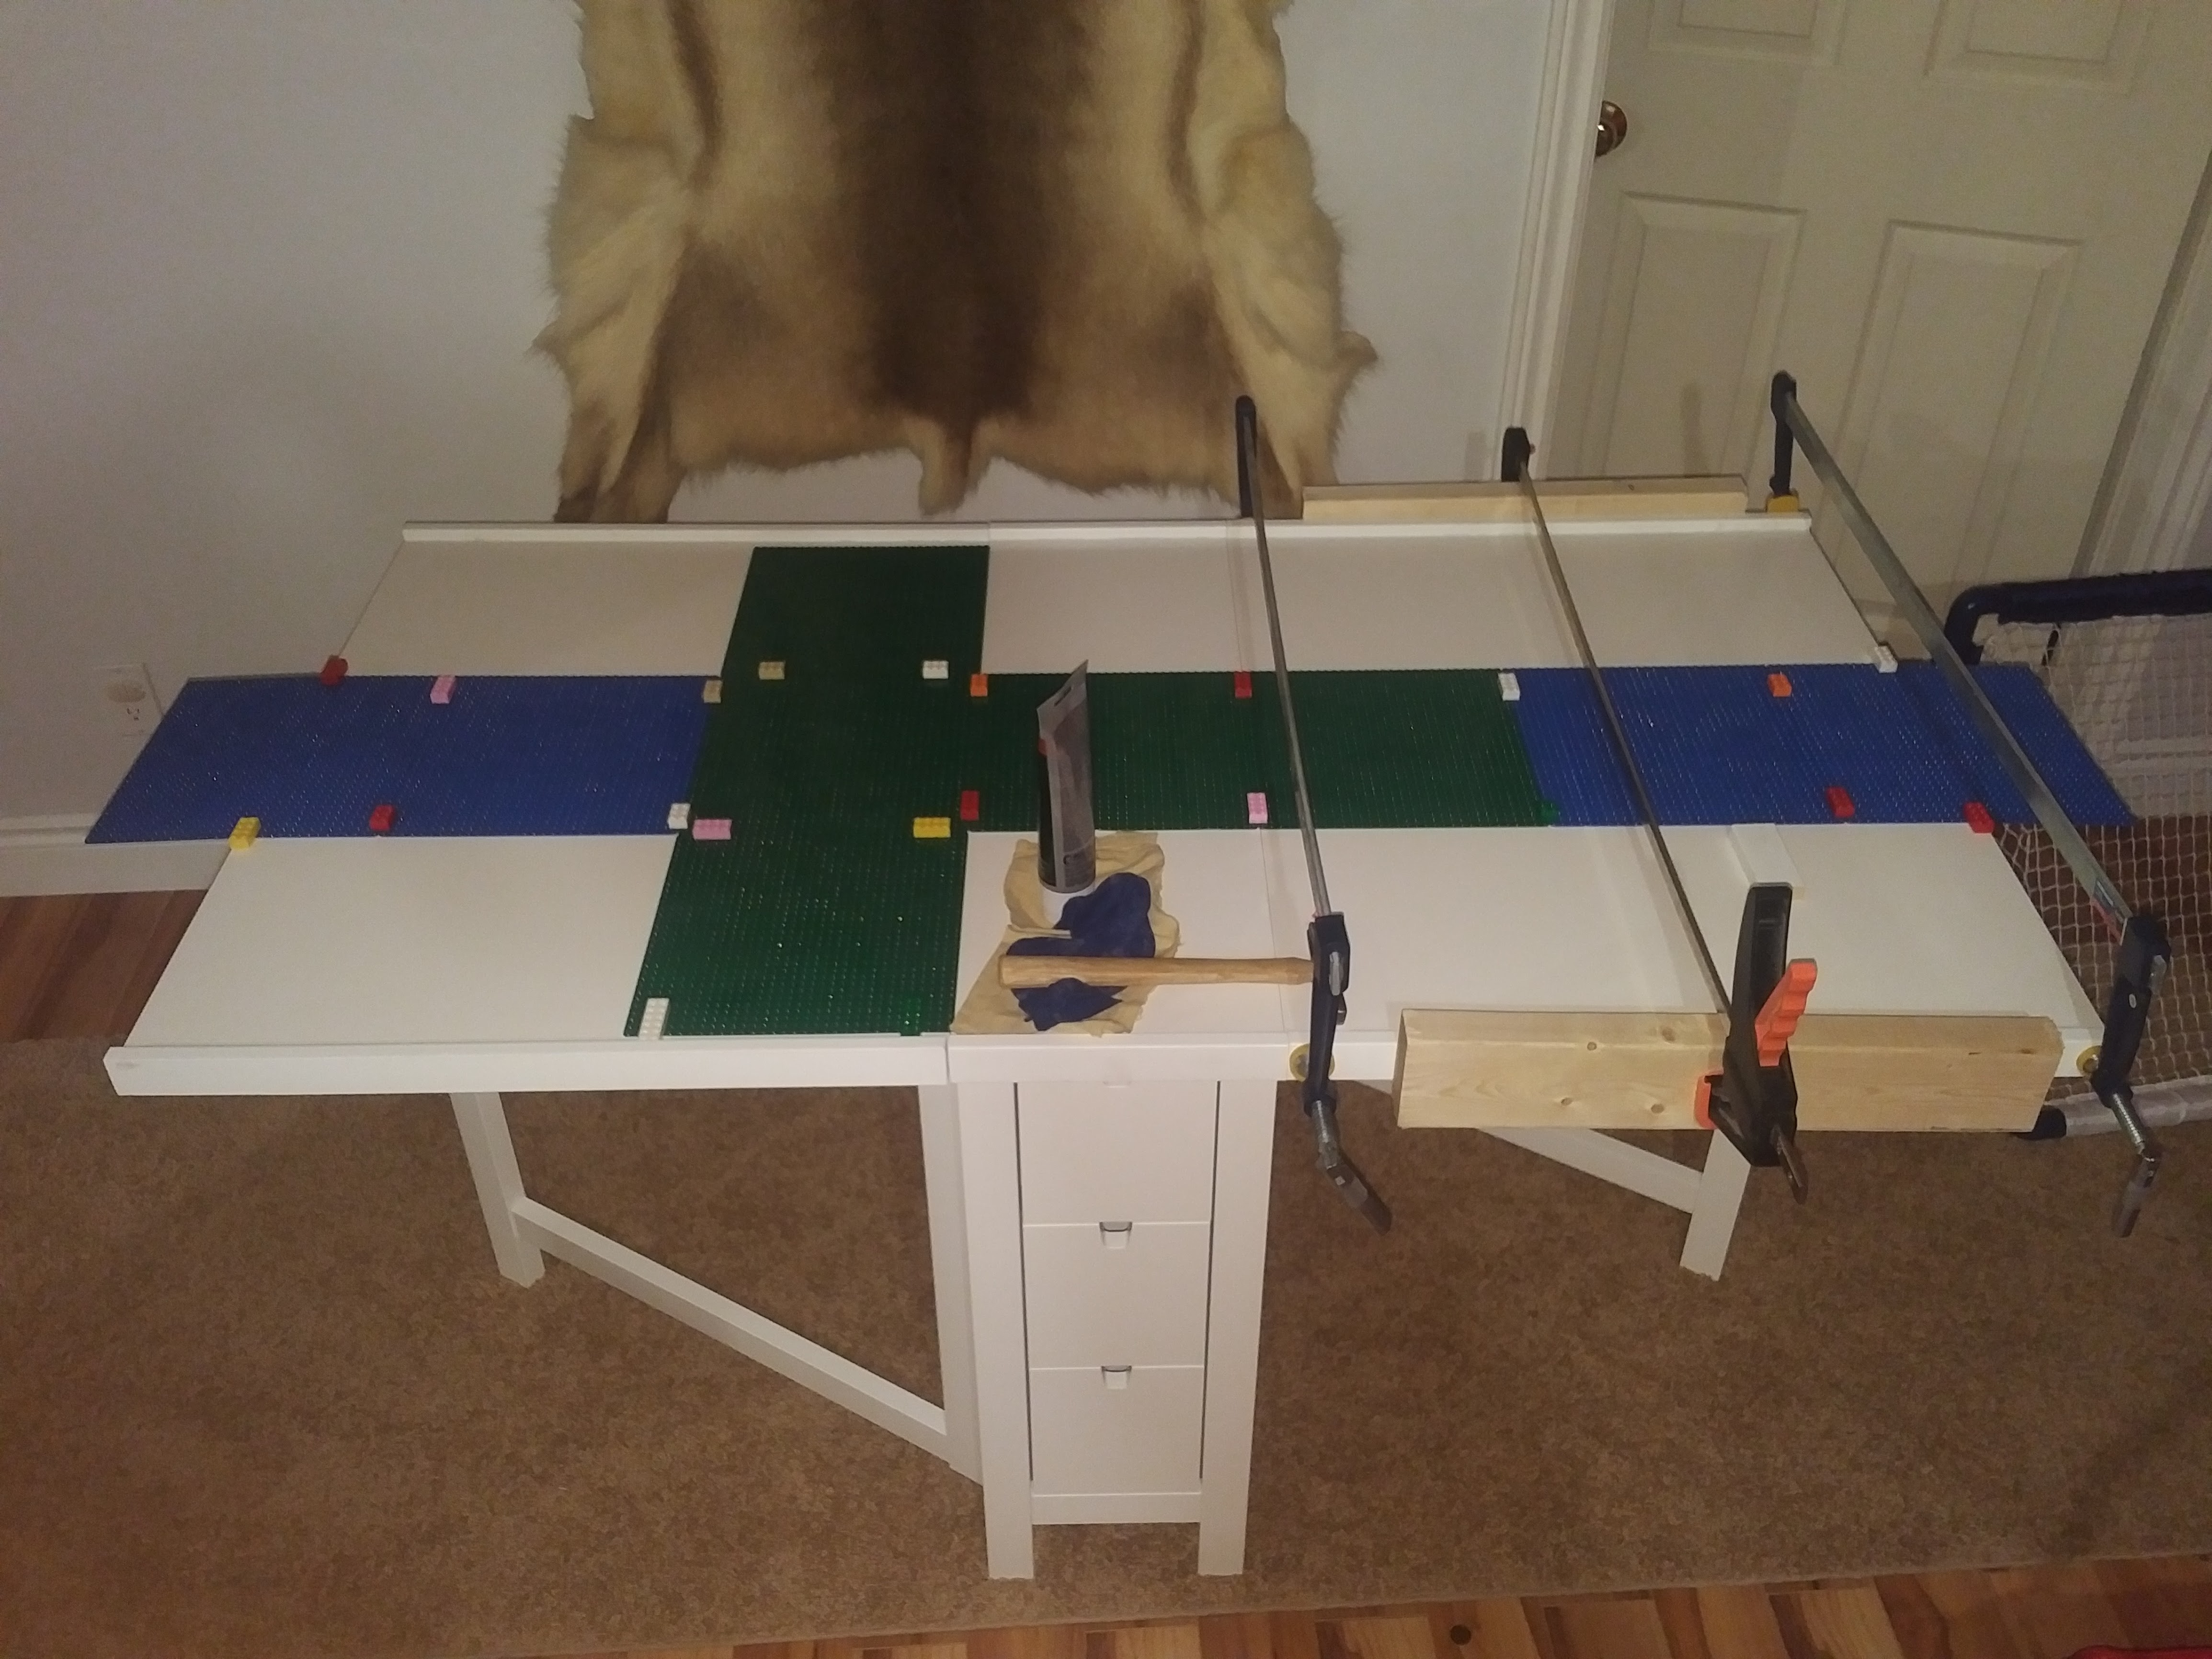
I then laid out all the plates on the table exactly where I wanted them to go. Notice that I used bricks to hold all the plates together to make sure the fit is good. Especially with some of the official Lego base plates, there needs to be a small gap between each plate. I then glued the base plates down with LePage 100% glue. There might be a better product out there than this, but it seems to be holding. I started with the with the full plates in the center row of the table, and ended with the small cut plate in the center of the table. I then worked my way out to the edges of the table. To glue each plate down I simply took off the bricks holding it down, then applied glue to the table, and replaced the plate and bricks holding it the correct place. I kept the glue away from the edges, since I didn't want to accidentally glue the bricks holding the plates together to the plates themselves. Here's a picture of it drying. I used weights to make sure the plates stayed down flat.
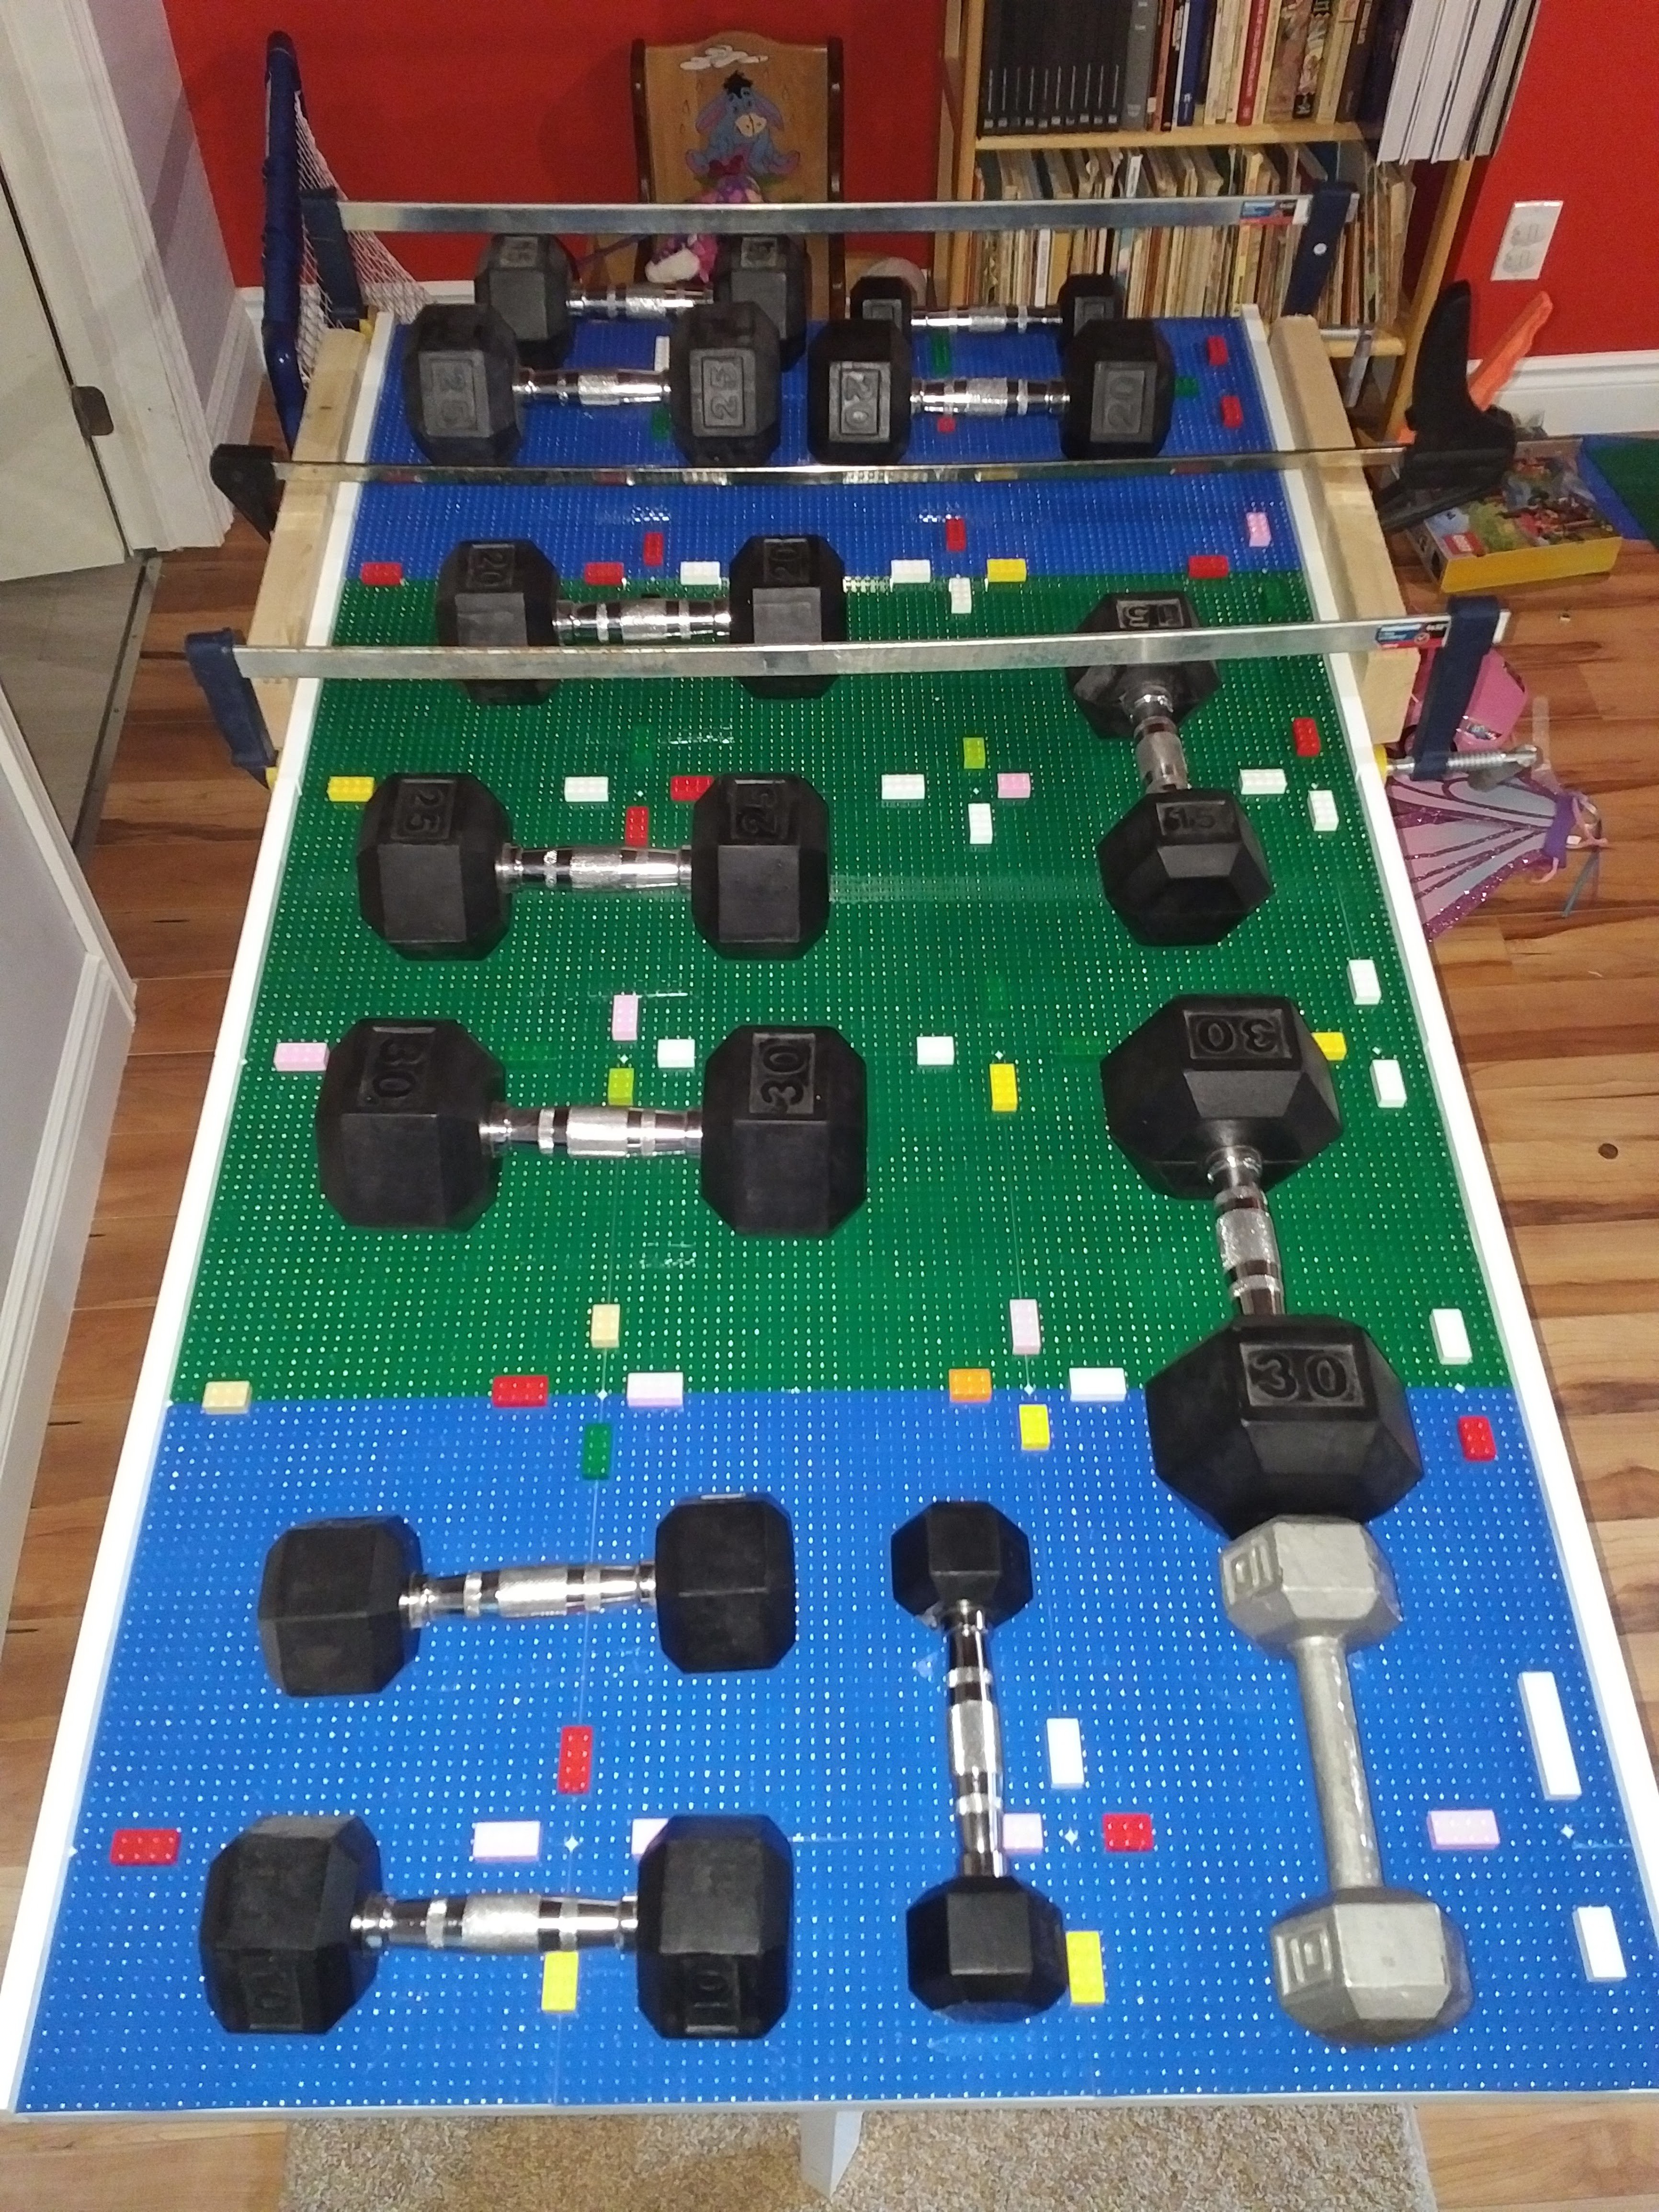
After this was dry, I glued on the last two MDF edge pieces. The plates hang off the edge of the table leaves by about 1/3 of a stud, so I had to use the scrap MDF pieces to fit the clamps properly.