 Adam Fabio
While the PCB's were being built, I turned my attention to the pointer issue. The switec motor's have a 1mm shaft. A good pointer has to be a press fit on the shaft, but not so tight that the mild steel motor shaft is bent while pressing the pointer on! It also had to be loose enough that the pointer could be re-positioned without destroying the motor's clockwork drive train. Switec's datasheet called for a very specific lobed triangular hole. The hole allowed for three points of contact between the shaft and pointer body. It was also damn near impossible to create without an injection molded part or a very accurate 3D printer.
To make things work, I decided to put my personal 3D printer to the test. I designed a pointer in openSCAD.

Then printed it out on my RepRap Prusa. The holes designed into the part closed up during the printing process. Knowing my printer's capabilities, I expected this. My hope was that the small amount of plastic closing up the hole would act as a guide for a drill bit.
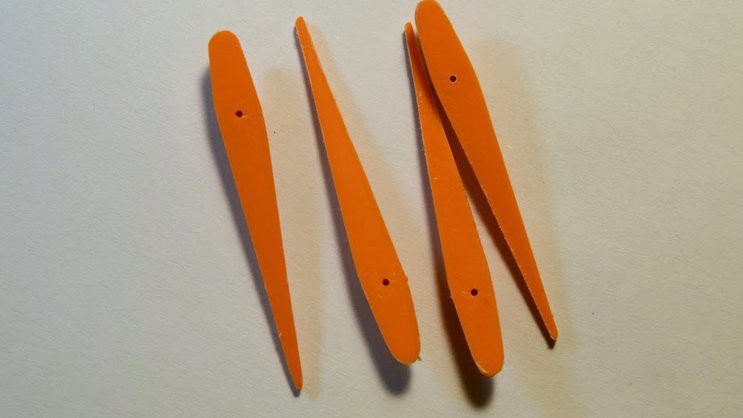
I drilled out the holes with a #62 twist drill on my milling machine. Because of the physics of plastic melting while it is drilled, It took a bit of trial and error to learn how to best speeds to drill. In the end, I hand fit each pointer to a sample motor, drilling a bit more when needed to arrive at the perfect fit. A bit of sanding on the edges of the pointers also cleaned up any leftover strings from the printing process. Thanks to the 8 inch bed on my printer, I was able to print 11 of the pointers at once.
Discussions
Become a Hackaday.io Member
Create an account to leave a comment. Already have an account? Log In.