 Minimum Effective Dose
| This entry is a general writeup along with post-prototype observations. TO READ THE PROJECT PROGRESS FROM START TO FINISH (WITH PICTURES), CLICK HERE |
WHAT THIS IS:
A set of glasses whose goal is to help keep you calm and mellow. It does this with lenses that turn dark at the first sign of Peril (to prevent you from seeing anything upsetting.)
It consists of LCD shutter glasses controlled by a block of handheld electronics I decided to call the PPDD (Potential Peril Detector/Decider.)
HOW IT WORKS:
It uses an Arduino (UNO at 5V in my case) with a variety of sensors to detect Peril by taking regular sensor readings and looking for anomalies - sudden changes in brightness, sound level, movement, etc. This project log
WHAT THIS ISN'T:
Obviously detecting Actual Peril (AP) isn't really possible. We use sensors to measure a variety of things (motion, light level, sound level, etc) and go from there. Conceptually the sensors measure things that might indicate the presence of Peril - loud noises, sudden light level changes, things of that nature.
These are considered Possible Peril (PP). The software simply considers all PP (possible peril) to be AP (actual peril) even though that's a pretty big stretch. But it works well enough to be fun!
THINGS THAT WENT WELL:
- Most of the sensors worked very well; I had experience with most of them so there were few surprises. Breakout boards make prototyping much easier.
- The Sparkfun Sound sensor board works very well! Measuring general "loudness" of ambient sound is actually a non-trivial problem, and this board makes short work of it!
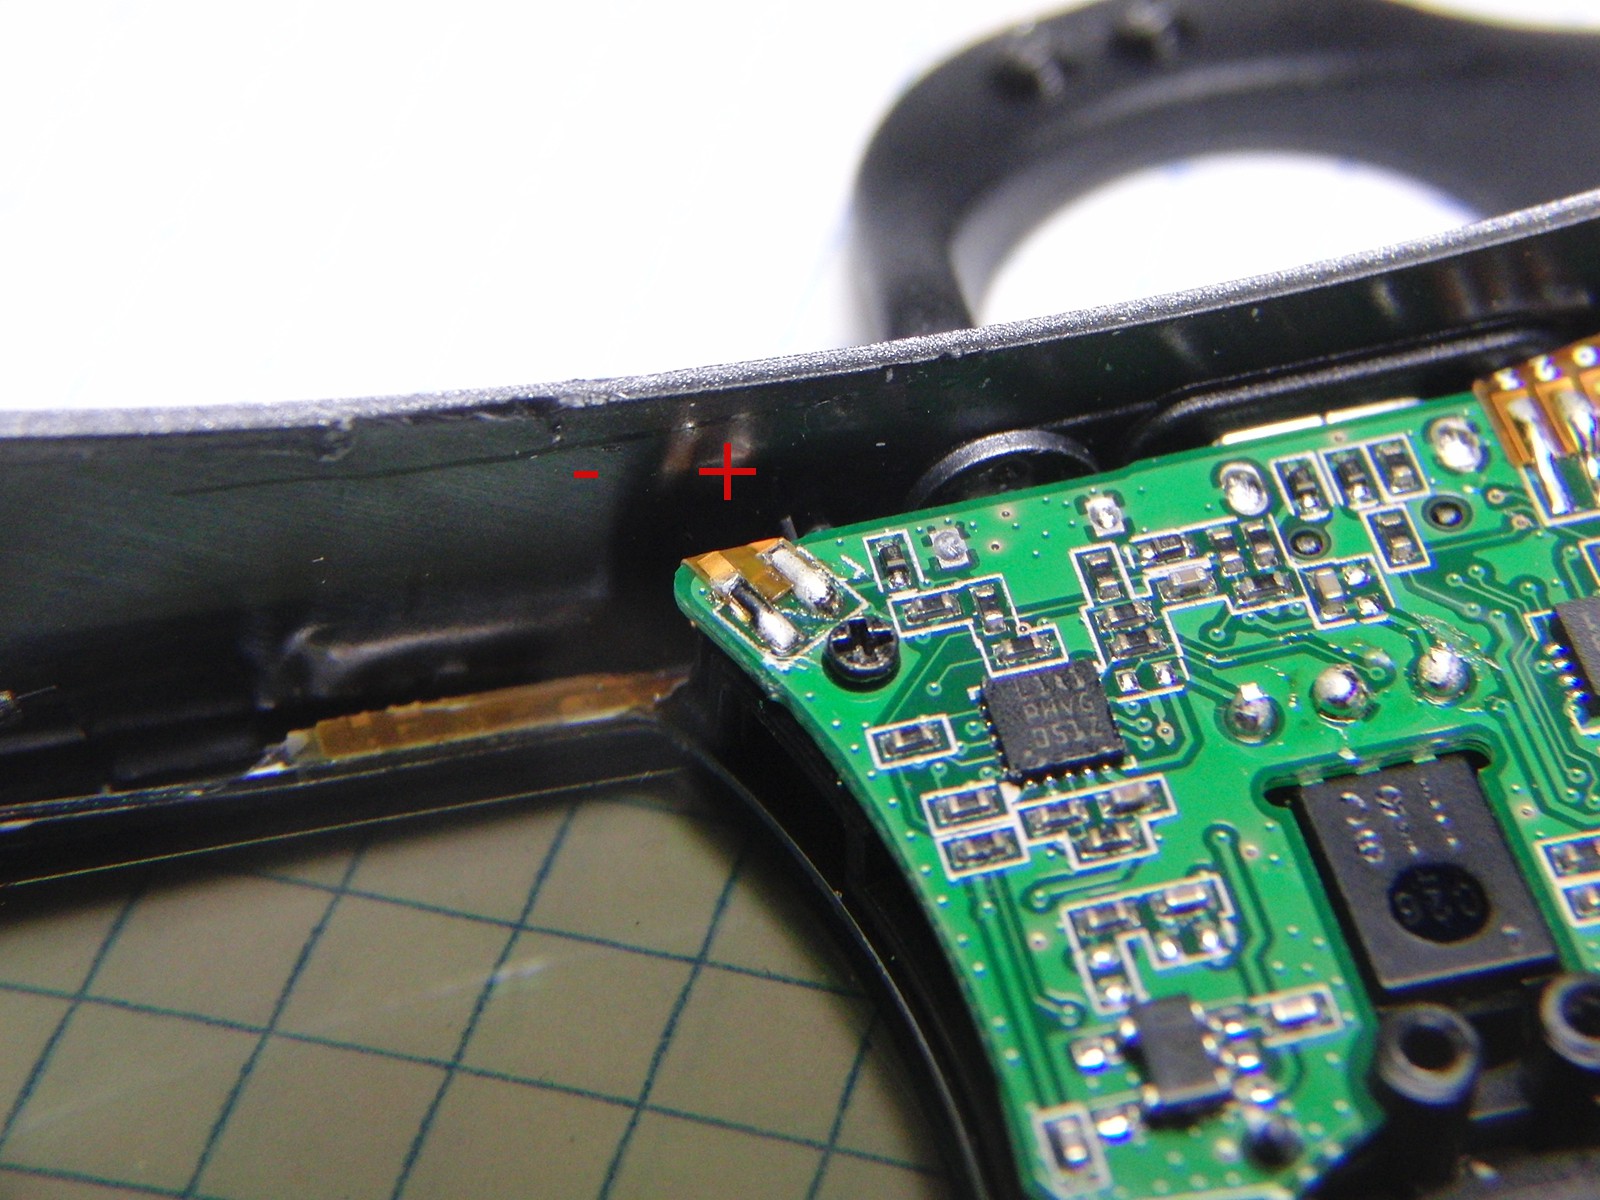
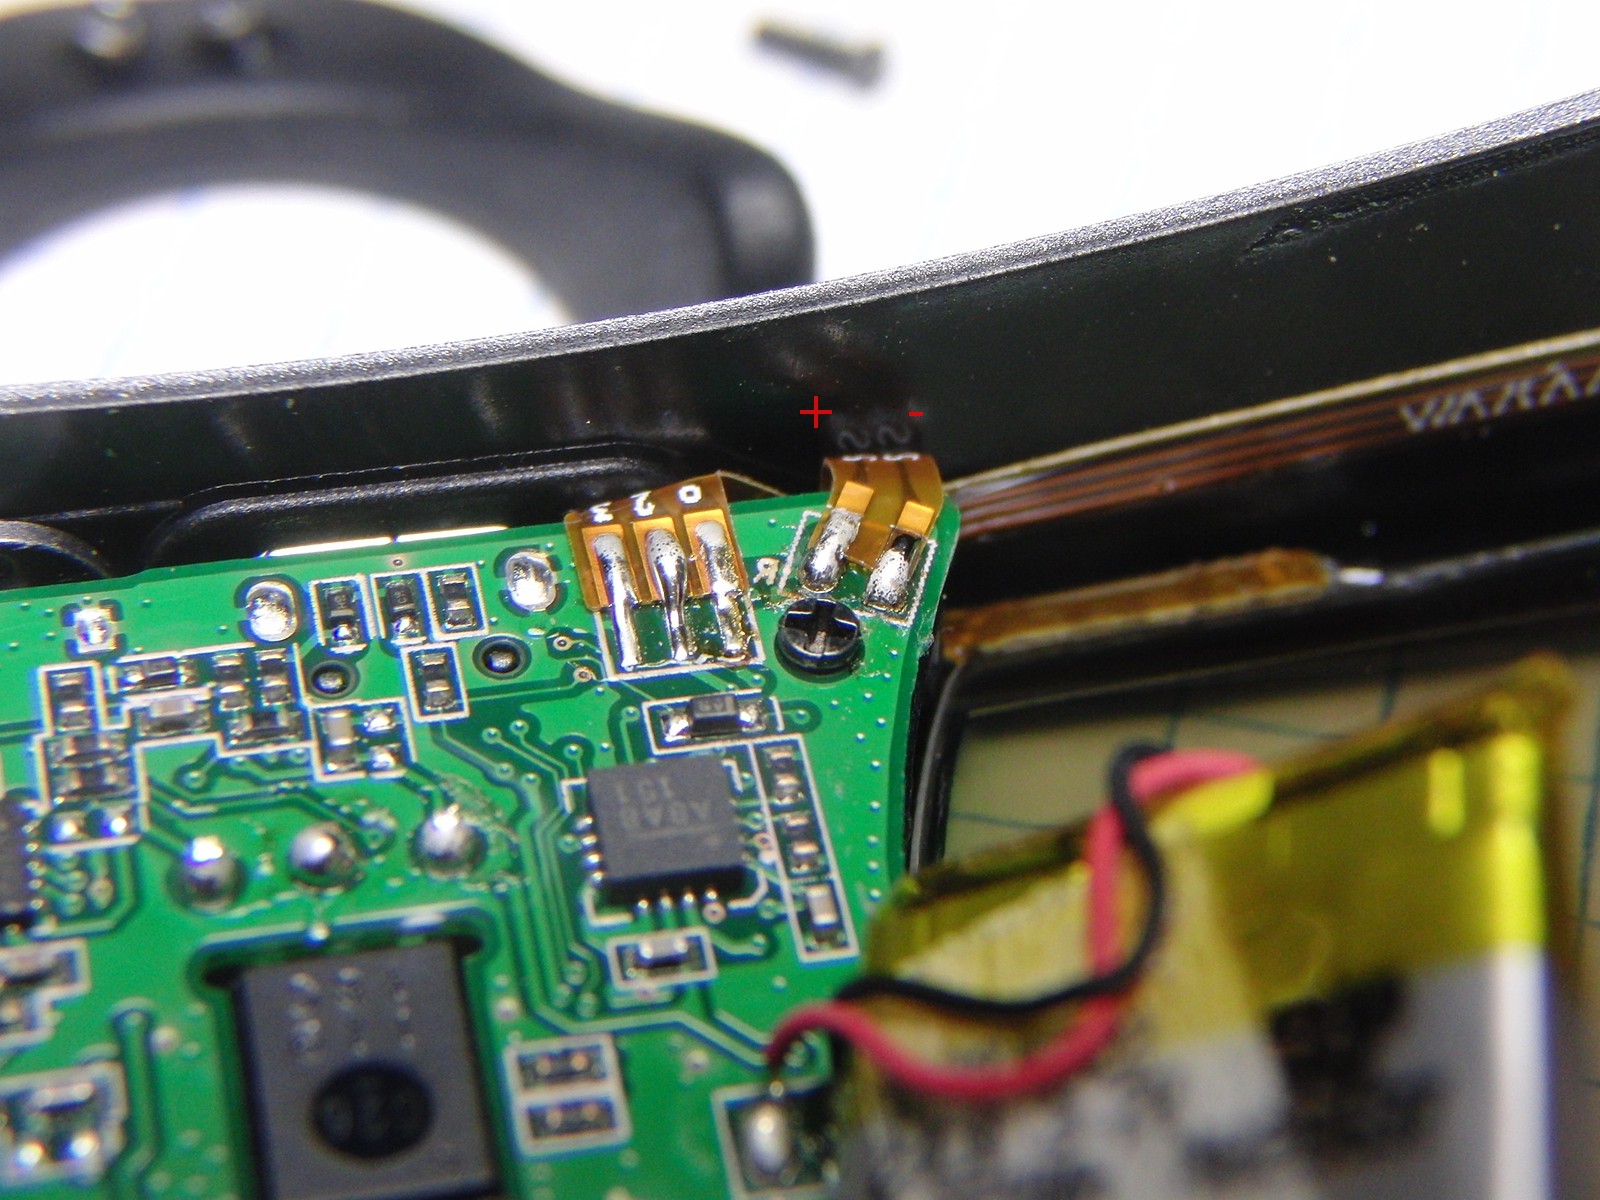
- Taking apart the shutter glasses was easier than I expected it to be.
- Interfacing to the shutter glasses was far simpler than I expected.
- Kimmy the Cat (a team member) had a very effective method of voting yes/no/abstain that worked great.
THINGS THAT DIDN'T GO WELL:
- The Pulse Sensor Amped was a bust.
- The GSR Sensor works but isn't as responsive as I hoped.
- Taking readings from sensors is easy. Processing the data to find what you want is actually pretty tough.
- The shutter glasses work well but wearing them looks turbo stupid.
- The lenses don't really go opaque. They get dark (even very dark) but not opaque.
- The AI Chatbot team member was devoutedly non-commital in all decision making.
LESSONS LEARNED, AND UNEXPECTED THINGS:
- The lenses of the glasses briefly going dark as feedback to the user is pretty cool and useful. For example, I blink the lenses at startup as well as to indicate mode of operation (1 blink = GSR disabled, etc.) It is unmistakable and silent and doesn't interfere with vision or need additional parts. It's very good feedback.
- I tried a test where I made the glasses "blink" every few seconds - like eyes. You're talking to a person and the lenses blink dark randomly - it is sort of weird and kind of neat.
- I also tried a "reverse strobe light" test, where the glasses stay dark and only blink clear briefly (so sort of a strobe light effect, but in reverse.) It doesn't really work - probably because the lenses don't go fully opaque so you don't have the same effect that you do with a strobe light going off in a pitch black room.

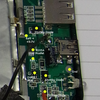
 Sound Sensor mic is inside and the temperature sensor is just peeking out the enclosure. There are a lot of "vent holes" in the enclosure so the sound sensor should be fine.
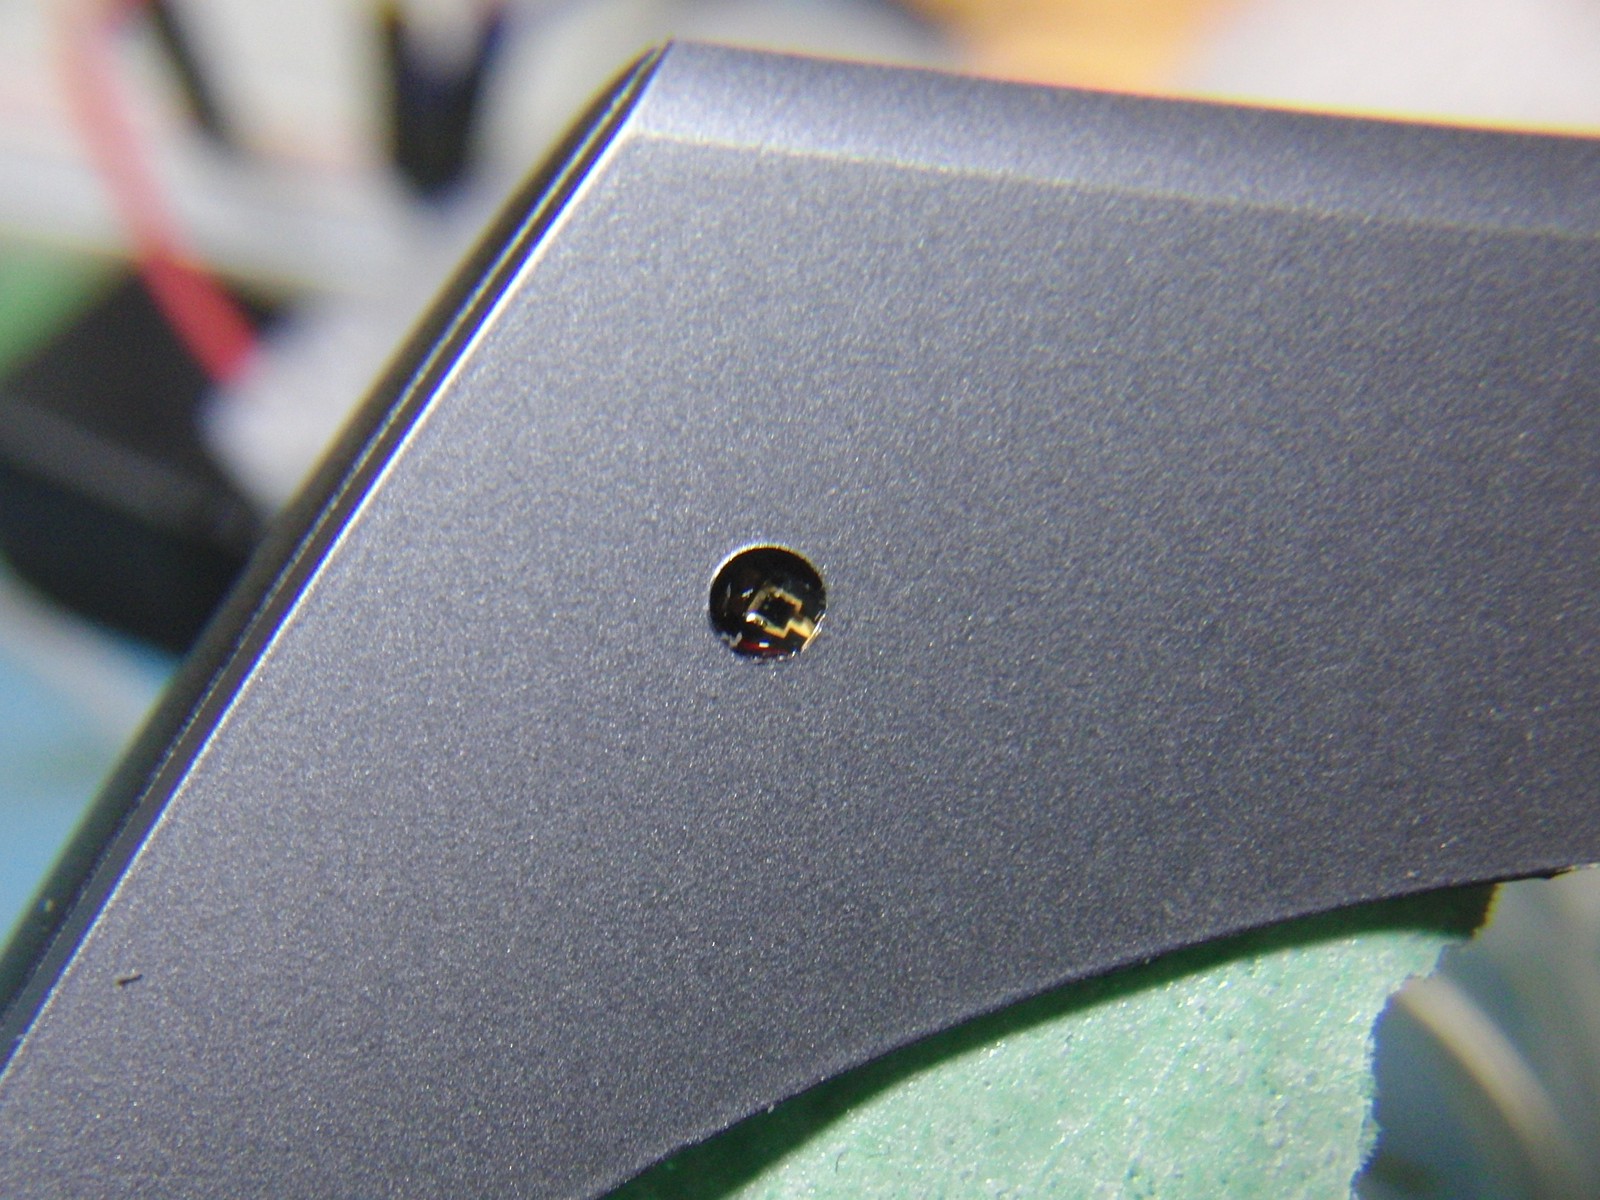
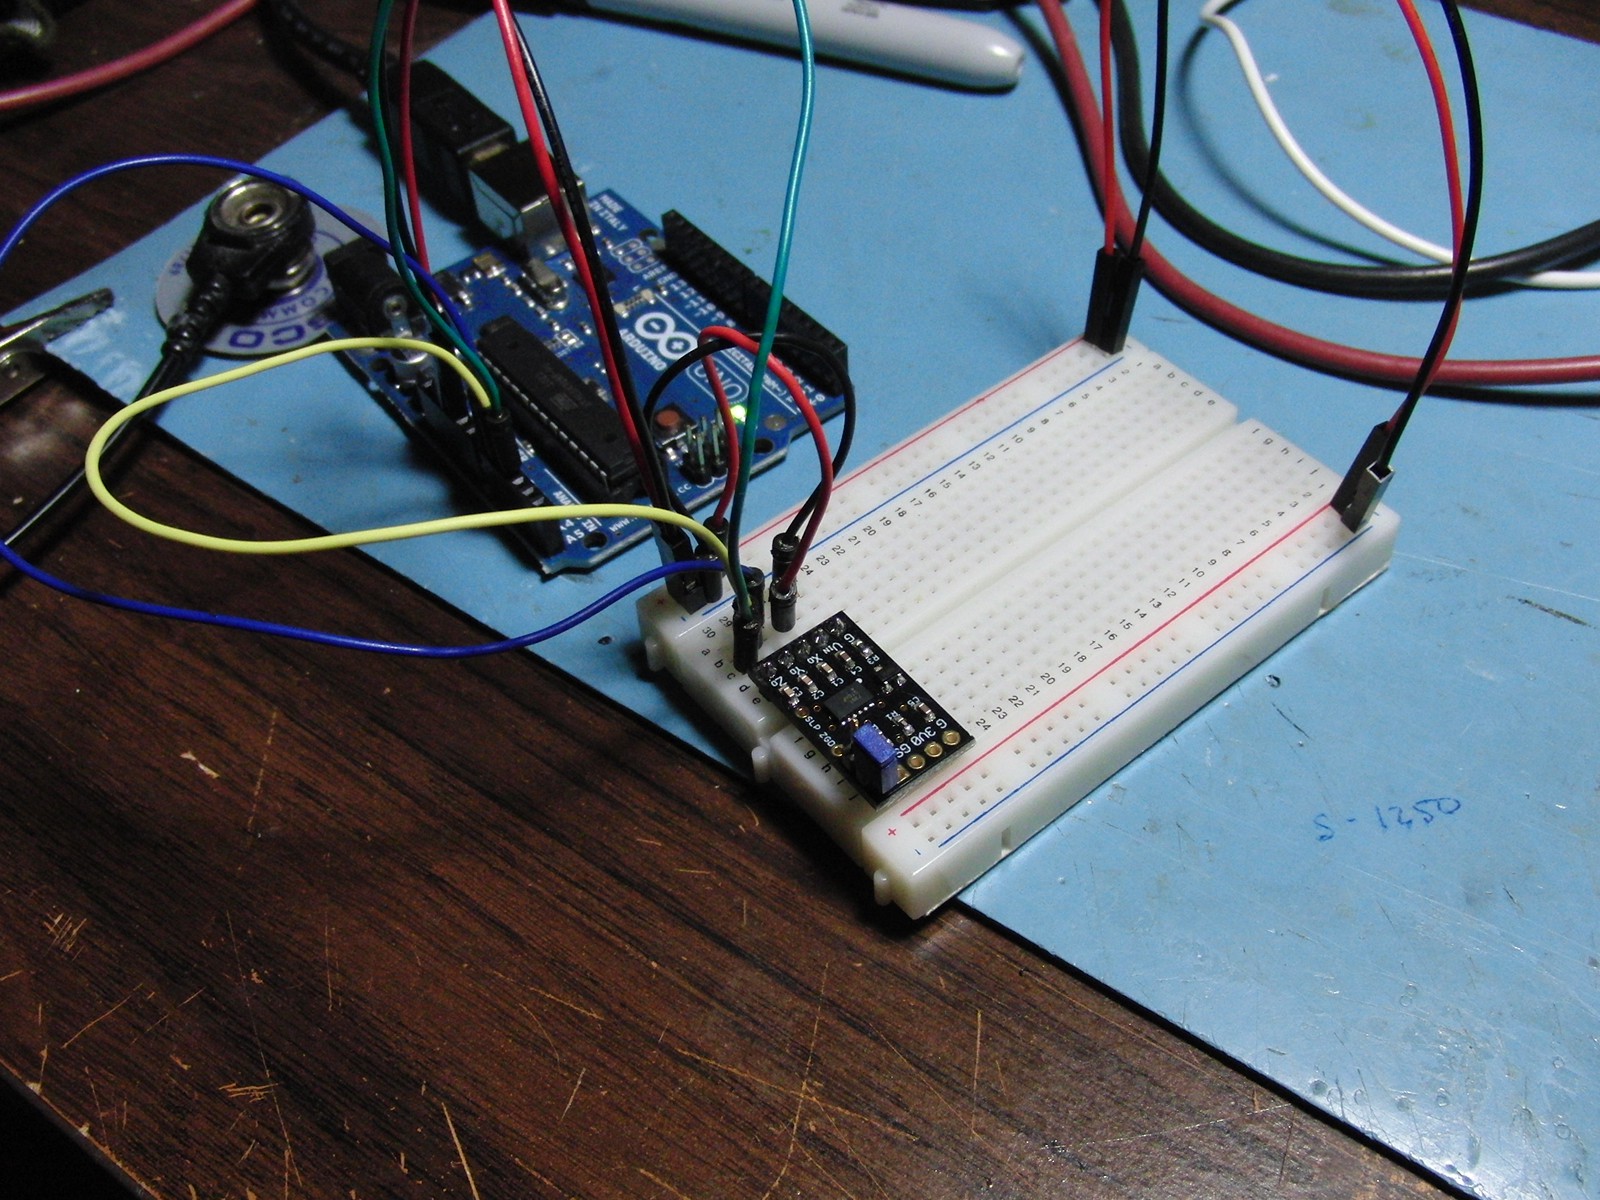
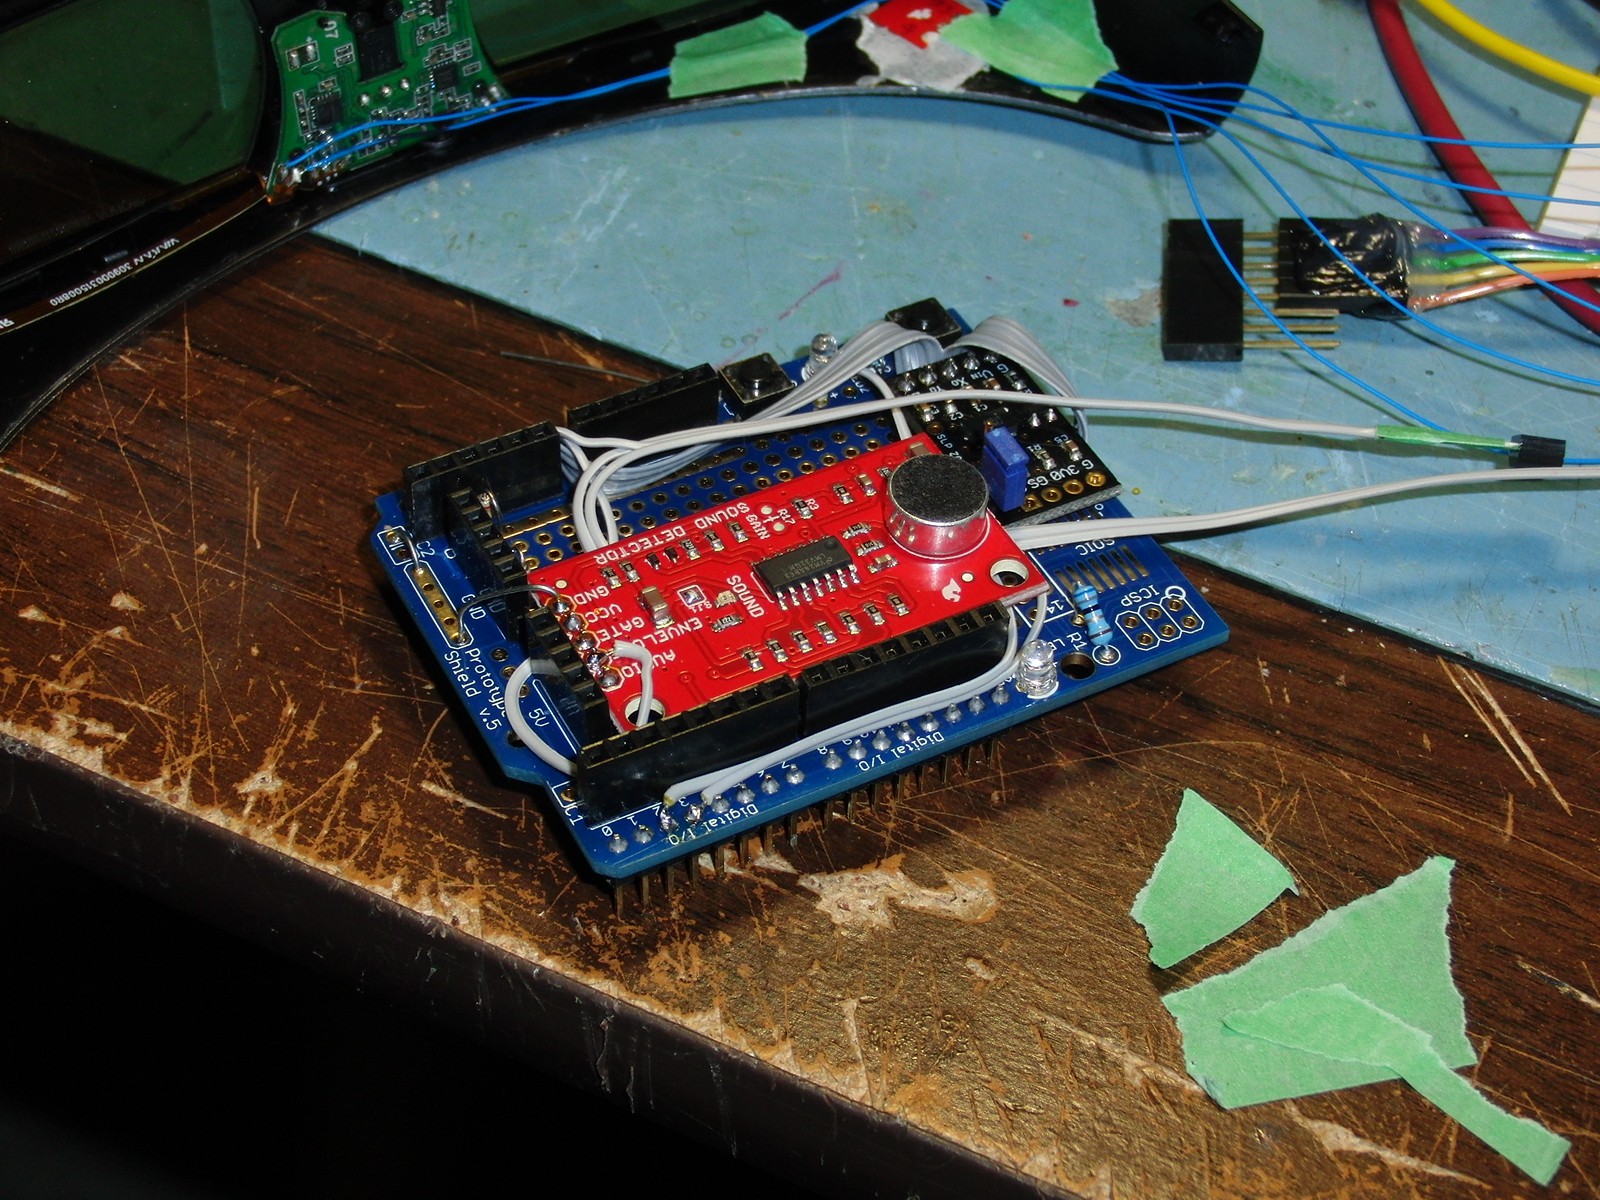 Here is the prototype PPDD all wired up onto an Arduino shield protoboard.
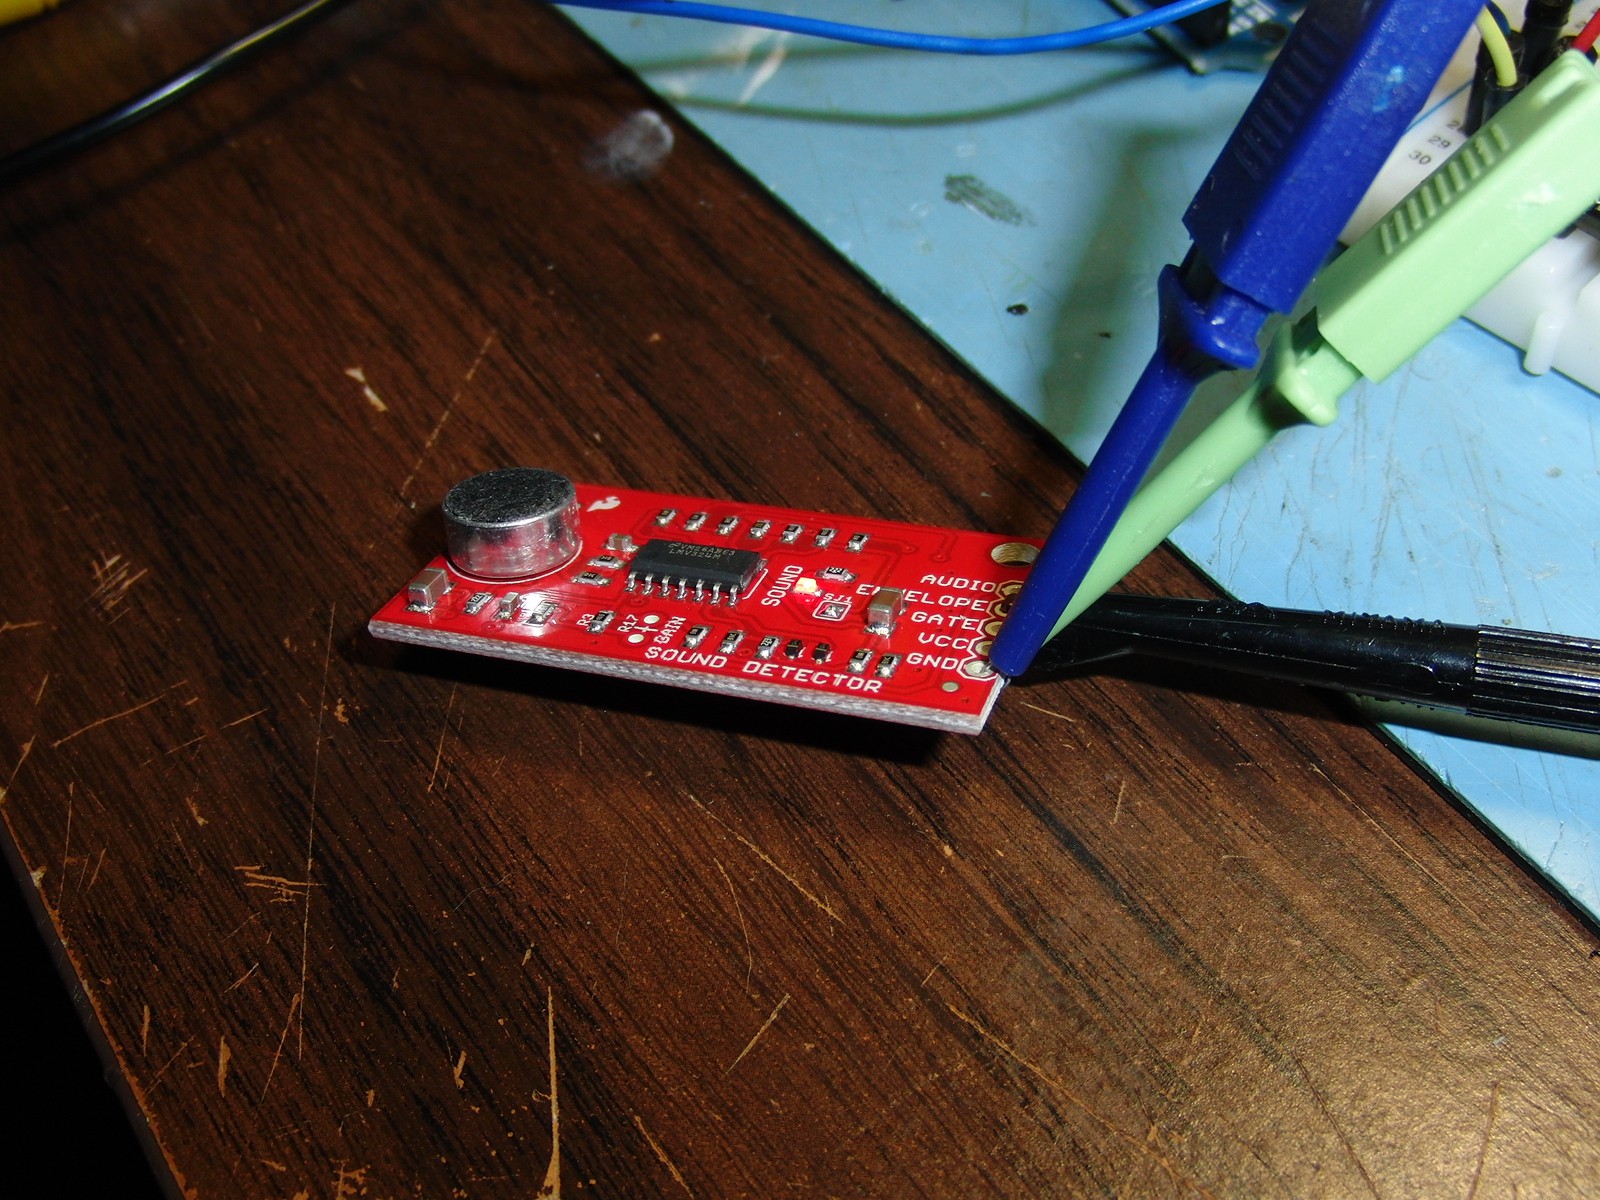 I haven't actually given it a proper run-through yet but I'm confident it will work just fine.
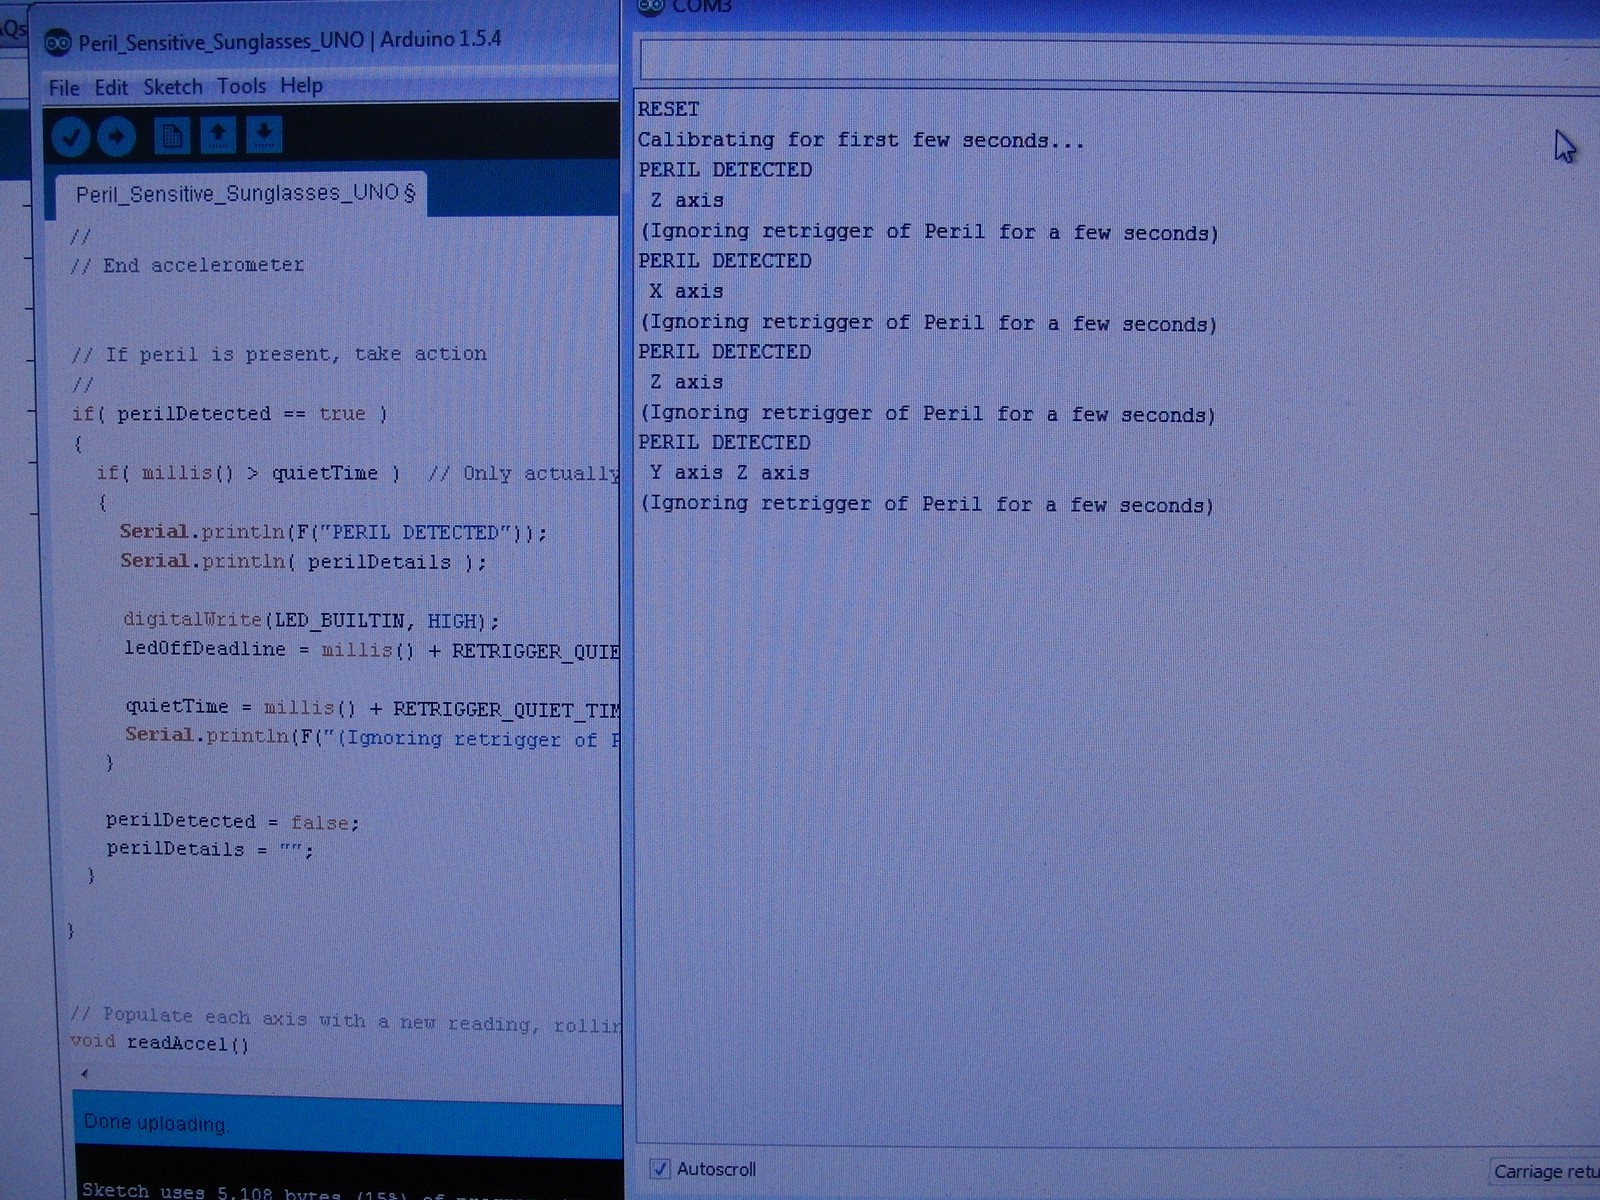
 Software-wise I treat it almost identical to temperature sensor - read values into a circular buffer and calculate "standard deviation" of past readings, then compare that to the most recent reading.


 sparks.ron
 grussell73
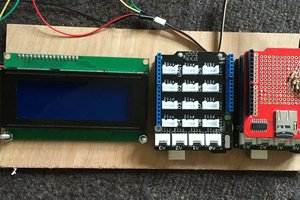
 Craig
Craig