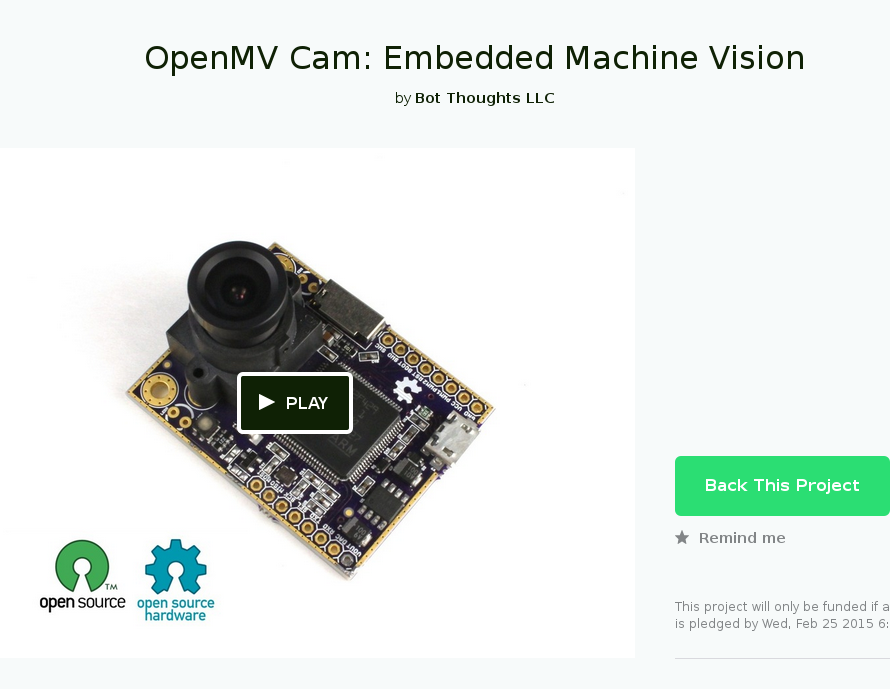
 i.abdalkader
Overview:
- Scriptable in Python3.
- On board uSD Card or internal Flash storage for scripts, images and video.
- RGB, YUV and JPEG Omnivision sensors (OV2640 and OV7725).
- Recording and Streaming GIF and MJPEG to SD or external WiFi shield.
- Extension Header breaks out UART, I2C, SPI, PWM, DAC and ADC.
- User-friendly Python IDE to view the framebuffer and upload scripts to the camera.
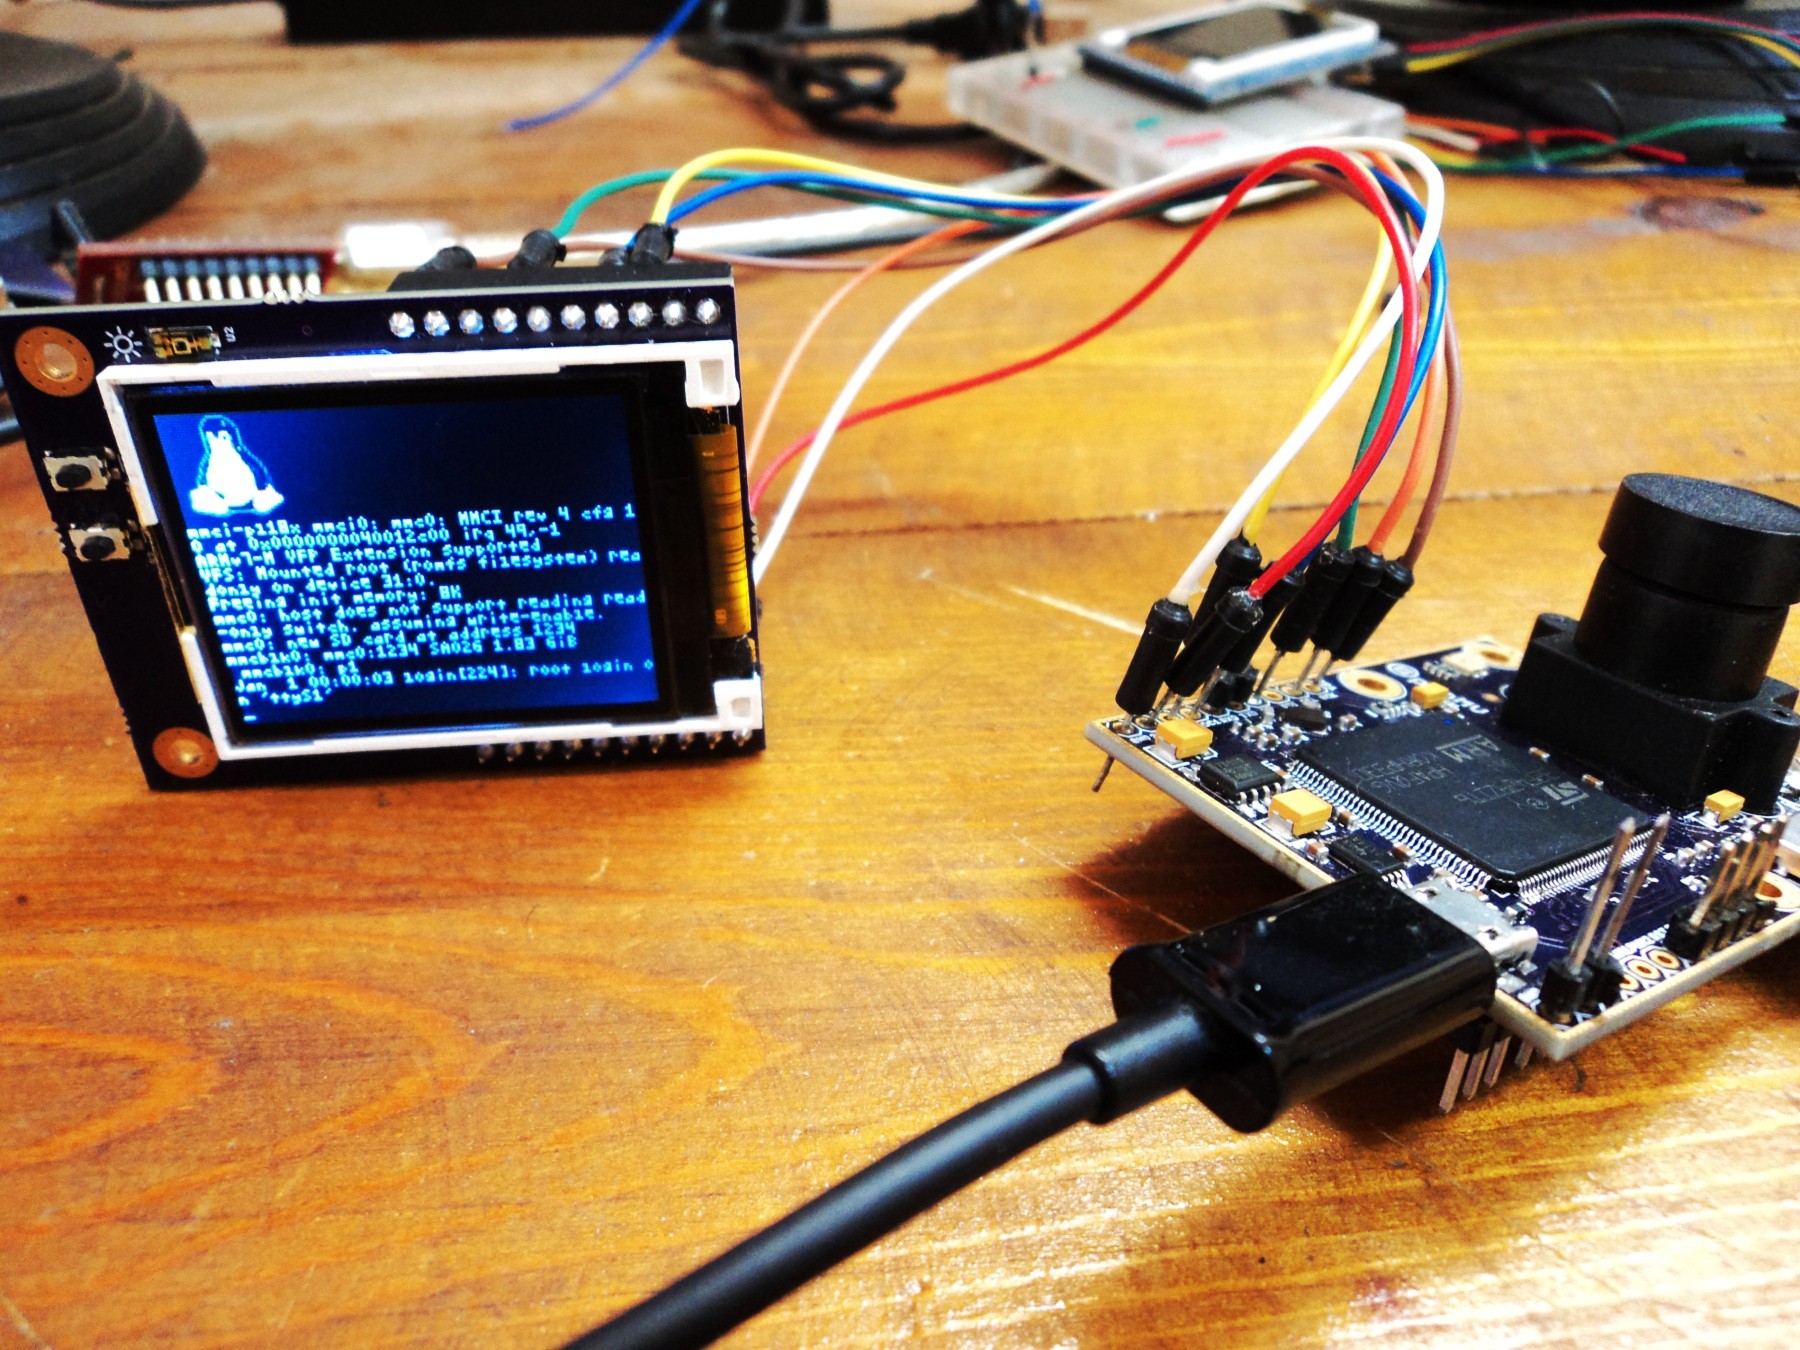
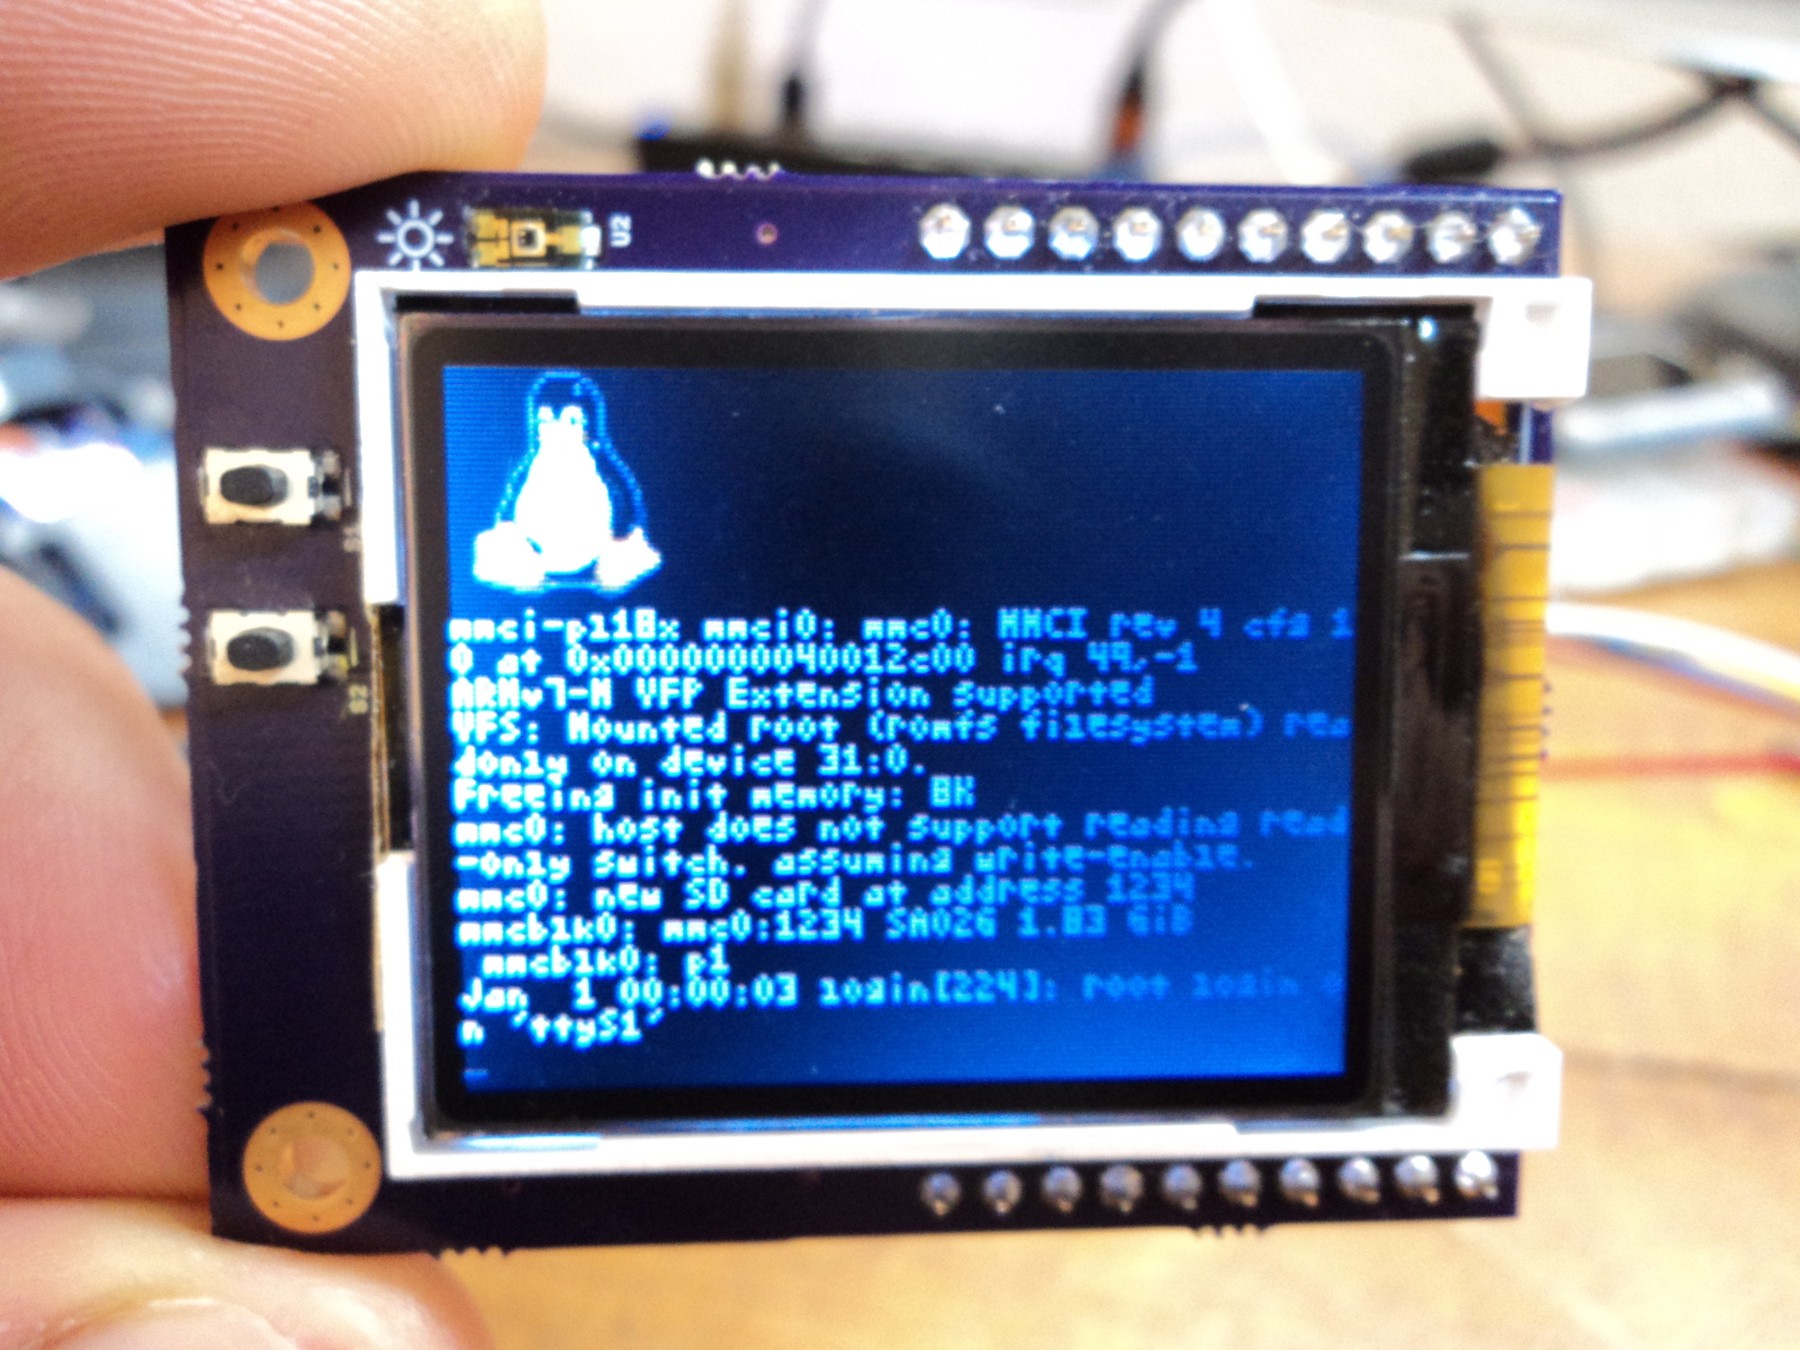
- 16MB SDRAM on-board enables uClinux to run on OpenMV2.
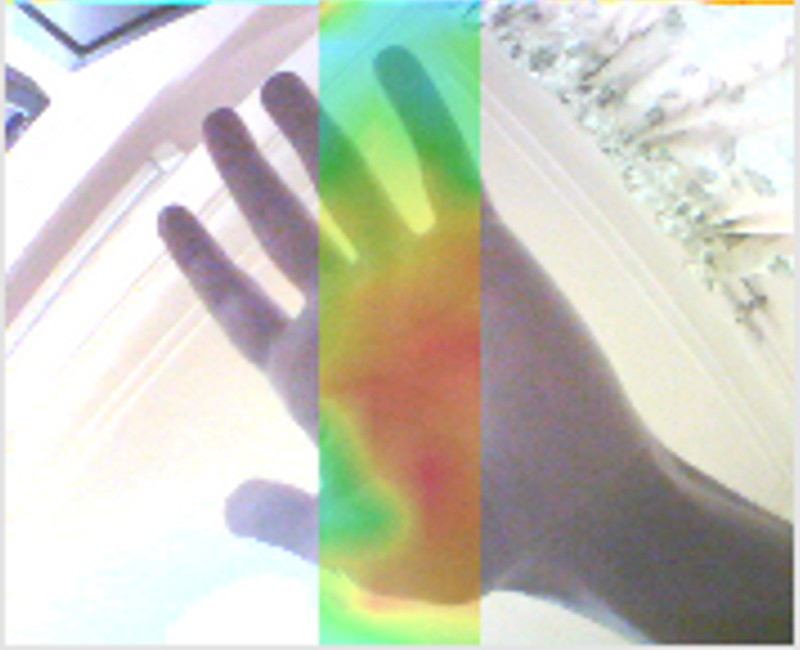
- Image processing library includes:
- Line, circle, rectangle detection.
- Face detection with VJ (compatible with OpenCV's cascades)
- ORB keypoints detector, descriptor, matching and tracking.
- QR and Bar codes decoding and AprilTags support.
- Template matching with Normalized Cross Correlation (NCC)
- Misc functions: kmeans, filters, scaling, sub-image, blitting and alpha blending.
The Hardware:
- Processor: Based on STM32F ARM Cortex-M Digital Signal Controllers (DSCs) running at 168-216MHz. Features a single precision FPU, DSP instructions and a DCMI (Digital Camera Interface). The low-cost, the HW camera interface and the FPU and DSP made this particular controller a perfect match for the project.
- Image Sensor: OpenMV1 supports many single package lens/sensors, such as the OV965x and OV2640 while OpenMV2 and OpenMV3 support a single sensor with an external lens.
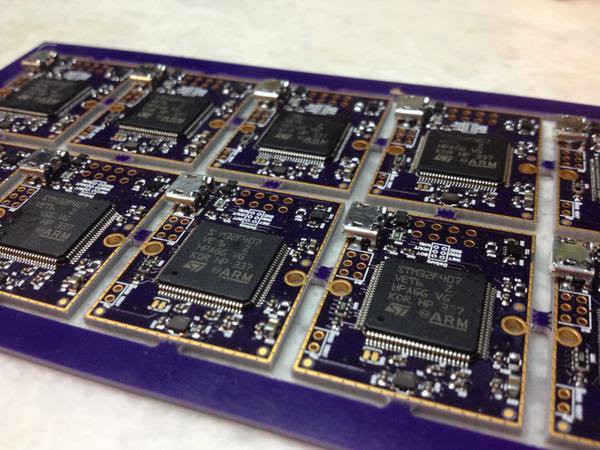
- PCB: Although it costs more, a 4-layer PCB is used for all cameras for better signal integrity and EMI issues. Additionally, using 4-layers made it possible to fit everything on the 1.0x1.3 inches OpenMV1 board. The first PCB prototypes were all ordered from OSHPark.
- Debugging and Flashing Firmware: The Serial Wire Debugging (SWD) is broken out on all cameras for debugging with GDB and the DFU is easily accessible to upload new firmware images via USB. Additionally, the camera includes a bootloader that can be used from the IDE to easily upload new firmware images.
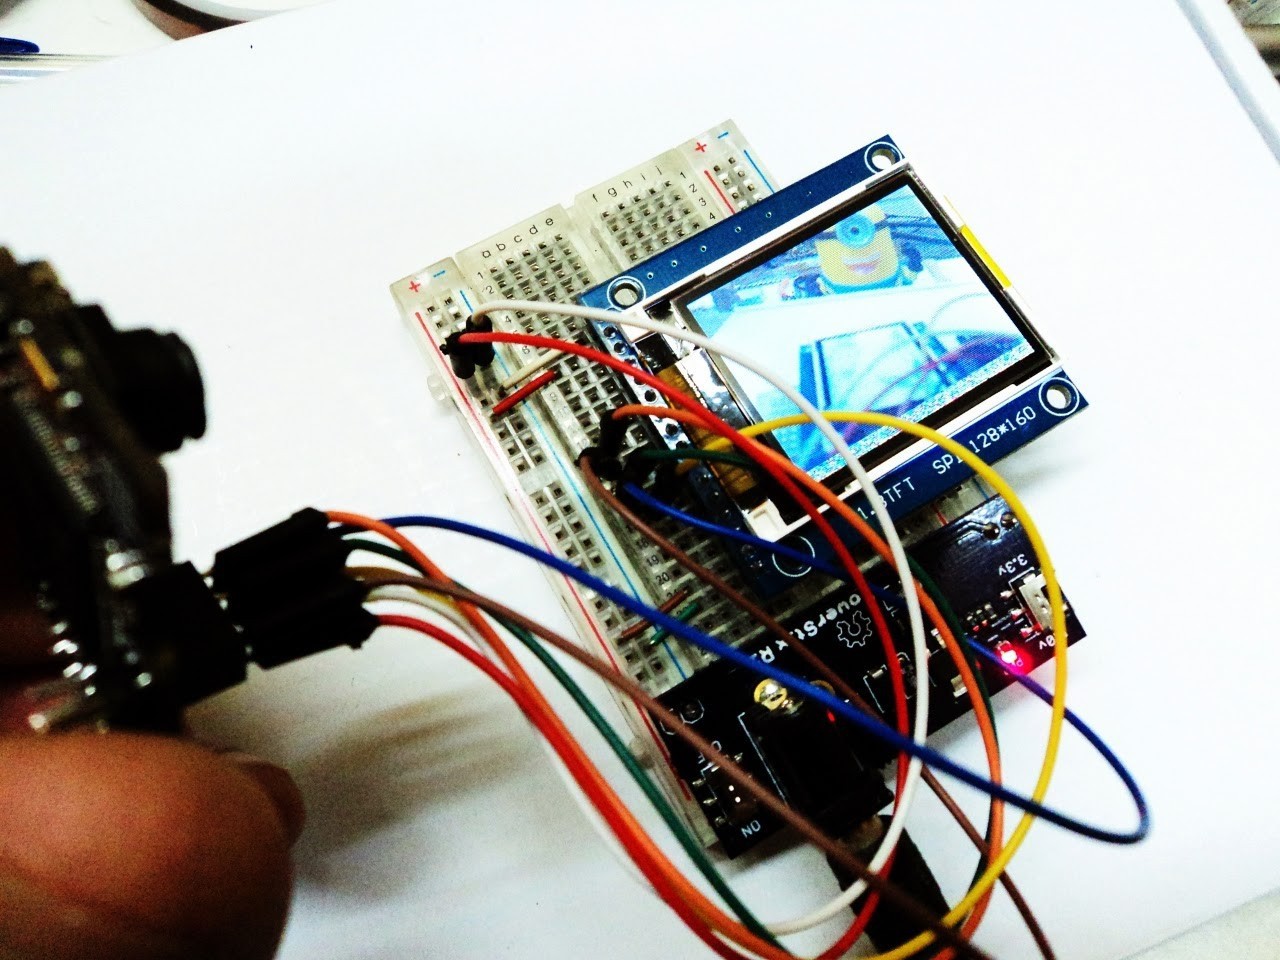
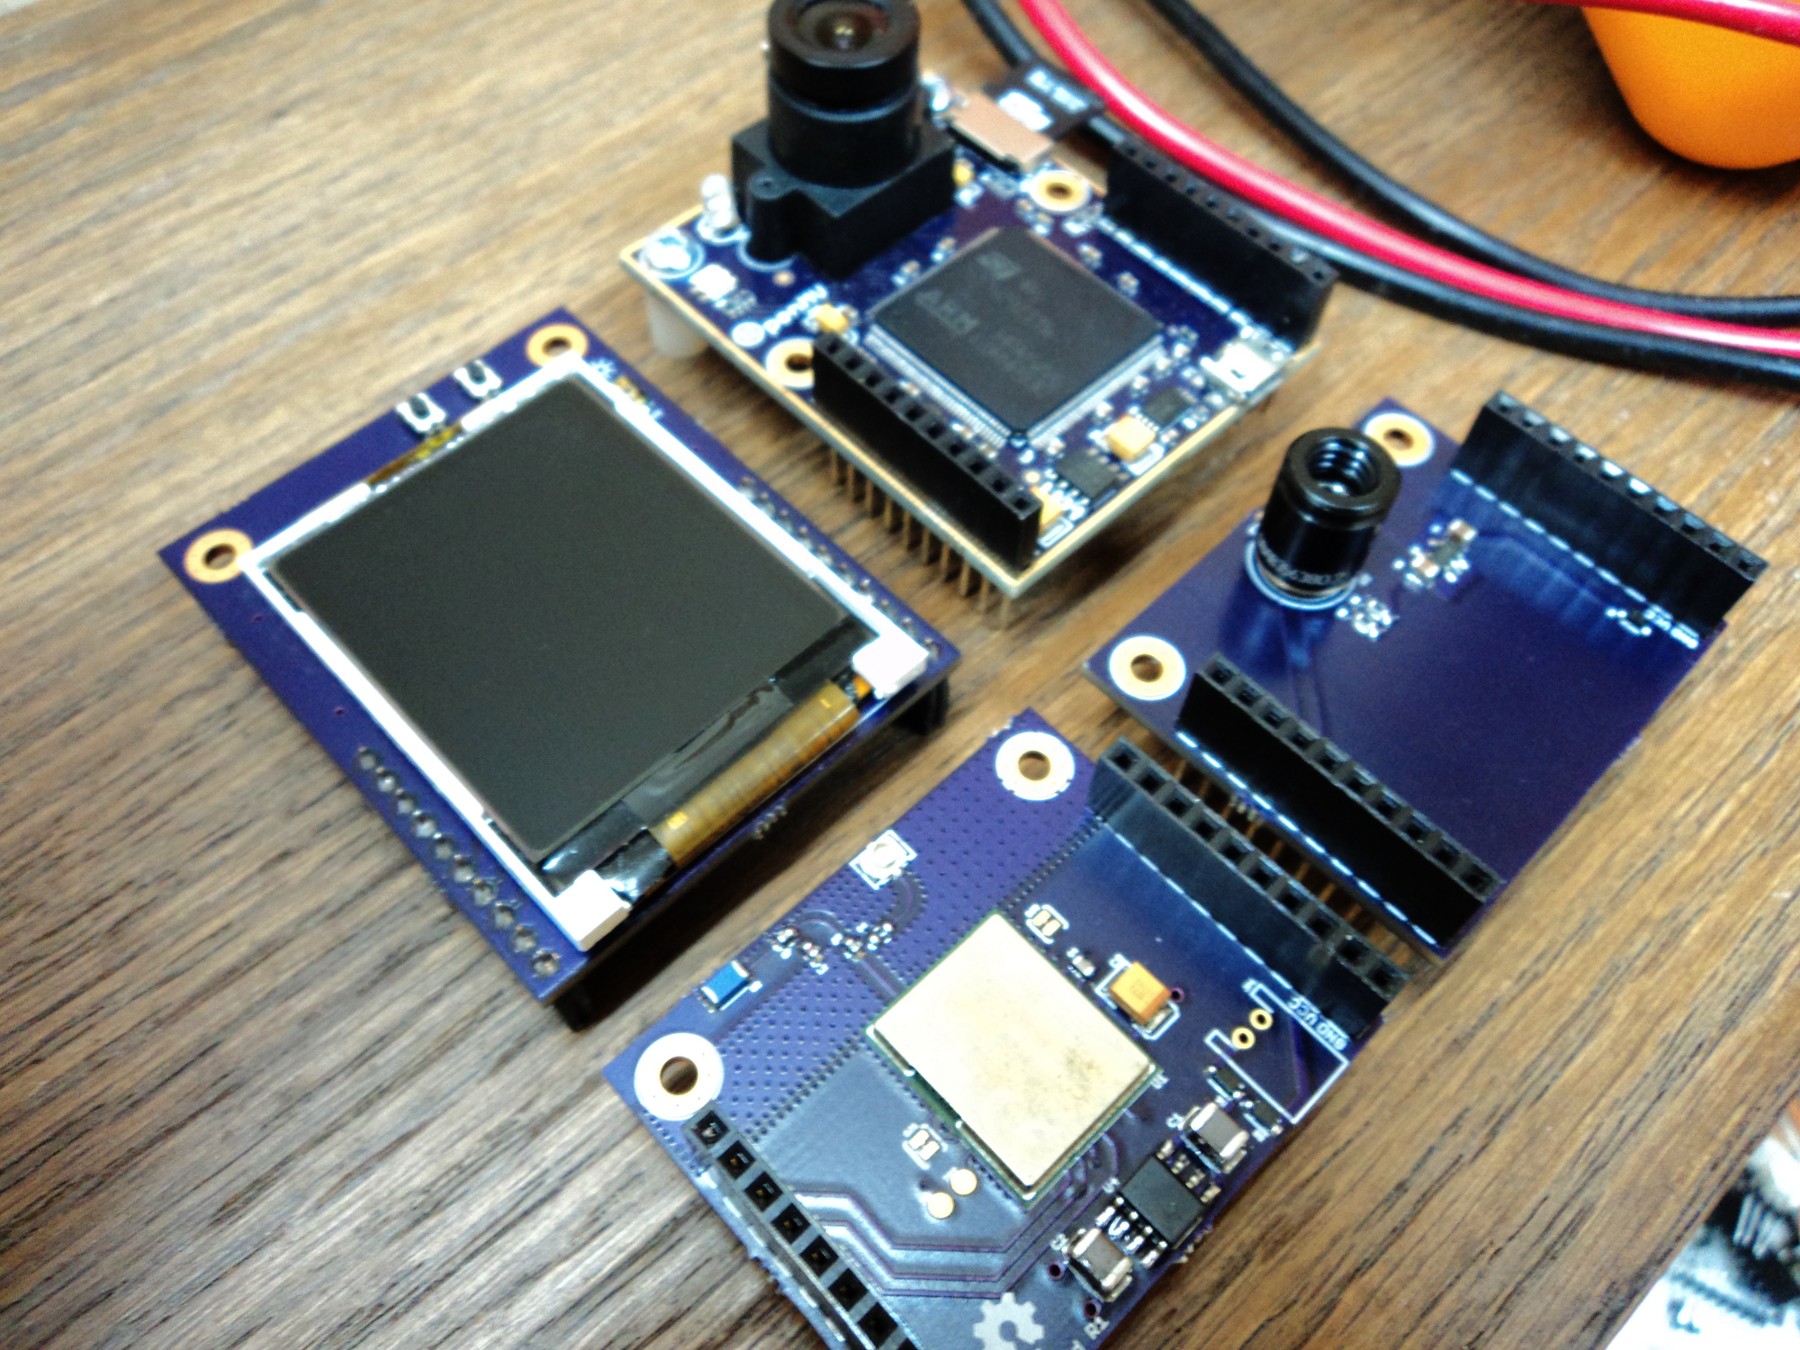
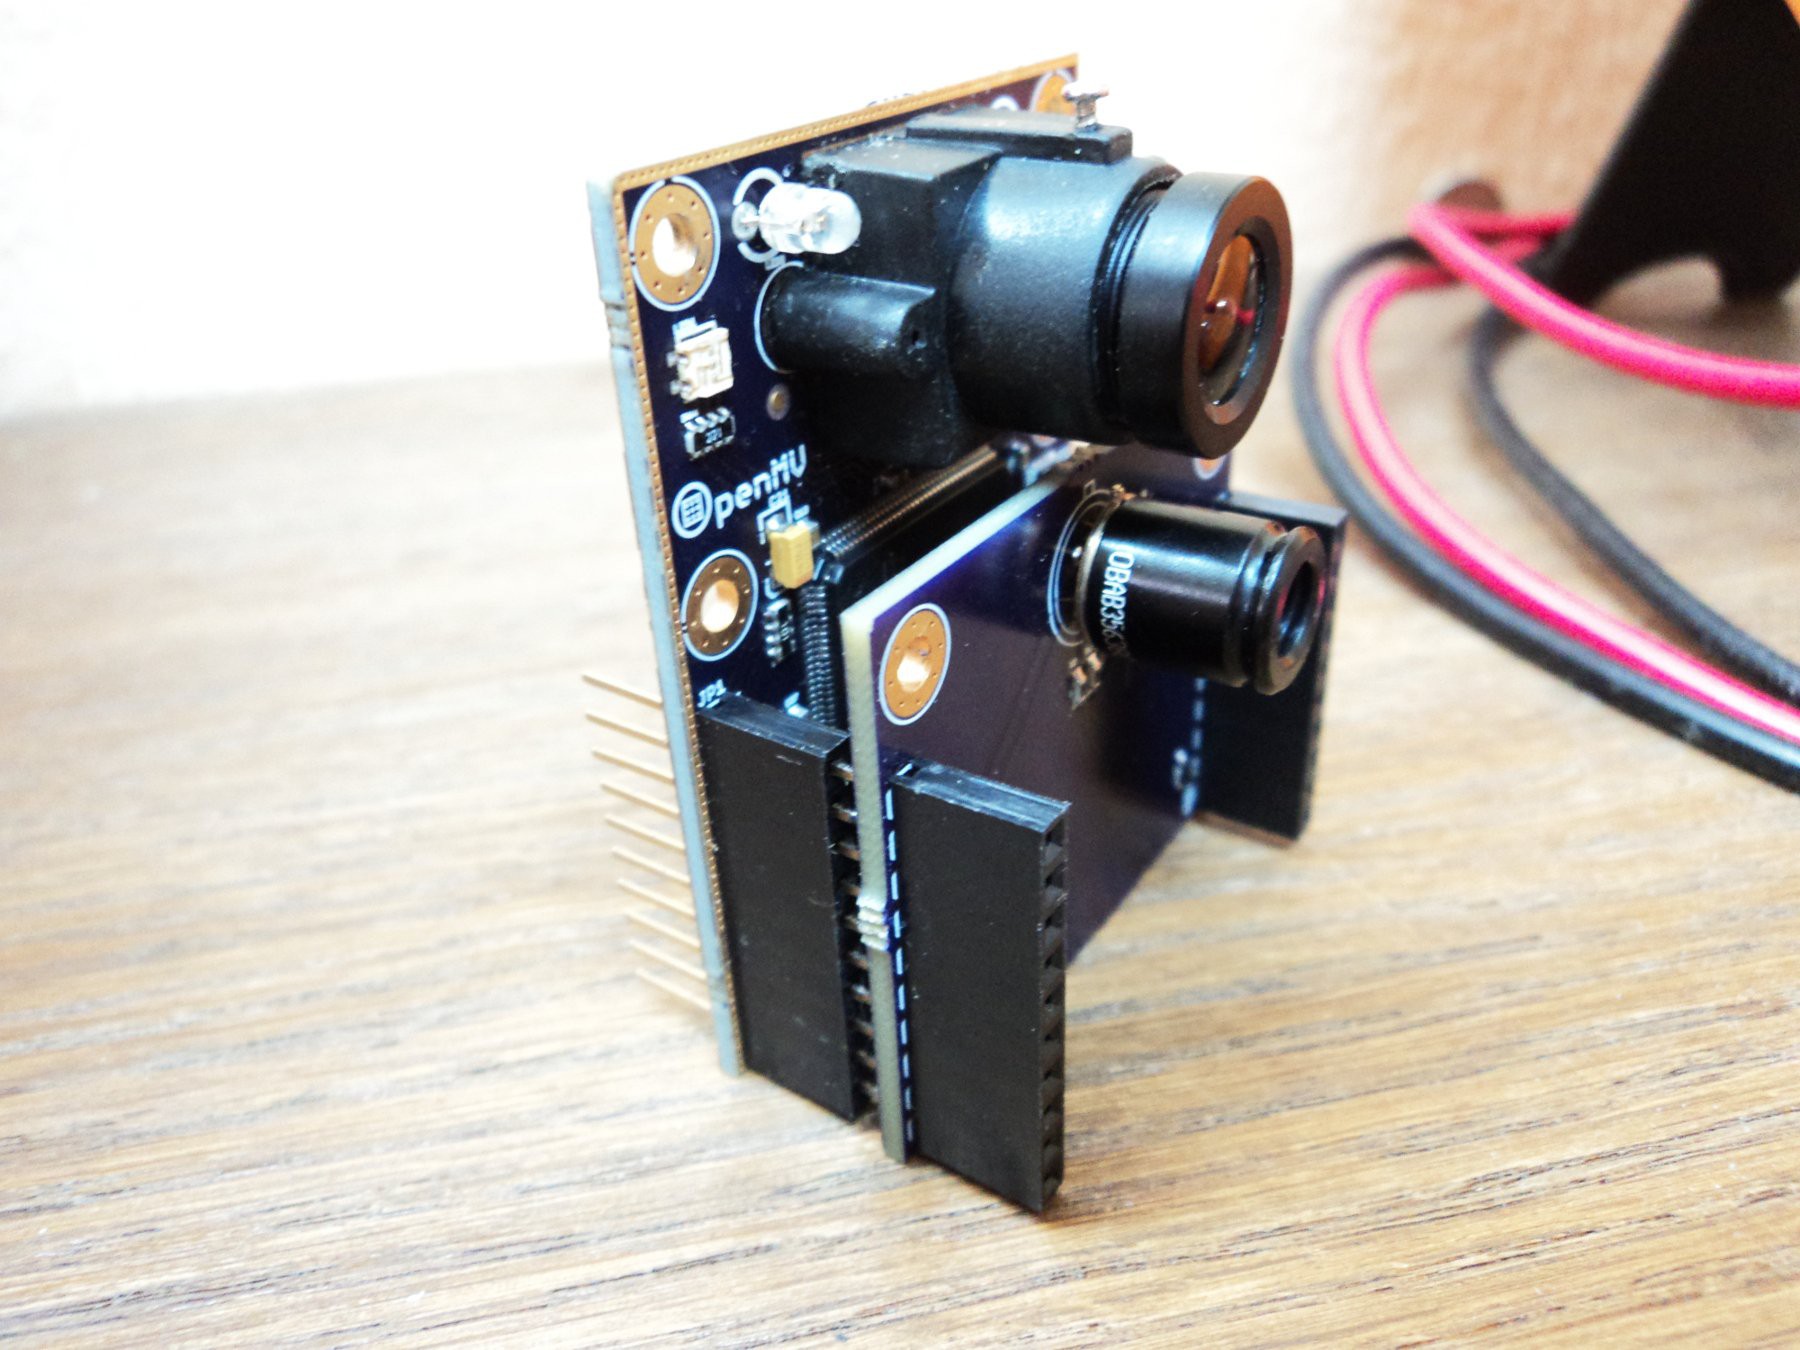
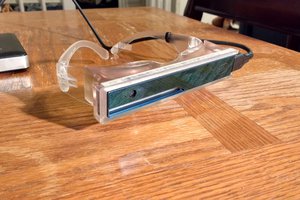
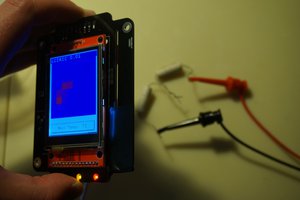
- I/O Headers and Shields: The main 2.54mm headers break out SPI, I2C, USART, PWM, CAN, DAC and ADC. These headers allow interfacing extension boards (or Shields) to OpenMV to extend its capabilities. For example, using SPI LCD with OpenMV camera to view the framebuffer:
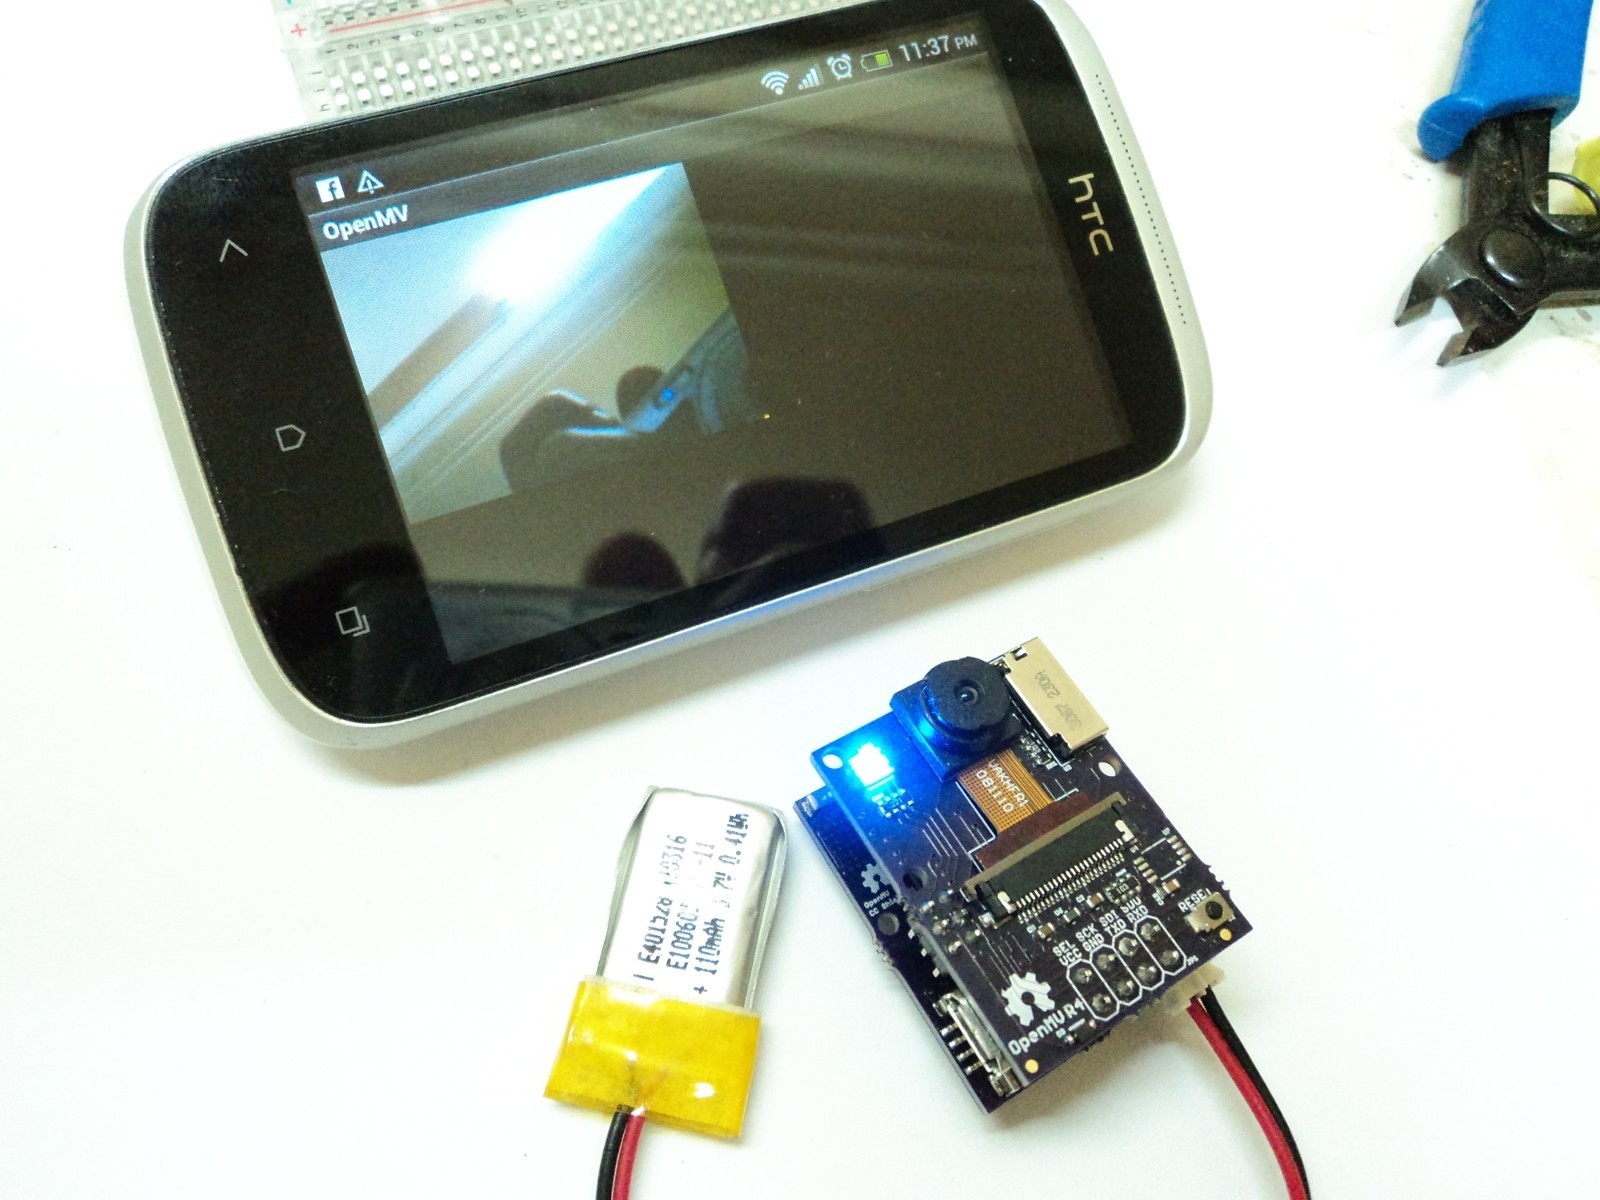
- The WiFi Shield: Using the WiFi Shield gives OpenMV the ability to connect to the internet. It features an ATWINC1500 FCC Certified WiFi module which can transmit data at up to 48Mbps making it perfect for streaming video:
The Software:
OpenMV uses a lot of cool open-source software including MicroPython, ChaN's FatFS, ARM's DSP/Math libraries etc.. And it's completely programmable in Python 3! OpenMV can run Python scripts that have access to peripherals (SPI/I2C/UART, CAN, PWM, ADC and DAC), uSD filesystem, wireless, and the image processing library.
The IDE:
OpenMV includes a cross-platform IDE (based on Qt Creator) designed specifically to support programmable cameras. The IDE allows viewing the camera's frame buffer, accessing sensor controls, uploading scripts to the camera via serial over USB (or WiFi/BLE if available) and includes a set of image processing tools to generate tags, thresholds, keypoints etc..
OpenMV 1, 2 and 3:
The OpenMV1 was based on STM32F4 running at 168MHz with very small RAM and Flash. The main advantage of OpenMV1 was small form factor (1.0" x 1.3"). OpenMV2 used the newer STM32F429 runing at 180MHz, with more built-in SRAM, external 16MB SDRAM, external lens for the sensor, 2xIR LEDs, 2xServo headers and 20 I/Os. Finally, OpenMV3 uses the latest Cortex-M7 and is currently in production (see full specs below).
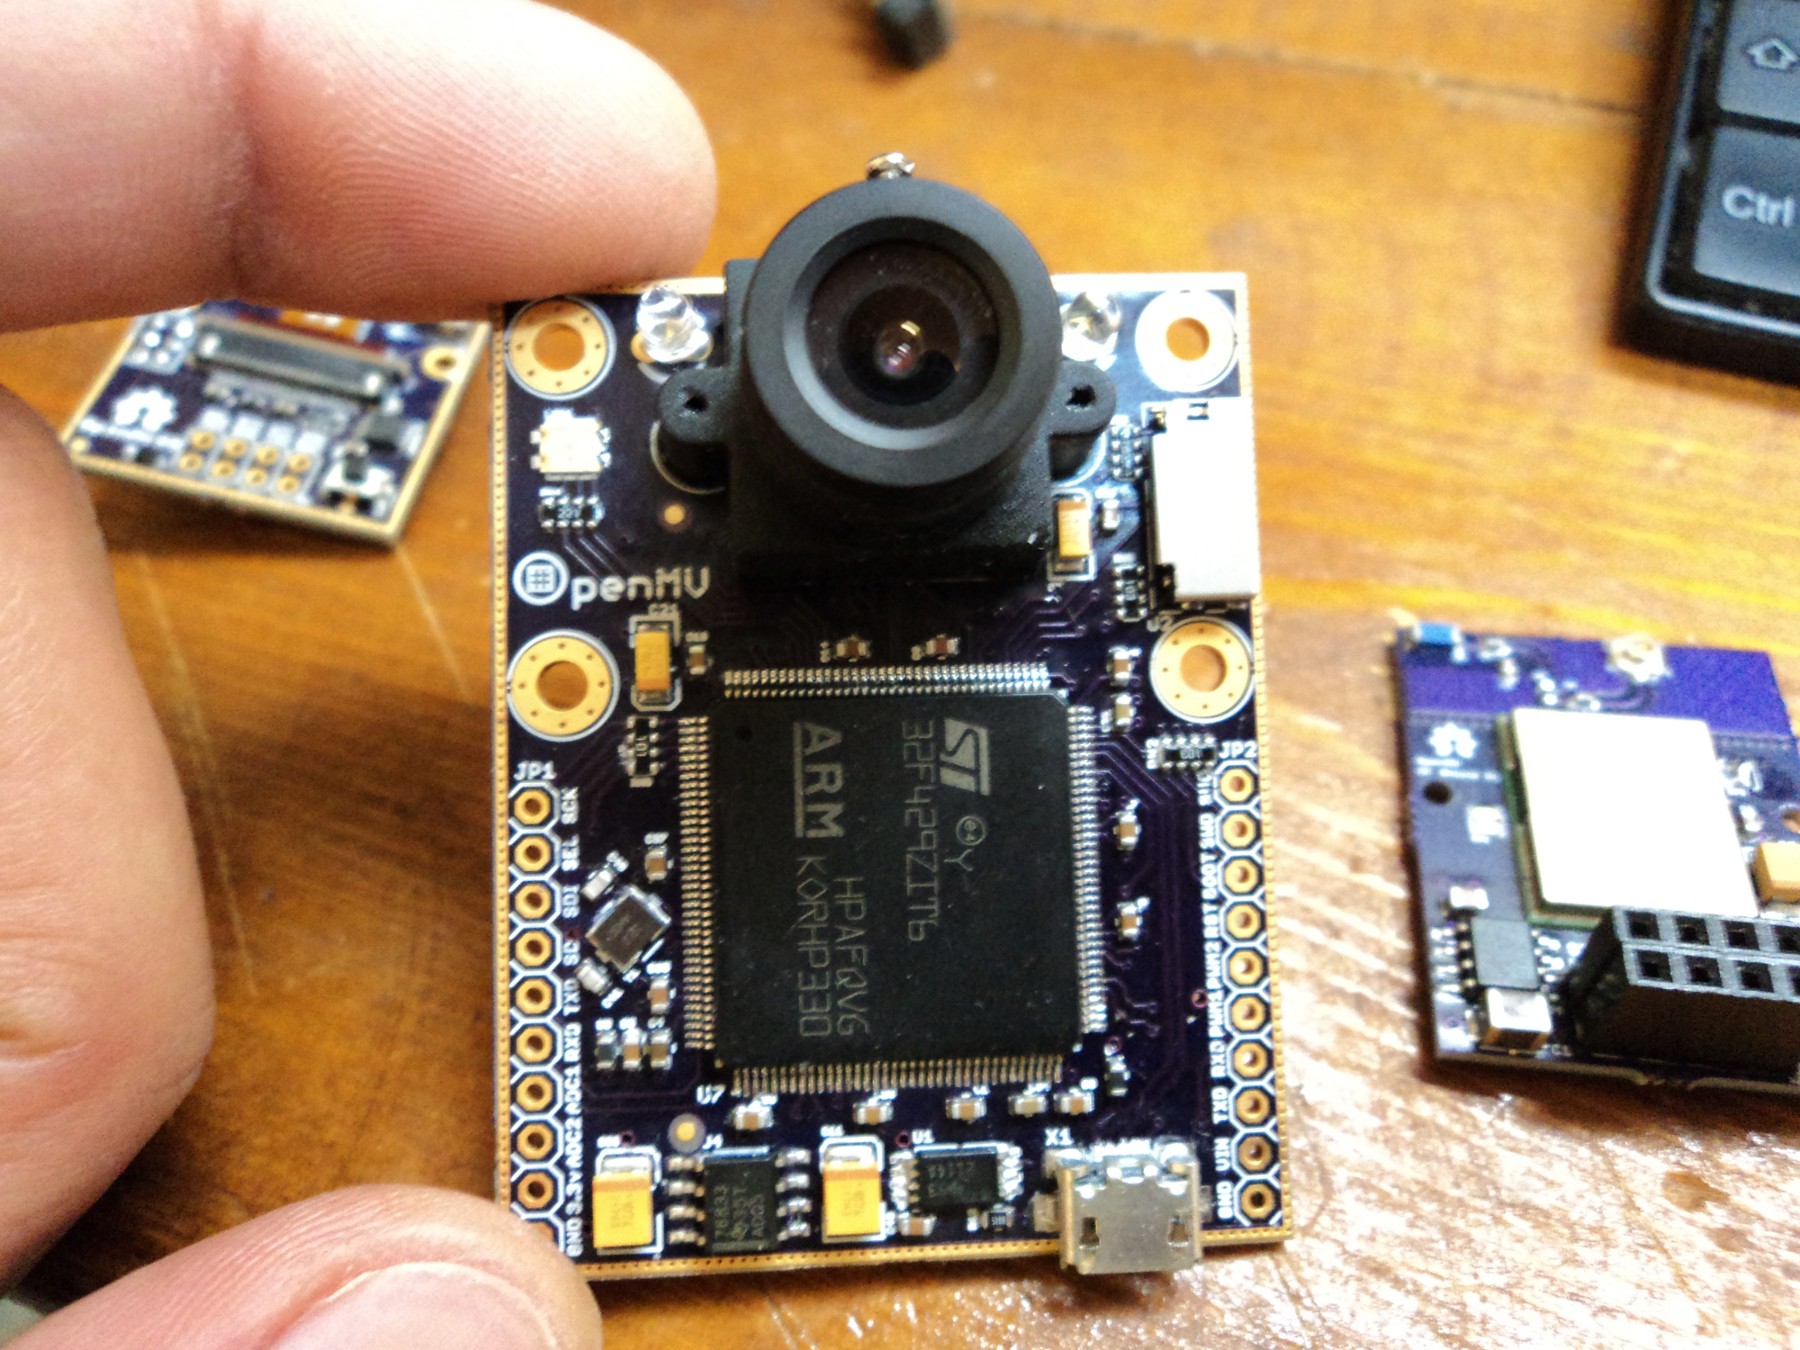
OpenMV1 Specs:
- MCU (STM32F407): 168MHz, FPU, DSP, DCMI.
- RAM: 512KB SRAM Flash: 512KBs
- Image Sensor(s): OV965x (1.3MP) and OV2640 (2MP/JPEG)
- I/O: USART, SPI, I2C and PWM.
- USB: 2.0 FS.
- SD Card: SPI.
- Power Consumption: 120mA typical.
- Dimensions: 1.0" x 1.3"
OpenMV2...
Read more »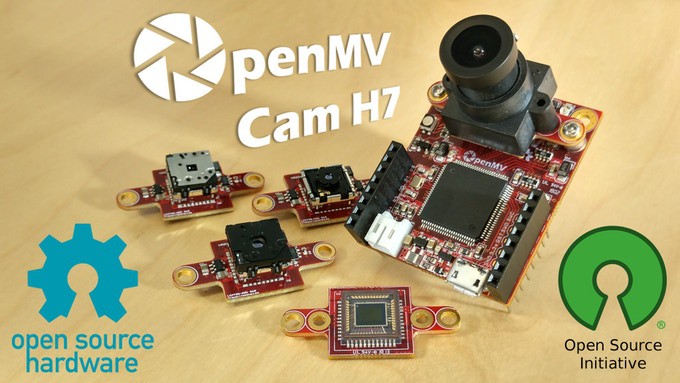


 Dan Schneider
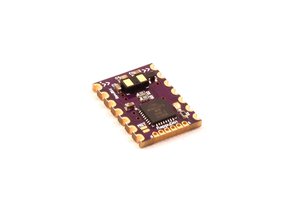
 Blecky
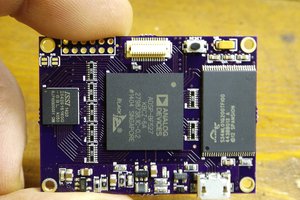
 Josh Lange
( might just need a mounting ring and removing the existing small one )