 ASHUMHRPROJECTS
Batteries are an important part of any battery-operated project or product. Rechargeable batteries are expensive because they require a separate charger, but they're worth the investment because they last longer and cost less over time than regular disposable batteries. They come in several different varieties based on their electrode materials and electrolytes—lead-acid, nickel cadmium (NiCd), nickel metal hydride (NiMH), lithium ion (Li-ion), and lithium ion polymer (Li-ion polymer).
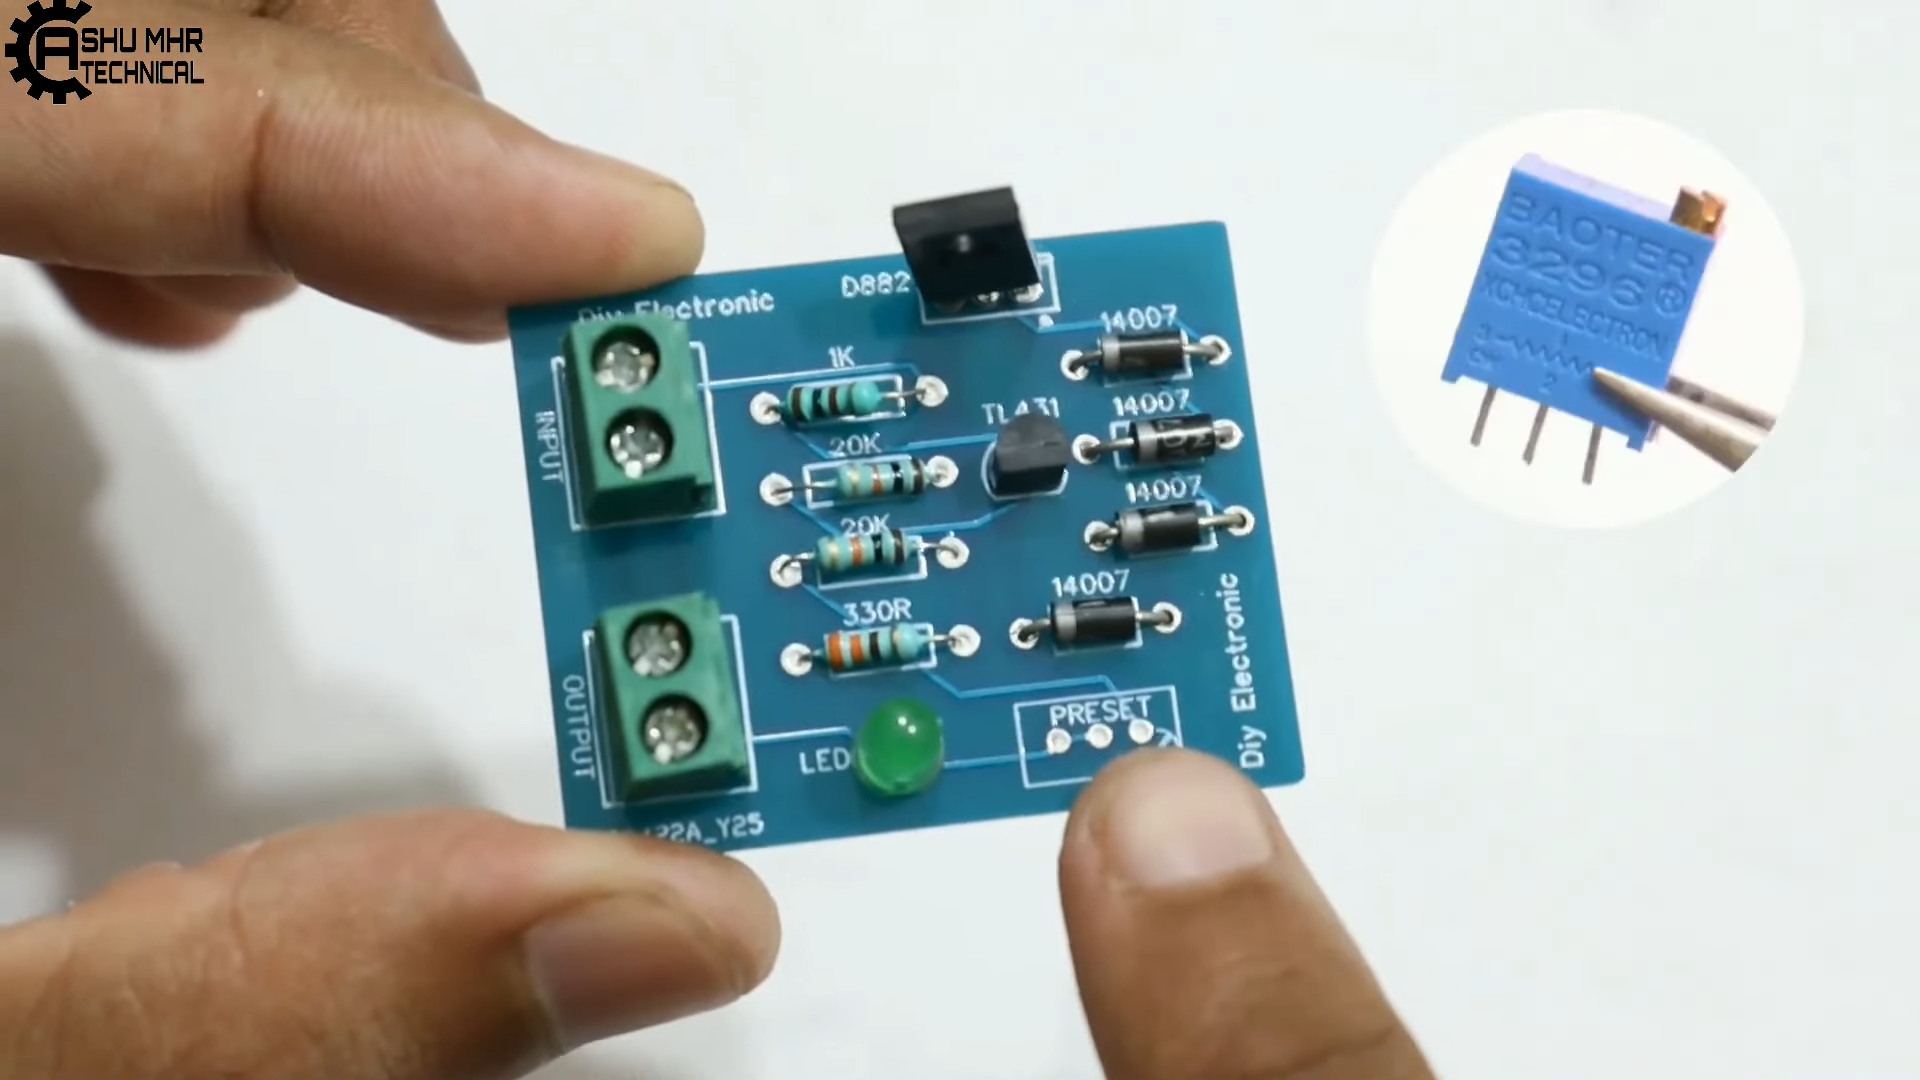
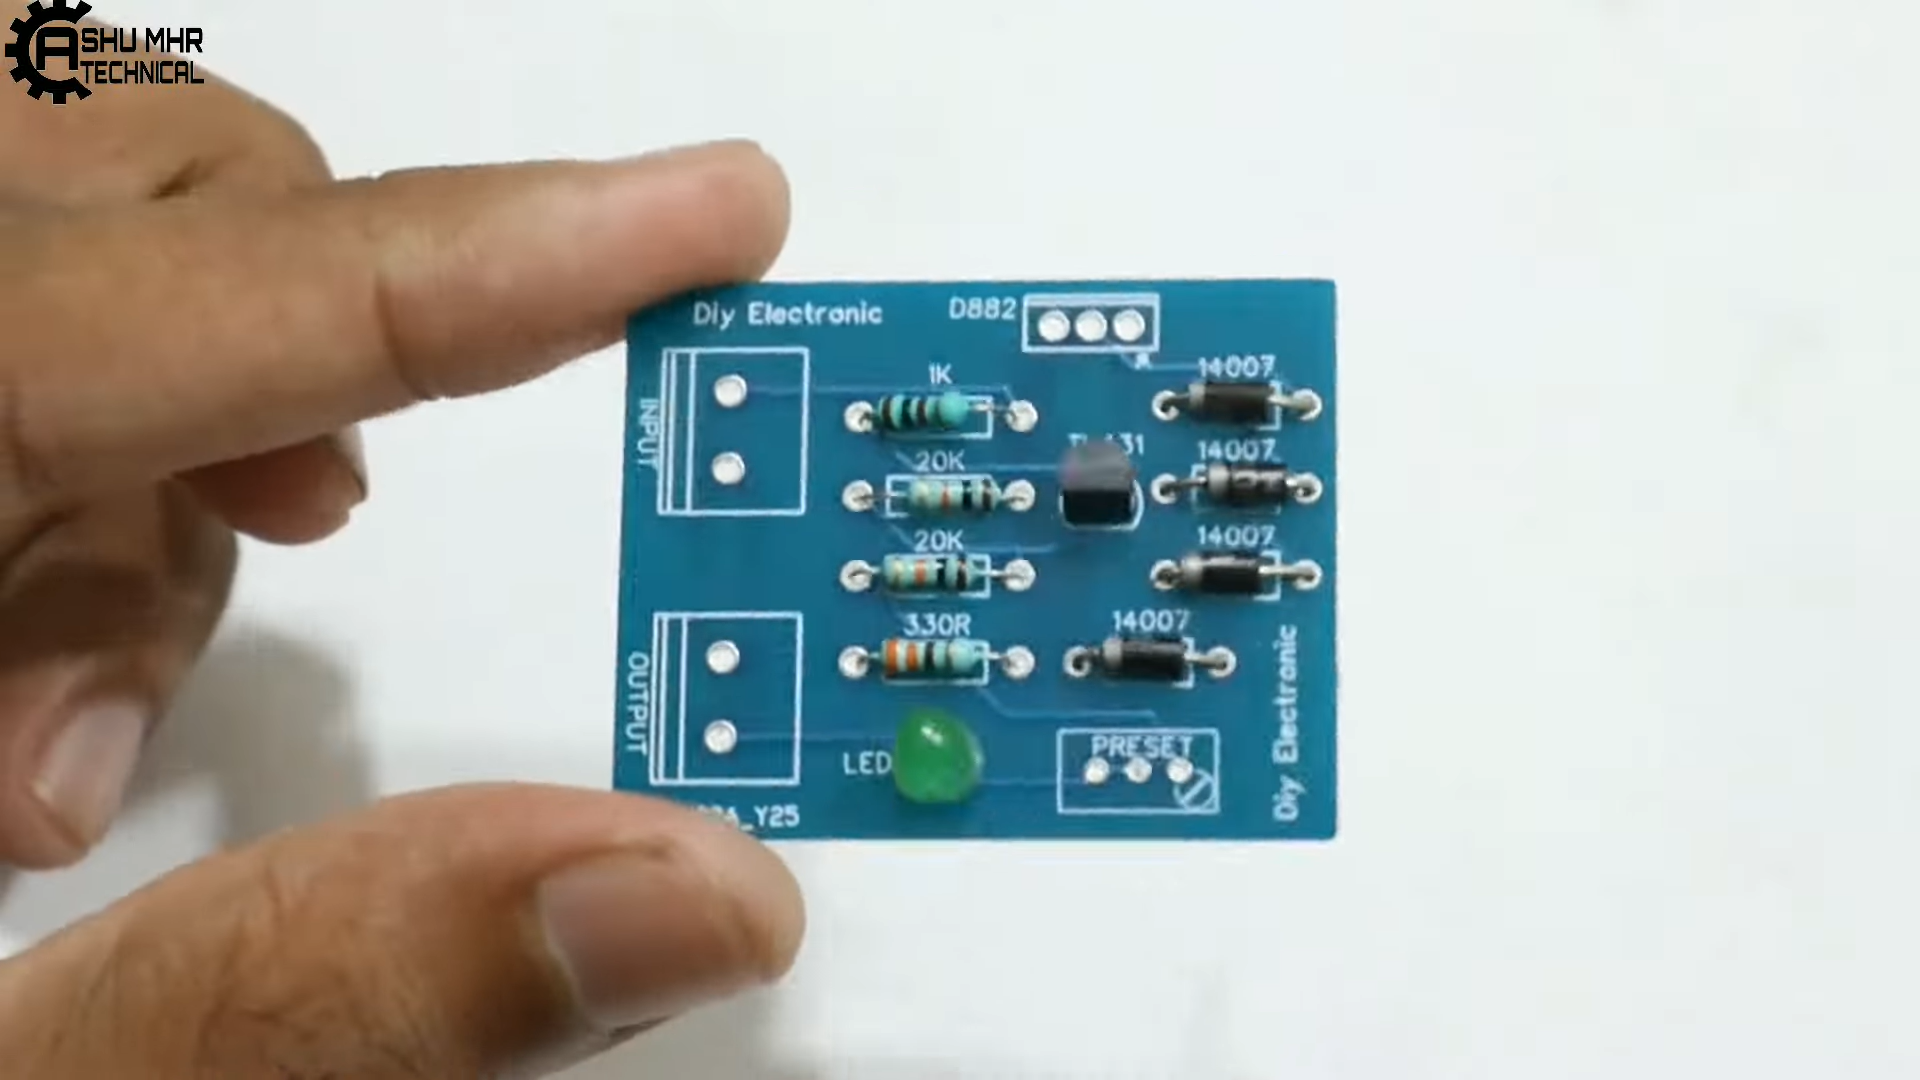
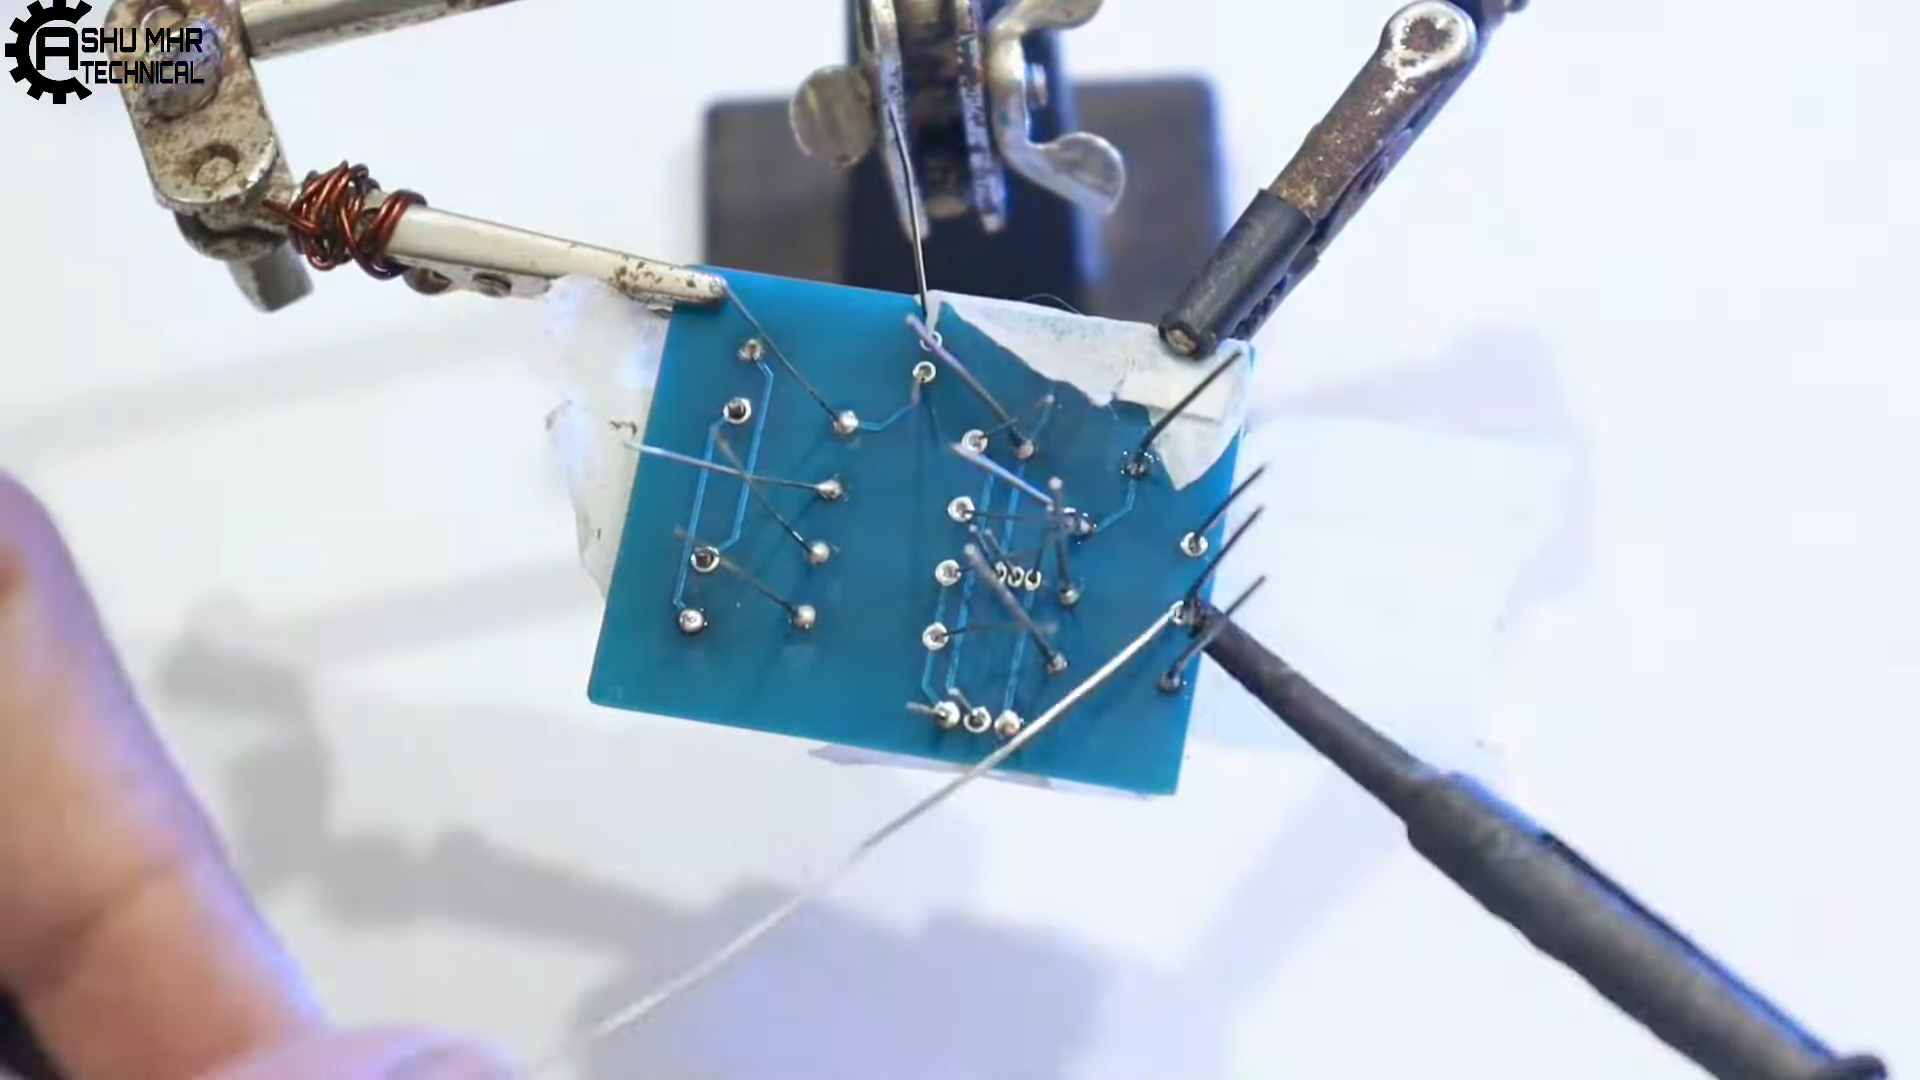
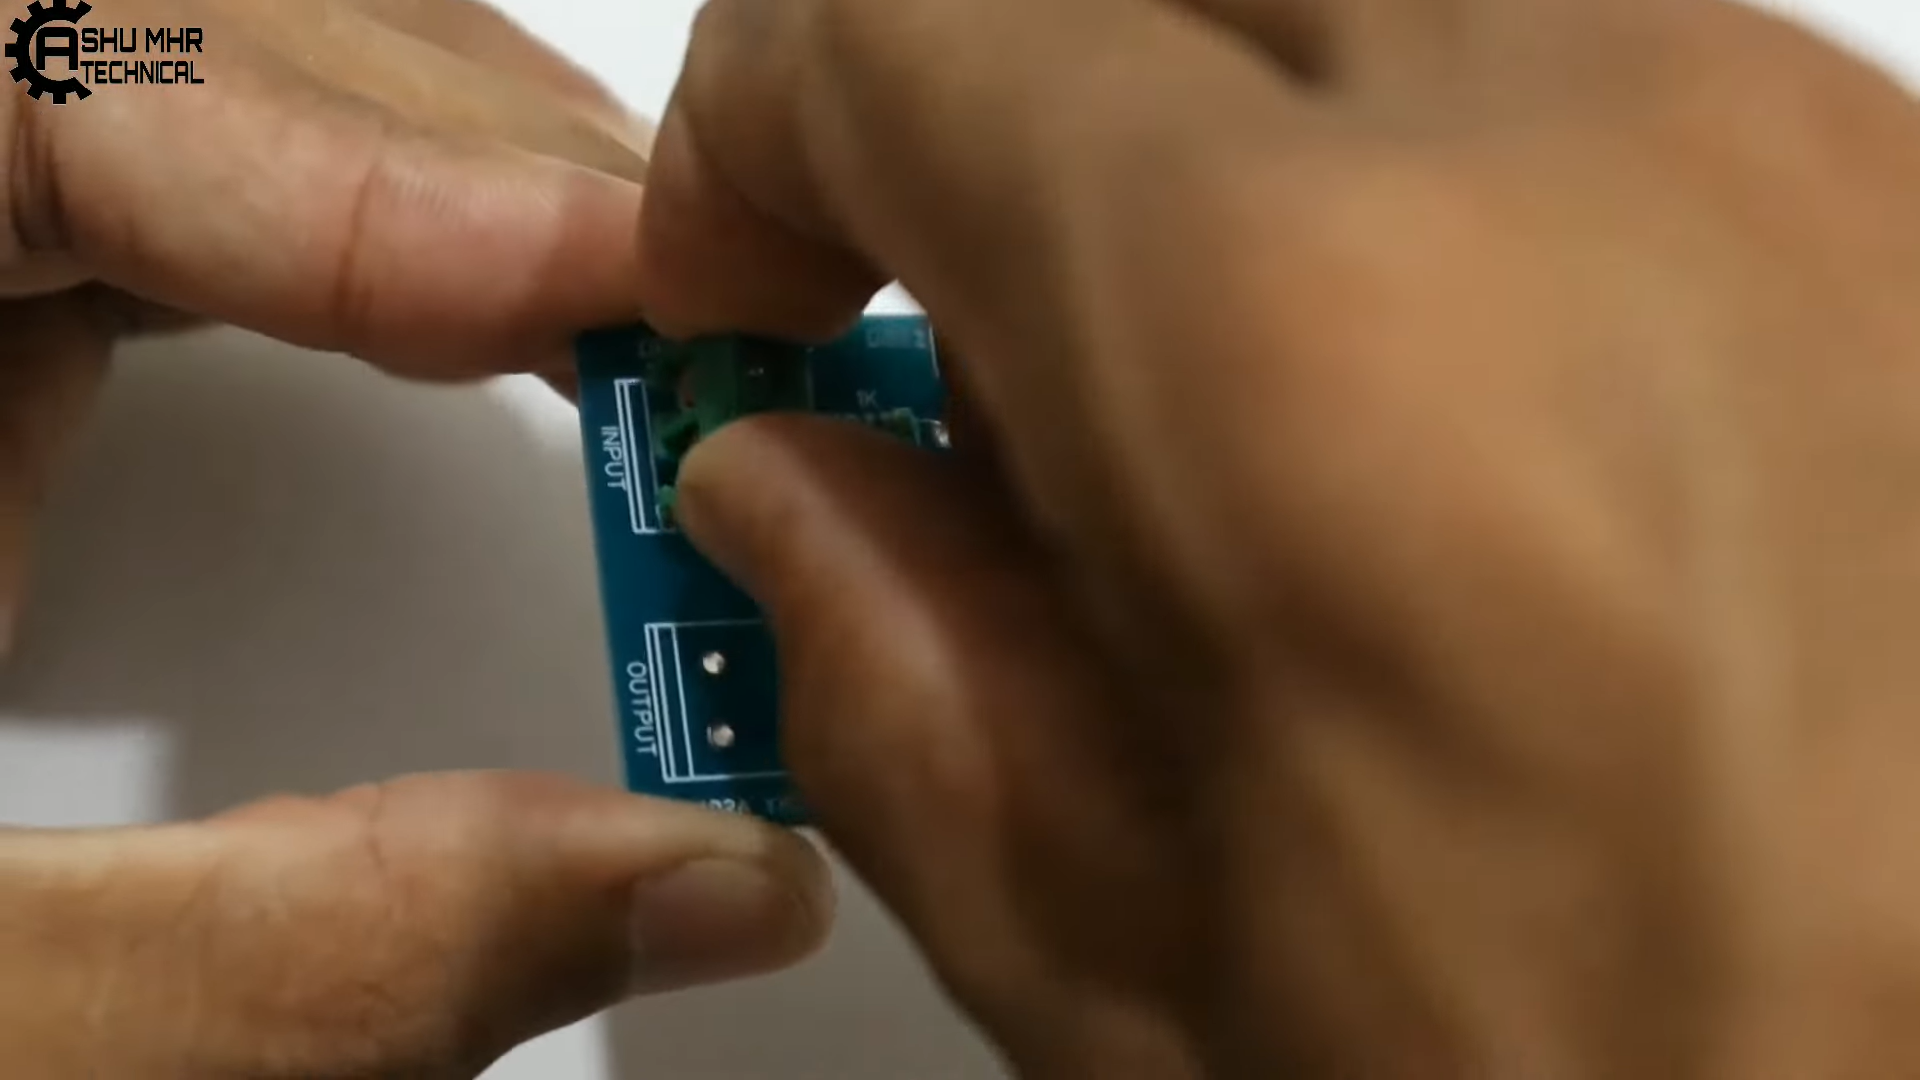
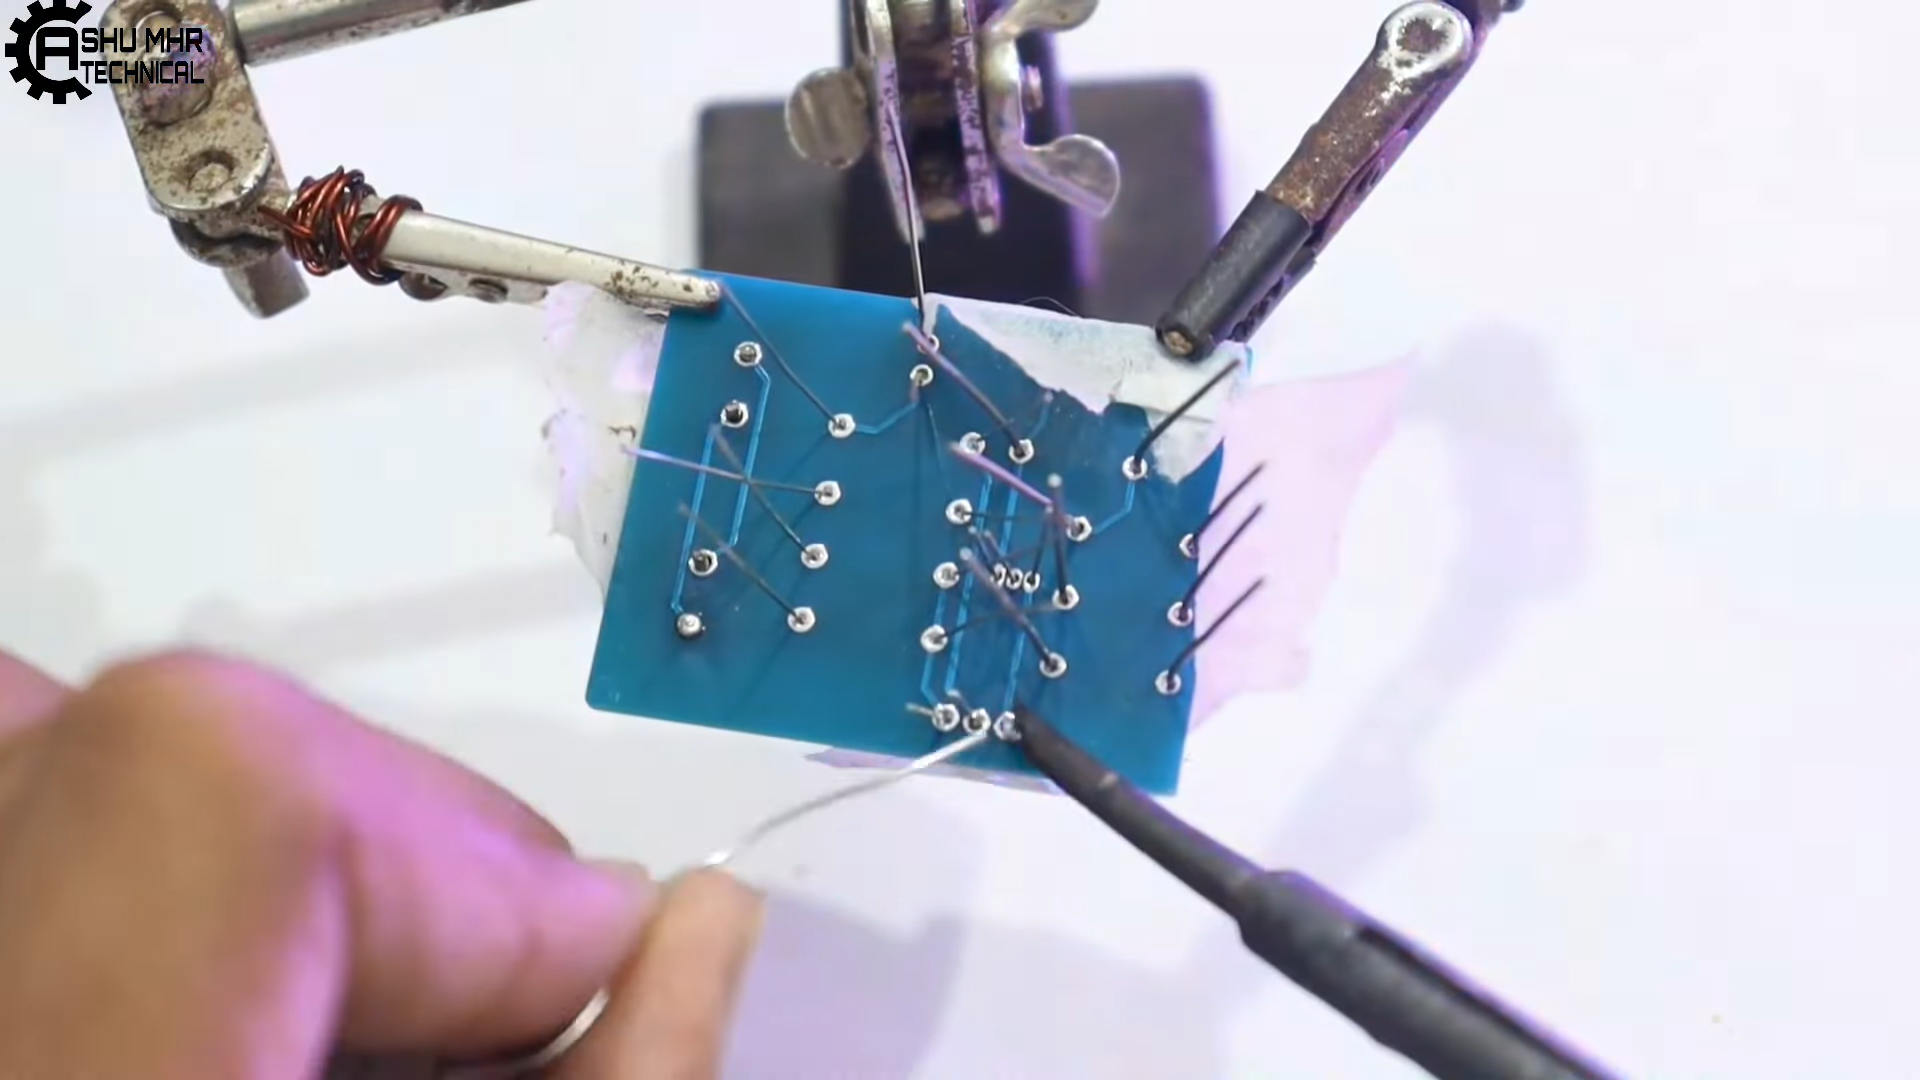
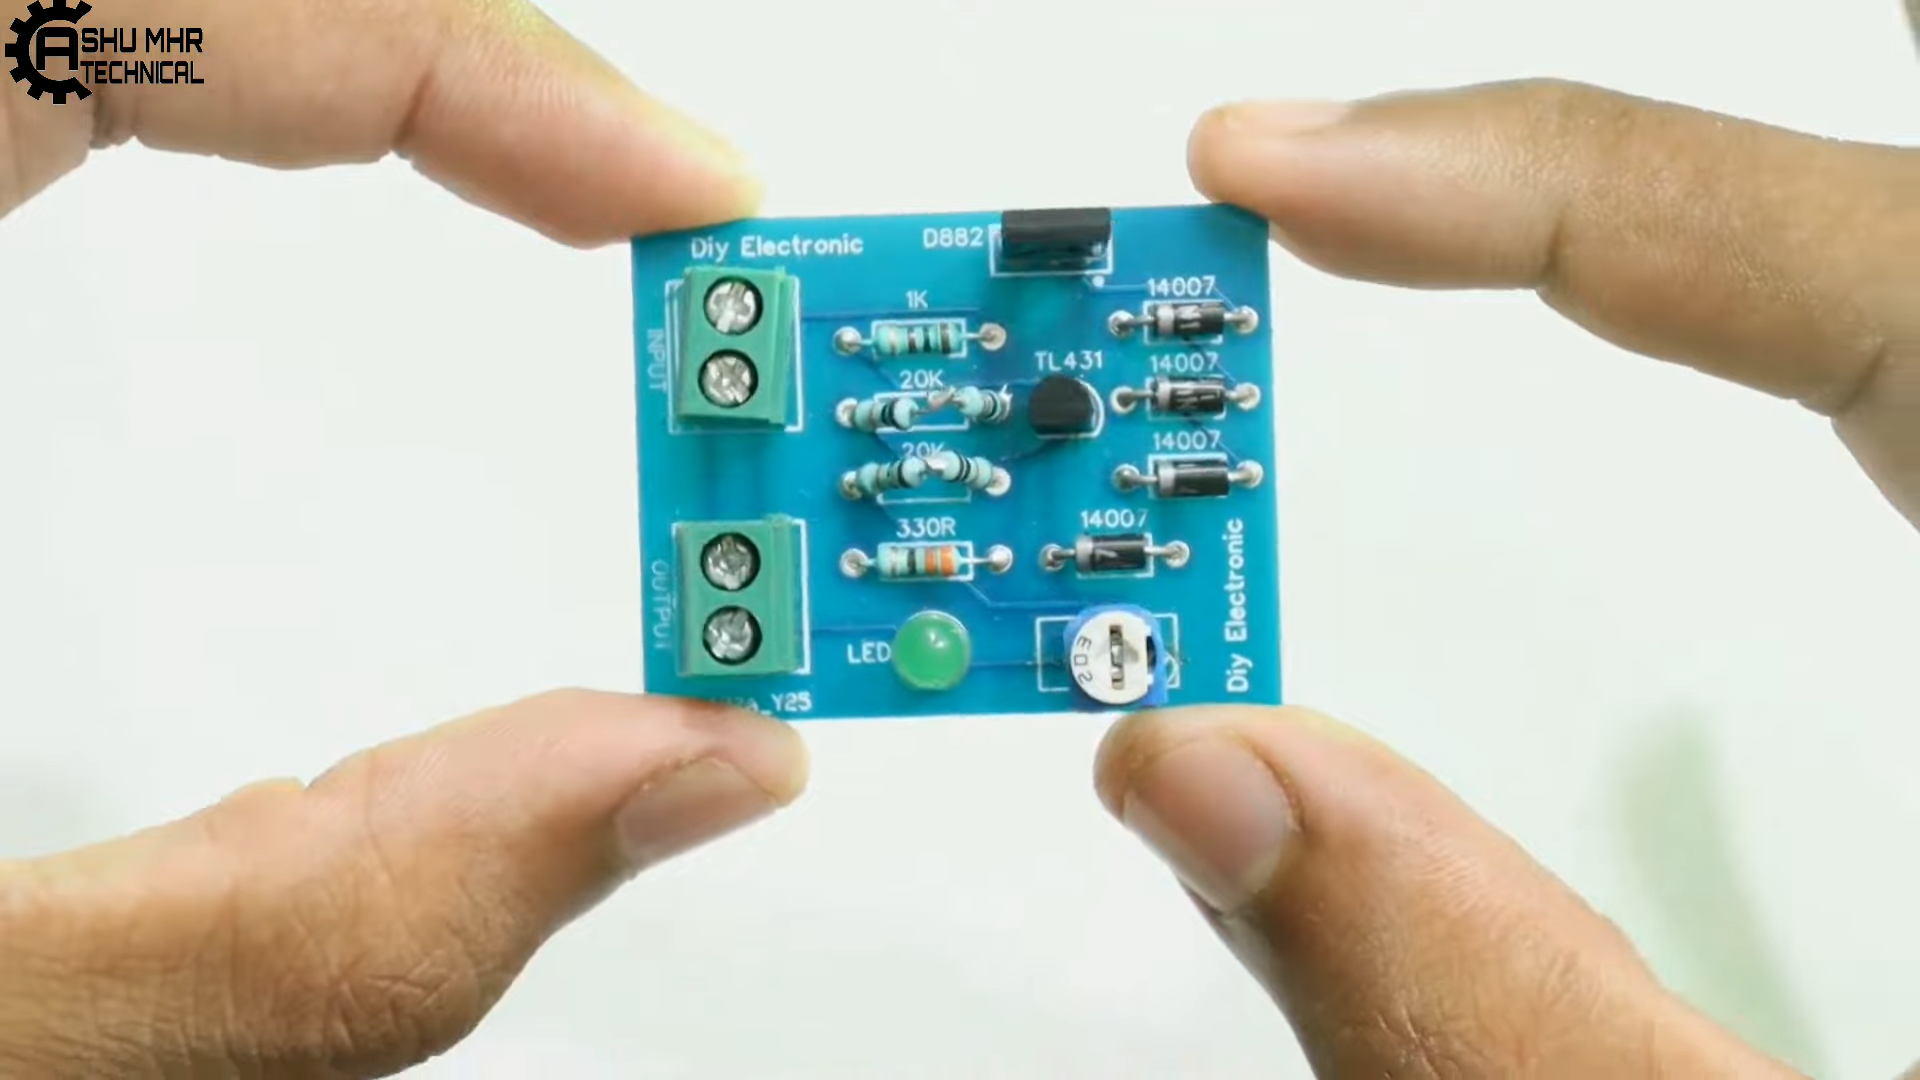
Here is the step by step process for making your own DIY 3.7v Battery Charger.


 Guis
Guis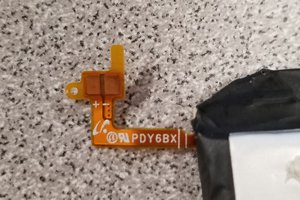
 Essentially Space
 Neal
Neal
 aosoresmorante