 WJCarpenter
Looking at available tiles is dizzying. There are several different materials, several common sizes, and unaccountably many colors or patterns. If it were easy or inexpensive to change out the tiles, I'd probably go with something pretty provocative and bold. Changing tiles is neither easy nor inexpensive, and I want this installation to last for decades without someone in the household (or prospective home buyers) wishing different choices had been made. The first thing I decided was that i would do a relatively conservative aesthetic design.
My next decision was about materials. After reading up on the pros and cons of ceramic versus porcelain, I decided to go with porcelain because the tiles themselves are waterproof. You pay a premium for porcelain compared to ceramic, but it's not a big price difference. The tooling for working with porcelain is also slightly more demanding, mandating a wet tile saw instead of a snap cutter.
A nice, safe aesthetic choice is Carrara marble. I mean, when in Rome.... As luck would have it, Home Depot's Carrara Polished Porcelain was among the least expensive at US$2 per square foot. They also have a lot of them in stock, so I can zoom over and grab a few if I need some more at the last minute. For a couple of different types of trim and accent (where price is much less important), I chose Lowe's Woods French Gray Glazed Porcelain Wood Look and Floor & Decor's Bianco Carrara polished marble tile. I'll be describing those trim and accent pieces in a later project log. Here's a photo of the actual tiles together.
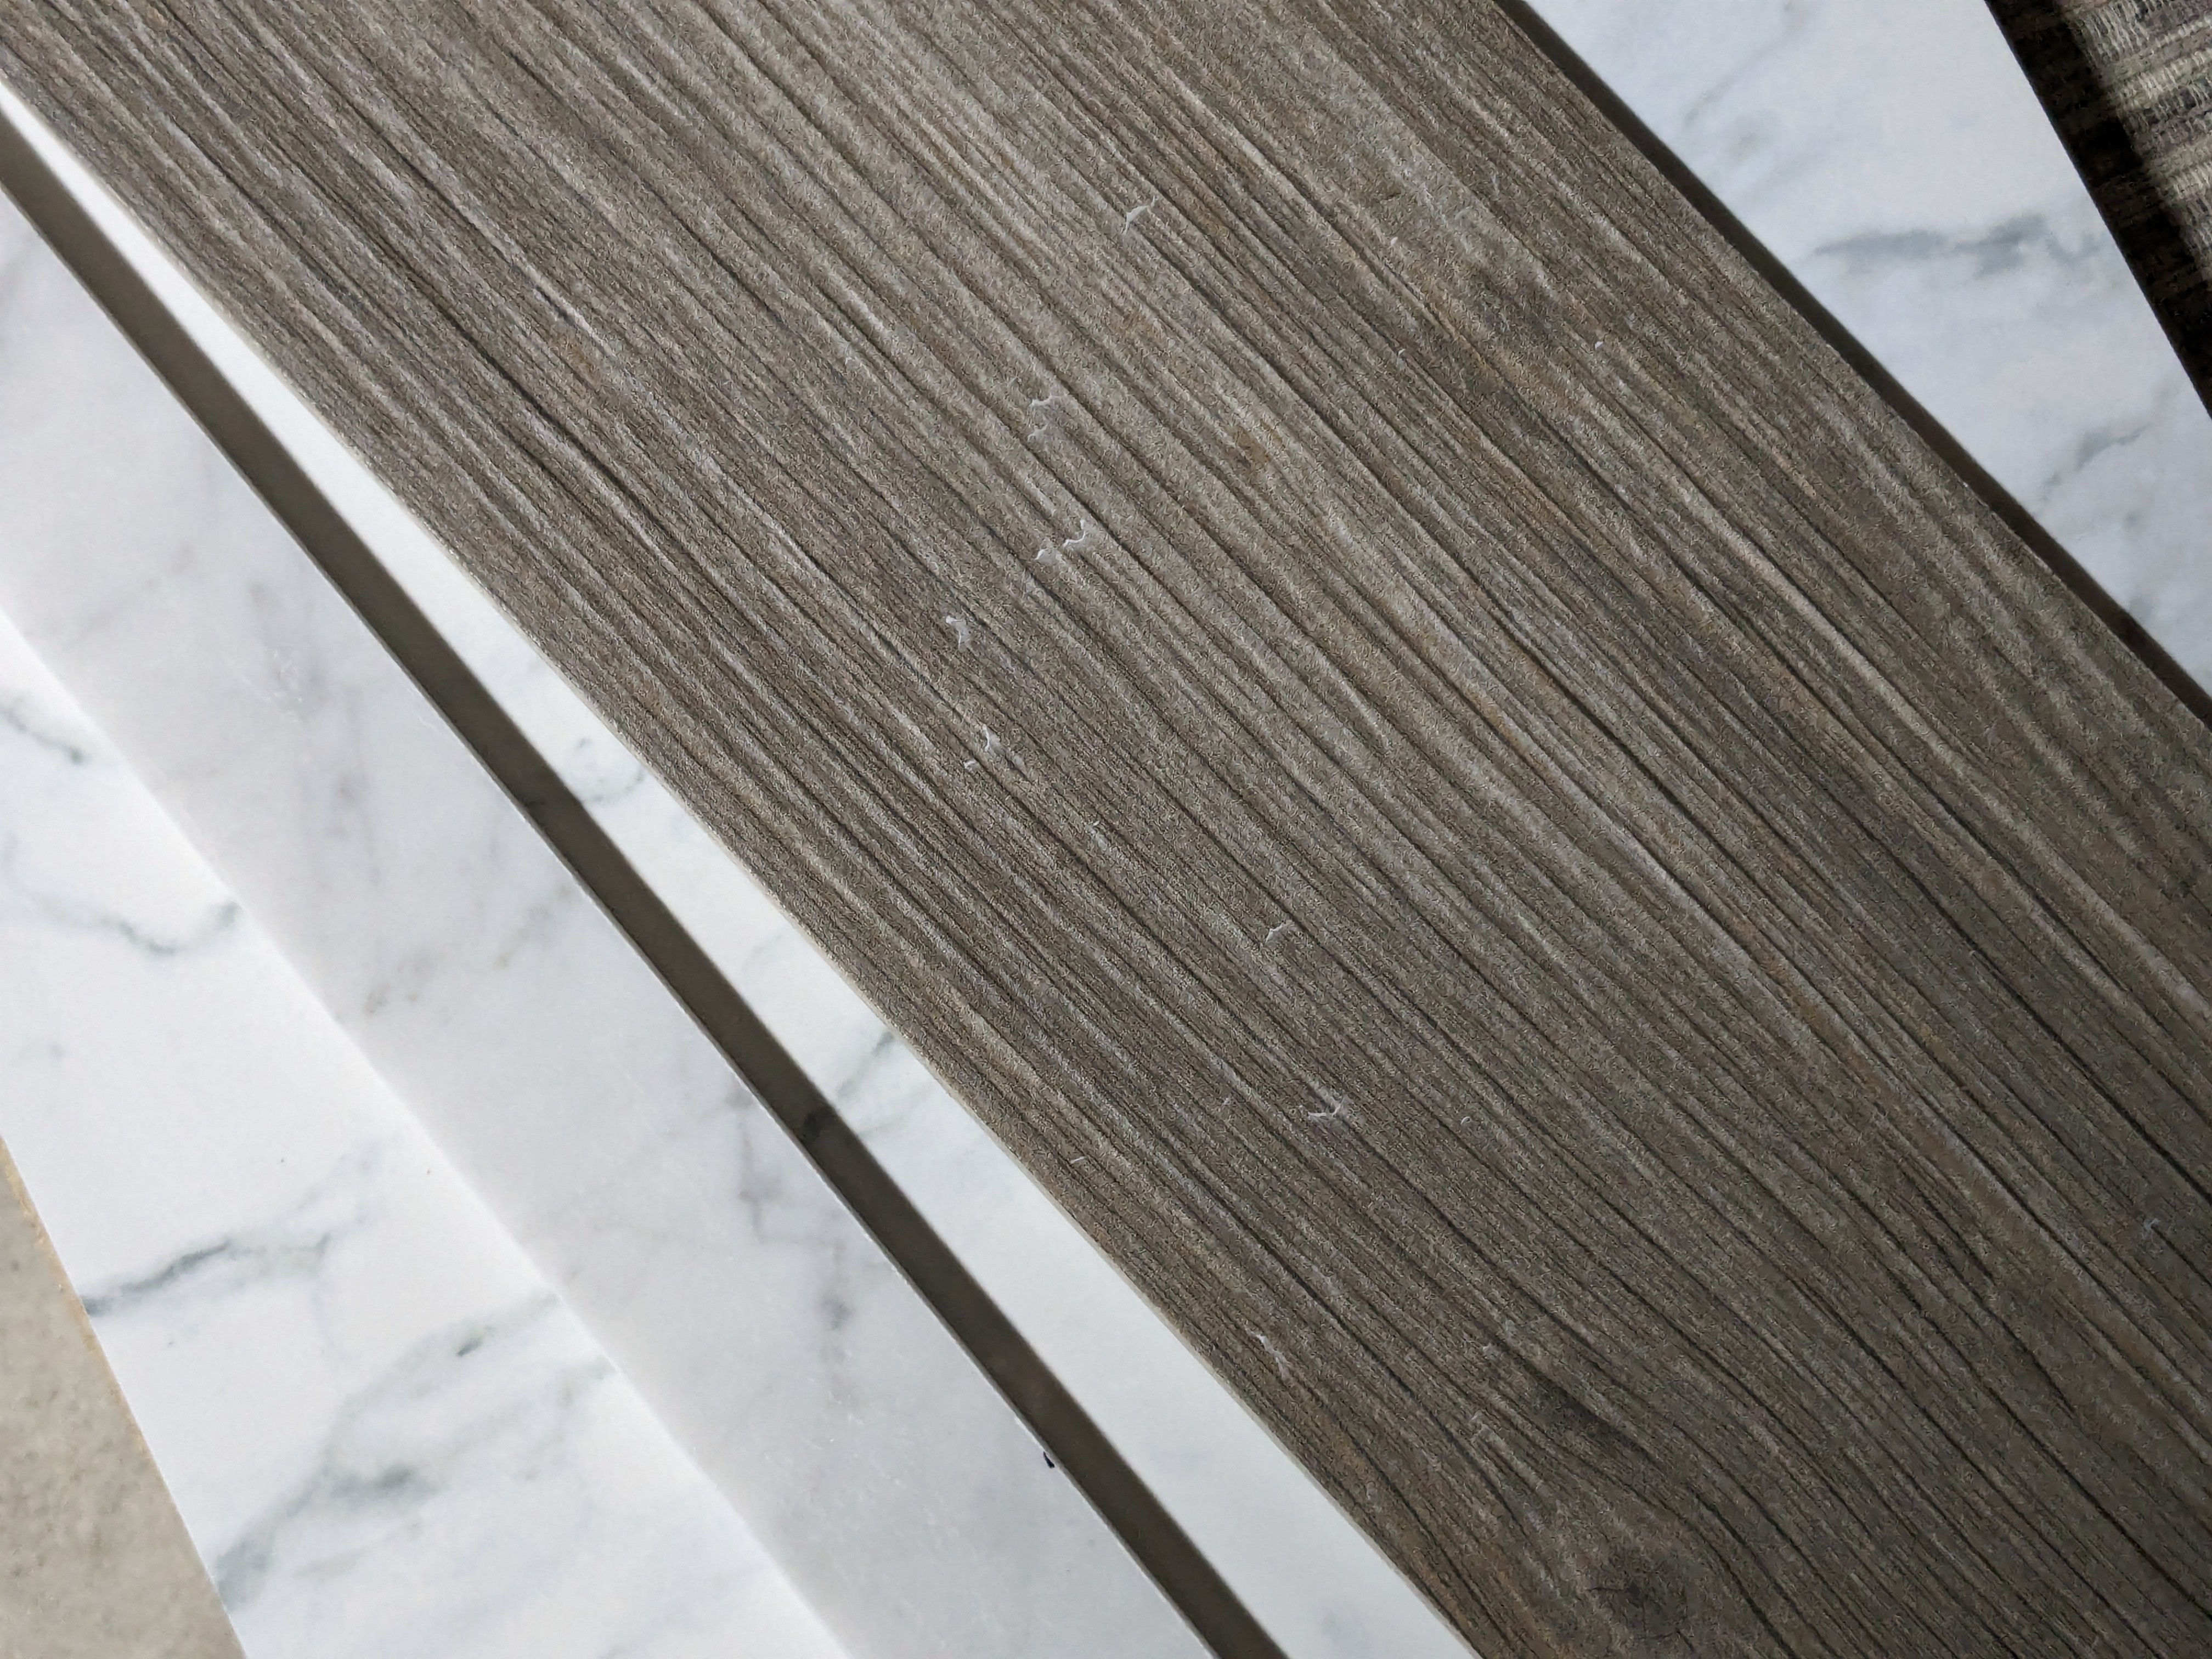
Carrara marble tiles are available as lots of different choices from any place that sells tile. For the main tiles, I chose the polished porcelain surface after we compared it to some matte and glazed finishes. For the tile size, I decided on 12x24 inch tiles. Large format tiles (LFT) are trendy, but I also didn't want to be fiddling with millions of smaller tiles. Smaller tiles would increase the chances of exposing my inexperienced workmanship. The tiles weigh a little under 8.5 pounds each, which is tolerable for working with them. A case of them weighs about 70 pounds, which is kind of a pain in the, uh, shoulders, to lug around.
Industry guidance and conventional wisdom for LFT is that you shouldn't use the common 50% overlap pattern from row to row. The reason for that is because of the realities of tile manufacture. Physics dictates that the center of the tile cools differently than the edges, and that results in a slight bow. The middle of the long edge of the tile is a bit raised up compared to the ends. The 50% overlap pattern puts the middle of one tile next to the ends of two other tiles, maximizing the height difference, or "lippage" as it's called in the tile game. The recommendation is to have at most a 1/3 overlap pattern. I sketched out a couple of patterns on graph paper, and I'm planning to go ahead with the 50% overlap pattern anyhow. When I examined a few of the actual 12x24 tiles I'll be using, the difference was hard to detect. These will be on walls, where the lippage factor is somewhat less important than on floor tiles. I also believe the 50% pattern will give me fewer tile cuts compared to the 1/3 pattern (but I'm not completely sure about that, and cuts might be dominated by my own workmanship goofs).
Update: I forgot to mention one other piece of tiling (because I hadn't decided about it when I wrote this project log item). I've shown it in later project logs n some photos as the bottom edge of the niches. It's a white manufactured stone product, Satori White Cotton Polished Sill. They're a brighter white in person than in this photo (and they are also covered with a protective plastic film).
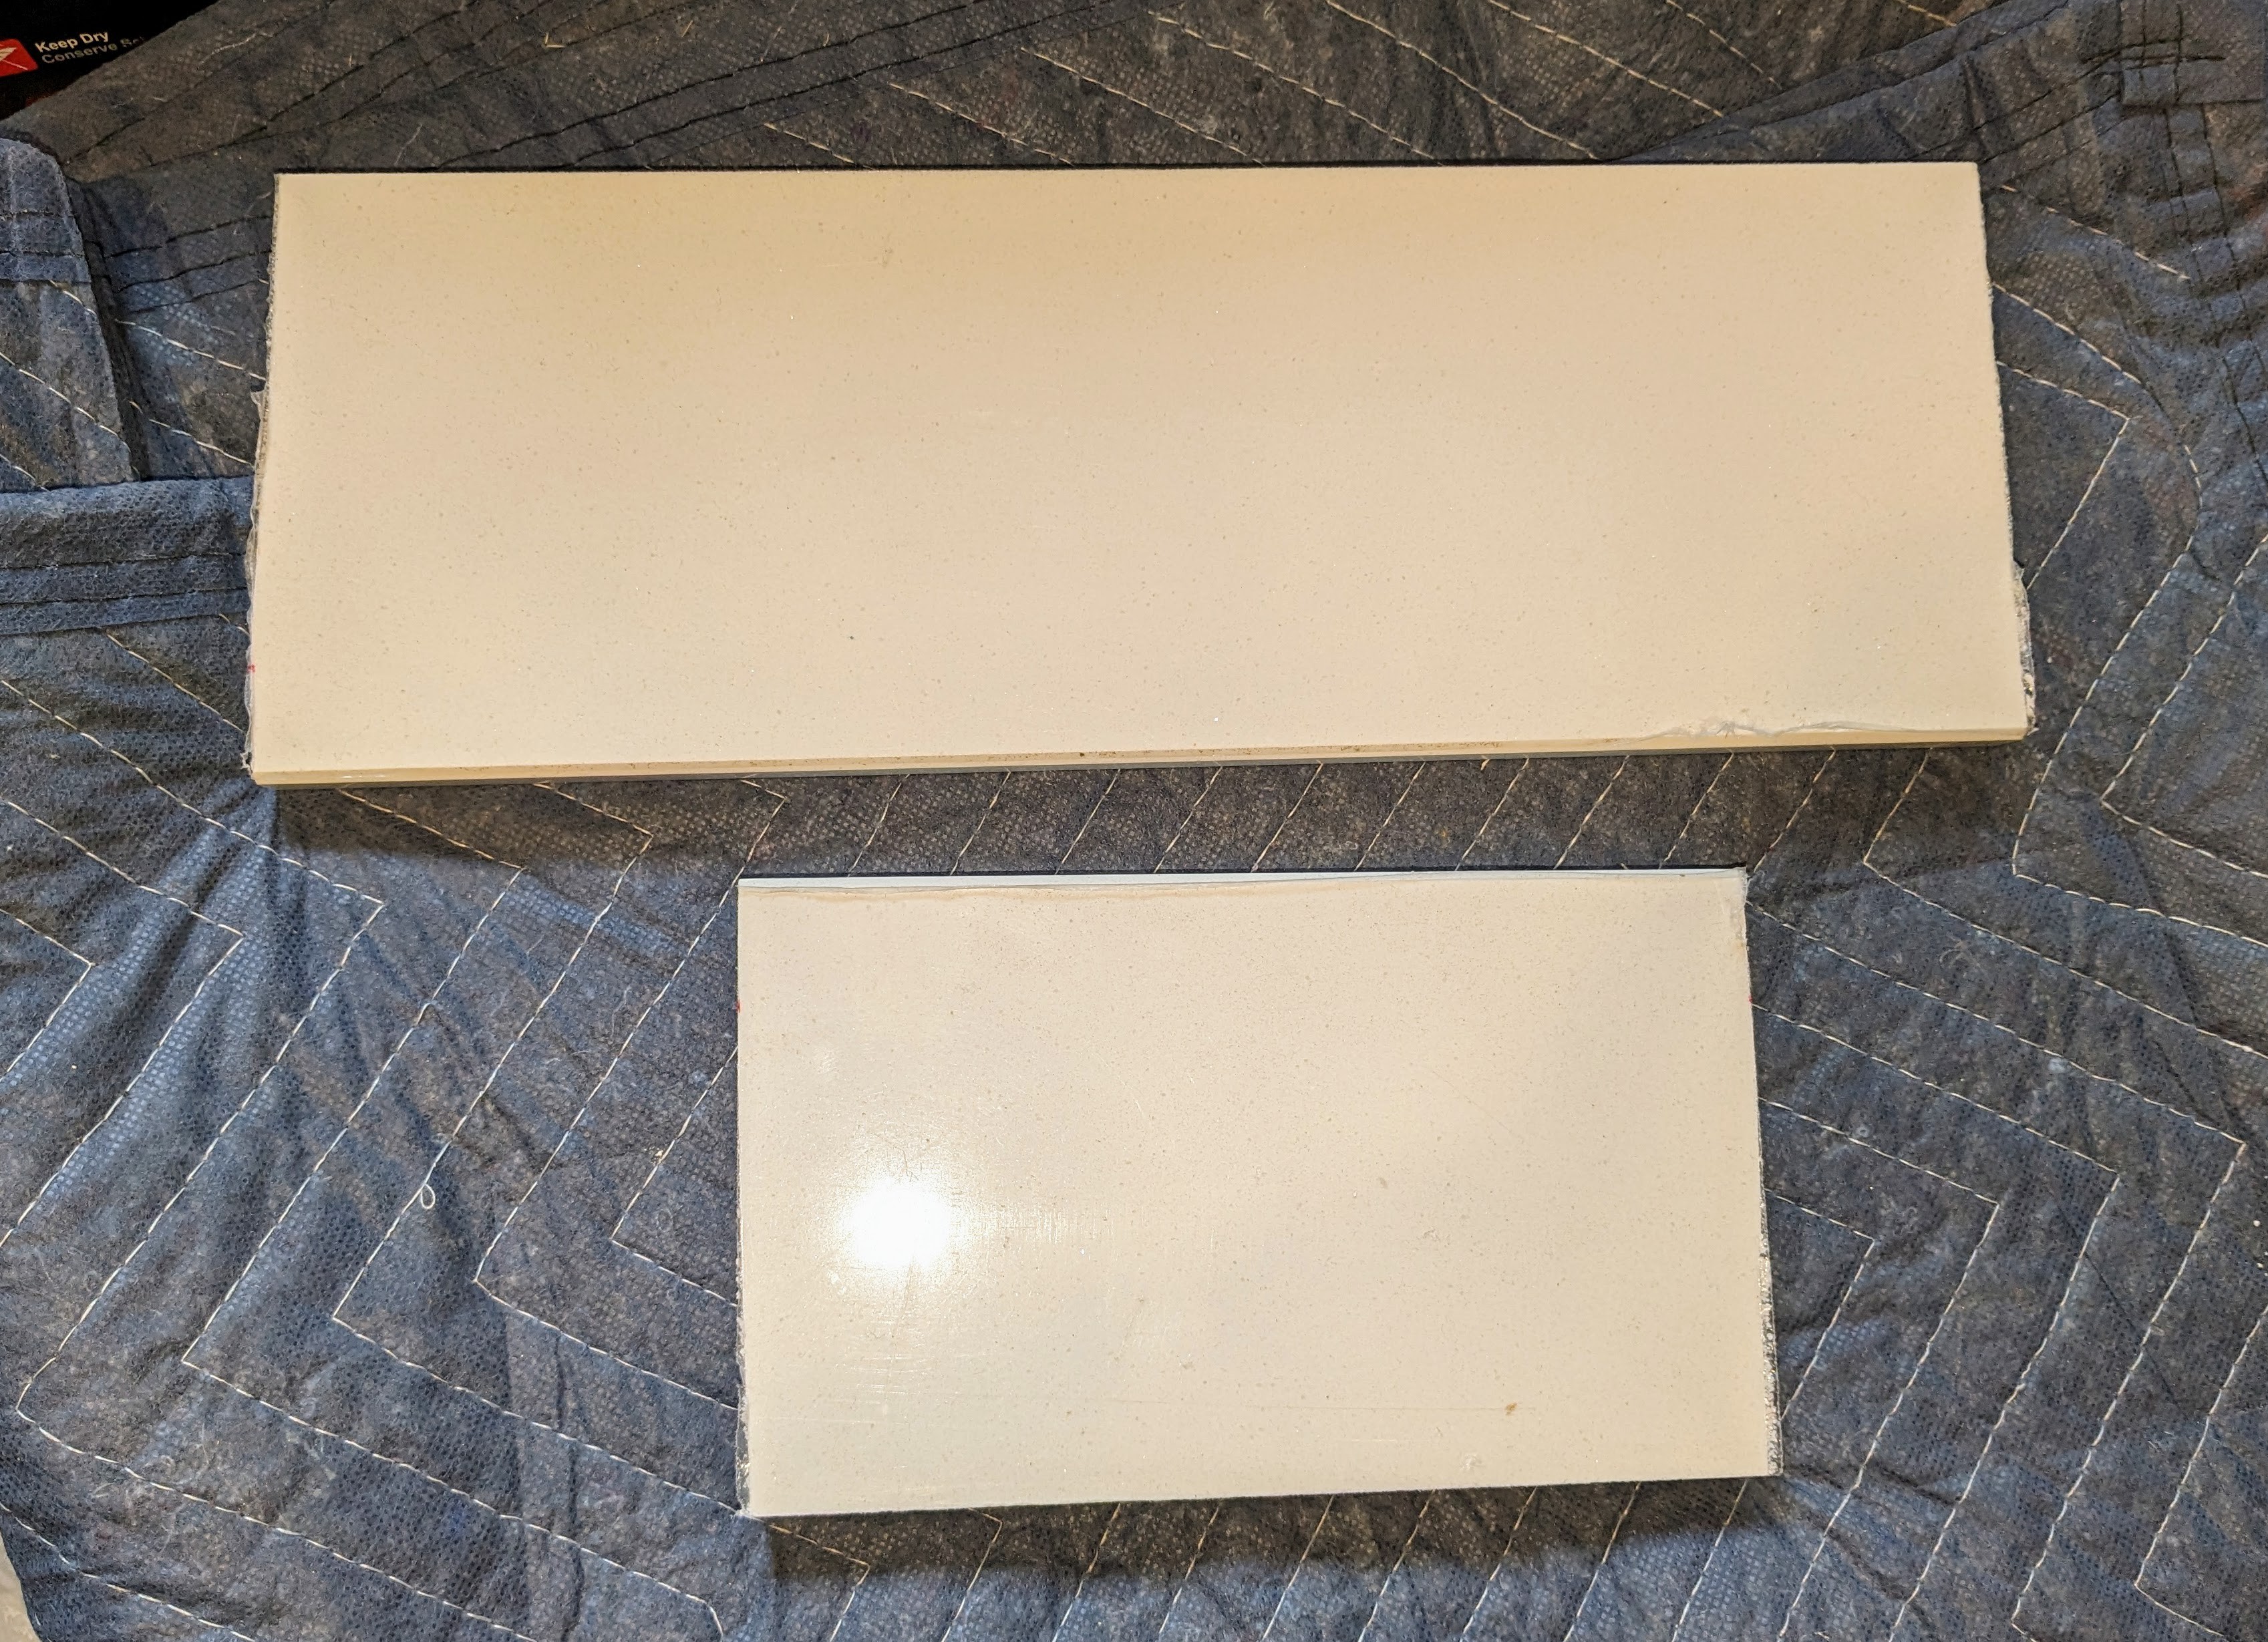
A friend of mine had some left over from an unrelated project, and there was enough in his generously donated scrap to make both pieces I needed. That clean white color looks fine next to my marble tiles. However, in tracking it down online, I discovered that there is a Carrara marble variation that wasn't in stock at the Lowes where I was window-shopping for trim. It is available in some other nearby stores, so I'm going to have a look at that and see if I like it better. (Of course, I must weight that against using the current pieces that I got absolutely free.)
Update: I used up all of the usable pieces of the Bianco Carrara polished marble tile in doing the trims for the niches. Since I plan to re-do those trims, I had a re-think about whether to use that same marble tile for the re-do. I was also planning to use those tiles as the edge trim for the two walls with exposed edges. Here's my current thinking.
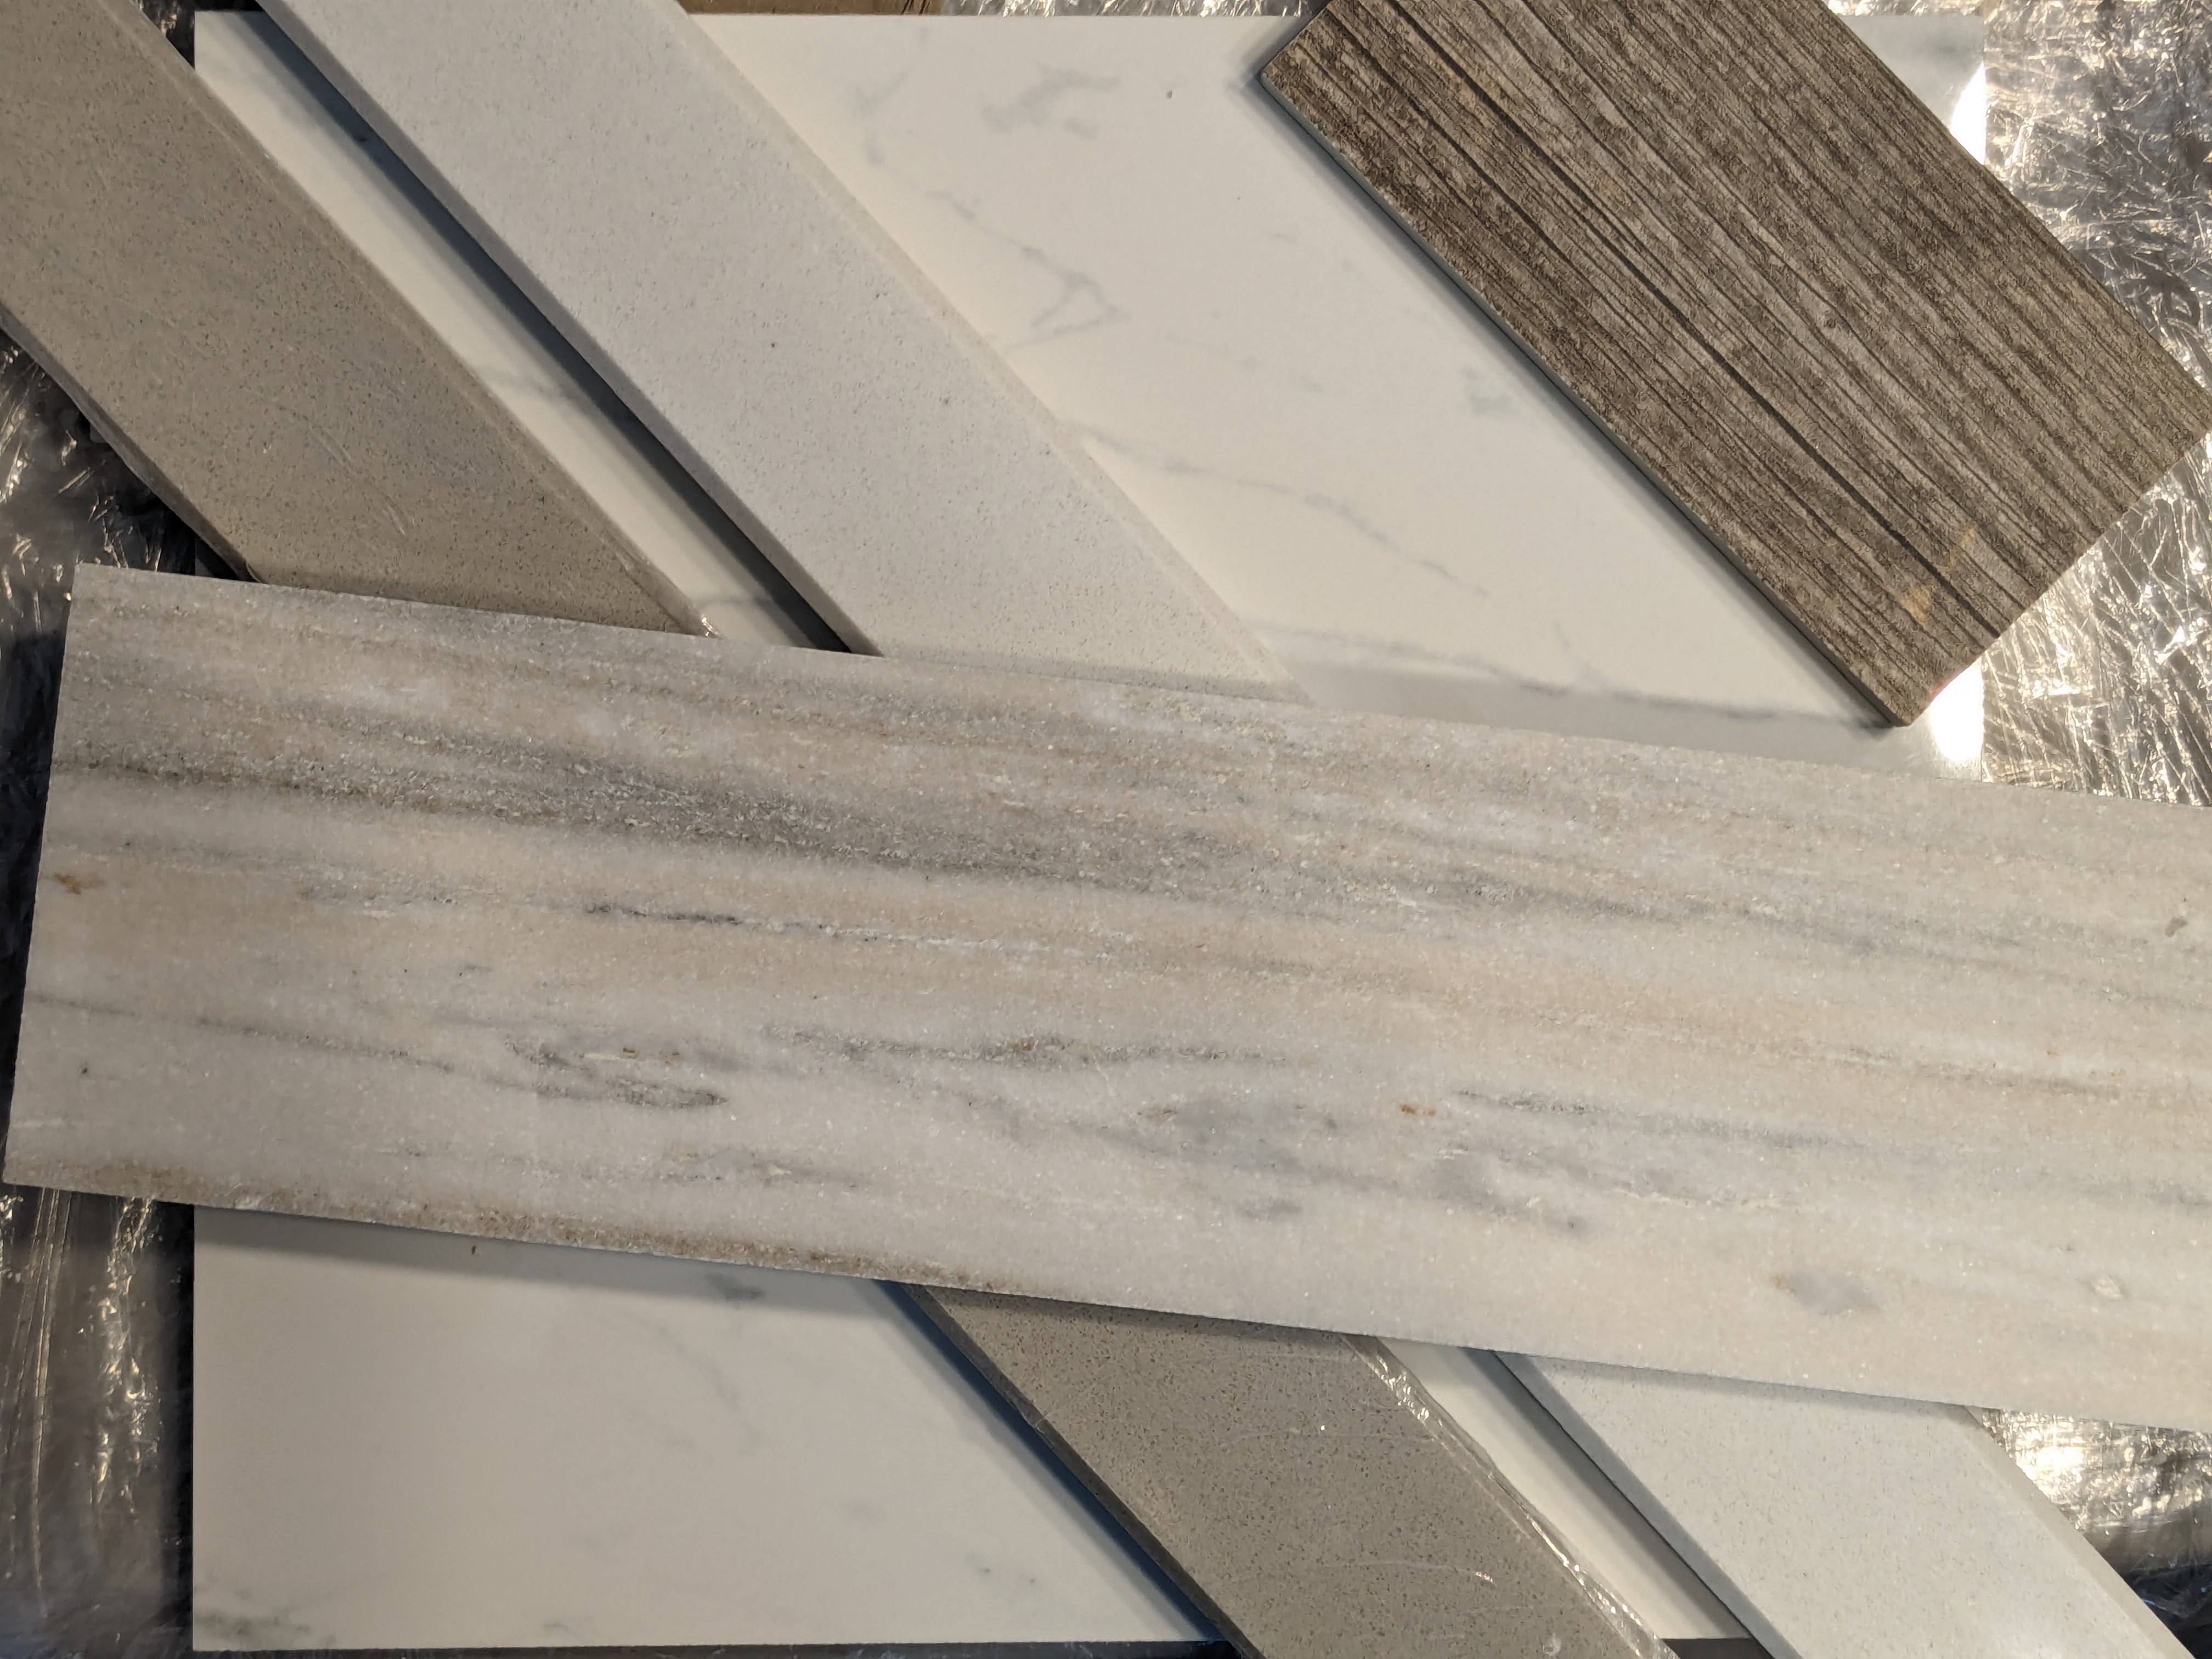
Underneath it all is the Carrara polished porcelain that is the main tile for the project. In the upper right is the wood-look porcelain tile that I used for the back wall of the niches and the shower tower. No changes there.
The two long, narrow pieces in the middle layer of the cake are engineered stone thresholds sized 2x36 inches. The white one is from Home Depot and the gray one is from Floor and Decor (called "Ash Grey", SKU 100584259, but for some reason it doesn't show up on their web site; my local store had a bunch in stock). I bought both so I could compare them to tiles in the light in the bathroom I'm working in. I've decided to go with the ash grey one and will use that for the tile edge trim on the exposed walls. My nominally 8 foot walls are actually closer to 7.5 feet, so I will need 5 or 6 pieces for edge trim.
The sandy looking piece on top is Maravilla GOLDEN VALLEY HONED MARBLE TILE. I stumbled across that while window-shopping for trim pieces for my niches. Its combination of white, brown, and gray tones goes pretty well with the other three tile choices. As a bonus, the tiles are 16 inches long, so I should be able to do all four sides of the larger niche withoutt needing multiple pieces on each side. I think that will look a lot better. The tiles are 4 inches wide, and the gaps for my niche trims are in the neighborhood of 1.75 inches, so I should be able to do them all with just four tiles if I don't goof up too much.
Discussions
Become a Hackaday.io Member
Create an account to leave a comment. Already have an account? Log In.