 WJCarpenter
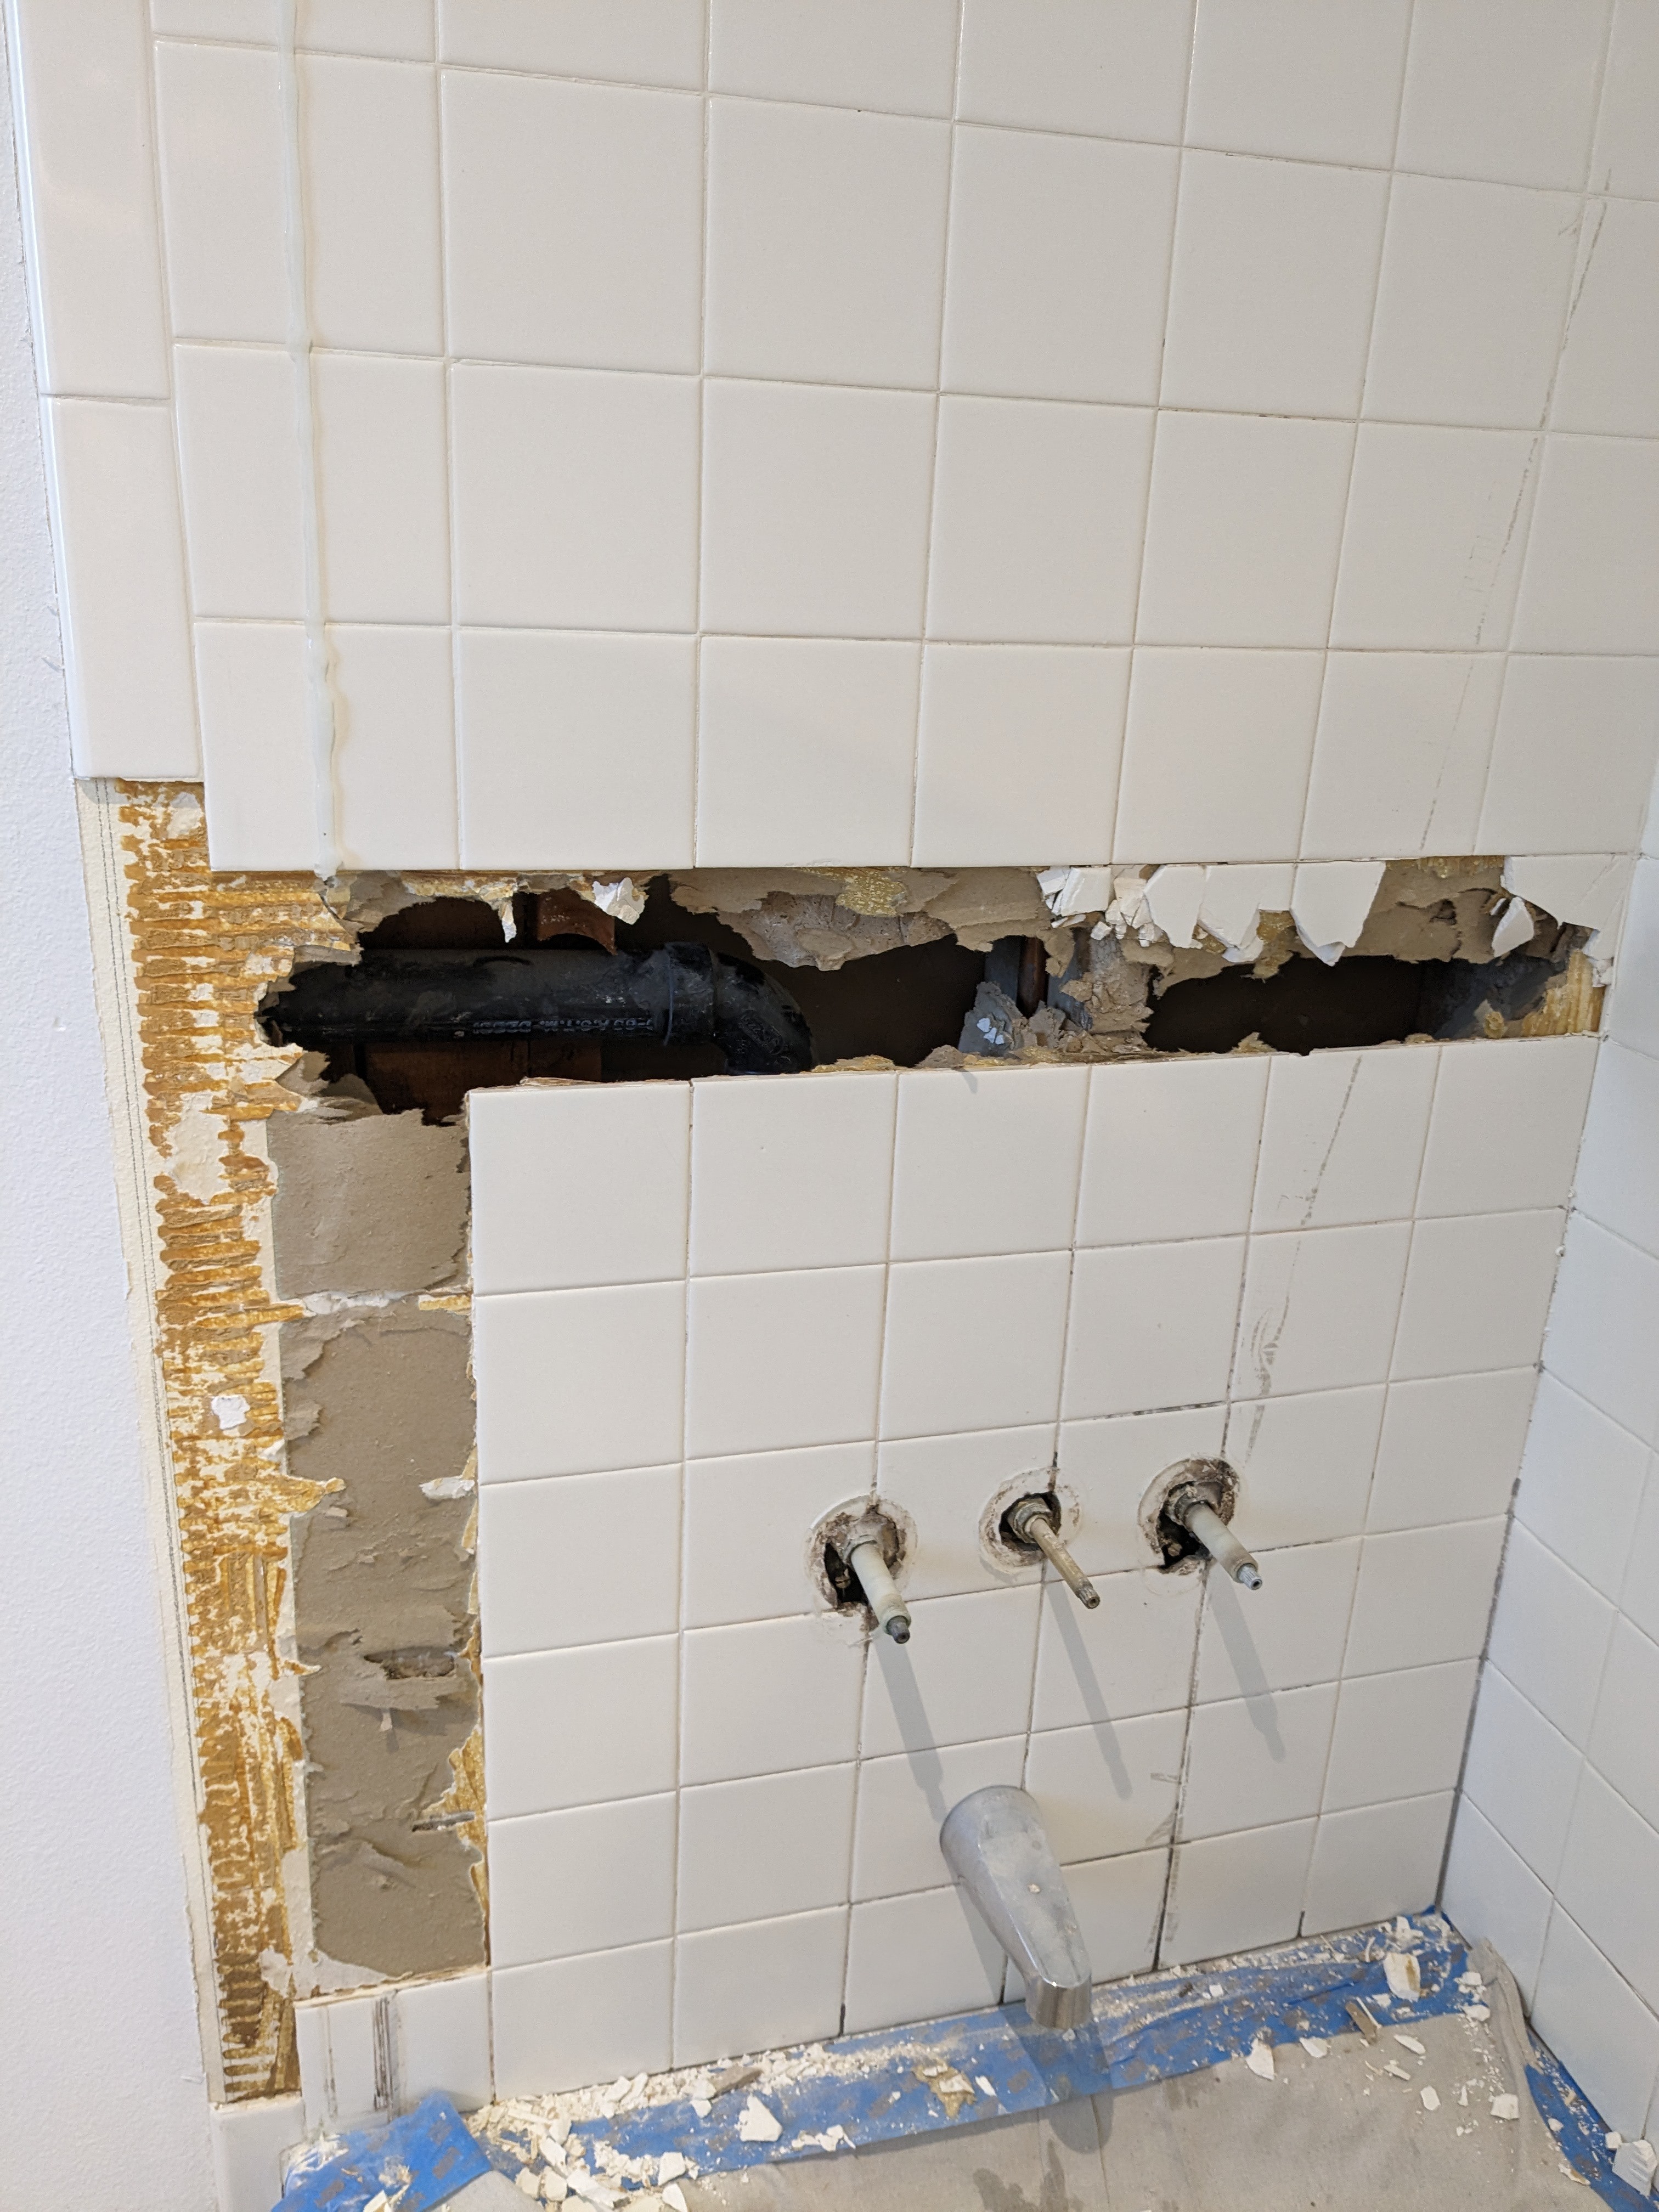
Or, rather, the day of. This is how it starts:
And this is how it (almost) ends:
I still have to take the backing off the other two walls and then trim up all around.
I found out some interesting things during demolition.
- First of all, as far as I can tell, it looks like the backing is ordinary drywall. The tiling was done 30-40 years ago. I don't know if using drywall was acceptable for code back then, but it definitely isn't OK these days. Ugh.
- You can see in the first picture that I started with the recommended method of taking out huge chunks of backing with the old tiles still attached. After I broke up that initial row with my hammer, I changed my mind and removed all the individual tiles with a hammer and a small pry bar. That went pretty smoothly and quickly, and most of the tiles came off intact. Maybe 10-20% broke, either when pried or when dropped to the floor. I'm going to try to see if I can find someone who wants those used unbroken tiles; otherwise, they go to the landfill with the other construction waste. Our county has a strong recycling program for construction debris, but it's oriented to contractors. There's not a useful way for individual homeowners to get in on it.
- Tiles are heavy when they gather together in groups. I guess I knew that already.
- The current faucet (Price-Pfister) does have integrated stop valves. Although I've done repair work on them before, I never noticed that. The stops were hidden behind some blobs of plumbing putty.
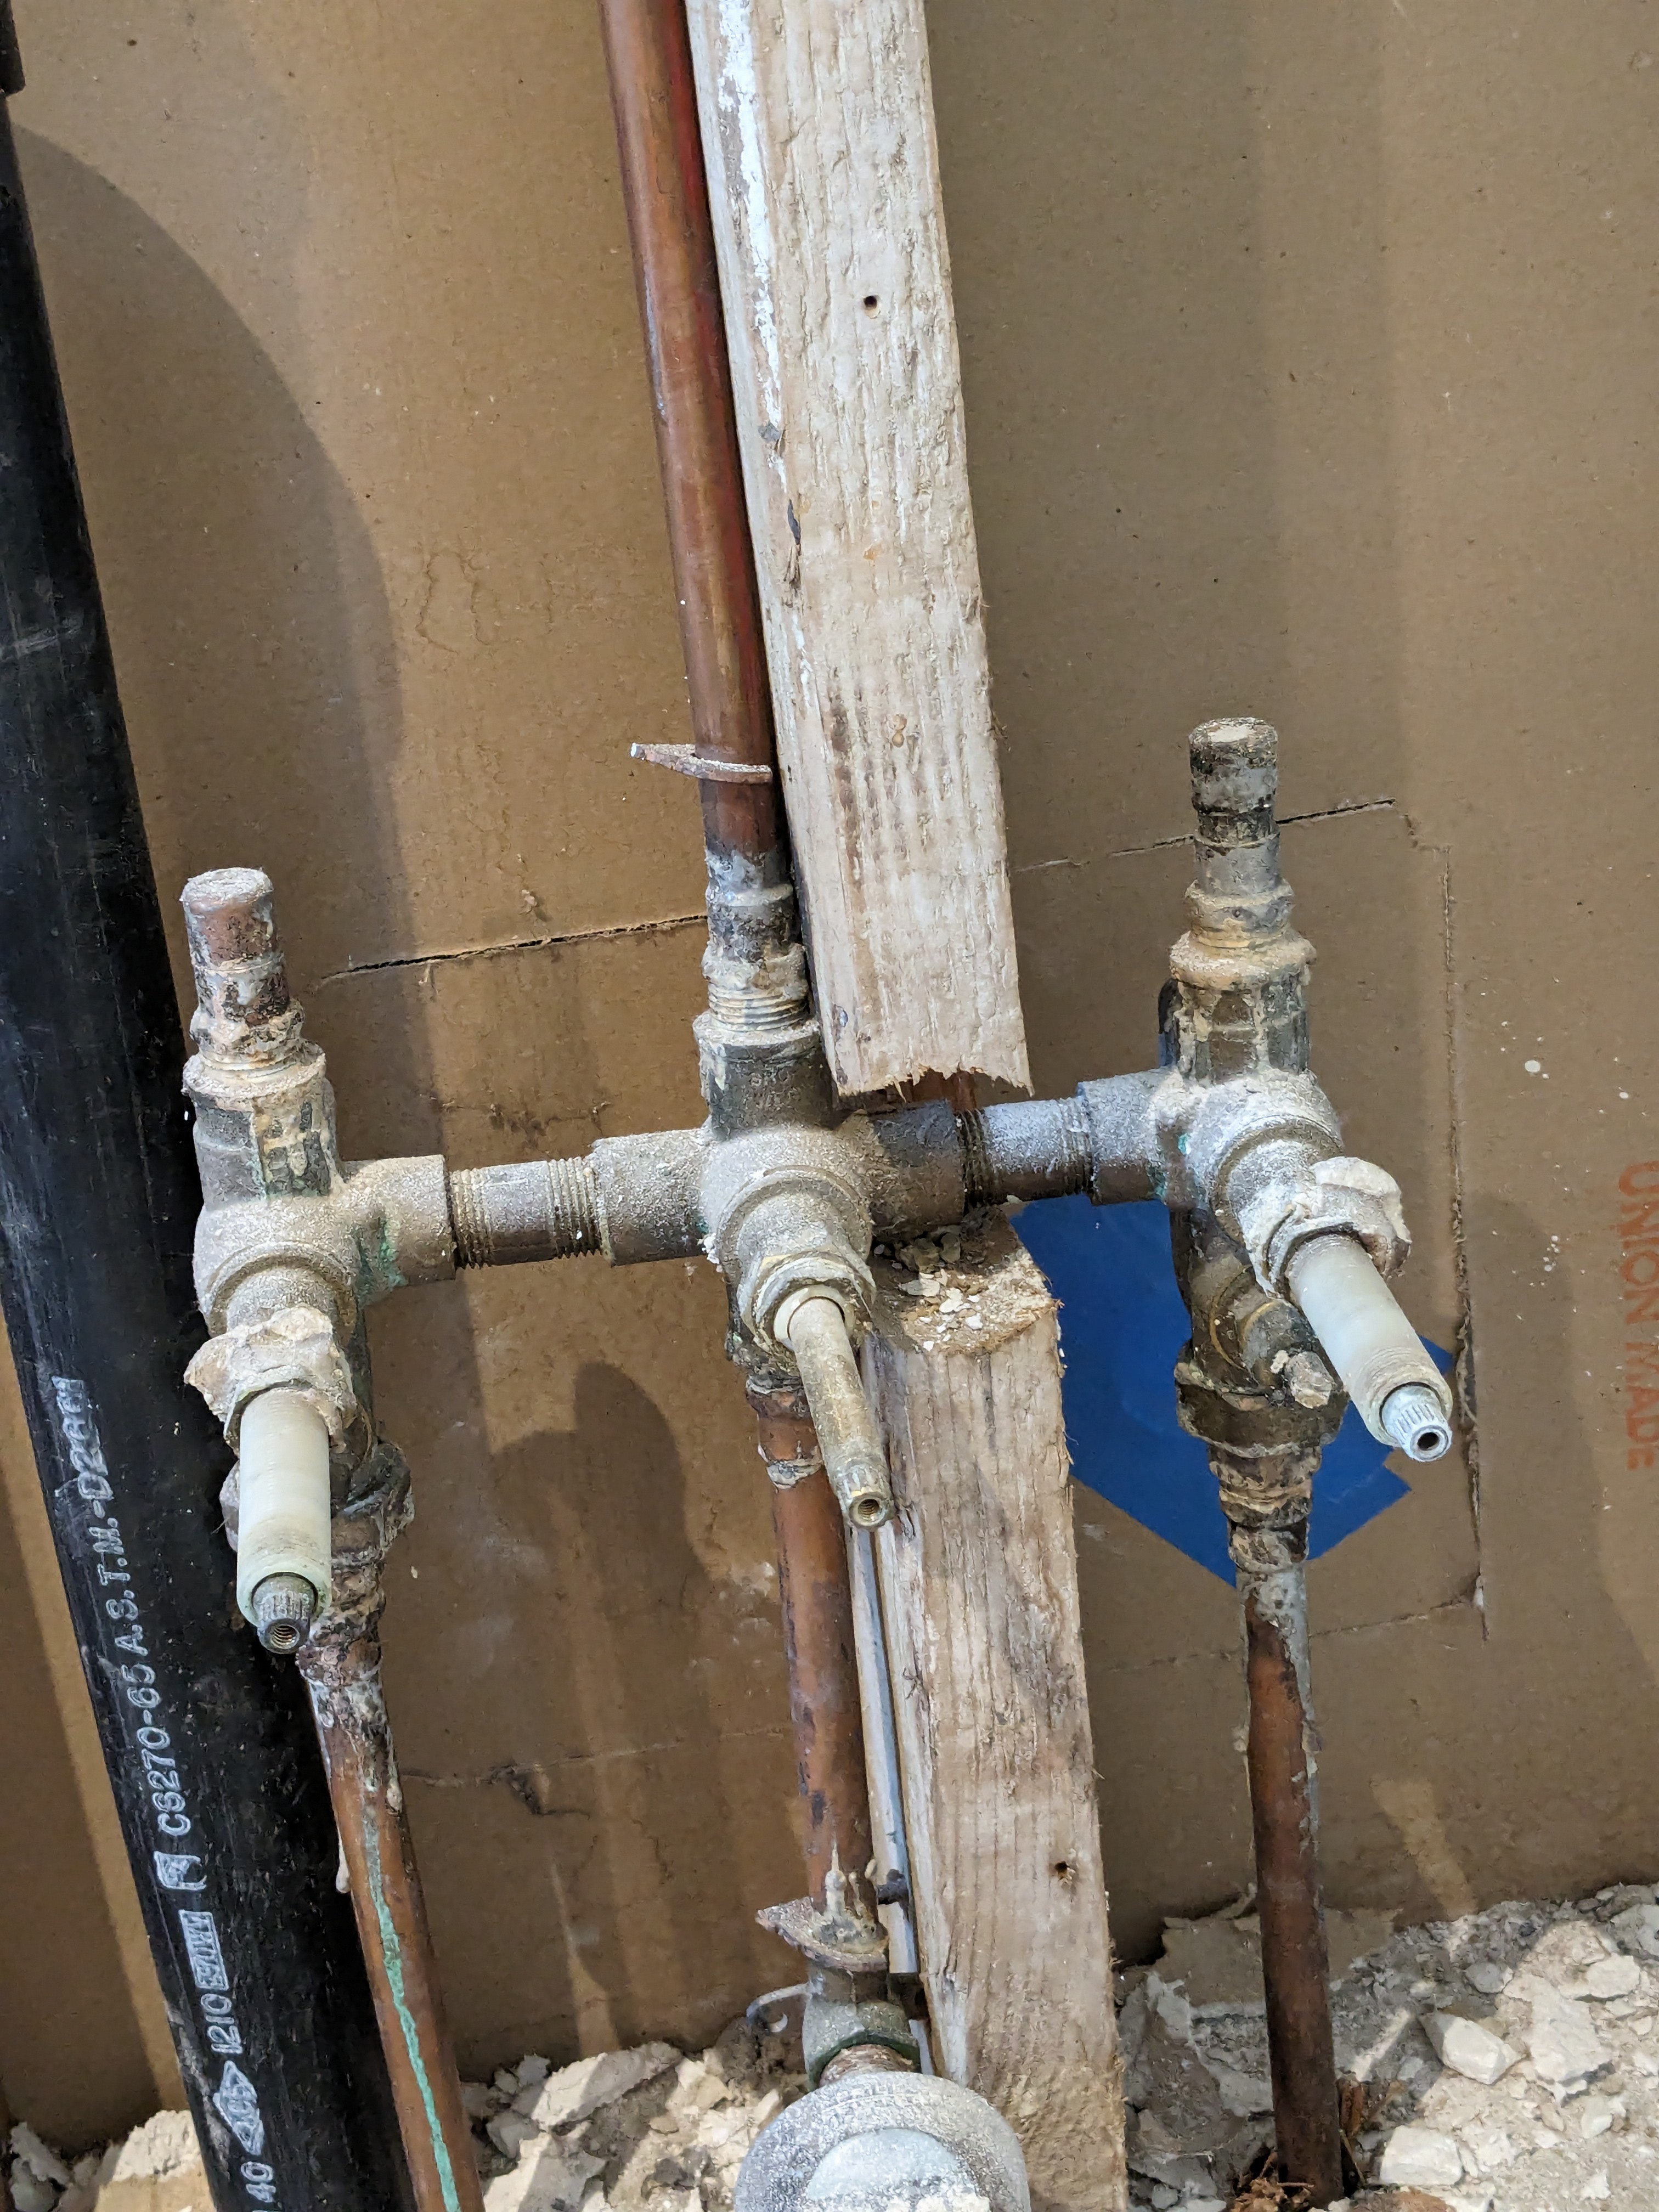
- I was a bit surprised that the plumbing wall is framed with 2x6 studs instead of 2x4. That suggests that it might be a load-bearing wall, though it doesn't run further than that corner, which is the back wall of the tub. One of those 2x6 studs has a pretty hefty notch in it (see the next photo below). I guess it has been OK for 30-40 years, so I'll just be sure to not make it worse.
Once I got a good look at the plumbing behind the wall, I changed my mind about doing it myself. The arrangement of supply pipes tangled up with framing studs looks like a tricky business. I've scheduled a plumber to come and estimate swapping it out for me. Unless the estimate is for an arm and a leg, I'll let them do it.
UPDATE: The estimate was for an arm and a leg, so I'm back to doing the plumbing connections myself. In my original fantasy plan, that was going to be among the first things I did so it would be out of the way. Now that I need to think about it a bit, I'll delay it for a day or three to make sure I'm happy with my plan.
Update: Here's a look at things after I tidied up a bit.
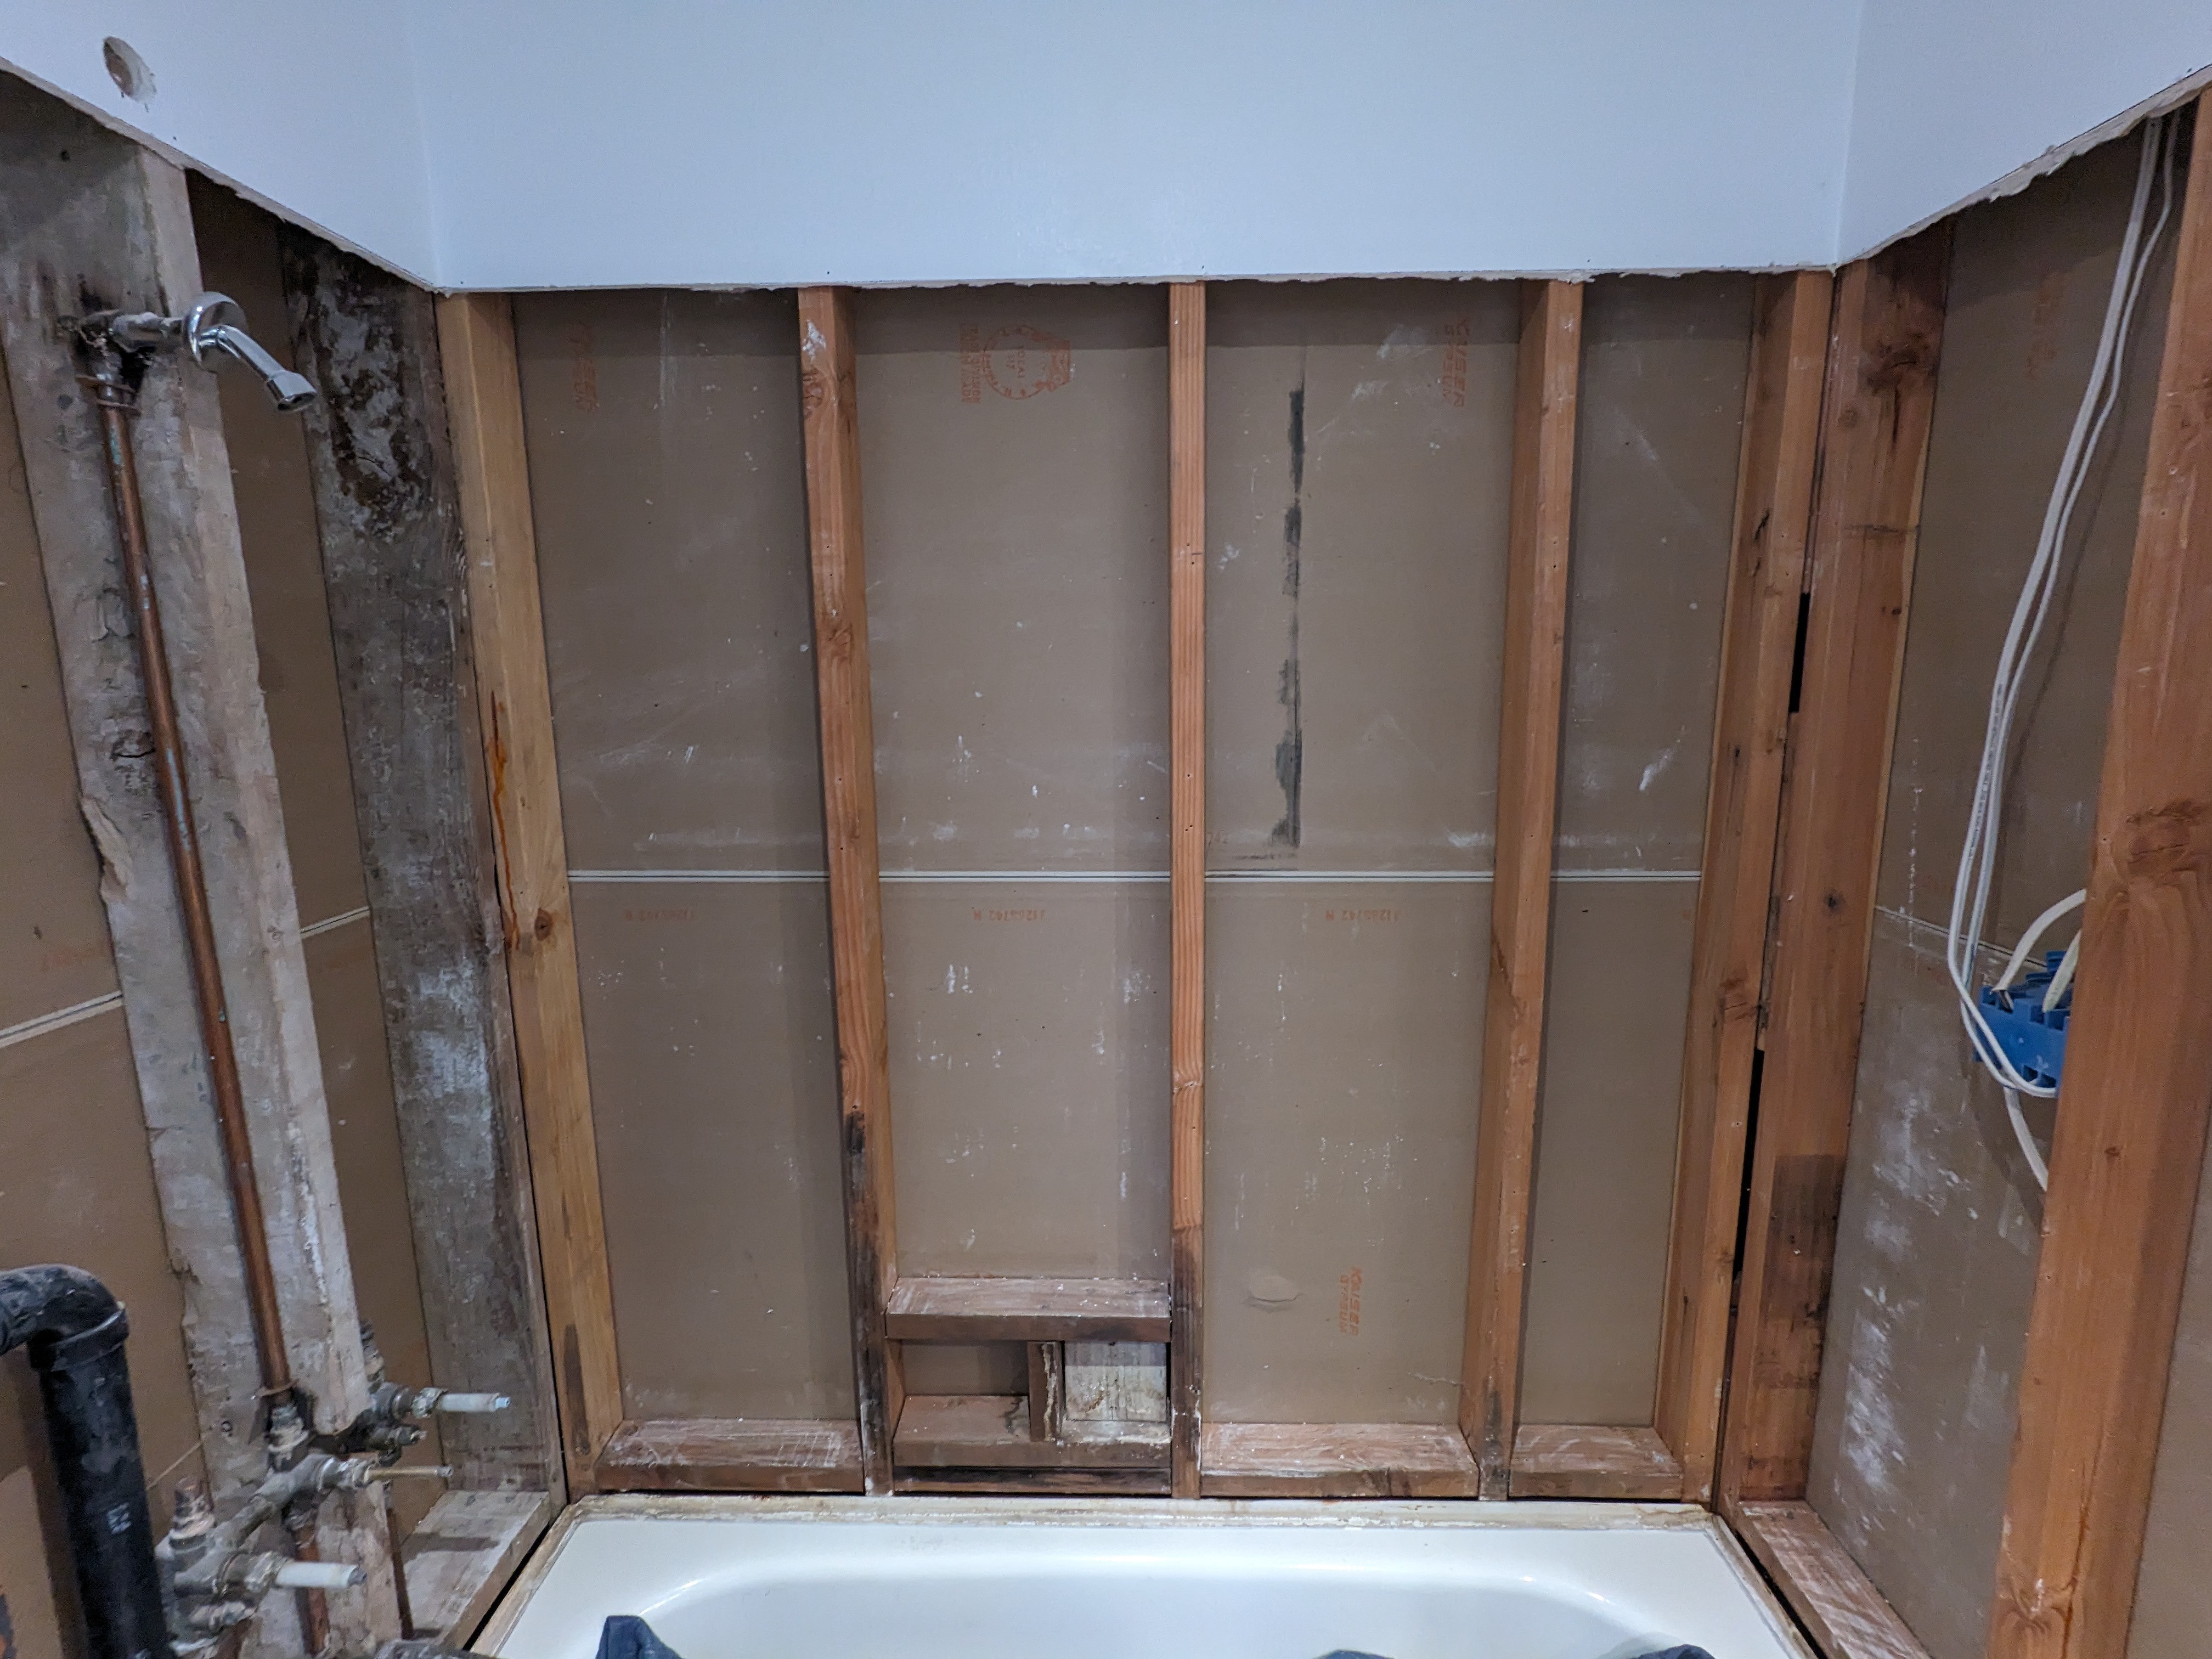
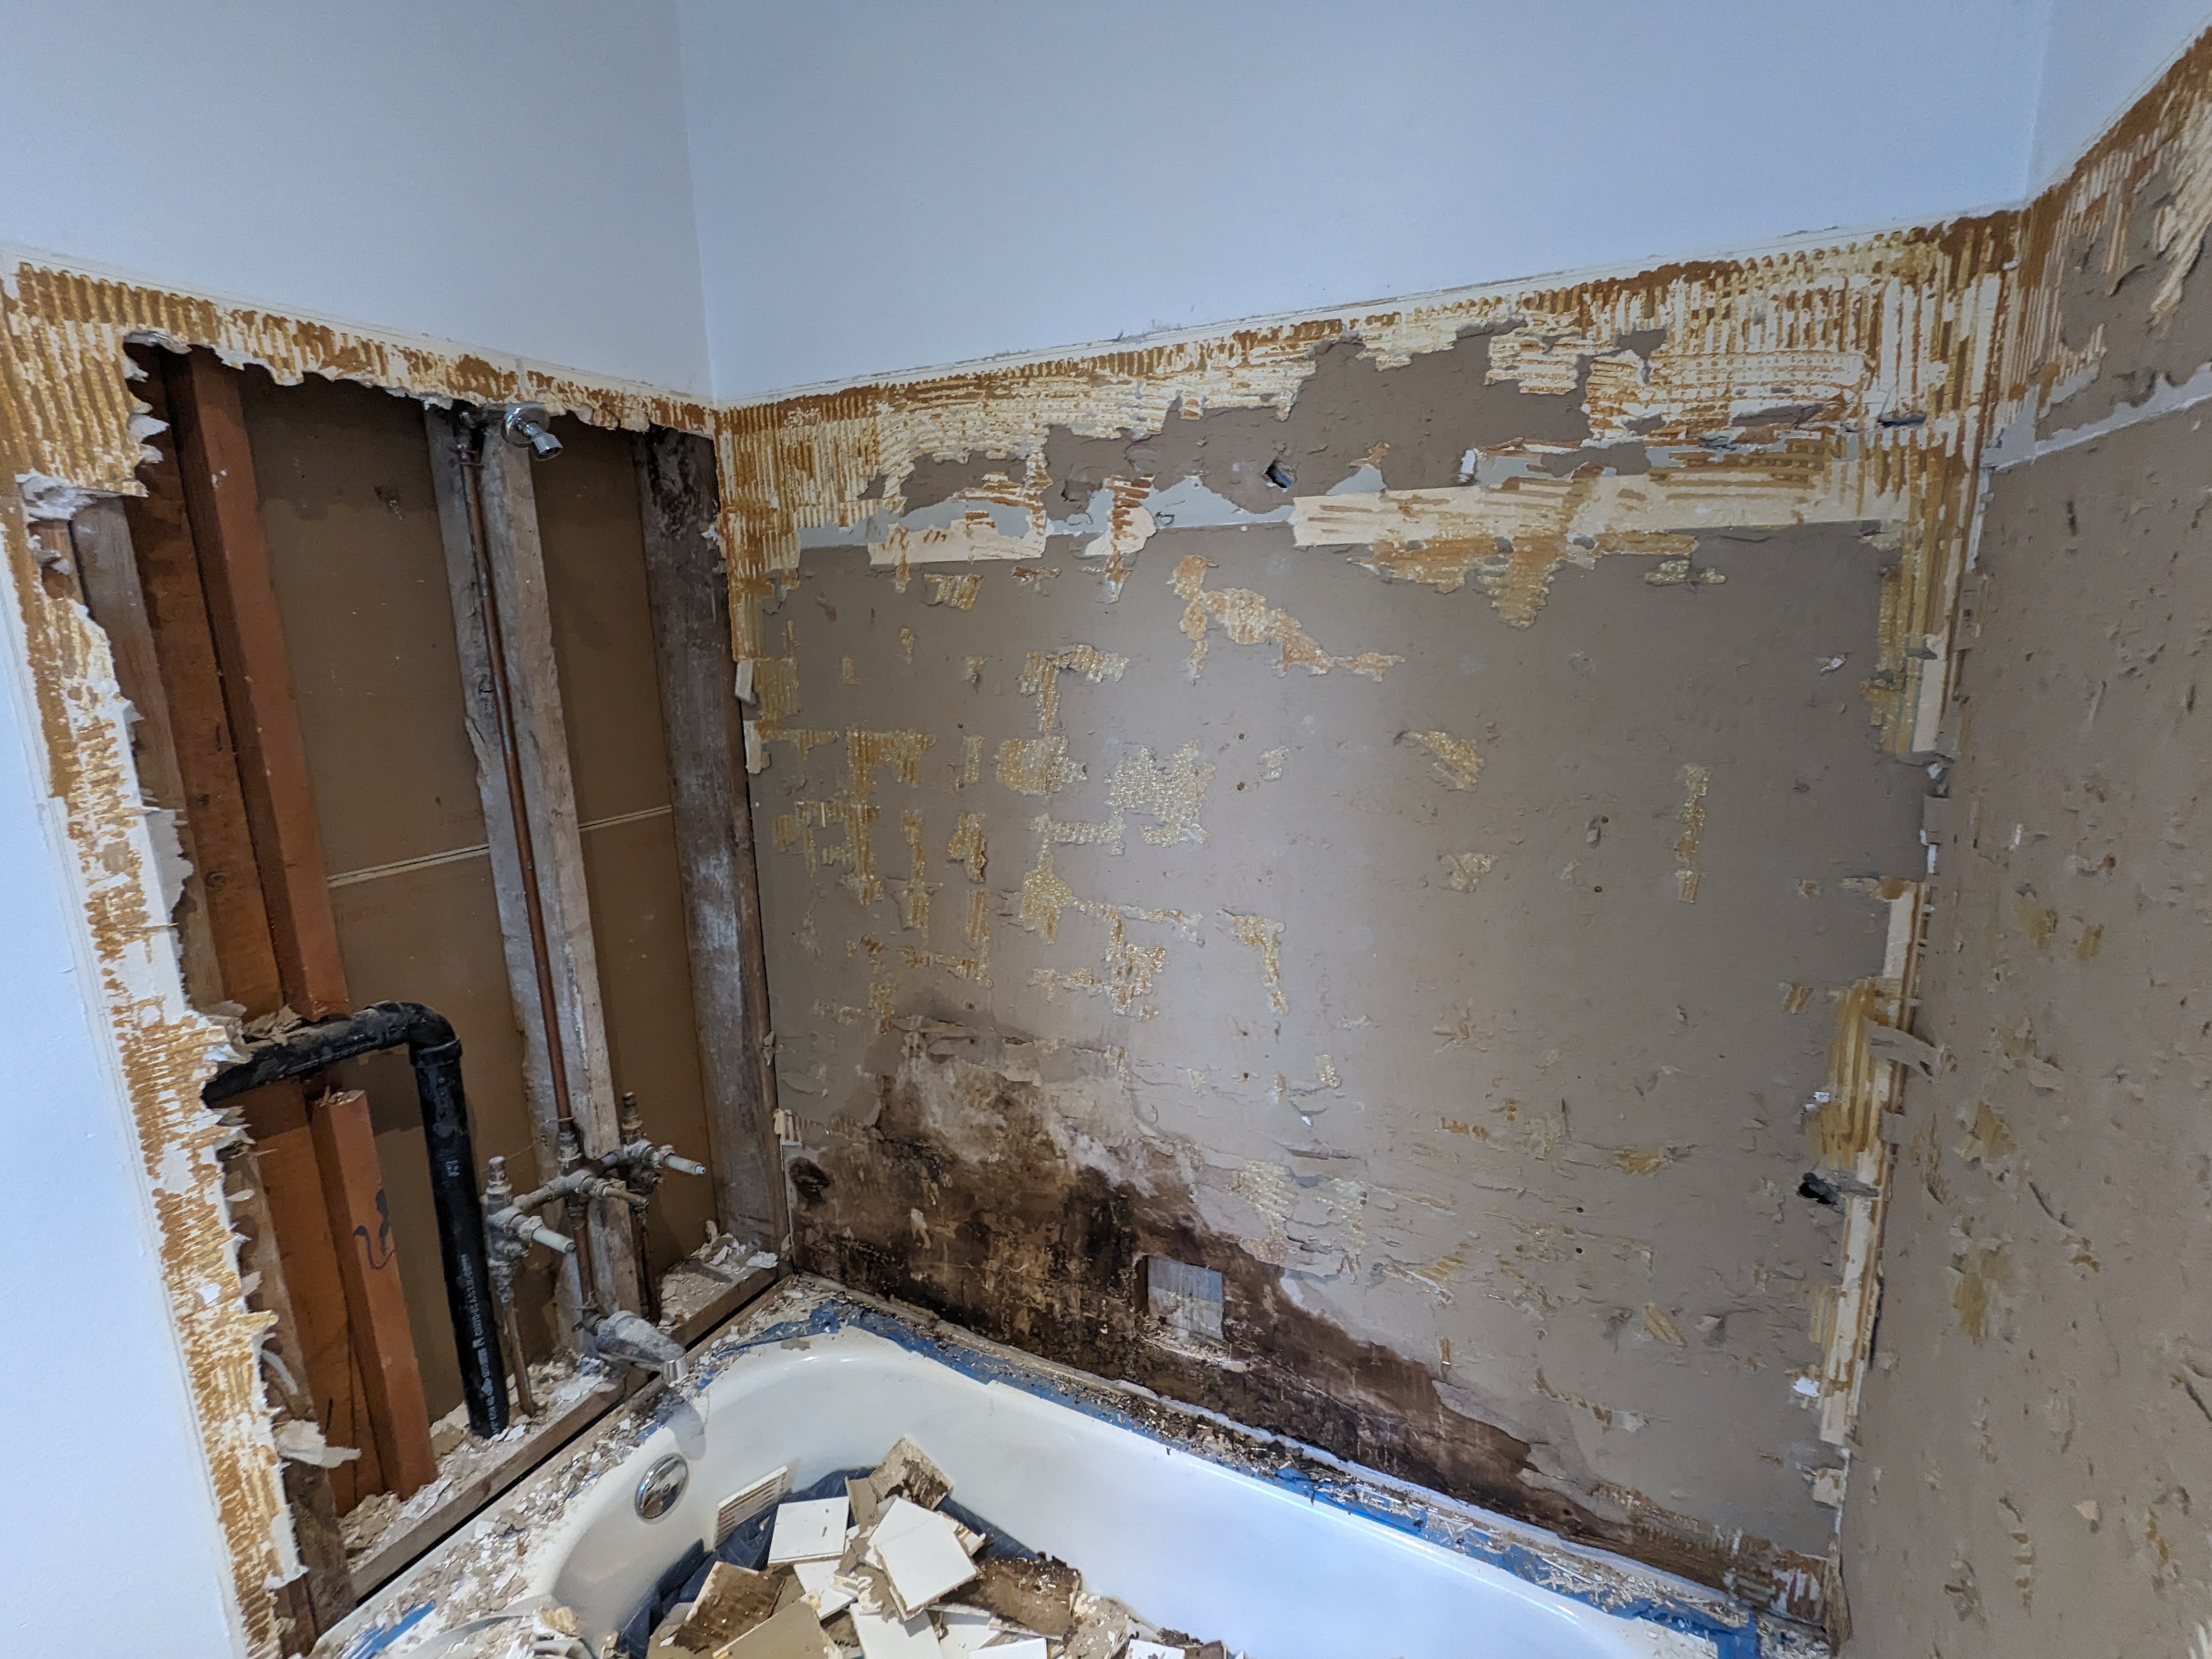
Once the old backerboard was off, the studs were in better shape behind the dodgy area than I was expecting. There is some discoloration, but I couldn't see any definitive rot or the dreaded black mold. As a precaution, I spayed that area with some mold-killing stuff and let it dry overnight. Discoloration you might see in other areas is unrelated to the water penetration.
Discussions
Become a Hackaday.io Member
Create an account to leave a comment. Already have an account? Log In.