0%
0%
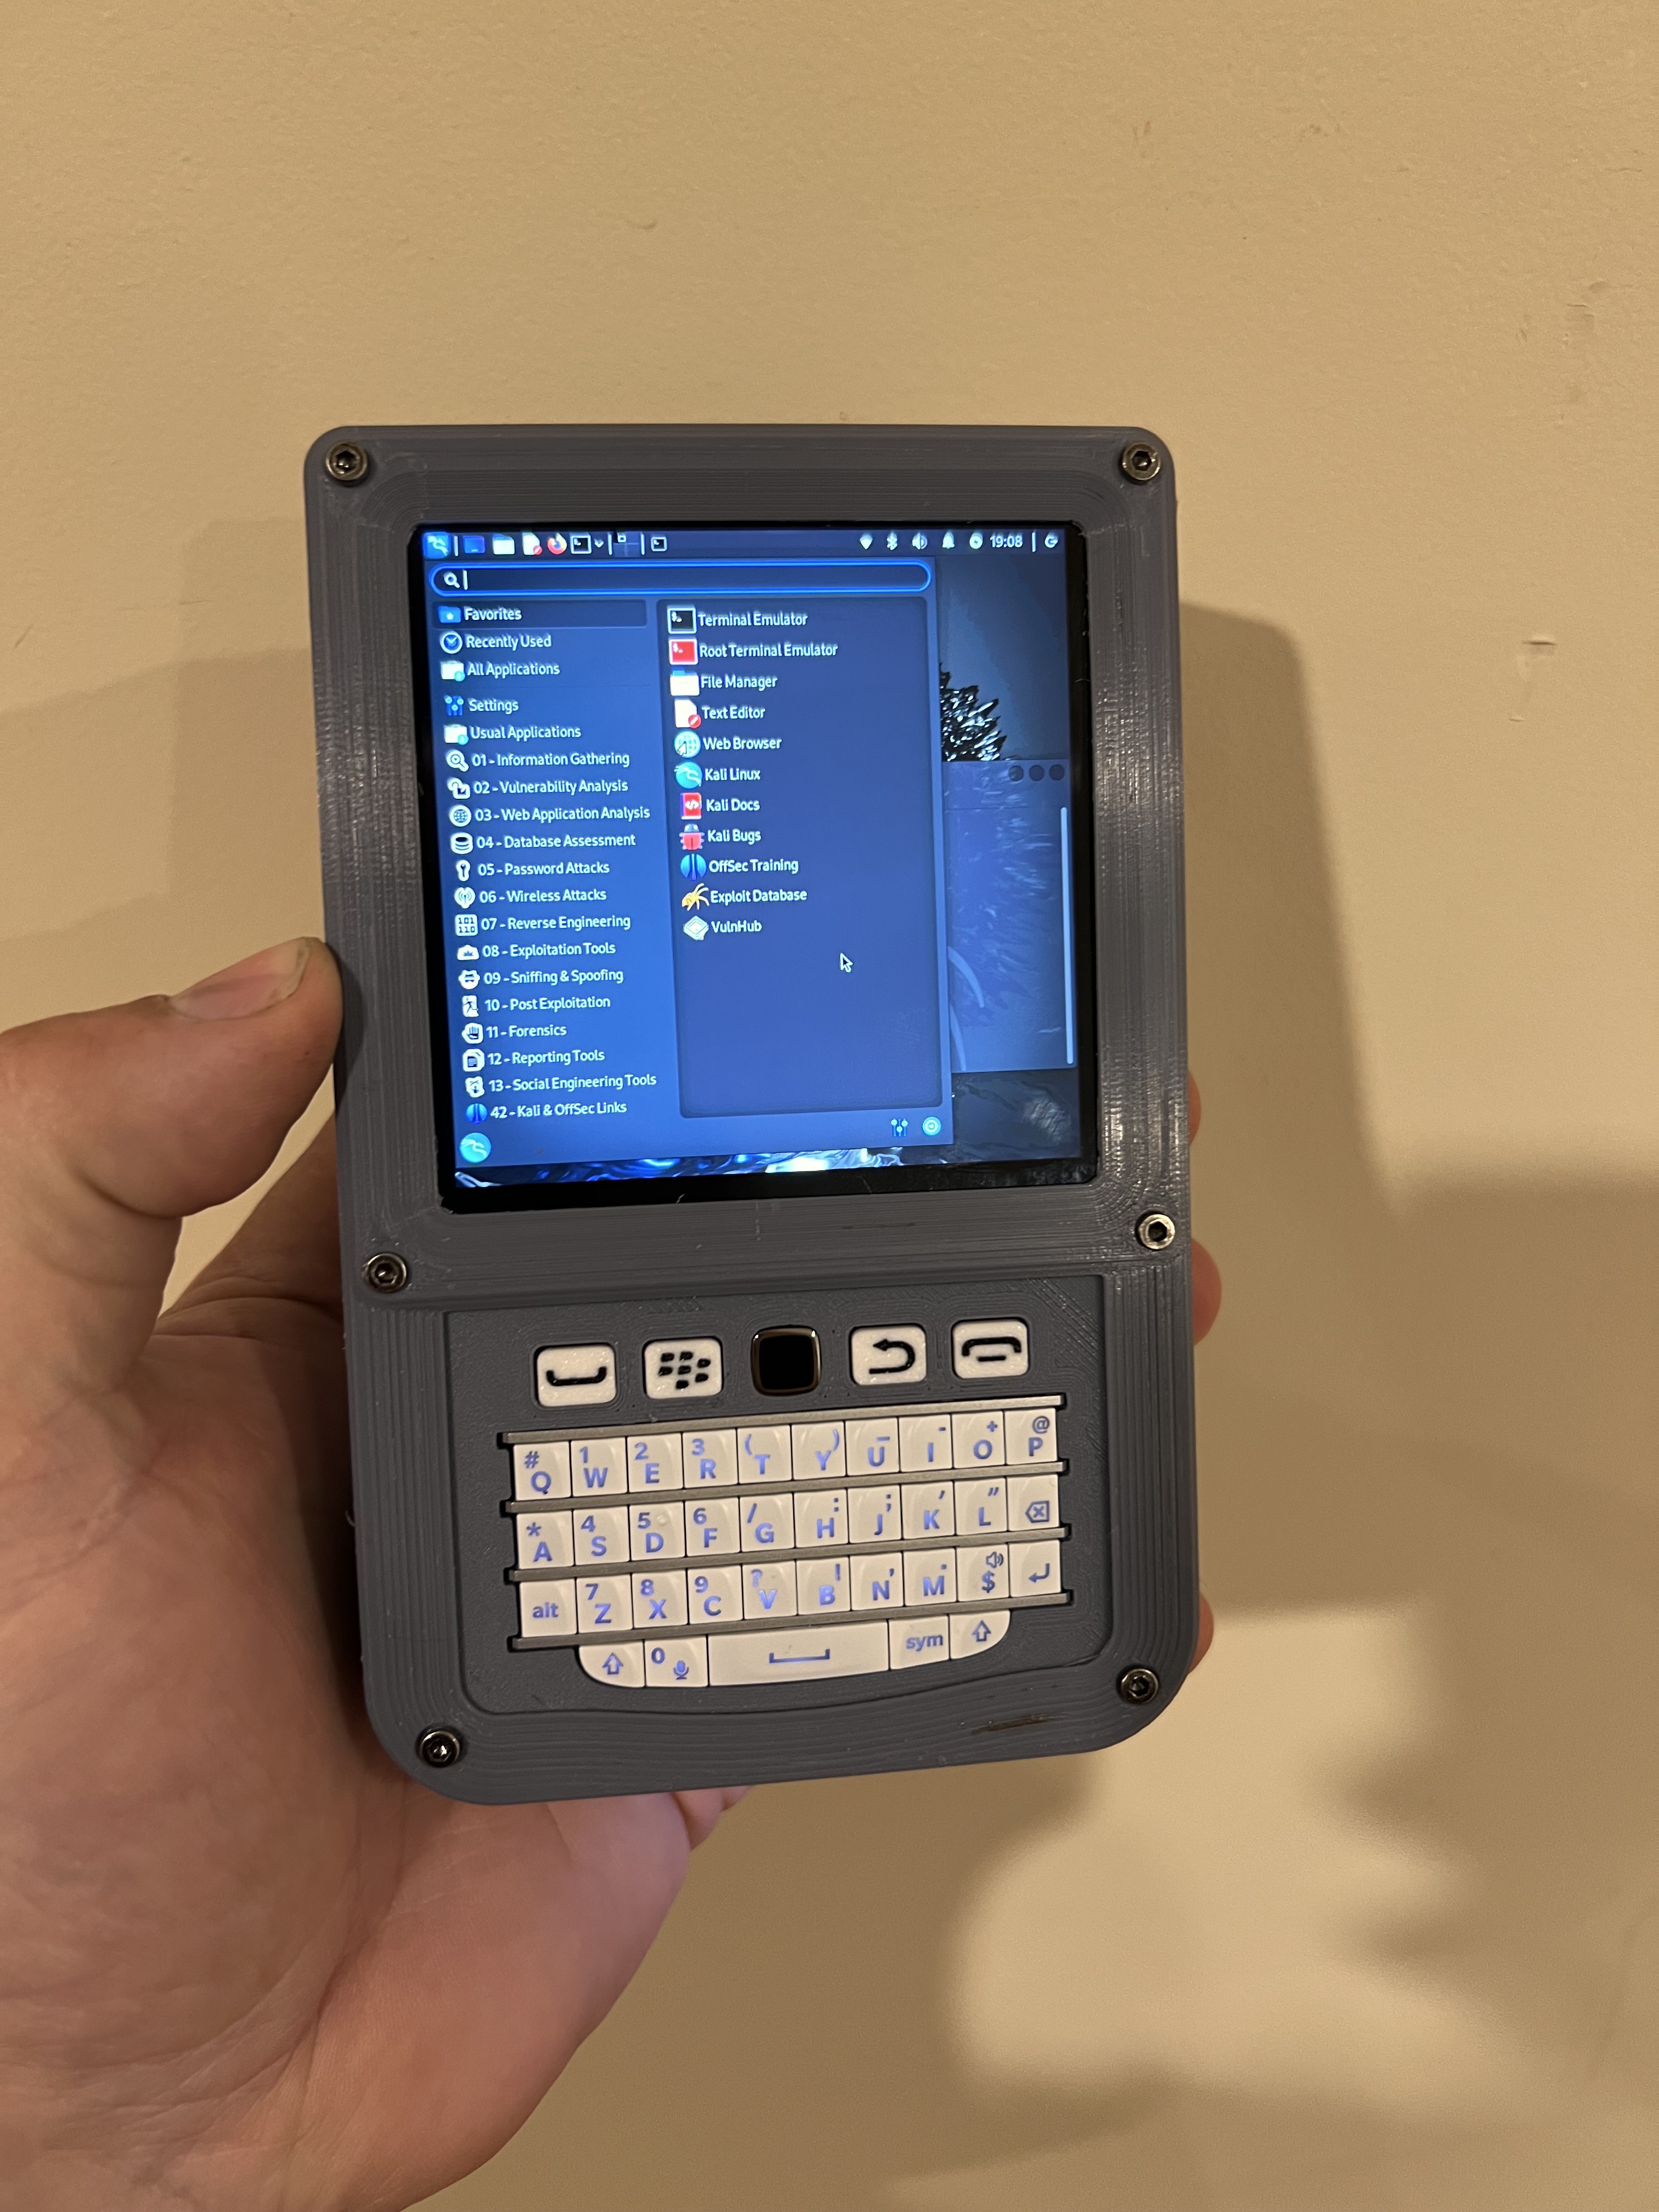
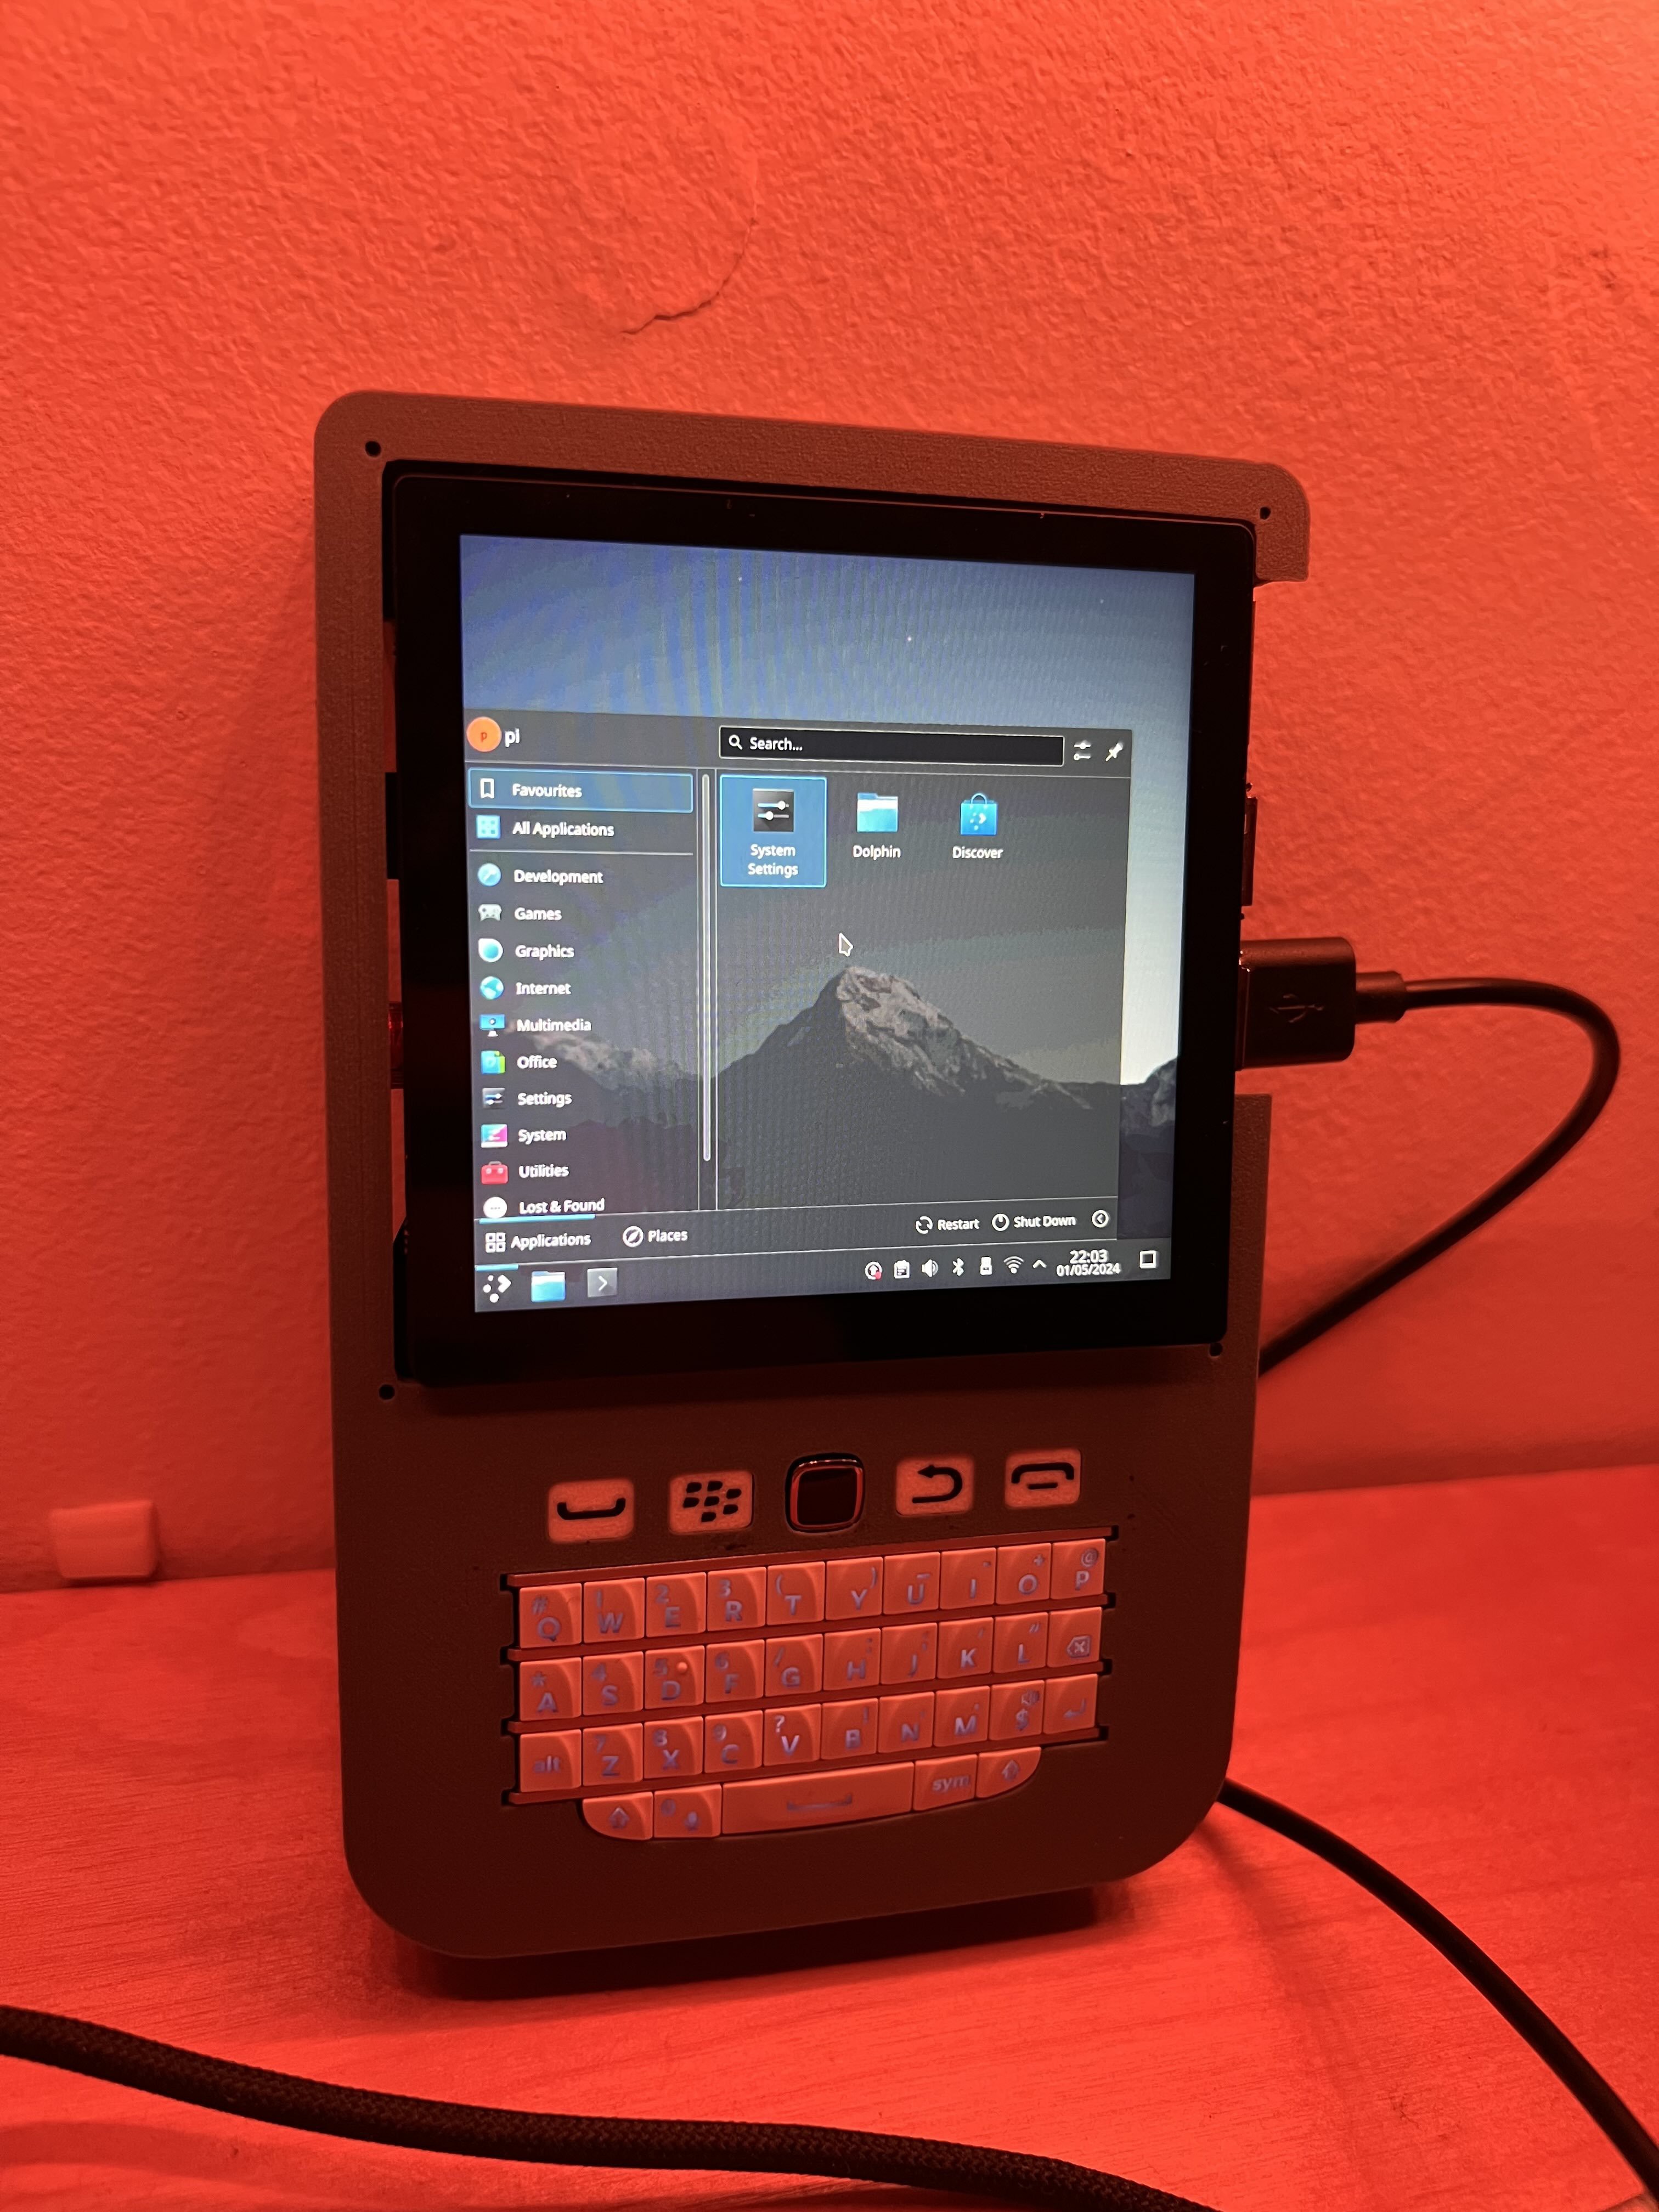
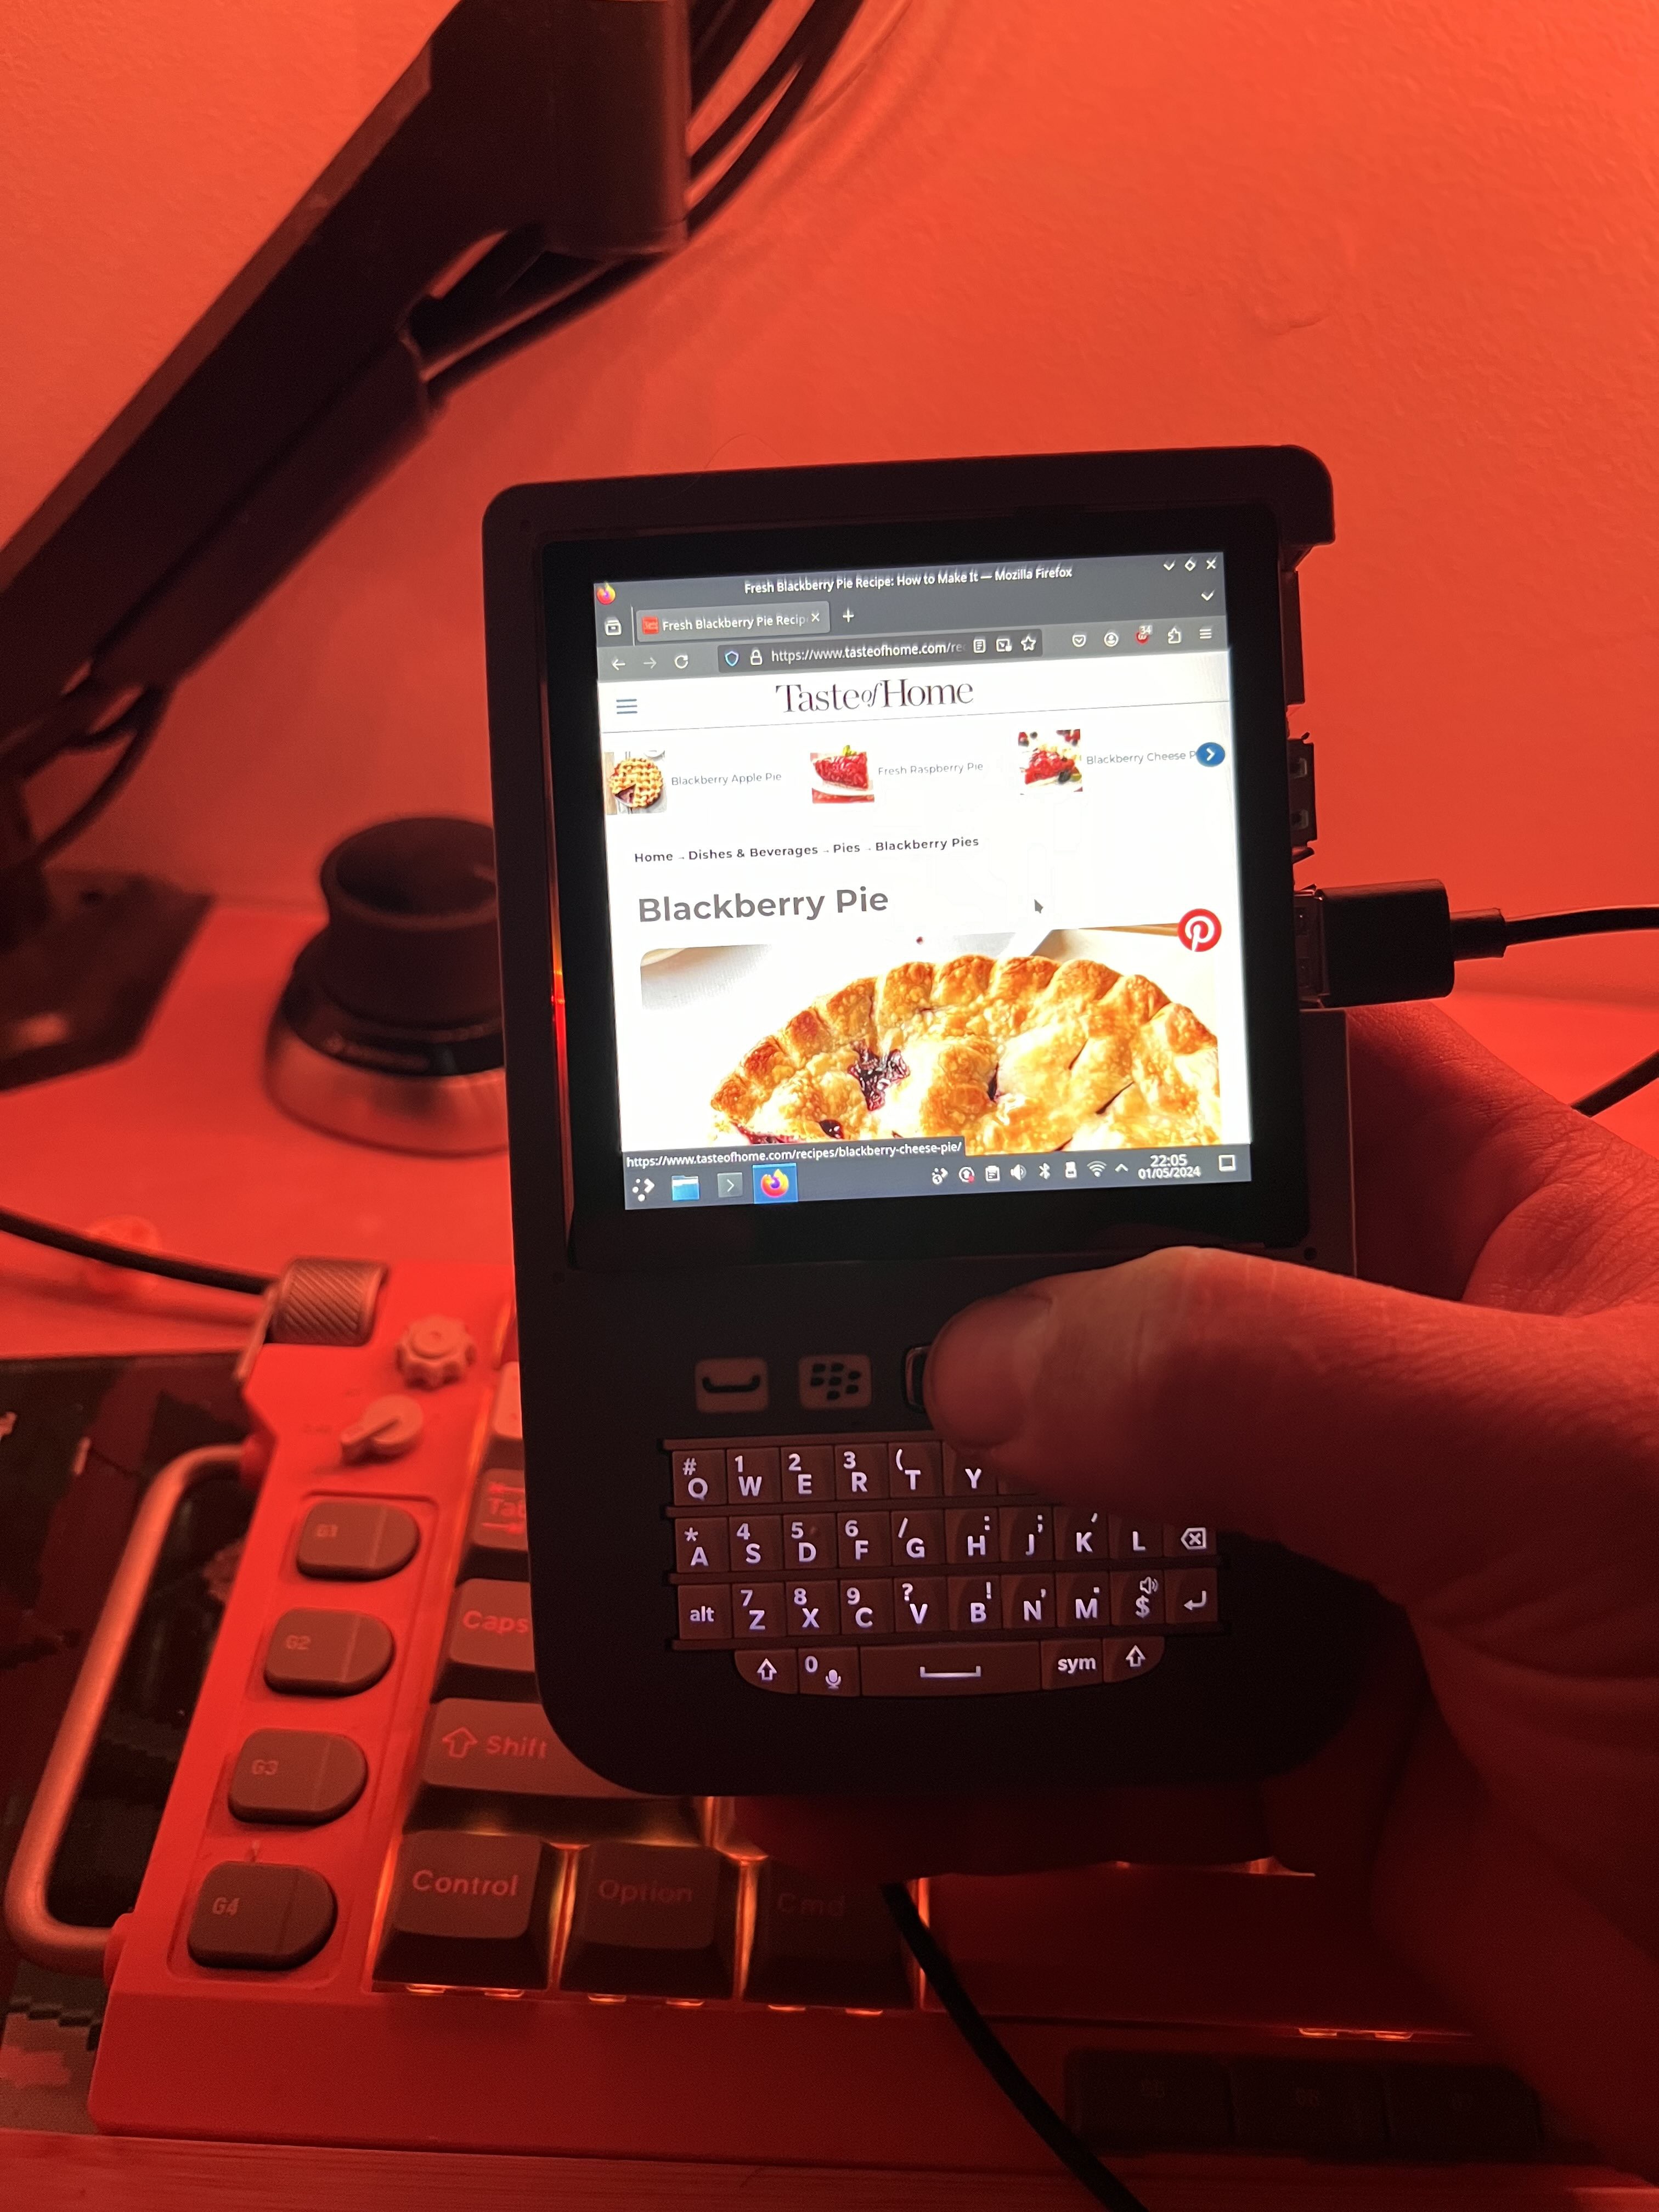
BlackberryPi Handheld
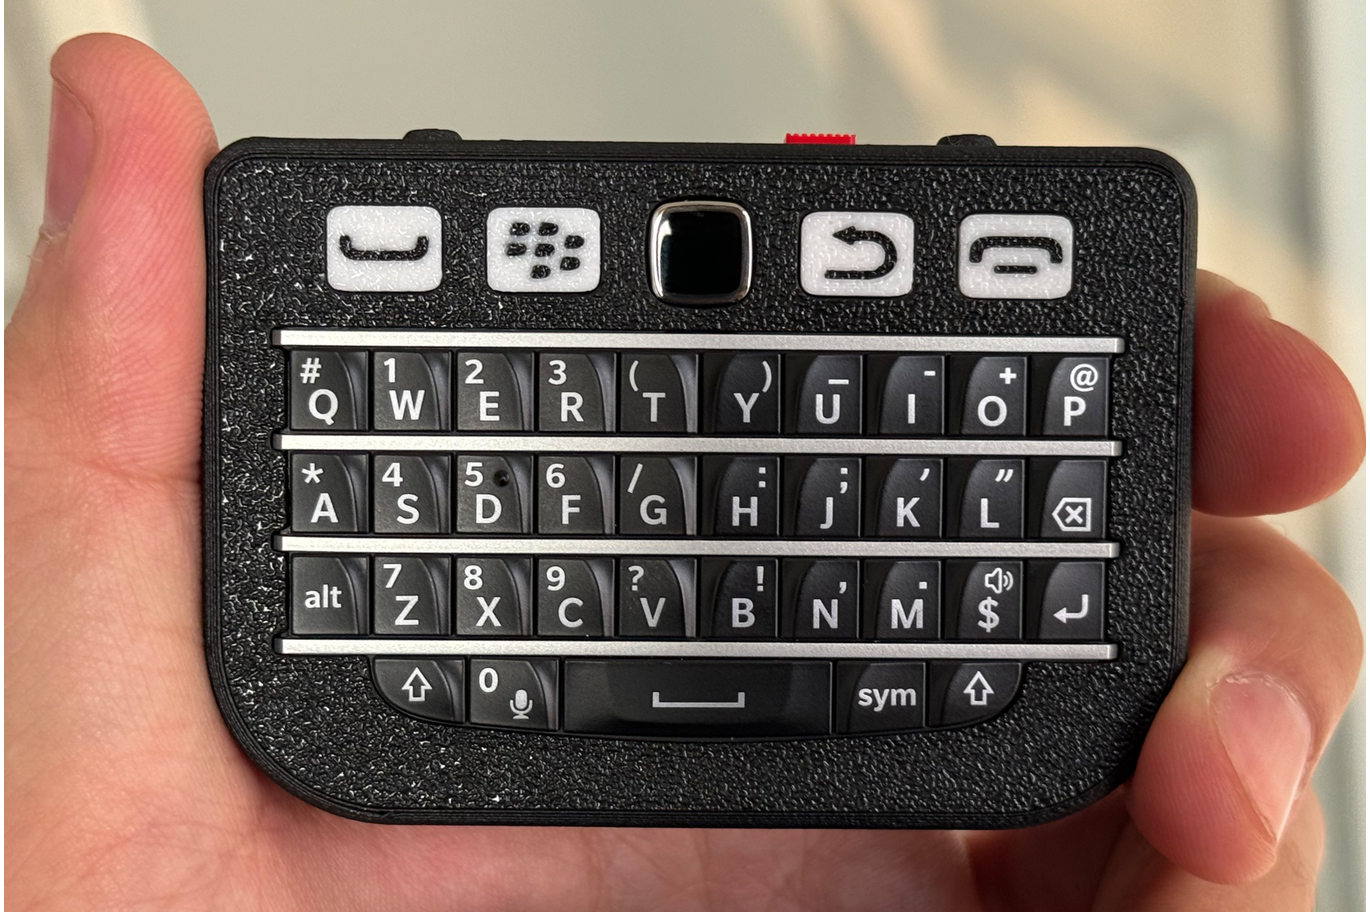
Handheld Gameboy style full Linux computer, like Clockwork Pi, but with a Blackberry keyboard/mouse, and nothing proprietary!
 Taylor Hay
Become a Hackaday.io member
Already have an account? Log in.
Just one more thing
To make the experience fit your profile, pick a username and tell us what interests you.
Pick an awesome username
hackaday.io/
Your profile's URL: hackaday.io/username. Max 25 alphanumeric characters.
Pick a few interests
Projects that share your interests
People that share your interests

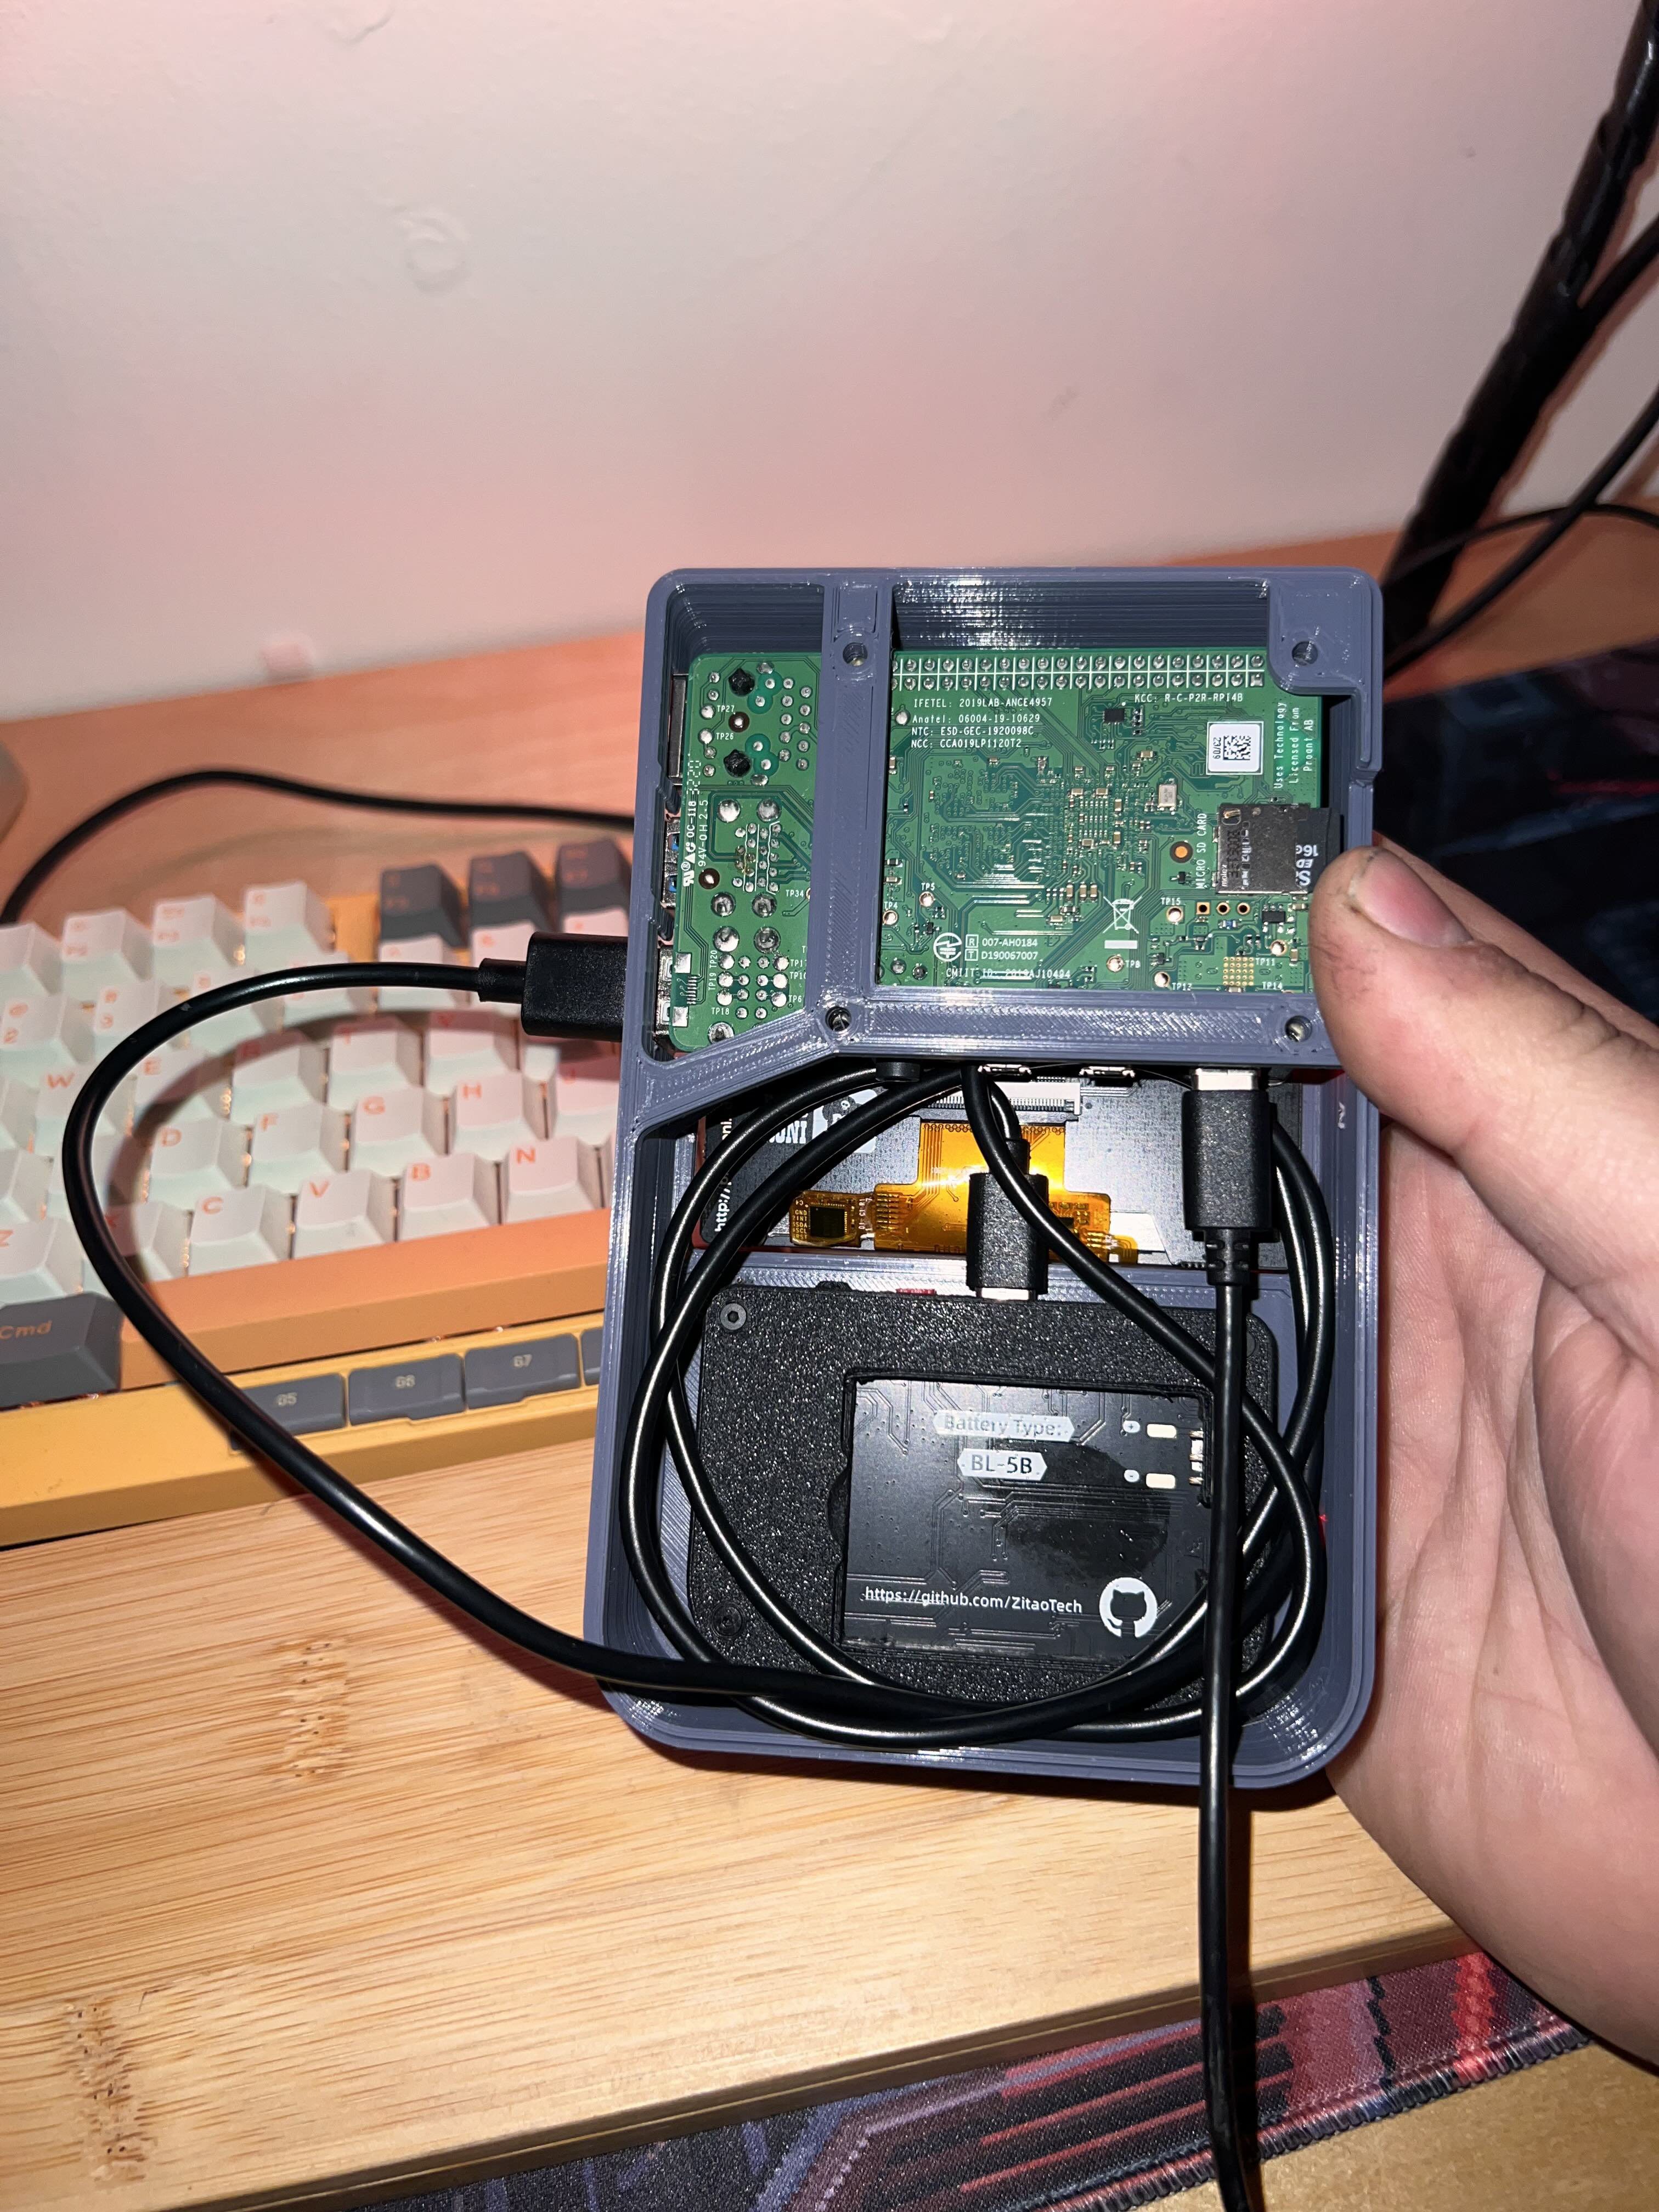
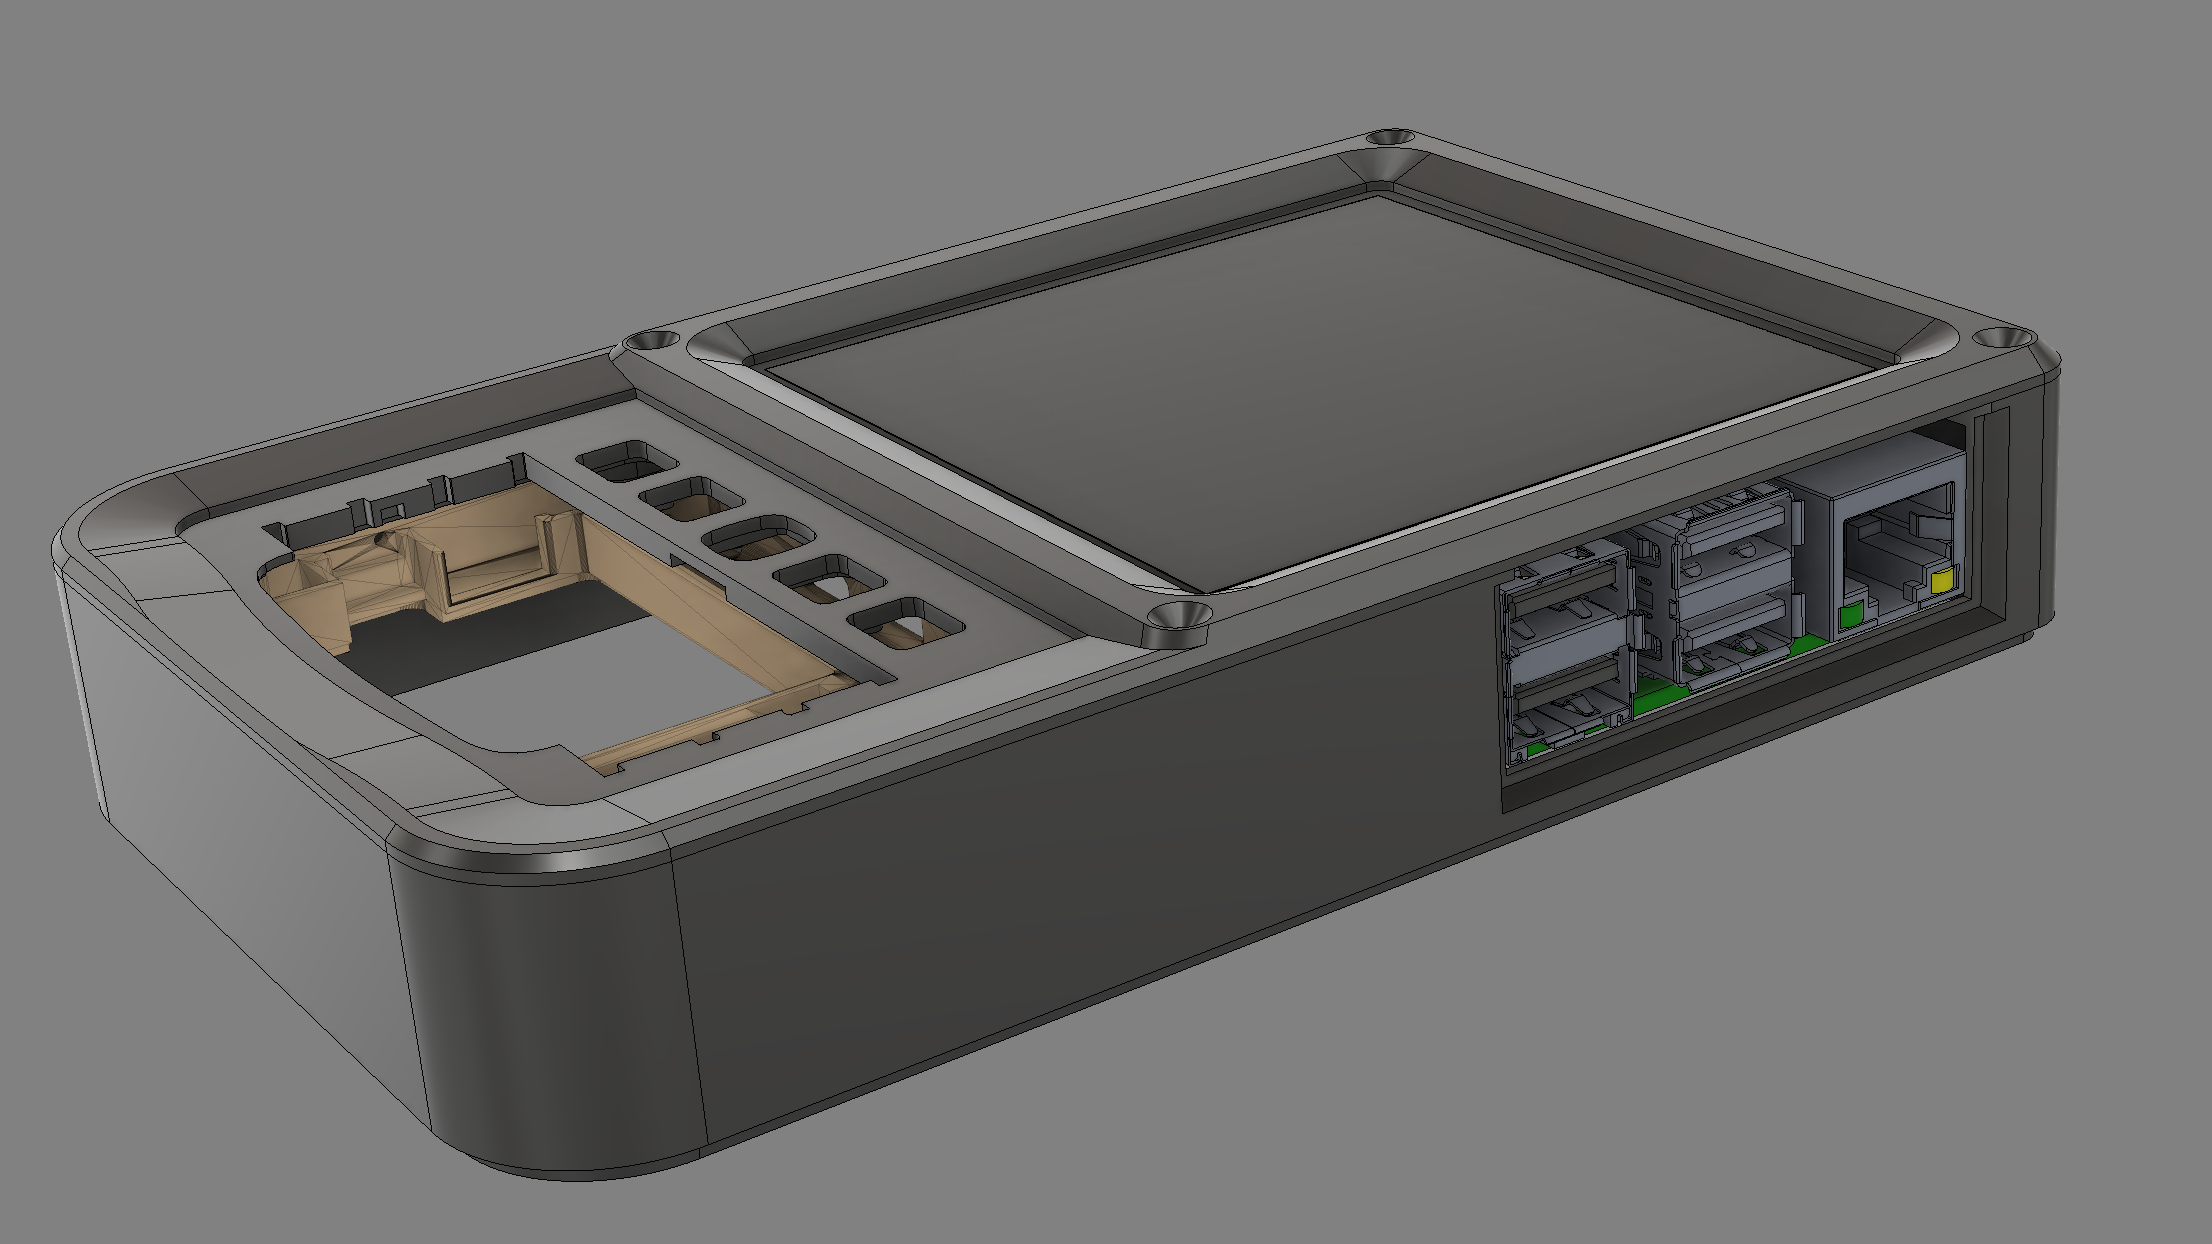
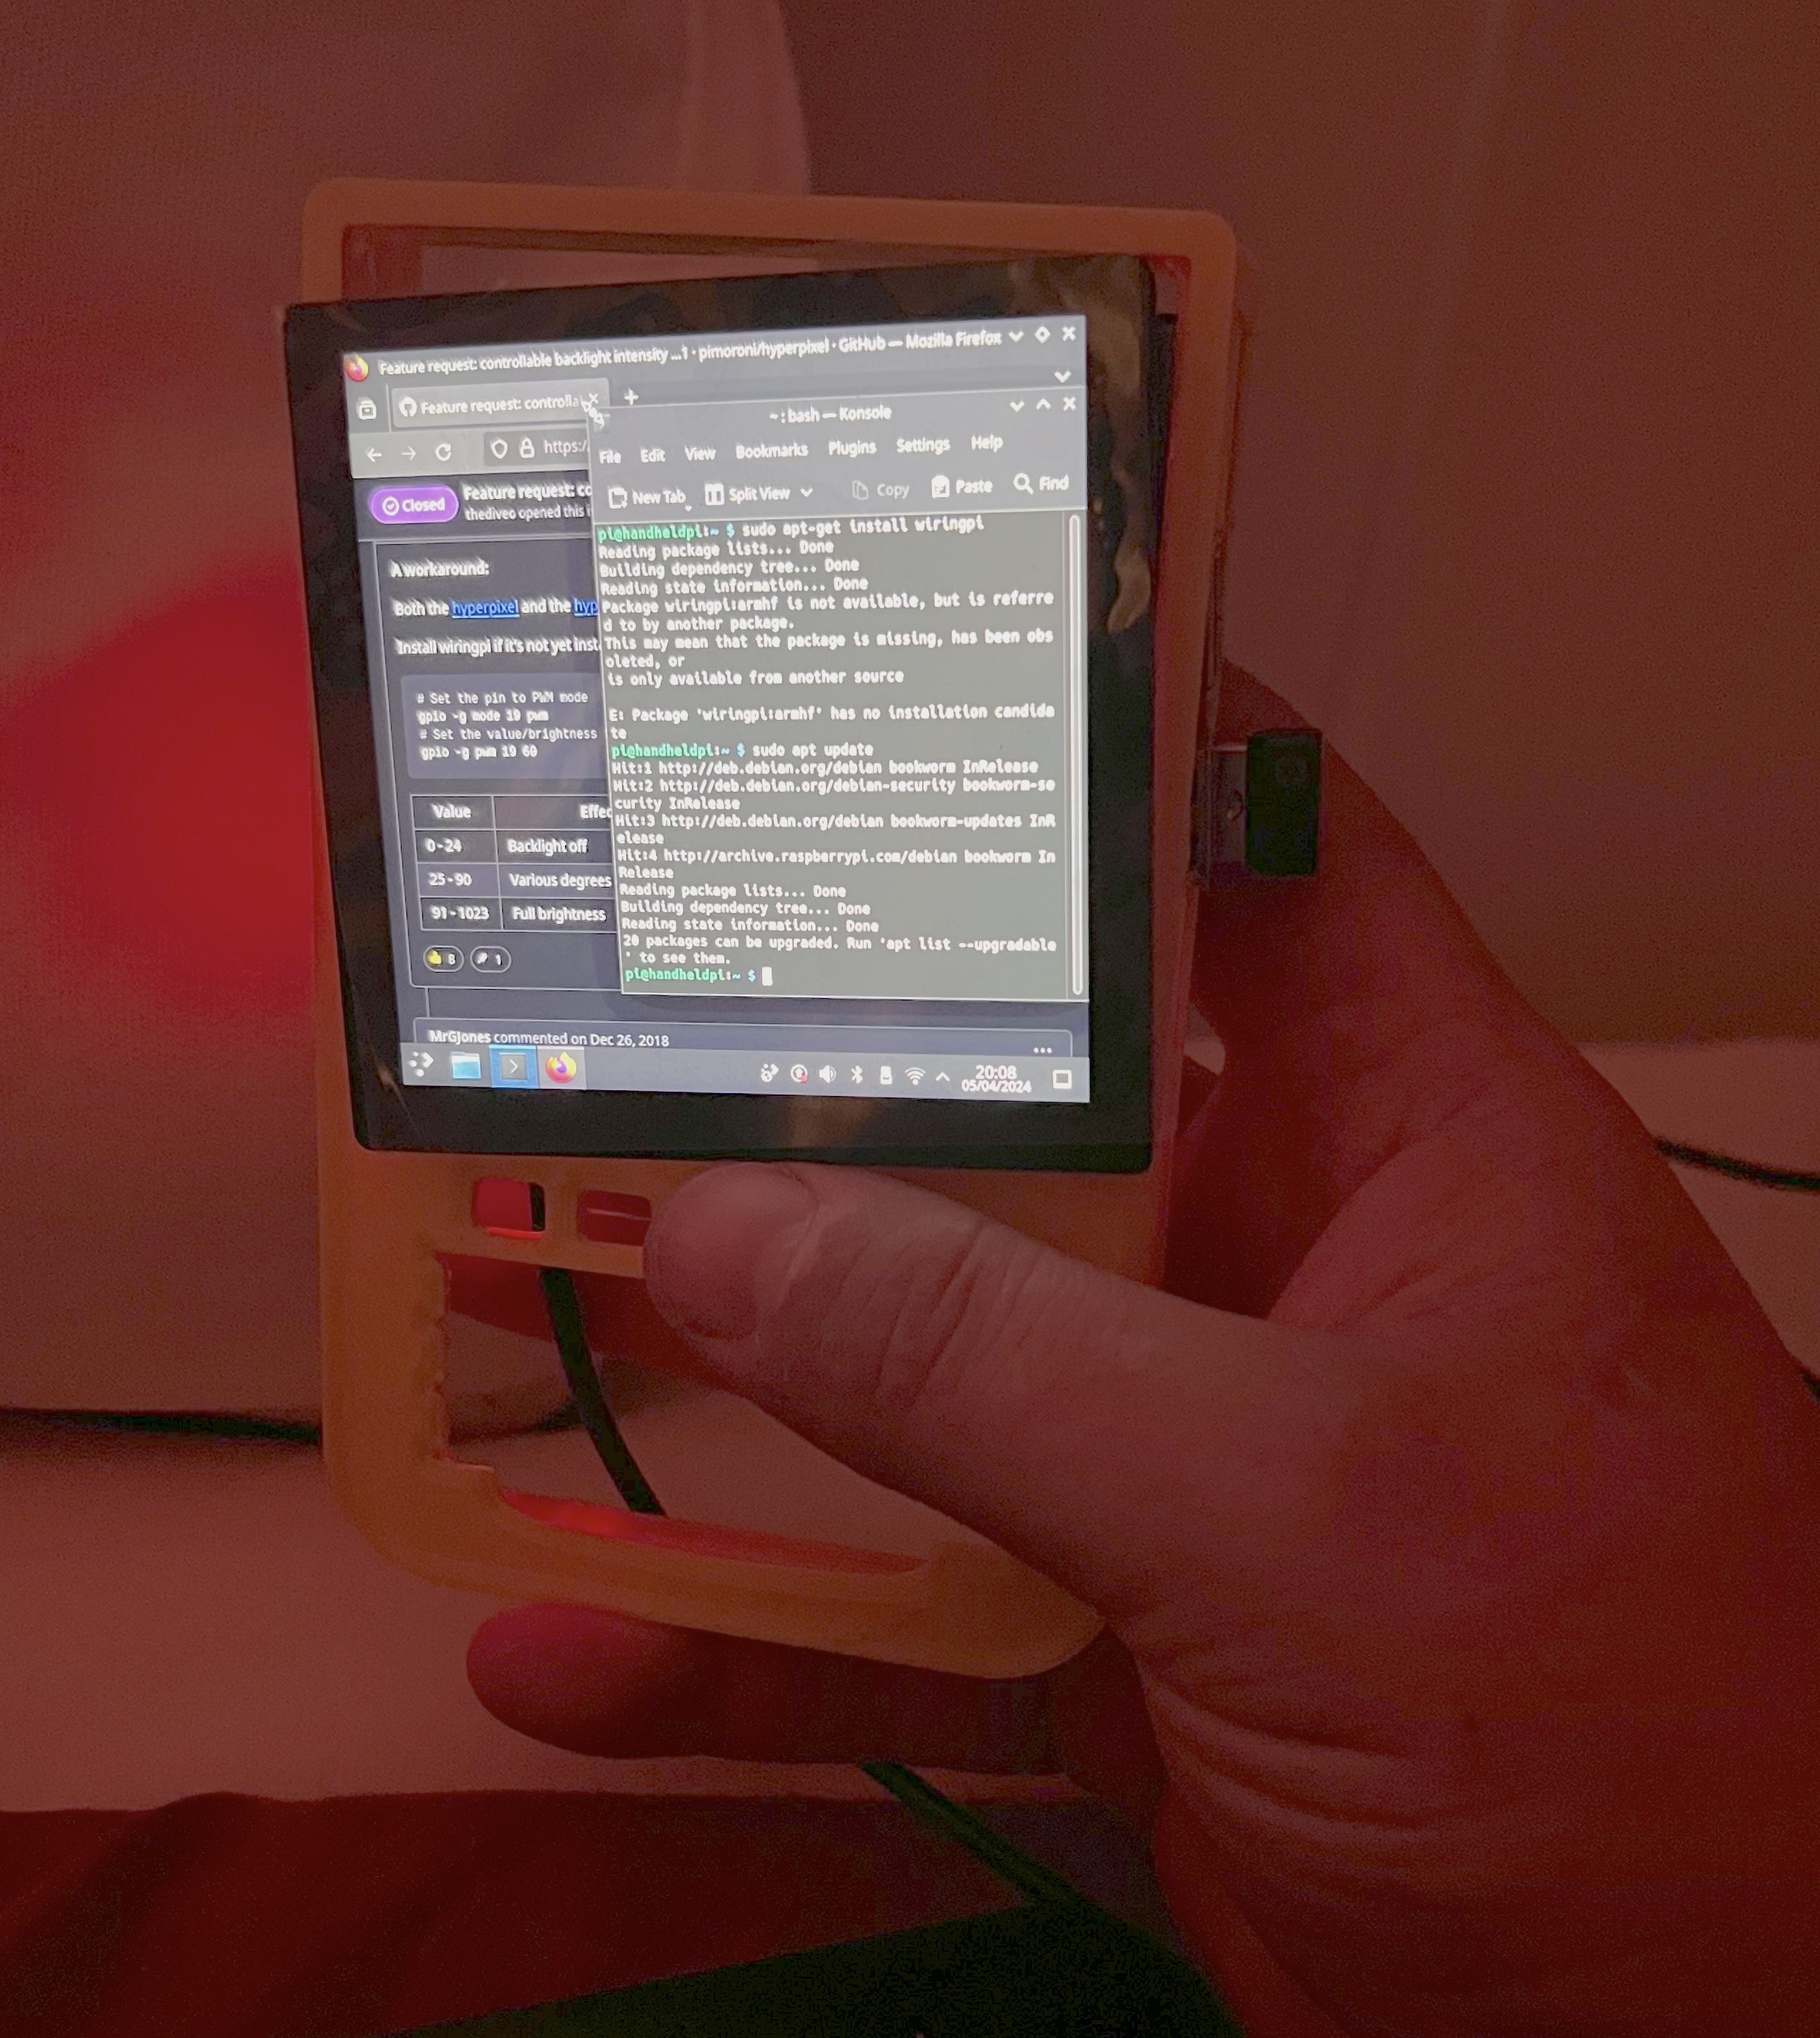
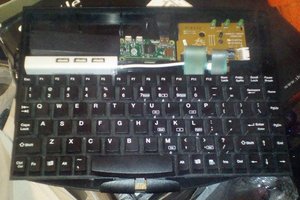
 I once again had to remove the usb ports on the power bank board, and solder a chopped usbc cable on, but I like that the back can be removed, unplugged, and the pi can be powered externally (I already had to use this feature to hook up an external monitor to get Kali Linux working on the Pimaroni screen)
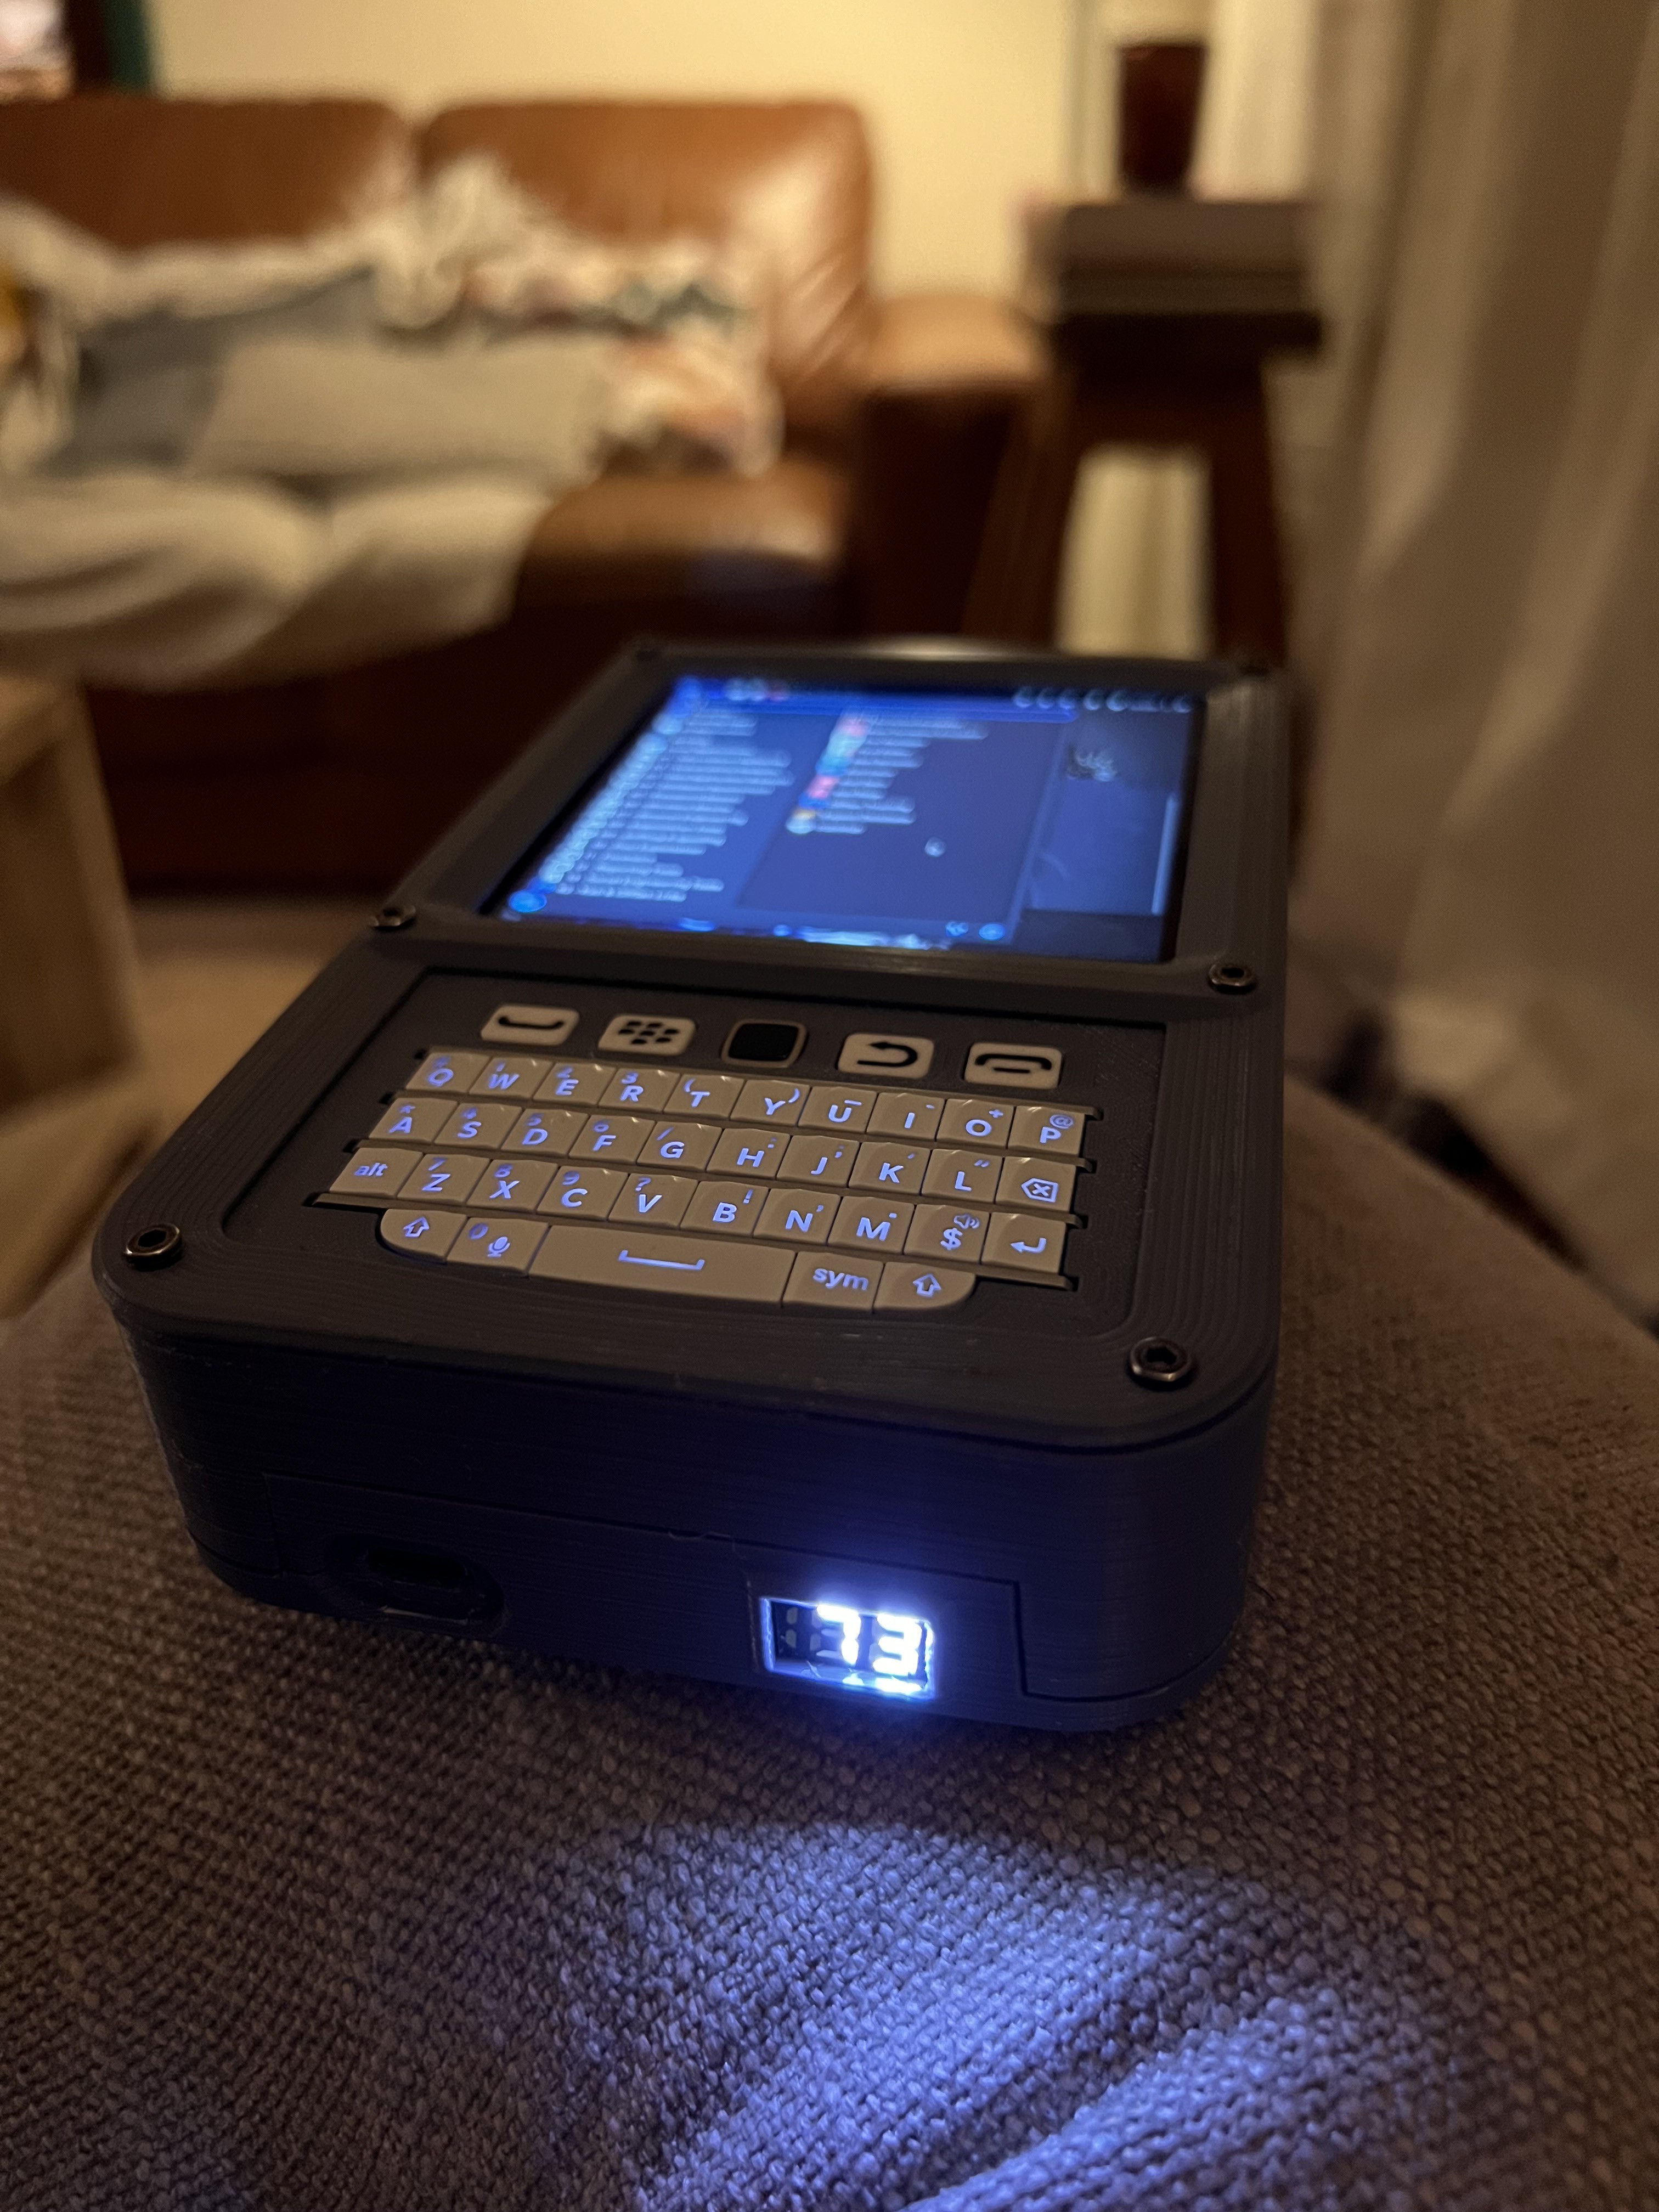


 Richard
 Welsh Mullet
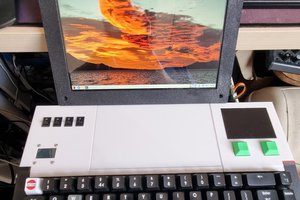
 Steve Anderson
could there be a cheaper keyboard alterntive