 Julia Longtin
What is working and what we're working towards:
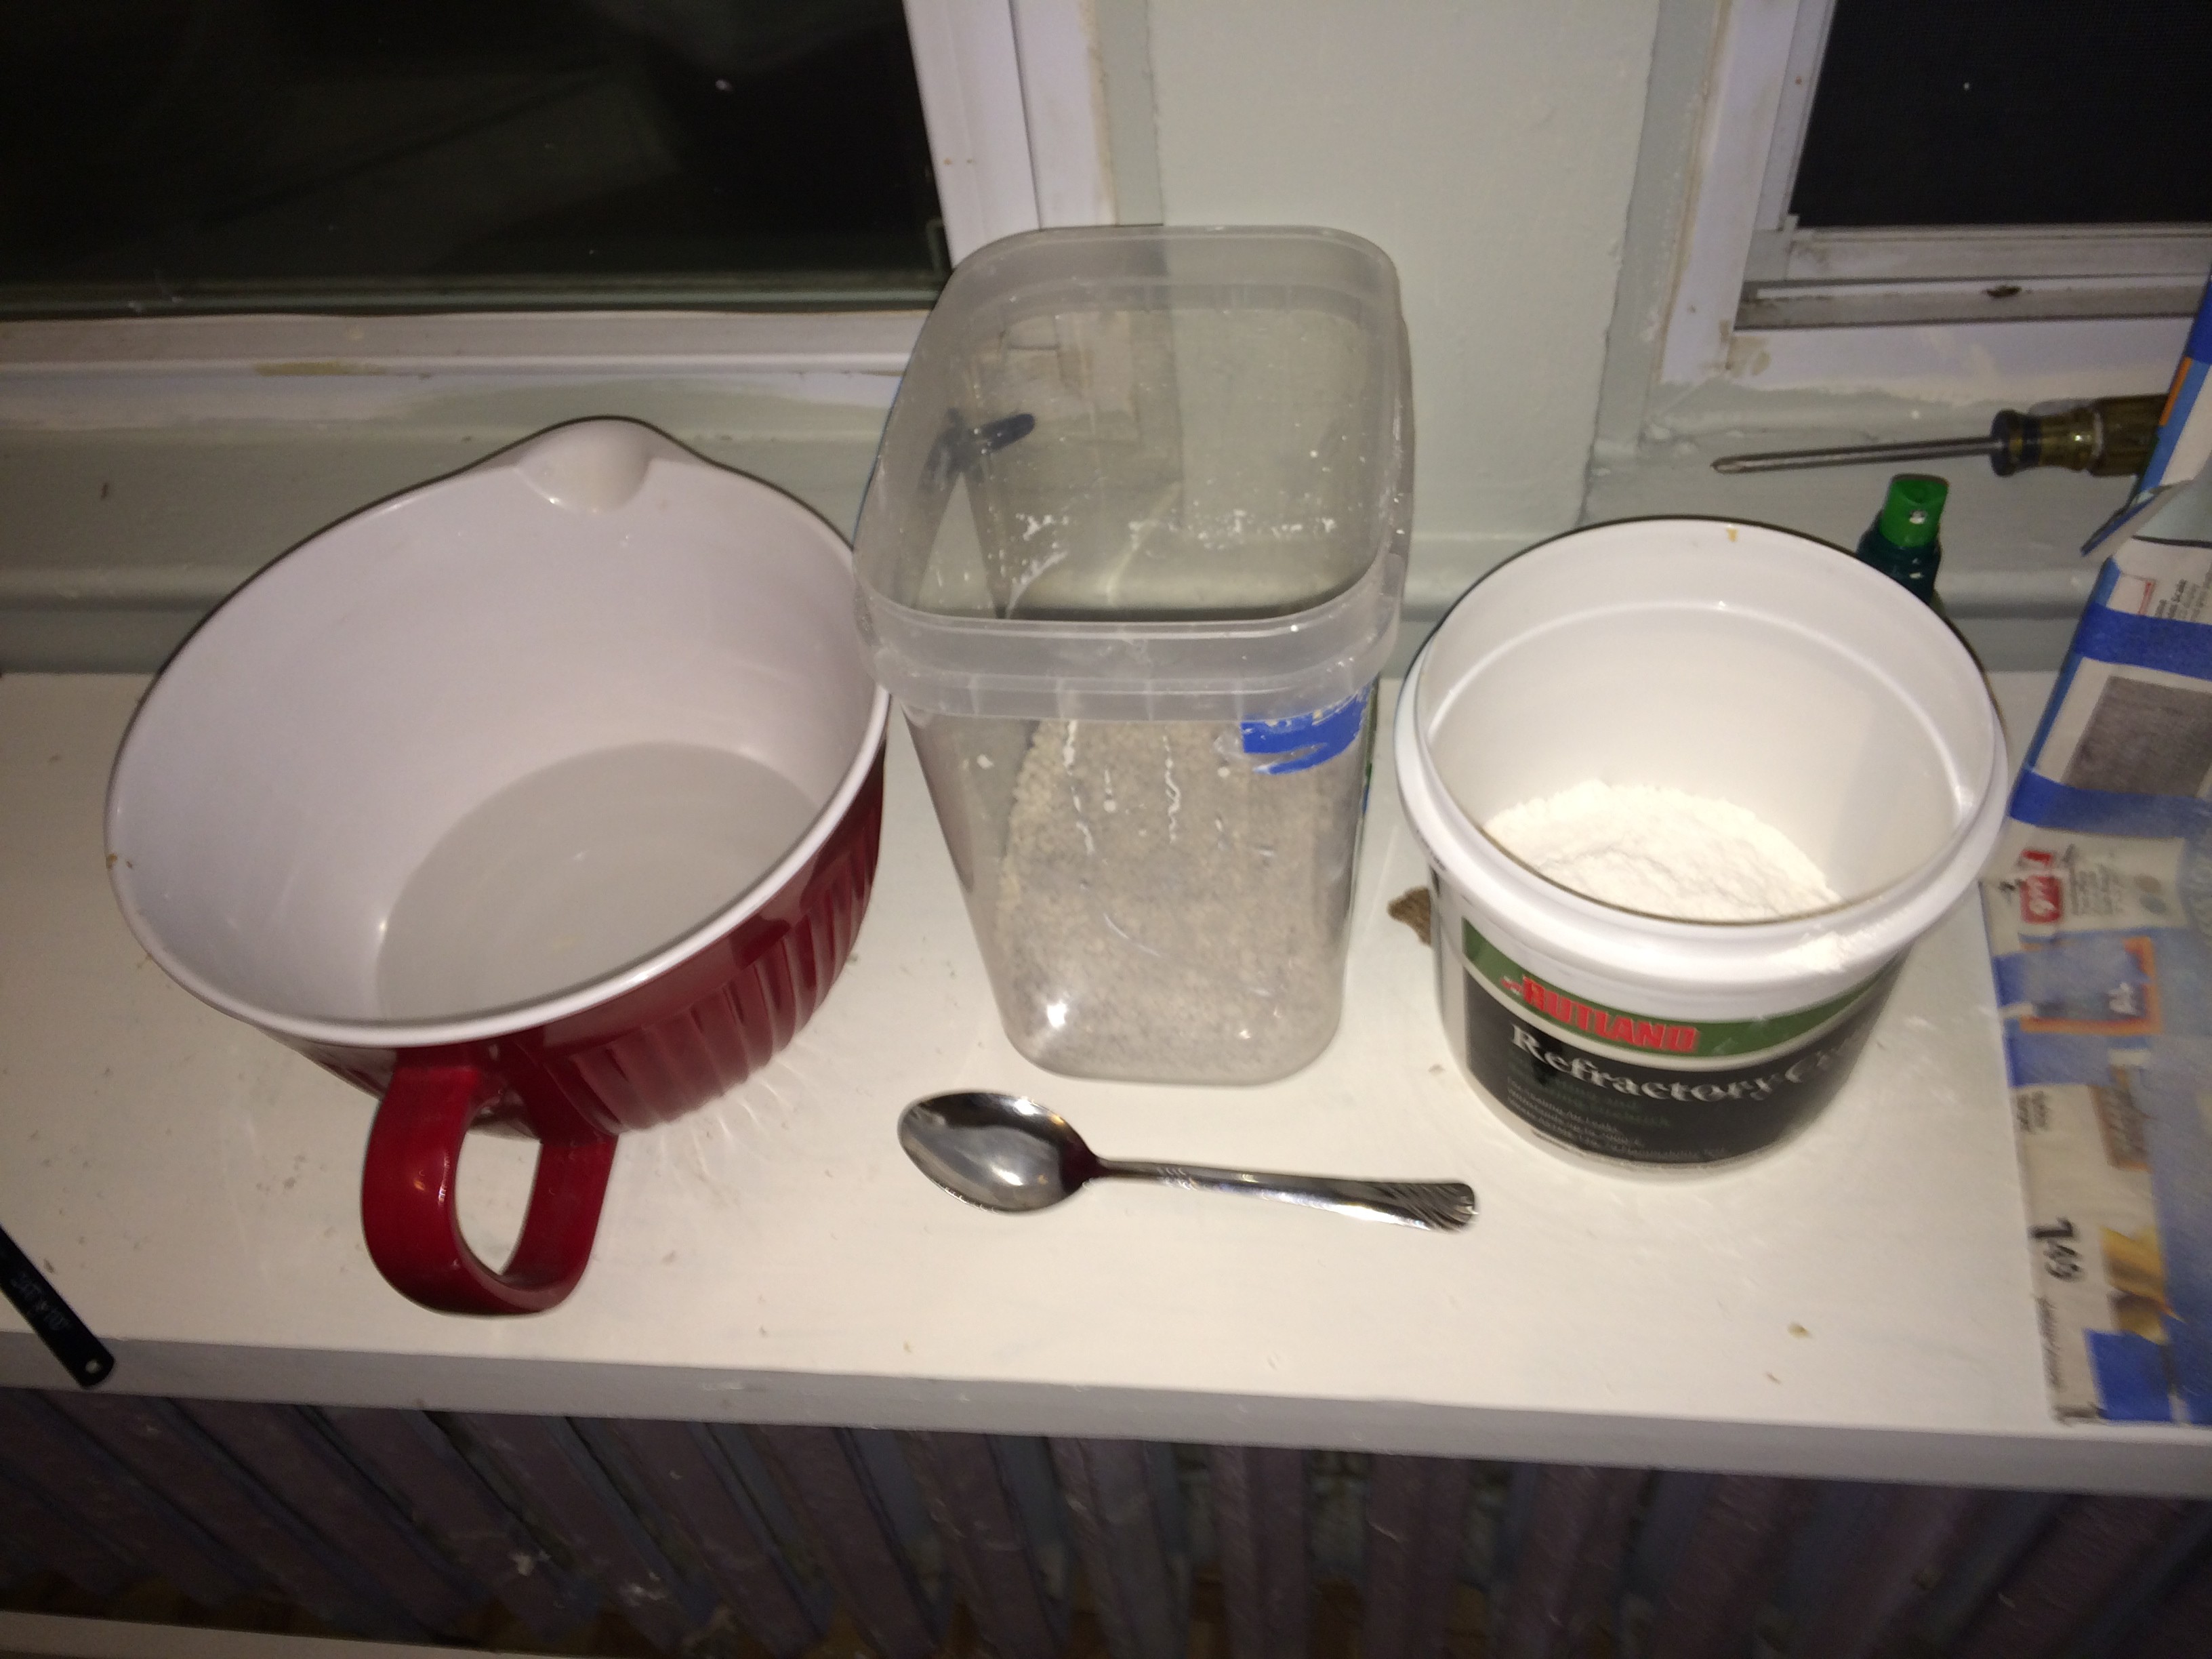
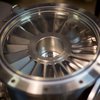
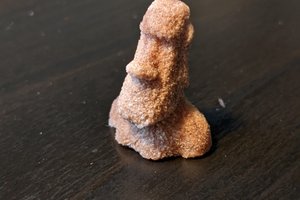
What works now is that we are able to successfully melt aluminum inside a microwave and supply our molds to get fine quality crafted aluminium parts.
All of the software will be released under the GNU GPL V3 as the project advances, with the hardware designs released under the TAPR OHL.

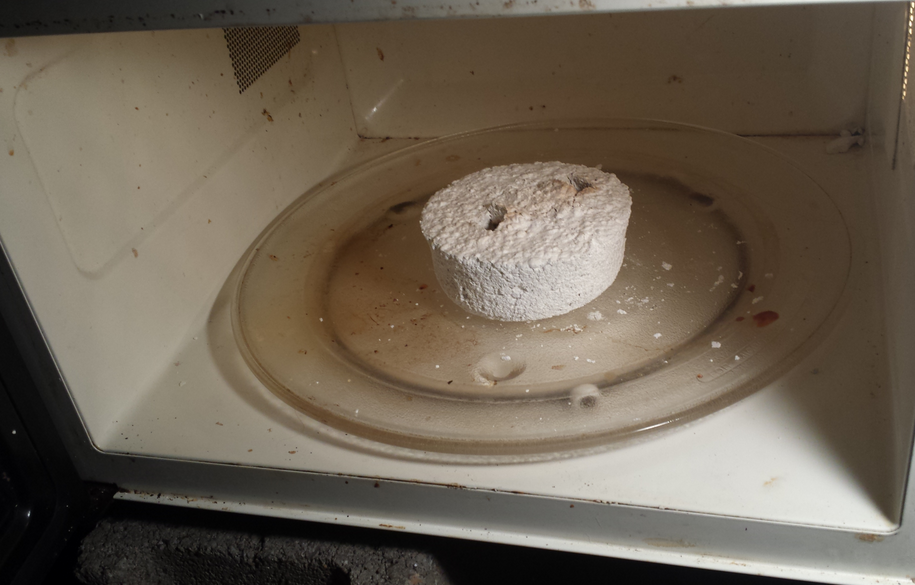
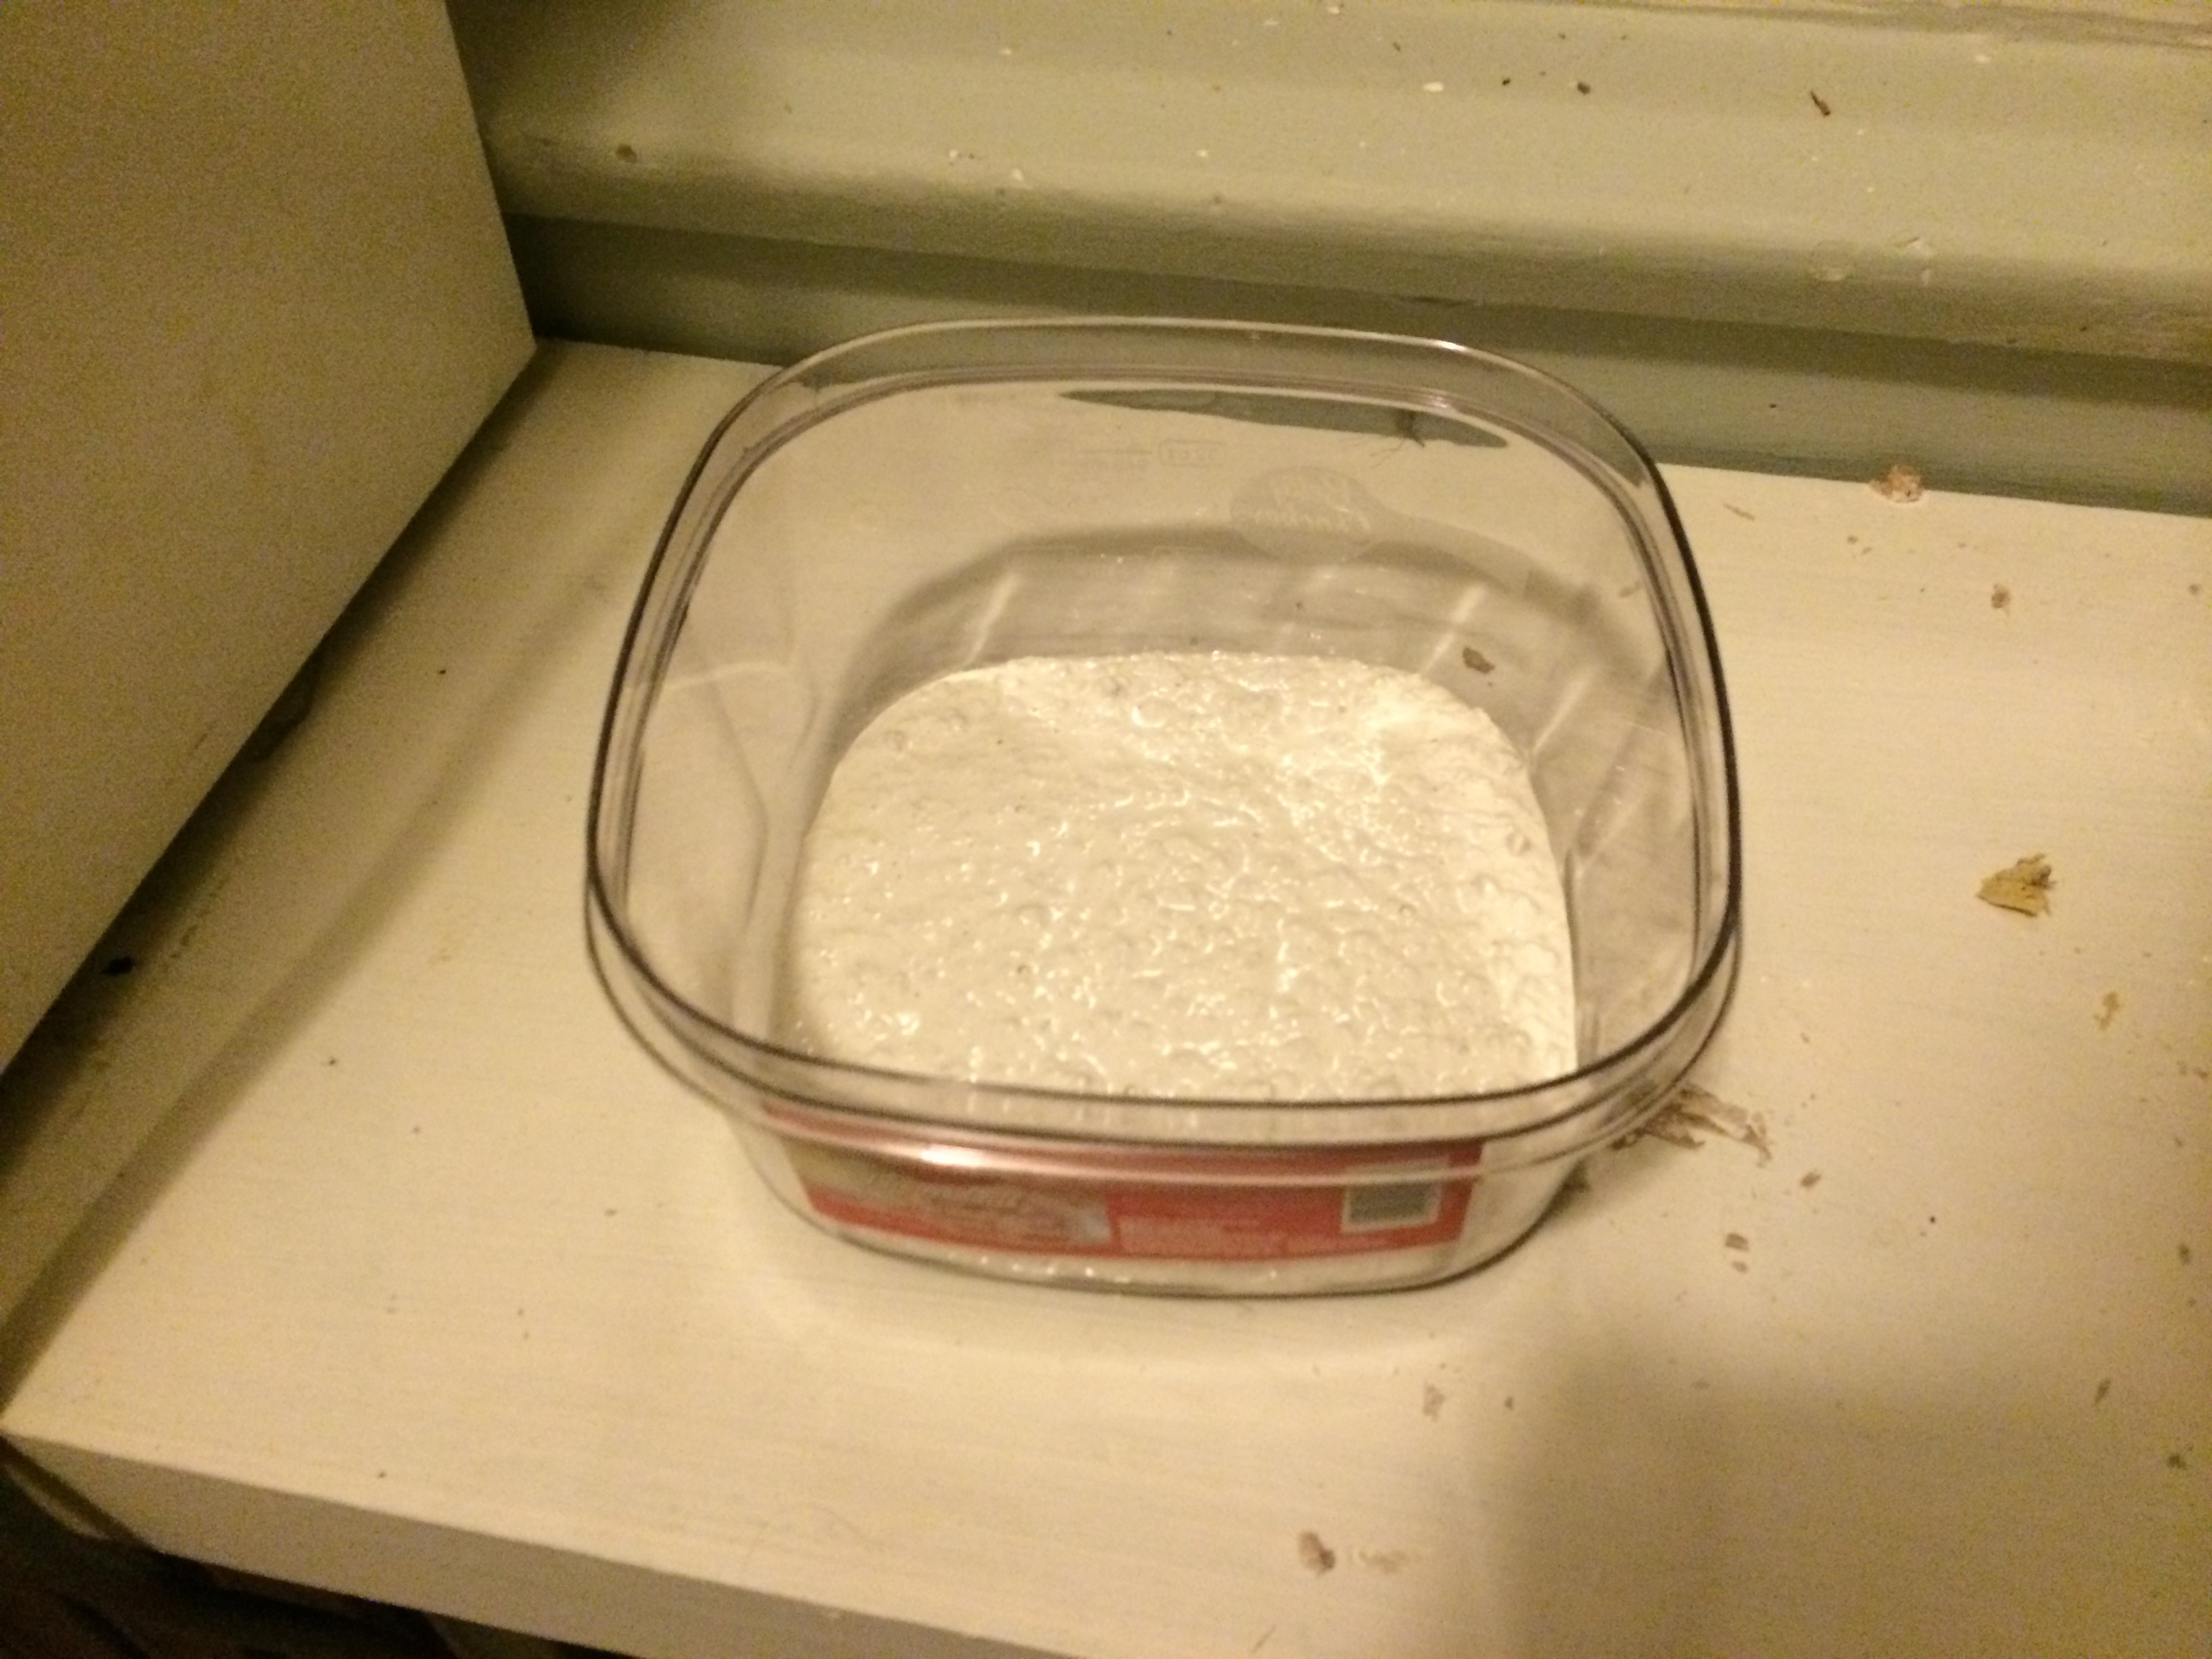
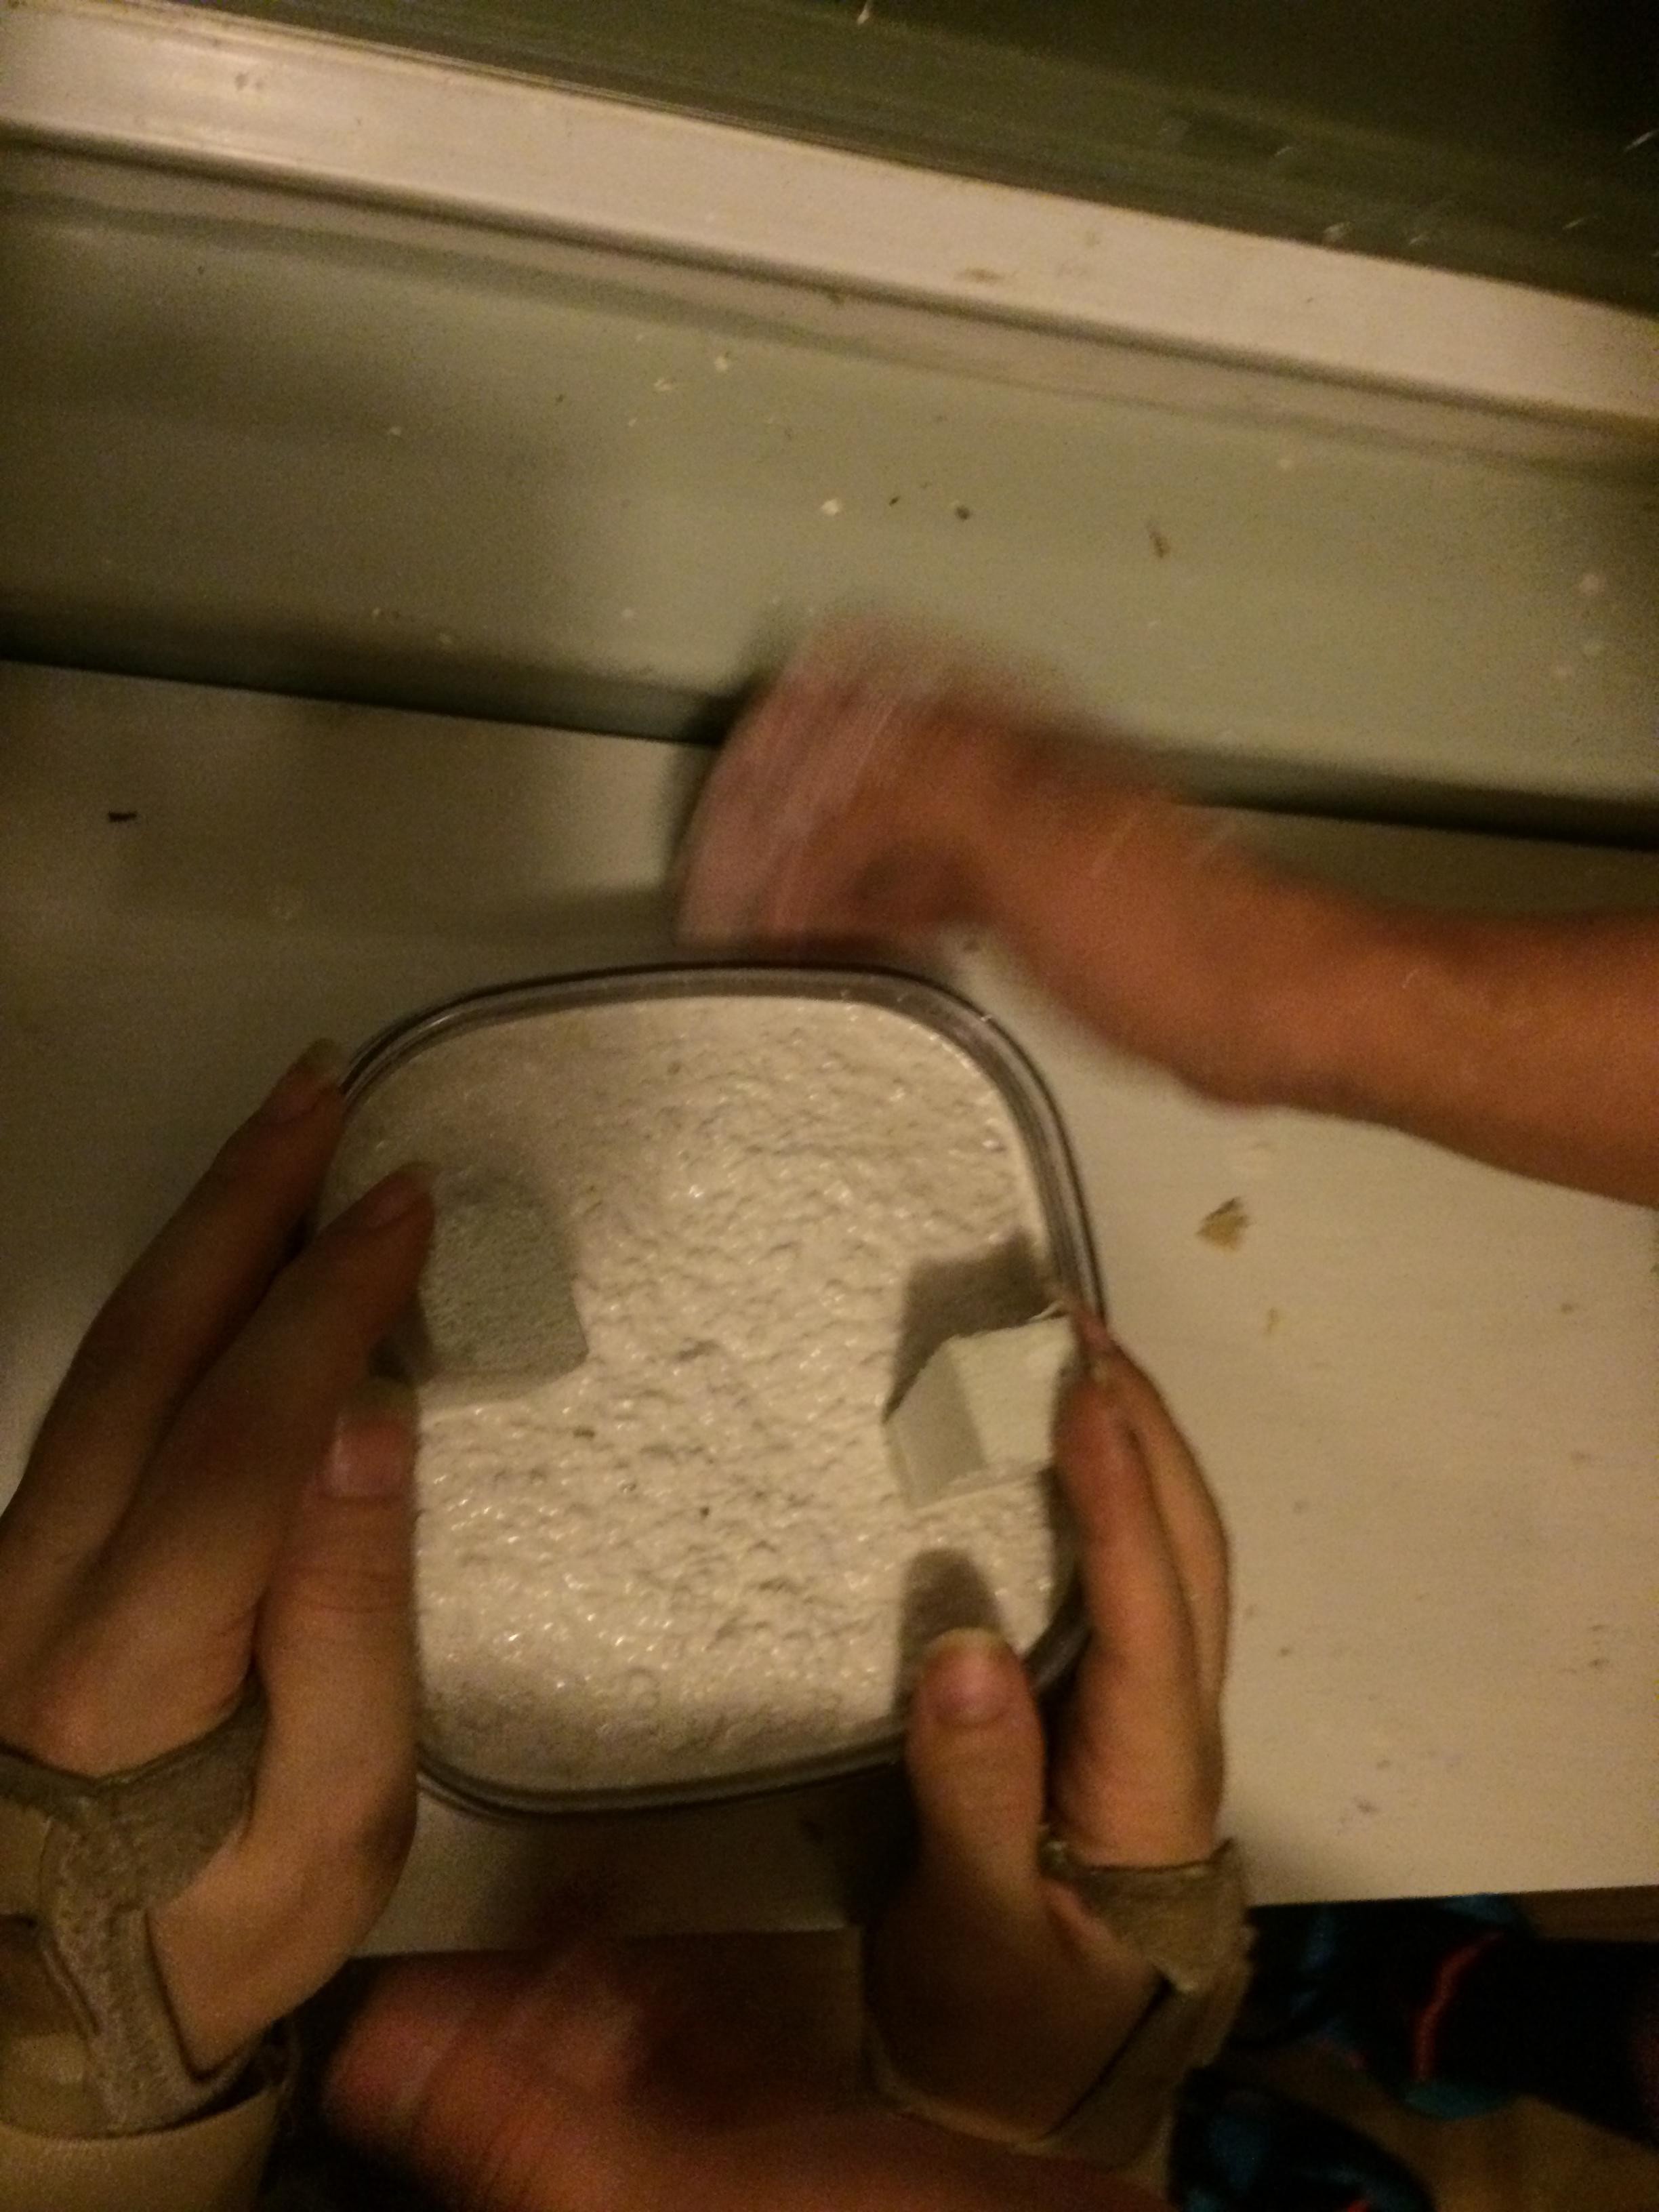
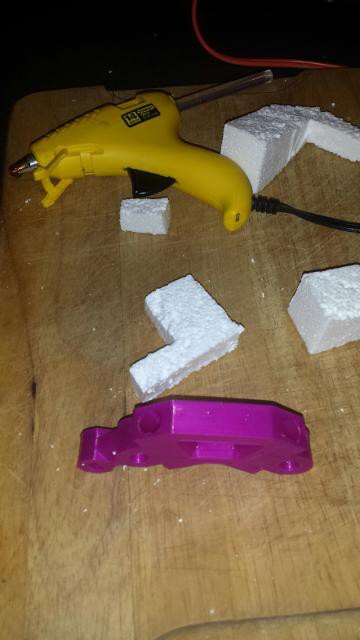
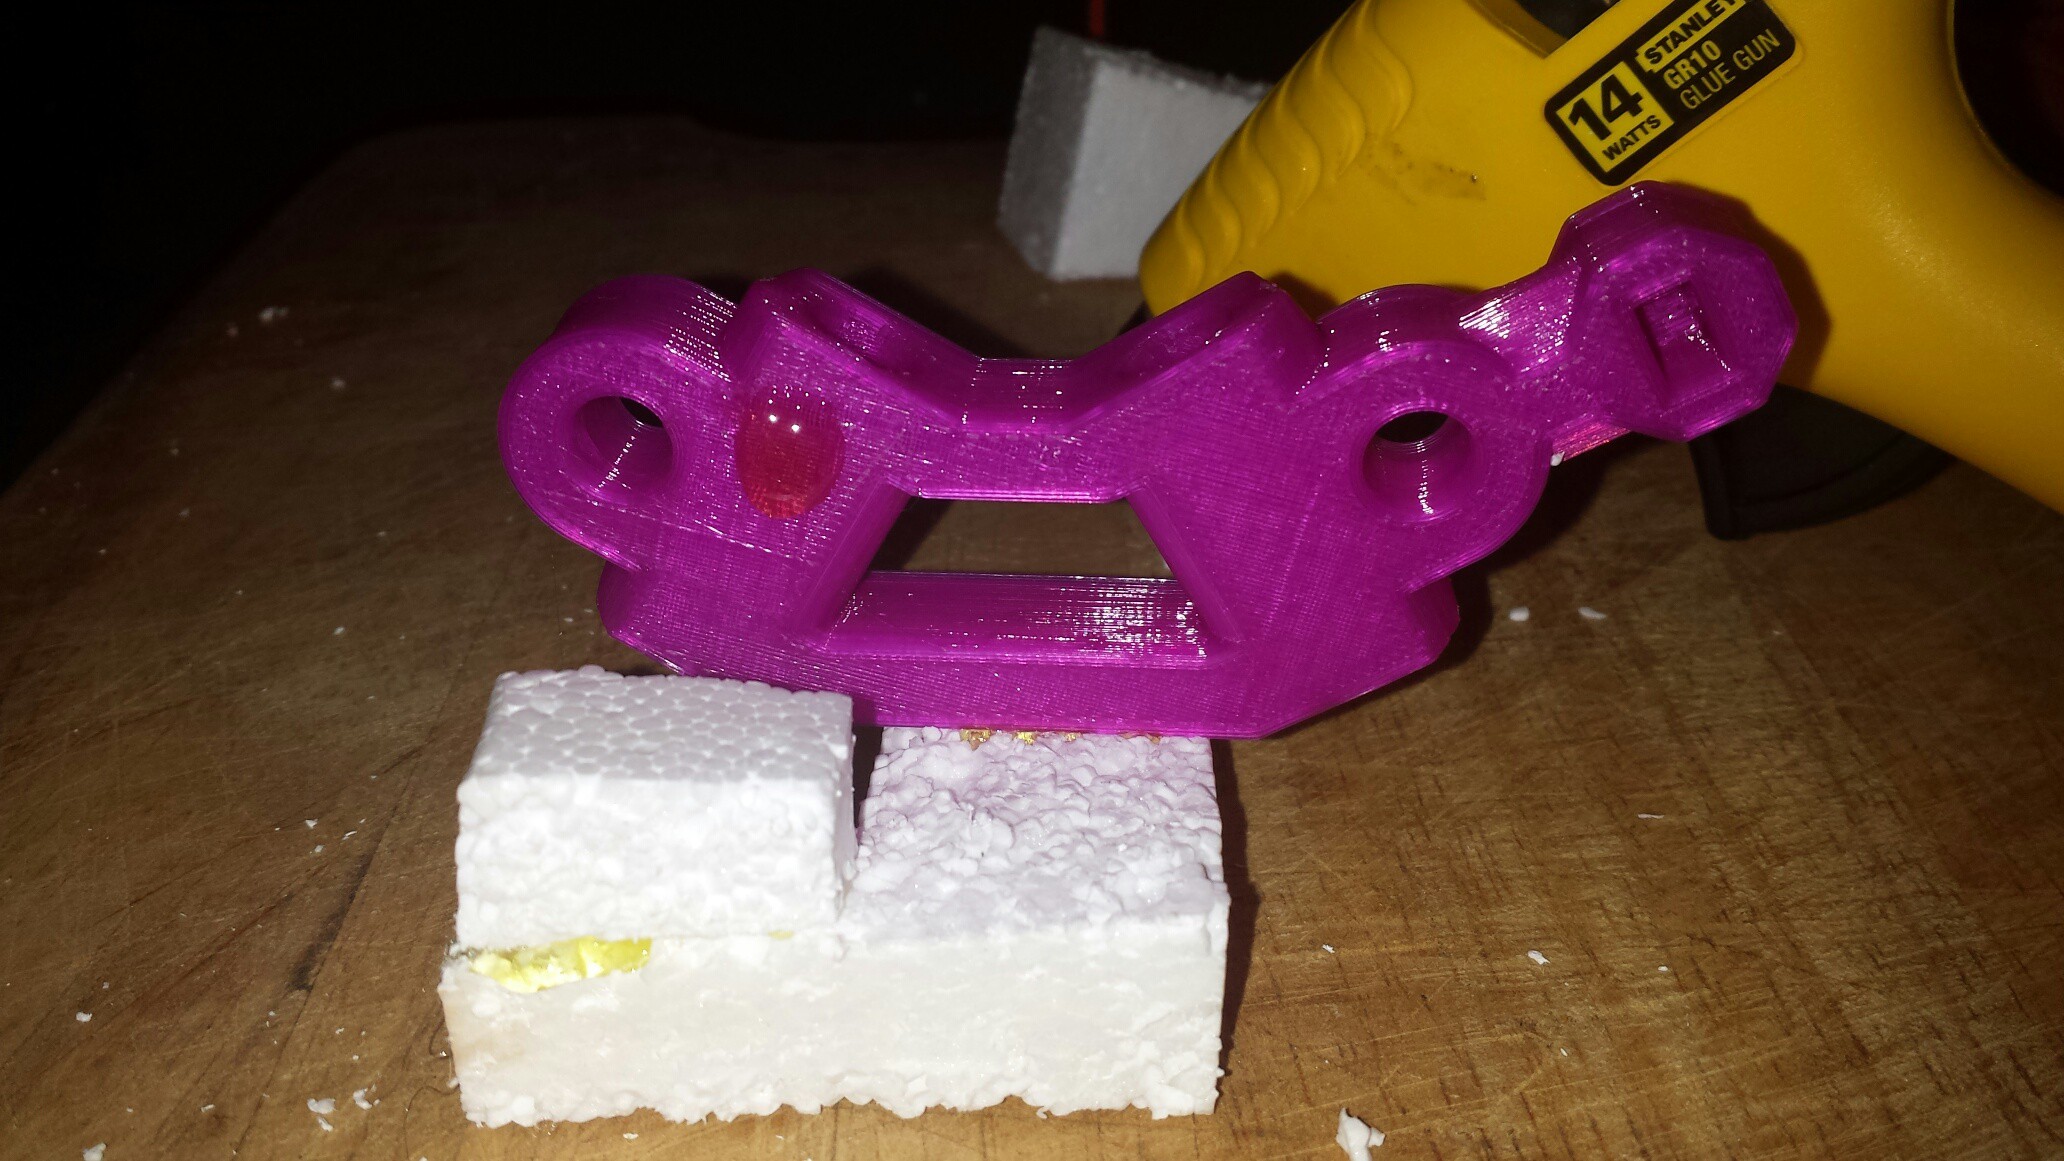
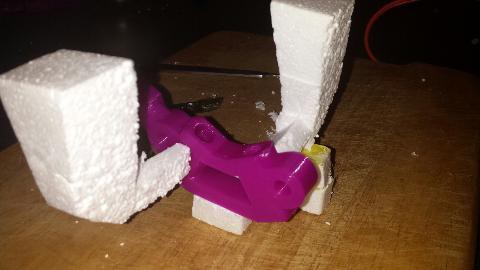
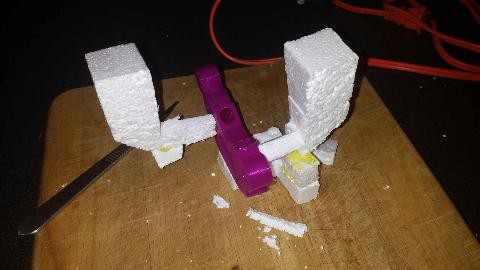
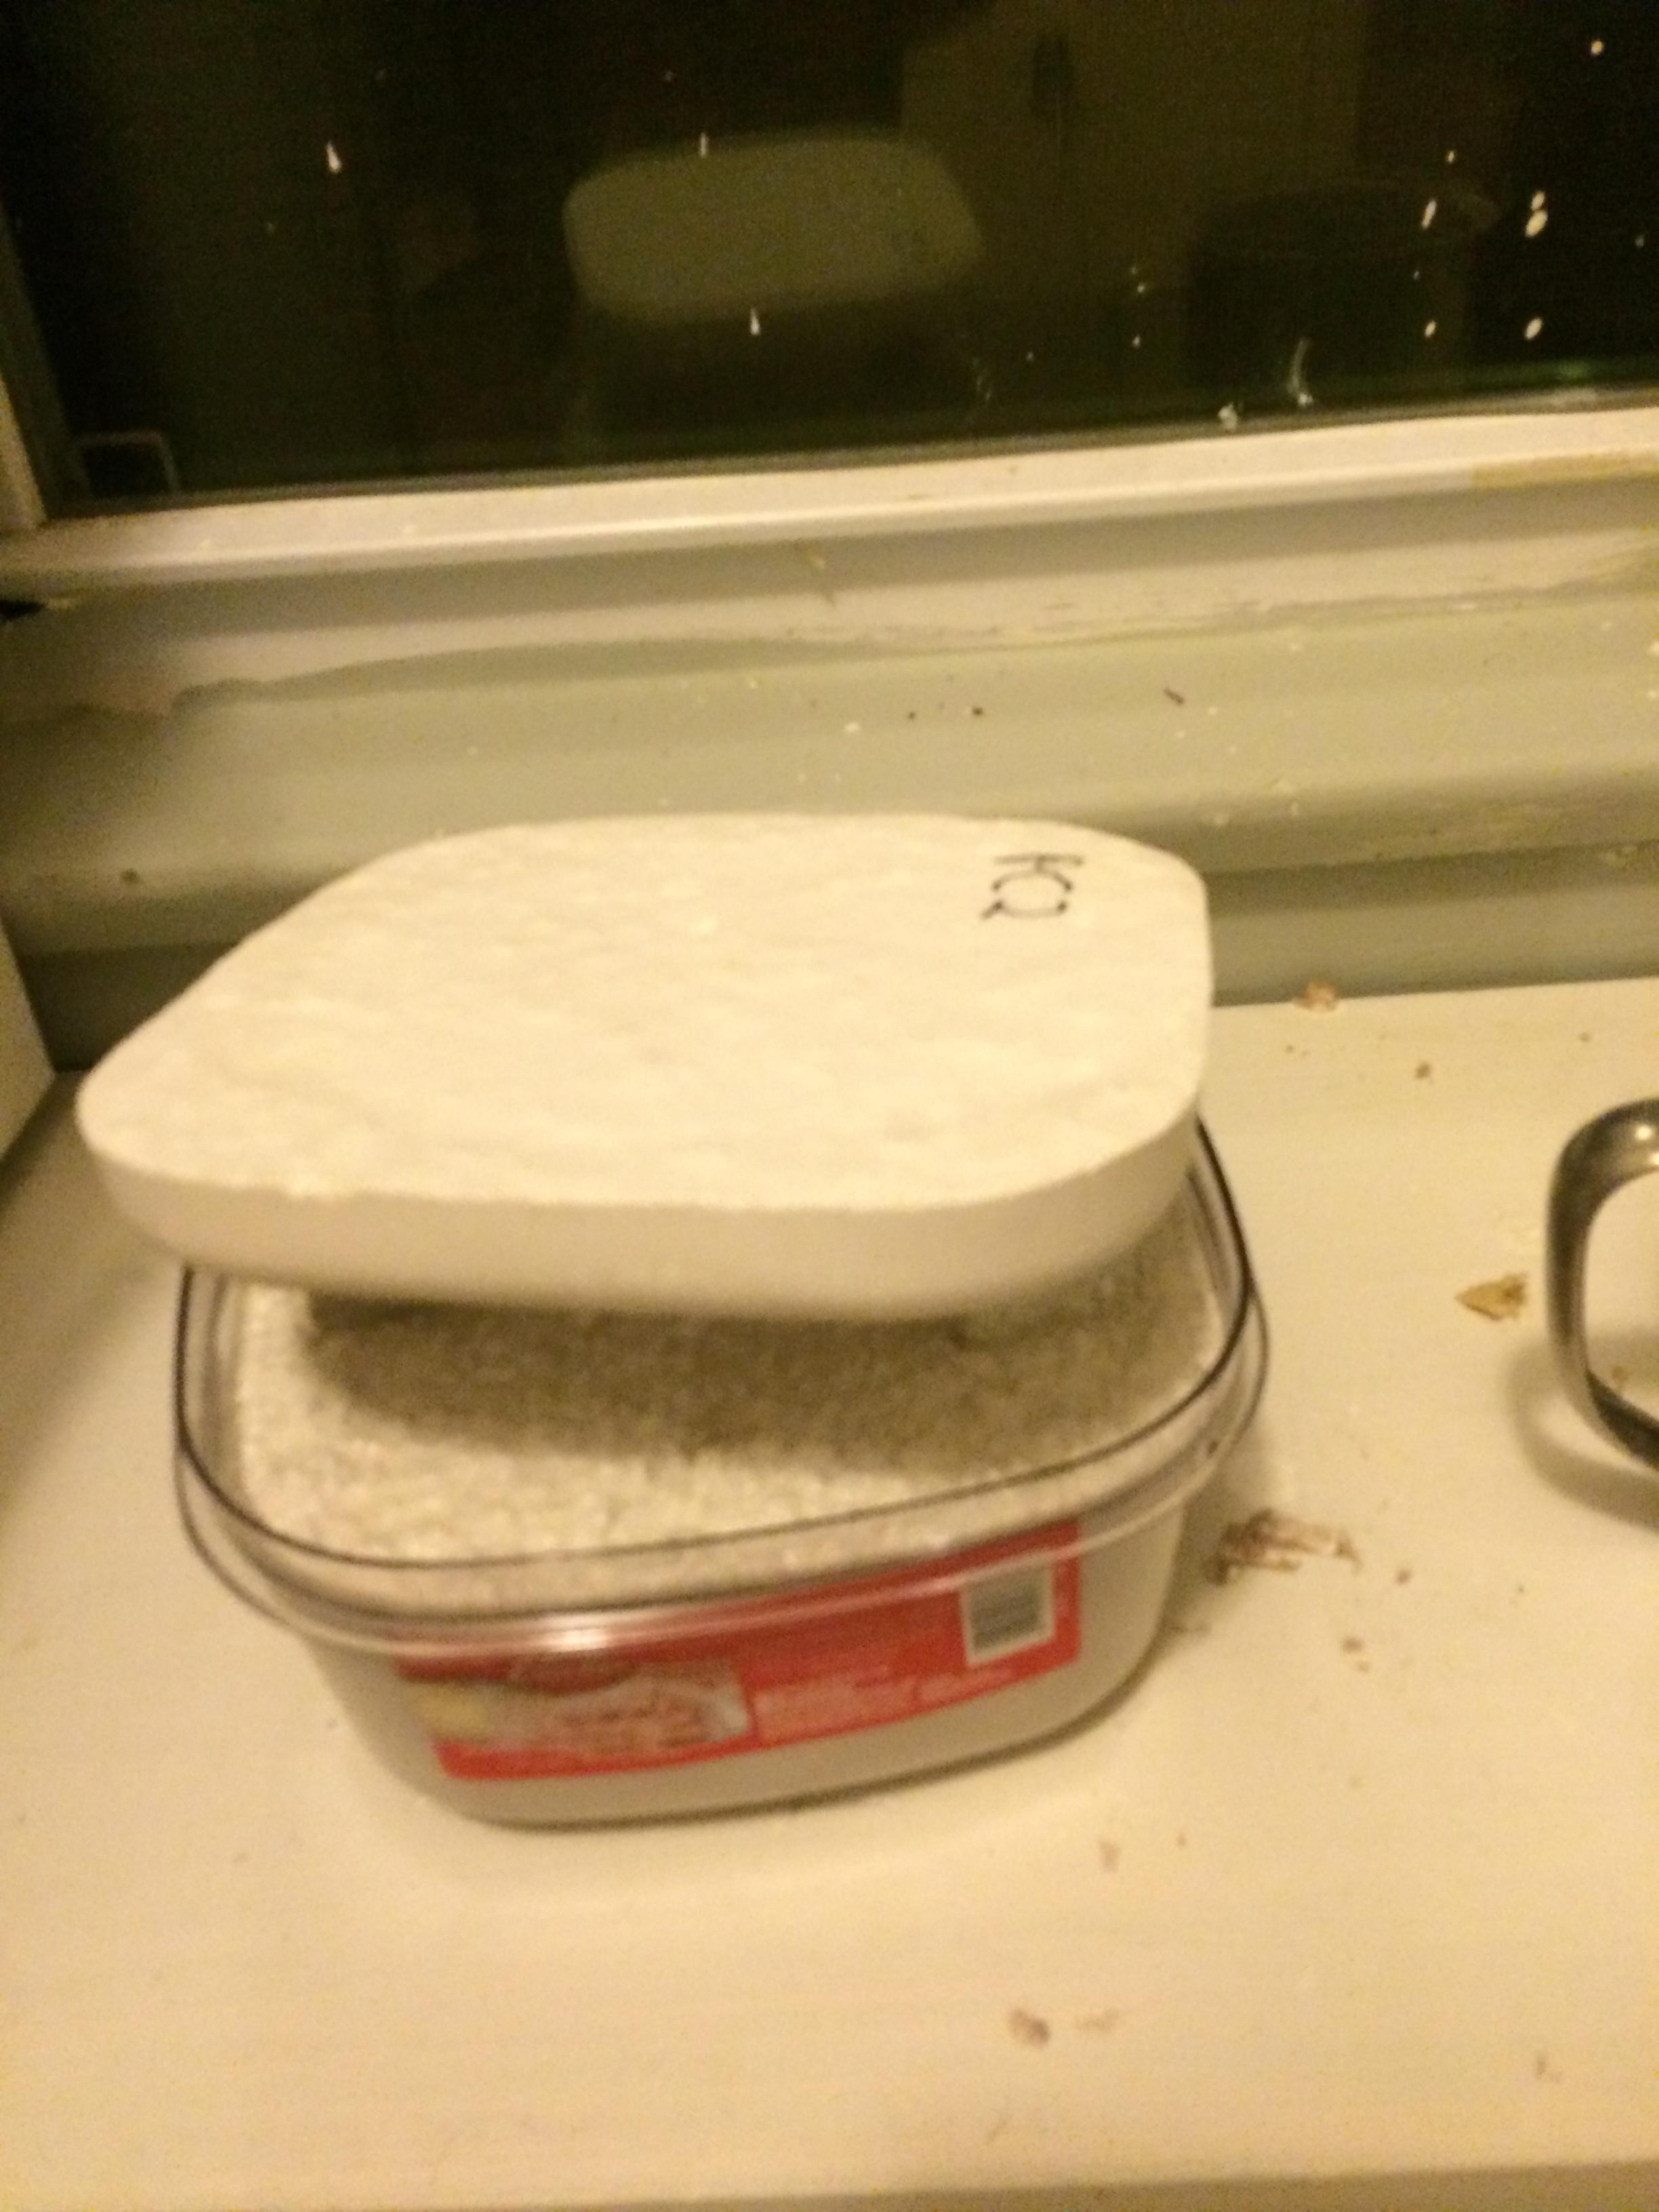 We added a little weight atop of our mold while the investment hardened. Set for ~ 1 hour.
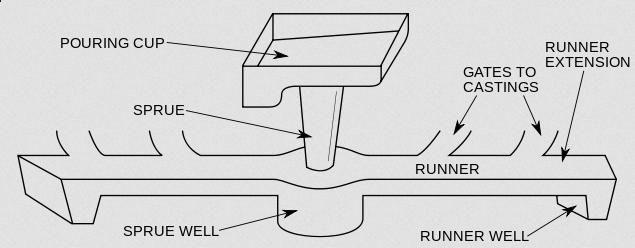
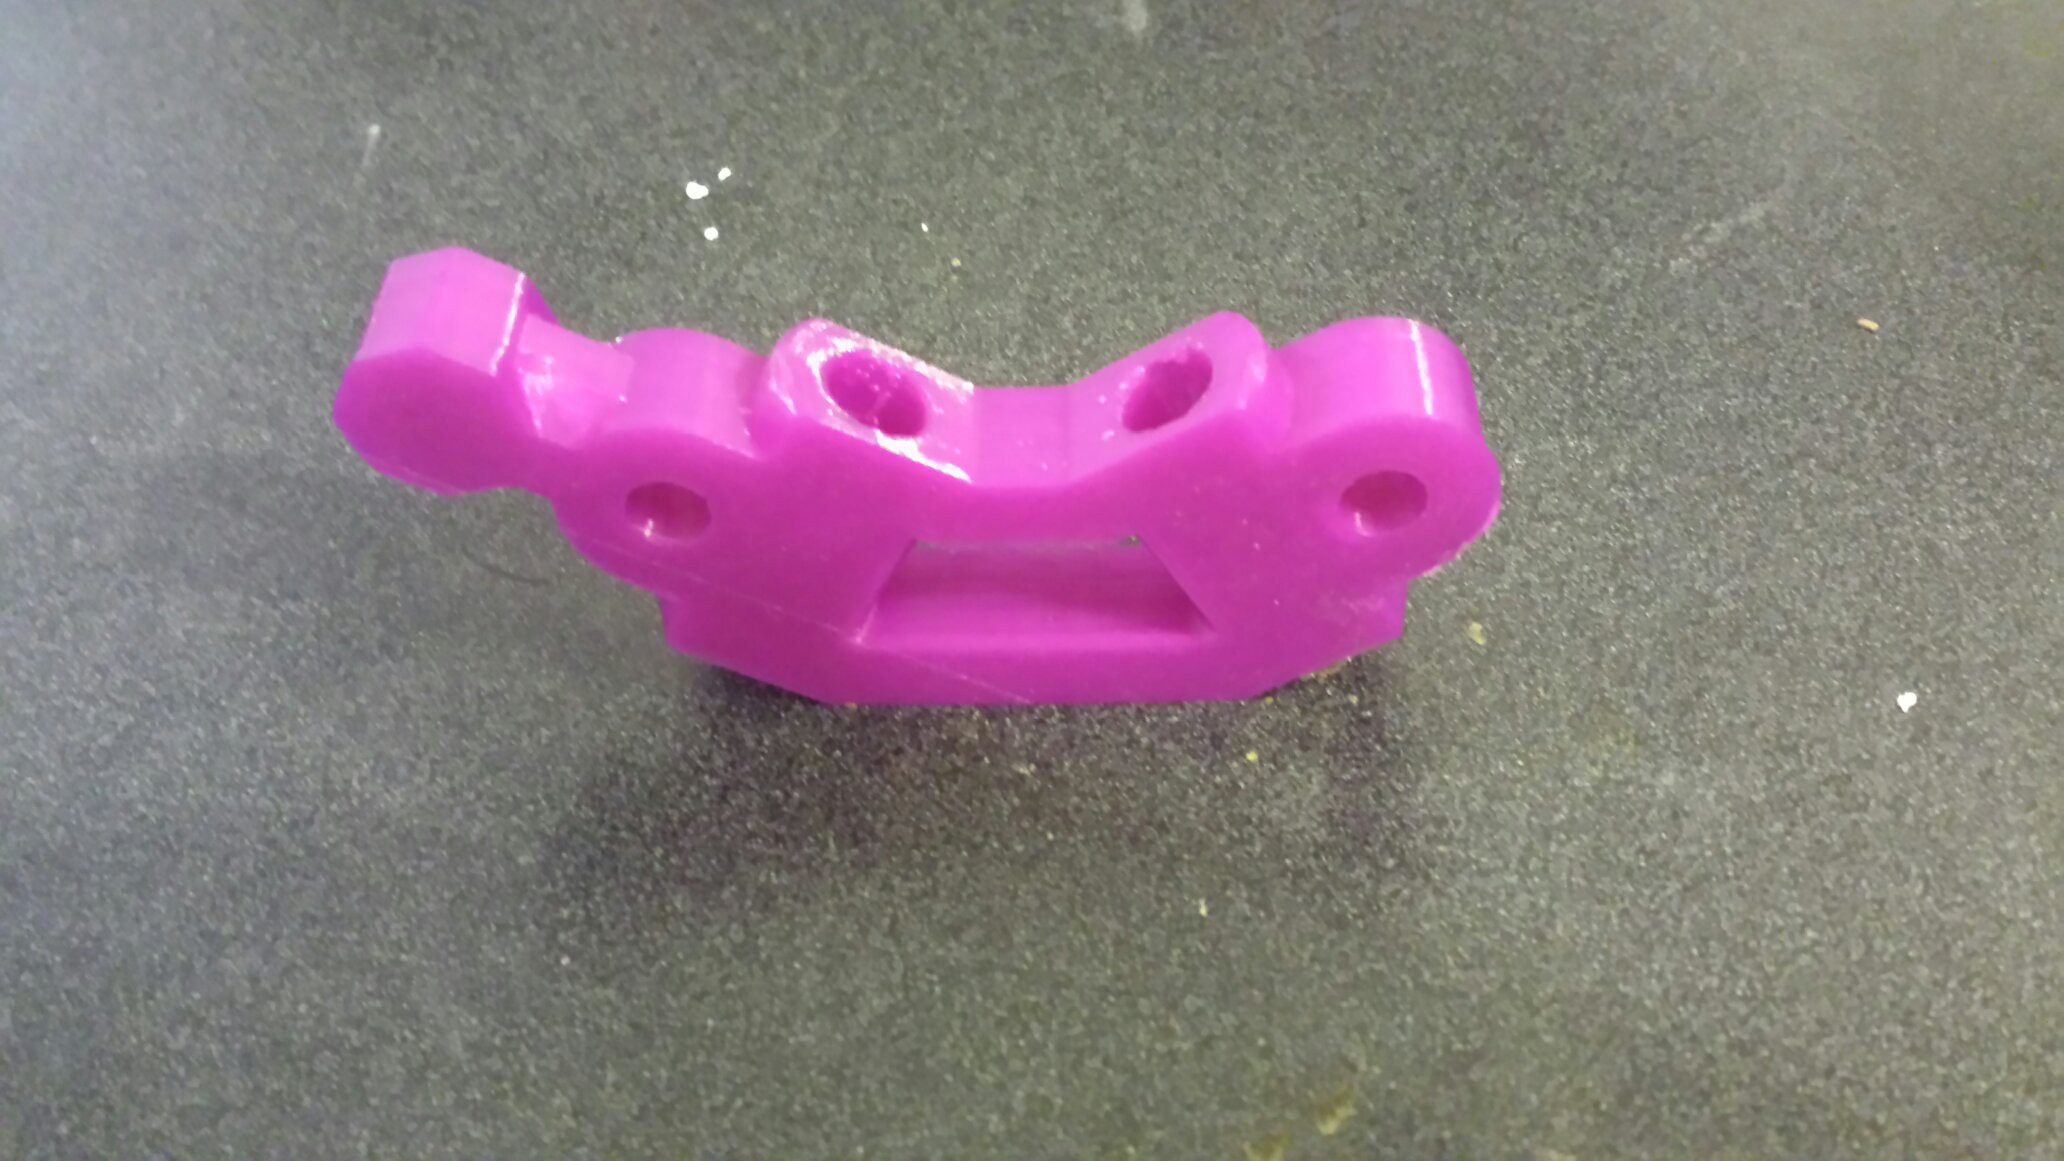
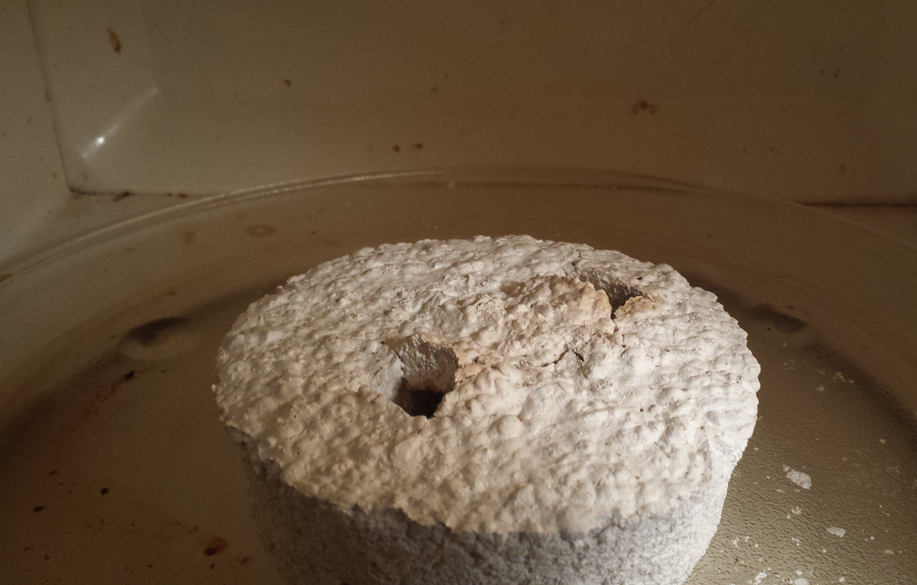
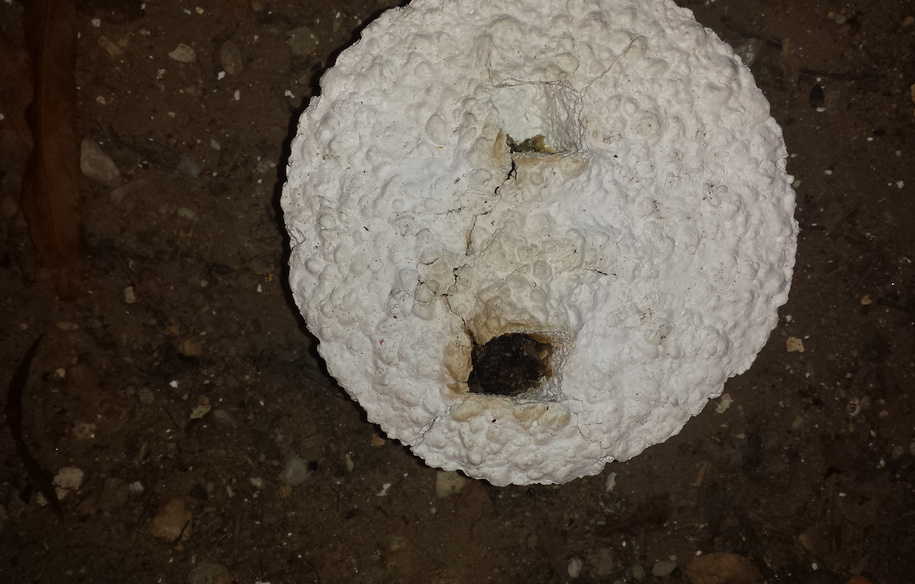
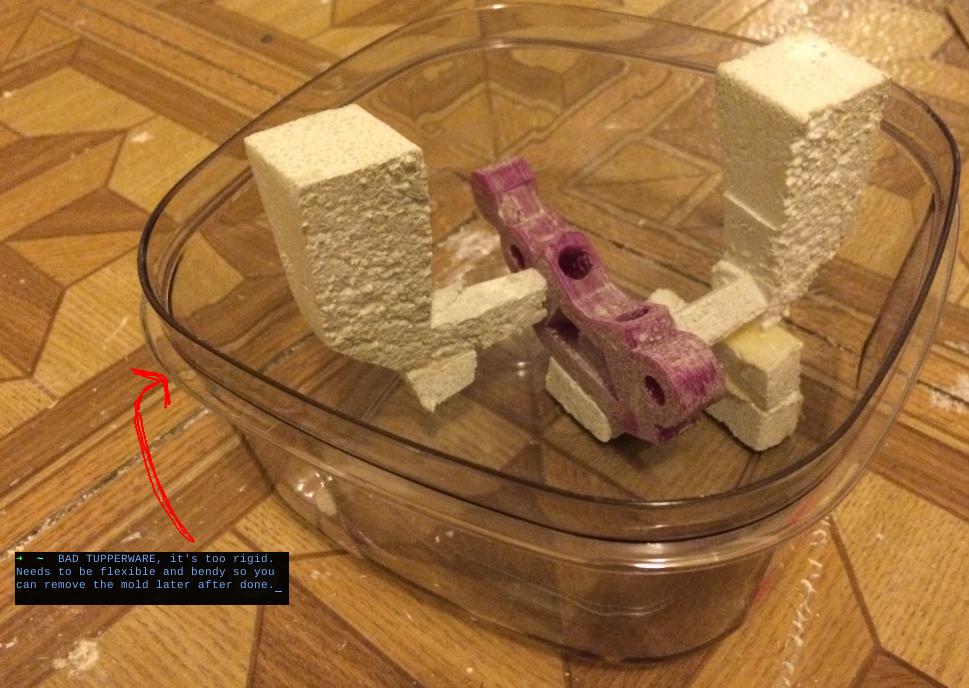
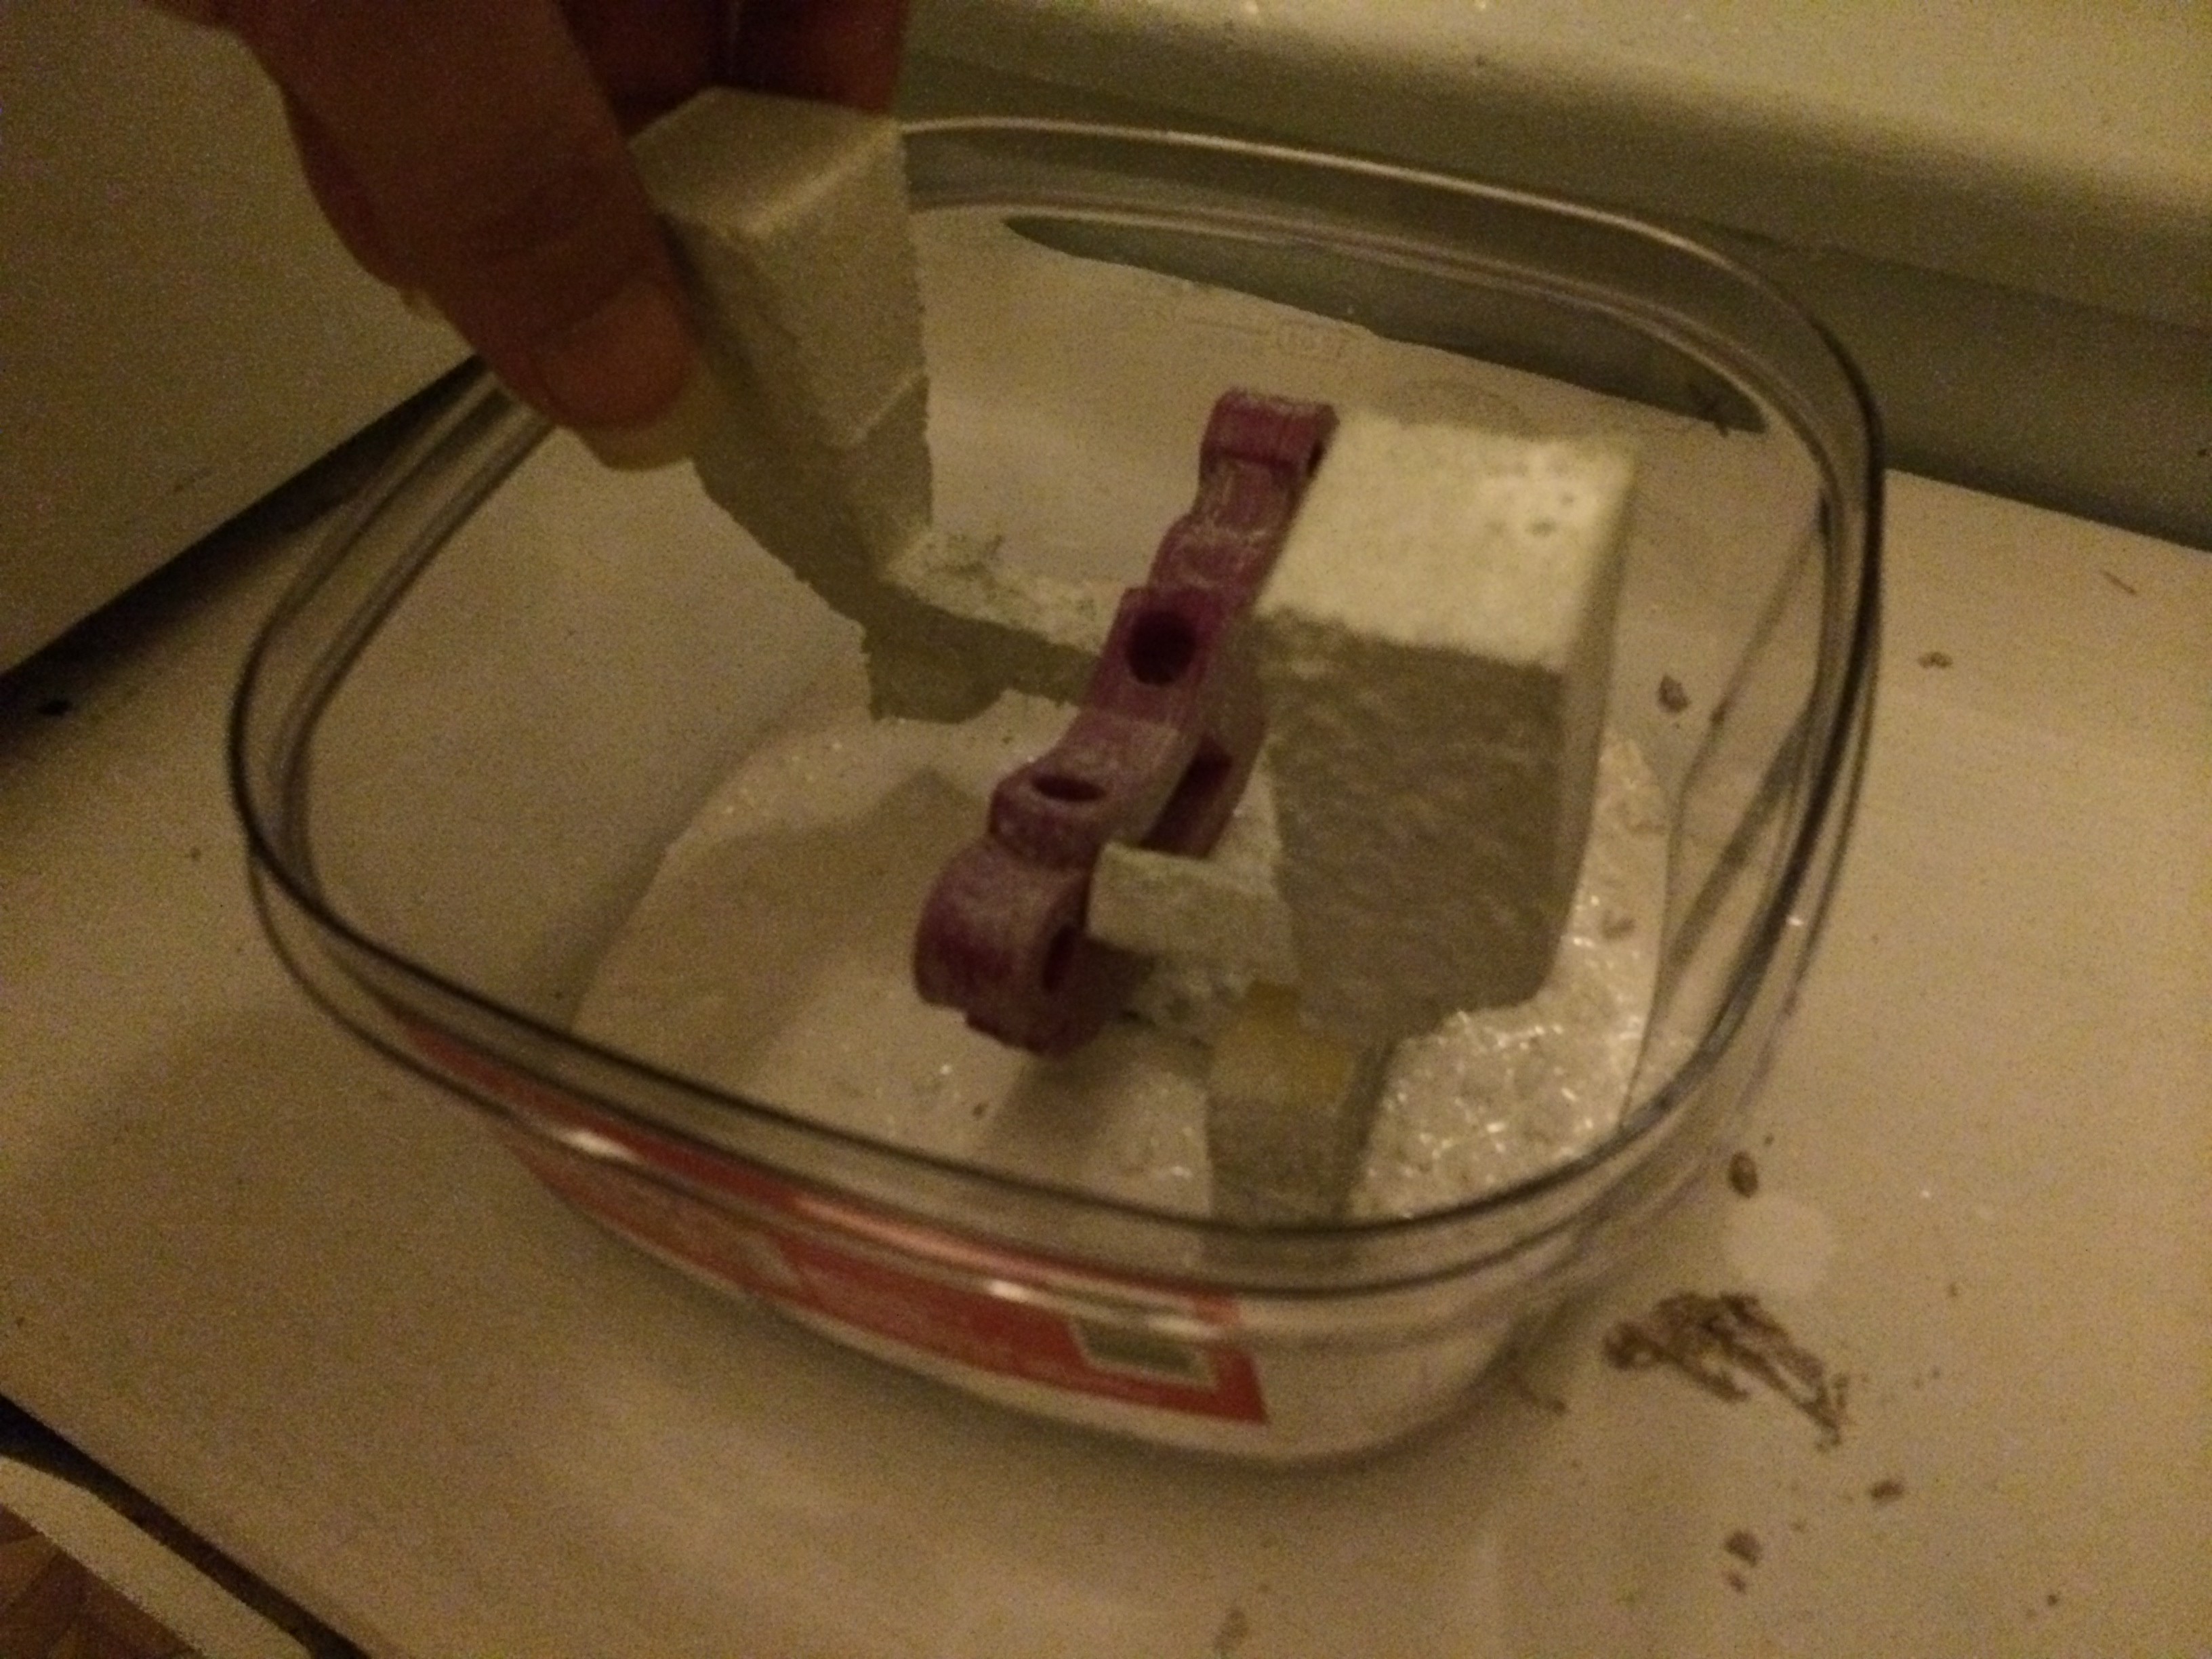
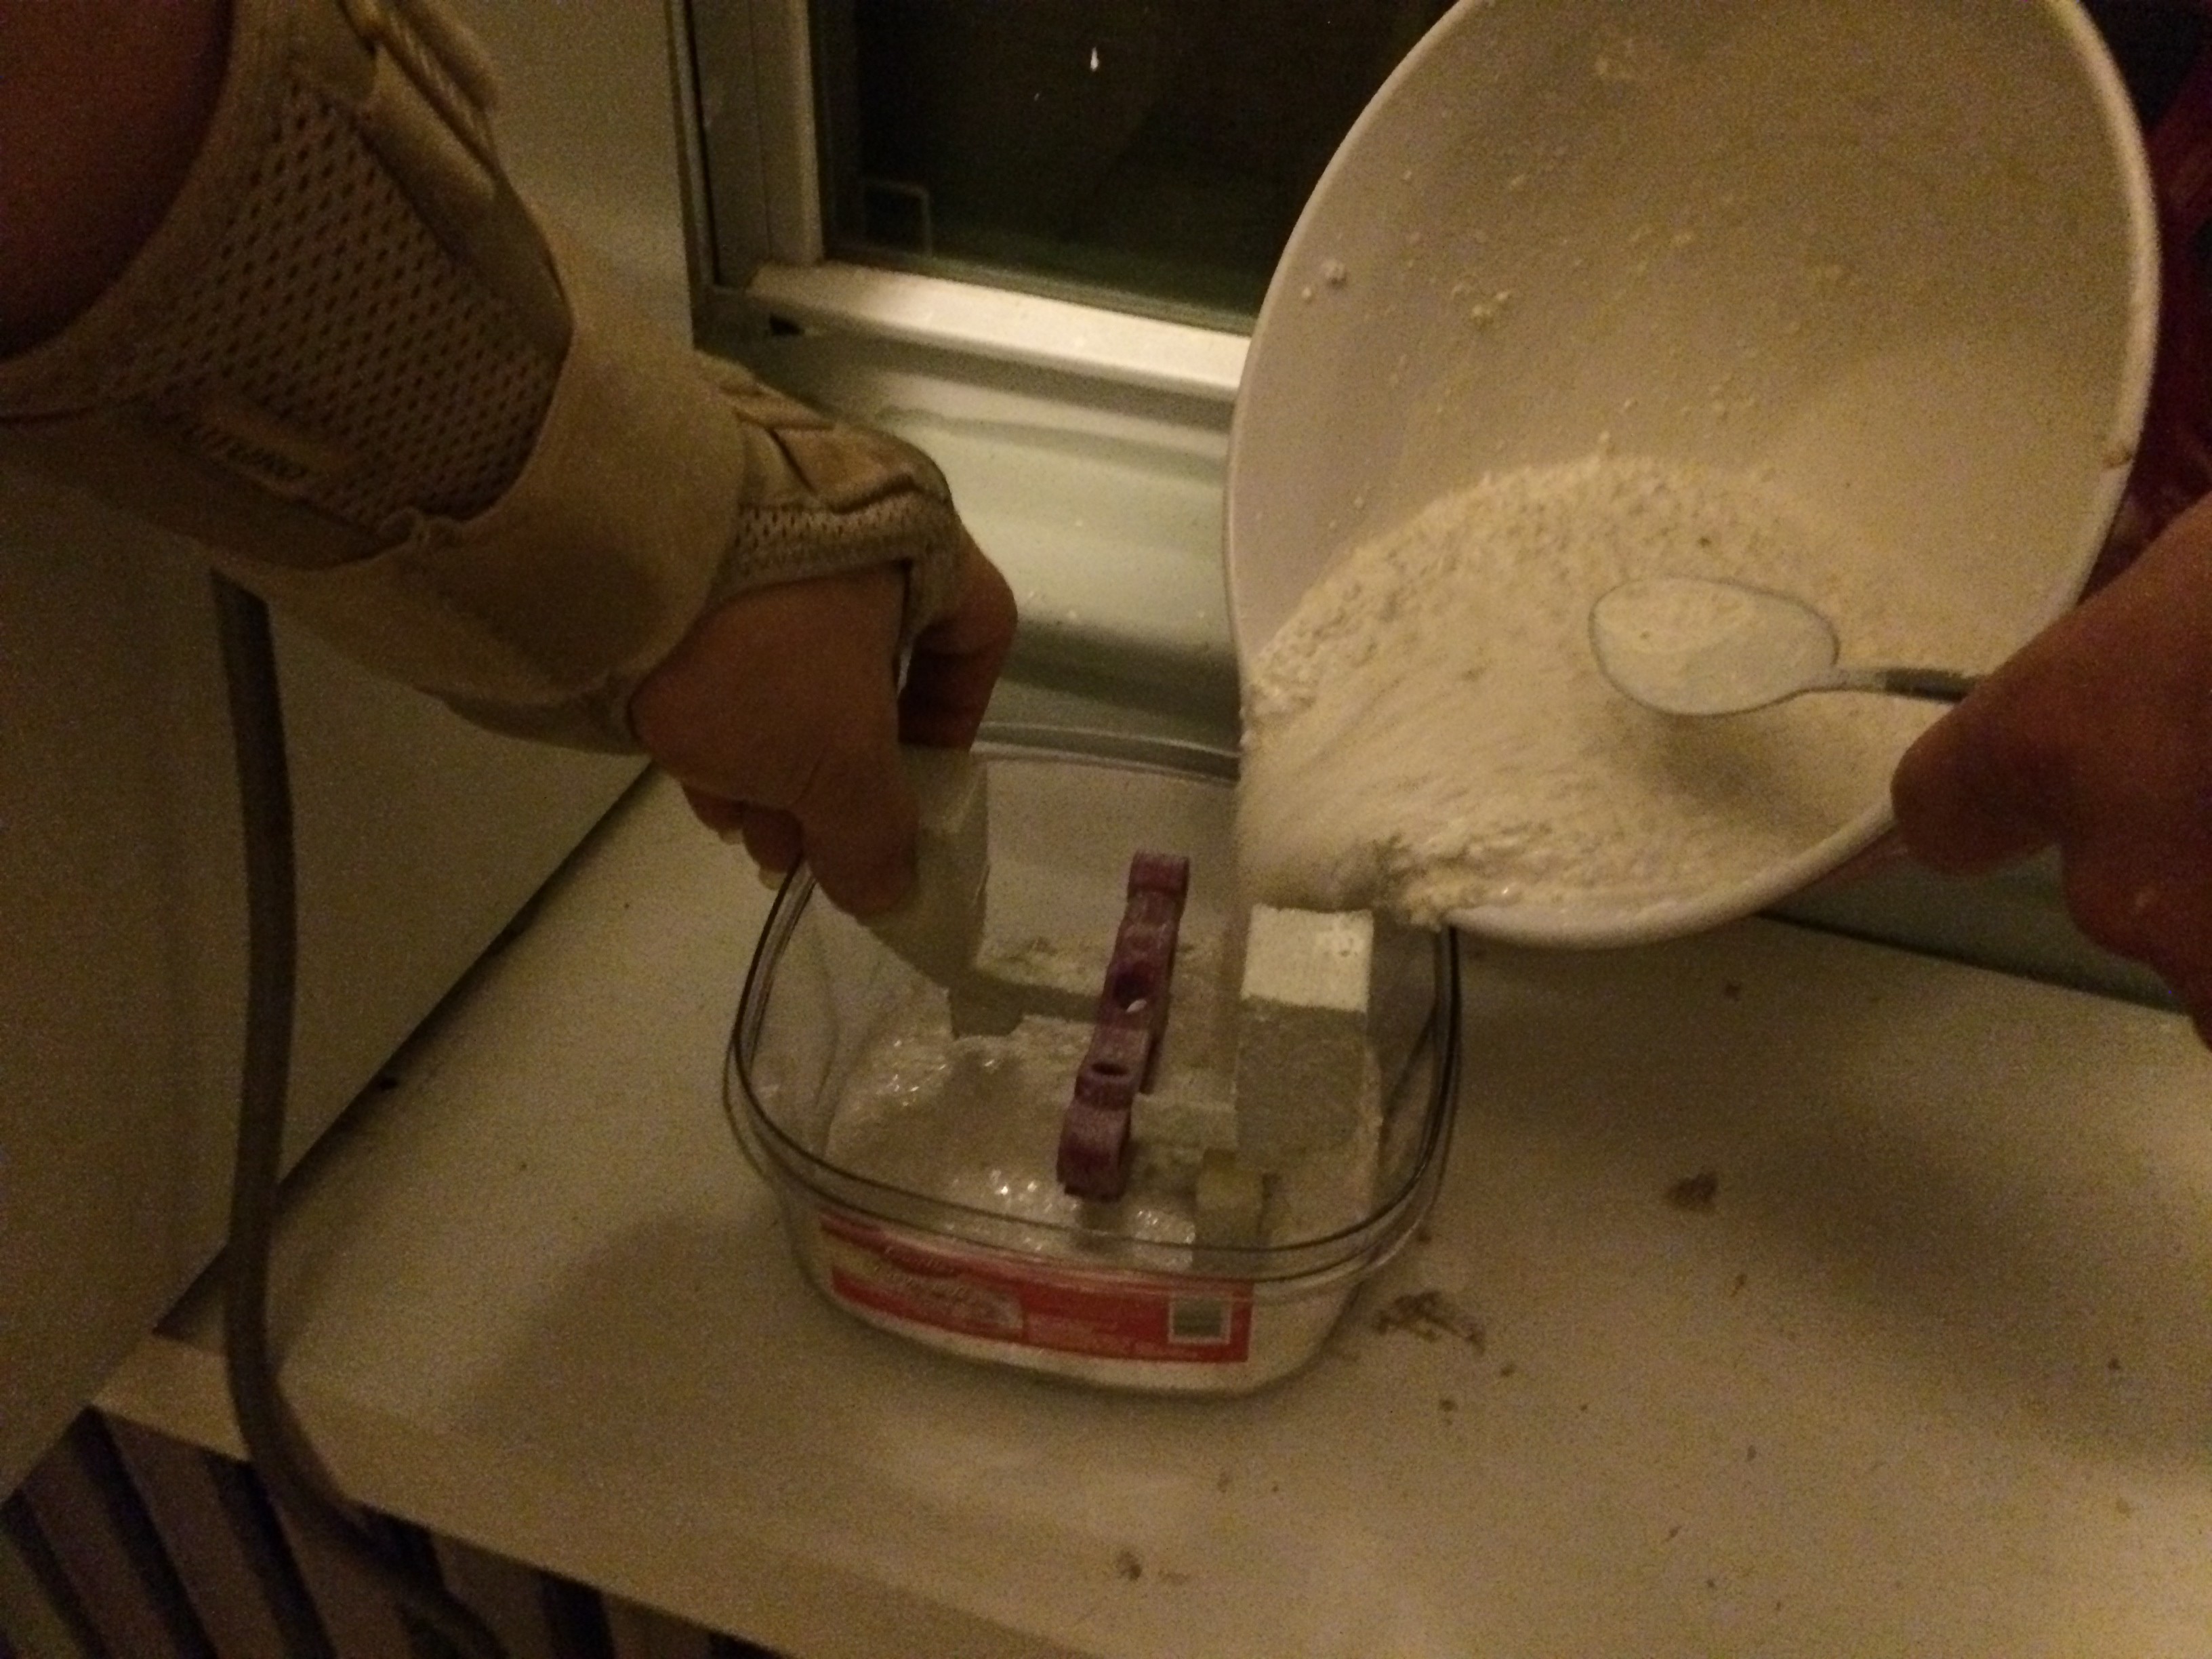
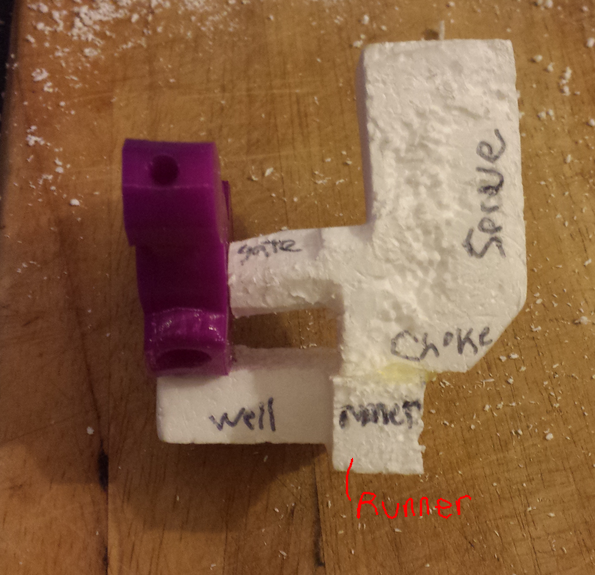
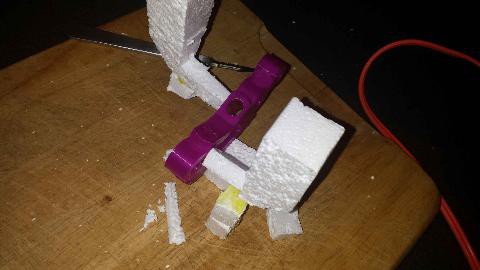
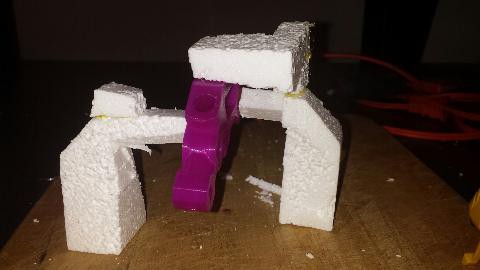
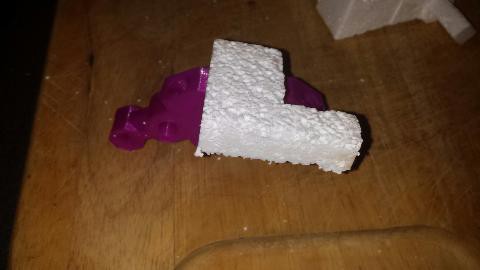 The 3D printed part will serve as the main cavity. This bottom gate is for draining out any ash from the cavity. we run a runner to this gate from the downsprue used to pour aluminium into.
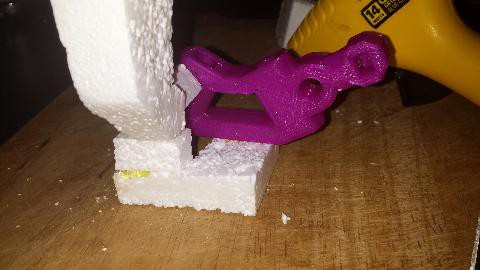


 Val
Val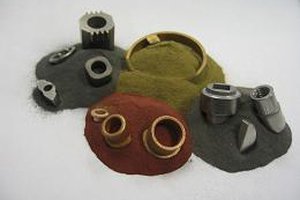

 Andrew Mayhall
How is this better than lost wax casting? I mean your substituting wax or PLA, a more expensive and more difficult to remove substance.
Also using a aluminium can as a funnel for your molten aluminium is ... silly? i mean its going to melt through that pretty quick.