 ReidDye
This page is a list of a bunch of small, random projects that I've done. They're things that take anywhere from an hour or two to about a day. They're not big enough to warrant a whole project entry, but they're still cool!
Using my mac as an external monitor
My monitor is an ancient, low-res thing, but it gets the job done. Or it did, until I discovered that OBS creates an infinite loop thing when you use the screen its displayed on as a source. Because my school forces us to buy macs for use in all schoolwork, I decided that it would be pretty cool to use the screen there as an extra monitor to put OBS on while recording or using OBS for a zoom call. Here's my process.
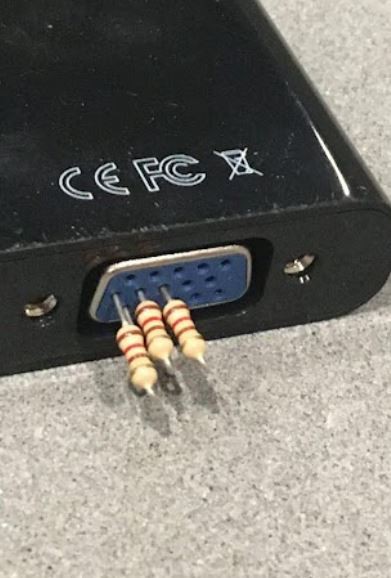
- Create the monstrosity below. By placing three 120ohm resistors into the VGA port on an HDMI-VGA adapter, I created a fake monitor. When plugged into my computer, it tricks the computer into thinking that there's an actual monitor plugged in. However, because there is no actual monitor, you can't see any windows you drag onto this 'monitor'.
2. Install some sort of screen mirroring software; I used deskreen because it was free and available for linux. Then you can use this software to mirror the phantom monitor to another, real, screen. With deskreen, you can mirror to any device that has a web browser, so I was also able to use my ipad.
Boom! More monitors.
This solution isn't perfect, and there is some lag due to the mirroring being wifi-based, but it's fine for my purposes. If you need a more serious and permanent solution, getting an actual monitor is probably definitely better.
Babies by the Thousands
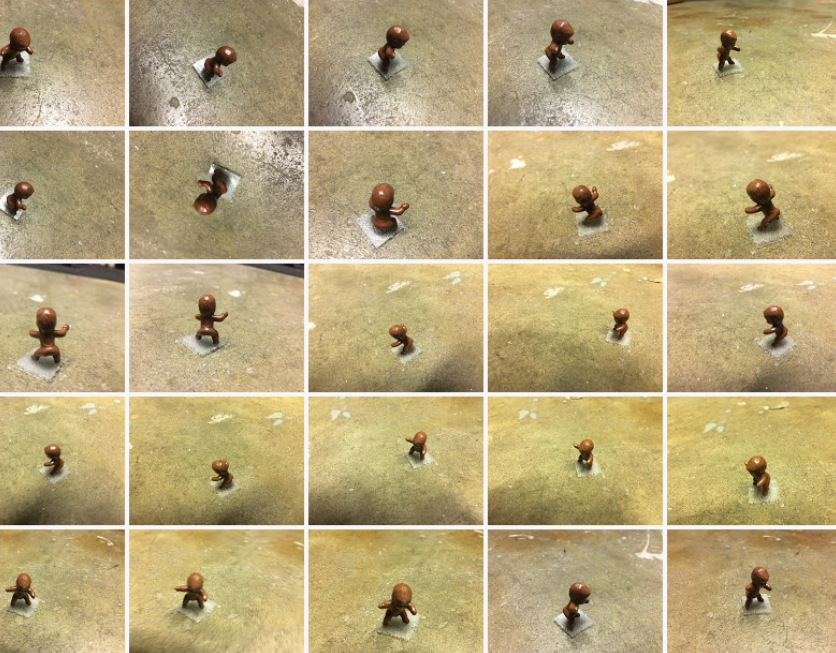
My school has random, student gov-led competitions between advisories. This time around, student gov had hidden around 300 little plastic babies around campus, and each baby found would mean points for your advisory. And candy. You got one peice for every baby found. I, being the great genius that I am, decided that if I 3d printed a bunch of babies (>100) and hid them around campus, it would be absolutely hilarious. I would also obtain so much candy that I could rise up from the world of humans and become a god, living in the holy realm of Candyland. I looked online, and searched every 3d model database for everything: "baby jesus", "rosca de reyes baby", "tiny plastic babies", etc. After finding nothing, I decided it was time to do it the hard way. I took around a hundred photos of a baby from all different angles, and imported it into meshroom, a photogrammetry program.
Photogrammetry is a technique where software looks at a bunch of different images of an object and puts together a point cloud representing the objects in the pictures, and ultimately makes a 3d model. I set it to run, and waited a good hour, and got an stl file out. I opened up meshroom from its minimized hiding spot, and looked at the model.
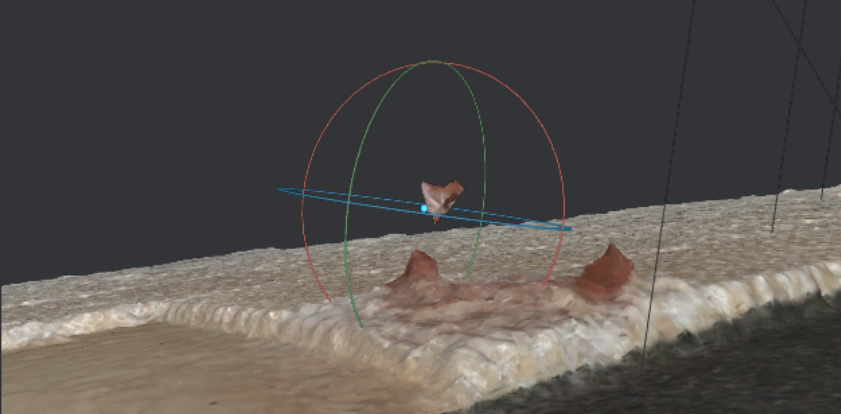
Beautiful. Just Beautiful.
As you can see, it didn't work out great. The baby was very small, and glossy, and the lighting wasn't great. This all added up to meshroom trying its very best but still failing to reconstruct a model of the baby. Thankfully, thingiverse came to the rescue! Someone had published a "king cake baby". For some reason, I never thought to translate 'rosca de reyes'.... oops.
I printed out a batch of babies from thingiverse overnight and went to school with around 70. It was easy to tell that they were fake, but it was also funny to see the person handing out candy and points figuring out what to do about all the counterfeit babies.
I like to believe that I'm chaotic good, but honestly I'm probably closer to chaotic neutral ;)
Raspberry Pi Pumpkin
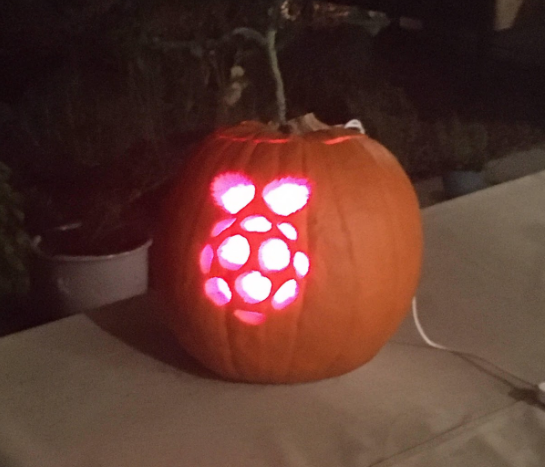
Here's a fun one! For halloween, I carved the raspberry pi logo and put LED lights in. This was mostly just a lot of cutting, so not much to write about. But here's my process:
- Print out the design in black and white
- Get the paper all wet
- Stick the wet paper onto the pumpkin so that the design in right where you want to carve
- Wrap the pumpkin in cling-wrap, just to make sure the paper doesn't come off when cutting. This is optional, as sometimes the wrap can get in the way. But if your paper isn't sticking, maybe try this.
- Trace the design with a tiny little saw
- Put some LEDs inside. I used led strips, because the roll I have has an IR remote that lets you control the colors. I made it fade from red to green, for the leaves and the raspberry.
- Maximum geekyness acheived!
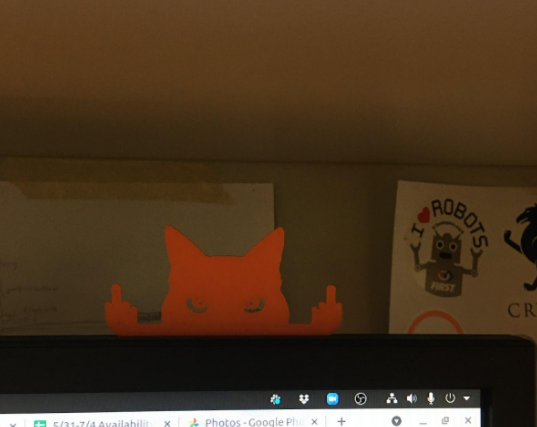
A fun monitor addition
Ok, this is a quick one, and only took around five minutes. But I saw this on thingiverse, and just had to print it out.
Mittens (yes, that's his name) helps motivate me every day now.
Here's the link, for anyone interested: https://www.thingiverse.com/thing:4750252
Discussions
Become a Hackaday.io Member
Create an account to leave a comment. Already have an account? Log In.