 Max Tails
In this article, I show several techniques that allow you to transform standard woodfill into prints virtually indistinguishable from real wood!
Prerequisites
- Any woodfill filament. In my case I'm using Sakata.wood maple 1.75
- A 3D printer
- Lots of viscous superglue
- Wood stain
- Sponge and papertowels
- A couple of pairs of plastic (HDPE) gloves
- Sandpaper (200, 400 and 800 grit)
- Super glue accelerator spray (optional)
- Polishing paste (optional)
Overview of the process
The process consists of the following steps and can be time consuming especially for complex objects:
- Applying wood texture to the 3D printed object
- Printing
- Sanding the print to enhance wood stain absorbtion
- Staining
- Sanding to enhance contrast of wood grain
- Filling the gaps with superglue and curing it
- Levelling and polishing
Applying wood texture to the 3D printed object
This is the first and perhaps the most important step that will determine the final outcome. The idea here is to create wood pattern over the printed object - the concave parts of the print will be filled with wood stain and the coplanar or convex parts will be sanded after staining and therefore significantly brighter, creating a nicely contrasting and convincing wood grain.
There are at least two options for this process.
The first option is to use ZBrush, Blender or any other capable software to apply a texture into the object geometry and create the aforementioned grain. This is quite a lengthy subject and it's out of scope of this tutorial, but the advantage is that patterns of arbitrary shape and complexity can be obtained with this method
The second option is to use a post processing script that varies the nozzle temperature from layer to layer, creating realistic wood pattern. The script can be downloaded here:
https://github.com/MoonCactus/gcode_postprocessors/tree/master/wood
It used to be available as a Cura plugin, but since Cura had a very inconsistent support for their plugins, it was modified to also work as a standalone script. The page explains in detail how to use the script. I recommend that you use Python 2.7 for this, since newer versions can cause issues.
Now slice your print with your favorite program (I use Cura) and run the script on the GCODE file you got from your slicer according to the instructions on the script homepage linked above. It will modify it by adding temperature variations.
If the script fails to process your print (if you open the GCODE file with a text editor and don't see an ASCII art wood graph at the end of the GCODE file), you will have to modify line 363 from
elif not "m104" in line.lower(): # forget any previous temp in the file
to
if not "m104" in line.lower(): # forget any previous temp in the file
Other than varying the temperature of the filament which affects the color, this will also cause the filament to shrink or swell depending on the temperature - this will create grooves which we will be able to fill with wood stain in the next steps.
Printing
Once you print your object, it should look somewhat like this:
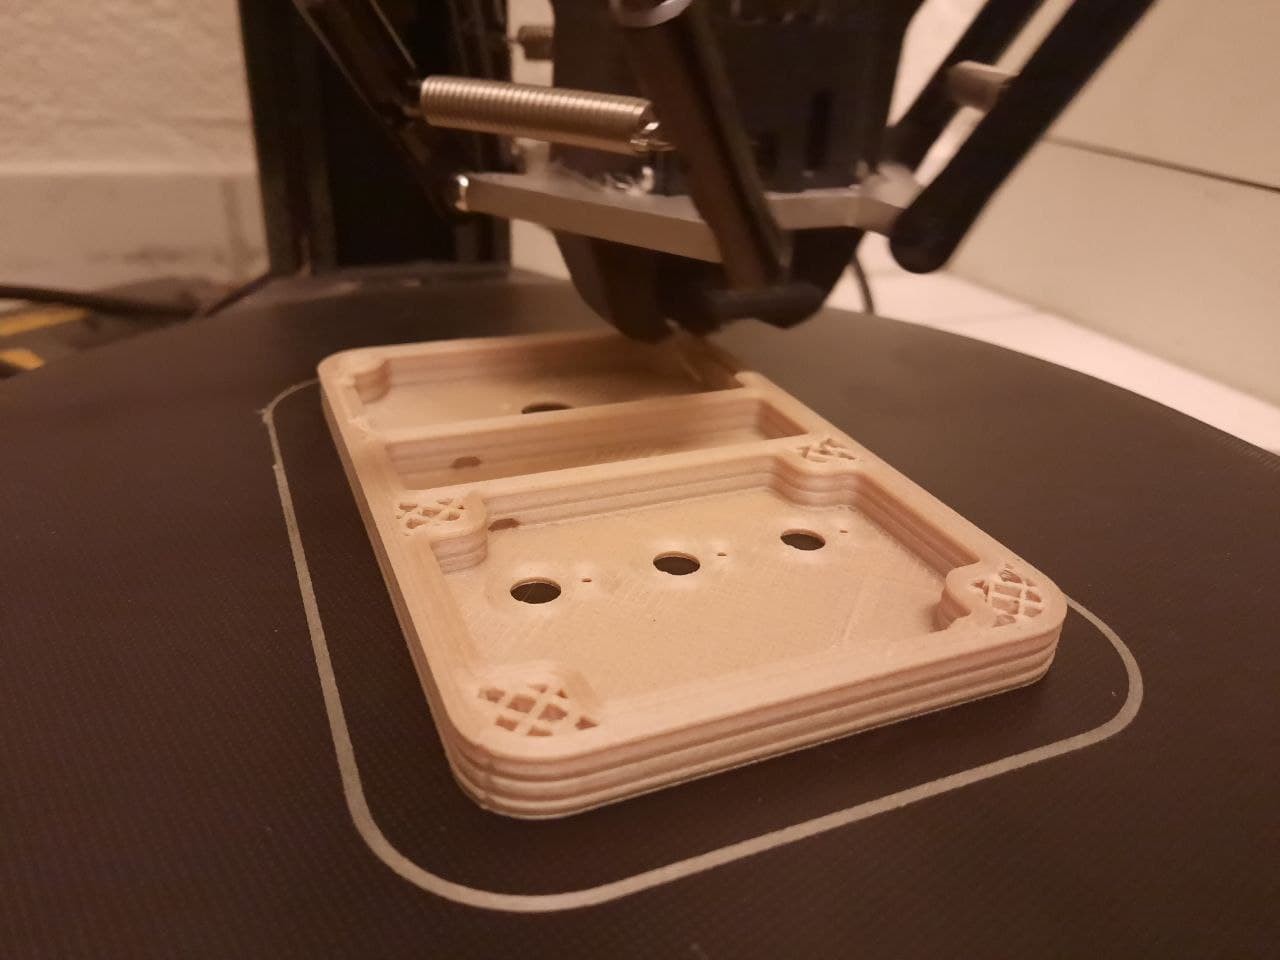
You can see there are visible grooves which are also darker. If you decided to use Blender or ZBrush to create the wood texture, the color will be more uniform, but what matters is that the surface has these grooves we will color darker with the wood stain and sanding.
Sanding
In this step, you will just hand sand the print with 200 grit sand paper - this will increase the absorption of the wood stain - try to get the sandpaper into the grooves too - it will help obtain a more contrasty look. When you sand wood and wood-like materials, always sand along the grain - this helps retain the direction of the grains and prevents scratches.
There's nothing to show in a picture as the sanded part looks nearly the same as before, only the surface is more porous, which will help the wood stain to penetrate deeper into the print.
Staining
This is the tricky part. You will need your gloves, a sponge and sandpaper. Put your gloves on, fill some container with a little amount of wood stain and soak the sponge (although not too much), take the sponge and apply the wood stain to the print. Coat it uniformly to color it. Don't worry that the wood grain will be mostly gone at this point and the color will be uniform - we will work on that in the next step.
Sanding to enhance contrast of wood grain
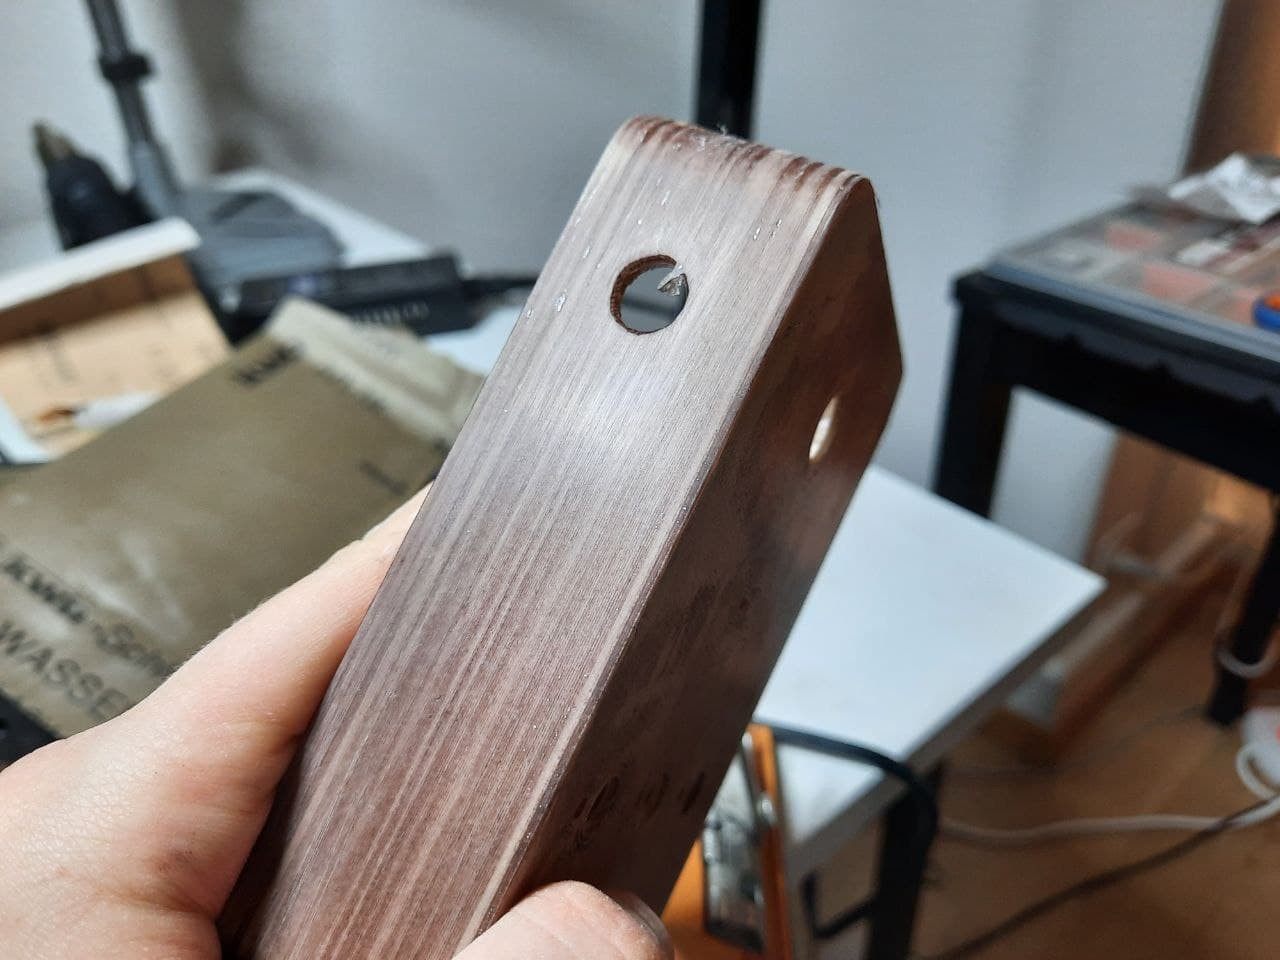
Once the wood stain dries up, you can sand the print to make the concave part brighter (it will remove the wood stain from the concave parts and leave it intact in the convex parts). In my experience it works best with 200 grit sand paper, although if you have lots of details, you can also try 400. The result should look somewhat like this:
If you want a more contrasty look, you can repeat sanding and staining several times which will get the grooves darker with each repetition. Be careful not to overly sand the corners as I did above. If you do that, as long as the grooves remain to be convex, you can reapply the wood stain and sand delicately again.
Filling the gaps with superglue and curing it
Here I want you to be extra careful. Wear your gloves, make sure your workspace is secured from accidental spileage of the glue. Ensure you're in a well ventilated area or wear googles and gas mask.
Once you're sure you and your workspace are protected, you can apply a hefty amount of the viscous (thick like a dense syrup) superglue to the surface of your print. Thin superglue found in small tubes doesn't work that well since it will droop from uneven surfaces.
Use the HDPE gloves to smear the glue into the grooves with your finger - the gloves offer a very good protection since the glue doesn't cure upon contact with them and you can use them as a kind of "brush".
Once the surface is more or less flat and the glue starts getting so dense it doesn't flow anymore, you can speed up the curing process with an accelerator spray. Keep in mind that this might make the surface white if you spray it from a close distance, so best results are achieved when it's sprayed from at least 30cm or when you just be patient and let the glue fully cure on its own (that can take even up to 30 minutes).
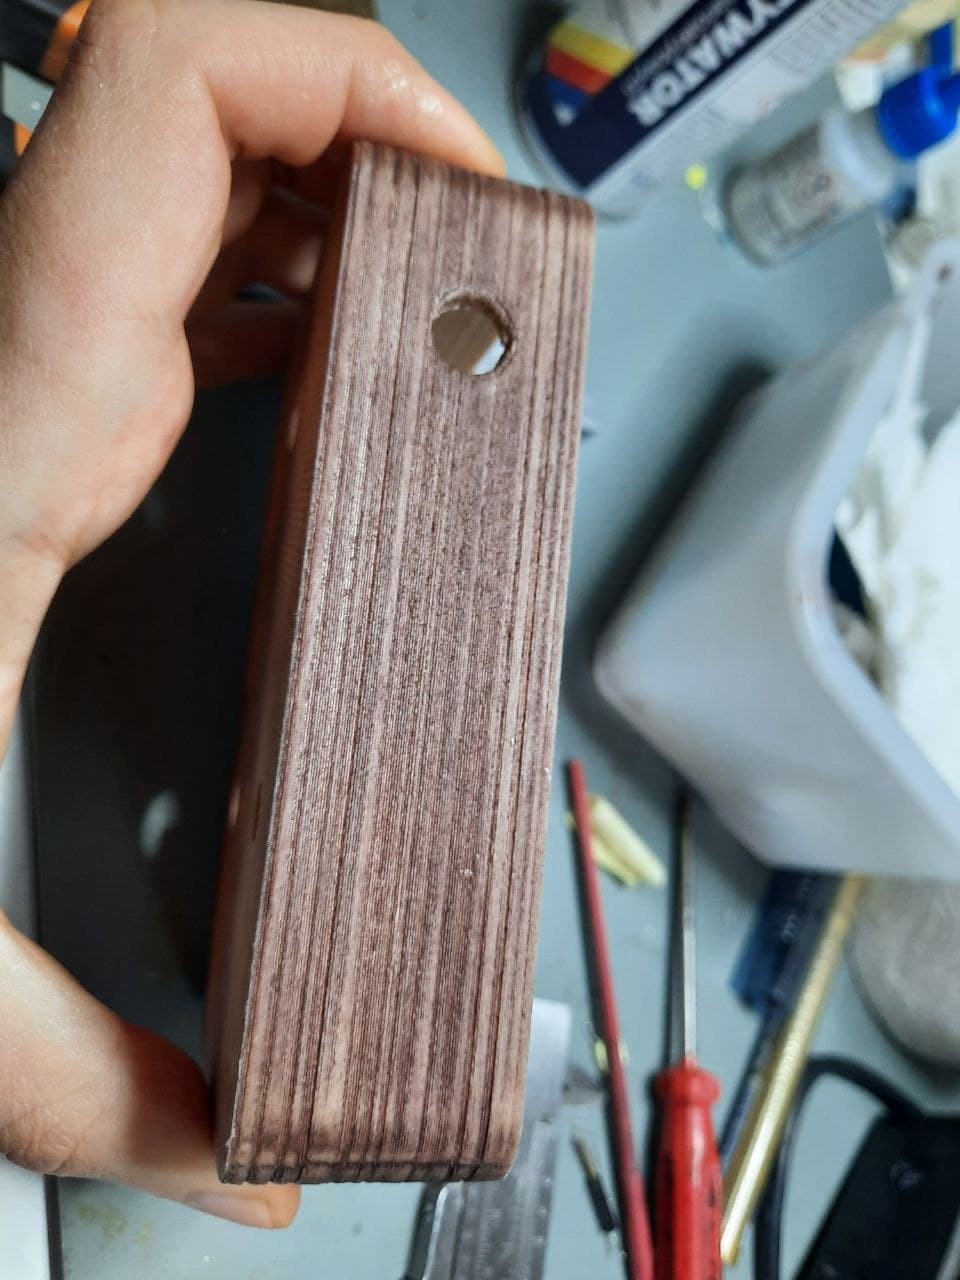
The result will be shiny, but uneven and not pretty:
Levelling and polishing
In this step, you will fix the surface imperfections of the previous one. For this, take a sanding block (literally a plain block of wood with sandpaper fixed to one side) with 200 grit sandpaper and level the surface so that it's matte and only a few shiny concave spots remain.
In order to get rid of the concave spots, repeat the previous step to fill them, cure the glue and sand it again until the surface is perfectly flat and there are no more visible imperfections.
If you accidentally sand the surface too much and the wood stain gets removed, you can simply reapply it. Applying wood stain in a convincing manner is an art on its own, so don't get frustrated when it doesn't look perfect at the very first time. This process has a learning curve to it and requires some patience.
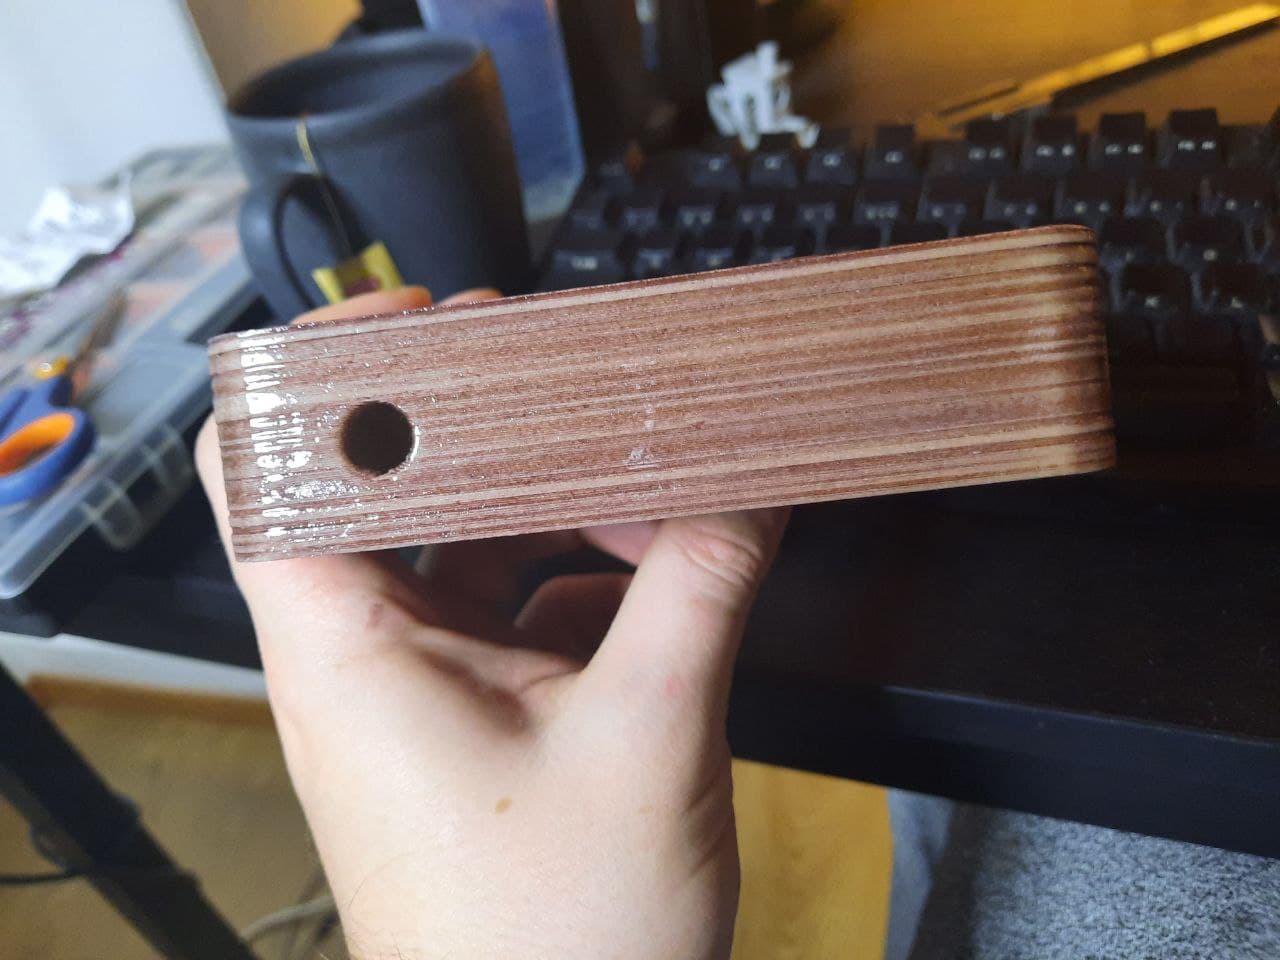
Once you're happy with the result, sand the print with 400 and then 800 grit sand paper for semi-gloss finish. If you need a full gloss, you can apply an even higher grit or a polishing paste or alternatively an acrylic glossy spray paint. The superglue coat is very hard, although brittle and offers excellent protection against scratches.
The semi-gloss result will look like this:

I hope this article was somewhat helpful and it will help you make your prints next level! Feel free to ask me questions if you get stuck anywhere int he process and I wish you good luck!
Discussions
Become a Hackaday.io Member
Create an account to leave a comment. Already have an account? Log In.
Are you sure? yes | no