 varul jain
MMC2460MT I2C module already uses in Magnetic Compass application. But its also very useful in Industrial application
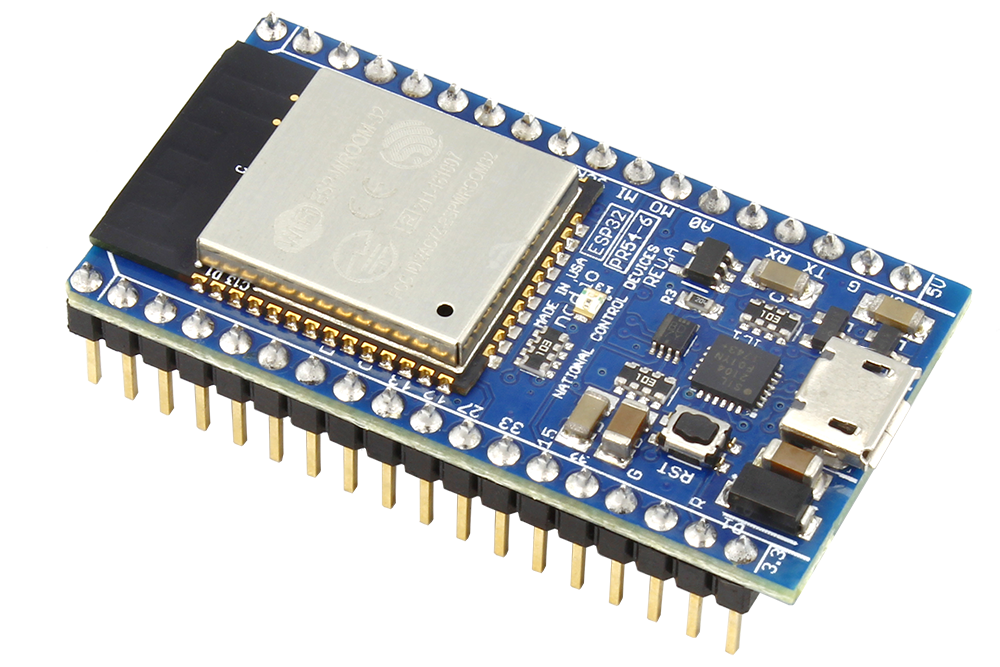
In this Blogtut we will be focusing on measuring the direction of current in Industrial pump armatures using Magnet sensor(interface with ESP32) and can display the measurement in the Node-Red dashboard

Hardware Required
Software
Arduino
Node-Red
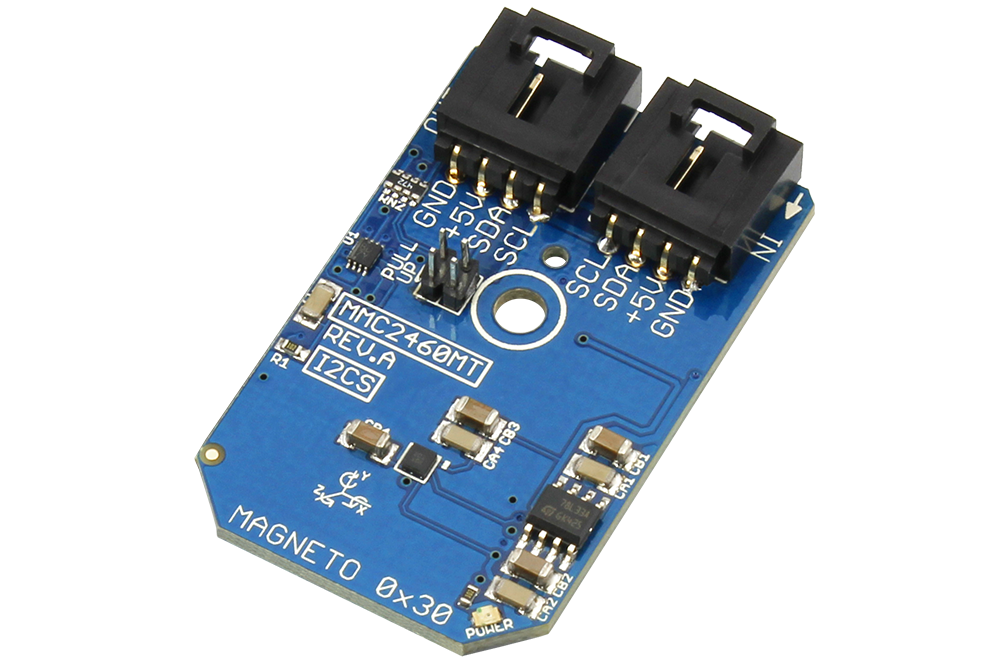
About MMC2460MT
The modular breakout board using 4mbps I2C transmission between sensor and microcontrollers like Arduino, Raspberry Pi, Esp8266, ESP32 etc. measures the magnetic field in 2 Axis (X axis and Y axis) which measure the magnetic field in gauss units. The Sensor shares its importance especially in the application like Electronic Compassing, GPS Navigation Assist, Magnetic Field Measurement.
Application
Well, as per mentioned above application we have tested this Sensor with a slightly different way by using the sensor with electric motor Pumps. As the pump Consist of armature coil which the Electromagnetic field effect. As some earlier EMF methods, we know about Right-Hand thumb rule and knowing about the Current and Magnetic field directions.
We can manipulate the parameters according to the requirement and can test the current direction according
Note: When Sensor is not near the Electric Pump Armatures then it will give you a constant garbage value which is not the point to worry.
I2C Code
Mentioned below sample code will help you to test the magnetic effectswhich I have mentioned in application topic but there are more advanced ways to monitor the sensor data which will be useful respective to its applications and physics formulas implemented accordingly.
- Initialize the Wire.h file called as I2C Library especially use in Arduino IDE
#include <Wire.h>
- Initialize the I2C registers of sensor module which is specified to work with 2 wire protocol.
#define Addr 0x30
- Begin the I2C transmission and Initialize the baud rate as per the requirements for serial communication.
Wire.begin(21,22);
Serial.begin(115200);
setup_wifi(); //We will be using simple Wifi.h library
- Request for 4 bytes of Data which we want to read from the sensor through I2C connection for reading X and Y axis Coefficients.
if(Wire.available() == 4) { data[0] = Wire.read(); data[1] = Wire.read(); data[2] = Wire.read(); data[3] = Wire.read(); delay(100); }
- If bytes are available then use the mentioned below formula will help to convert the data bytes and display desired values
int xMag = ((data[1] * 256) + data[0]);
int yMag = ((data[3] * 256) + data[2]);
- Manipulate the magnetic field axial parameters (already showing the value in Gauss units)as per the requirement of Sensitivity and Resolution settings given in the datasheet
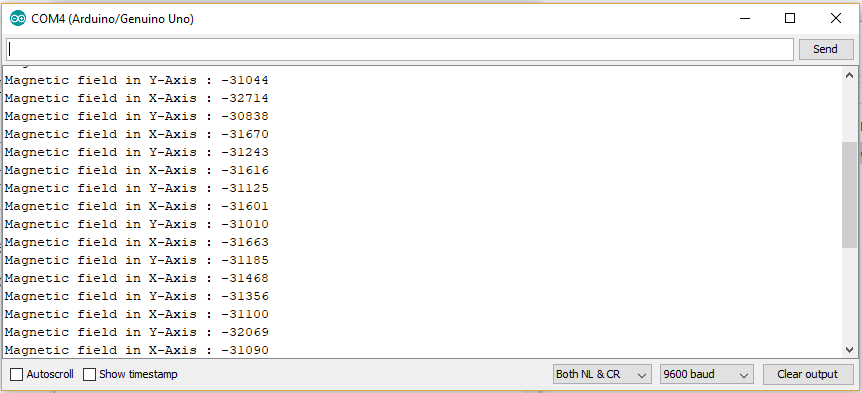
- Using Serial.print you will be able to read the sensor data in the serial monitor screen.
Node-Red
As Node-Red is a great platform to monitor your sensor data with the help of sensor dashboard but to work with this application it's better to start with setup tutorial which we have earlier mentioned in Blogtut.
With the help of earlier Blogtut, you will be able to monitor the sensor data through Serial protocol using Serial Node or using MQTT protocol which is very much famous in many IOT platforms nowadays. But to start with the basic setup we should go through Node-Red MQTT node which will surely help you out in understanding the mechanism of MQTT protocol.
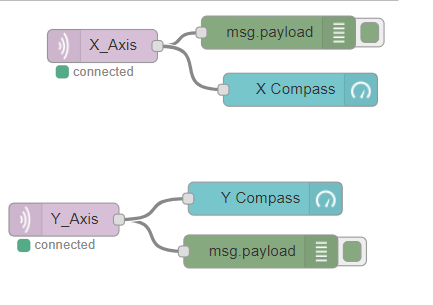
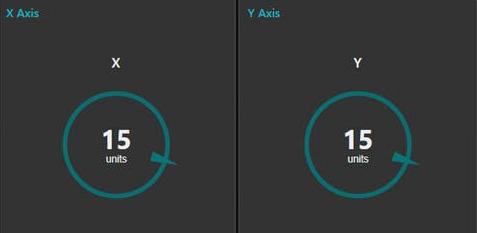
Output
Mentioned Below Are the output which you will be able to check out from Debug node as well as through Dashboard
Code
https://github.com/varul29/Node-Red_Tutorial
https://github.com/varul29/MMC2460MT_ESP32_Node-Red
Credits
Node-Red Comunity
NCD Community
Control everything
Discussions
Become a Hackaday.io Member
Create an account to leave a comment. Already have an account? Log In.