 akanzler007
Raspberry Pi’s importance and its applications has grown over the years since its inception. The number of applications that their boards can be used in is immense. Their accessories have also come in handy a lot of times. One of them is the Raspberry Pi Display. Wouldn’t it be awkward to have no screen of your computer? Well Raspberry Pi display can be used for that. They can be also used in many projects / applications like building your own photo frame, bench computer, smart mirror etc. through Raspberry Pi.
Through this guide you will go through how to connect a Raspberry Pi display to the Raspberry Pi board.
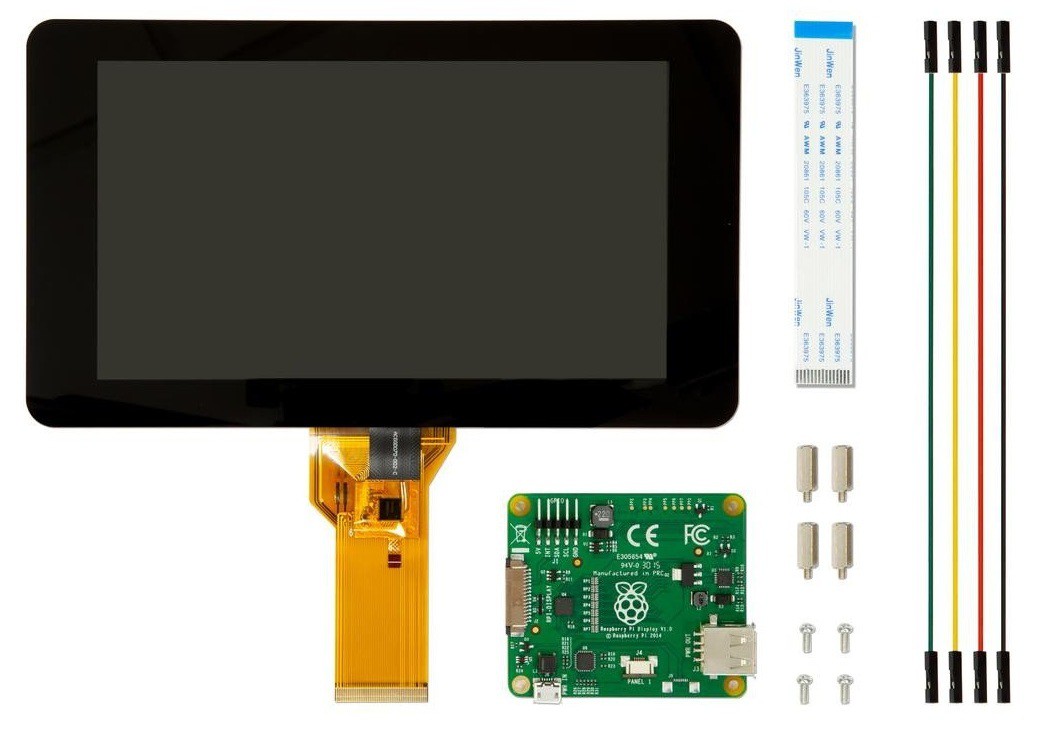
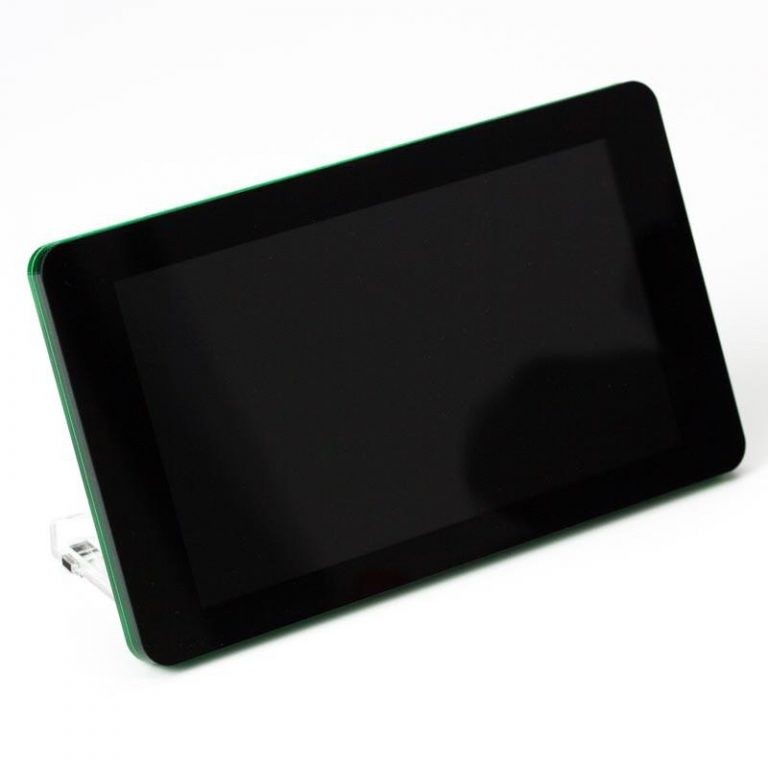
Raspberry Pi display
The Raspberry Pi Display is an LCD display which connects to the Raspberry Pi through the DSI connector. In some situations, it allows for the use of both the HDMI and the LCD displays at the same time.
DSI (Display serial interface) is a high-speed serial interface based on a number of (1GBits) data lanes. The total voltage swing of the data lines is only 200mV; this makes the electromagnetic noise created and power consumed very low. Unfortunately, DSI displays are only really created and sold for special purposes (i.e. when a mobile phone manufacturer wants to make a new phone), and although they can be available to buy, manufacture of the devices is subject to the lifetime of the phone!
Connections
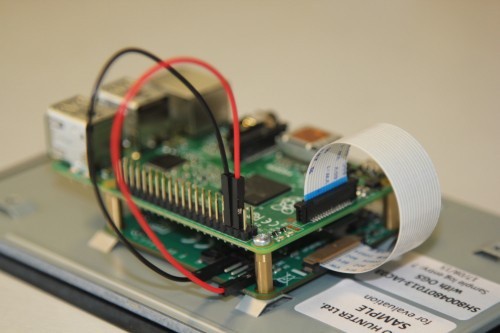
You will have to attach the Raspberry Pi Board to the back of the display. The Raspberry Pi has a small connector for a 15-pin ribbon cable which supports the Display Serial Interface (DSI) standard which allows for high-speed communication between LCD screens. Connecting up the display is fairly straight forward, it’s designed so that the Pi can be mounted on the back of it with all of the cables tucked away nice and neatly.

- Connect both, the data (ribbon cable) and power (red/black wires) from the Raspberry Pi to the display.
- Take extra care when attaching the ribbon cable to ensure it is the correct way around.
- The black and red power wires should be attached to the GND and 5V pins respectively.
As usual, before starting anything, you'll need to make sure that you're running the latest build of Raspbian. To do this, open a new Terminal window and type:
Sudo apt-get update
Follow the prompts, and then type:
Sudo apt-get upgrade
Your Raspberry Pi board should now be running the latest version of Raspbian, now enter the following to reboot:
Sudo reboot
There are three options for powering the display:
1) Separate power supply
Just add a separate uUSB power supply rated for at least 500mA, and plug into the display board where it says “PWR IN”.
2) USB link
Attach an official 2A Raspberry Pi power supply to the display board “PWR IN” connector, then attach a standard uUSB connector from the “PWR OUT” connector to the Raspberry Pi.
3) GPIO jumpers
Attach two of the supplied jumpers to connect 5V and GND from the Pi.
Screen Orientation and Video Display
LCD displays have an optimum viewing angle, and depending upon on how the screen is mounted it may be necessary to change the orientation of the display to give the best results. By default, the Raspberry Pi Touch Display and the Raspberry Pi are set up to work best when viewed from slightly above like on a desktop.
To set screen orientation when running the graphical desktop, select the Screen Configuration option from the Preferences menu. Right click on the DSI display rectangle in the layout editor, select Orientation then the required option.
To set the scree orientation when in the console mode, you will need to edit the kernel command line to pass the required orientation to the system.
Sudo nano/boot/cmdline.txt
To rotate by 90 degrees clockwise, add the following to the cmdline, making sure everything is on the same line, do not add any carriage returns. Possible rotation values are 0, 90, 180, and 270. The below code is for rotation value of 90 degrees.
Video=DSI-1:800x480@60,rotate=90
You can also display Videos on the Raspberry Pi Touch Display. To start displaying a video onto the LCD display, type:
#omxplayer video.mkv
The Raspberry Pi display has an integrated 10-point touchscreen. The driver for this touchscreen outputs both standard mouse events and full multi-touch events, and therefore can work with x as a mouse.
I hope that you have understood how to connect the Touch Display to the Raspberry Pi board. Get More Information on Touch Displays and explore the world of Raspberry Pi.
Discussions
Become a Hackaday.io Member
Create an account to leave a comment. Already have an account? Log In.