-
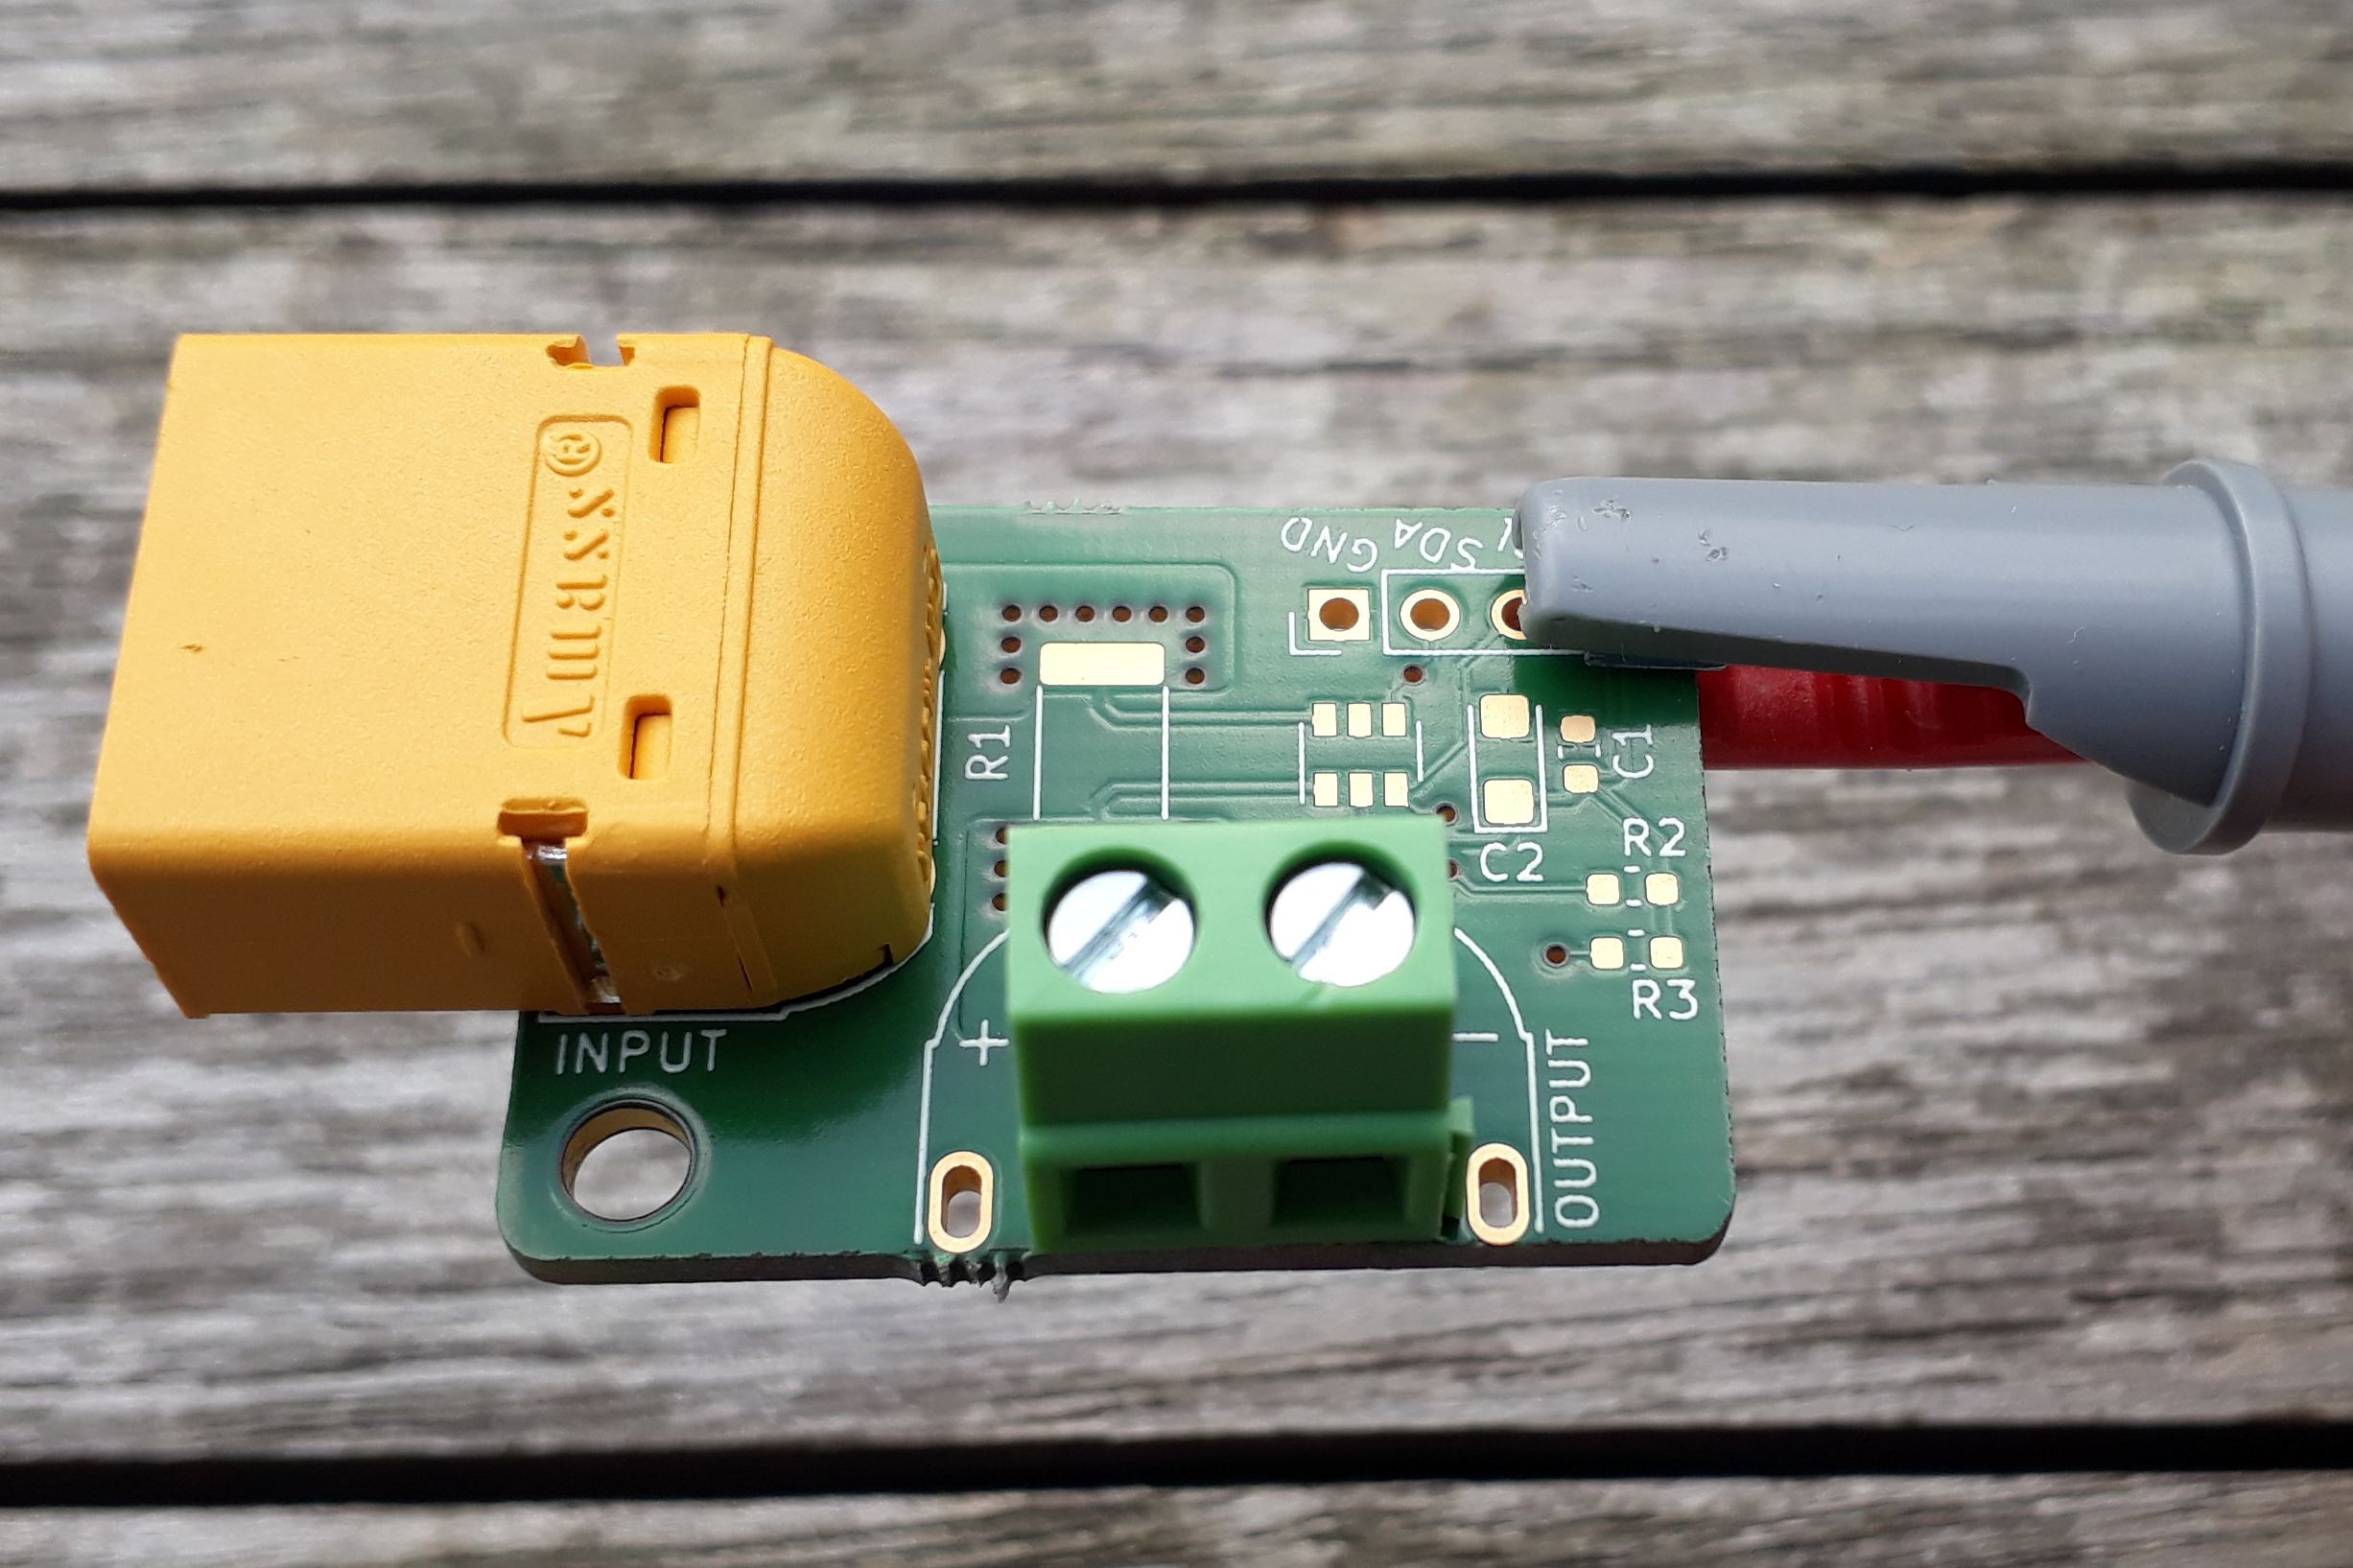
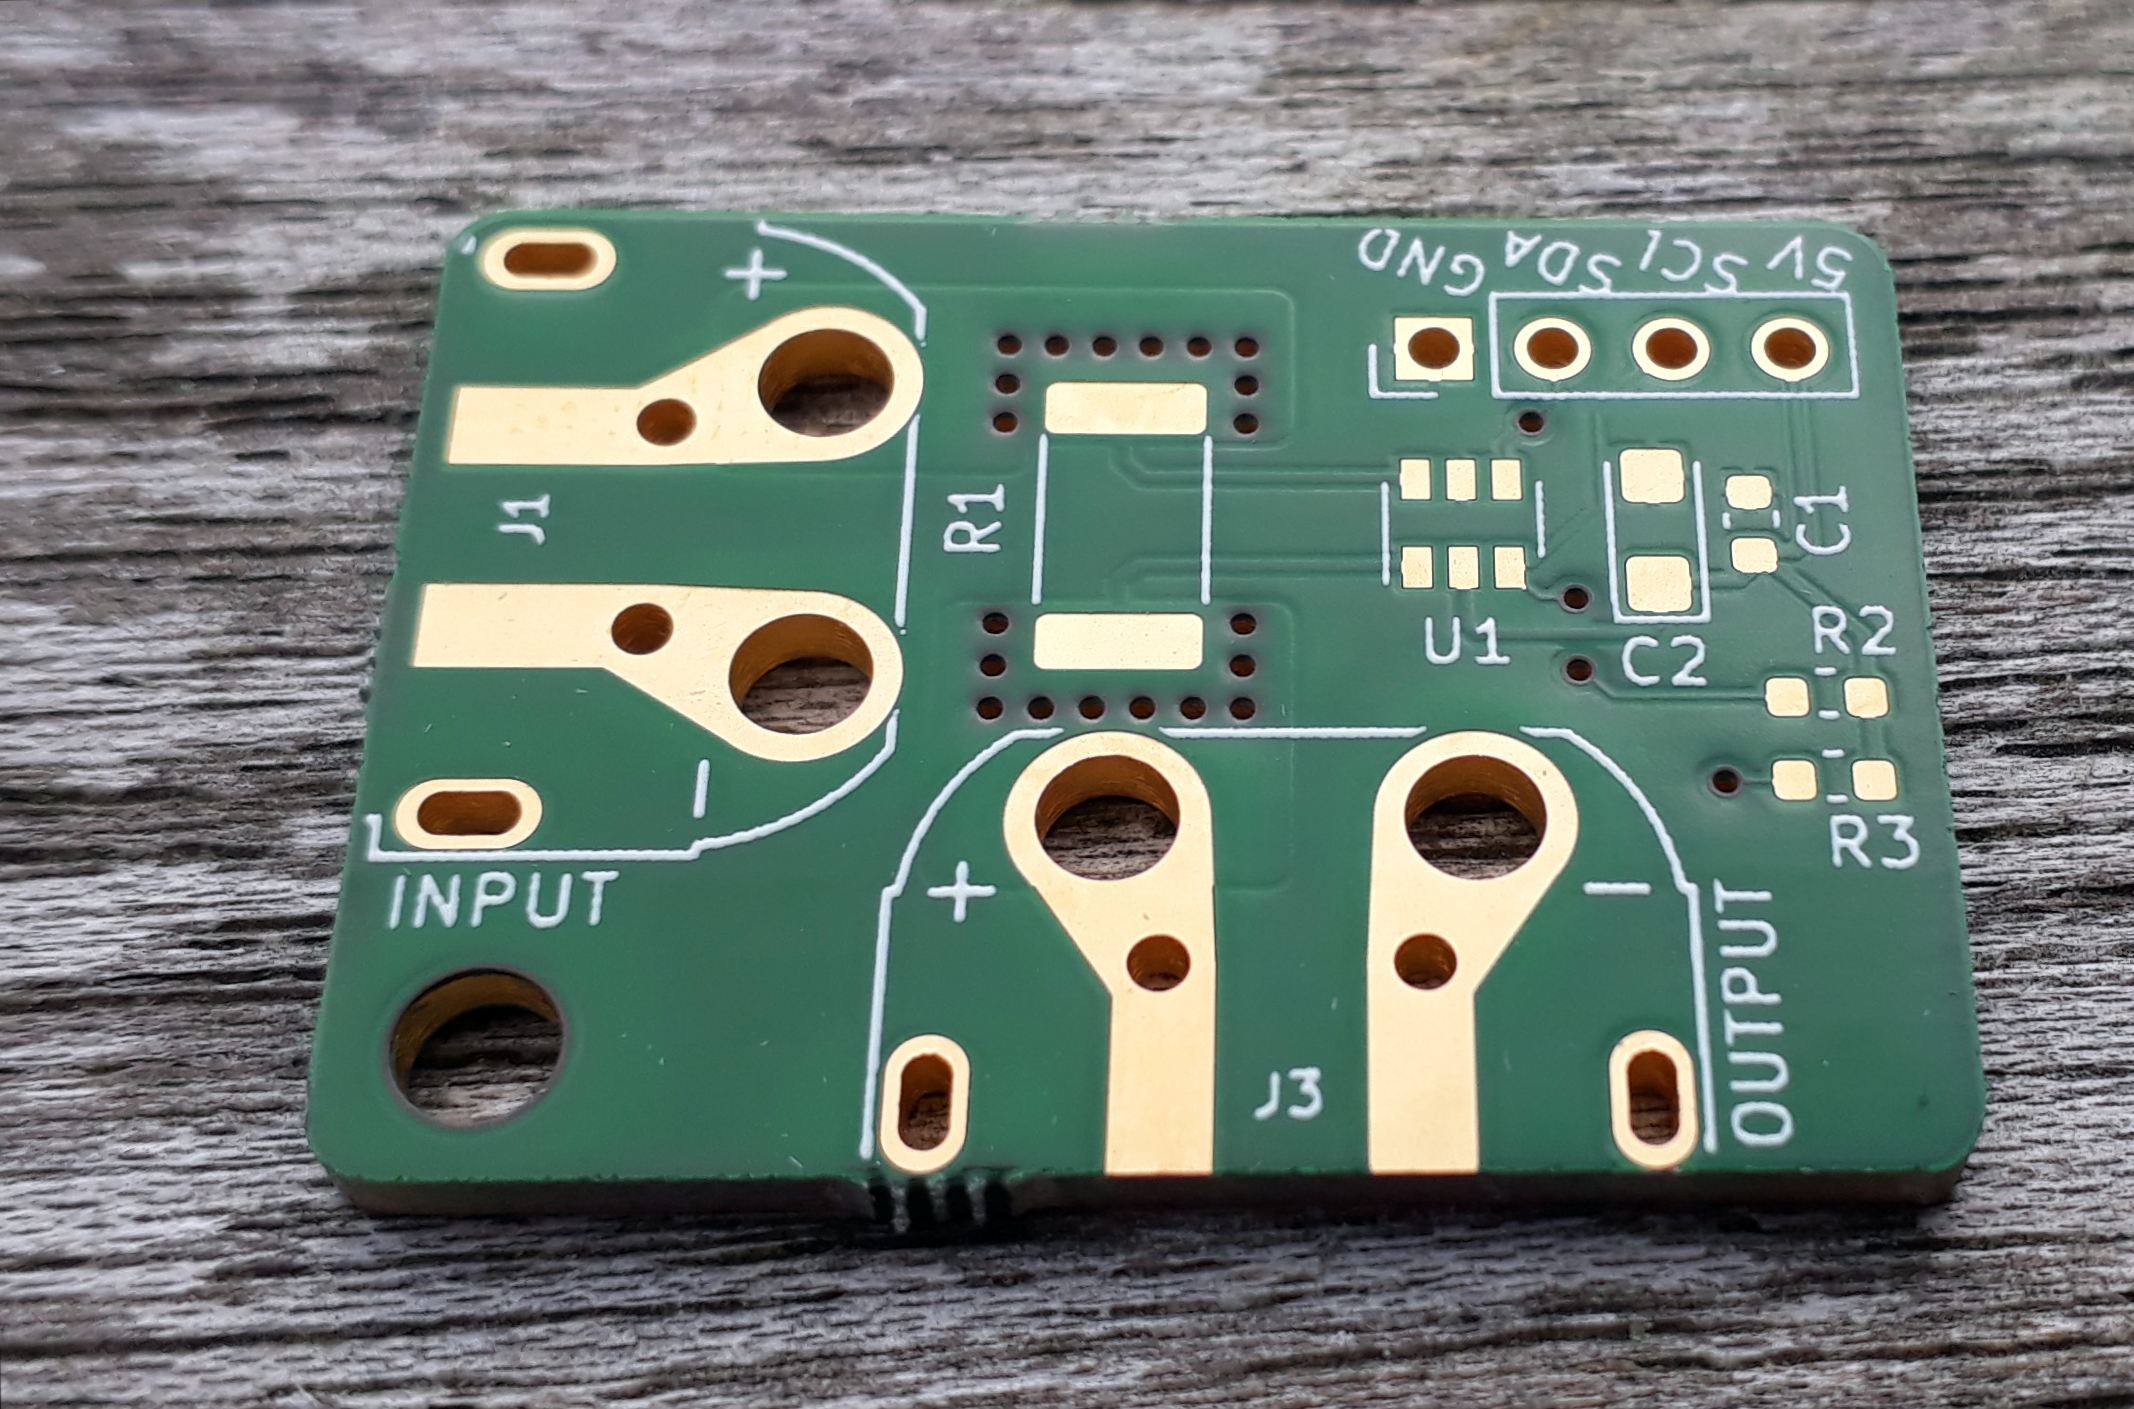
Amass XT60PW-M combination footprint
11/09/2019 at 12:25 • 0 commentsIn case someone wants to use those connectors in KiCad 5.1.x:
![]()
![]()
I made this combi footprint, which allows you to:
- just solder on some wires
- use the XT60 PW-M connectors
- use standard 5/5.08mm screw terminals
Fell free to use, modify and share it. Download them here!
-
Interesting Parts Collection
05/05/2019 at 05:58 • 0 commentsInteresting parts
Here I'll collect some of the interesting parts I stumble upon browsing the Digikeys, LCSCs and so on.
Mechanical
Part Description €/pc @ qty1 @ Vendor Passive parts
Part Description €/pc @ qty1 @ Vendor N-Channel MOSFETs
Part Case Mfg Description €/pc @ qty1 @ Vendor NCE3400 SOT23-3 Wuxi NCE RDS(ON) < 45mΩ @ VGS=4.5V 0.032 @ LCSC Voltage regulation
Part Case Mfg Description €/pc @ qty1 @ Vendor TPS709xx Ti 150mA, 30V in, 1 μA IQ Voltage Regulators with Enable 0.24 @ LCSC STLQ015 ST 150mA, 5.5V IN ultra low quiescent current linear voltage regulator. 1 μA at no load 0.26 @ LCSC AP3012 Diodes Inc. DC/DC boost regulator. Up to 29V out. 1.5Mhz 0.21 @ LCSC -
My programmer [not a shill post]
05/10/2018 at 08:24 • 0 commentsI used another arduino with the ISP sketch for years to program my stand-alone projects (all Atmegas). I think it's really really great you can do that. This helps the tinkerer a lot making standalone stuff the easy way.
Doing things instead of installing gigabytes of toolchains and other software, yay!But there was a project involving an SD card which I did not disconnect before uploading a new sketch. The "programmer" uses 5V signals which the SD card didn't like too much (it shares the ICSP port), so I killed the SD that way.
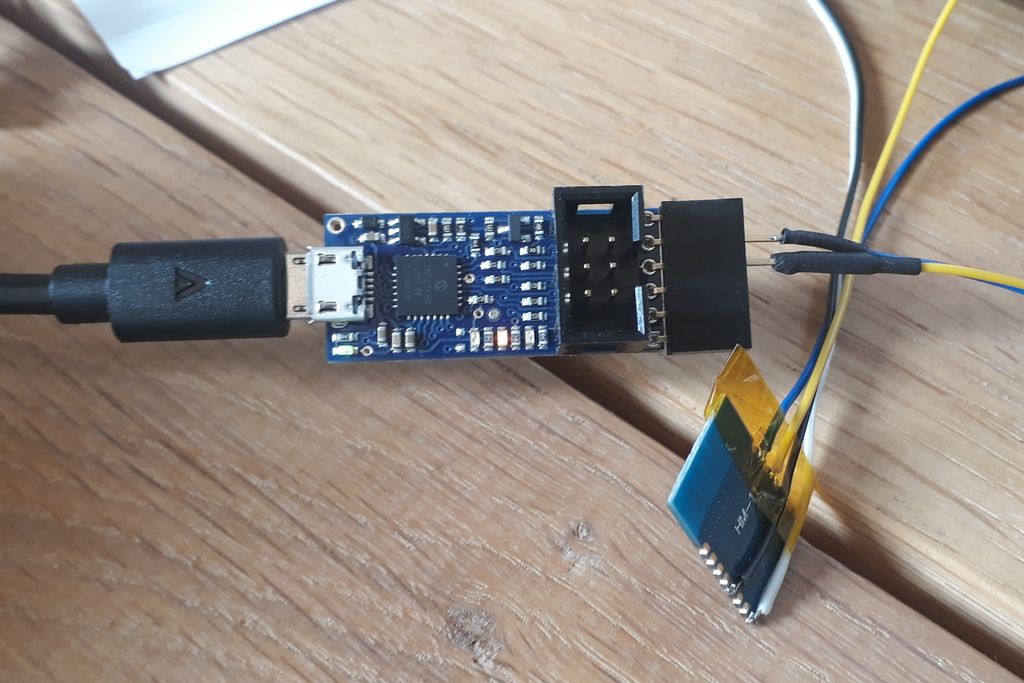
So for my last projects I ordered the Pololu Programmer v2 which has lots of nice features I would miss now if I ever had to go back to the Arduino-as-ISP-way.
![]()
Look at these features. It summarises everything it can do:What I like most:
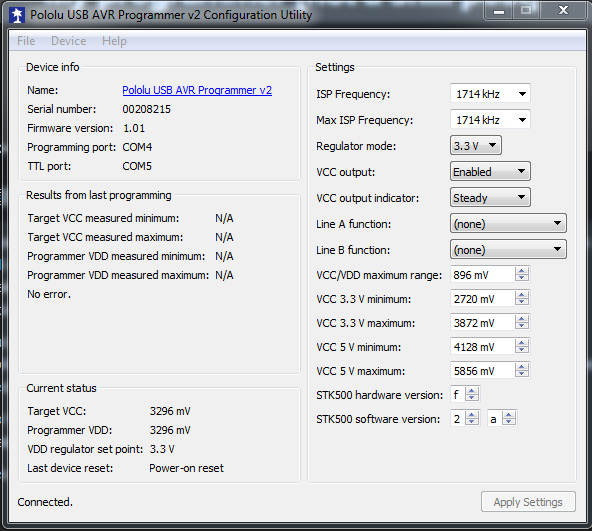
- it's fast. Uploading 25kB or so could take 20 seconds with Arduino as ISP. It's more like 2 or 3 seconds now (you can change speed, see screenshot above)
Hint: burning the initial bootloader (to set fuses etc) needs to be done at lower speeds or it will fail! - You may choose to supply the target with whatever voltage between 2 and 5V
- Programming and Serial port are independent. This means: upload your program and have another terminal open all times (I use HTerm)
- fully compatible with the STK500 hardware, you can even change parameters so every software recognises it as a genuine programmer
- everything Pololu sells is kind of open, they give you circuit diagrams, 3D files, software is on GitHub ...
I fully recommend this programmer. There is a better and cheaper! v2.1 out now it seems. I got the v2 and it does everything I need to do, so nothing to worry about.
- it's fast. Uploading 25kB or so could take 20 seconds with Arduino as ISP. It's more like 2 or 3 seconds now (you can change speed, see screenshot above)
-
Arduino Code Snippets
10/17/2017 at 19:48 • 0 commentsWorking code snippets
1. read DS18B20 at interval. output via terminal. non-blocking code
#include <OneWire.h>
#include <DallasTemperature.h>
#include <elapsedMillis.h>
// Data wire is plugged into port 2 on the Arduino
#define ONE_WIRE_BUS 2
// Setup a oneWire instance to communicate with any OneWire devices (not just Maxim/Dallas temperature ICs)
OneWire oneWire(ONE_WIRE_BUS);
DallasTemperature sensor(&oneWire);
uint8_t SensorAdresse[8] = {0x28, 0x56, 0x2D, 0x11, 0x05, 0x00, 0x00, 0x14};
elapsedMillis SensorIntervall;
unsigned int Intervall = 1000;
void setup(void)
{
  Serial.begin(9600);
  sensor.begin();
  sensor.setResolution(SensorAdresse, 10);
  /*Berechnungszeiten (sind hier unwichtig, Code nicht blockend):
   *  9Bit Auflösung (0,5°C)  ->  102ms
   * 10Bit Auflösung (0,25°C) ->  200ms
   * 12Bit Auflösung          ->  750ms
   */
  // LOG-Kopfausgabe:
  Serial.println("Ausgabeformat CSV, Trenner = ;");
  Serial.println("Zeit [s]; Temperatur [°C]");
  Serial.println("");

}
void loop(void)
{
    sensor.setWaitForConversion(false);
    sensor.requestTemperatures();
    float tempC = sensor.getTempC(SensorAdresse);
    sensor.setWaitForConversion(true);

  if (SensorIntervall > Intervall)
  {
    Serial.print(millis()/1000);
    Serial.print(";");
    Serial.println(tempC);
    SensorIntervall = 0;
  }
}
2. Show DS3231/DS1307 time on 32x128 I2C OLED display
#include <Wire.h>
#include "SSD1306Ascii.h"
#include "SSD1306AsciiWire.h"
#include <RtcDS3231.h>

RtcDS3231<TwoWire> Rtc(Wire);

// 0X3C+SA0 - 0x3C or 0x3D
#define I2C_ADDRESS 0x3C

// Define proper RST_PIN if required.
#define RST_PIN -1

SSD1306AsciiWire oled;

#define countof(a) (sizeof(a) / sizeof(a[0]))

void printTimeOnly(const RtcDateTime& dt)
{
  char datestring[11];

  snprintf_P(datestring,
             countof(datestring),
             PSTR("%02u:%02u:%02u"),
             dt.Hour(),
             dt.Minute(),
             dt.Second() );
  oled.println(datestring);
}

void printDateOnly(const RtcDateTime& dt)
{
  char datestring[11];

  snprintf_P(datestring,
             countof(datestring),
             PSTR("%02u.%02u.%02u"),
             dt.Day(),
             dt.Month(),
             dt.Year() - 2000);
  oled.println(datestring);
}

void setup() {
  Wire.begin();
  Wire.setClock(400000L);

#if RST_PIN >= 0
  oled.begin(&Adafruit128x32, I2C_ADDRESS, RST_PIN);
#else // RST_PIN >= 0
  oled.begin(&Adafruit128x32, I2C_ADDRESS);
#endif // RST_PIN >= 0

  oled.setFont(lcdnums12x16);

  Rtc.Begin();

  oled.clear();

}
void loop() {
  RtcDateTime now = Rtc.GetDateTime();
  oled.setCursor(0, 0);
  oled.set1X();
  printDateOnly(now);

  oled.setCursor(0, 2);
  oled.set1X();
  printTimeOnly(now);
}


