For the past year, the four tawny stalks that NoodleFeet balances upon have remained common pool floaties, 2.5 inches in diameter, hollow, providing nothing more than the obvious support needed to function as legs... but Noodle longs for something greater.
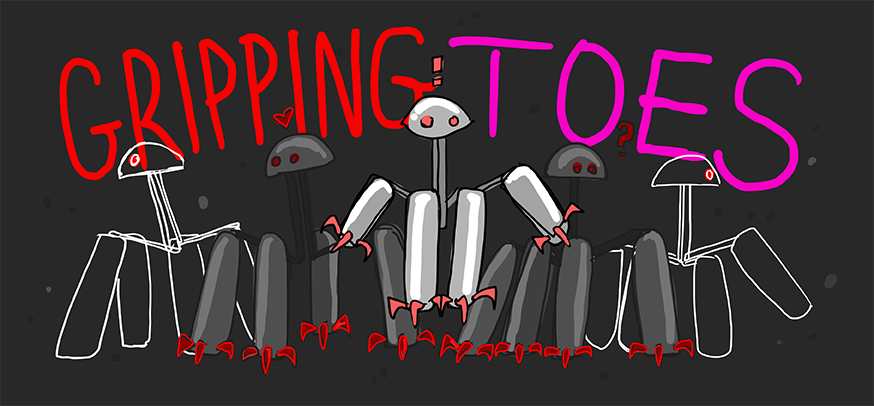
GRIPPING TOES
When Noodle feels threatened, there is little he can do to defend himself. He can beep and perhaps canter away at a slow speed… but he is passive and therefore vulnerable. He isn't equipped to handle the harrowing task of world domination::cough:: I mean, daily life. To fix this, I decided to add another layer of complexity to Noodle’s most important characteristic: RETRACTABLE GRIPPING TOES for his feet.
A while back, I came across a video of a rock drilling probe concept (this is actually a newer video they've made featuring a full robot using their device! So cool!). This neat claw attaches itself to a surface by splaying out a hundred or so mini grappling hooks in all directions, which catch on the rock and help anchor the central cylindrical drill in place. I saw this and thought to myself… Noodle needs four of these, as shoes.
Like a good mother, I started brainstorming how to create said shoes. Originally I designed long claw-like toes that rotated out and back, sort of like switch-blades:
They fit into Noodle's original 2.5" diameter noodle material, and even added stability... but there wasn't enough area to actually install any motors to actuate things.
With a little bit of trial and error I rethought the whole design and came up with a solution that made use of 3D printed plastic’s flexibility. This new concept worked more like a cat's retractable claw, and was similar to the drill from the video that had inspired me.
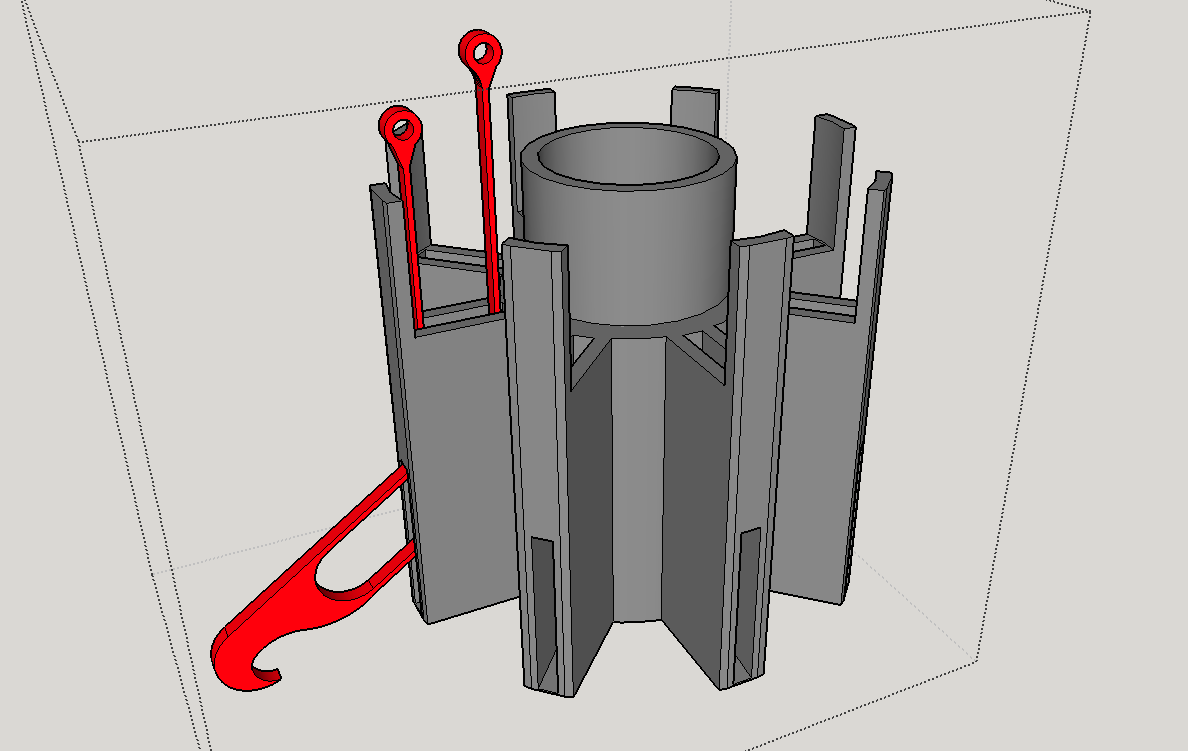
Each individual toe (in red) would be forced through a curved internal channel and out the side via two thin bendable "tendons":

How The "Tendons" Work
An individual toe has two strands of tendon attached to the back. When the tendons are pulled in opposite directions, it causes the toe to torque upwards or downwards.
Why Do the Toes Need to Tilt Back and Forth?
If the toe goes straight back into the sheath the way it came out, it won't unhook from whatever its currently gripping. Also, the tip of the toe will likely snag on the edge of the sheath on its way back in. To properly "detach", the toe should arc upwards slightly as it retracts.
My first prototypes were designed to fit inside the 2.5” diameter noodle material. I was able to make it work, but it didn’t leave much room for the other future functions of his feet (his tongue):
In the end I really needed more space to fit moving parts and hardware. Luckily I have a noodle fairy living with me (Mark) who harvested a larger piece of noodle stock from a pile in his garage. It is 4” in diameter and offers me much more room to play around with! Plus, fatter feet will give Noodle more stability!
4" PRO-TOE-TYPE 1.0
I tweaked my design for the new 4” material and printed my first prototype with a set of eight twinkling magenta toes (I haven't ordered red filament yet).
The reason for the tendons being slightly different in length is so that when they are fixed next to one another, it creates the needed outward/upward tilt:
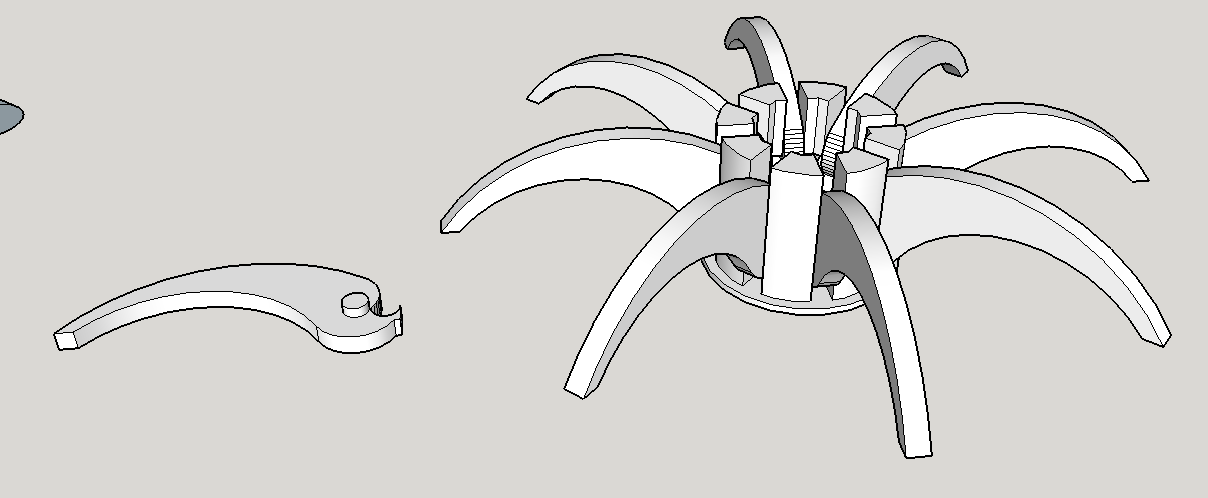
(so, this is what a toe flower looks like):
I originally planned to connect both tendons of each toe to a common ring piece (above). When the ring is pushed downward towards the sheath, it would force all of the toes through their channels and outward at the same time. I also added a spring and guide rod (a long screw) below the ring to push it up again once downward force is removed:
The first complete 4" prototype worked more or less... It certainly passed the "carpet snagging" test:
I learned right away that I couldn't actually connect both tendons to the same ring and run it through the inside of the sheath without it binding (which now seems pretty obvious). The only way I could get the above demonstration to work was if I left the longer set of tendons sticking out freely, attached to nothing... so that the toe has no preset angle bias as it attempts to travel through the channel:
However, in order to make it work at this point, all the little purple pieces sticking out had to be pressed down together at the same time first, or else everything would bind up and destroy itself.
4" PRO-TOE-TYPE 2.0
Each tendon should be attached to its own independent ring...
...so that when the ring attached to the inner set of tendons is pressed downward, it causes the toes to tilt upward first as they begin to move down through the channels. Then the top ring hits the second ring below it which the outer tendons are attached to, and then the two travel together pushing the toes outward the rest of the way while maintaining the slight upward torque. This allows the toes to torque gradually as they travel through the channels, without binding up:
This second prototype (above) is more or less final. I'm going to fine tune it from here, but something very much like this will end up as Noodle's toe-feet.
The greatest part about this design is that I have nearly 36mm wide of space in the middle to fit his secondary foot function! ... ( ? ) ... Which is tasting if you didn't know!
Stay tuned for my next post on the development of Noodle's TASTING FEET; small silicon wedges that will salivate and lick:
As I typed that it just occurred to me that I'm pretty much making a tube that can grip onto something while licking and drooling on it. -heh- He'll have four of these devices. Noodle will be feared by other robots his age.
The only downside to these new complex feet is that I'll likely have to learn to knit him a pair of custom socks for Christmas. (and I think I actually will) <3
Read about my past progress on NoodleFeet on my website!
More to come soon!
 Sarah Petkus


