 KARTHIK RAVI
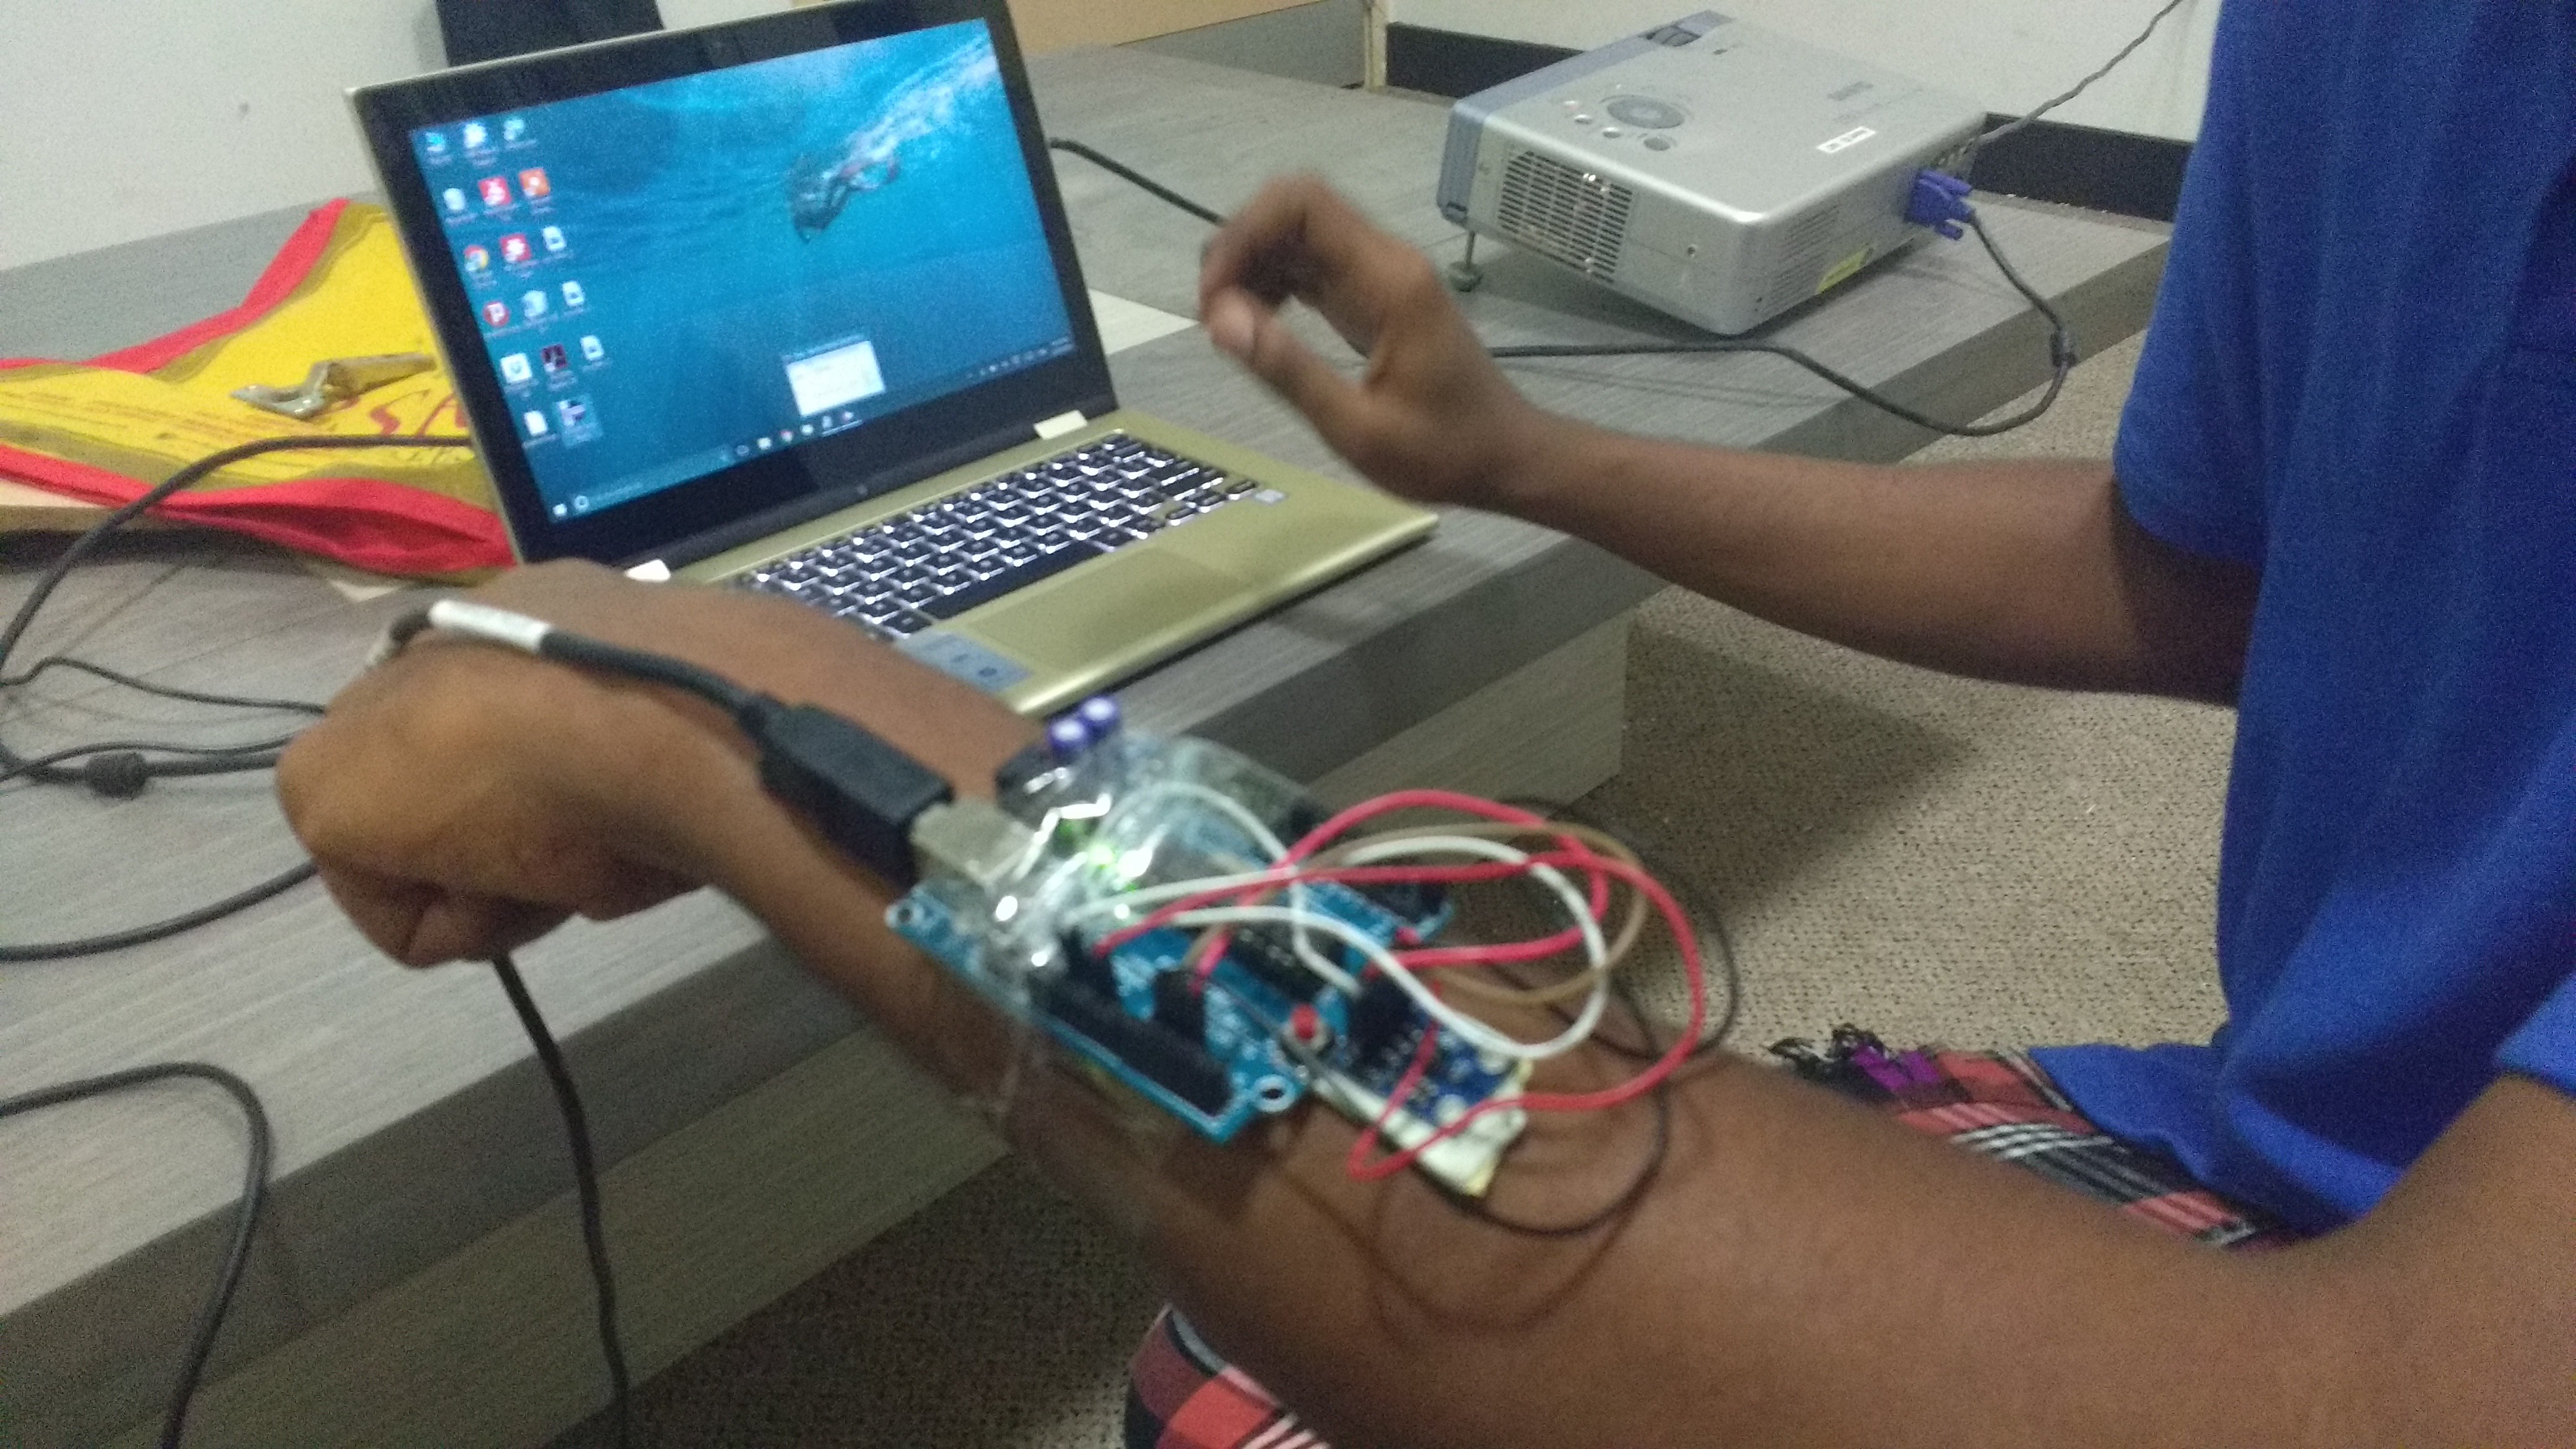
To connect the accelerometer and receive the reading in the computer and calibrate correspondingly.
Arduino Code:
// In the below code 1 2 3 4 mention the directions respectively.
/* analog 0: accelerometer self test
analog 1: z-axis
analog 2: y-axis
analog 3: x-axis
analog 4: ground
analog 5: vcc
*/
const int groundpin = 18; // analog input pin 4 -- ground
const int powerpin = 19; // analog input pin 5 -- voltage
const int xpin = A3; // x-axis of the accelerometer
const int ypin = A2; // y-axis
const int zpin = A1; // z-axis (only on 3-axis models)
void setup()
{
// initialize the serial communications:
Serial.begin(9600);
// Provide ground and power by using the analog inputs as normal
// digital pins. This makes it possible to directly connect the
// breakout board to the Arduino. If you use the normal 5V and
// GND pins on the Arduino, you can remove these lines.
pinMode(groundpin, OUTPUT);
pinMode(powerpin, OUTPUT);
digitalWrite(groundpin, LOW);
digitalWrite(powerpin, HIGH);
}
void loop()
{
int x = analogRead(xpin)-350;
int y = analogRead(ypin)-350;
// Serial.print(x);
// Serial.print("\t");
// Serial.print(y);
// Serial.print("\t");
// Serial.print(analogRead(zpin)-350);
// Serial.println();
if(x>40)
{
// Serial.print("Left");
Serial.print("1");
Serial.println();
}
else if(x<-40)
{
//Serial.print("Right");
Serial.print("2");
Serial.println();
}
else if(y>50)
{
//Serial.print("Top");
Serial.print("3");
Serial.println();
}
else if(y<-50)
{
//Serial.print("Bottom");
Serial.print("4");
Serial.println();
}
delay(500);
}
Discussions
Become a Hackaday.io Member
Create an account to leave a comment. Already have an account? Log In.