We've been in incubation for a little bit, working on our tooling for the shells so we can start putting these dev kits into production. Today, I wanted to start with a look back. Digging through some old photos I found something cool I never realized I had... the first original Perceptoscope prototype!
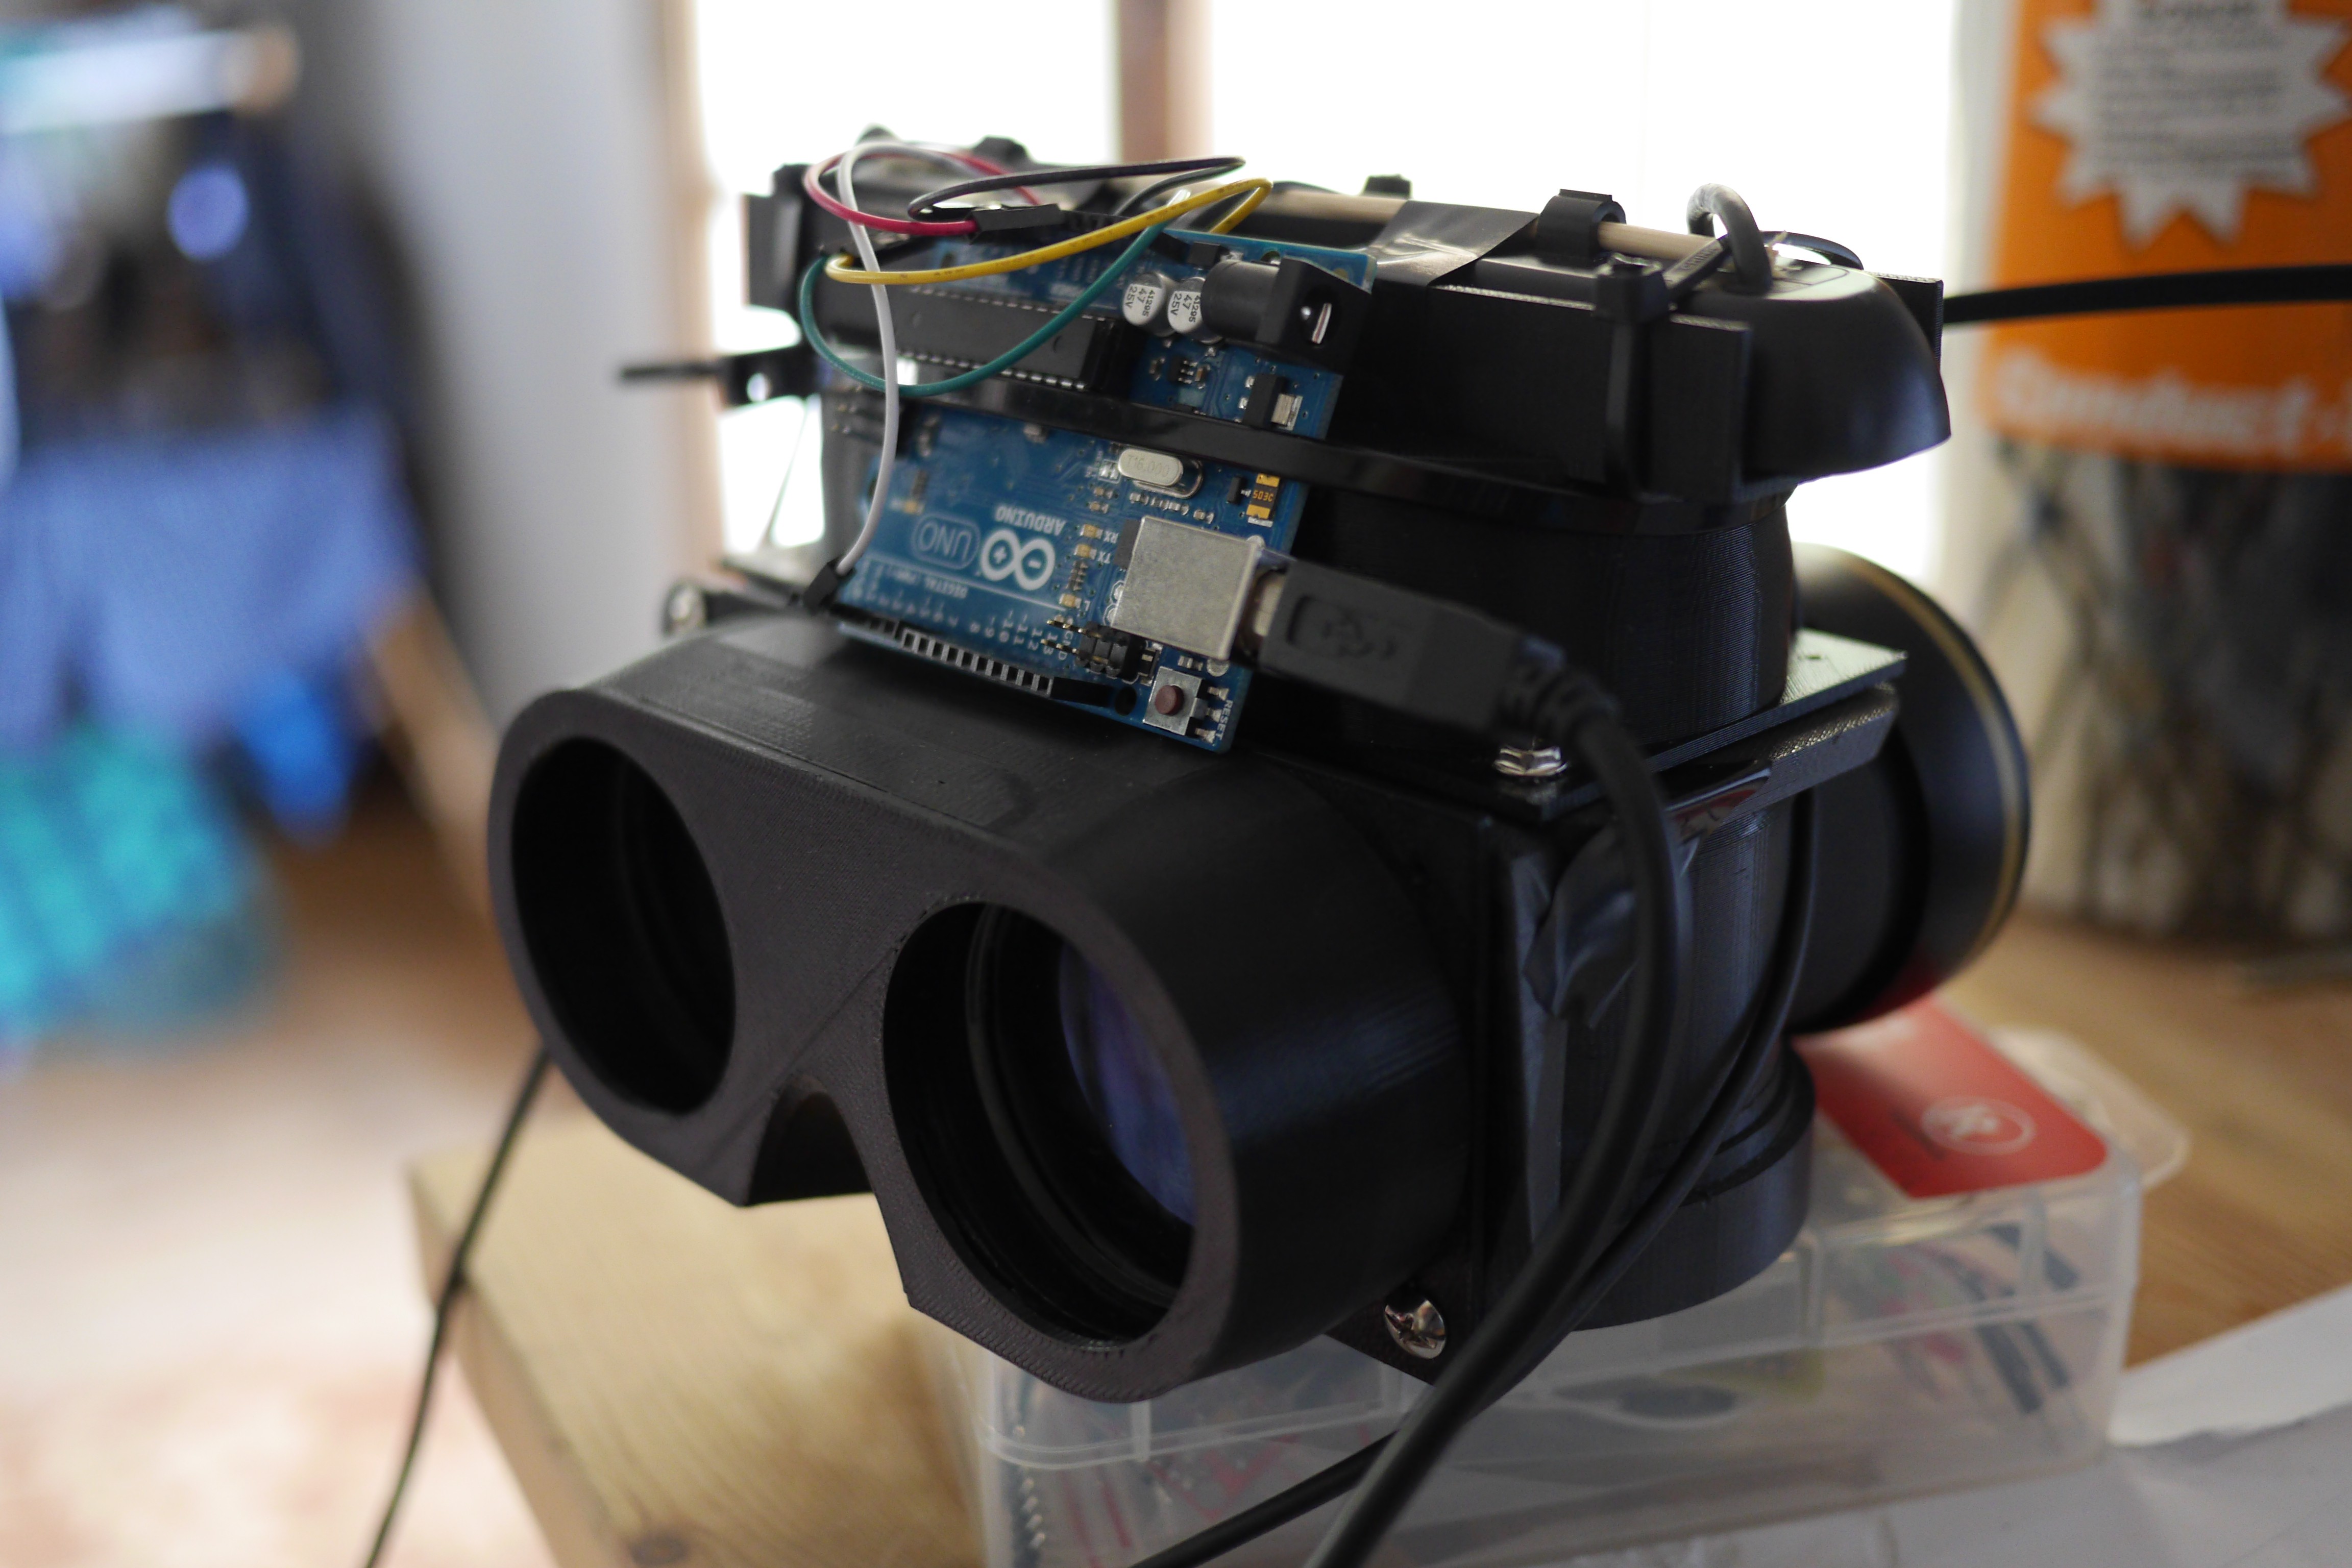
This was built out some cardboard boxes, a music stand, a pair of disassembled casters, and some random electrical conduit and other junk I found around a hardware store. At this point I had built the optics, but needed a way to test them at eye level.
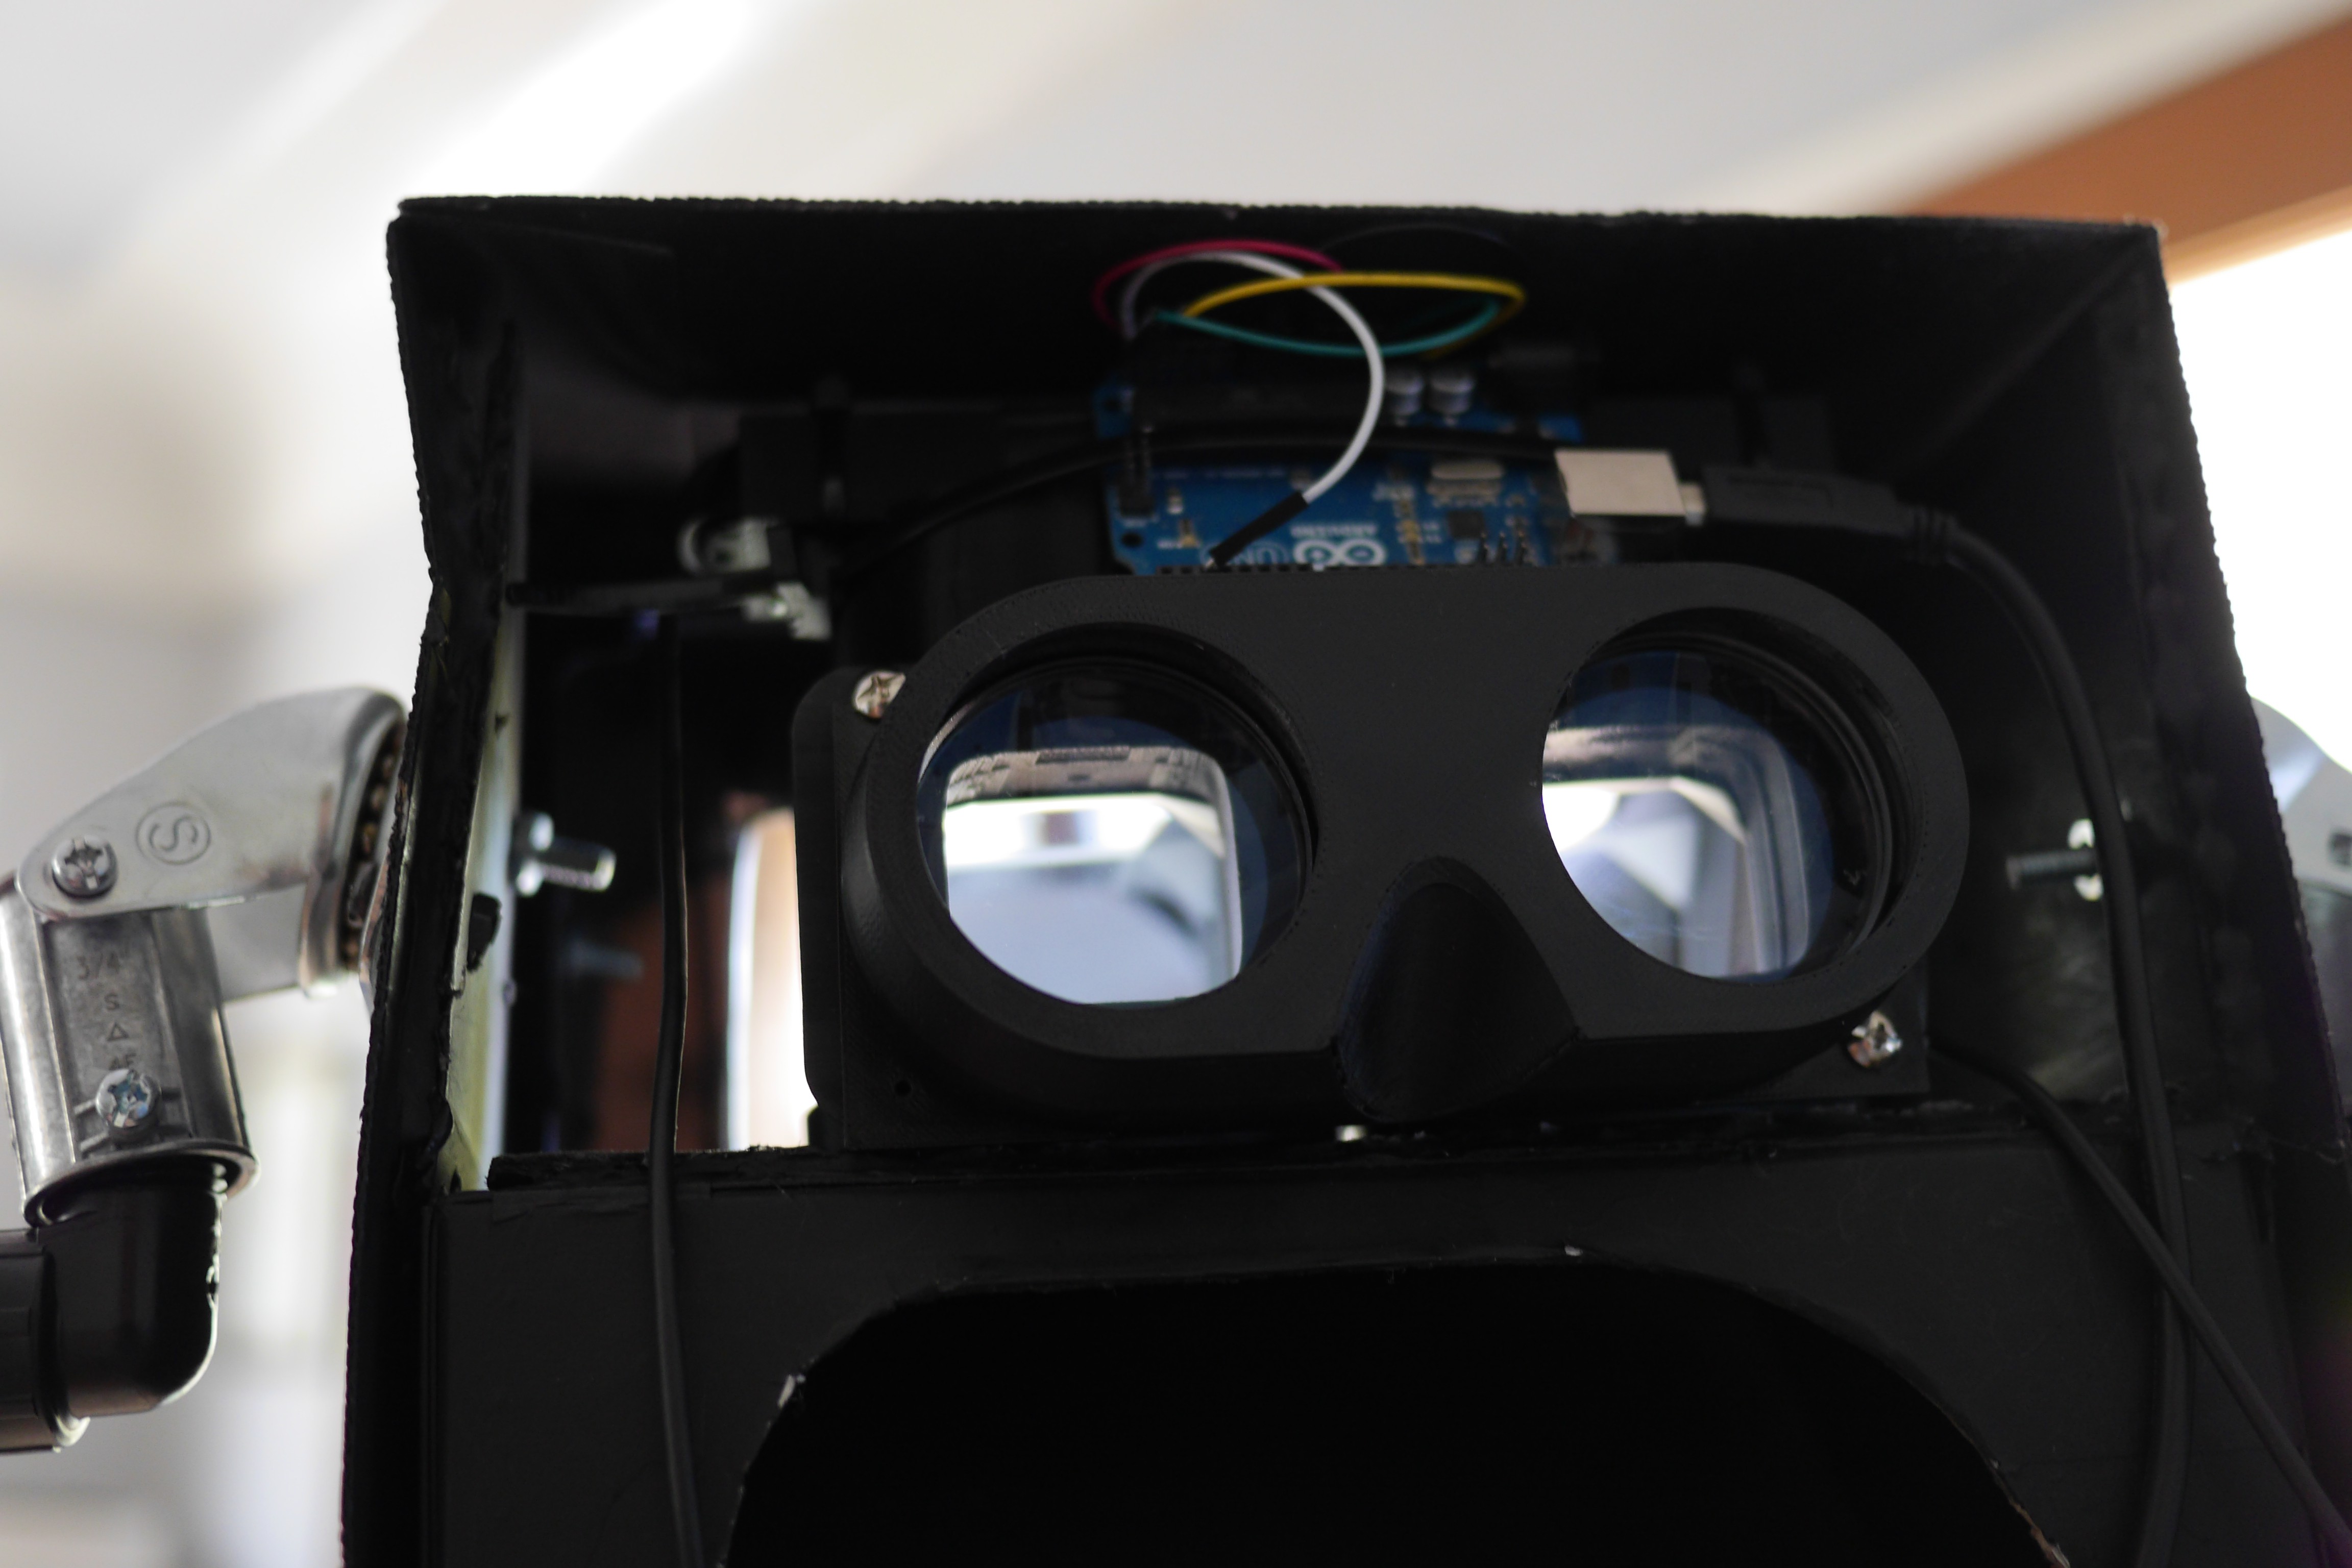
I didn't have all the mechanical tracking implemented yet, so I wired up an MPU 6050 to an Arduino, which uses an onboard DSP to do all the sensor fusion between its accelerometer and gyro. It wasn't the ideal for the long term, but was a good way to start playing with movement quickly.
At this point the Scope was running tethered to my laptop, and required really long usb and hdmi extension cables. It wasn't a long term solution, but got me through some of the early days of testing.
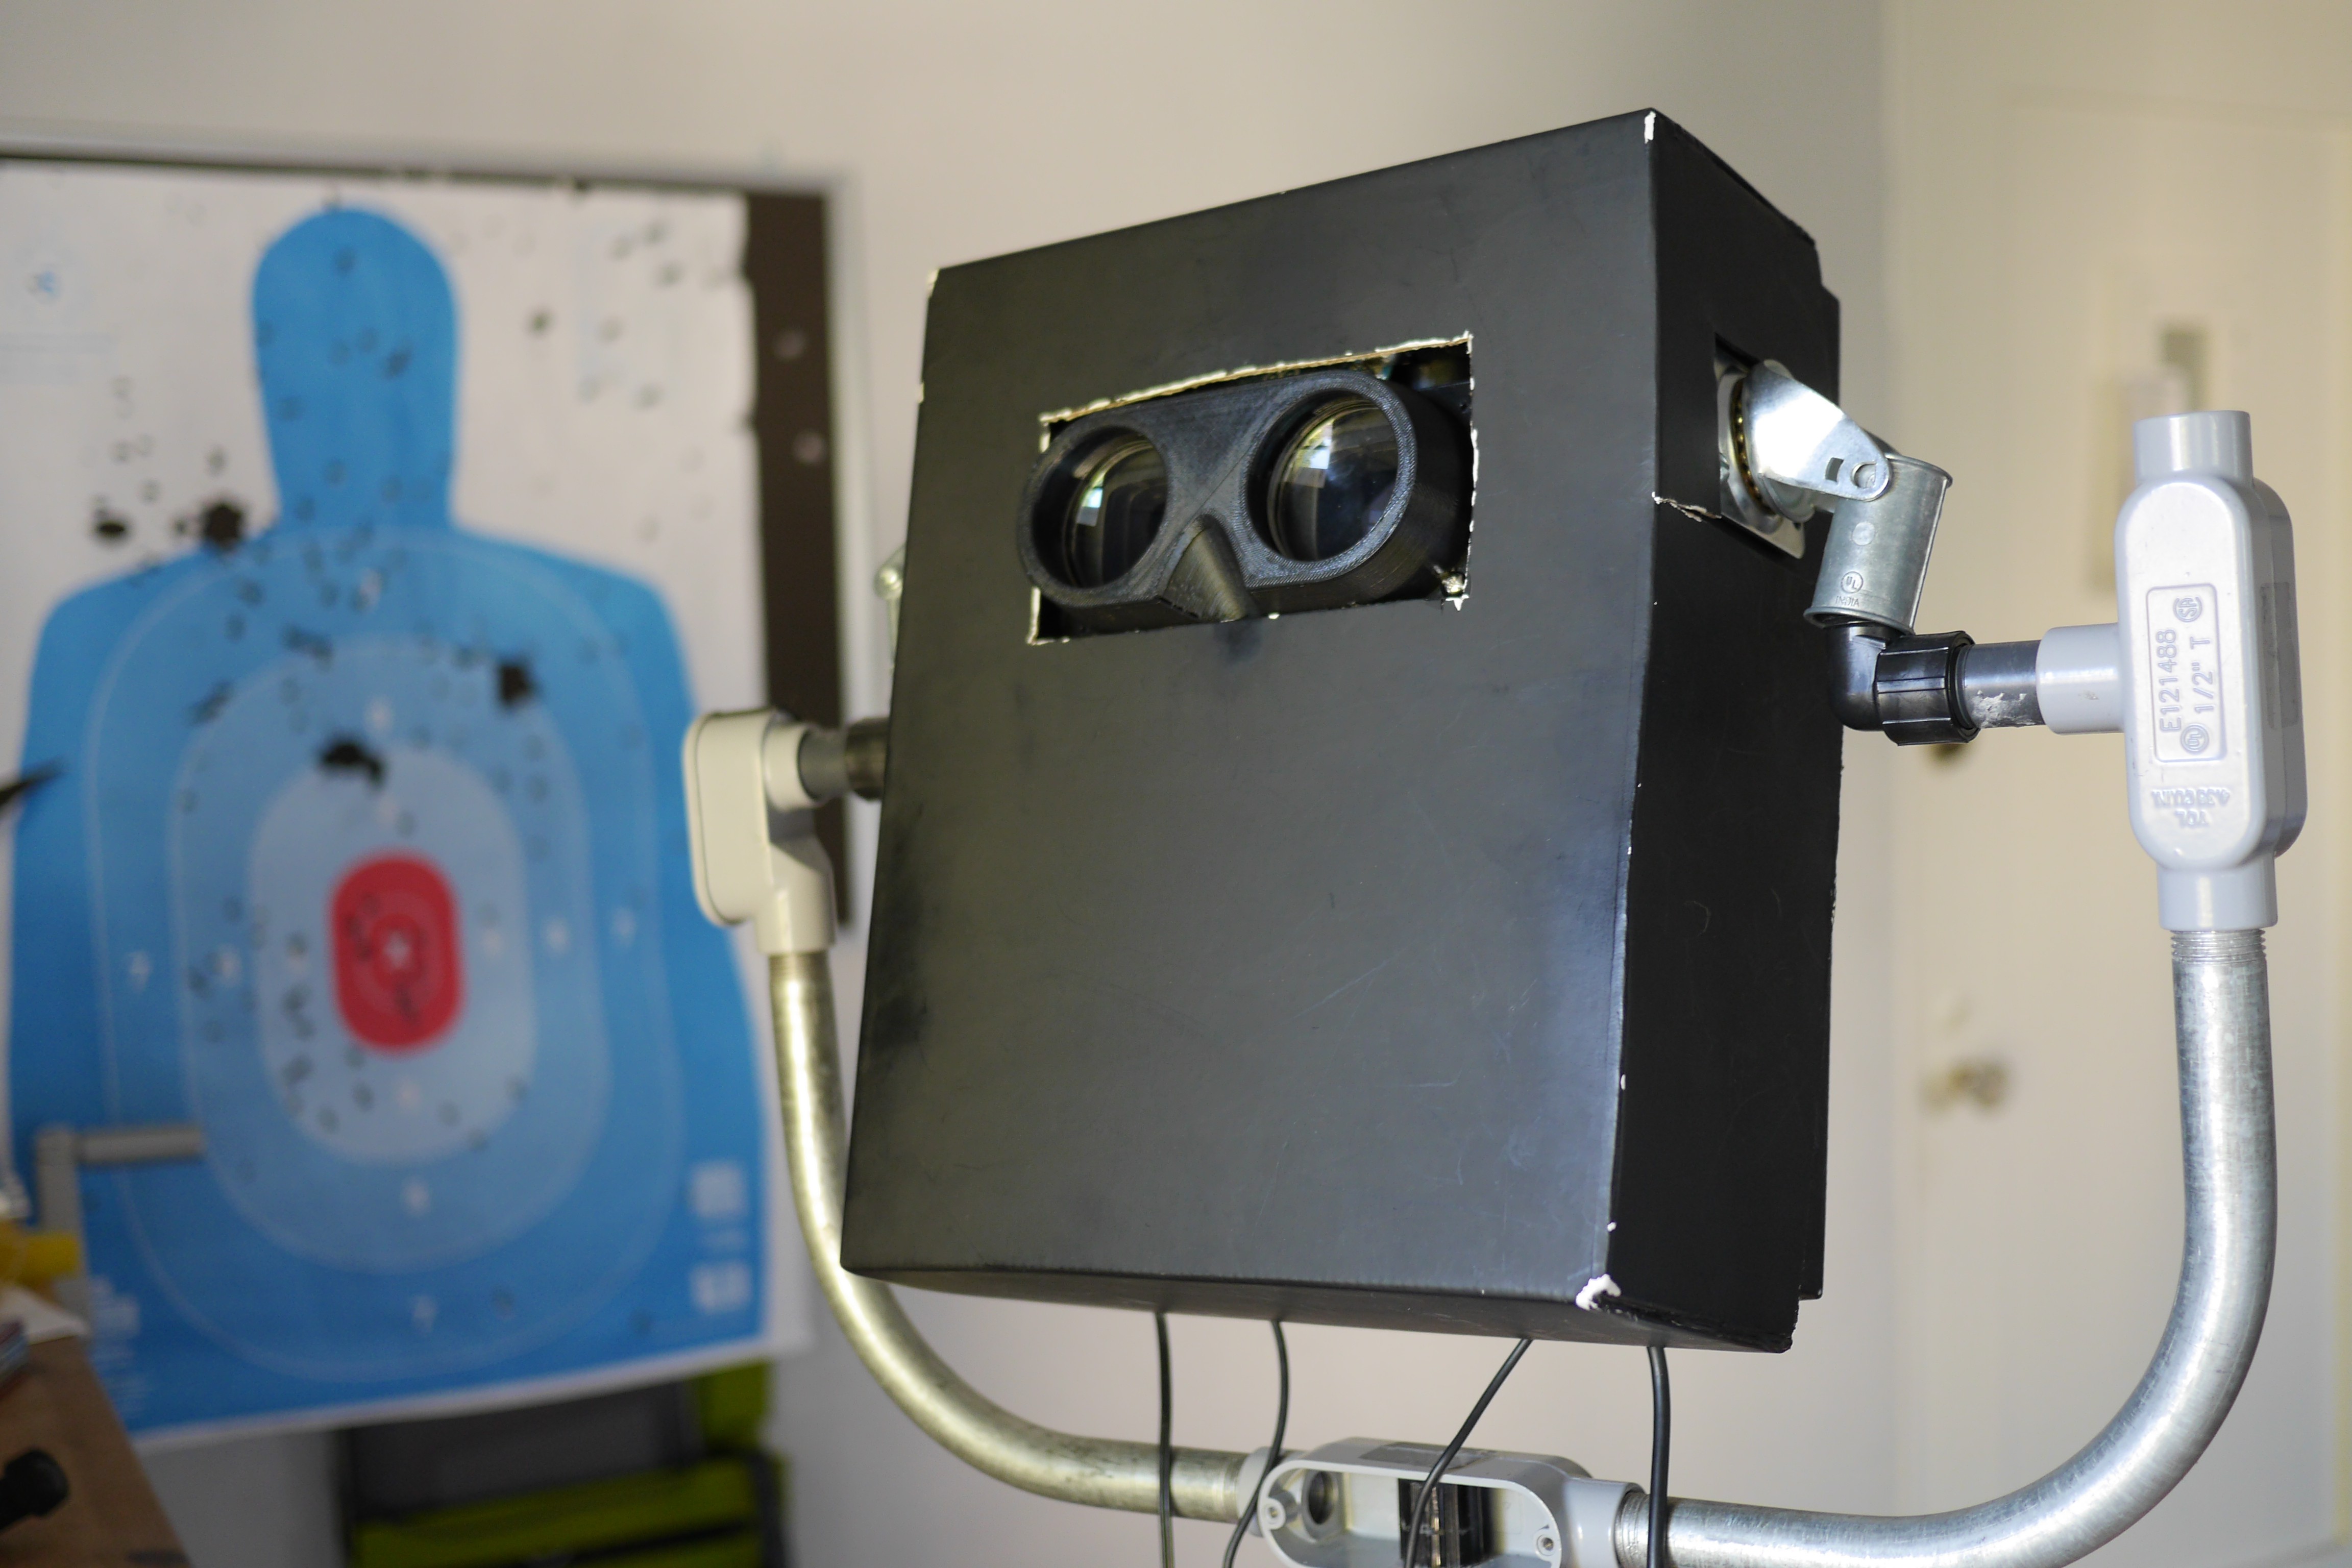
It's a pretty stark contrast to where we've taken the project since, but it's cool to see just how far this has come.
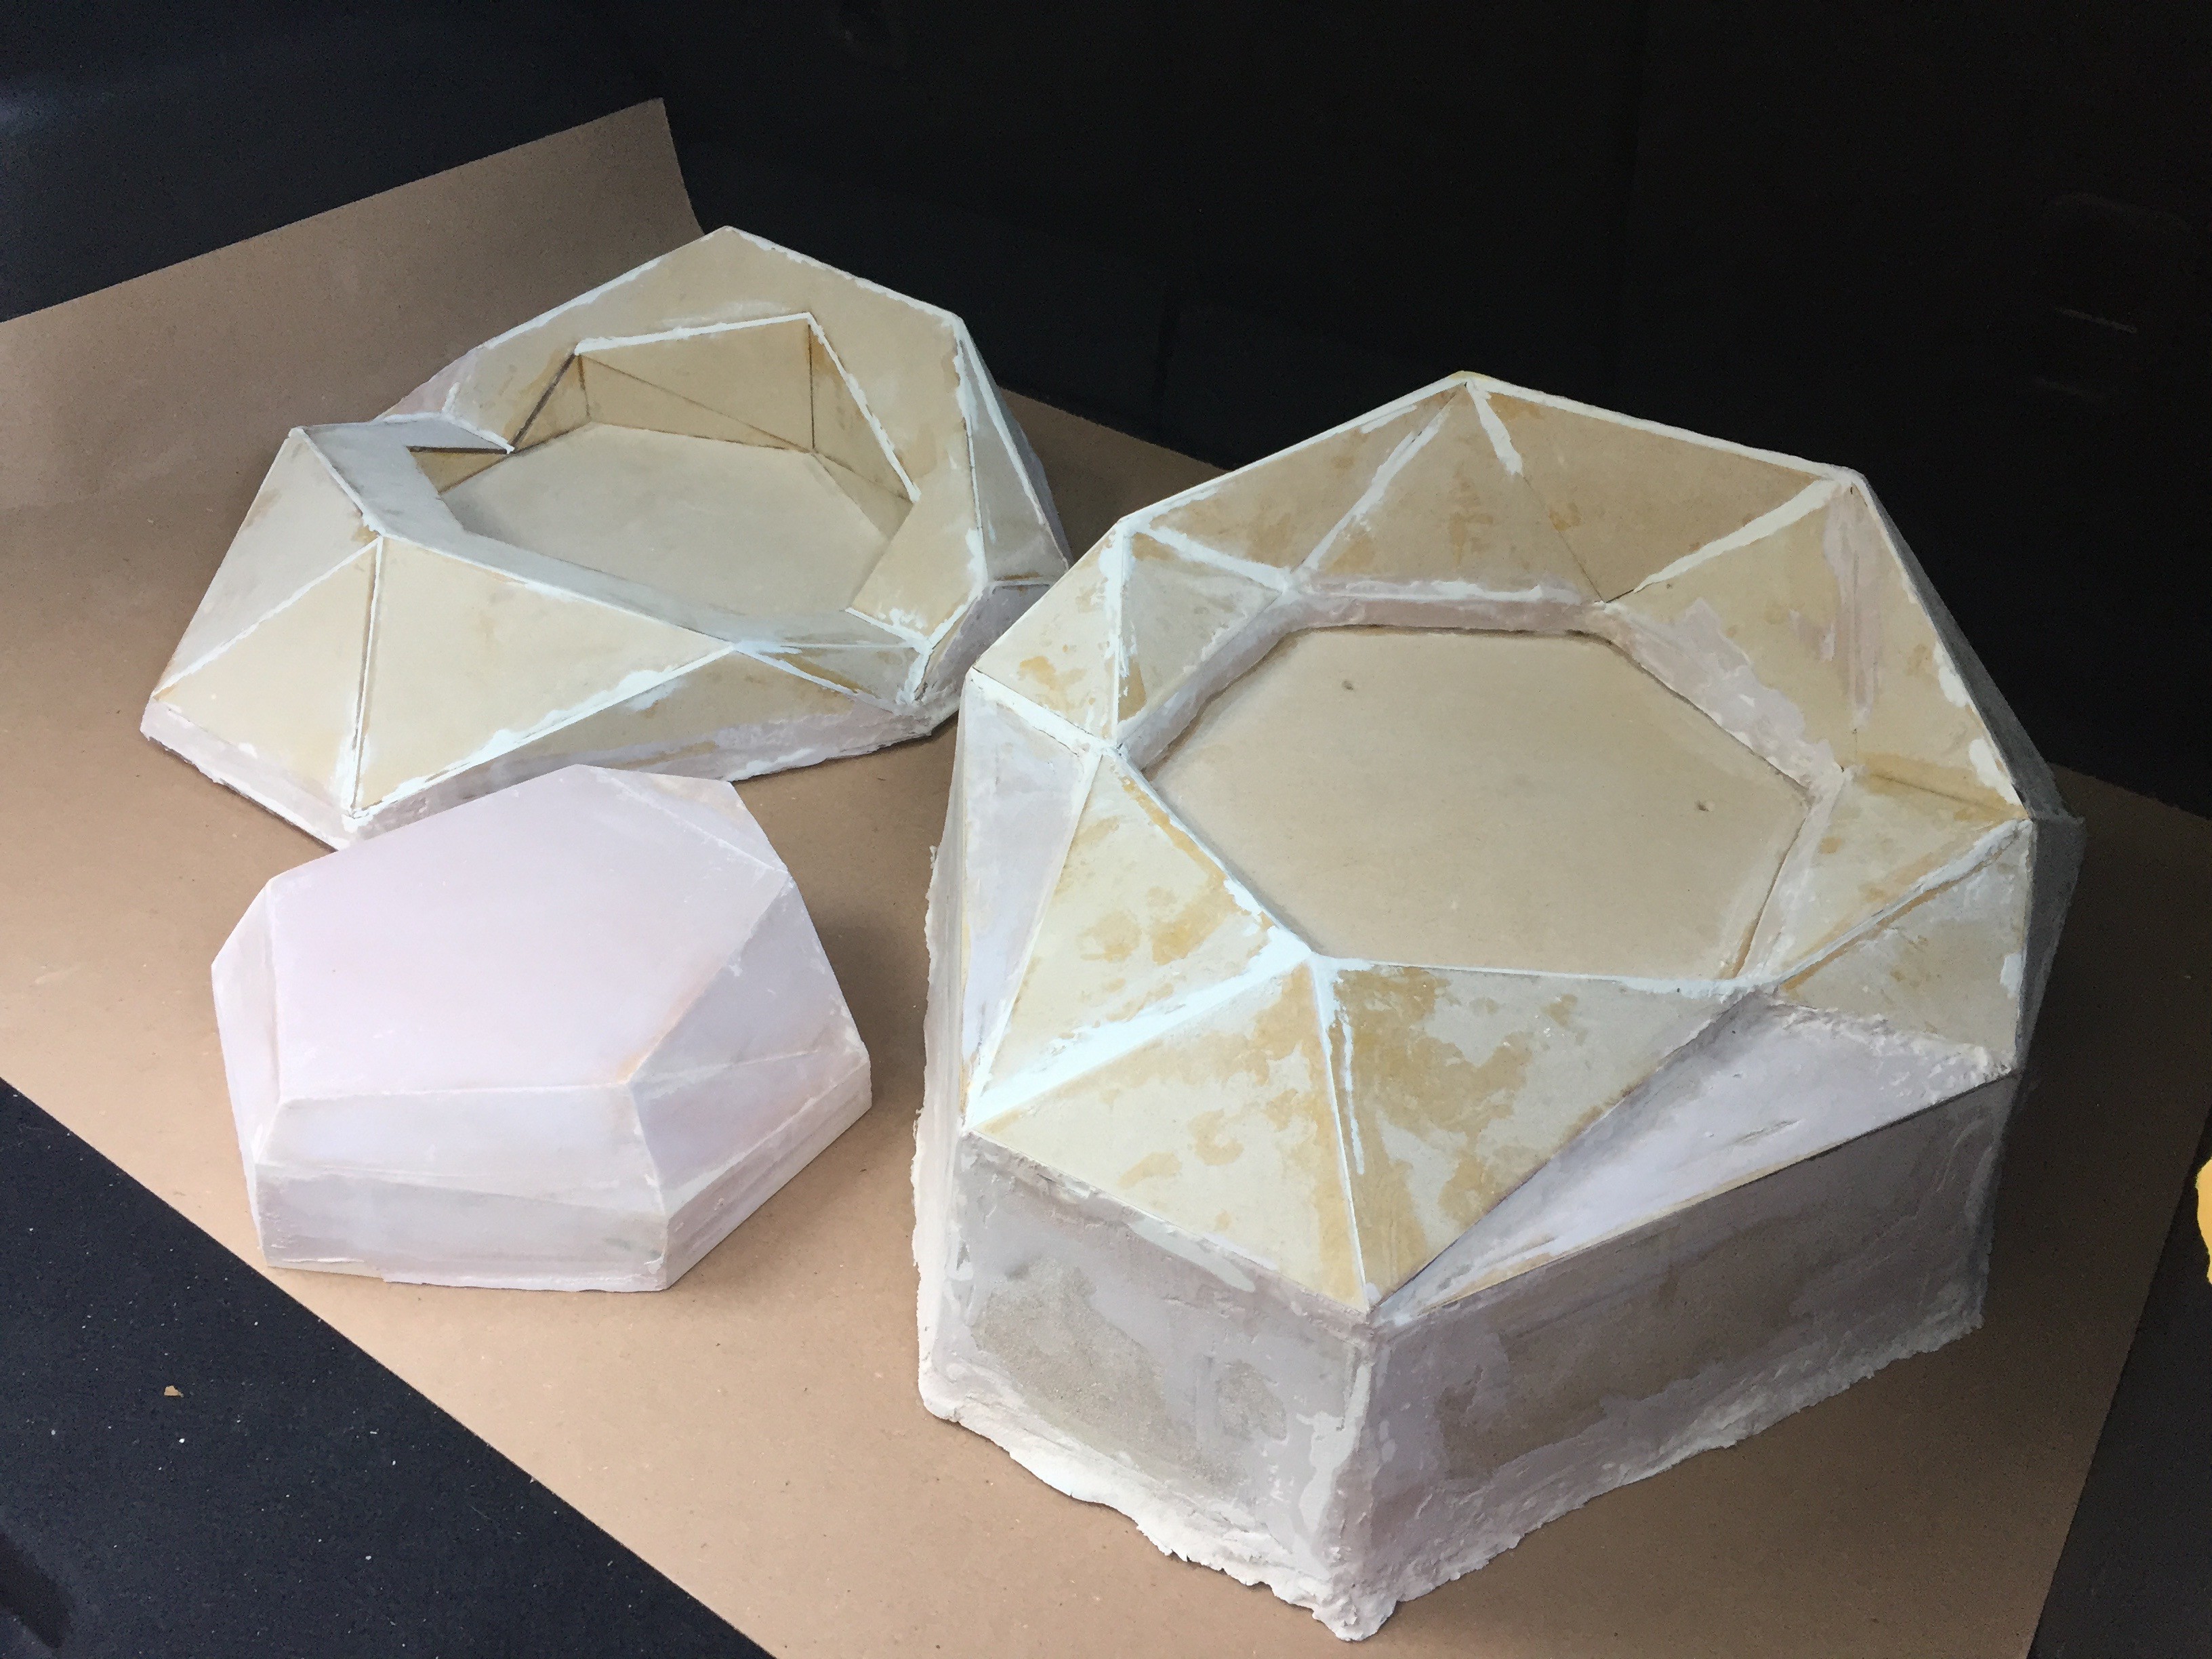
In terms of the latest shell manufacturing, the last approach ended in less than perfect results. To keep things moving, I got to building out some new bucks for vacuum forming. The vacuum pull is extremely strong, so it's important to make them much more of a solid object than I had previously attempted.
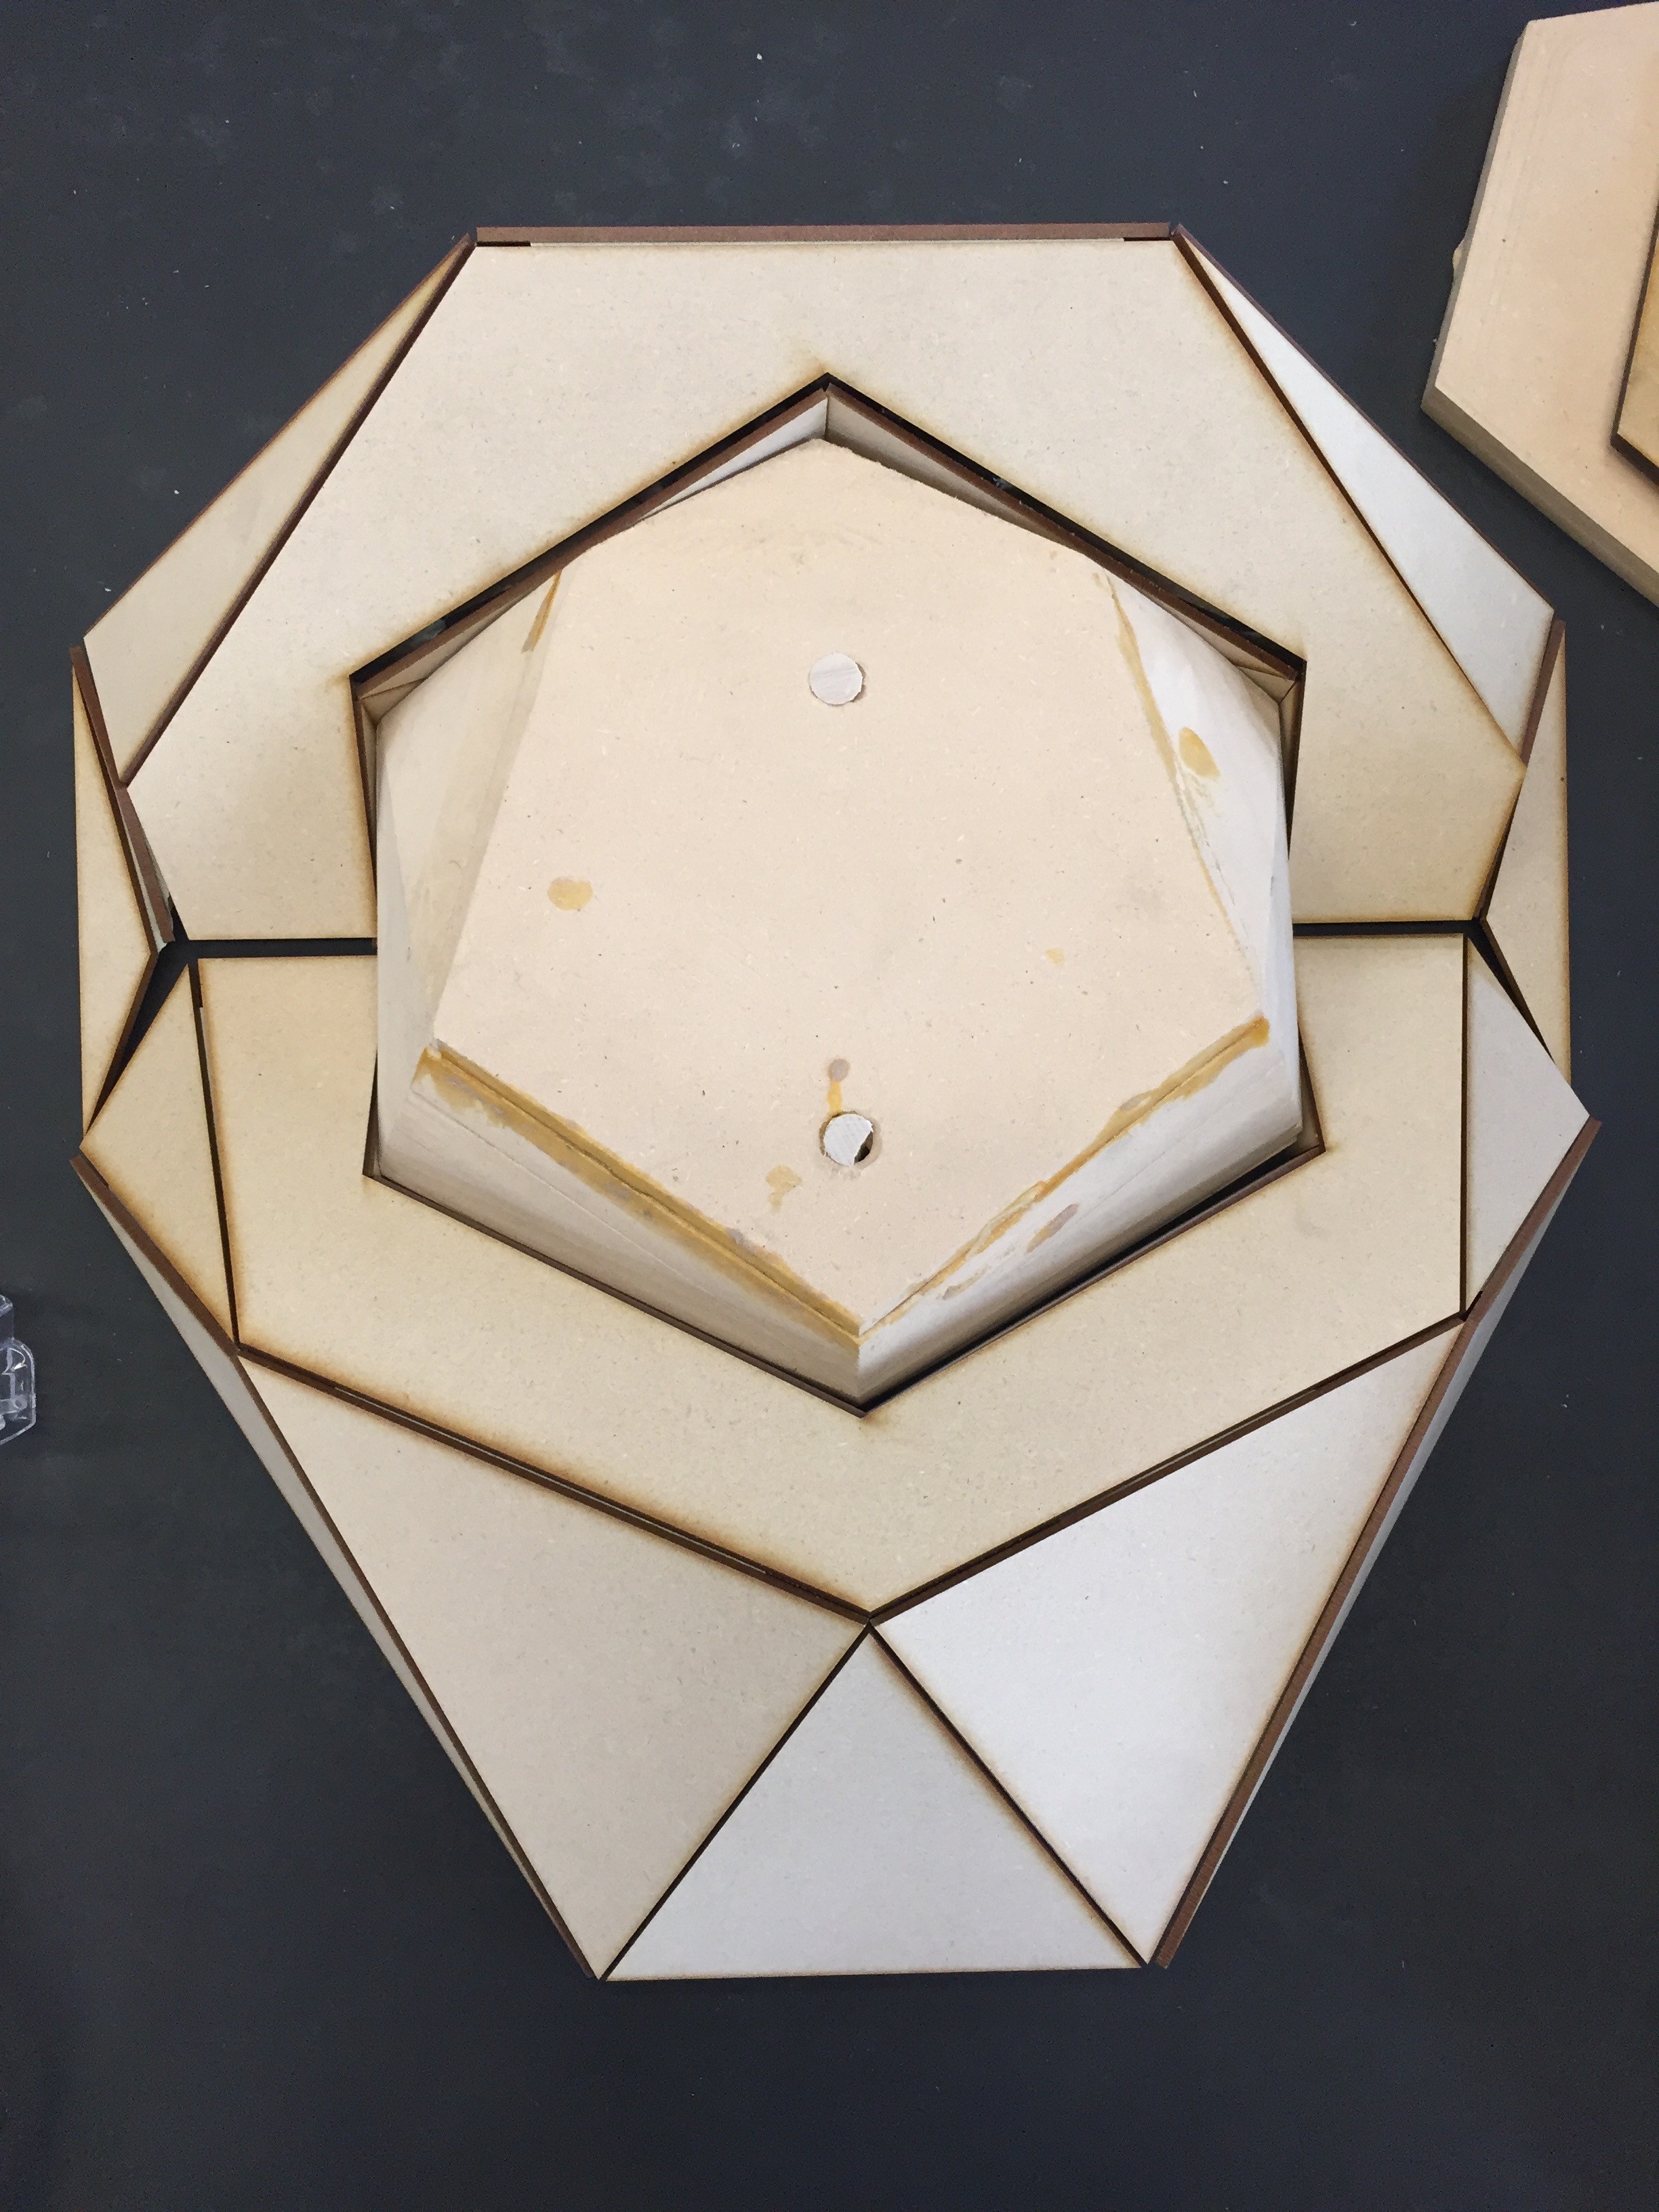
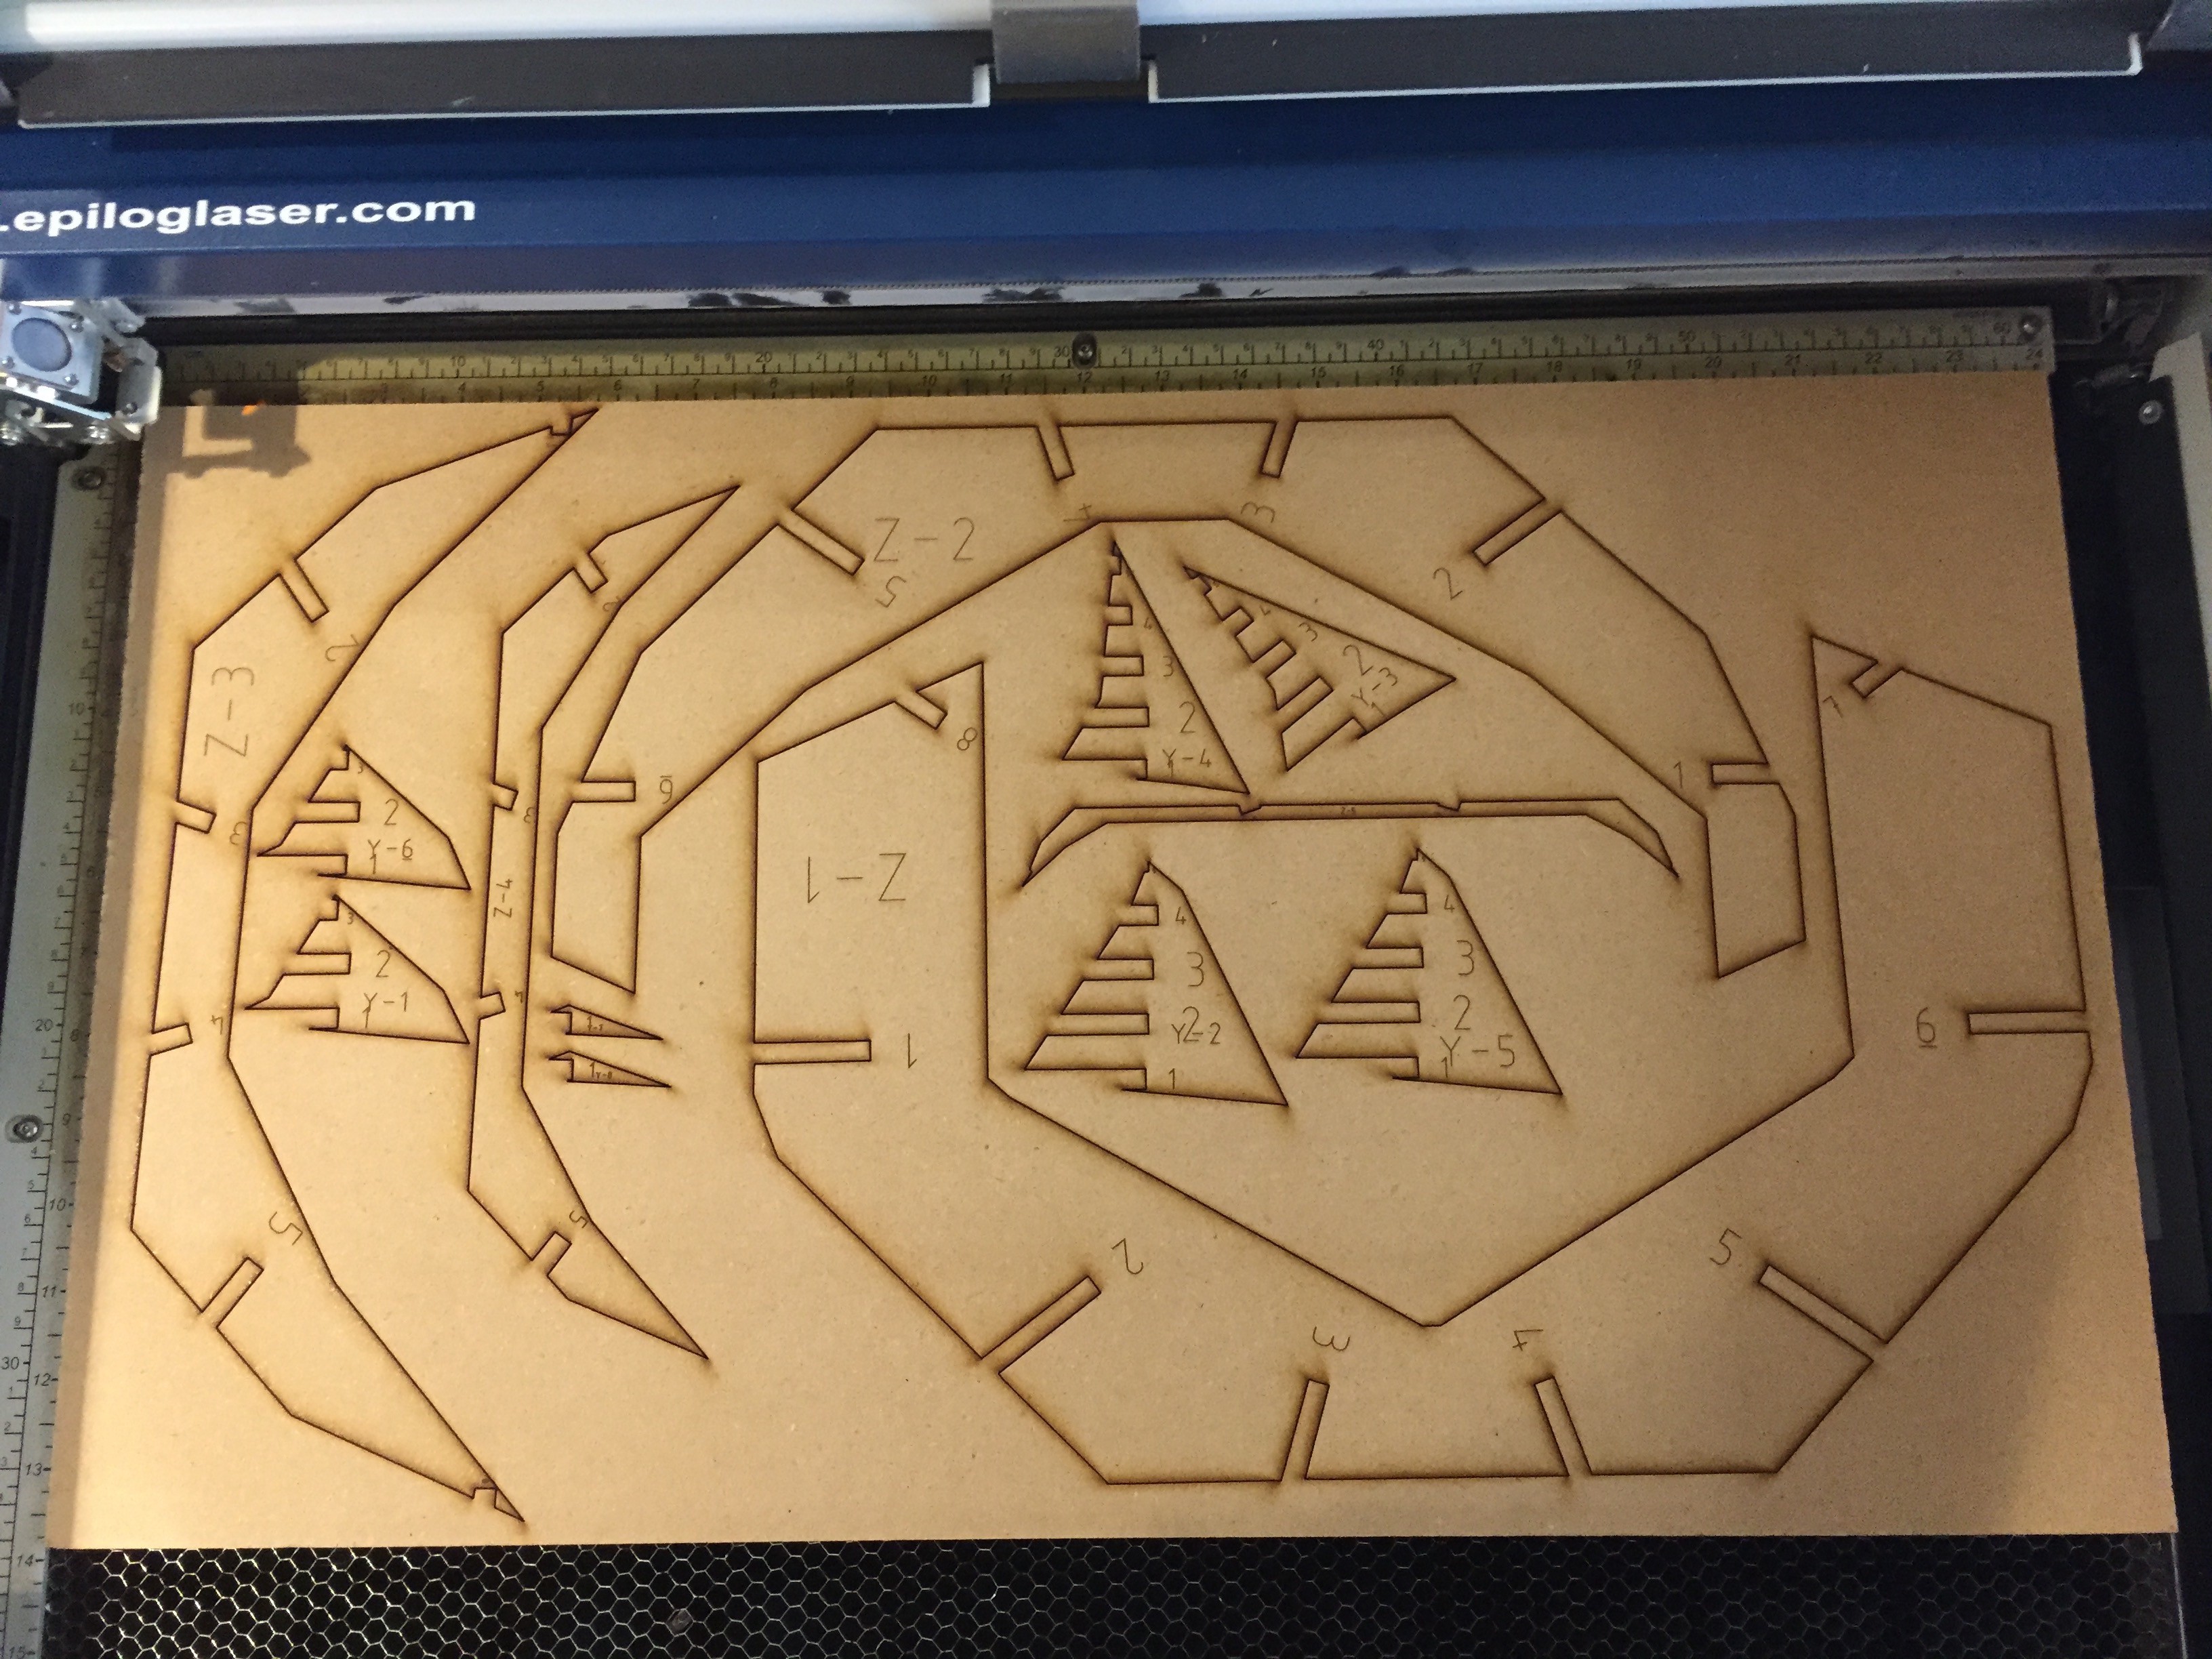
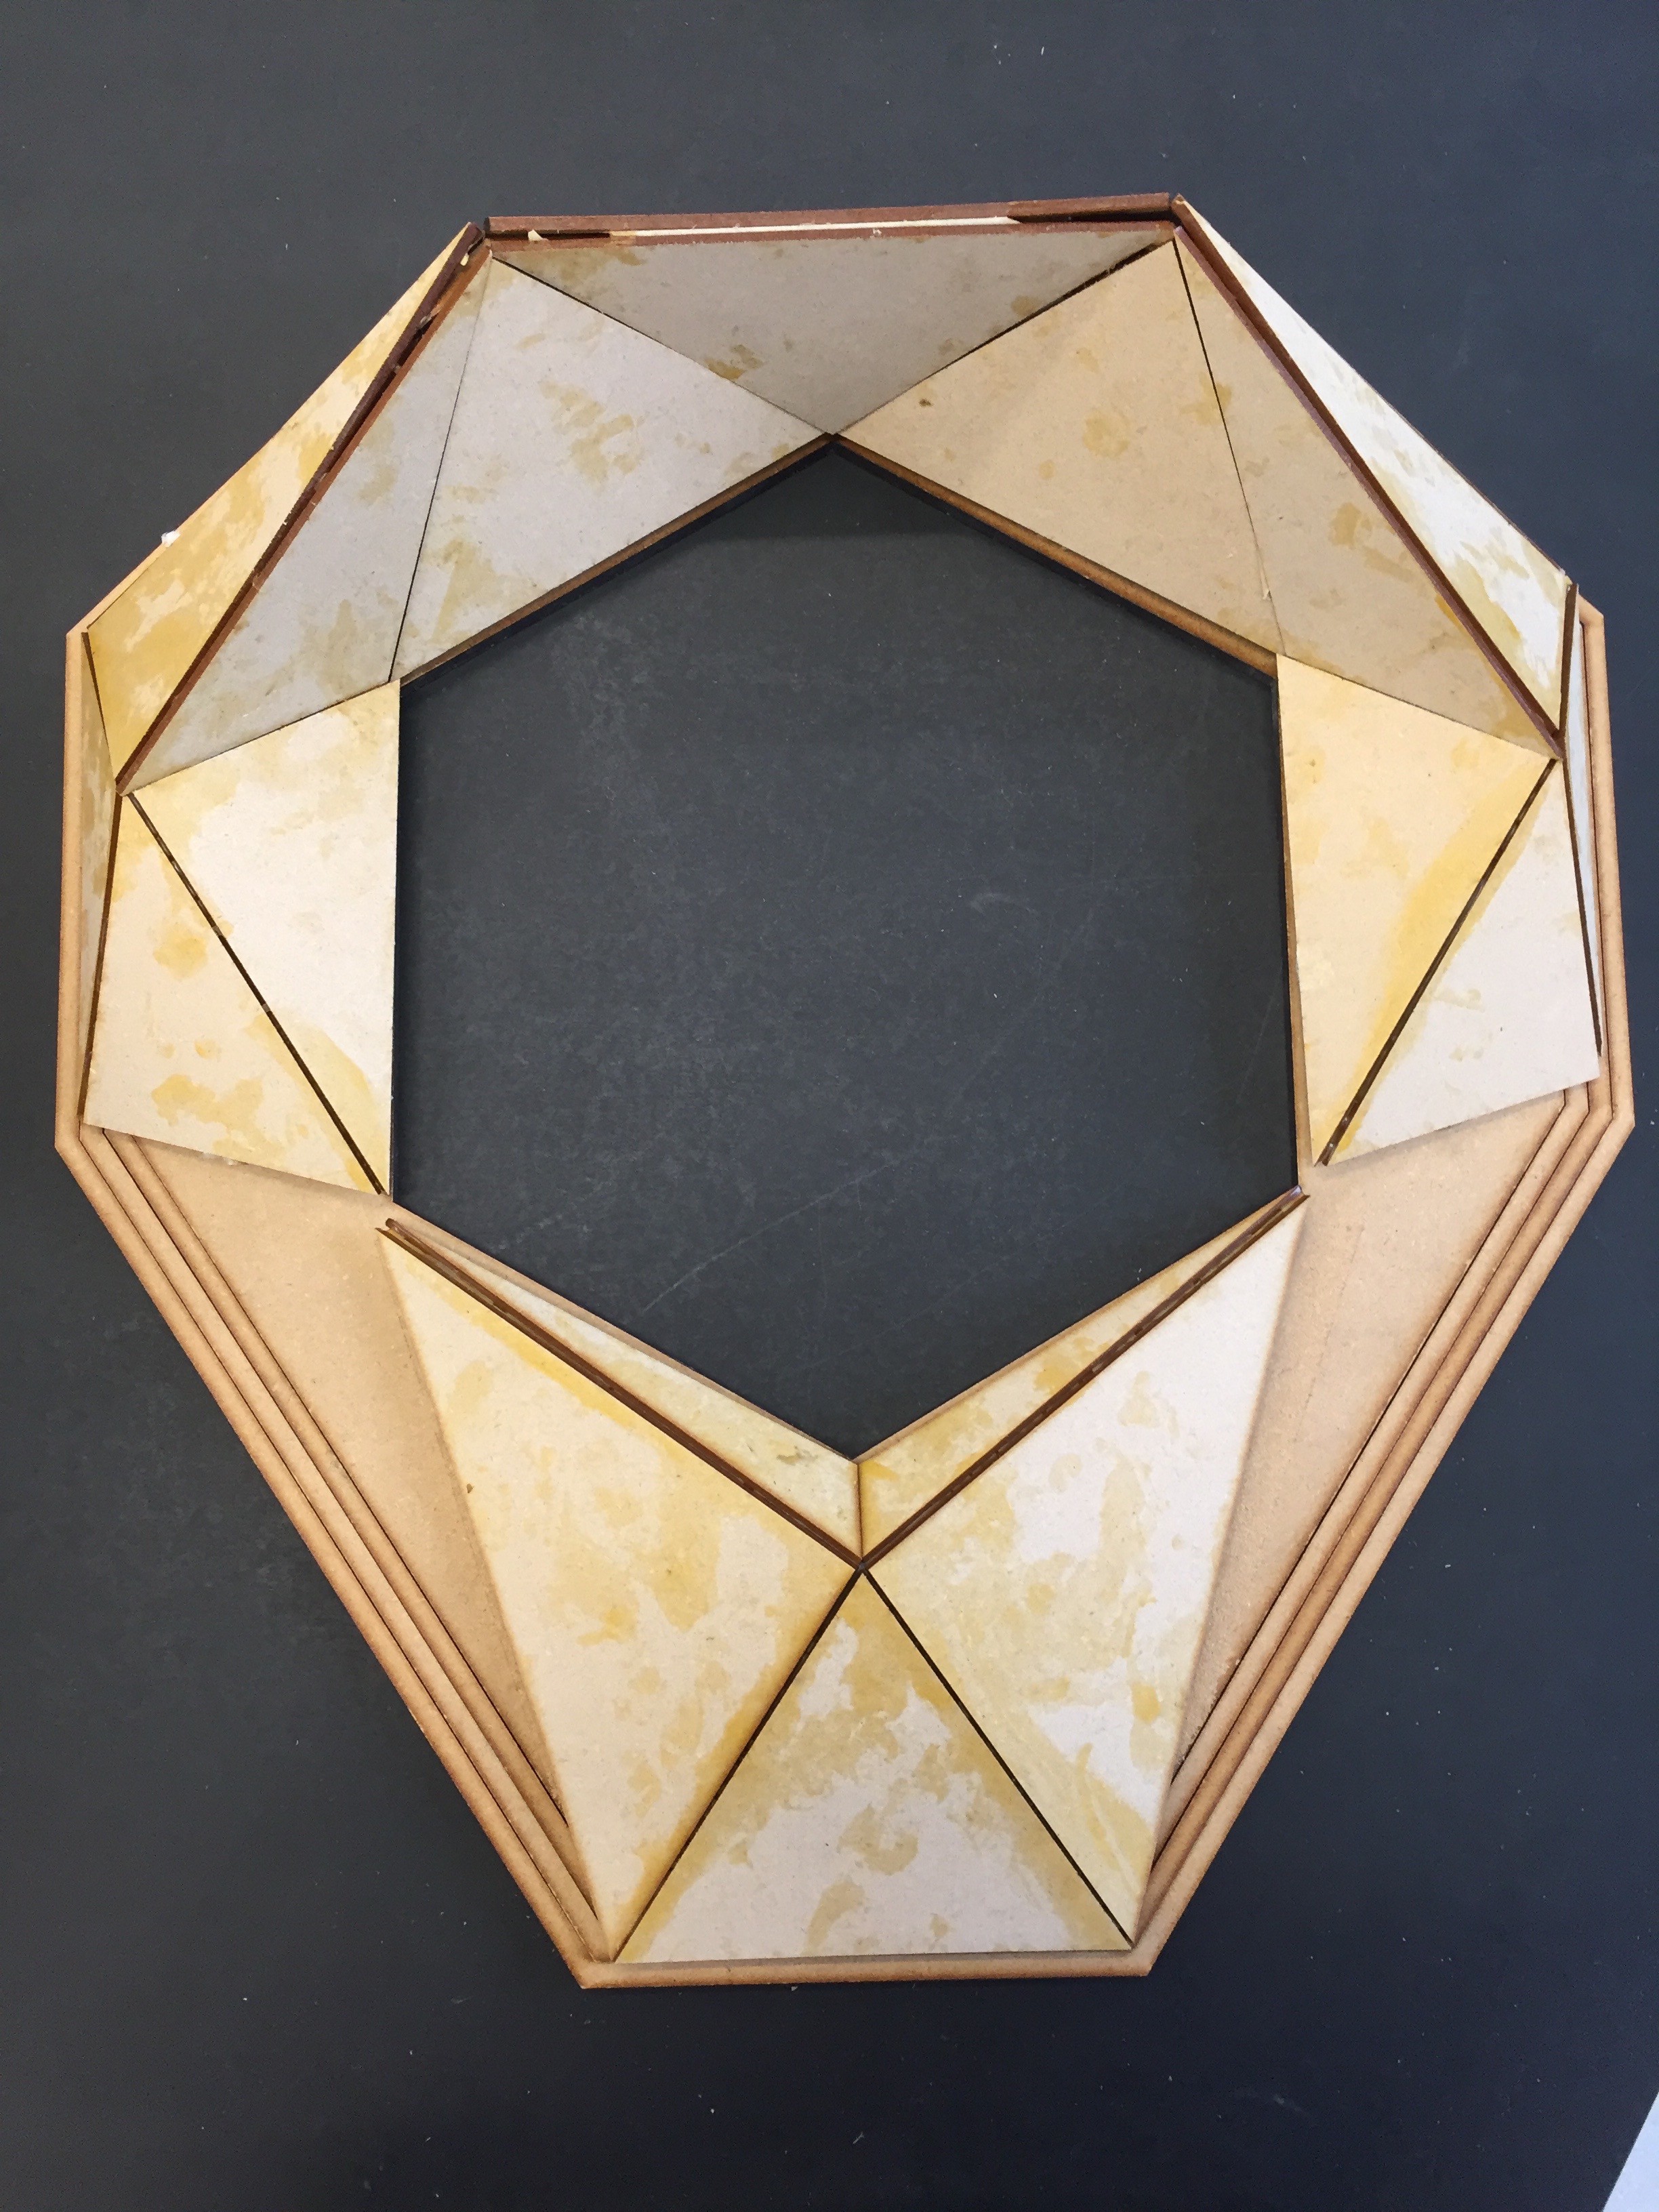
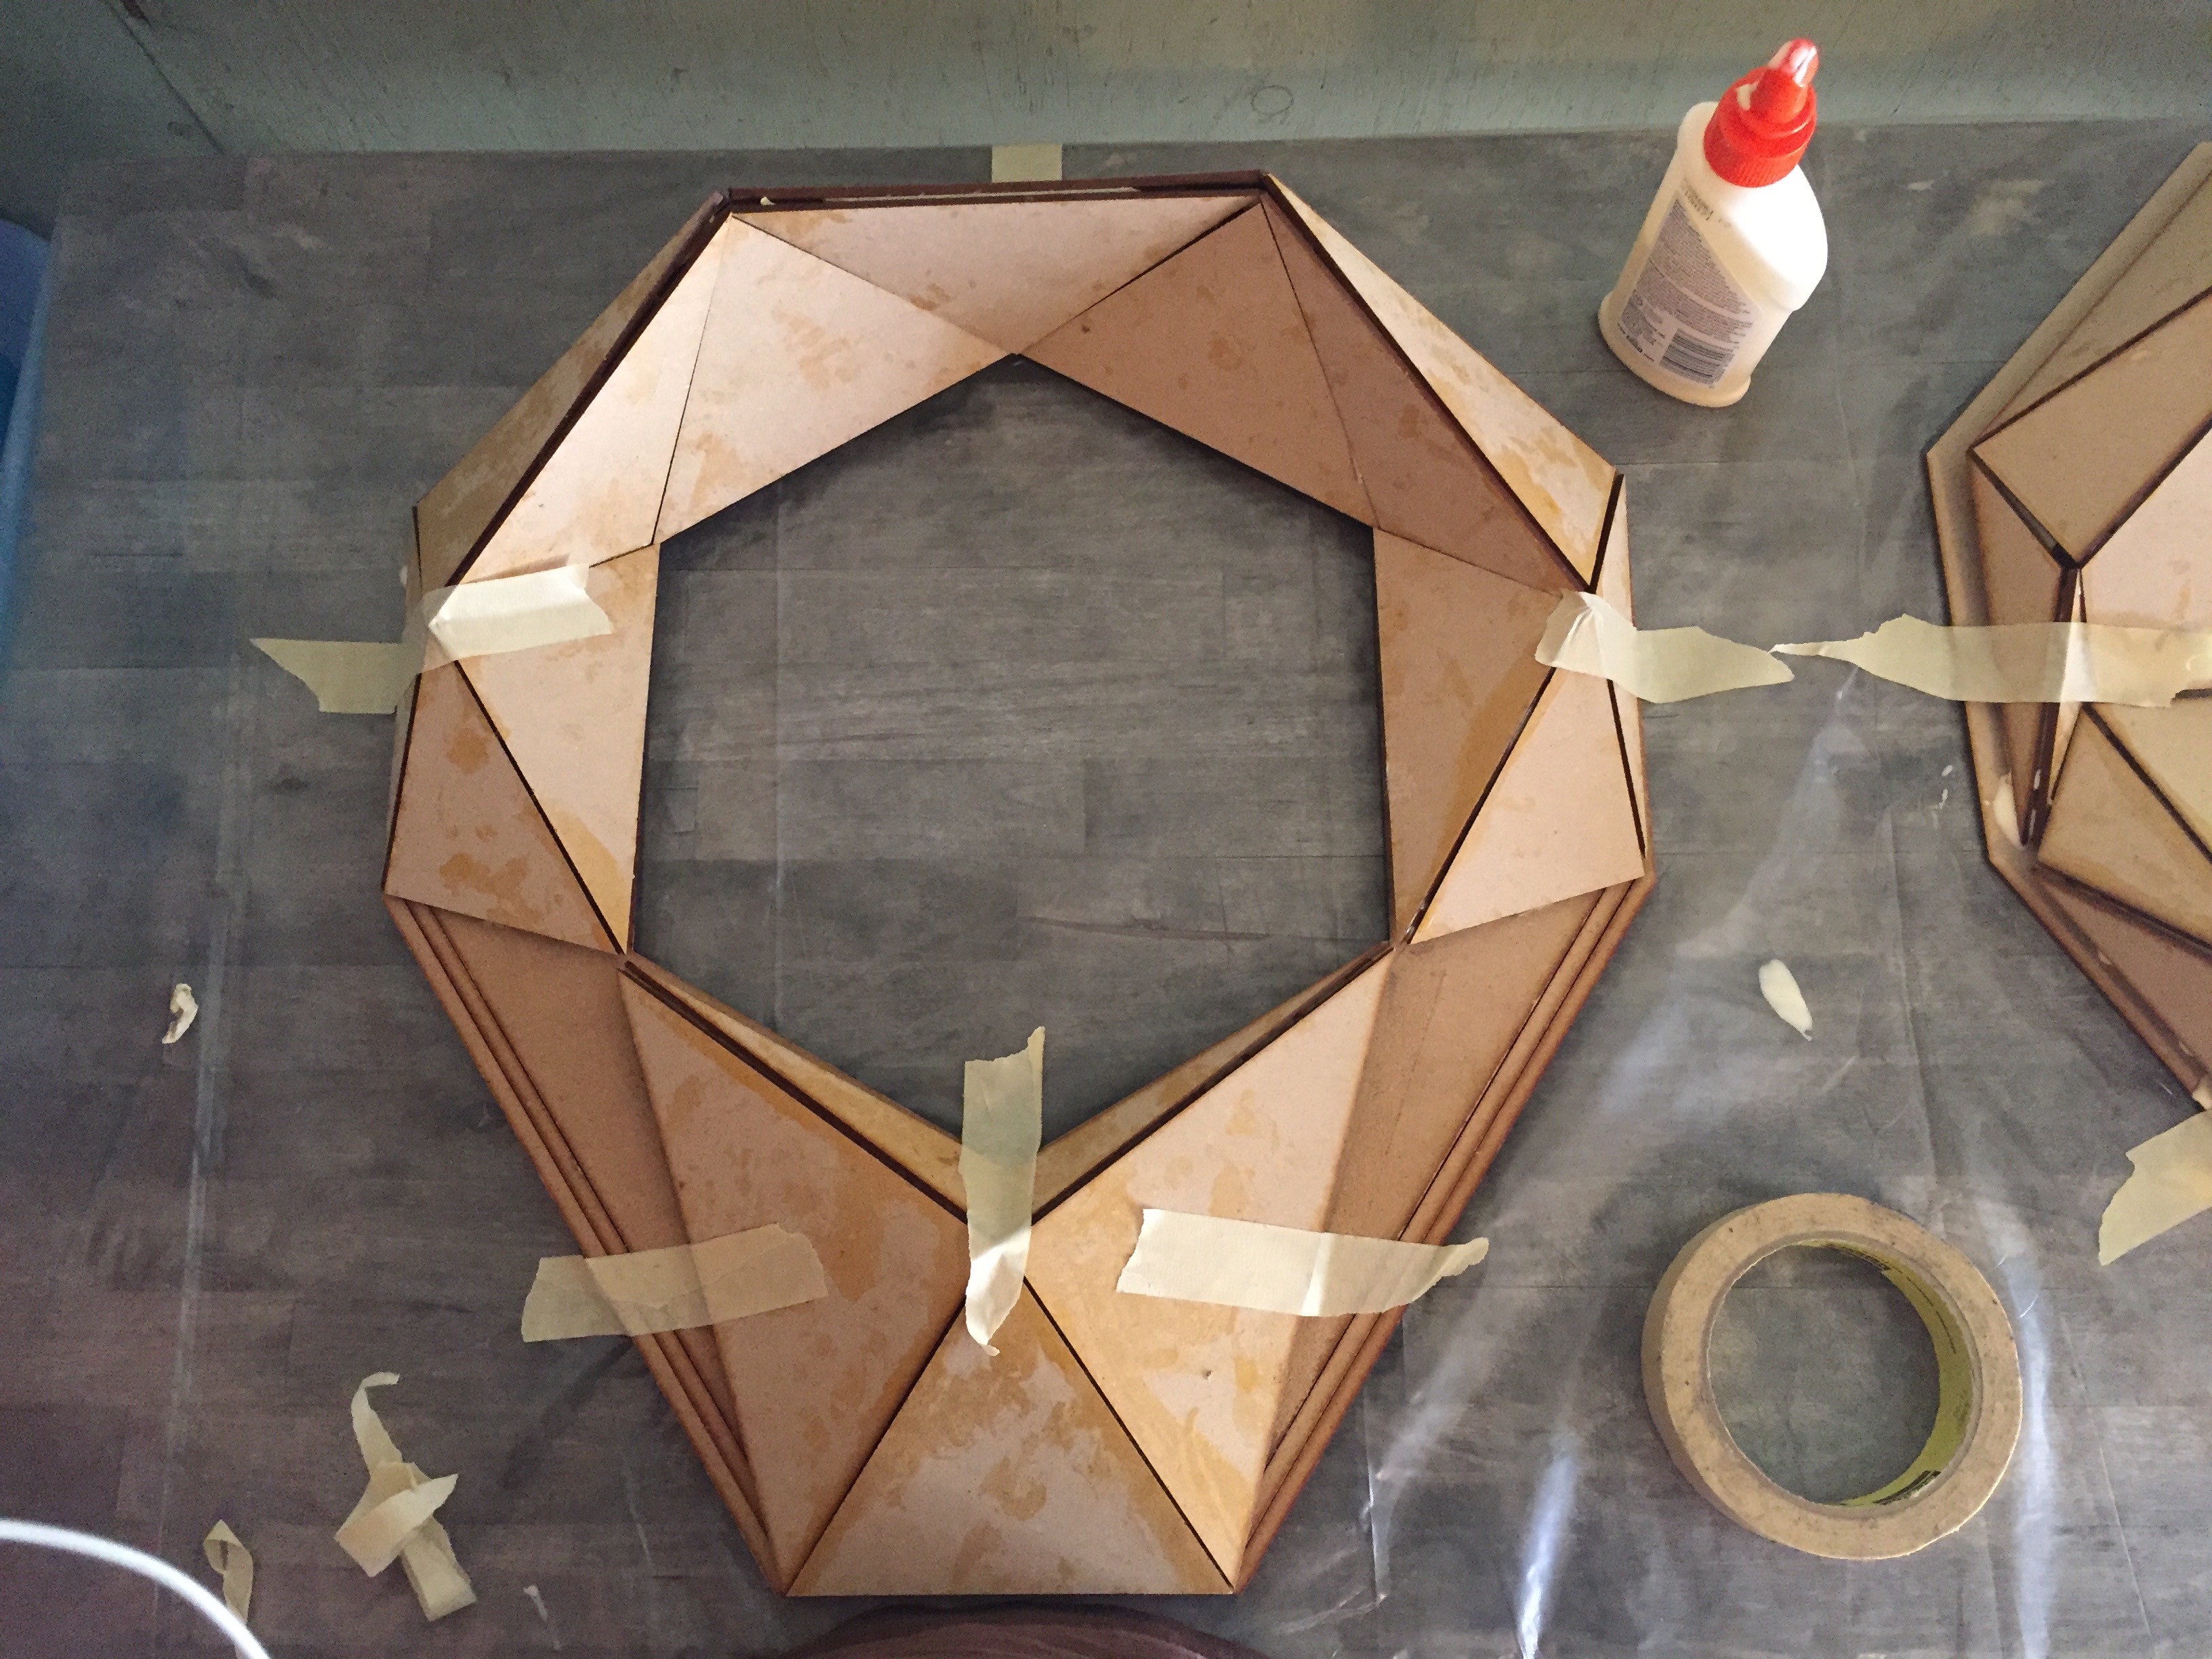
To start, rather than use the folded card stock panels, I laser cut new facets to attach to the ribbing I had already generated out of 1/8th inch MDF.
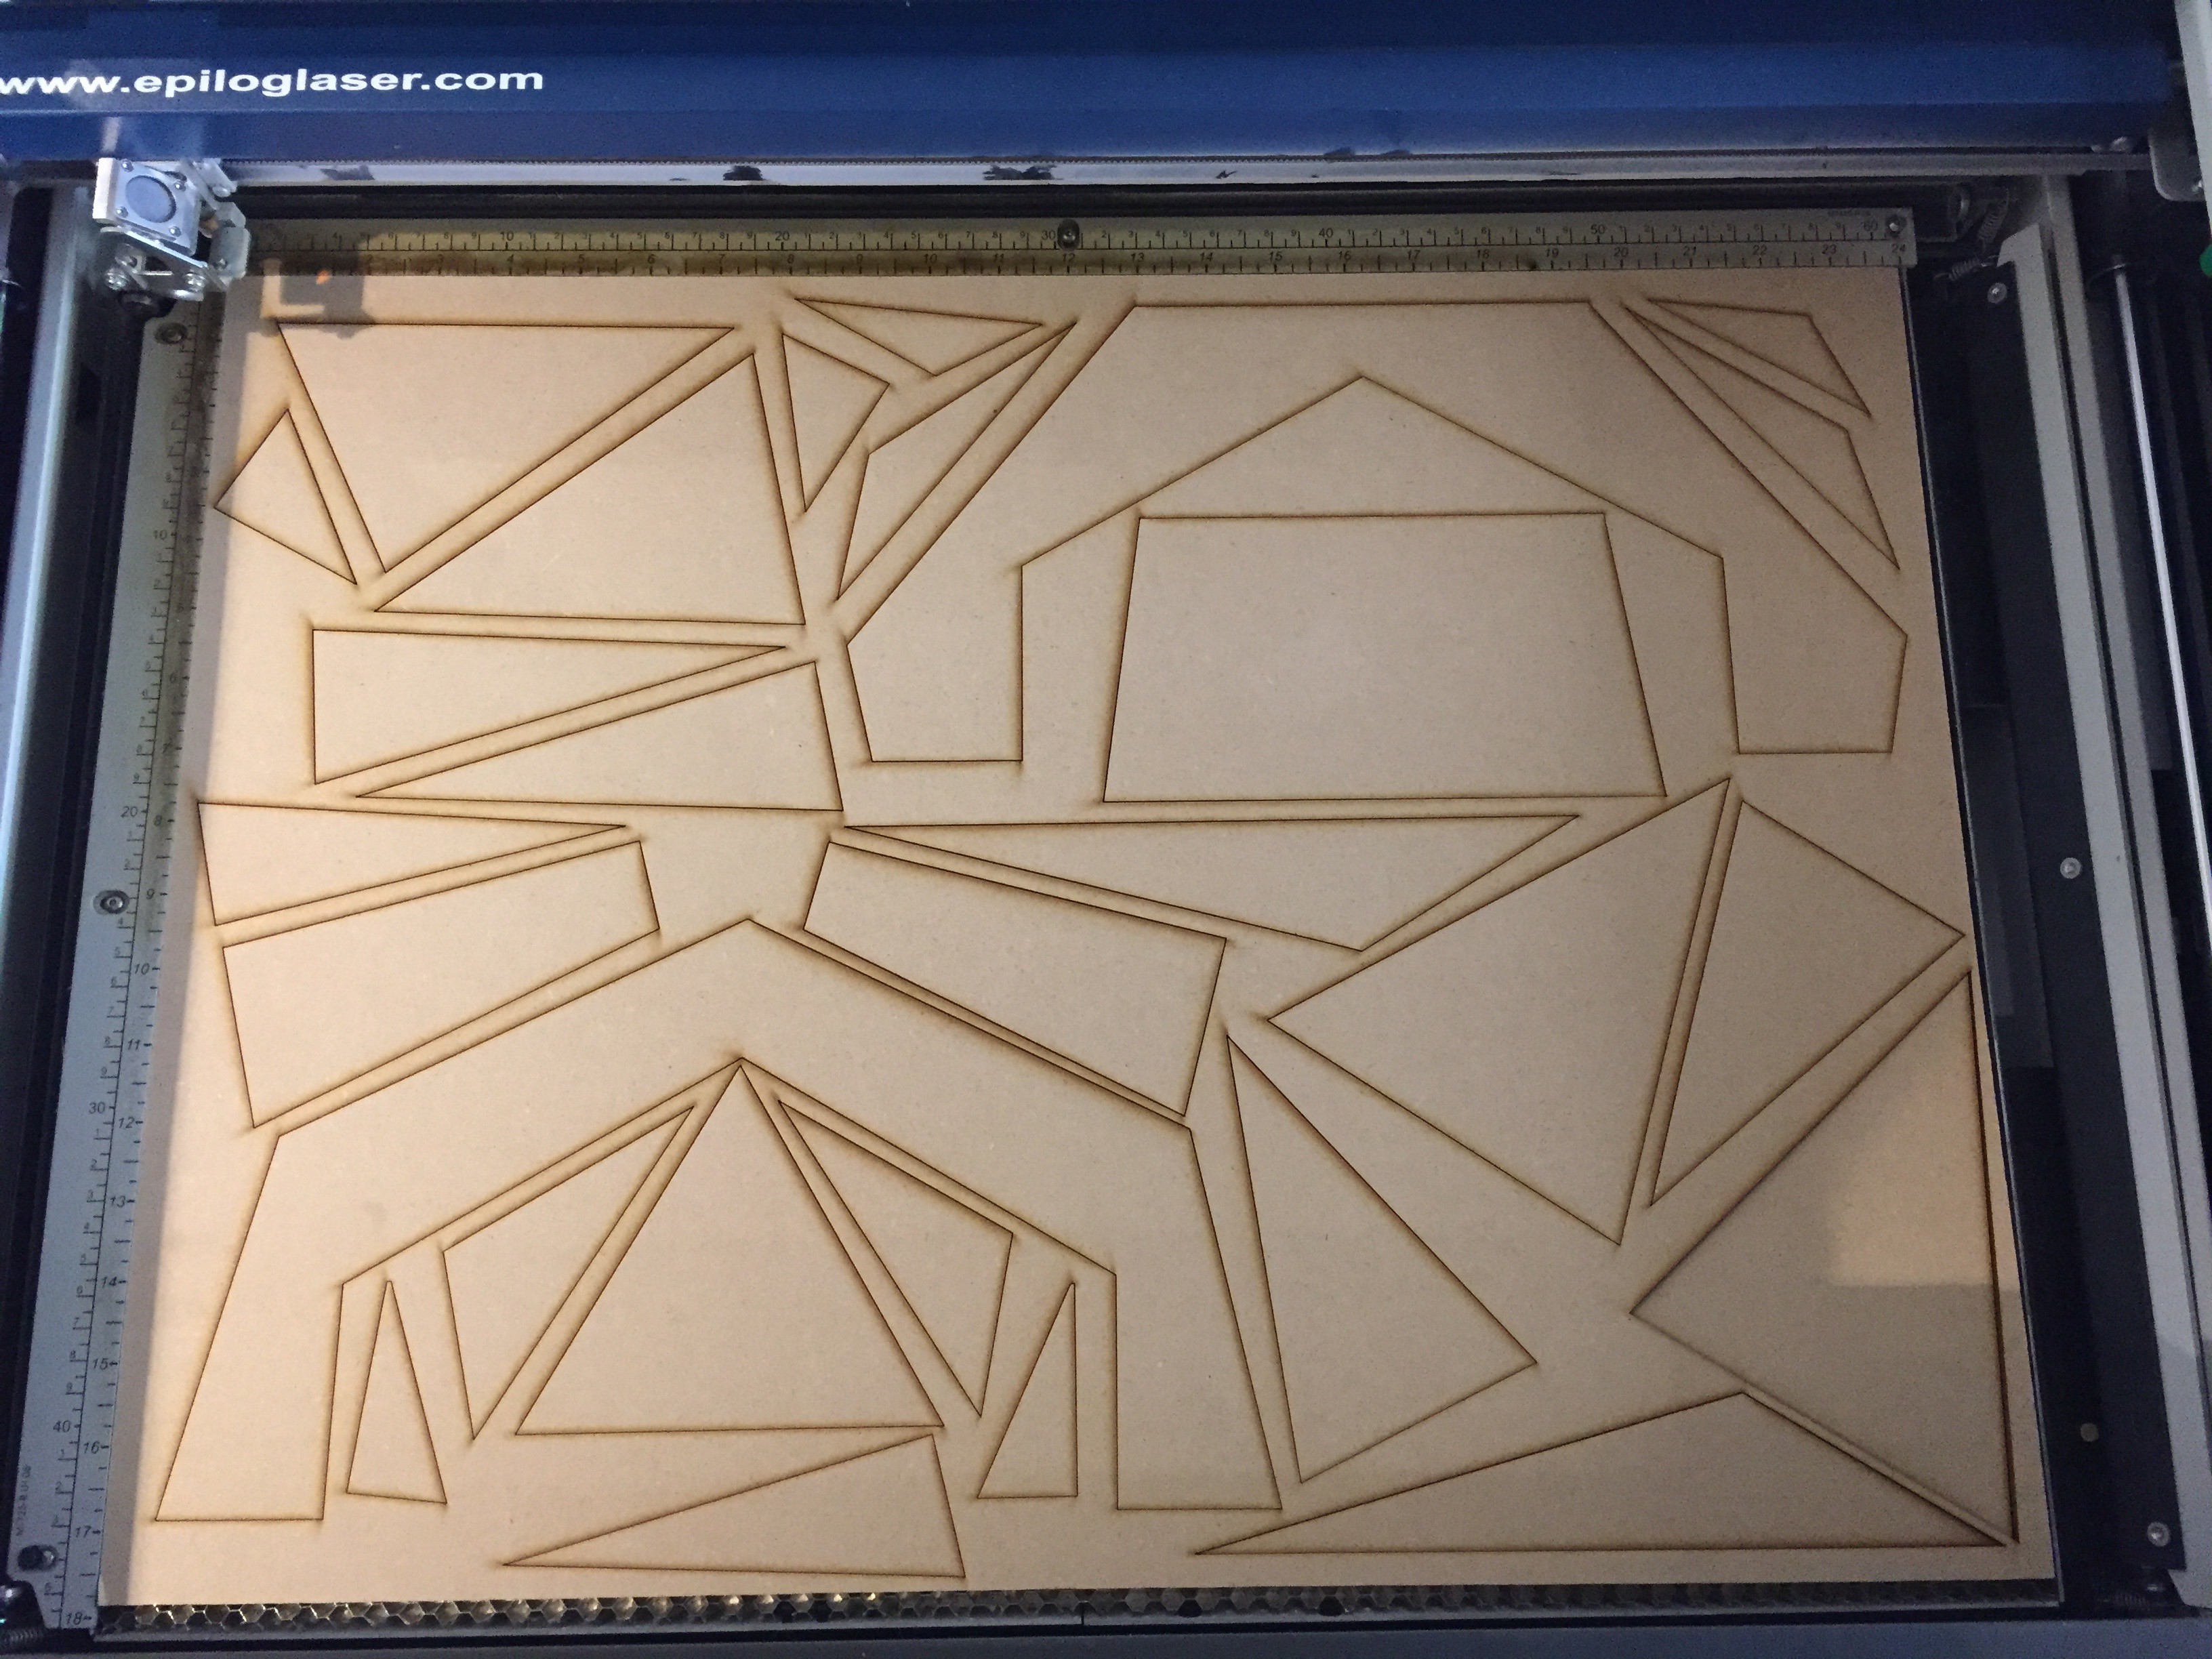
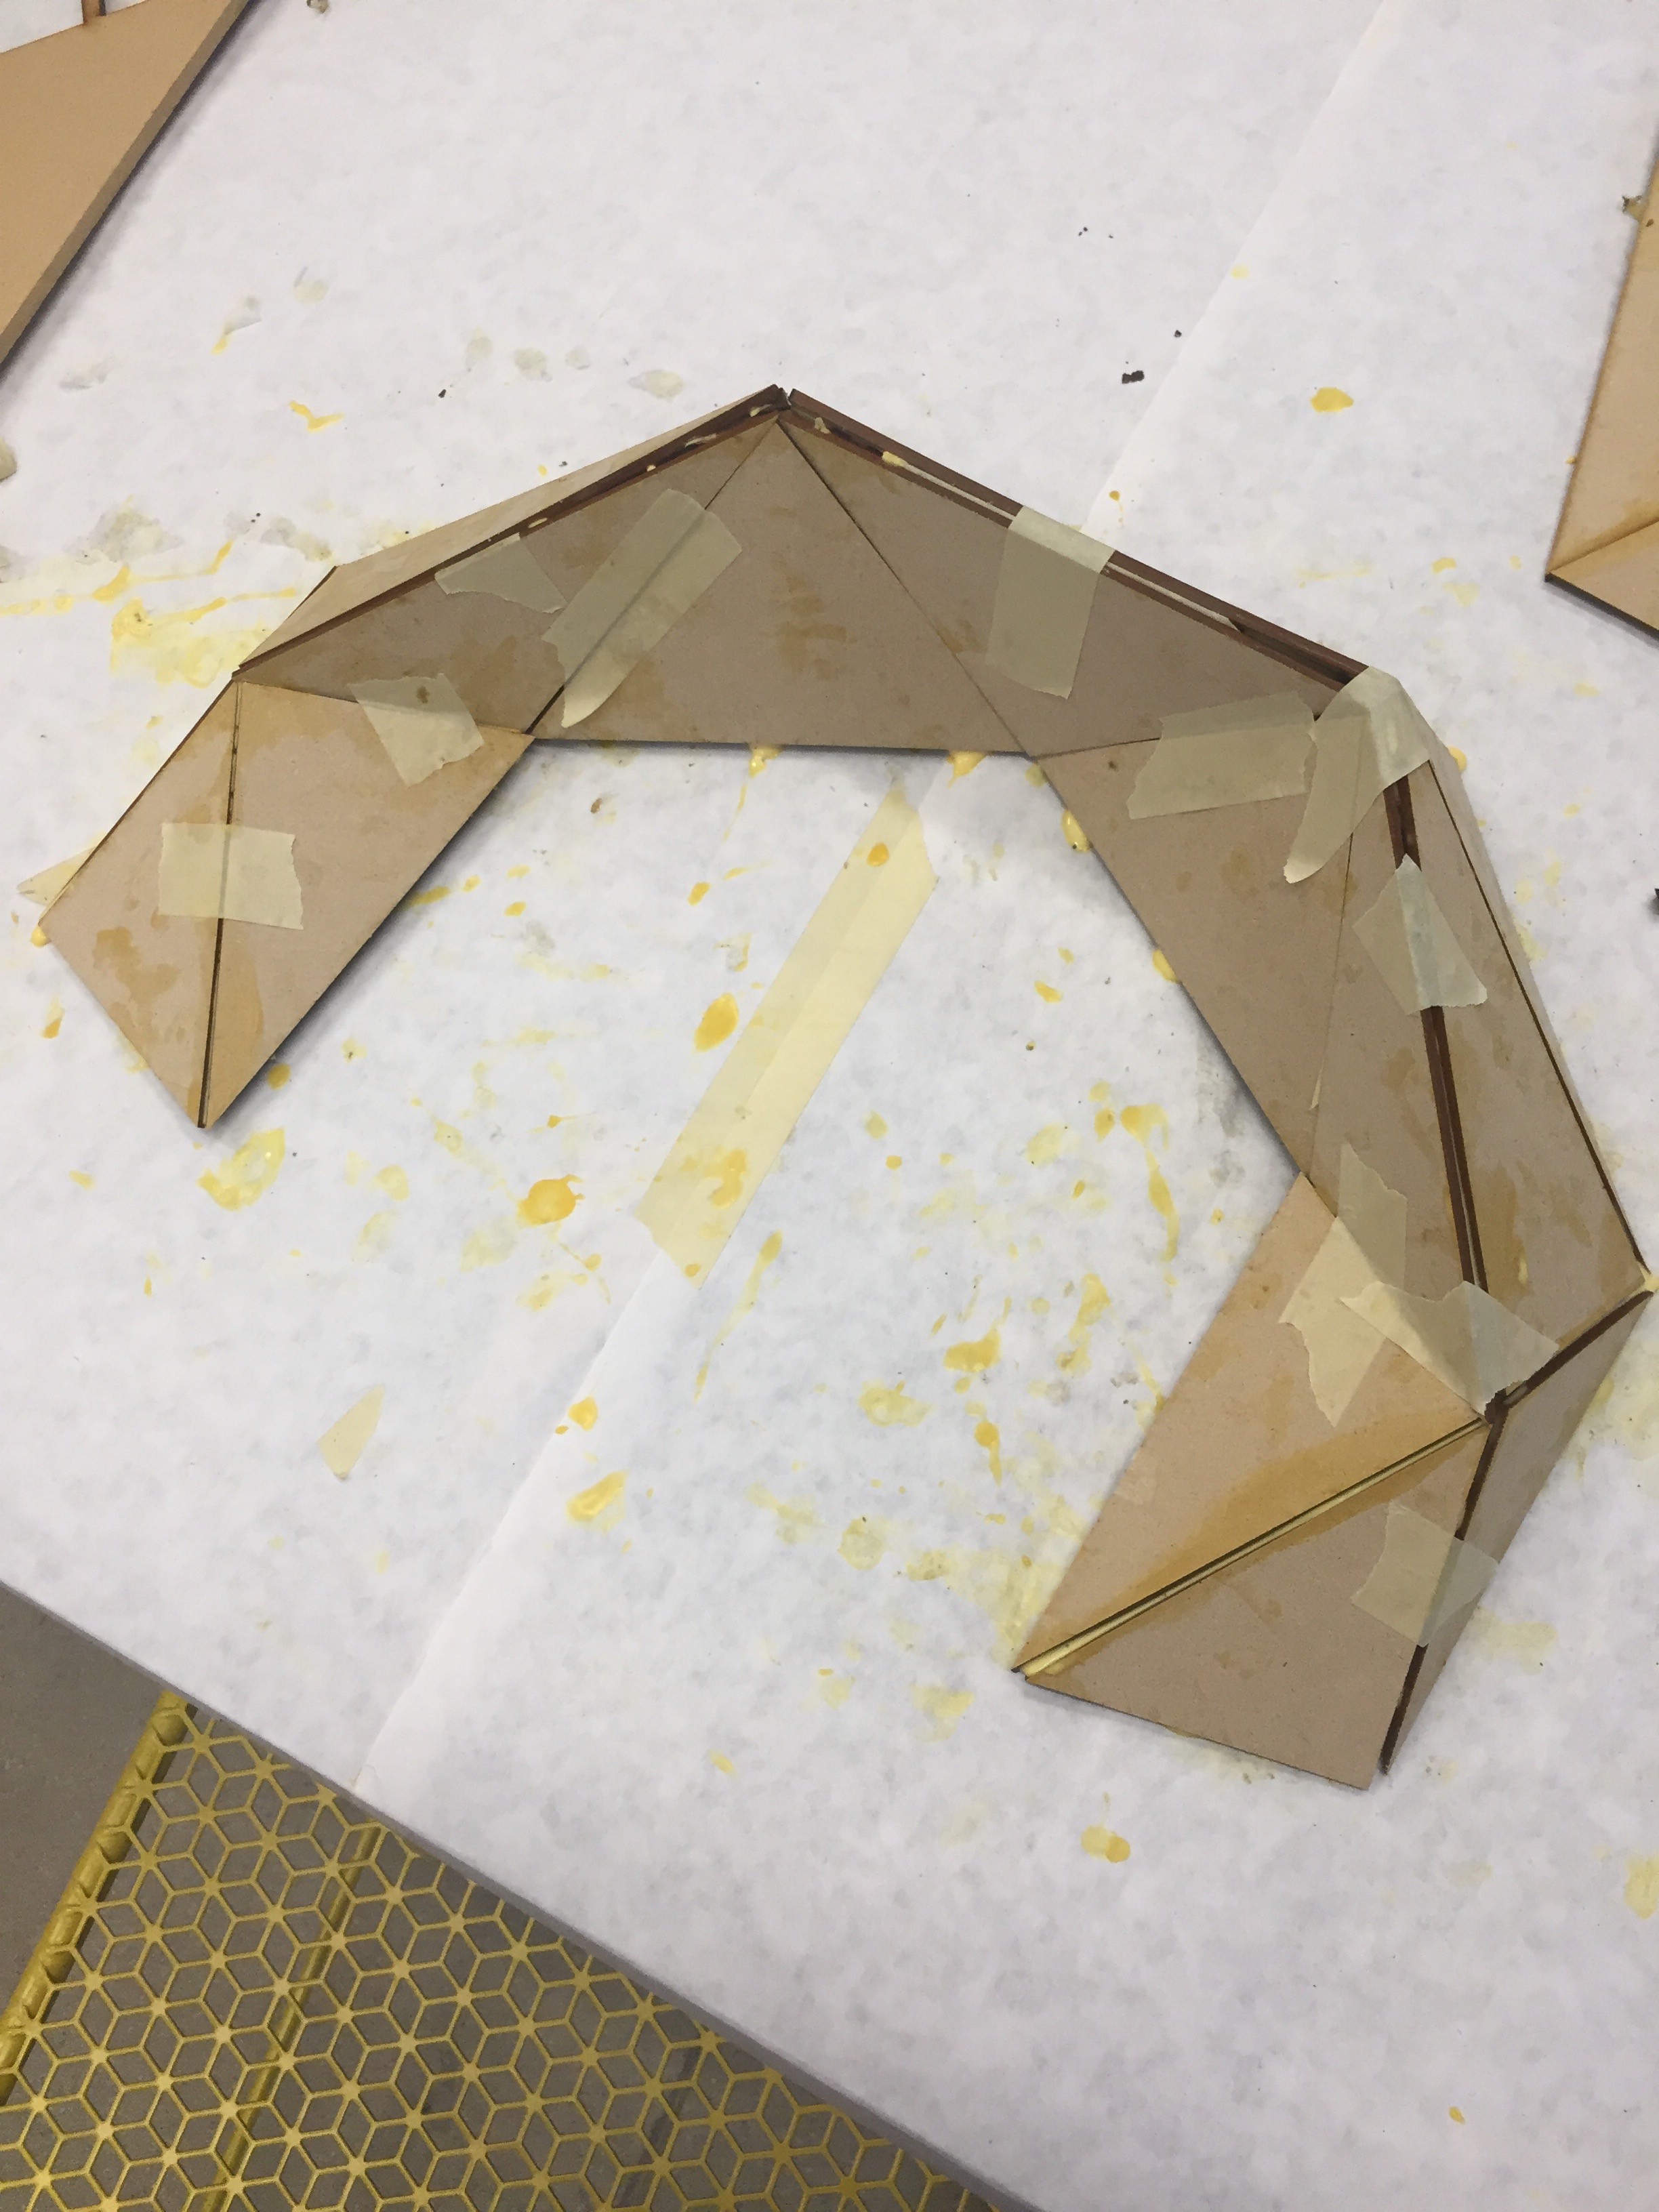
I used some masking tape internally to set it up for a test fit against the ribs. Looks like a good start.
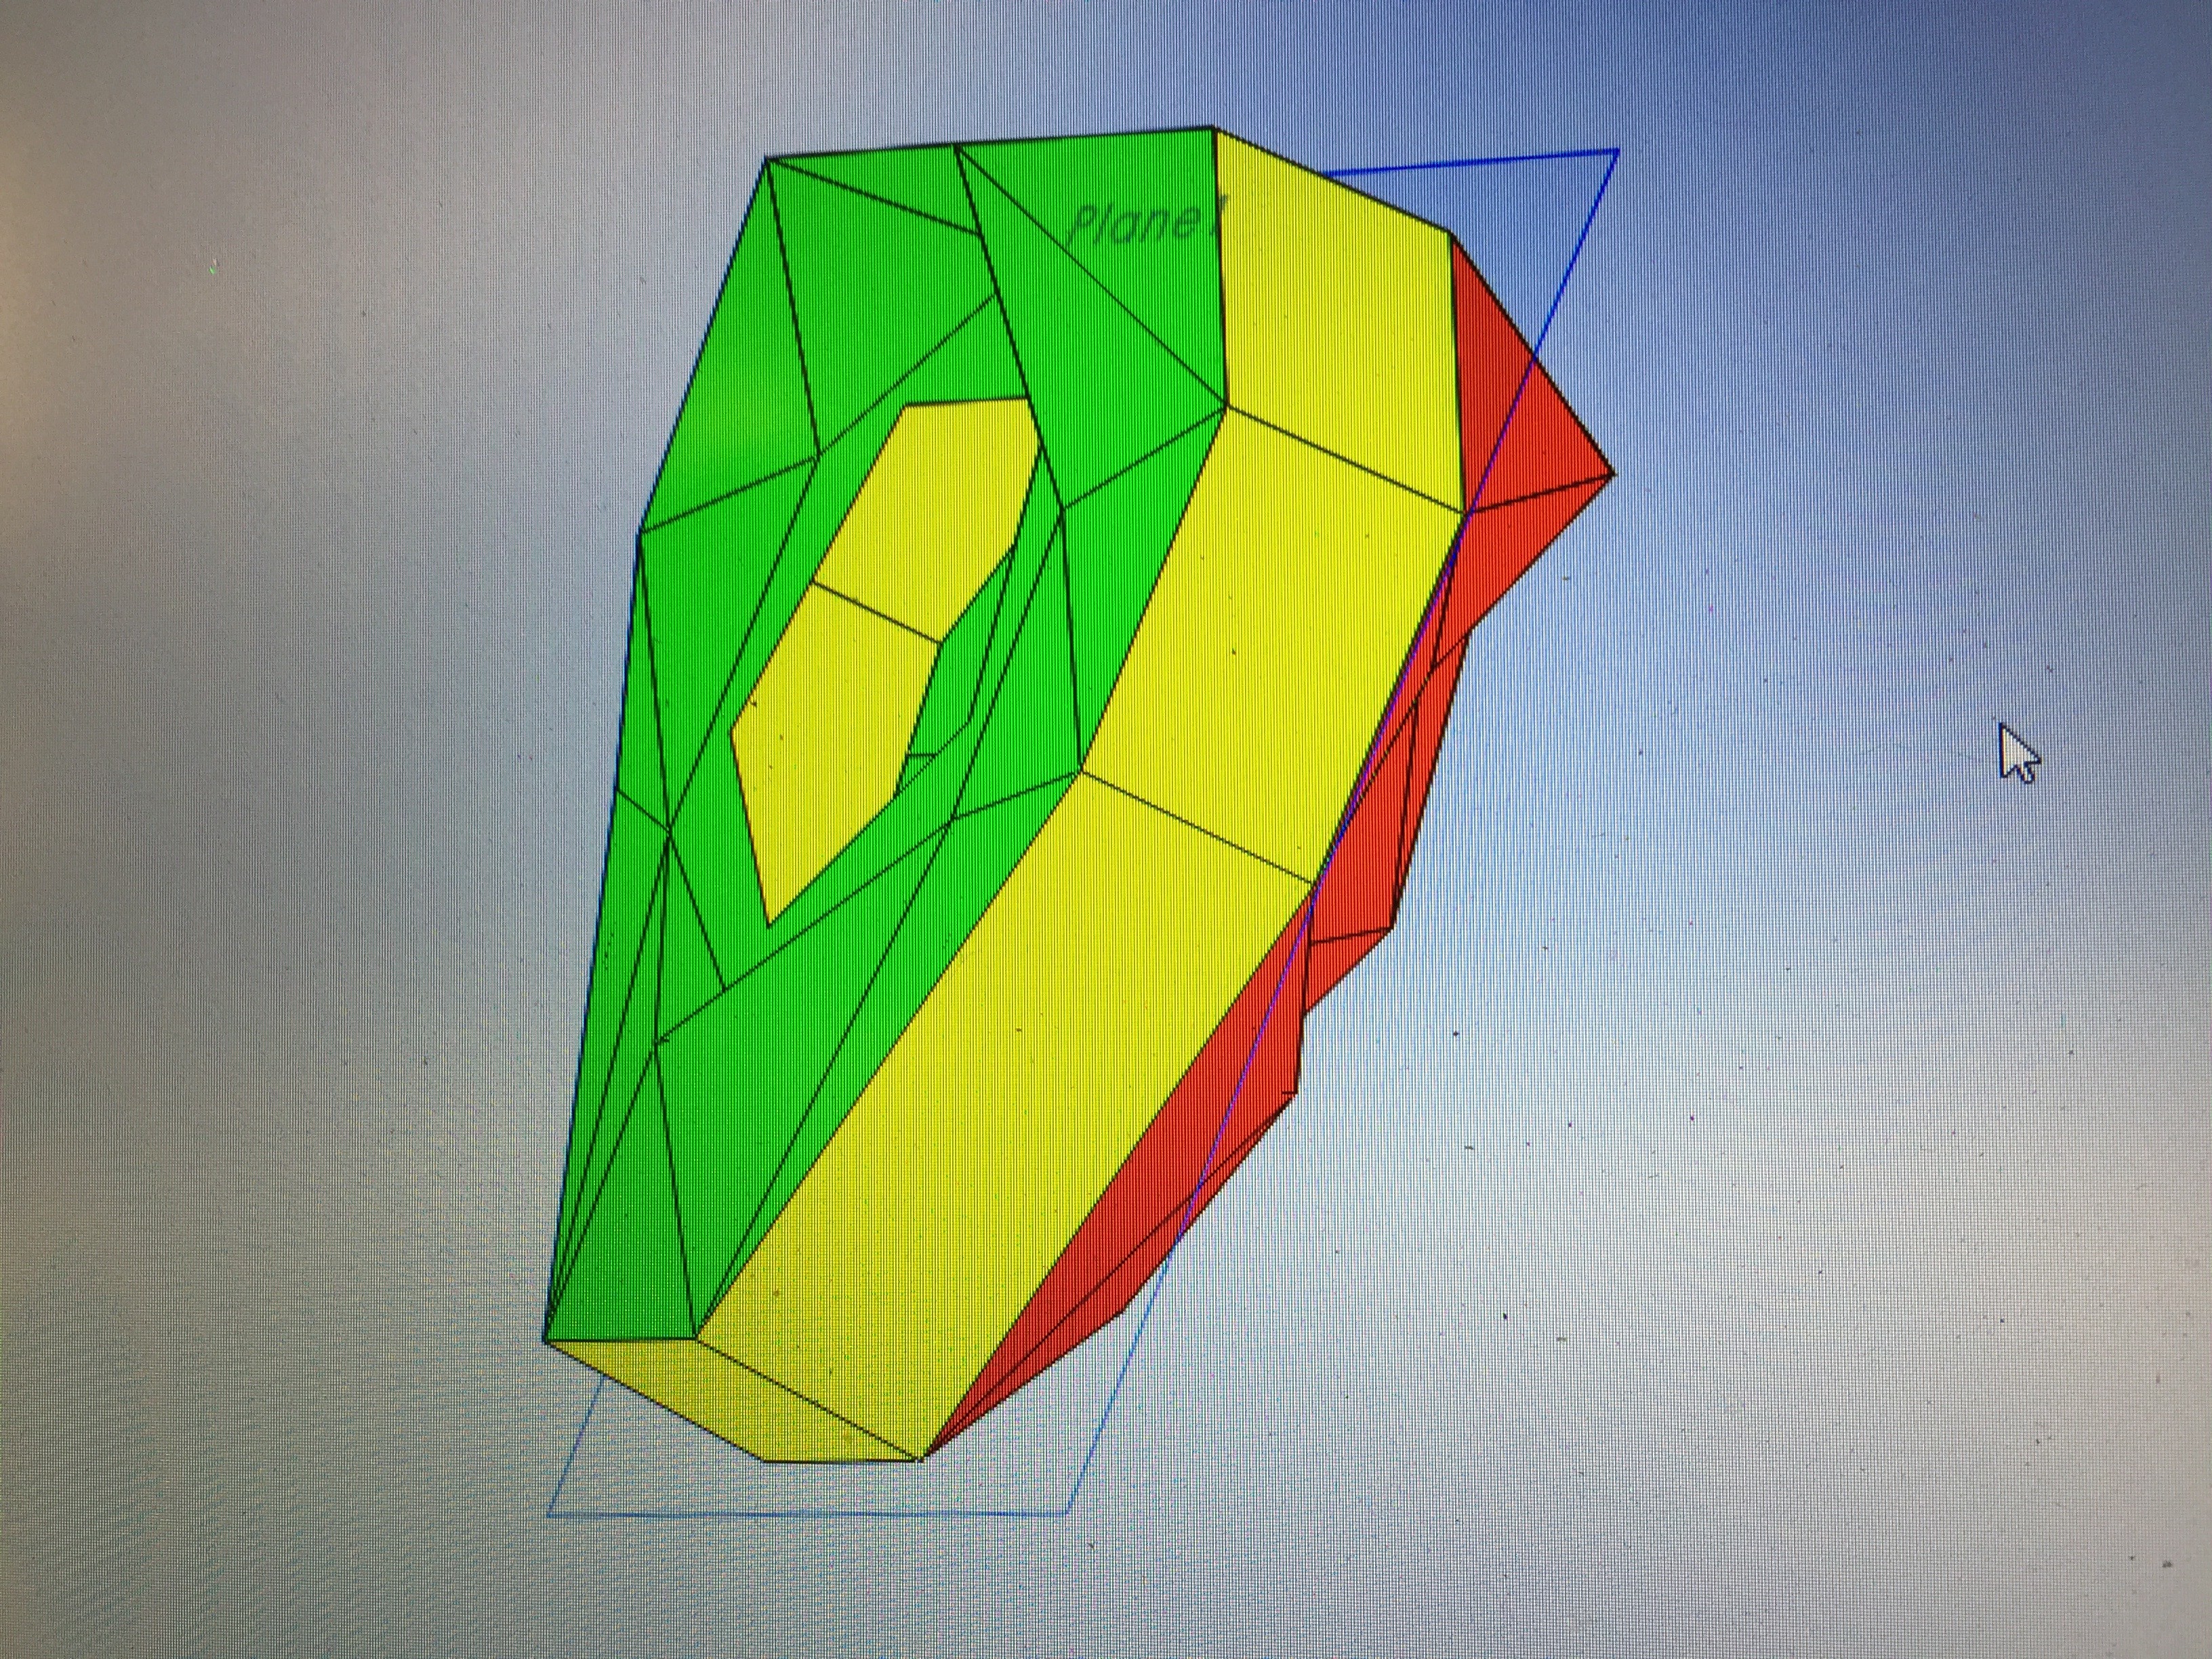
The opposite side of the shell was having some drafting issues with its shroud. I'd need to refabricate that part to make sure the vacuum form could release from the mold. I modified the design slightly and did a drafting analysis. Looks like it should be able to release.
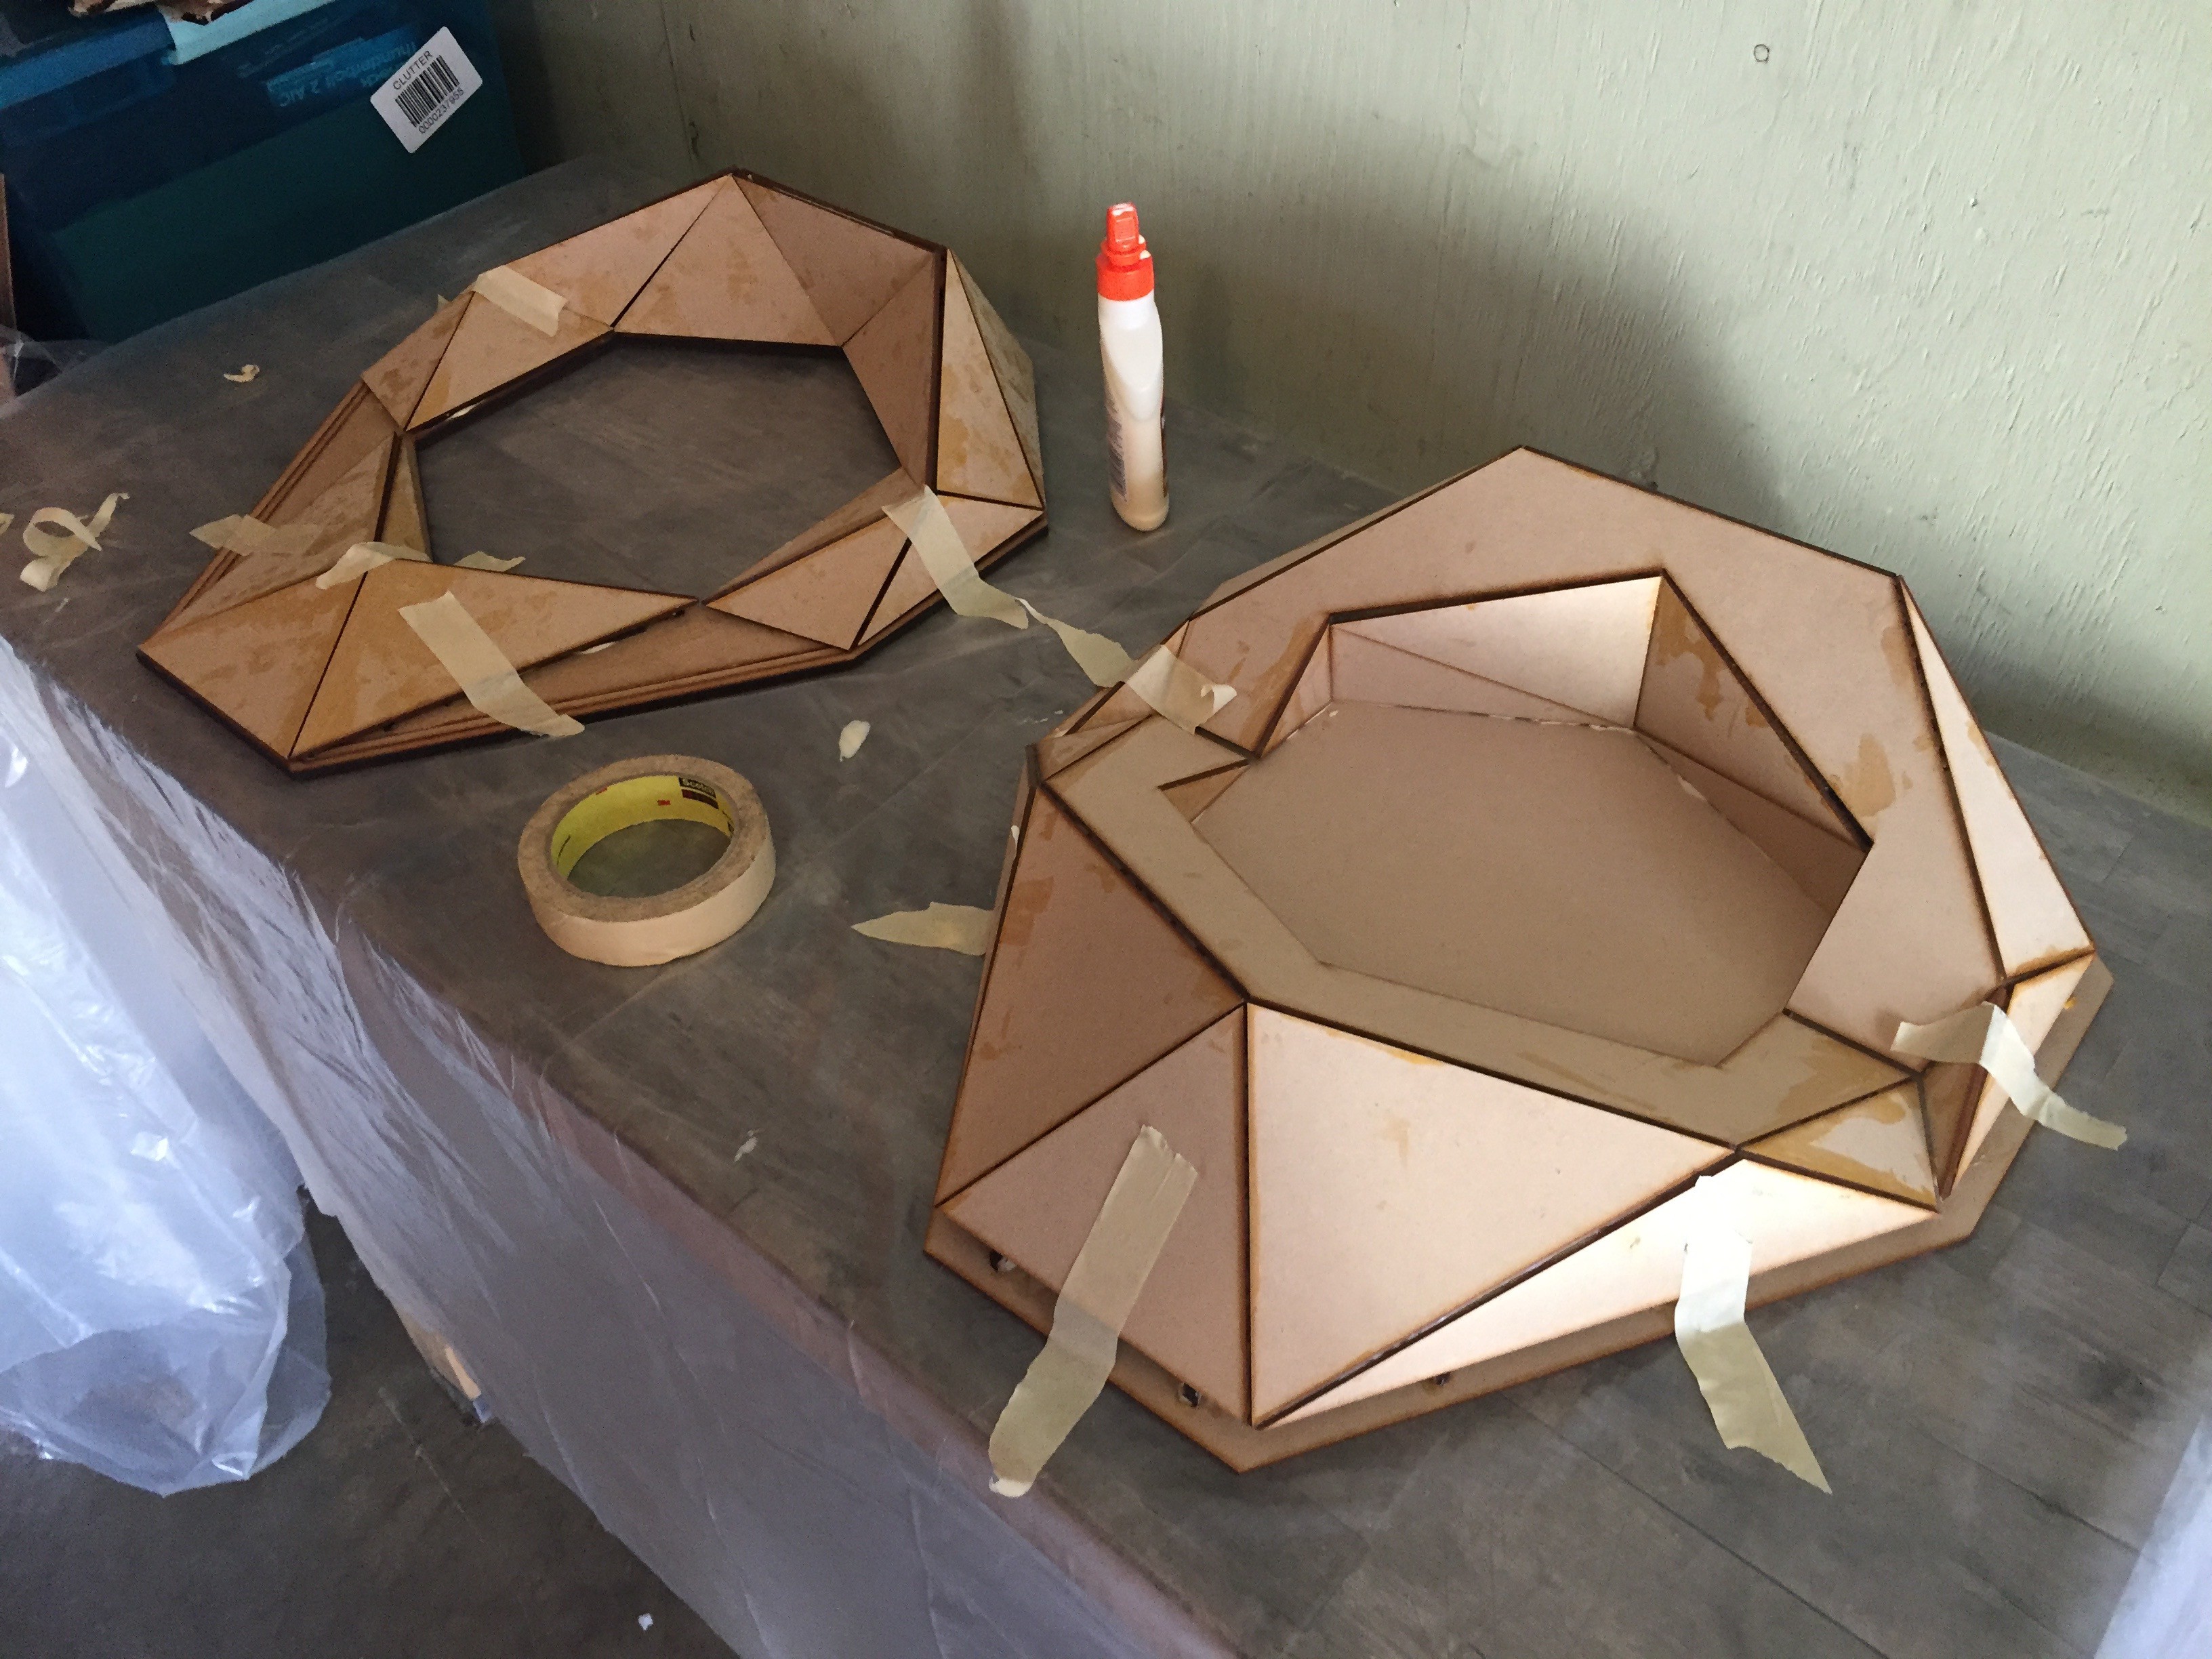
I laser cut another set of ribbing, and then glued it up to the other facets.
Here's the complete side with all the new faceting glued up.
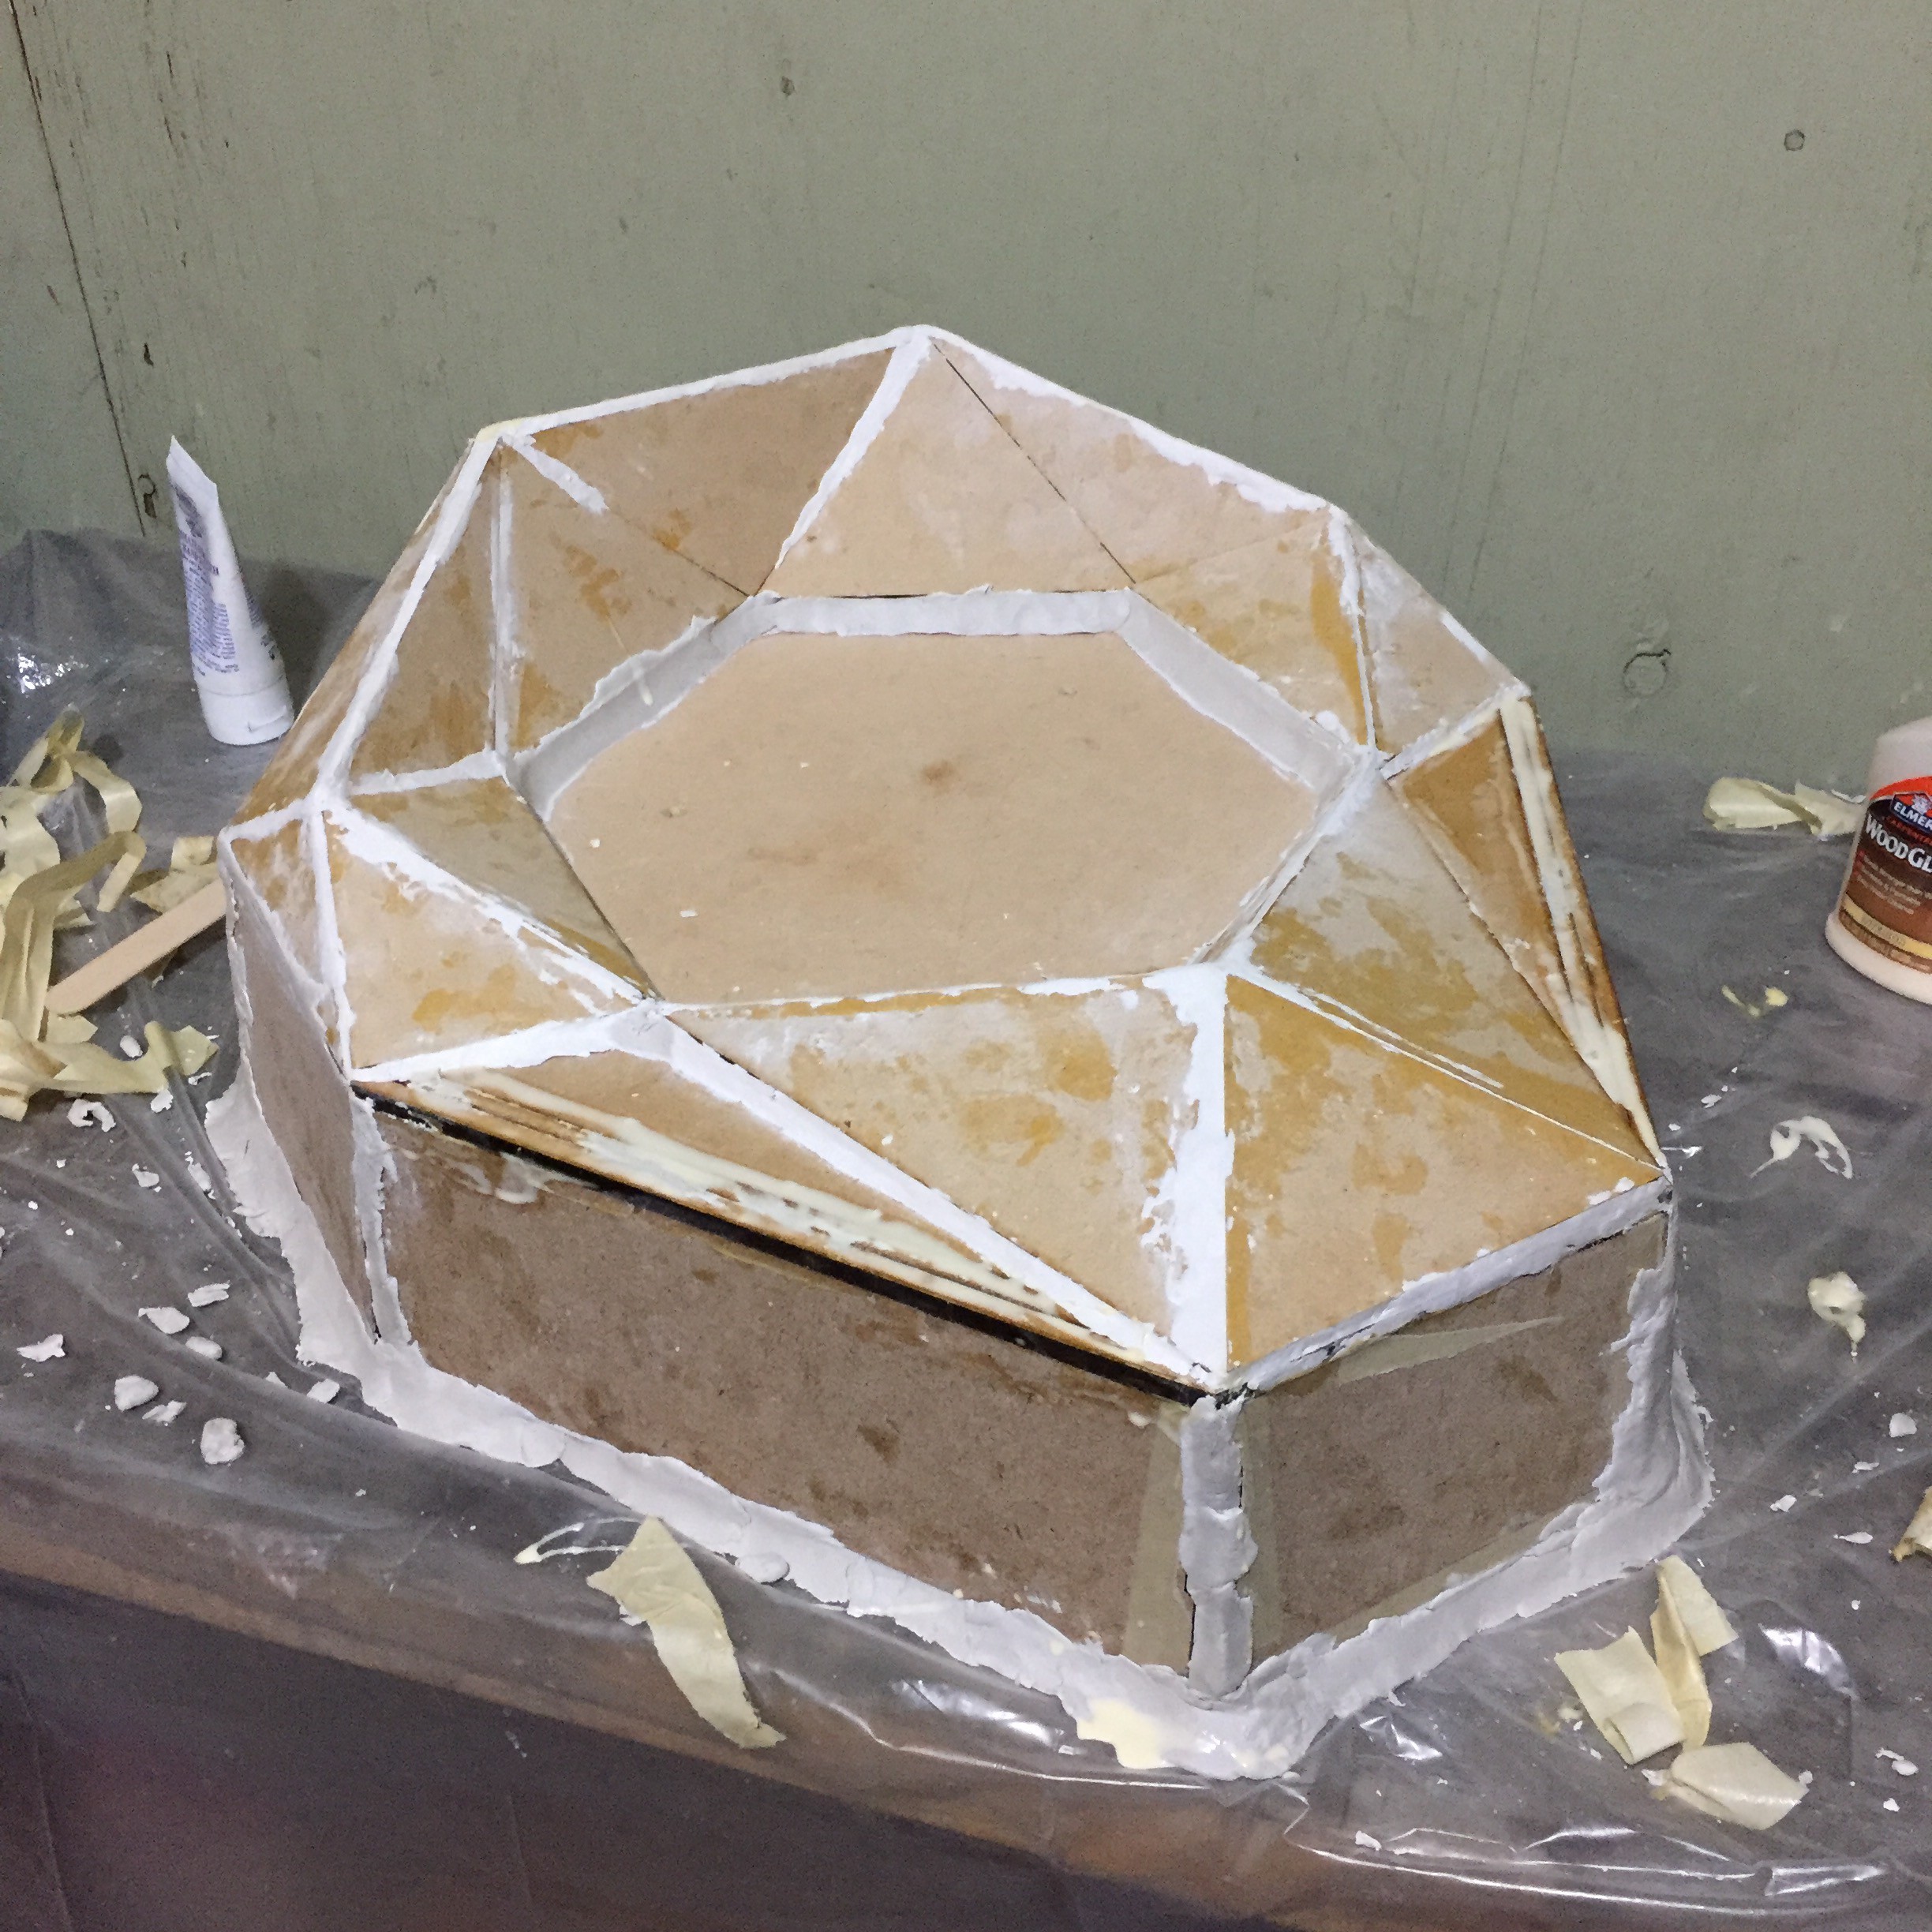
 Now I just needed to glue all the pieces together to a backing board, and start filling in all the gaps that remain.
I started with modeling clay since it would be easy to work with, air dry, and I could sand it afterwards.

The opposite side of the shell would be attached to a much bigger backing piece, that would give us most of the depth of the shell. I made sure to add drafting to the those side walls of about 3 degrees so the sides could release.
The clay did decent, but there were still some gaps to fill. After letting it dry, I started working with some bondo body filler to finish it up before sanding.

Now solid and smooth, it was time to send the bucks off to be vacuum formed!
The results!
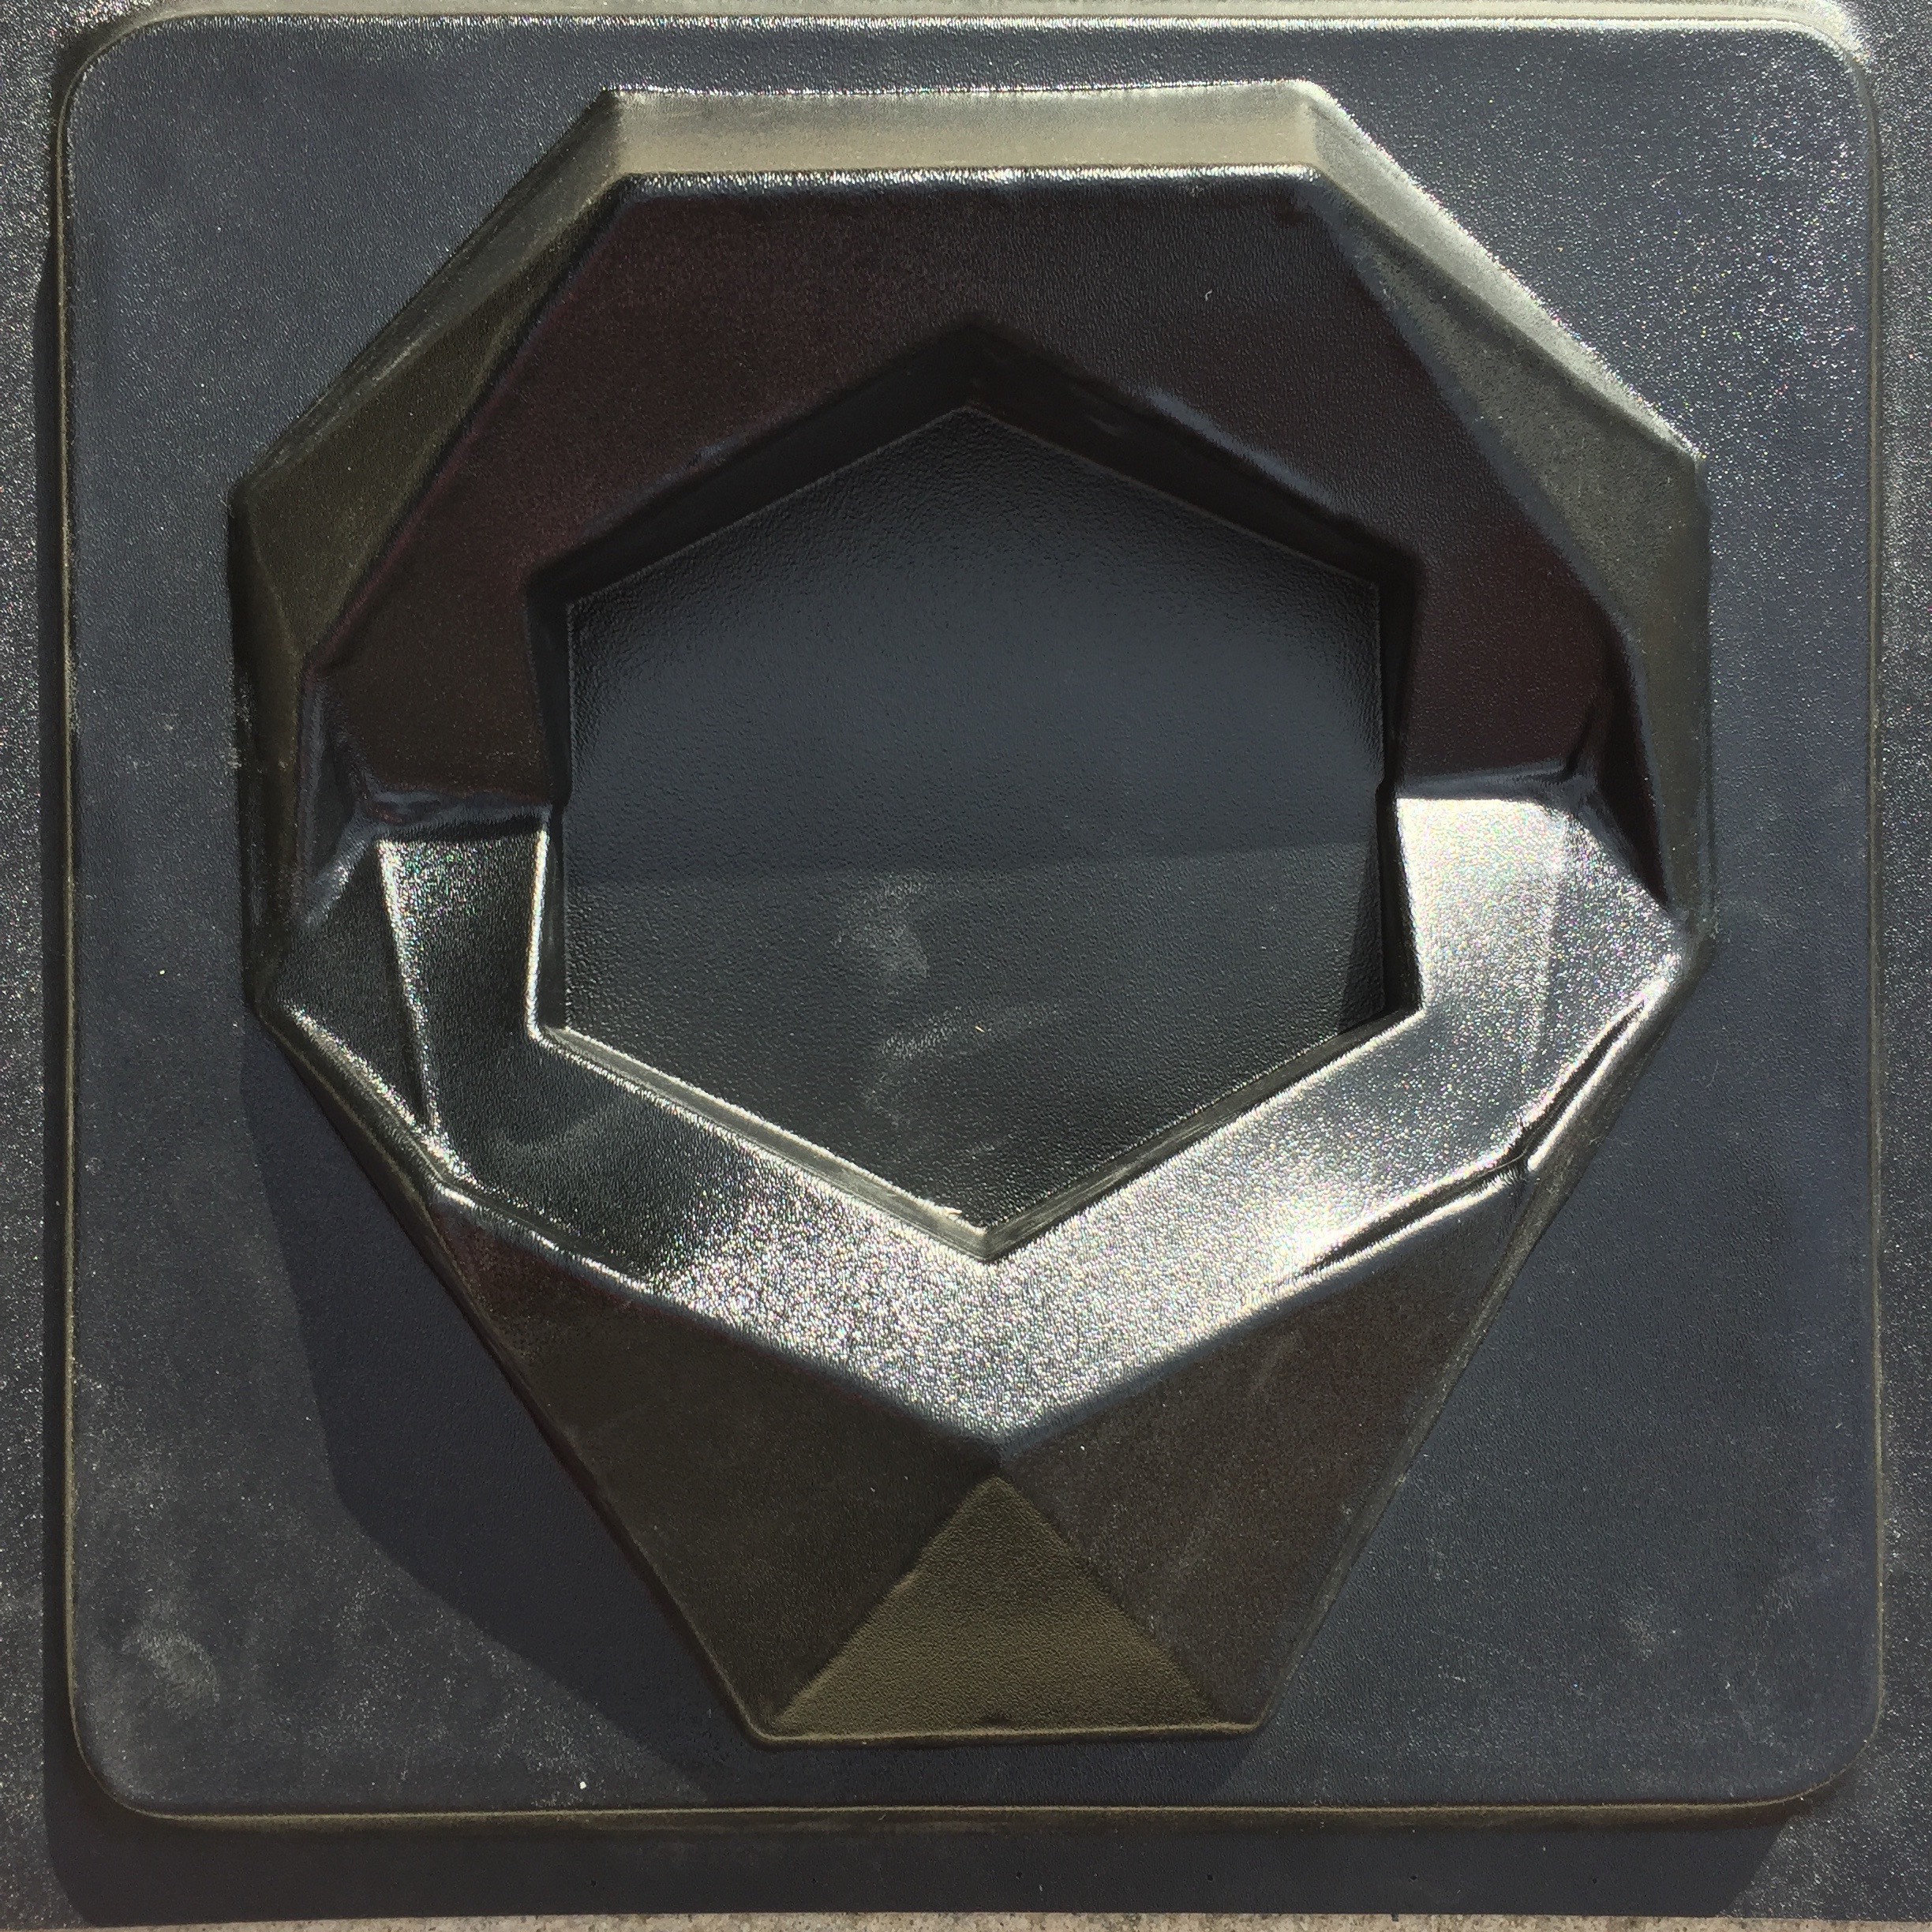
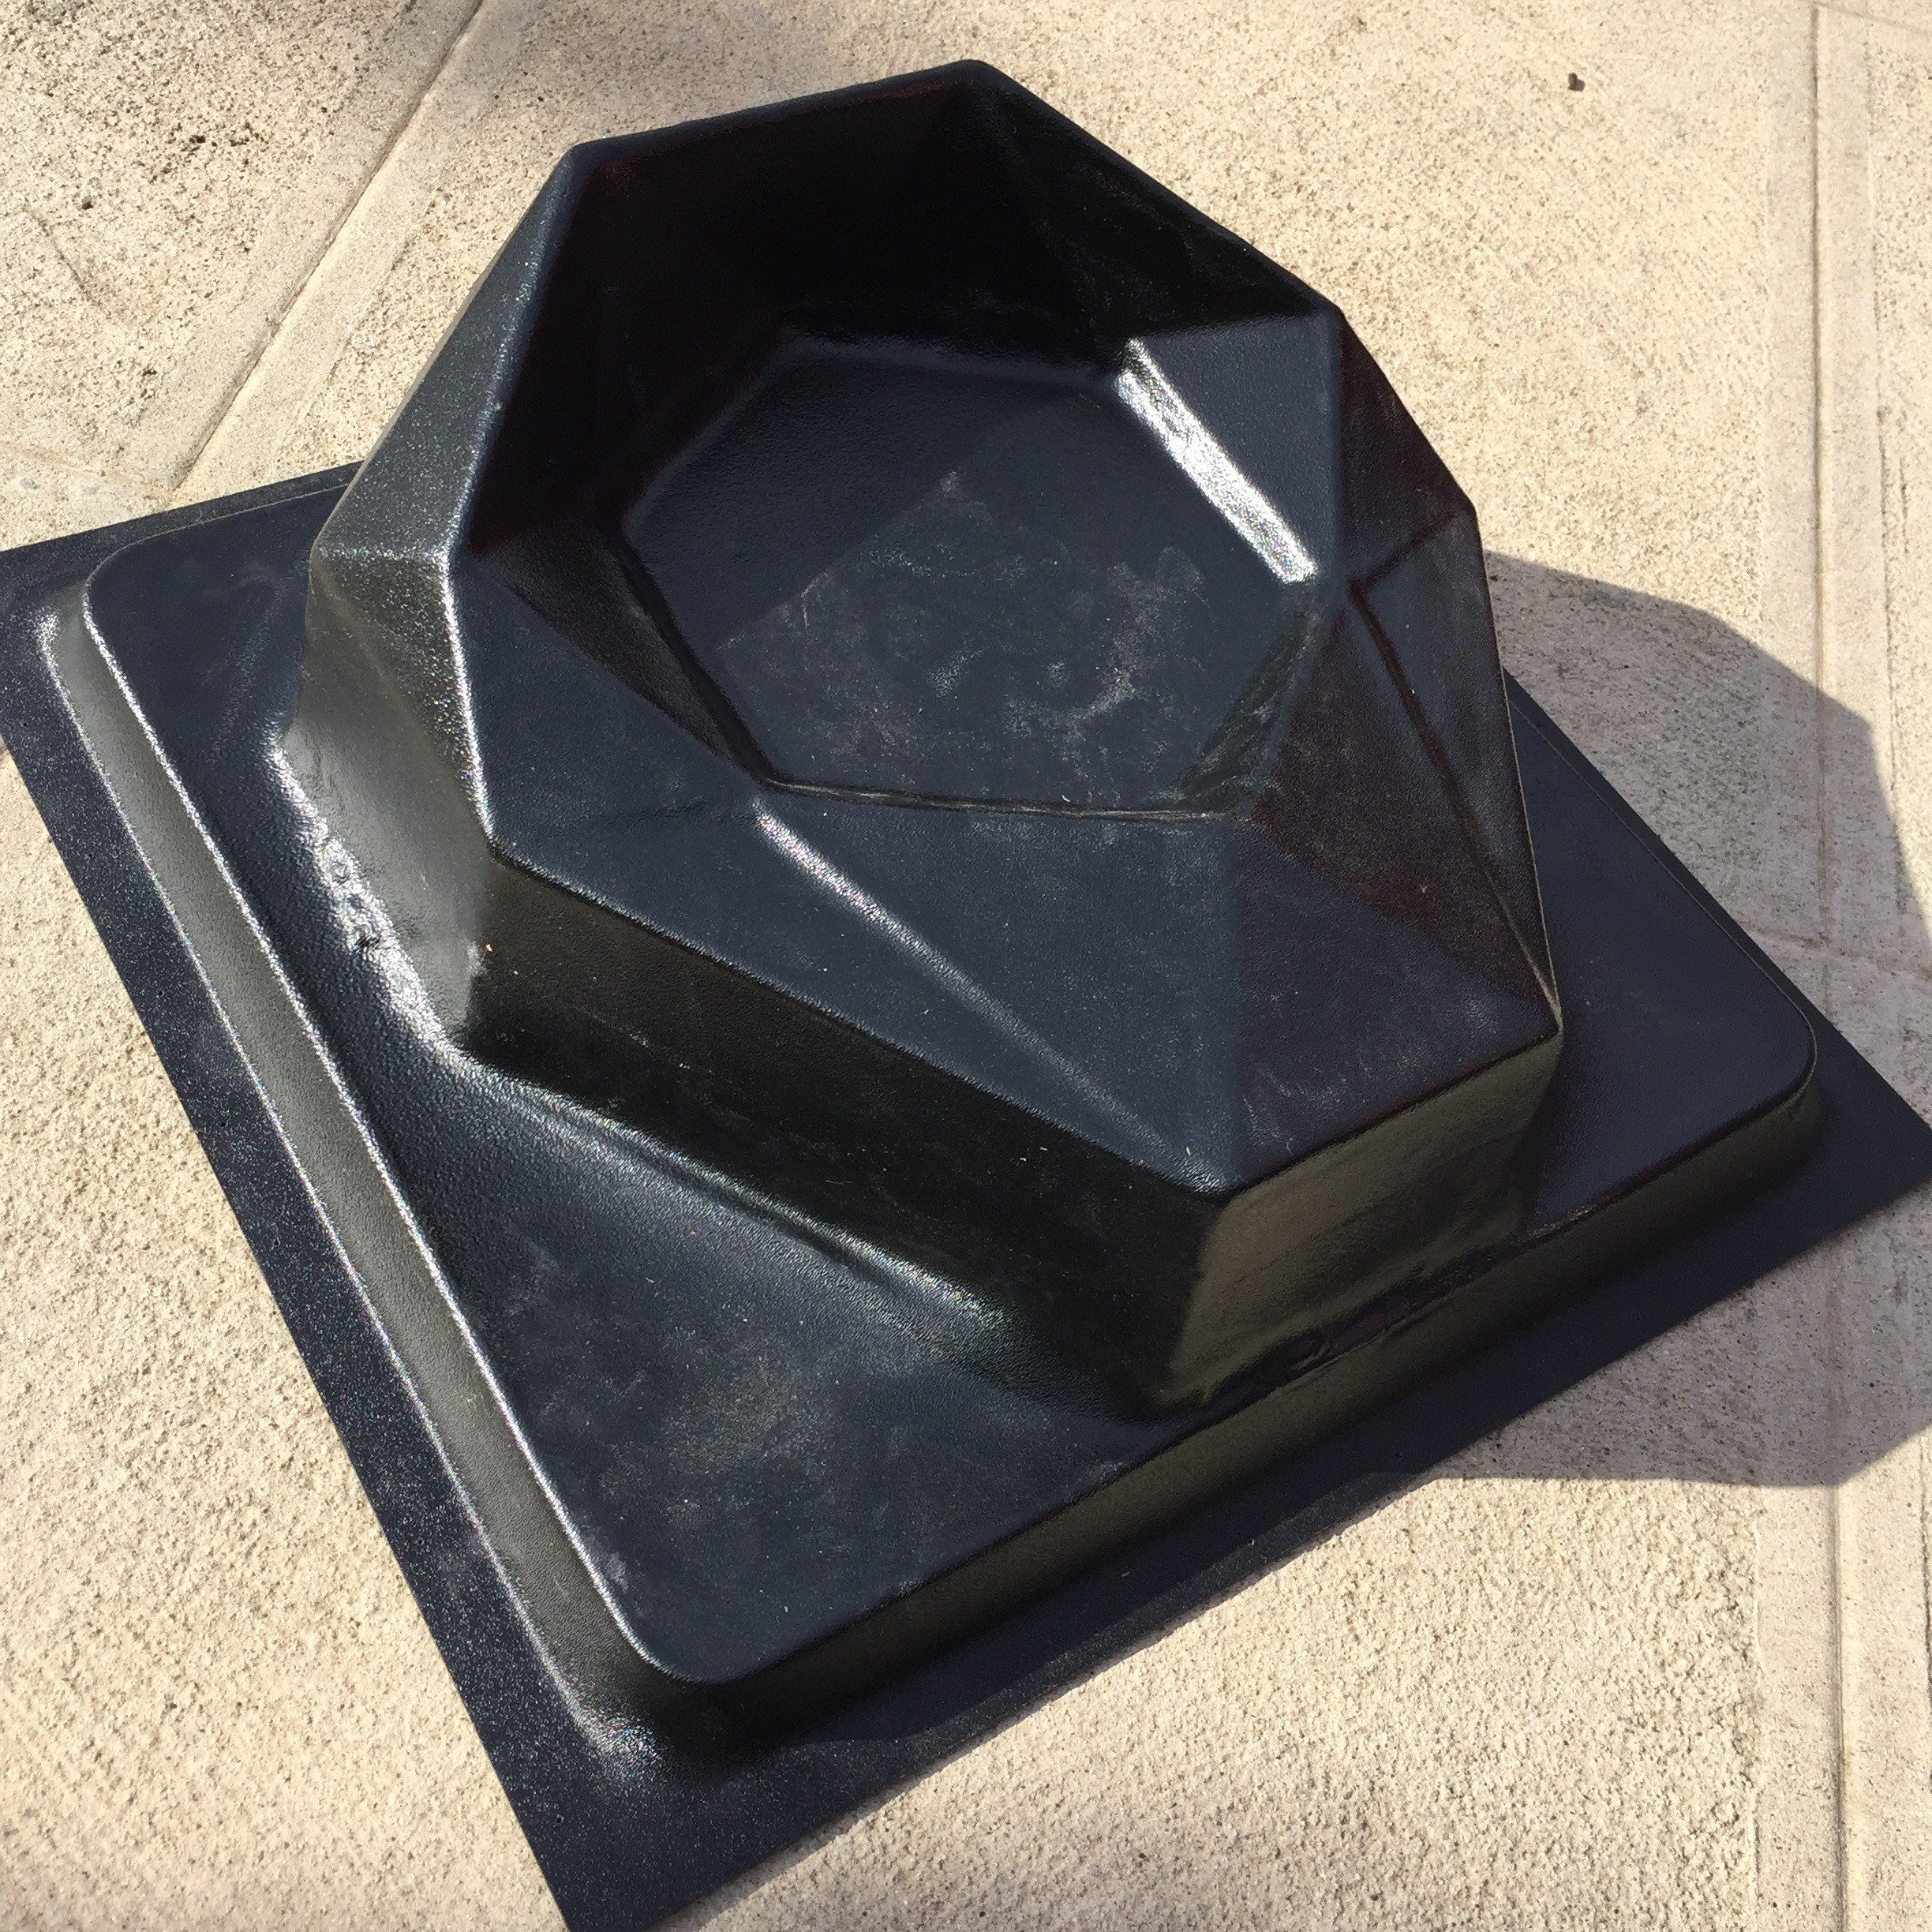
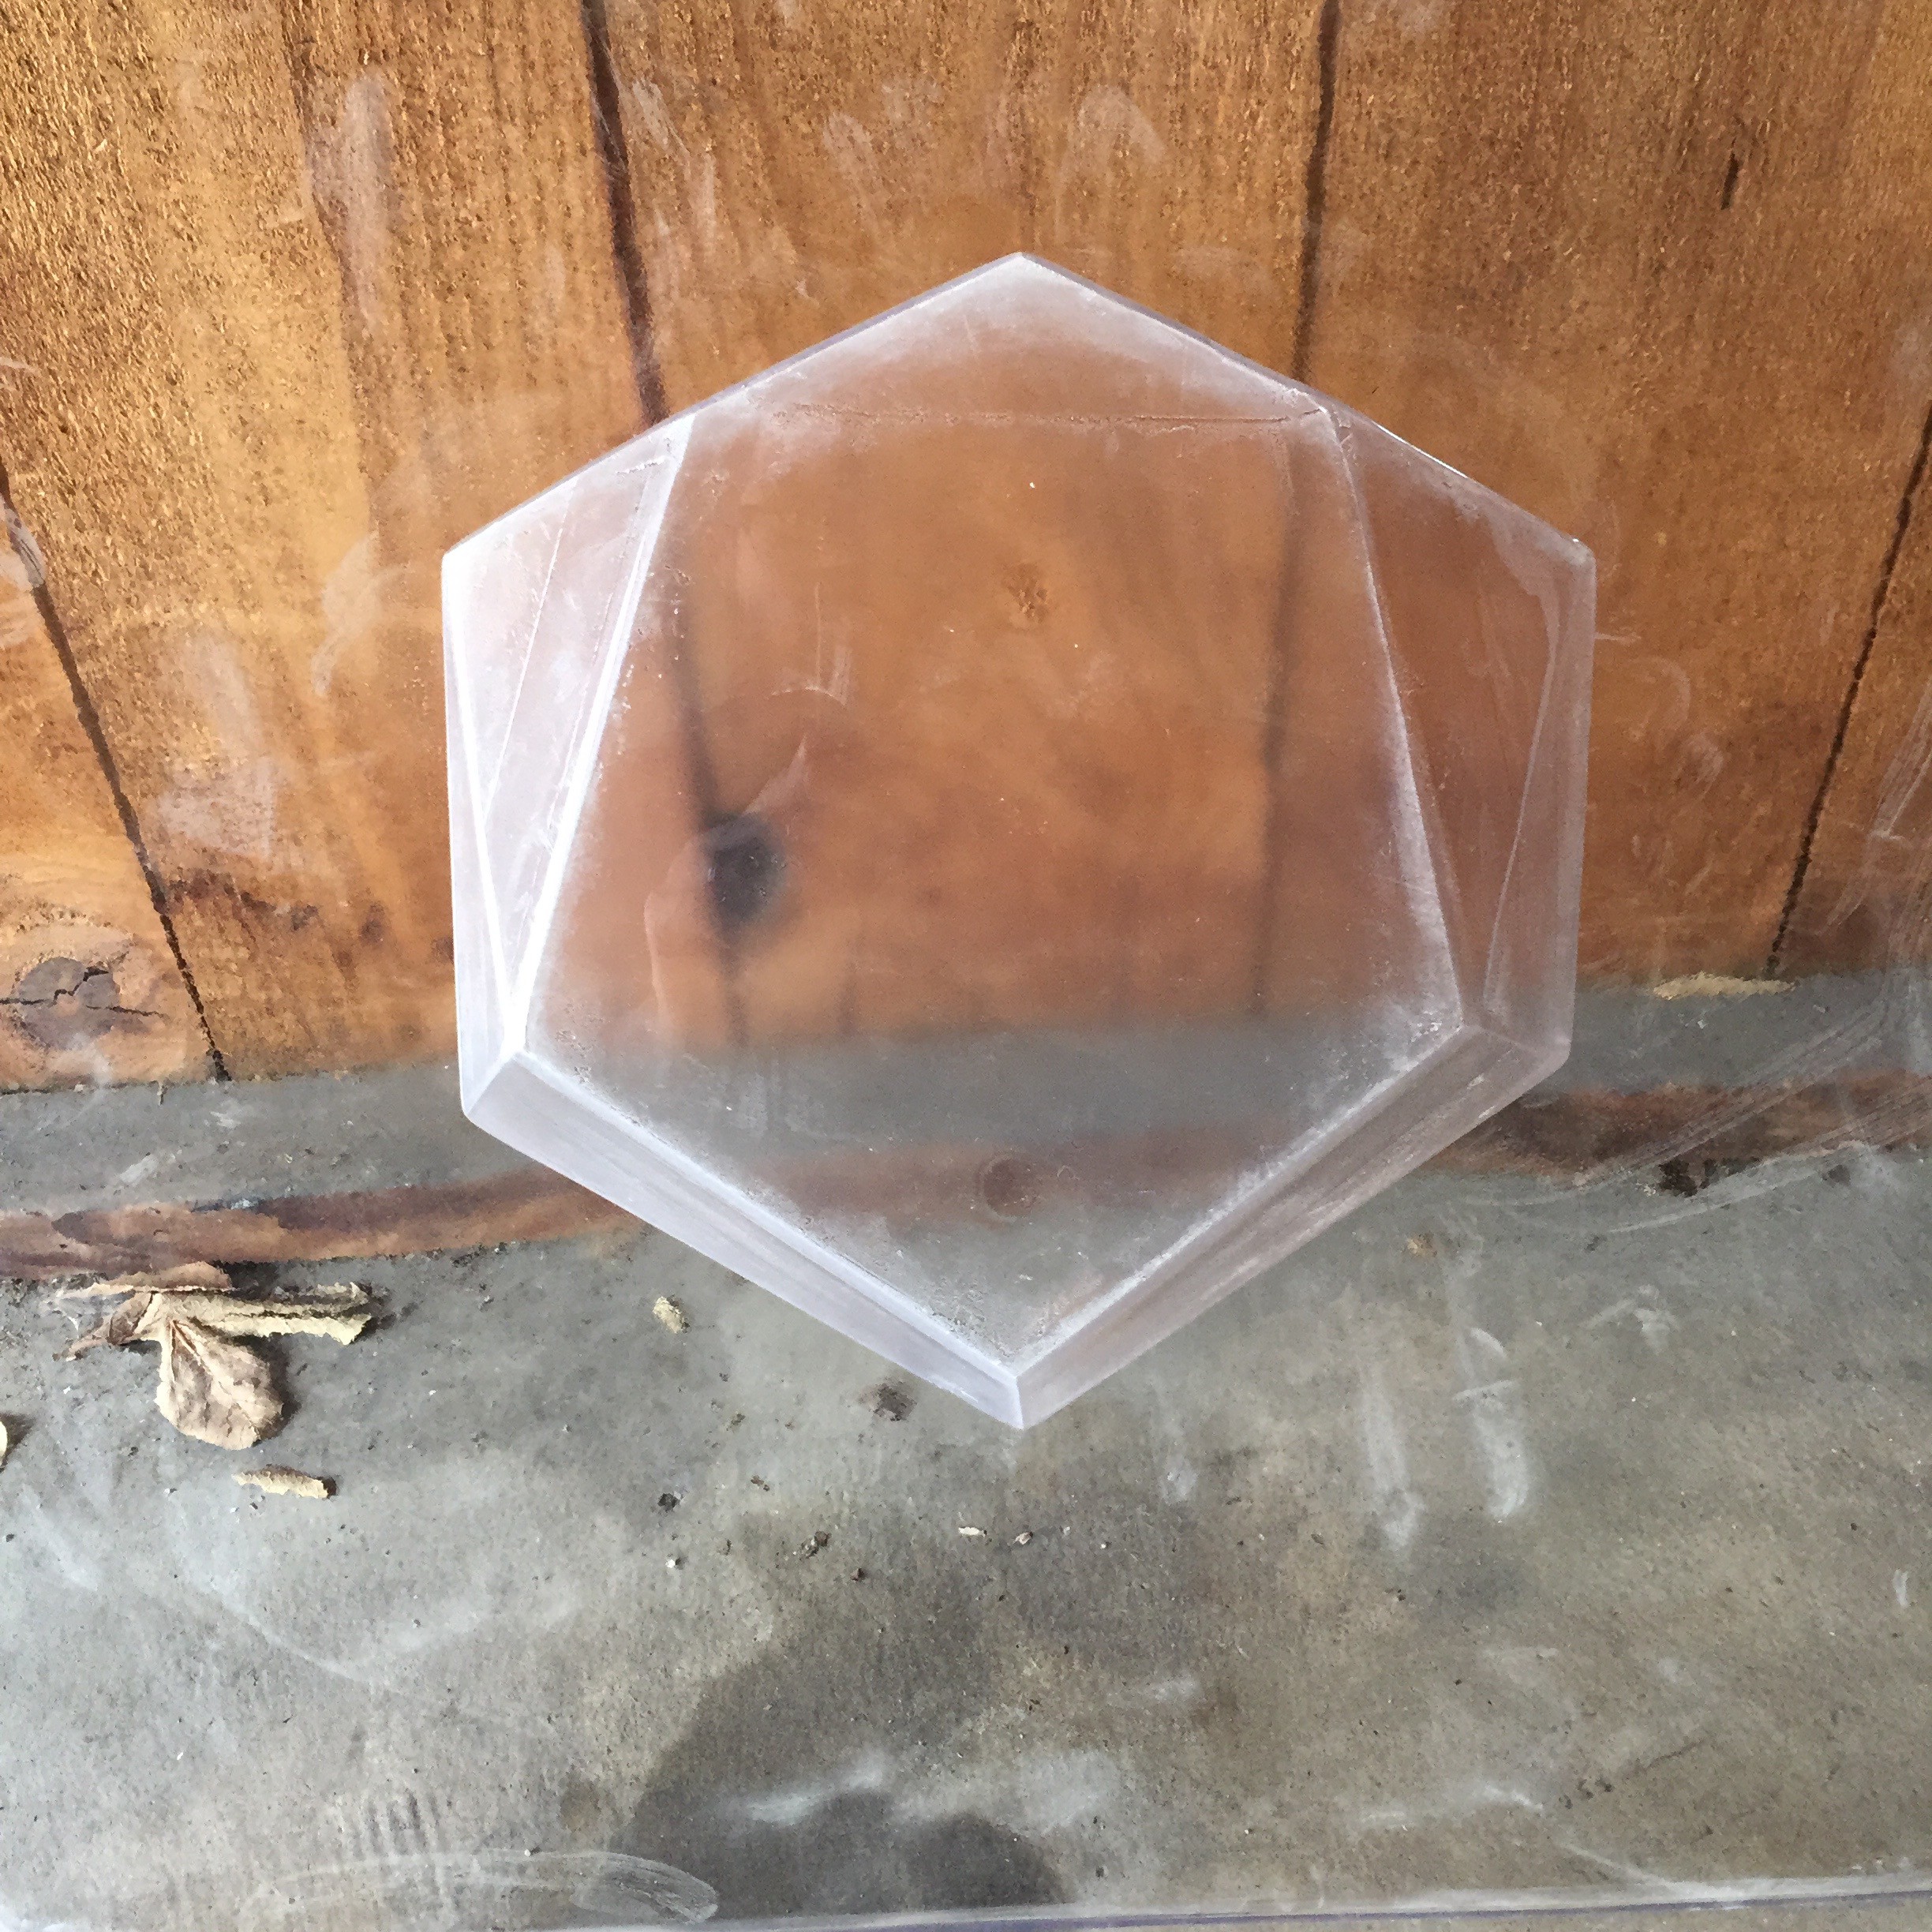
It was mostly a success. A few things are left to perfect, but we should be in a good place to start moving on shell production fairly quickly now. I'll need to build an even more solid set of production bucks than the glued together MDF, so I may try to rotocast some positives from these thin plastic pieces.
There's still a ton left to do, but these are big steps towards scaling the project in the coming year.
Discussions
Become a Hackaday.io Member
Create an account to leave a comment. Already have an account? Log In.
Nice work, Ben!
Are you sure? yes | no
They look pretty good
Are you sure? yes | no