 Koen van Vliet
The assembly includes:
- A two part housing
- An STM32 board
- An adapter PCB
- Fasteners
Housing
The housing consists of two parts:
- Top part, which interfaces with the cartridge
- Bottom part, which encloses the electronics
I have not designed the bottom part yet, as it is not required to test the functionality. It merely serves to protect the electronics. The two halves will either snap together or be fastened using self tapping screws.
The housing is 3d printed. I can print these at home, order them from a third party or users can choose to print their own. STL files will be available.
STM32 board
I chose to use a pre-built STM32 board, which should require less hand soldering than a custom PCB. The STM32 blue pill boards are very cheap, however they require some work to get them to function properly. The USB connector is soldered on very poorly, so I had to add some more solder to make it stronger. The USB pullup resistor R10 has a wrong value of 10k and I replaced it with the correct 1.5k. I have had issues in the past with the programming header, so I reflowed those pins while I was at it. The boards come without populated male headers, so I soldered those on.
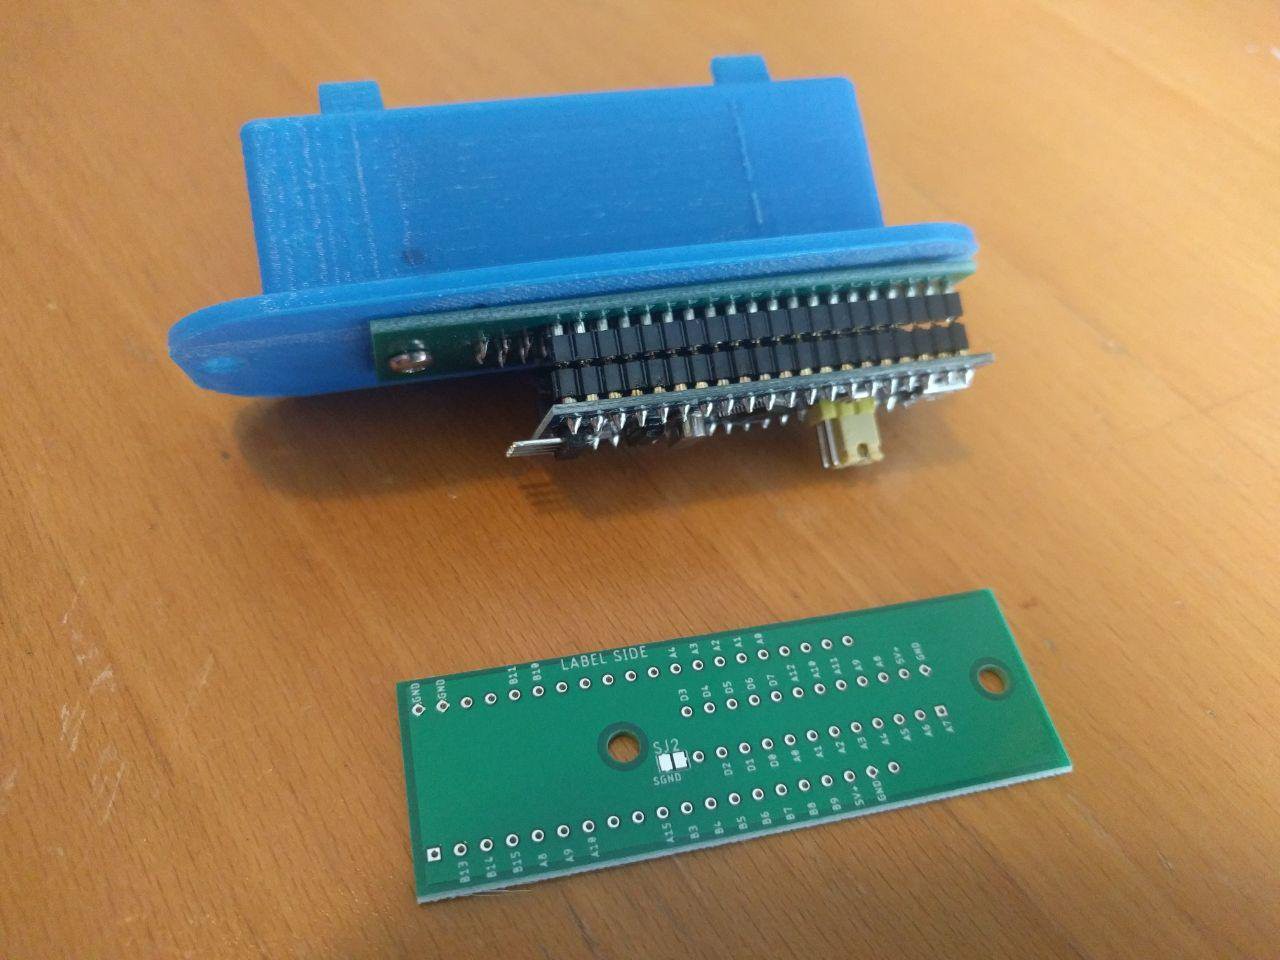
Adapter PCB
A few weeks ago I ordered adapter pcbs, which connect the STM32 board to the cartridge connector. These just arrived and I soldered up a proto.
Putting it together
The first thing I noticed when putting the thing together was the yellow jumpers sticking out on the bottom. (I could have foreseen this in CAD.) If I flip the board around I save a few mm. This means the housing can be smaller -> cheaper.
Goals
- Finish housing design
- Improve manufacturability
- Release STLs
- Release software
- Write and release user manual
- Build 8 units
Discussions
Become a Hackaday.io Member
Create an account to leave a comment. Already have an account? Log In.
I'd love to use this for a 2600 console project. Any chance you could post the pcb gerbers?
Are you sure? yes | no