 Quinn
QuinnI wanted to change a couple things in rebuilding this project. First was to fix it so that the bundle of lights didn't just sink to the bottom of the bottle, as well as to make the bottle look more full. I also wanted to remove the black electrical tape I used originally. Lastly, the 14.5VDC power brick I was using was an older transformer and linear regulator model which wasn't very efficient, so I wanted to switch to a more efficient switch mode one, and a more common 12VDC output.
To adjust the power, I rewired to use 5 strings in parallel instead of 6, but left the two 6.8ohm resistors. This lowered the current down to 14.2mA per LED (from 18mA) which was dimmer, but not hugely so. This reduces overall power despite adding strings. This should give the LEDs more life as well.
To make the count work, I added an extra series circuit by adding 2 more strings, so there is a total of 4 circuits of 5 strings each. This is 200 LEDs. Previously it was 3 circuits of 6 strings each.
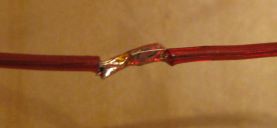
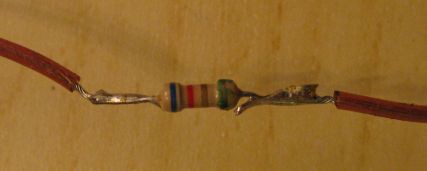
Each wire joint was soldered for reliability. Two of the joints had the 6.8ohm resistors in them.
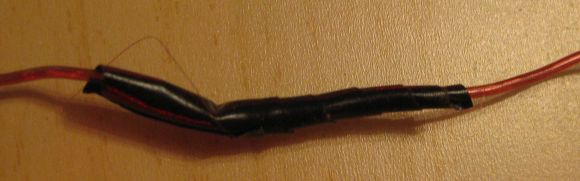
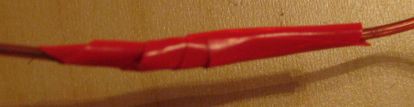
I also switched from black to red electrical tape. I generally really dislike electrical tape because it degrades so easily over time and leaves a sticky mess. But I wanted to finish the project that evening, had the red tape, and didn't want to order red heat shrink tubing.
For the plug end, I used the long segments of the light string wires to run out the top of the bottle through the cap, and wired to a PCB mount DC barrel jack. The original power supply had too much ripple so I had added a capacitor at the plug, but I left it even though it was no longer needed.
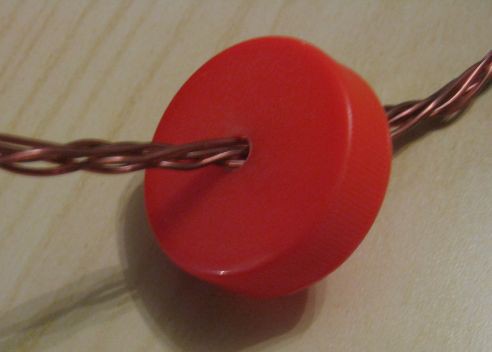
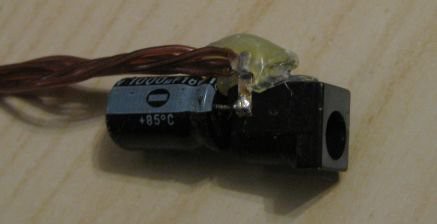
Some addition of hot glue to smooth out the sides, and wrapped in red tape, it makes for a sleek socket that would accept a standard 12VDC center positive power supply..
Discussions
Become a Hackaday.io Member
Create an account to leave a comment. Already have an account? Log In.