 T. B. Trzepacz
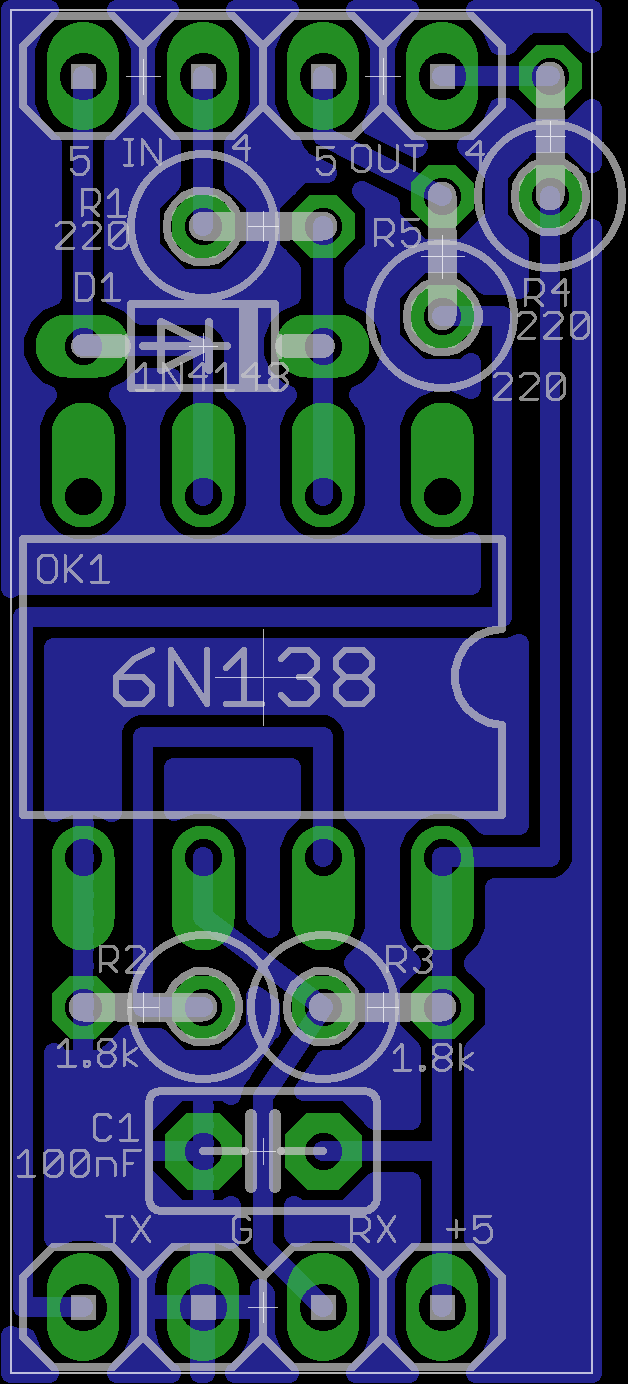
As I'm anticipating having access to a PCB milling machine in the near future, I've started work on preparing PCB files. I have learned a few lessons from the first PCB I had made for the Twister project and so I'm applying them here.
First: I realized that placing all of the connectors in random orientations in odd places around the board was a bad idea when it came time to wire it all up, and so I should endeavor to keep all the I/O in standard places.
Second: It is also a good idea to keep all of the chips pointed the same direction wherever possible, so that one doesn't get confused and install them backwards!
Third: The default footprint for the component might not be the most economical use of board space. Believe it or not, I didn't realize that you could select different package shapes. I've done that now.
Fourth: When using a router to make a board, having a ground plane will greatly reduce the area that needs to be routed out. Good PCB CAD programs can do this easily, and so can Eagle!
Fifth: Since this is a prototype, it is probably handy to make each system as a separate board, or at least keep all of the components localized to one section of the PCB. This makes it easier to find and debug different parts of the system, and if the separate board route is taken, one can reconfigure the features and pins used as necessary. This is especially important when using microcontrollers, as you may have very limited I/O resources, and thus need to shuffle around which pins are used for what when you add functionality.
Sixth: The Arduino form factor is really kinda terrible because you can't put a shield into a breadboard for testing, and it kinda precludes using that hardware with any other type of microcontroller. I'm going to make things as separate modules and only make a "shield" when I'm ready to set in stone.
Seventh: It's really good to mark the orientation and pin numbers of connectors on the board in some way, so that you don't have to load up the schematic every time you need to unplug or replug the board.
Eighth: Pin headers are really not fun to crimp. Try to design using something different.
Ninth: Pin headers come off randomly unless you are using the locking kind.
Tenth: If making stacking boards like Arduino shields, be sure to keep track of the height of elements on the board. I found my board resting on top of the USB connector, which meant the board didn't seat completely on the headers, and with all of the cables plugged into it, the Arduino didn't fit in the slot I had left specifically for it in the case.
Eleventh: Some stuff uses 3.3 volts instead of 5 volts. Often you can switch your circuit to work with one or the other by simply changing the values of some resistors.
My education continues!
Discussions
Become a Hackaday.io Member
Create an account to leave a comment. Already have an account? Log In.