 T. B. Trzepacz
So I managed to get a residency at the Supplyframe Design Lab in Pasadena, and hurriedly got to work on a prototype on day one!
(Note that I am writing this up a week after starting and I am completely exhausted, so mostly pictures.)
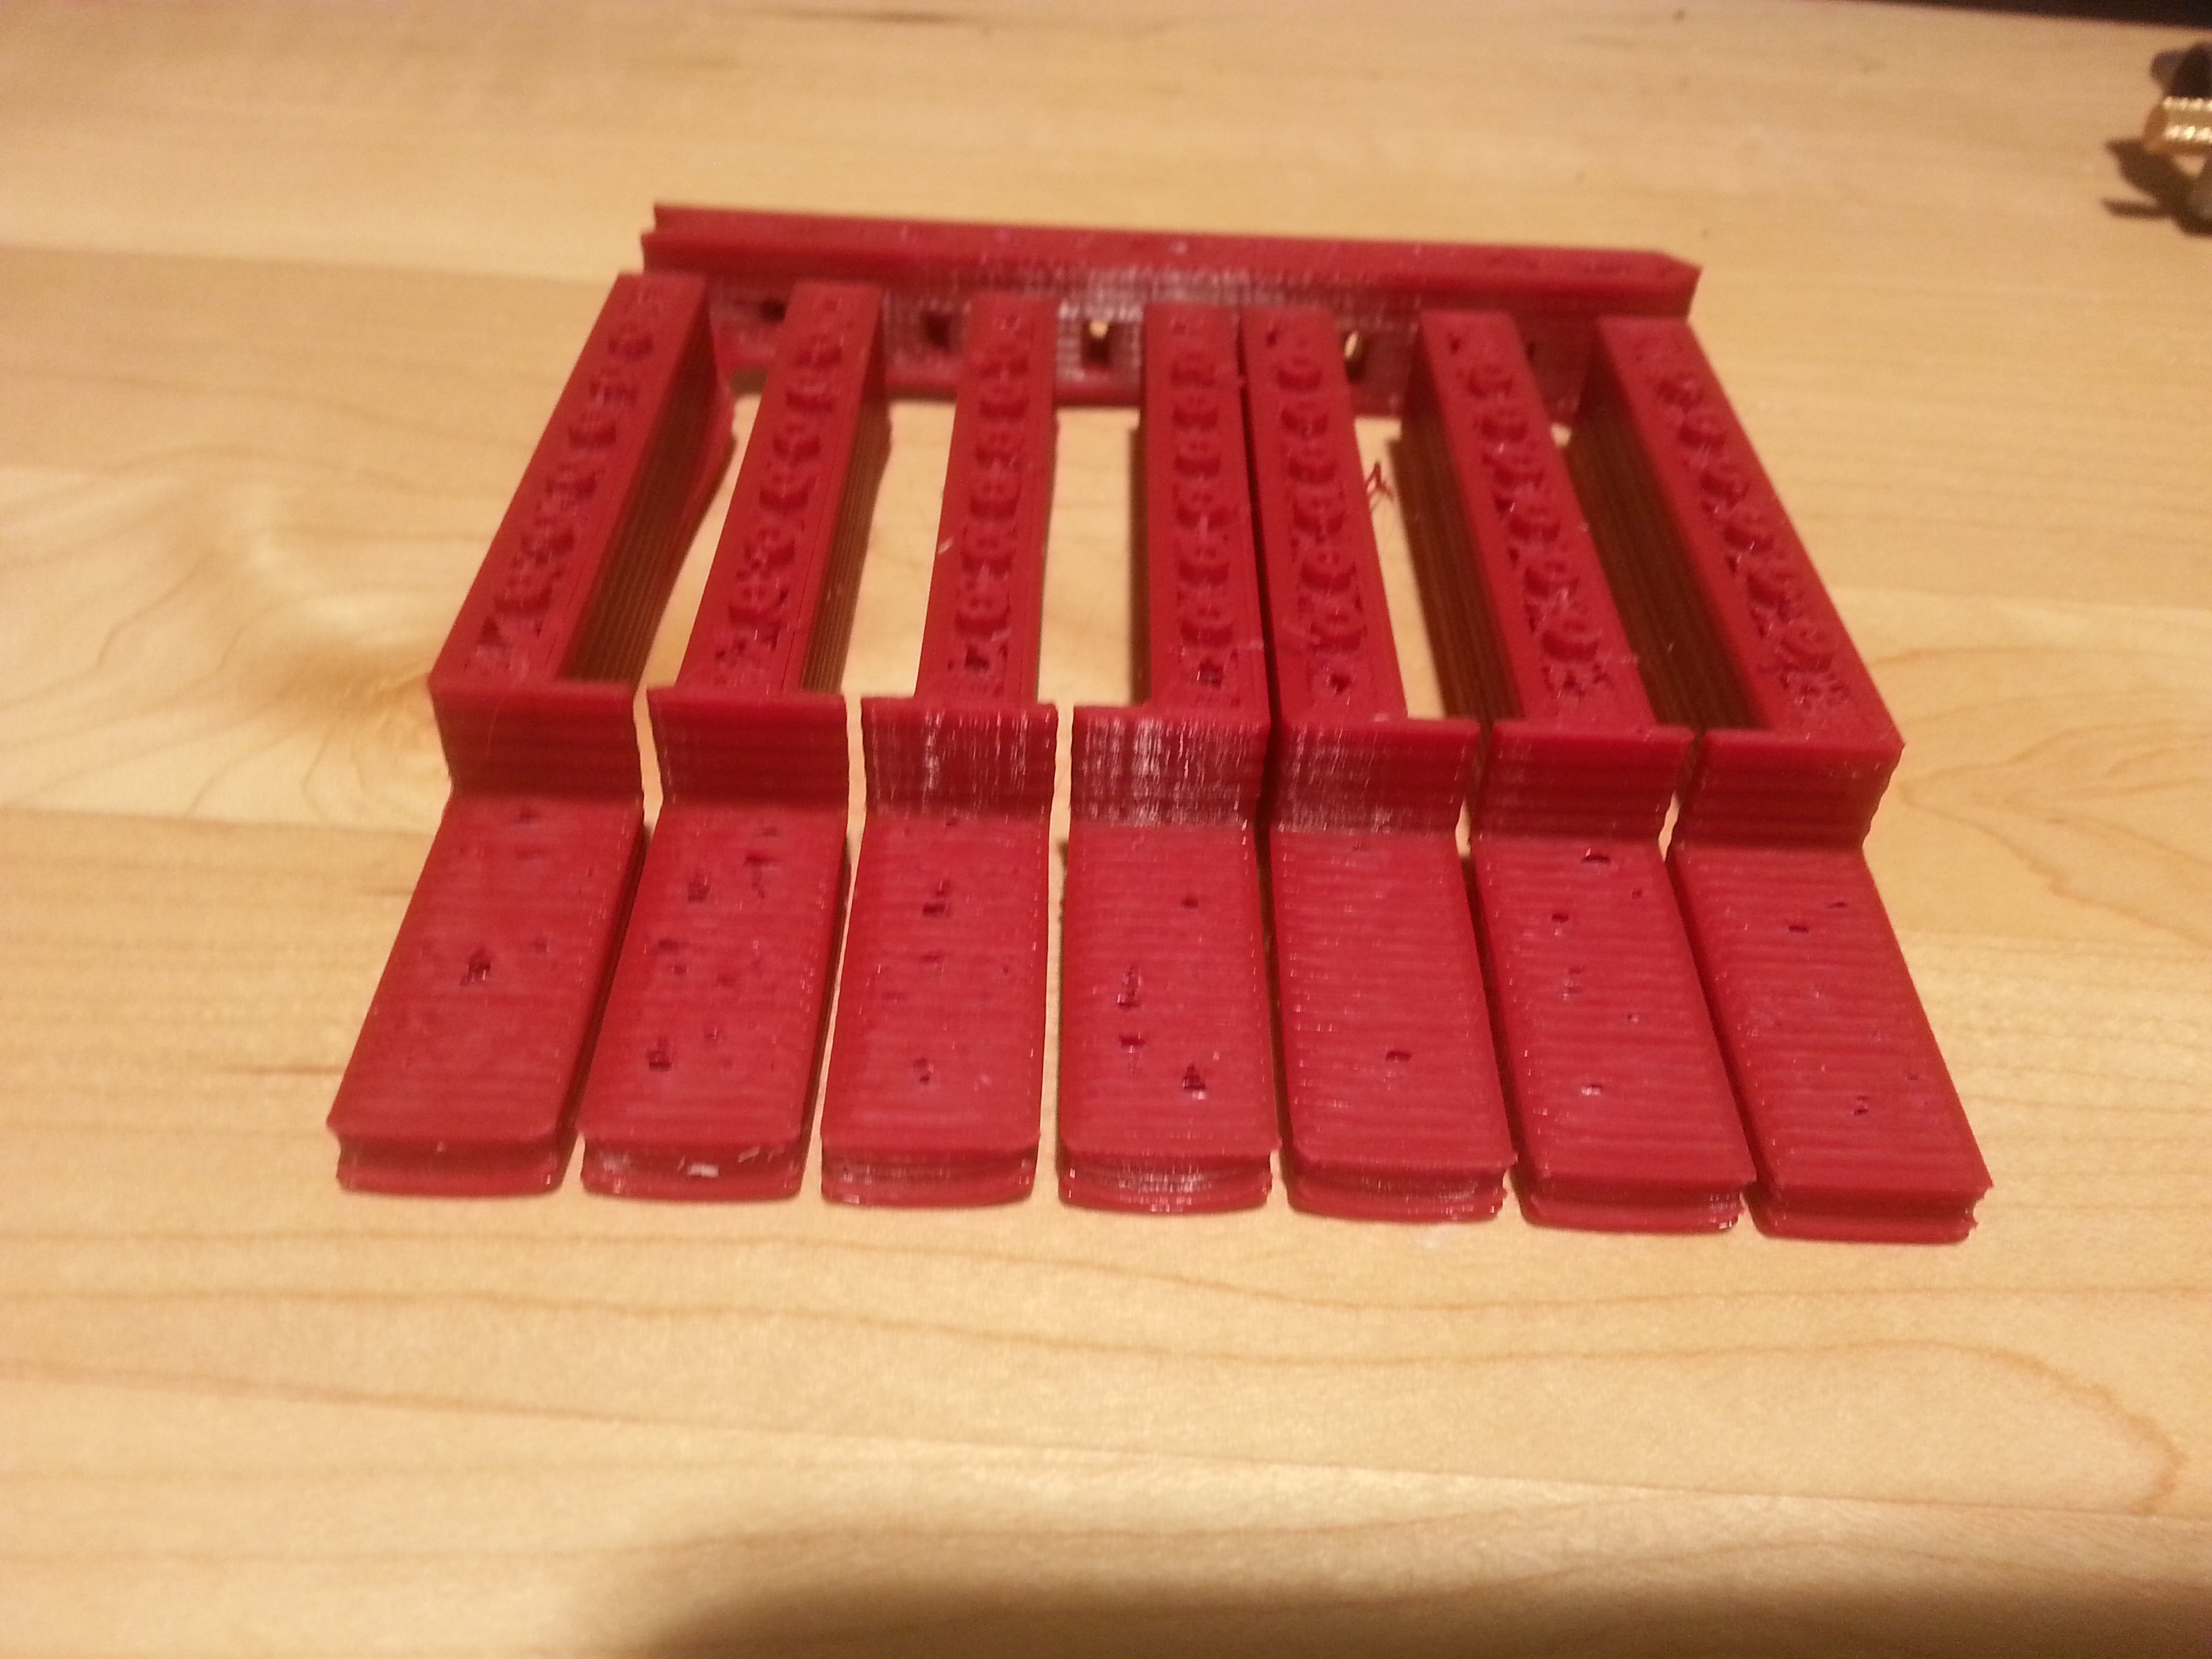
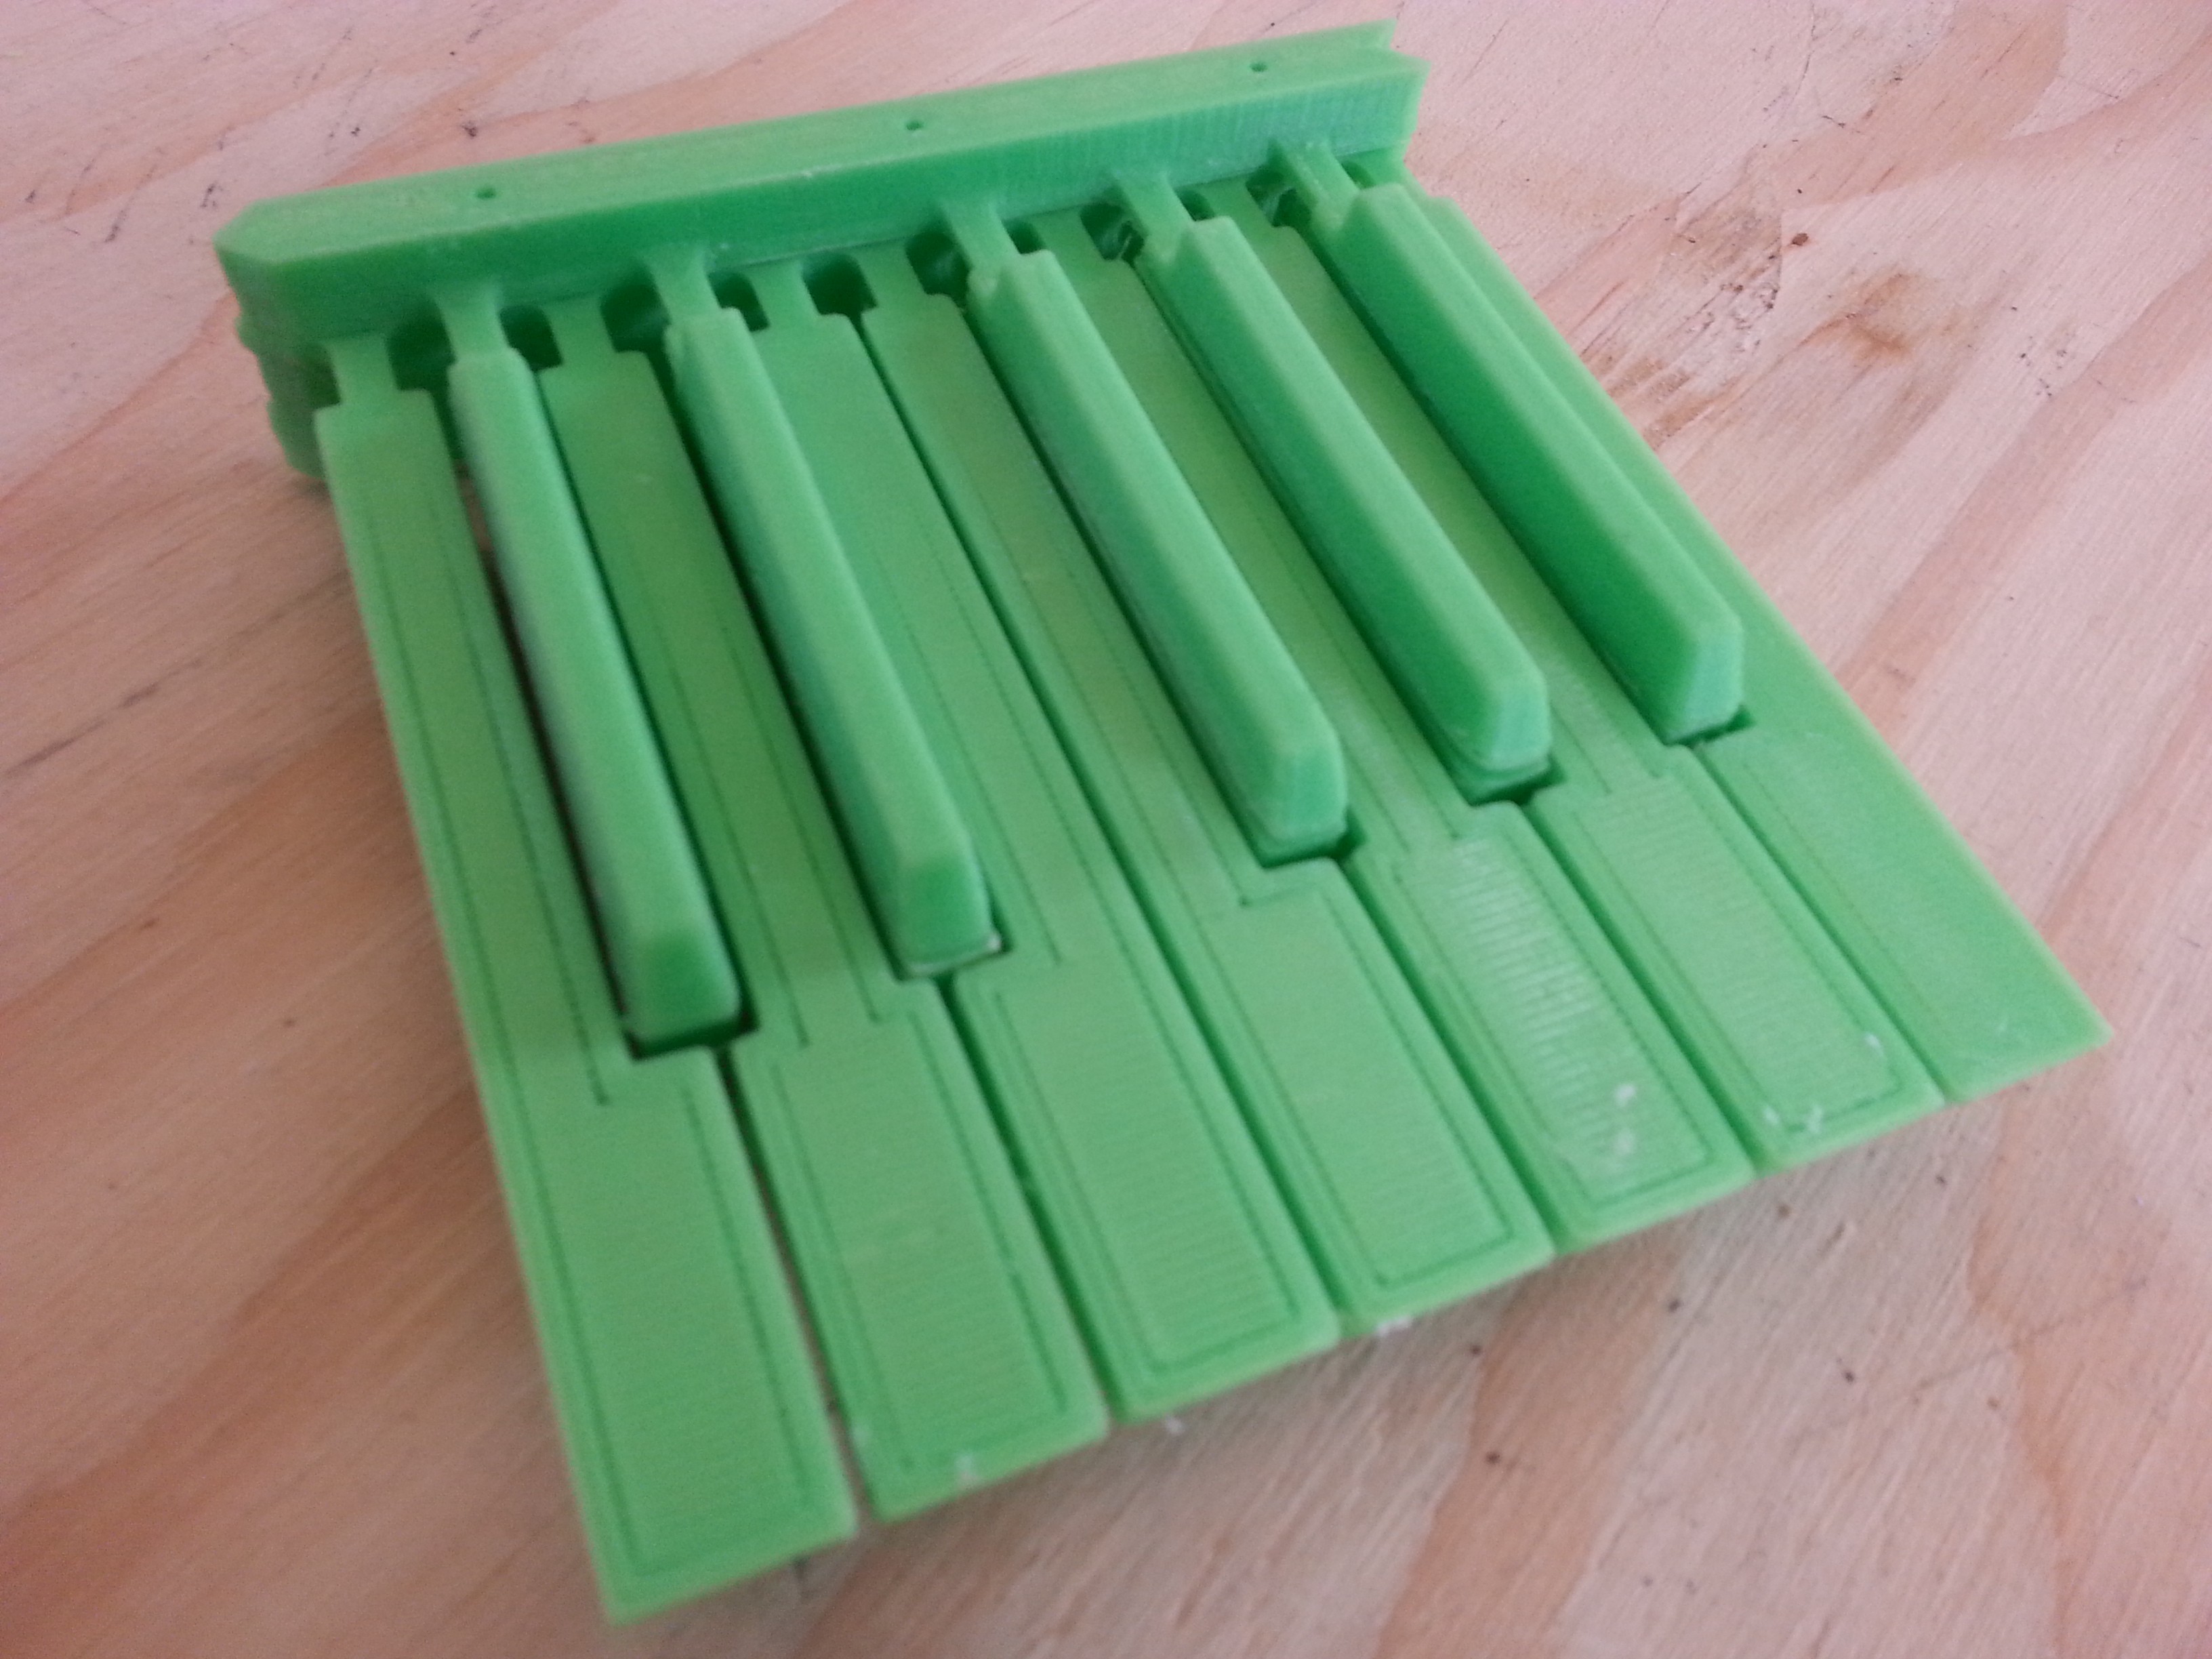
First up, 3d print the keybed. I only designed it 3 years ago...
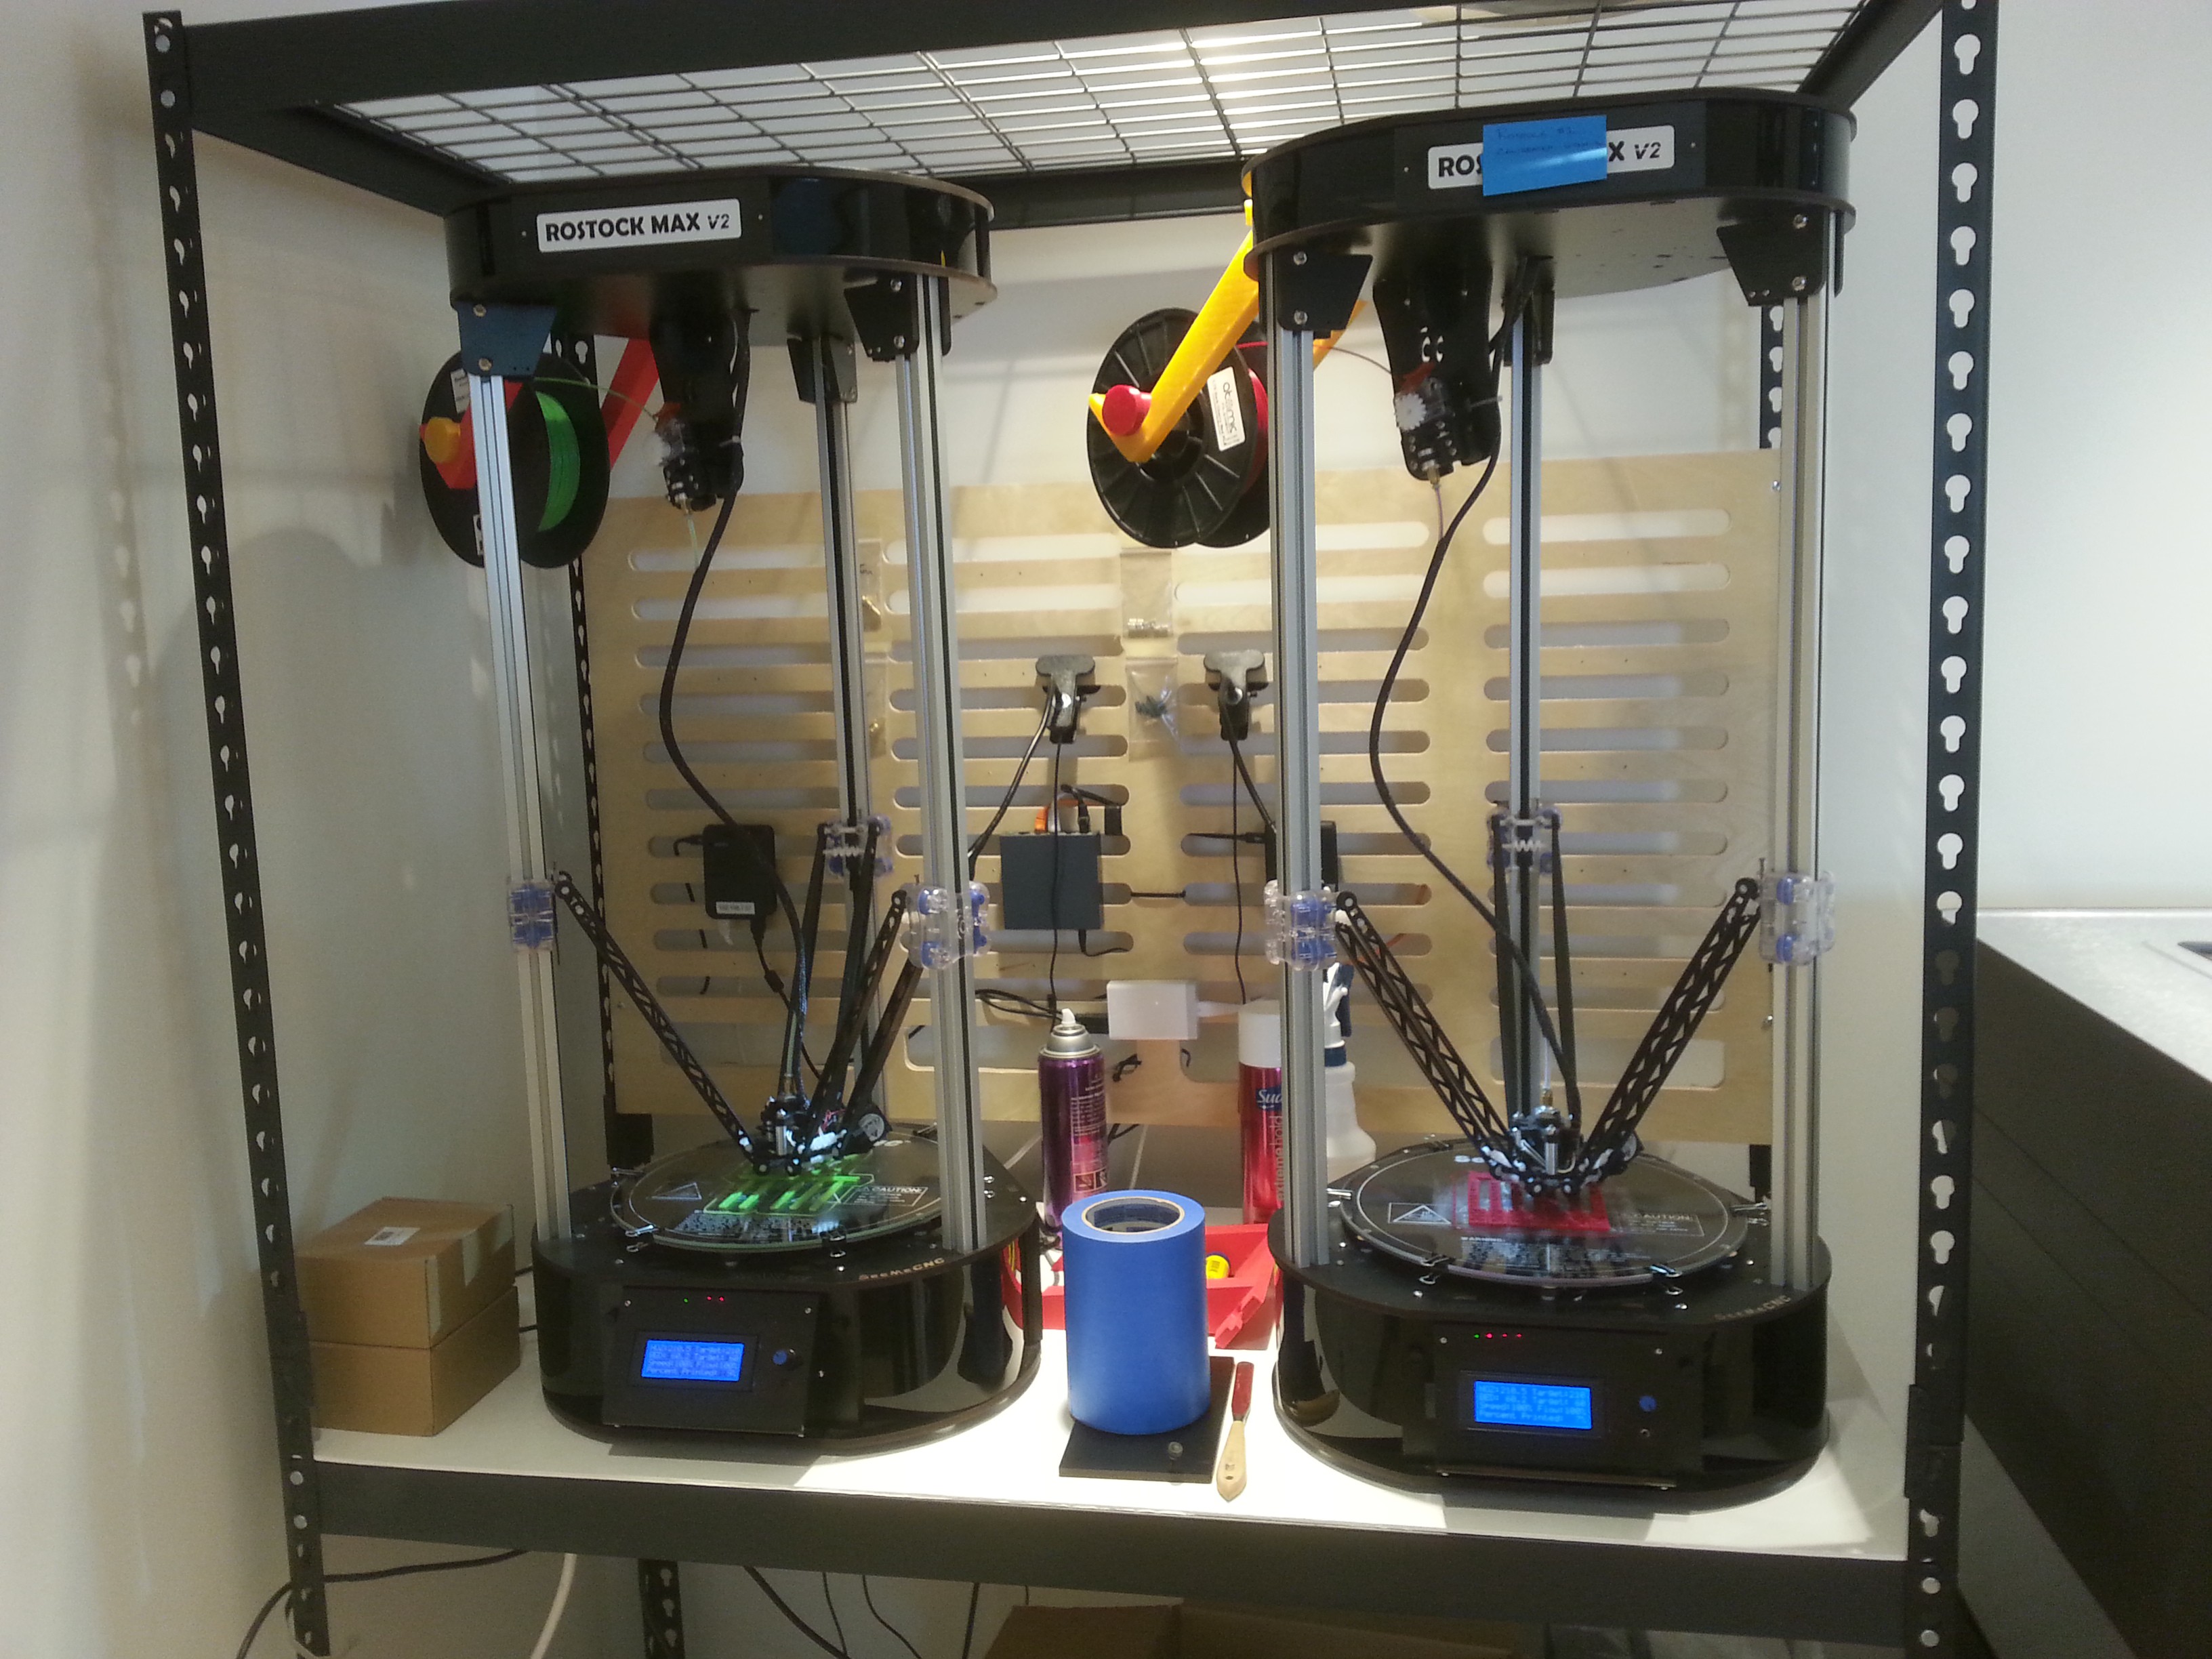
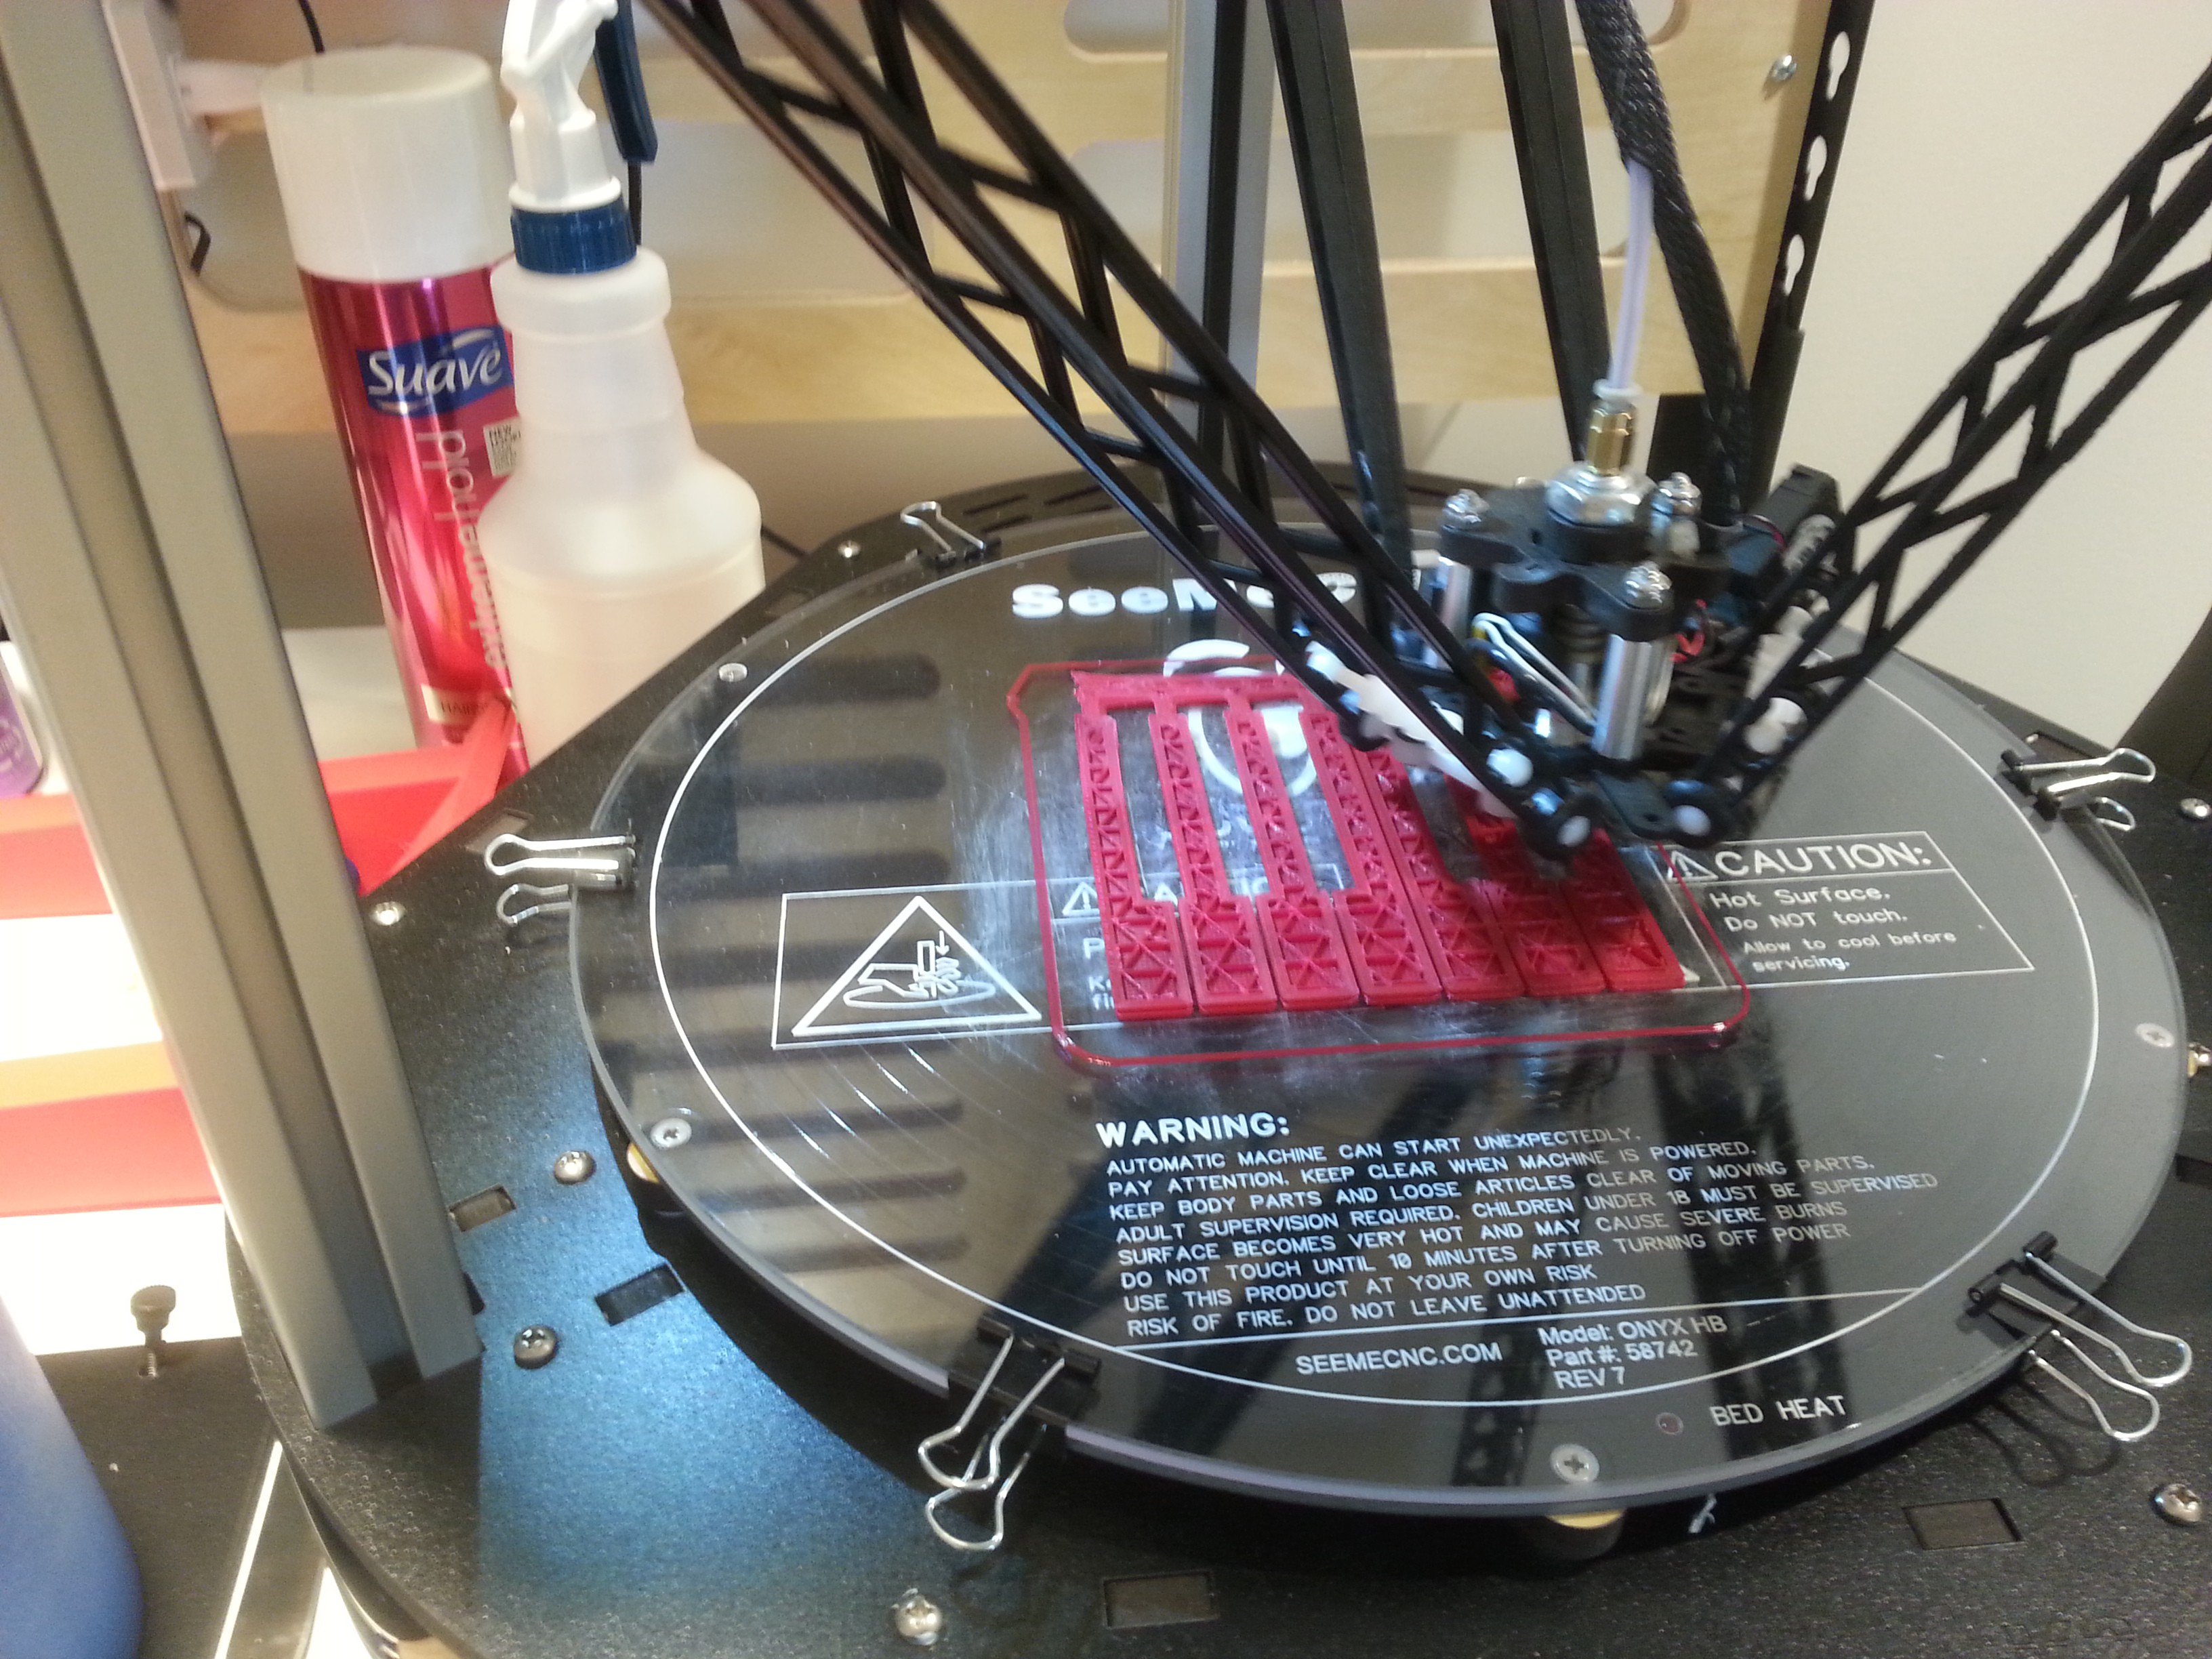
I'm kinda at the mercy of the folks running the lab for what filament is in the machines at this point, so the black keys are printing in bright optic green, and the white keys in VT maroon.
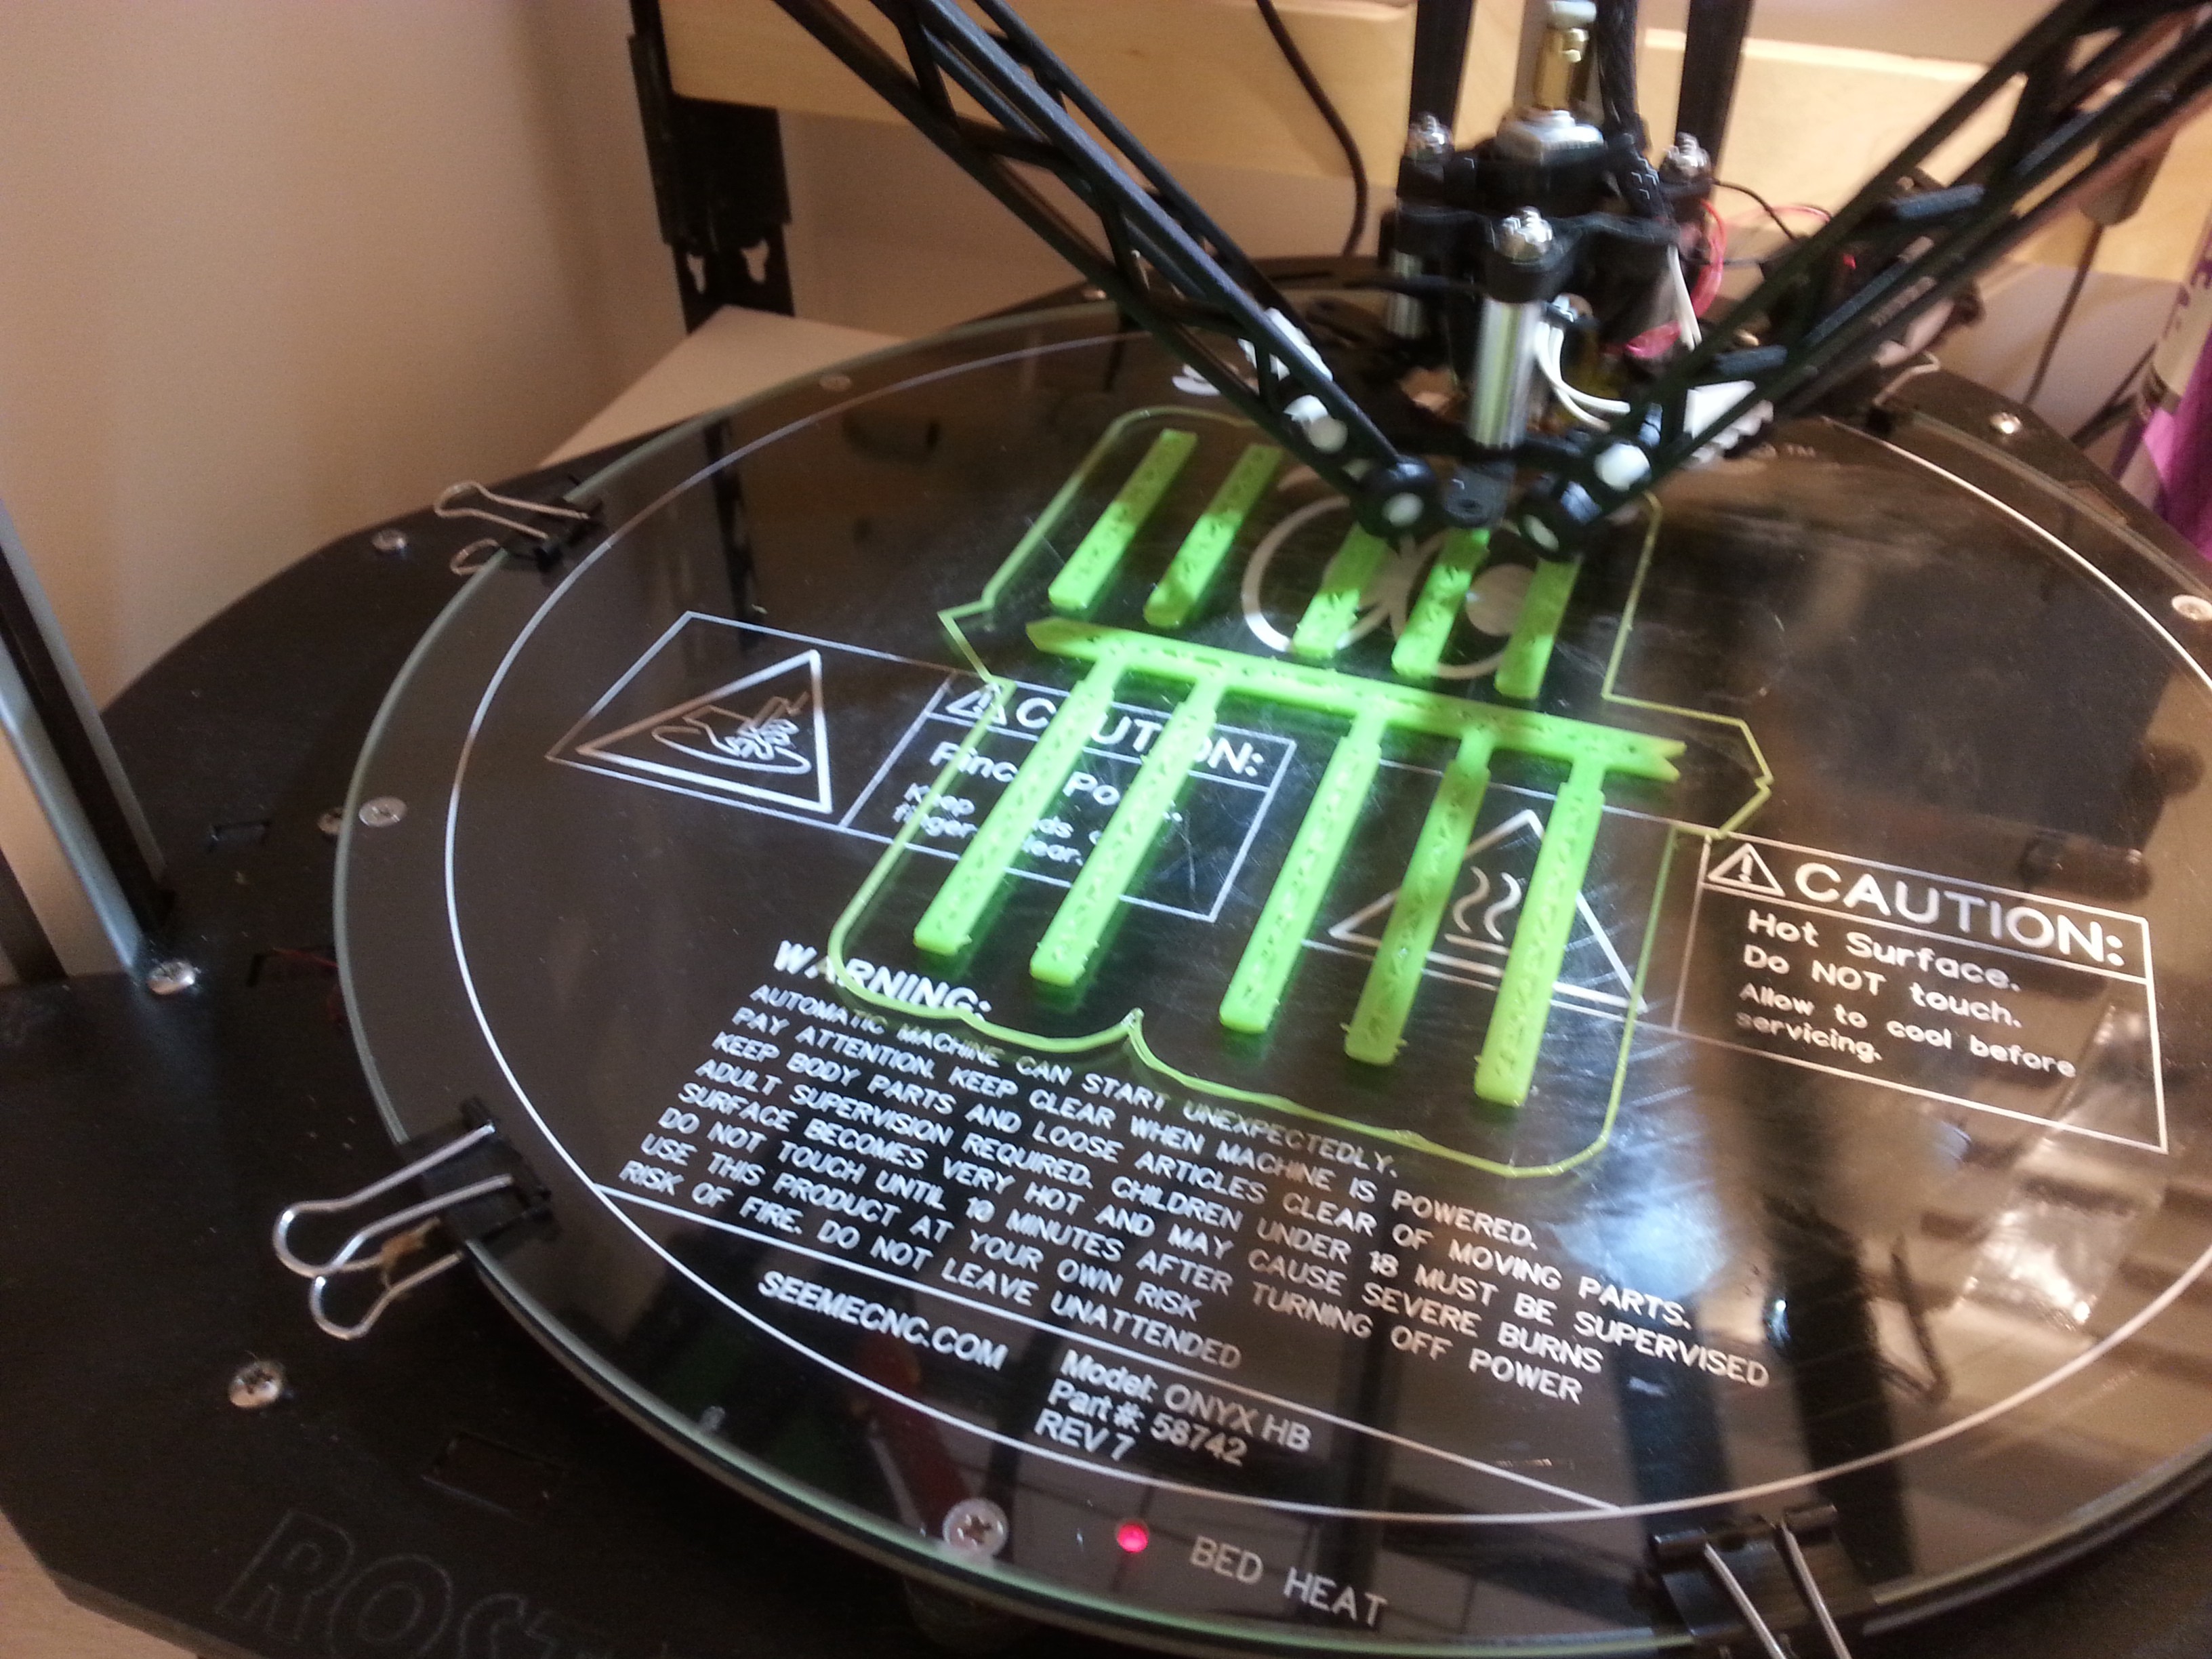
You can already see the upper left corner starting to peel up here. Will it be a problem?
Oh yeah, it is a problem.
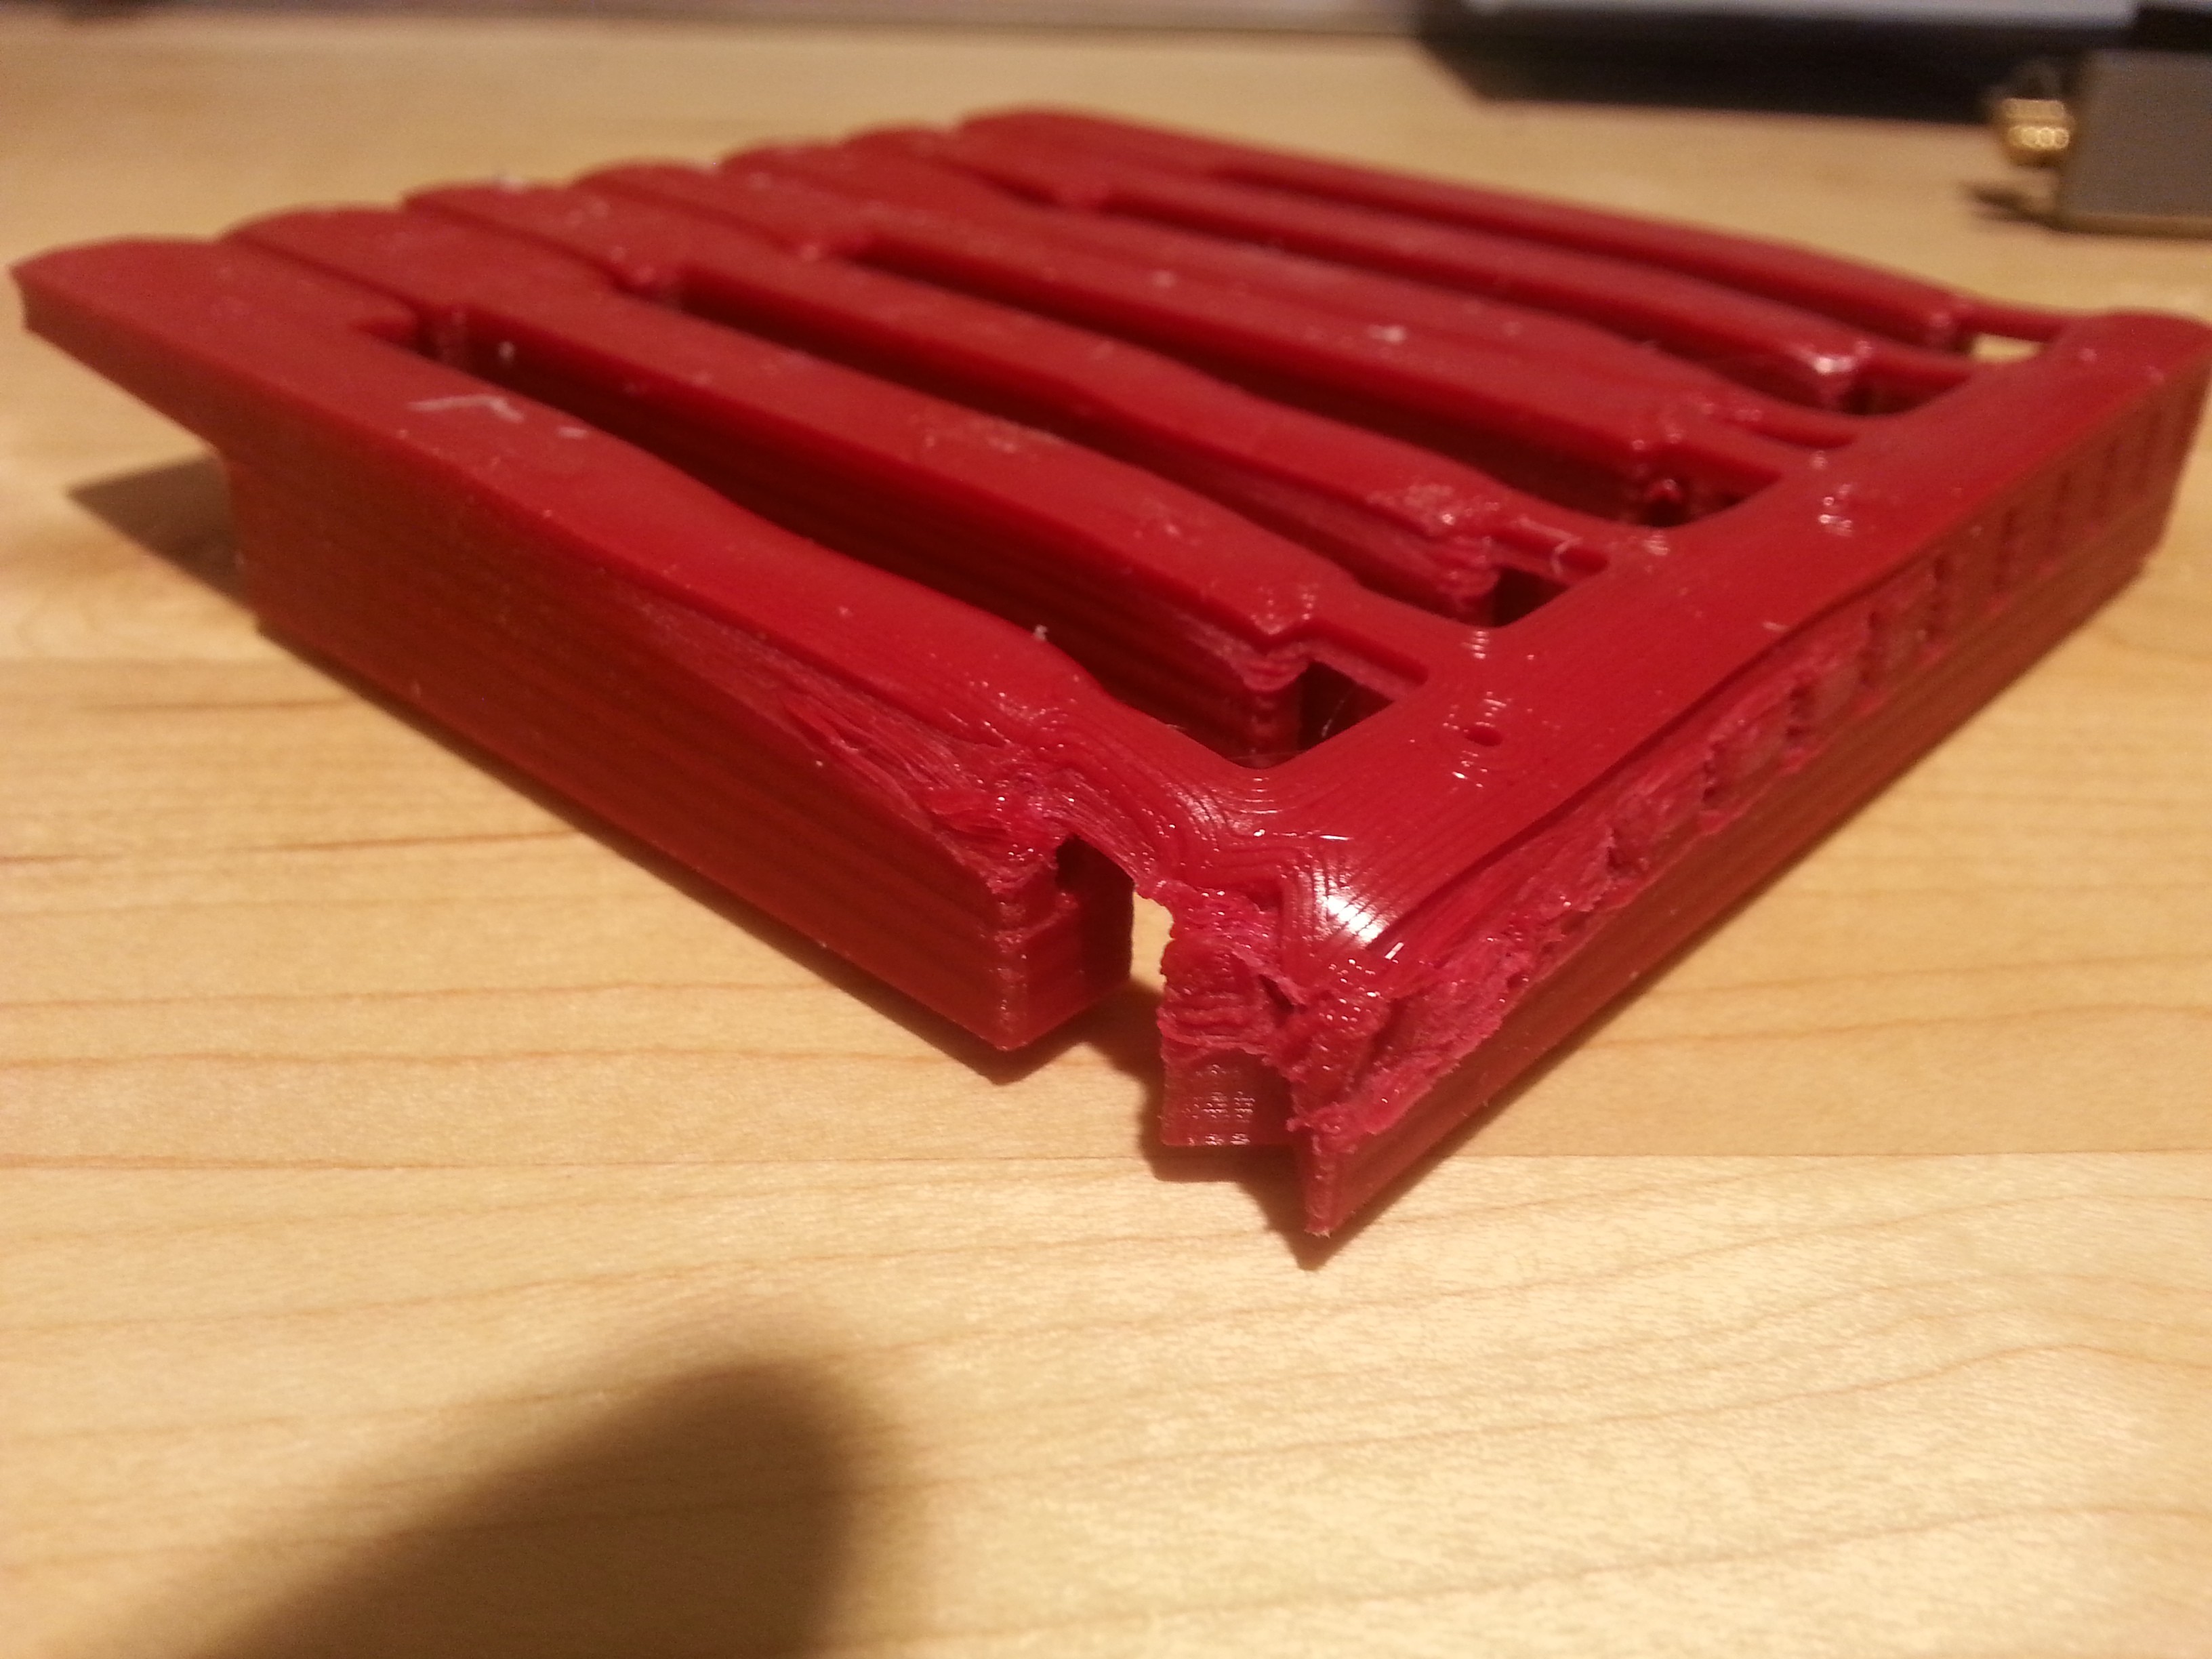
It is a shame, because the front of the keys is fine.
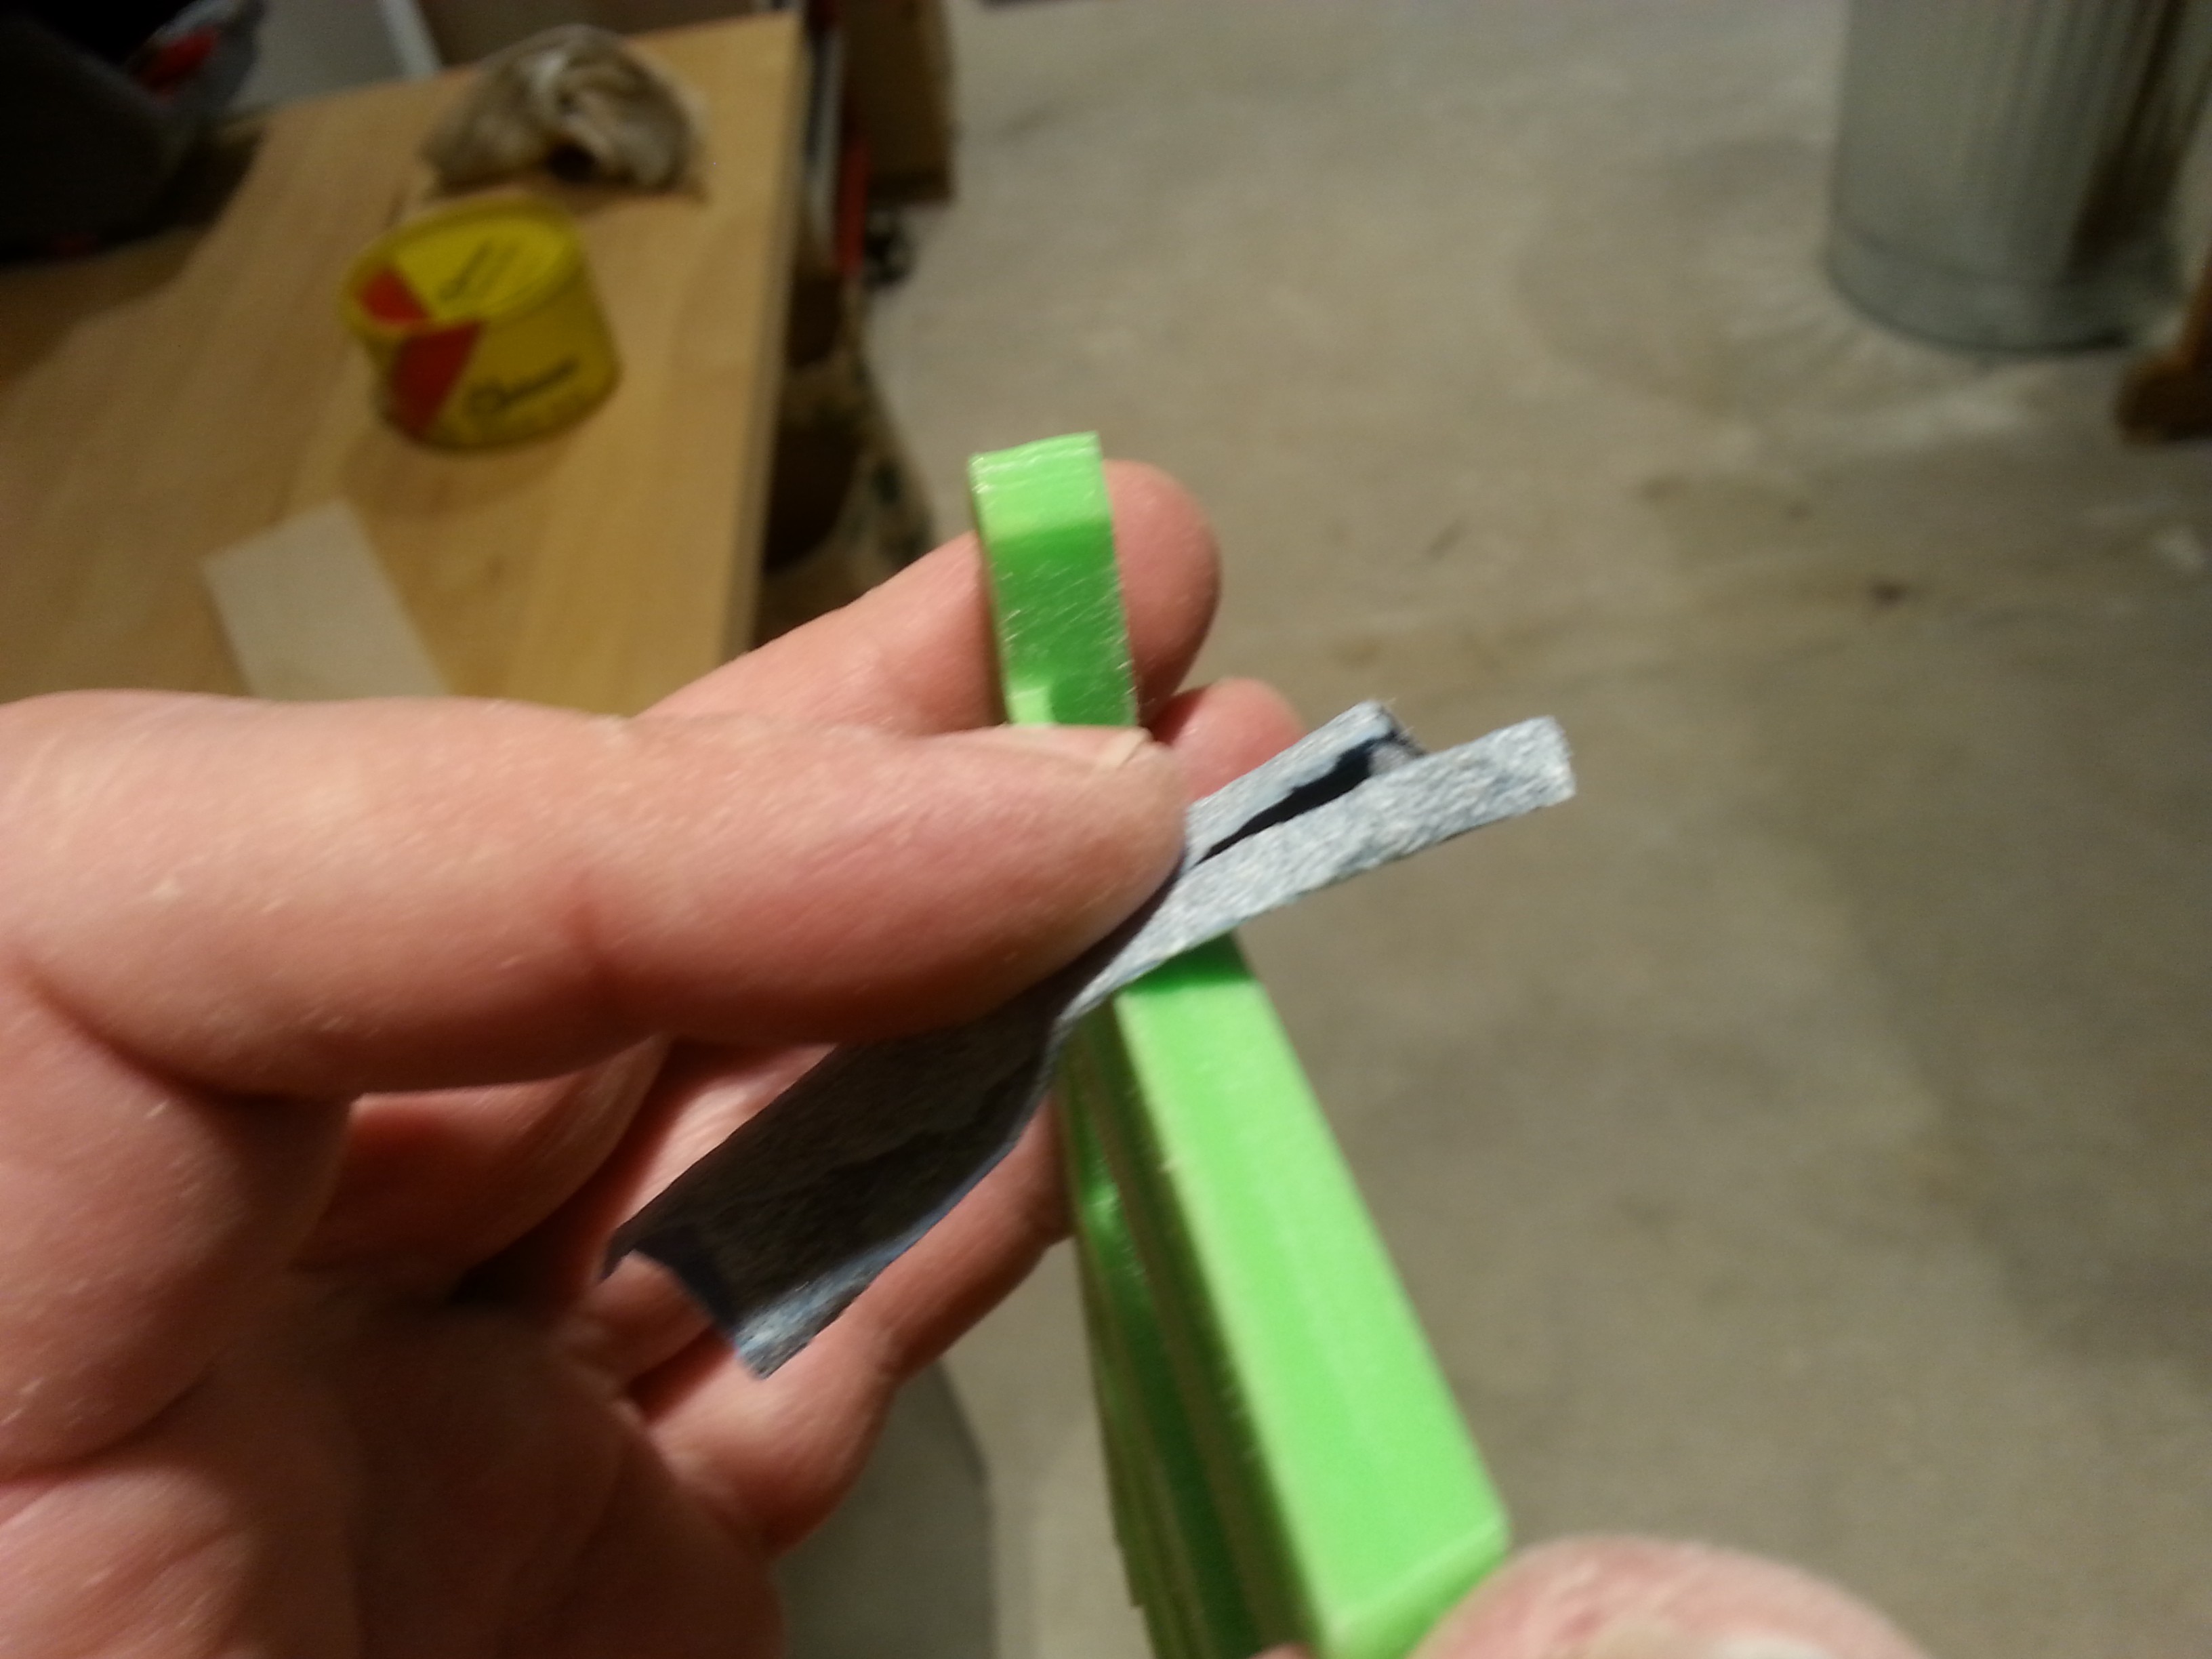
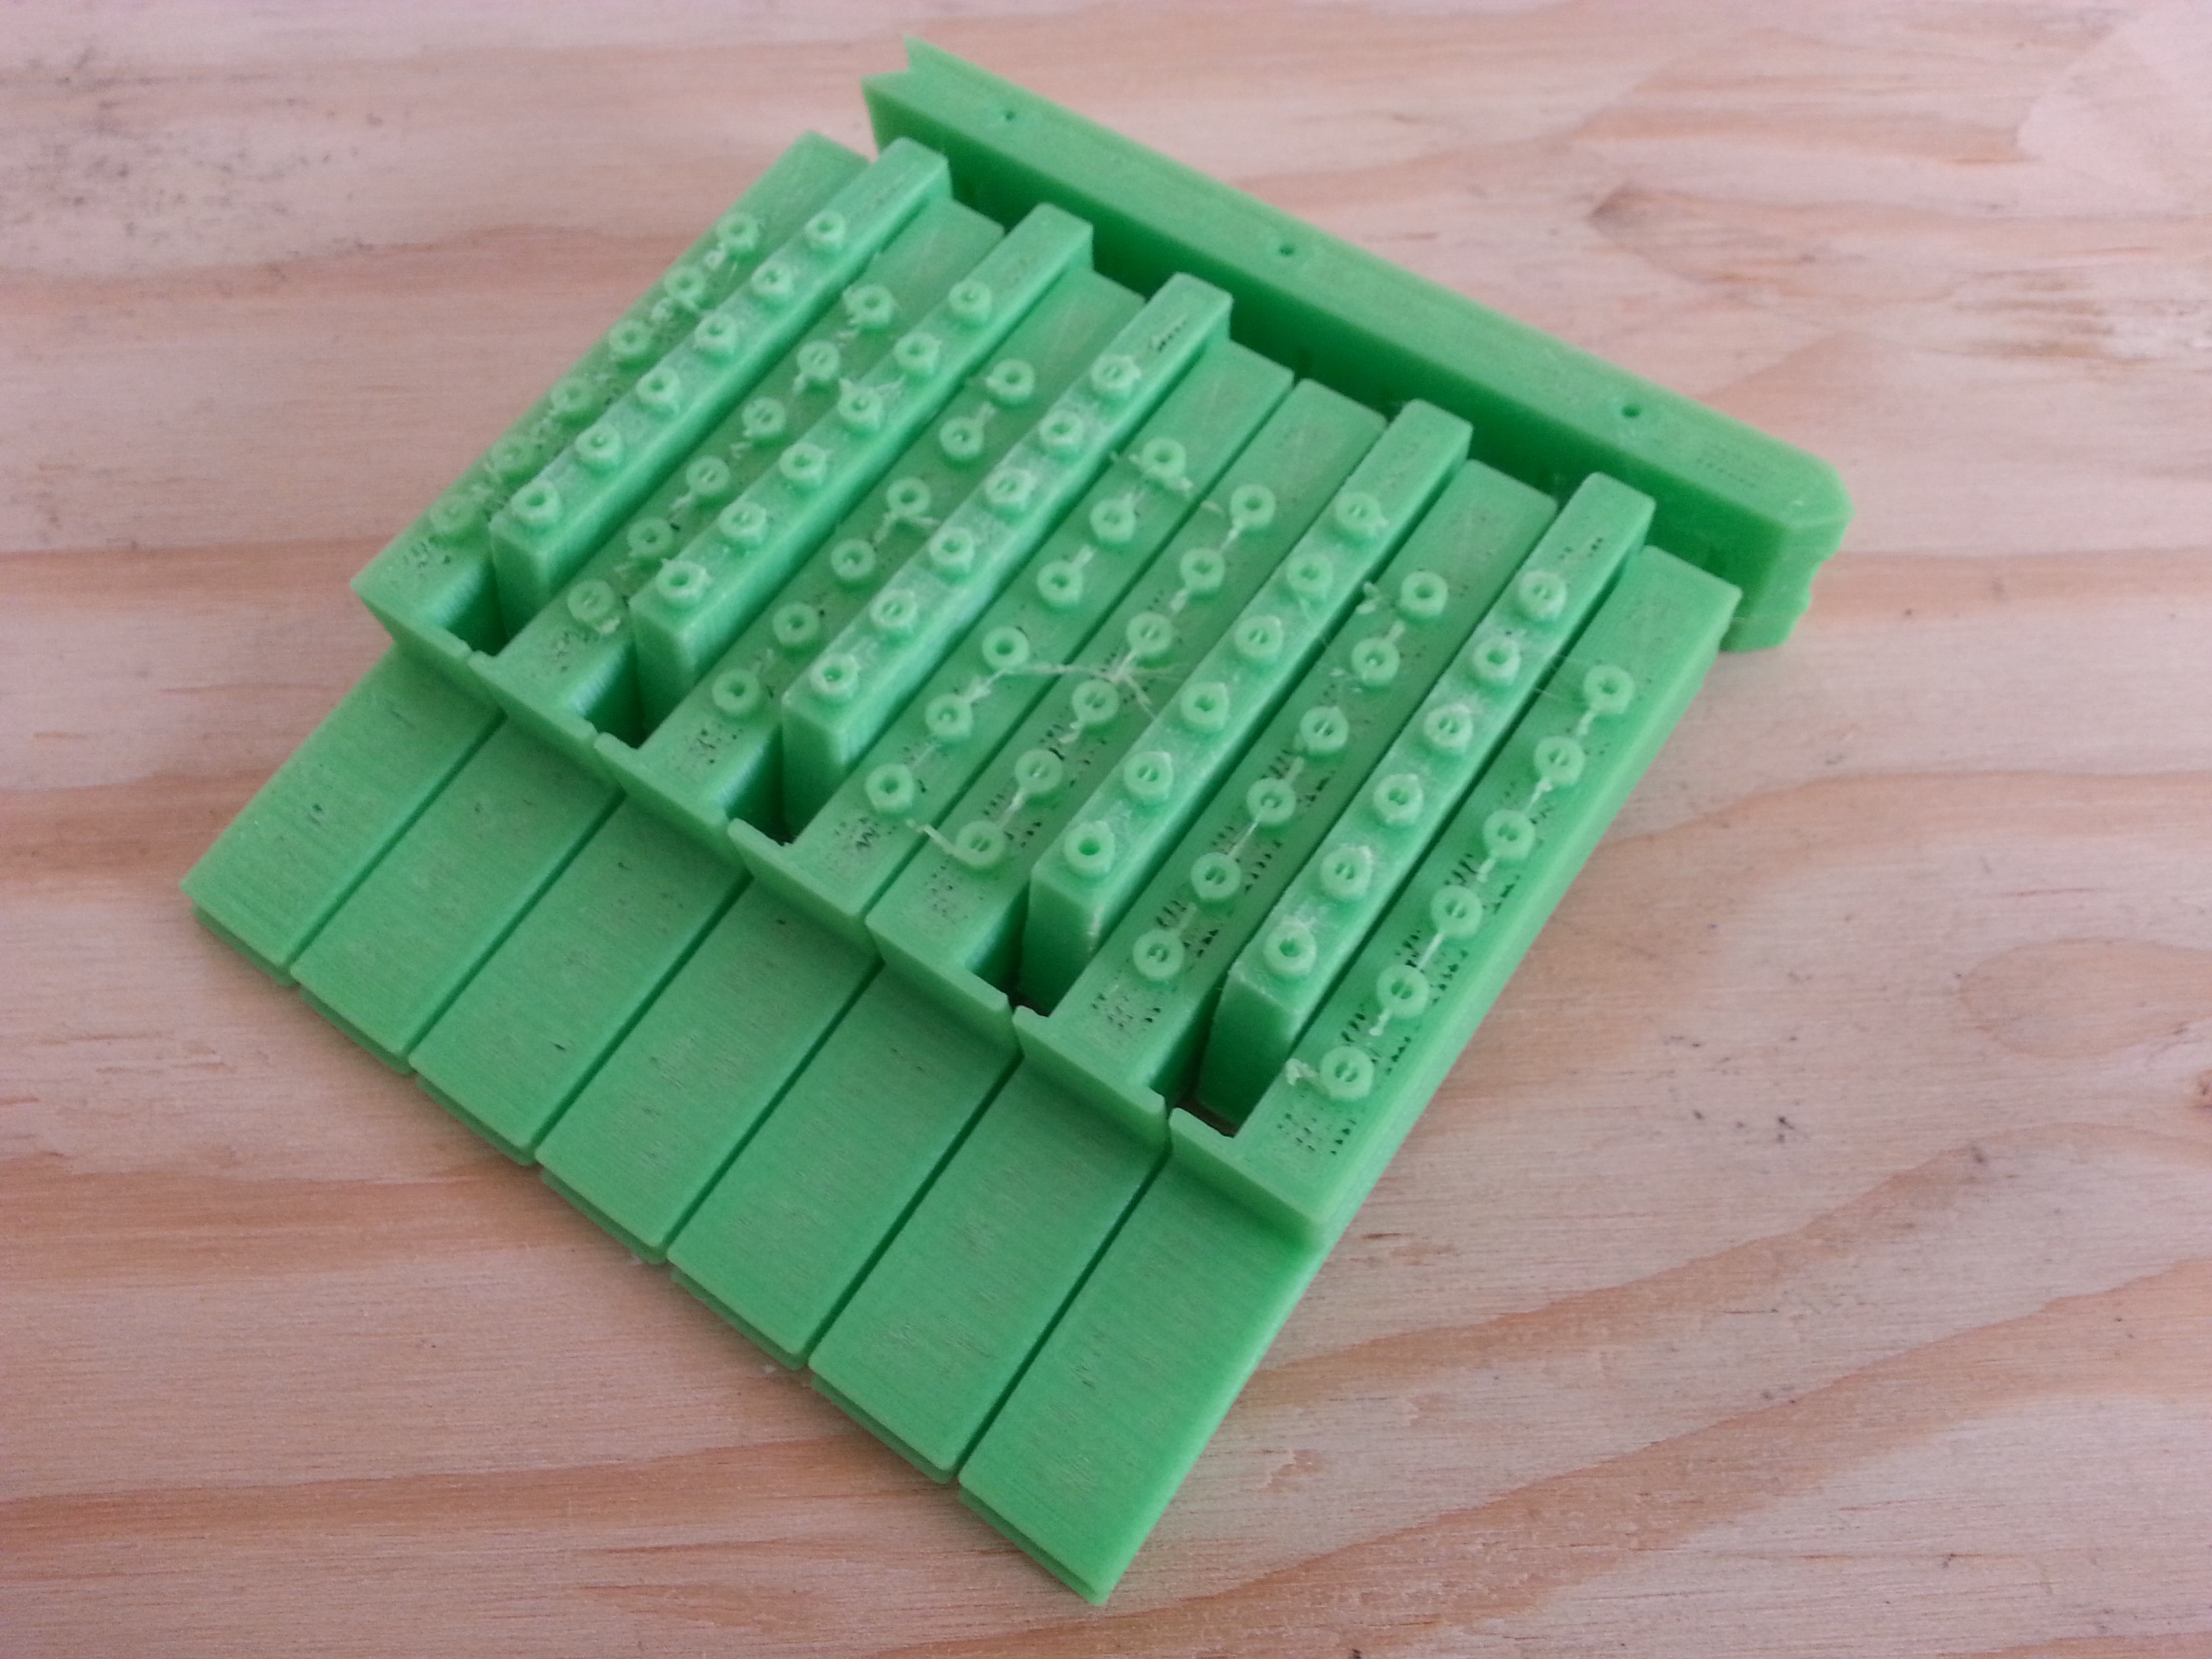
Just sand off the sprue...

The black keys were printed in two parts, which noise need took be glued together.
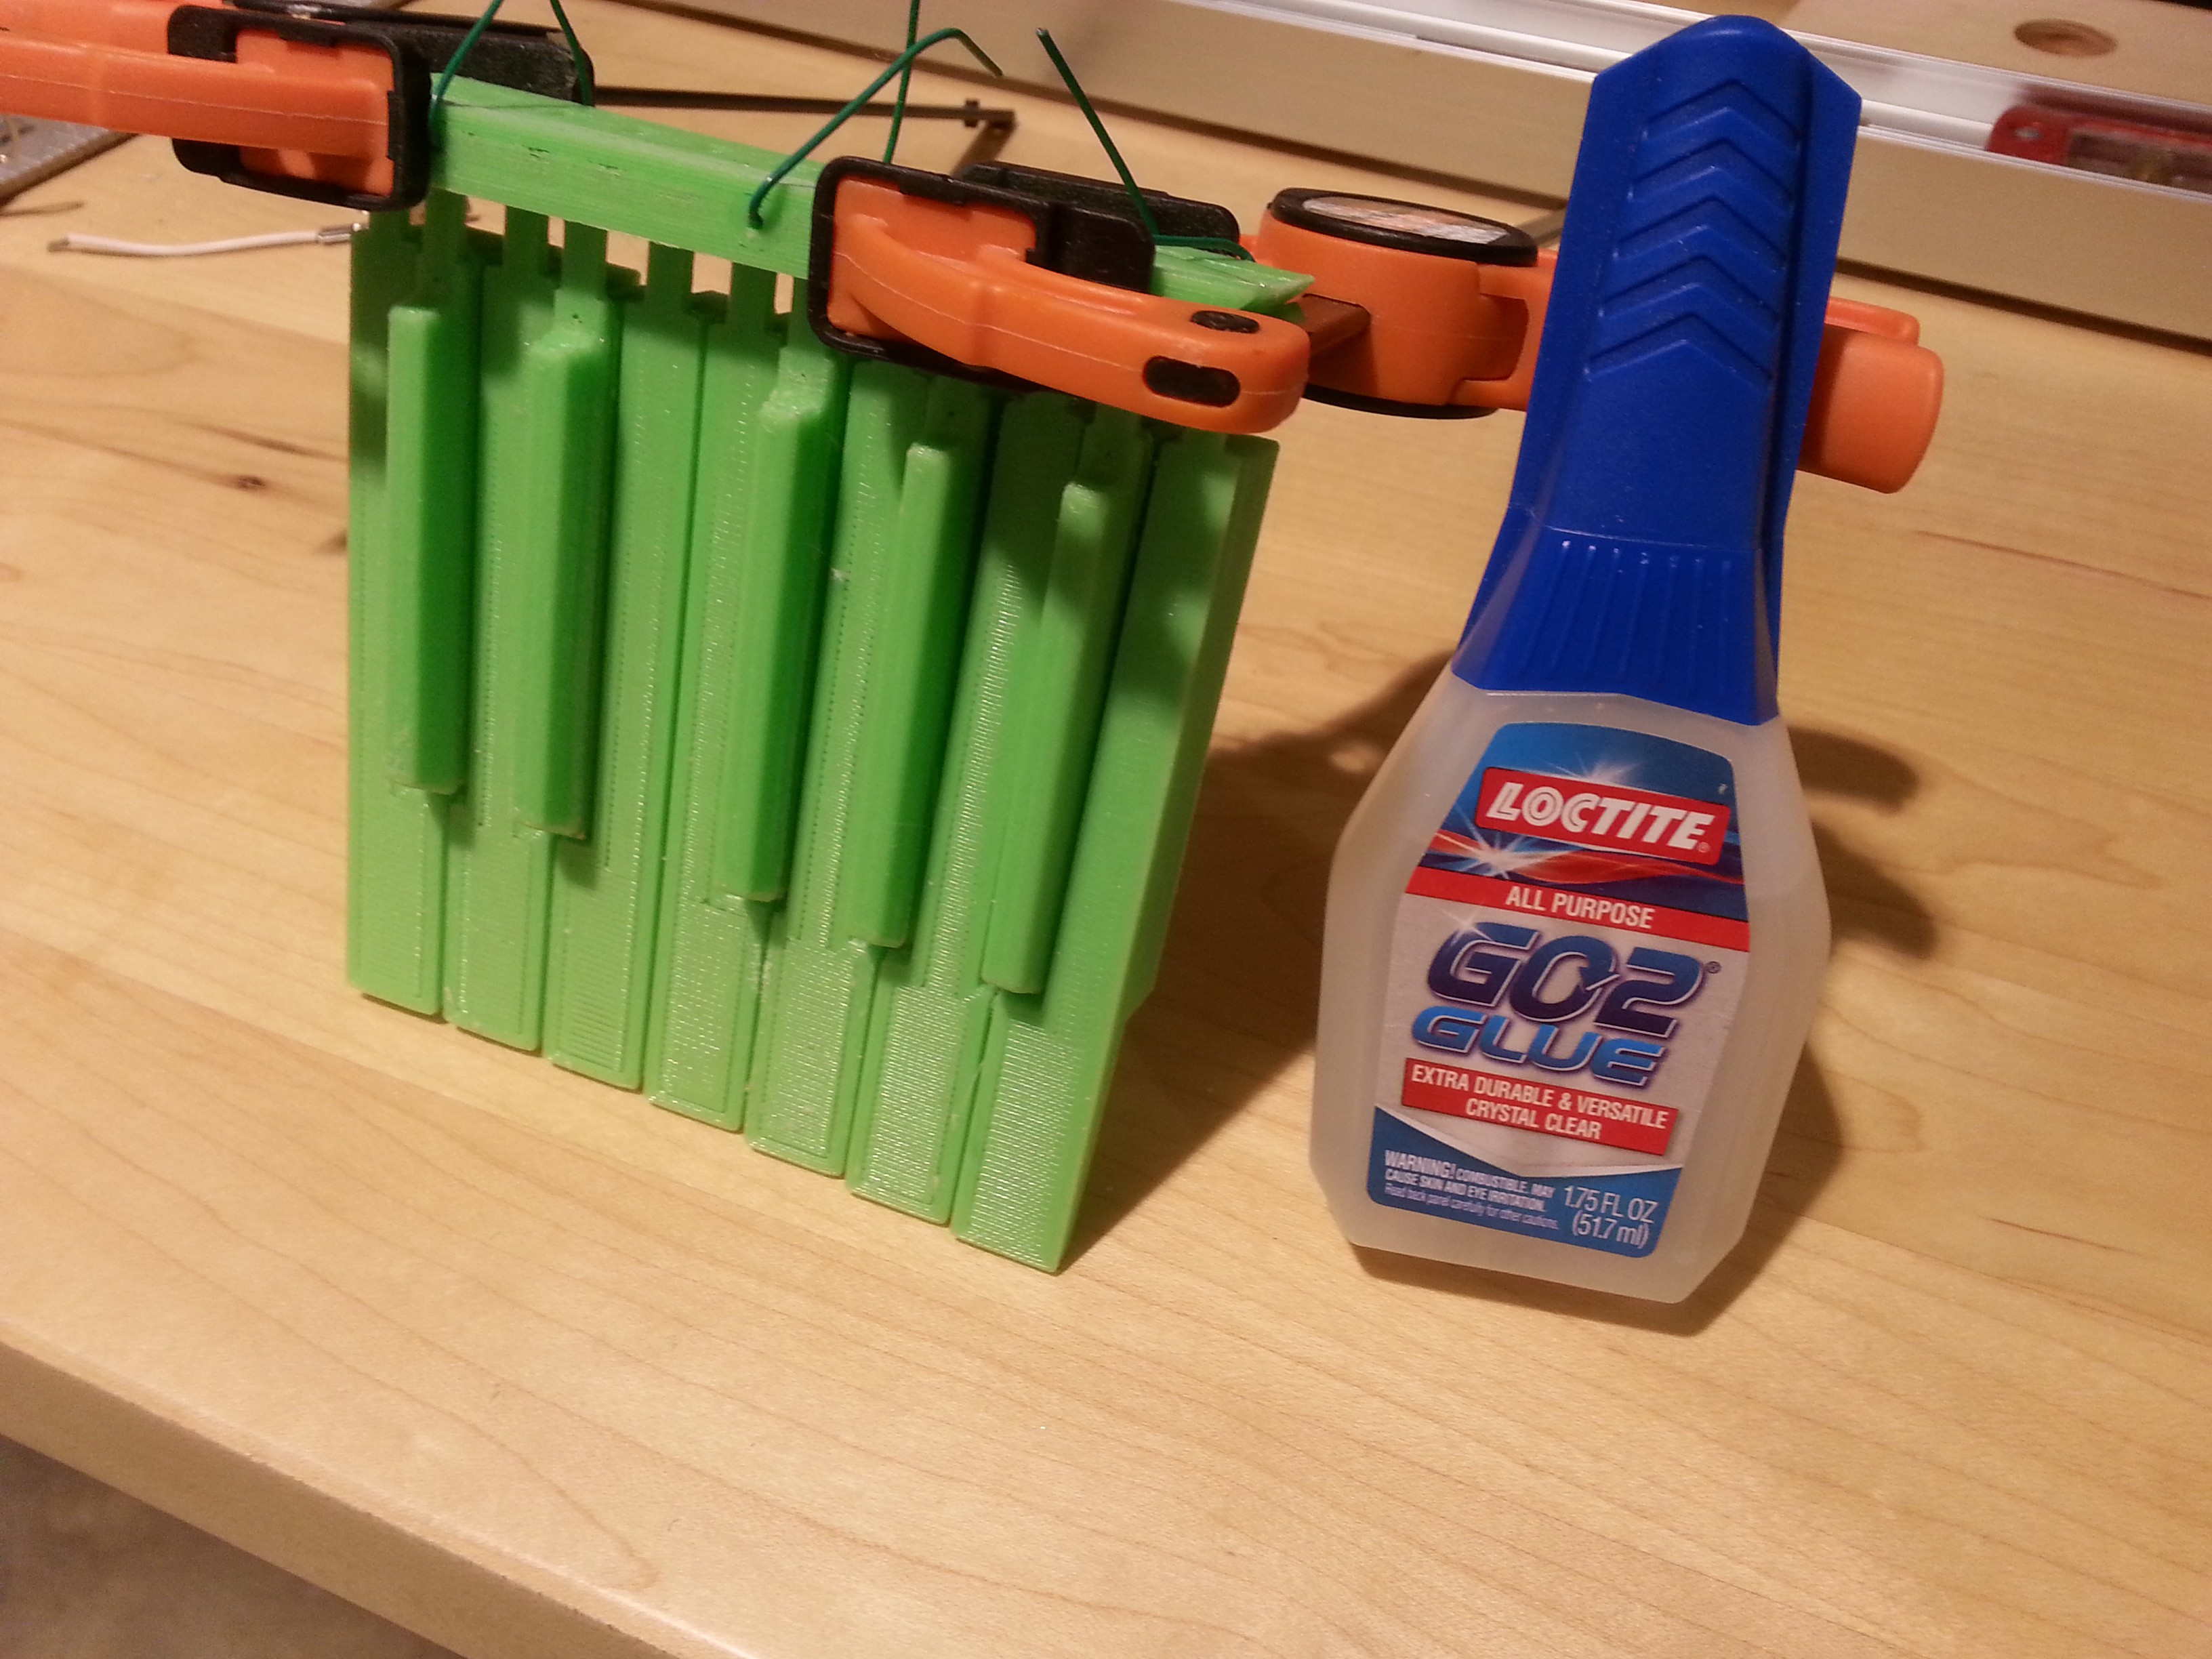
Clamp tightly and wait 24 hours.
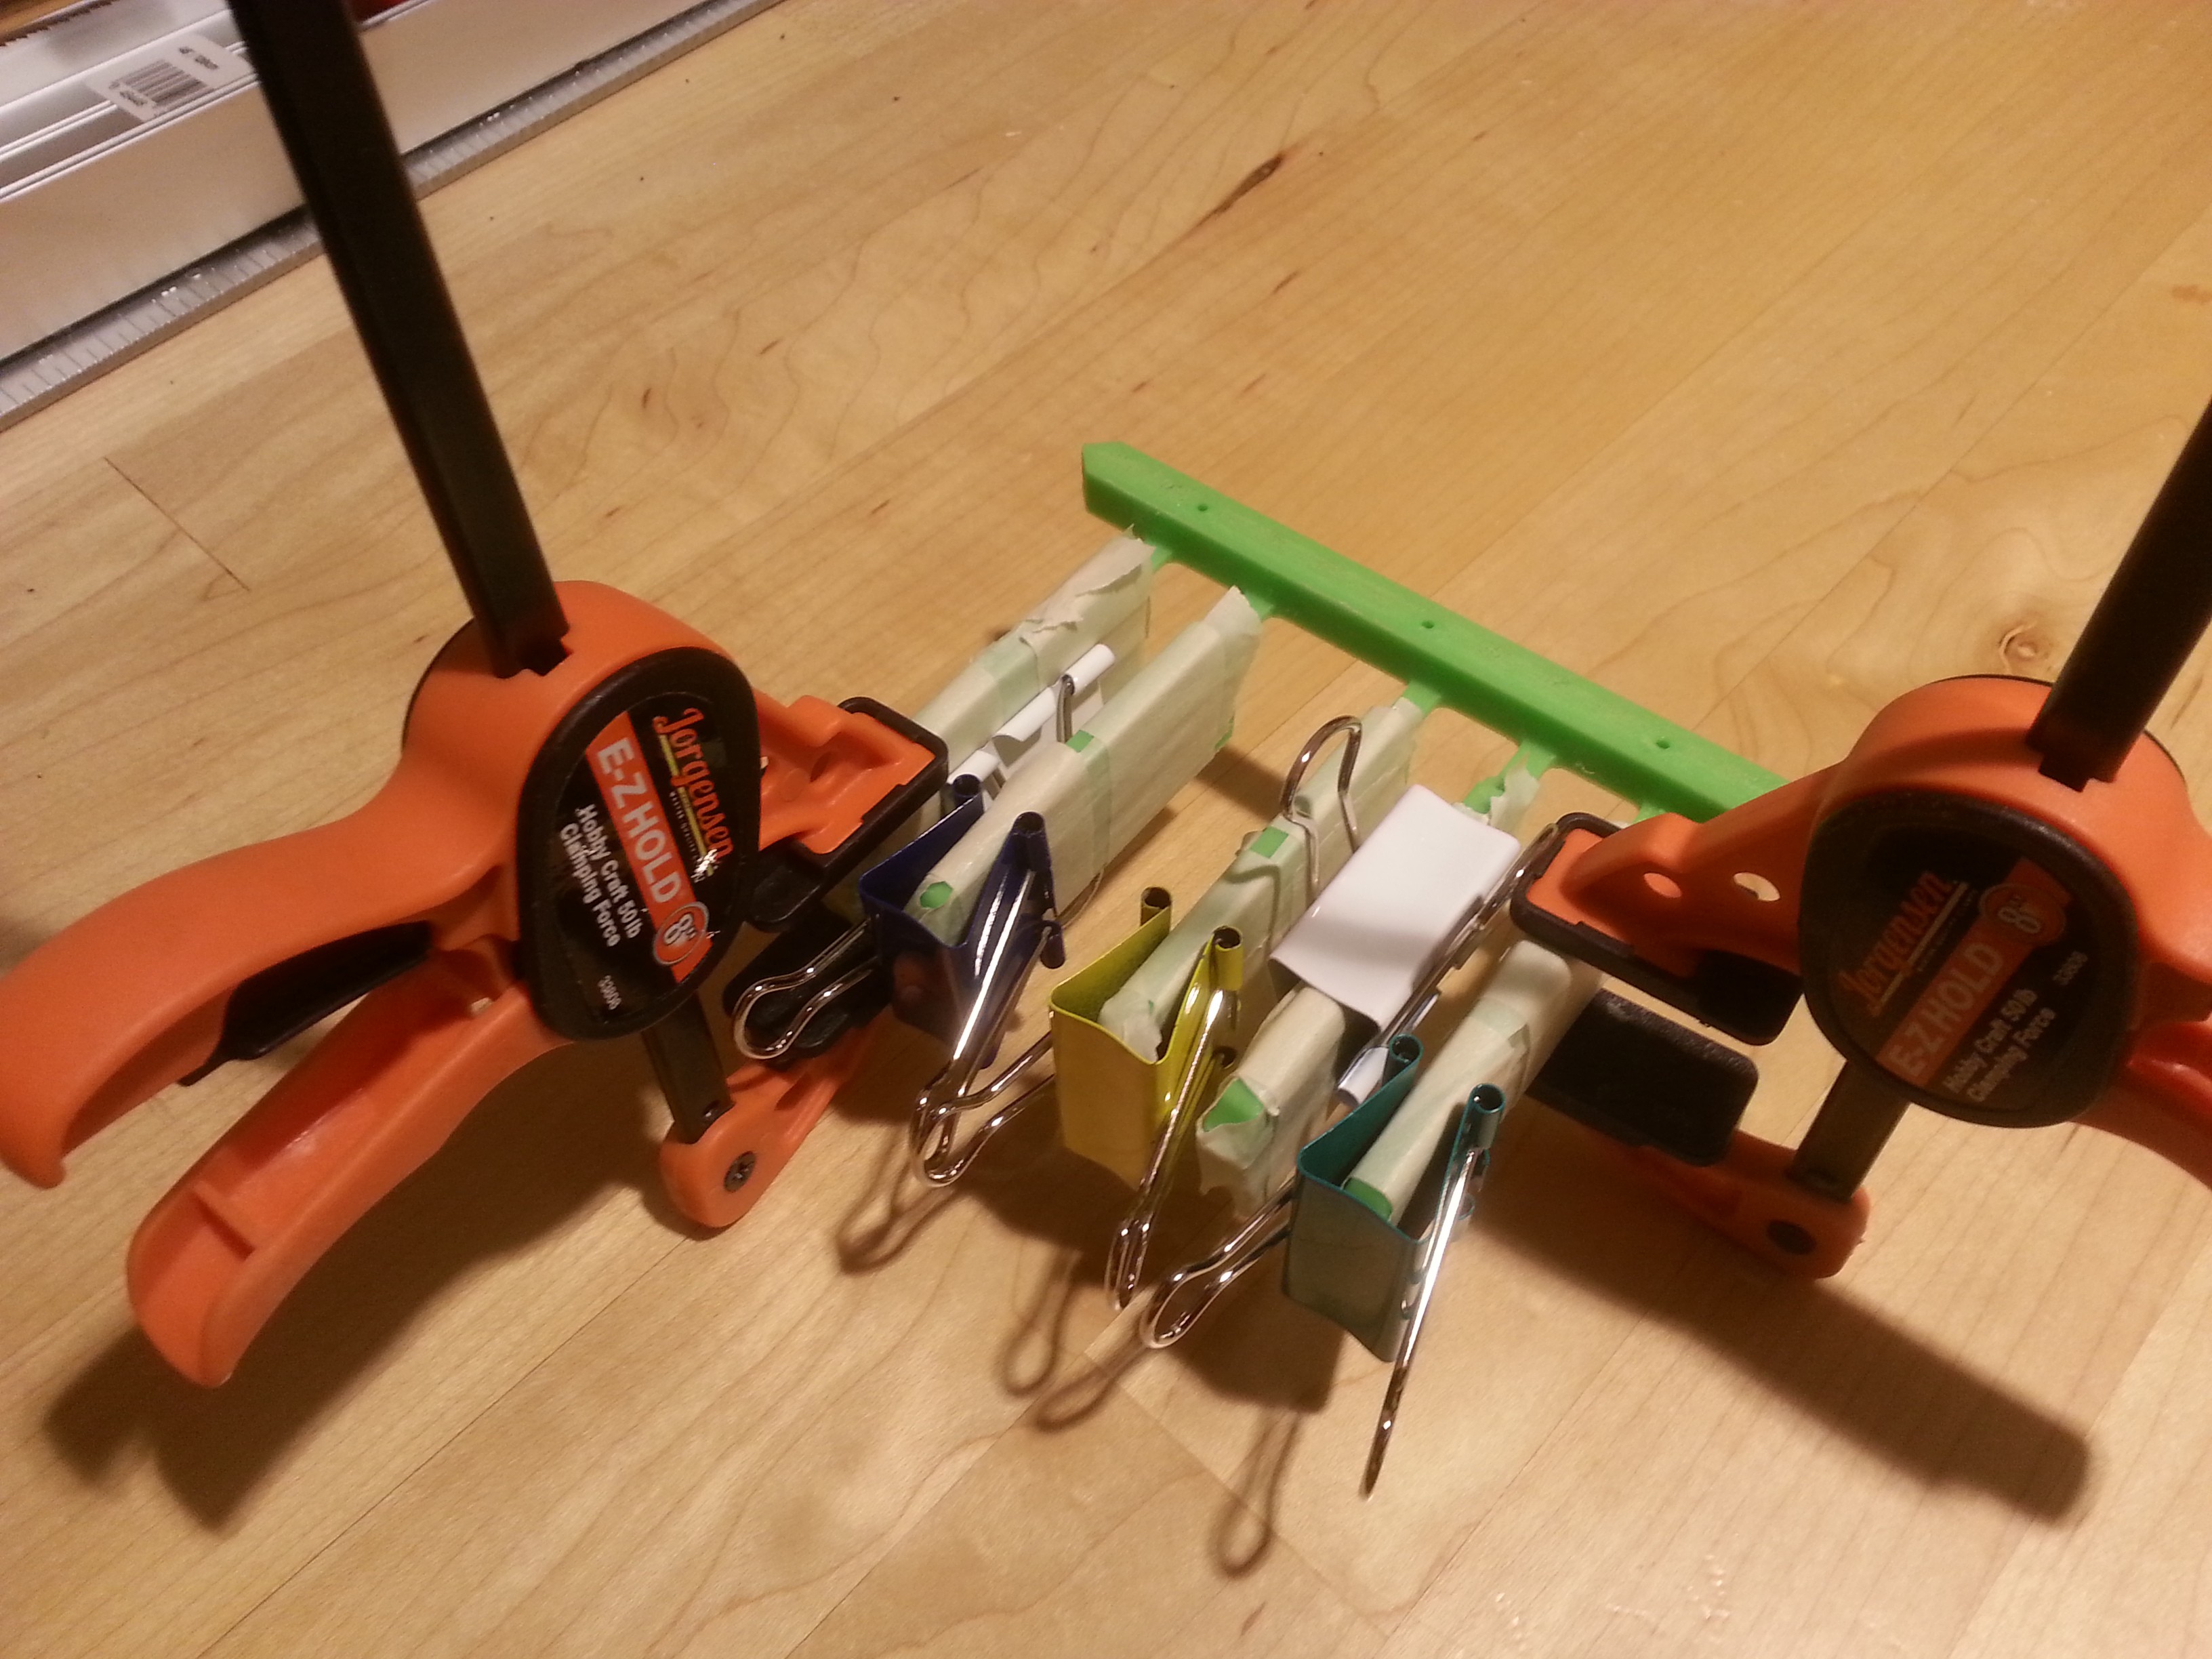
Magically, a new set of white keys was printed using the same green filament. We glue these to the black keys to make a whole keyboard part.
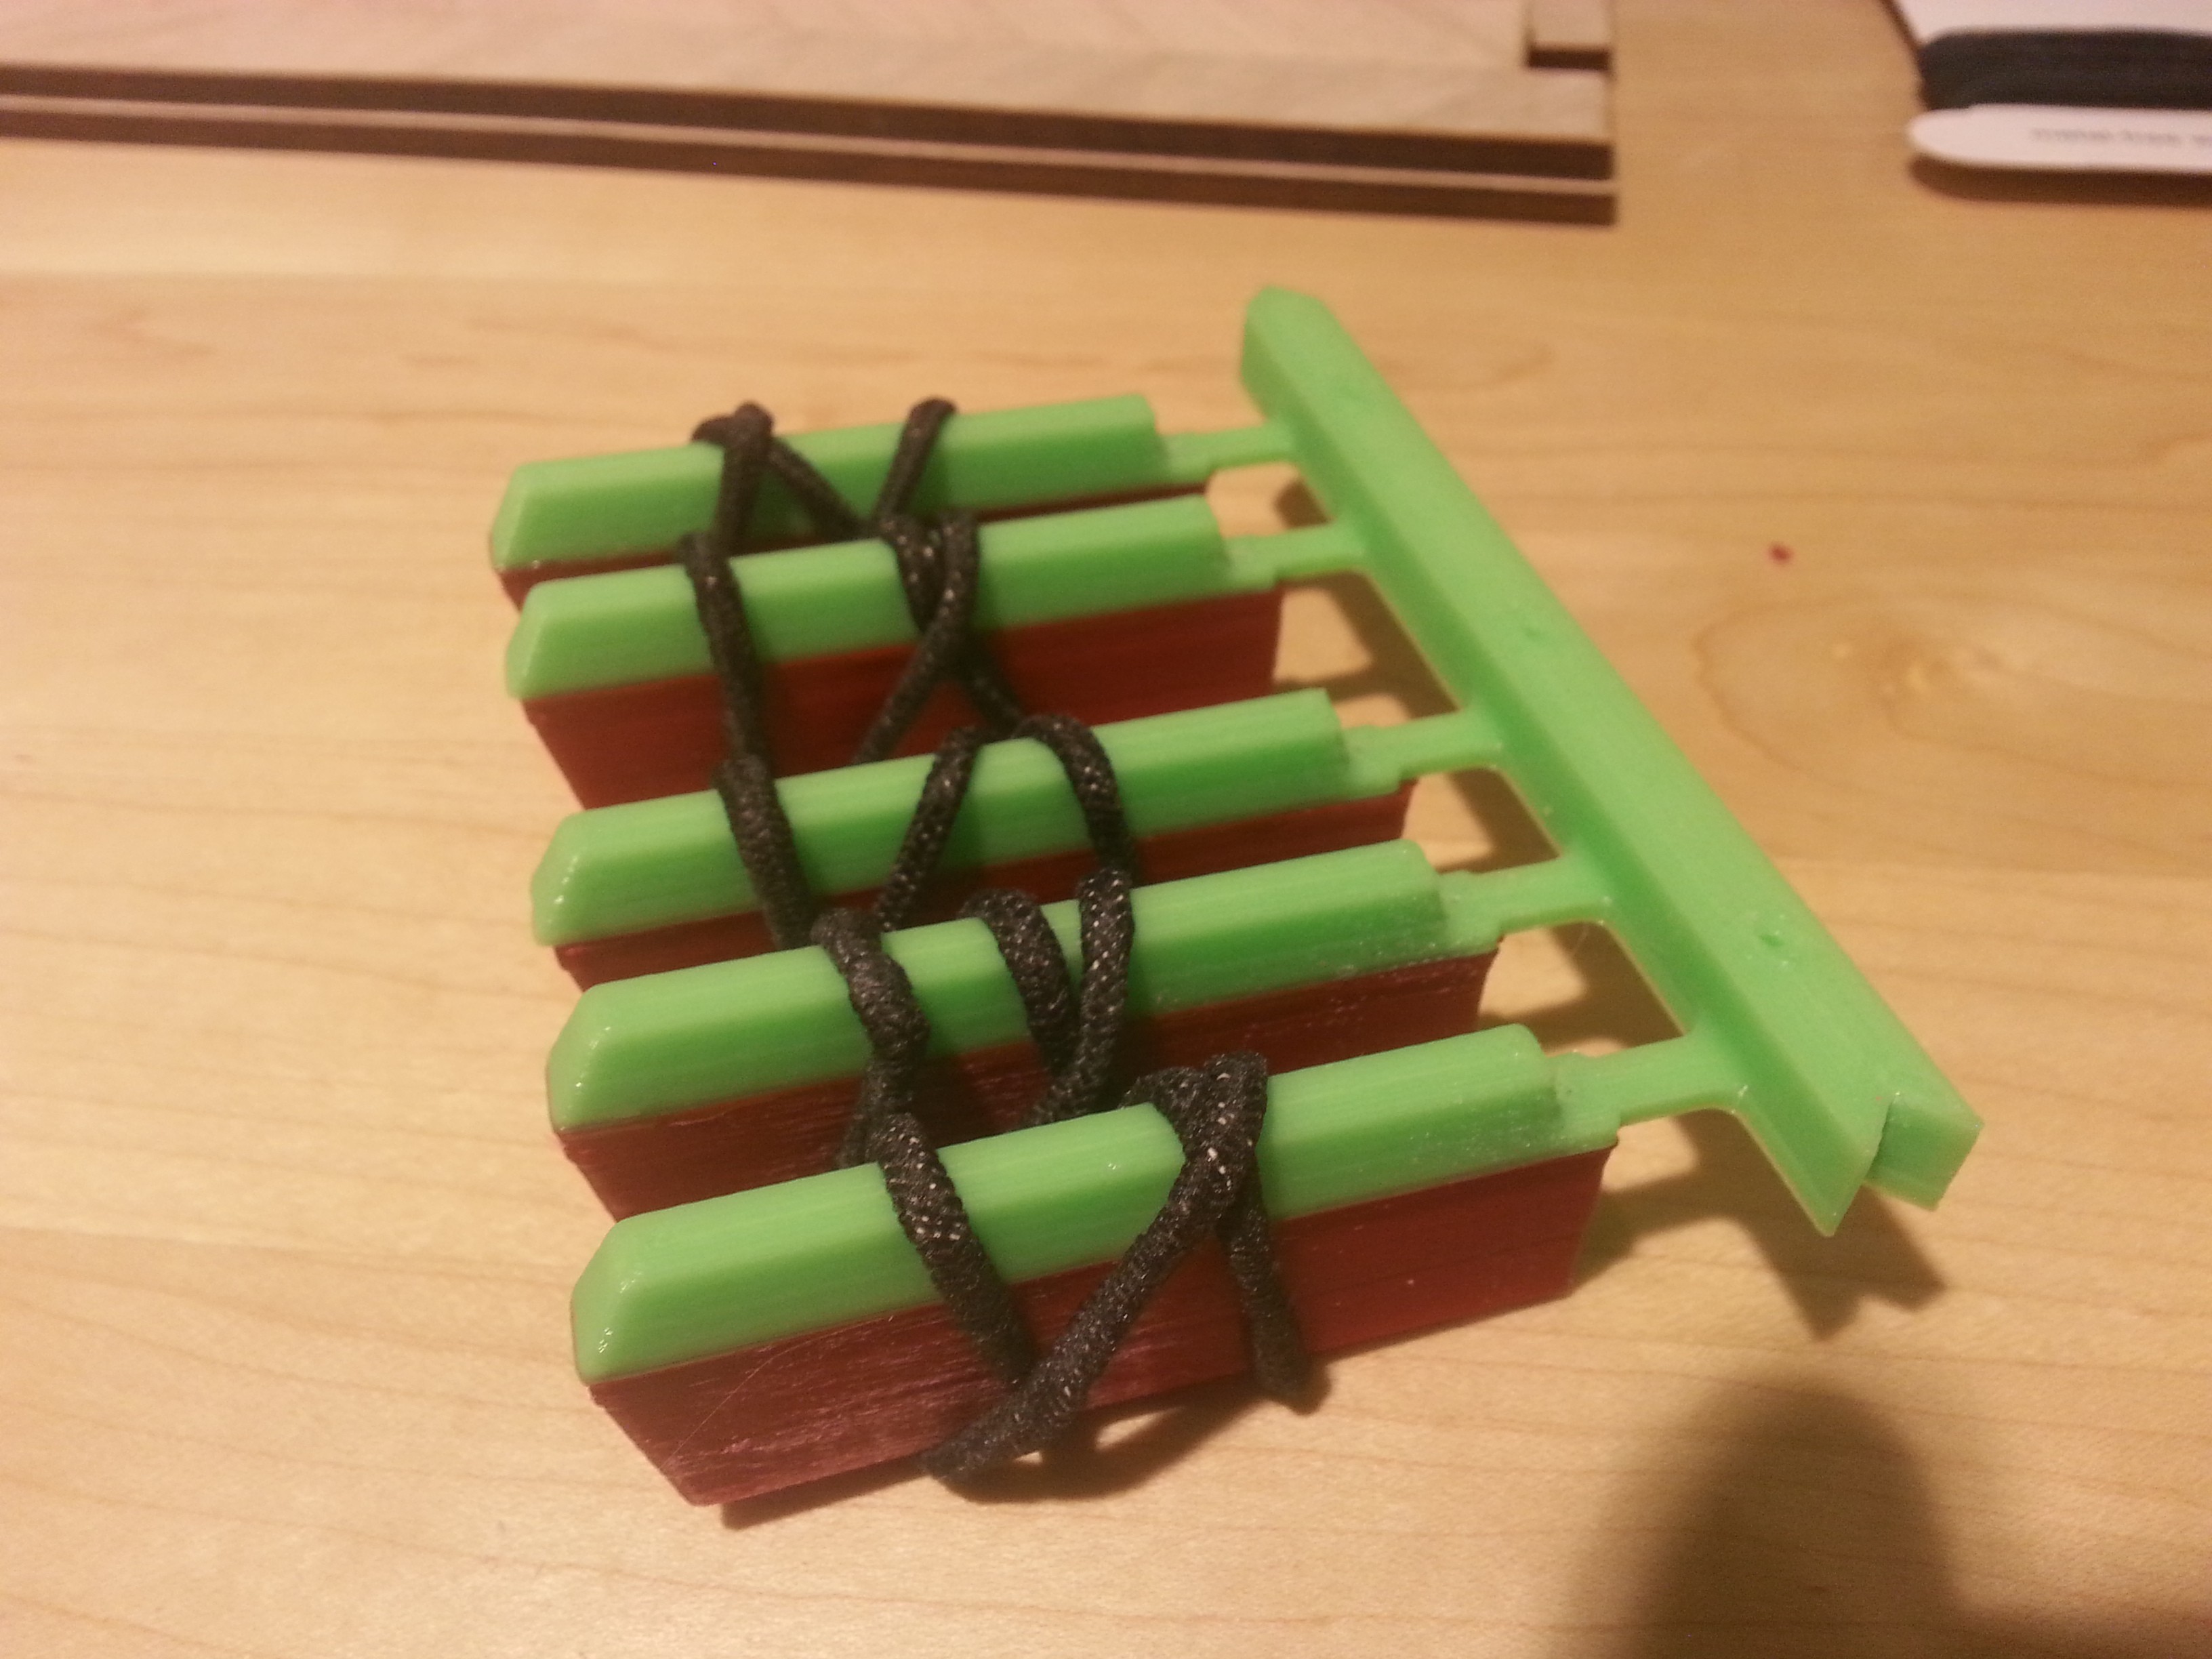
The second set of black keys was printed half green and half maroon.
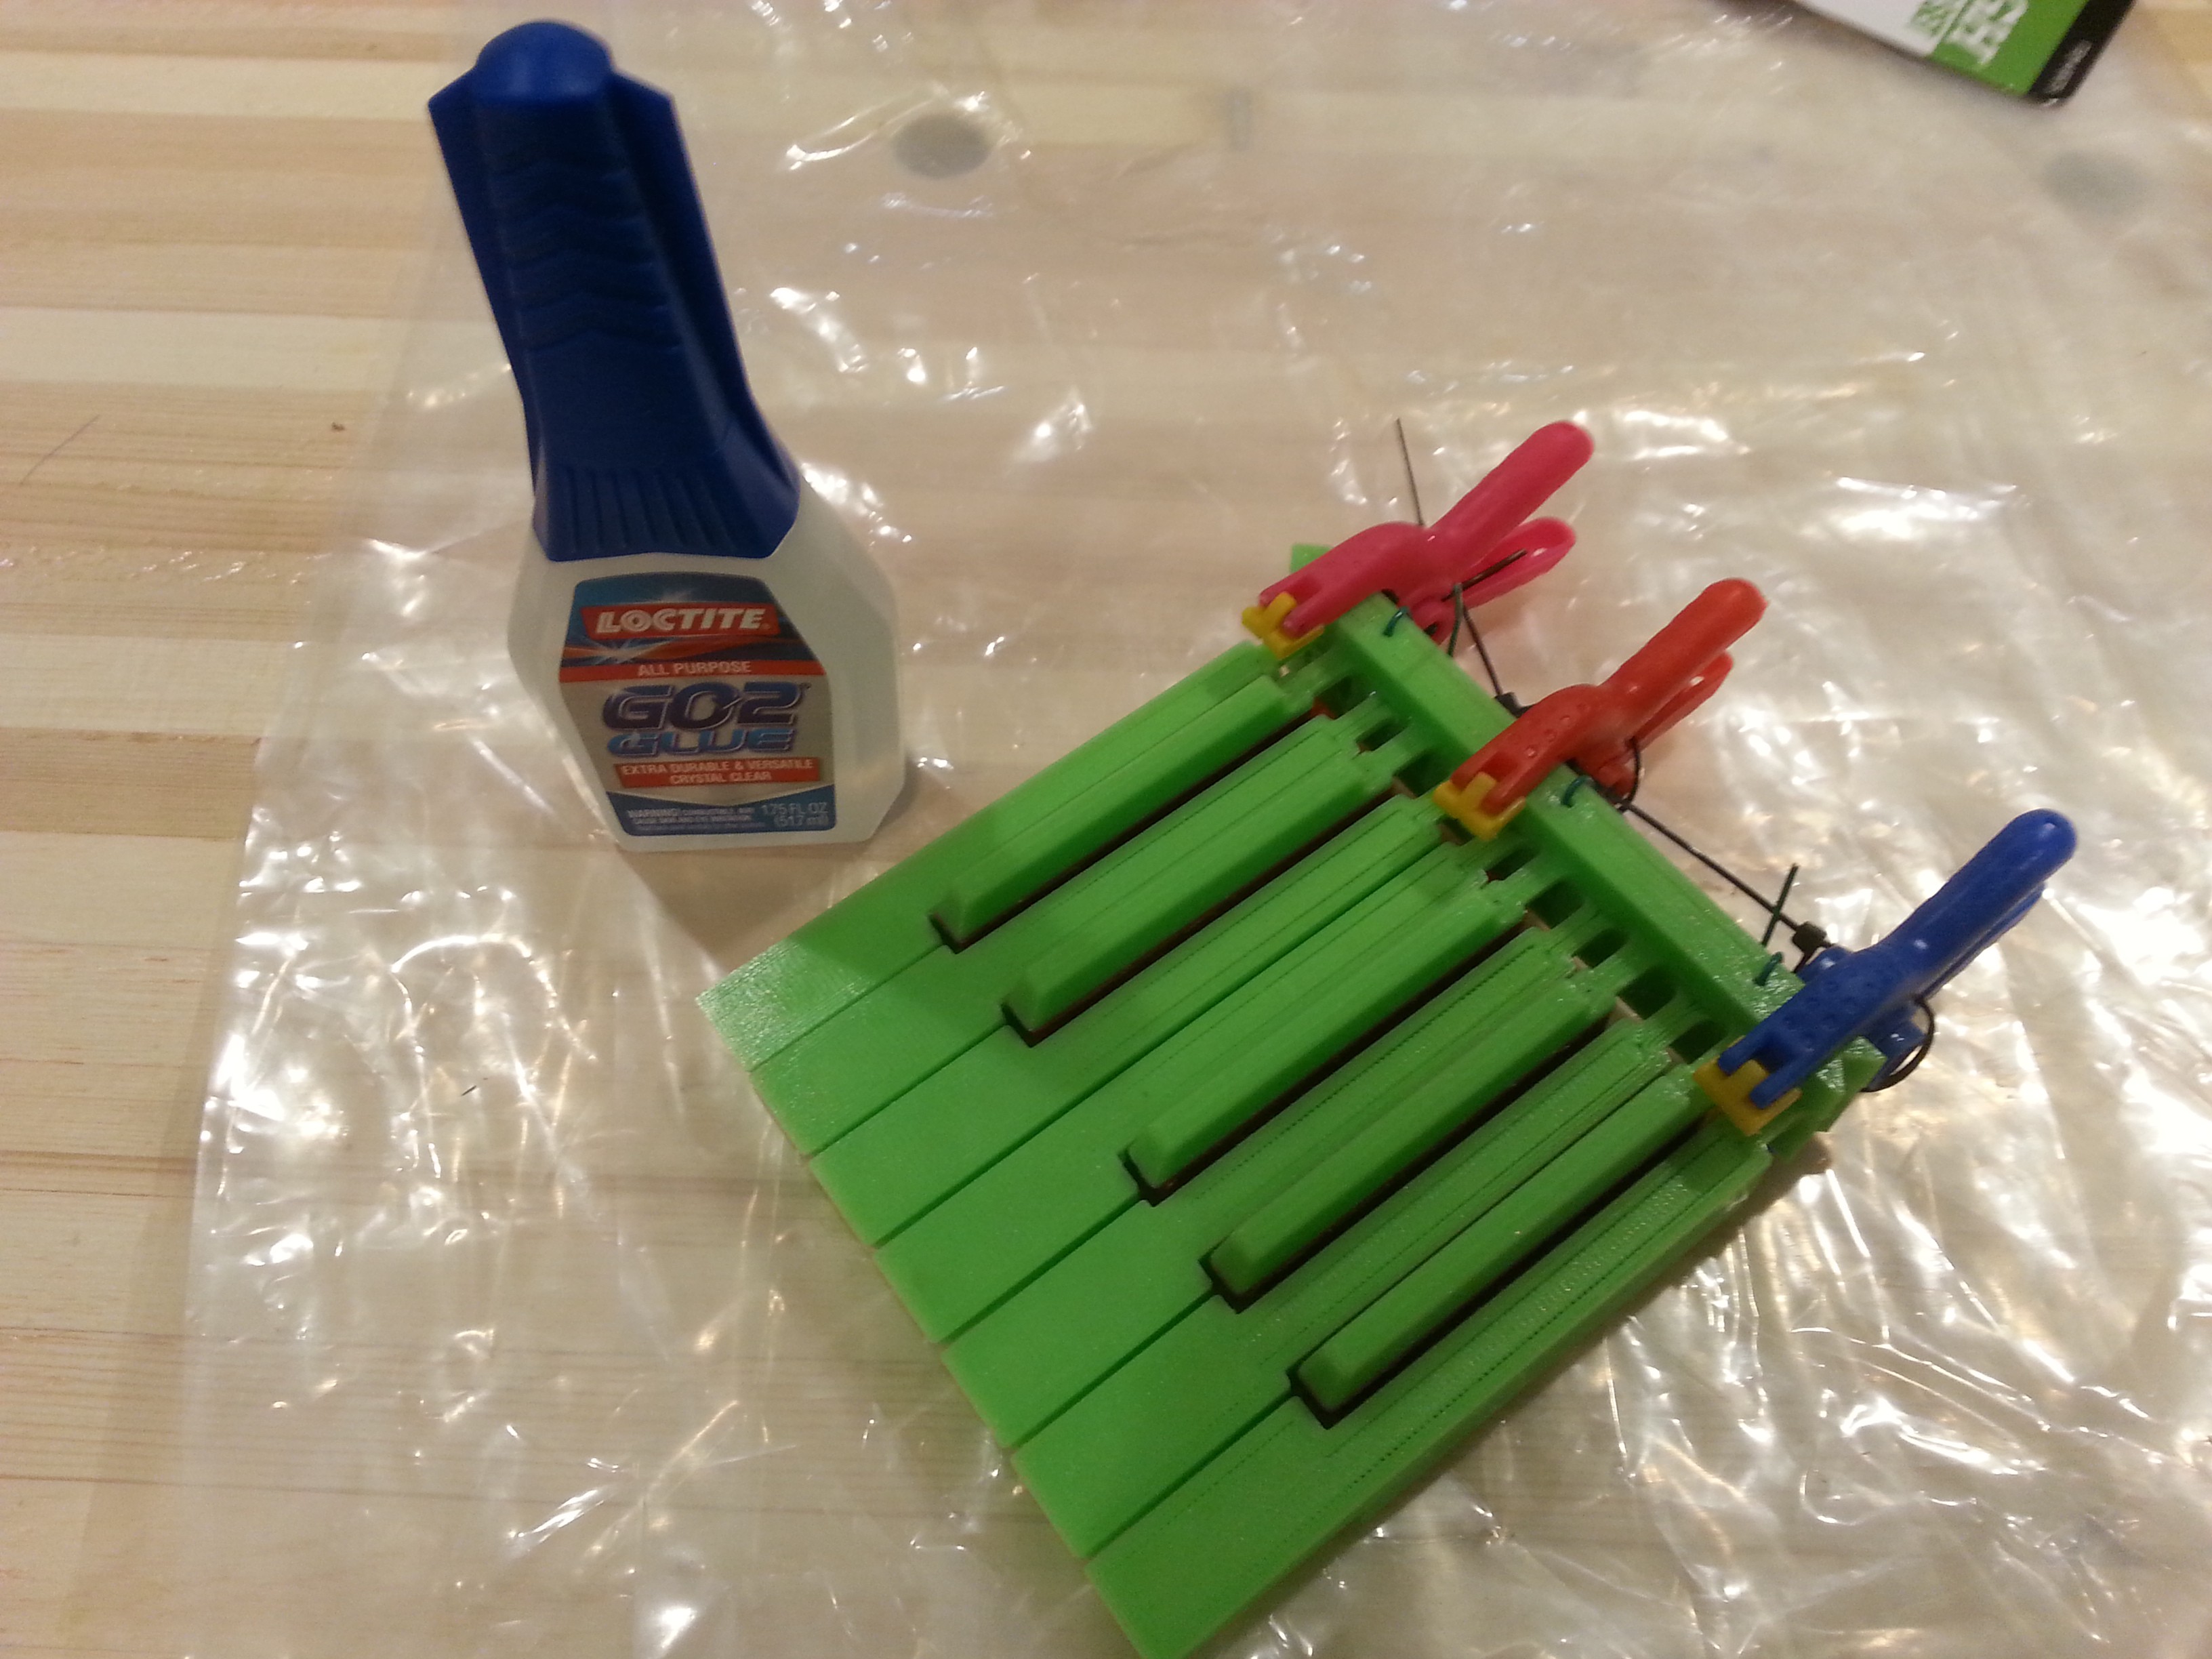
I pushed paperclips through the mounting holes for alignment and used these lovely tiny clamps to hold this one together while waiting for it to dry.
Next up, the box!
Discussions
Become a Hackaday.io Member
Create an account to leave a comment. Already have an account? Log In.