 Johan Berglund
After a failed attempt to create a compact board with moving keys and switches, I got another push in the right direction by the Gordophone blog. Gordon had just published an example using capacitive touch switches, and of course I had to try that.
I adapted my design and firmware for use with the Adafruit MPR121 capacitive touch sensor breakout board. At the same time I reduced the key setup a bit by removing keys I never or rarely use, just to get the instrument more compact and somewhat simplified. For a recorder or flute player moving to EWI this would still be a good setup.
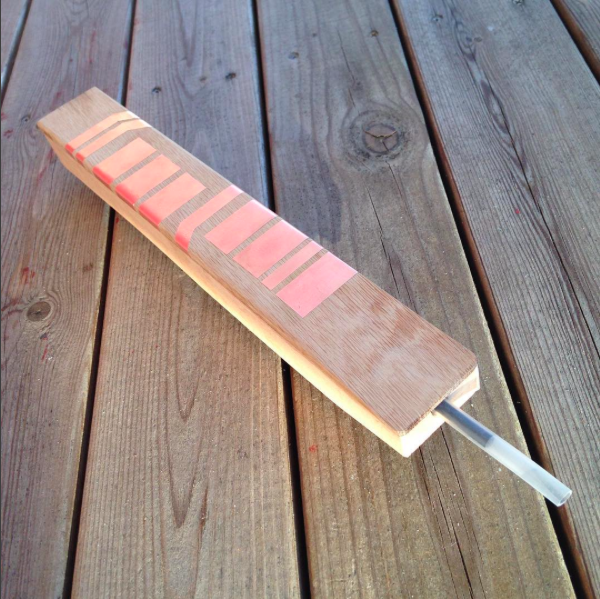
I cut the keys from adhesive copper tape (to my surprise marketed as anti-slug tape!) mounted them on my piece of oak with one end of the tape wrapping over the edge to the backside where I soldered in connection wires to the MPR121 board.
With the hand placing marked out like that, I could proceed with the placement of joystick controllers for octave, pitch bend and modulation, putting them where my thumbs ended up and securing them with small wood screws (the kind that comes with micro servos).
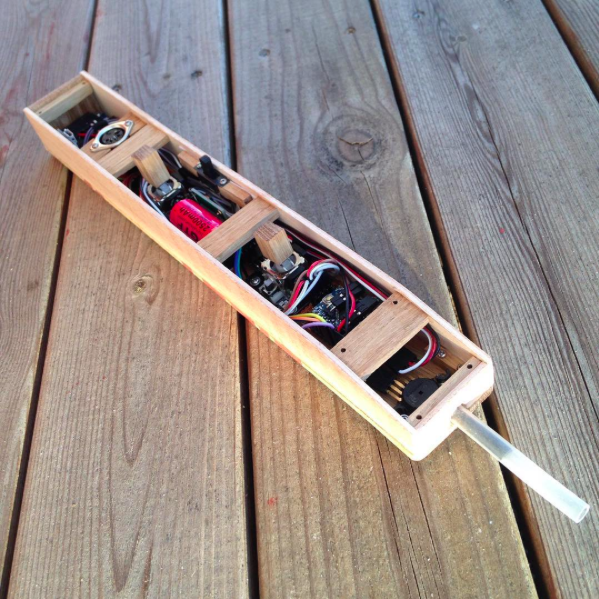
Then there was the matter of fitting everything else on the board, leaving some room on the sides for some 2 mm plywood walls.
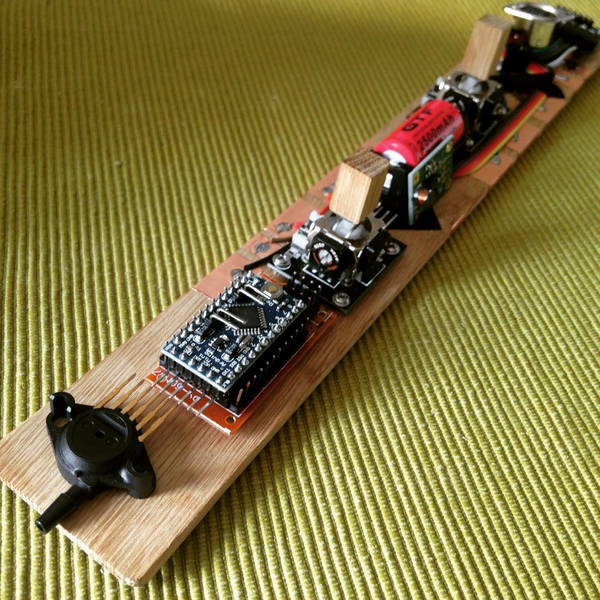
A bit tight, but it would work. The Pro Mini got a nice placement in front on a piece of perfboard with screw holes and soldered in headers for all the inputs plus a bunch of extra VCC and GND pins in the back.
Frontmost I put the pressure sensor, for connection directly to a silicone tube mouthpiece. I kept the closed system (no air flowing through the instrument) as that proved to work very good. I actually prefer it over the flow through system in the EWI.
In the back with the MPR121 board there was some free space for the connectors (MIDI jack and Micro USB charge board), and the battery plus the 5V step-up boost converter board were squeezed in between the joysticks.
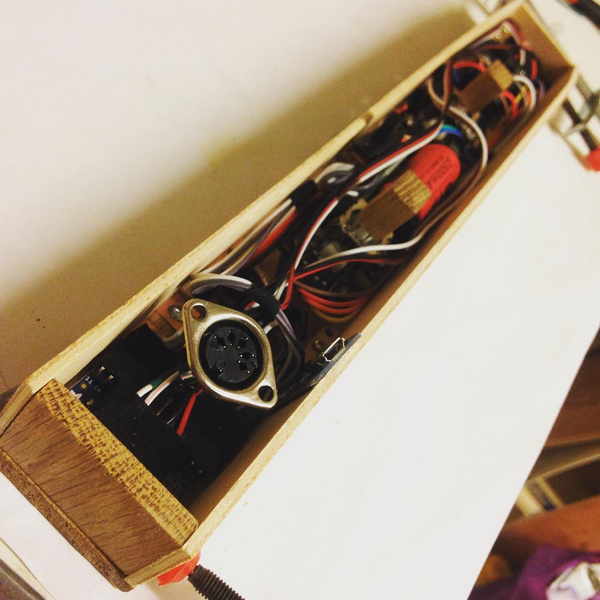
With the wiring in place I could still fit the plywood sides, so that was a success :) So, I just glued the housing together with some support bars and made a bottom for it. With removal of the two frontmost screws, the bottom could be pried open enough to connect the programmer to the Pro Mini for firmware updates.
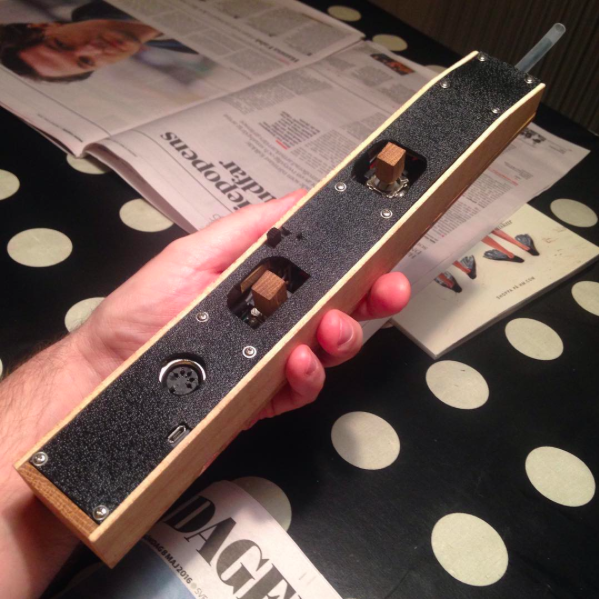
The playable prototype controller was completed! Time for evaluation! :)
Discussions
Become a Hackaday.io Member
Create an account to leave a comment. Already have an account? Log In.