 Peter McCloud
The last few weeks have involved a lot of work, but not very much progress. Previously I had shown the latest propeller shape cut out on the router and I cut two initial rotors. Most of the supports were removed (with exception to the tips) and the foam was lightly sanded to remove the tool marks. Last Wednesday I received the fiberglass fabric and last weekend I started the layup process.
 It didn't take very long to have my first lesson learned. I'm using West System epoxy and I had gone out and purchased slow hardener (206) knowing that it was too hot (Houston during the summer) for the fast hardener (205). I really underestimated the working time I would have with this and it was gelling before I even got halfway through the first layer of fabric.
I then went and got extra slow hardener (209) and started again with the second foam blank. That worked much better with the heat and I had enough work time to get all three layers of fiberglass over the entire blade. Shown below is the propeller with 2 layers.
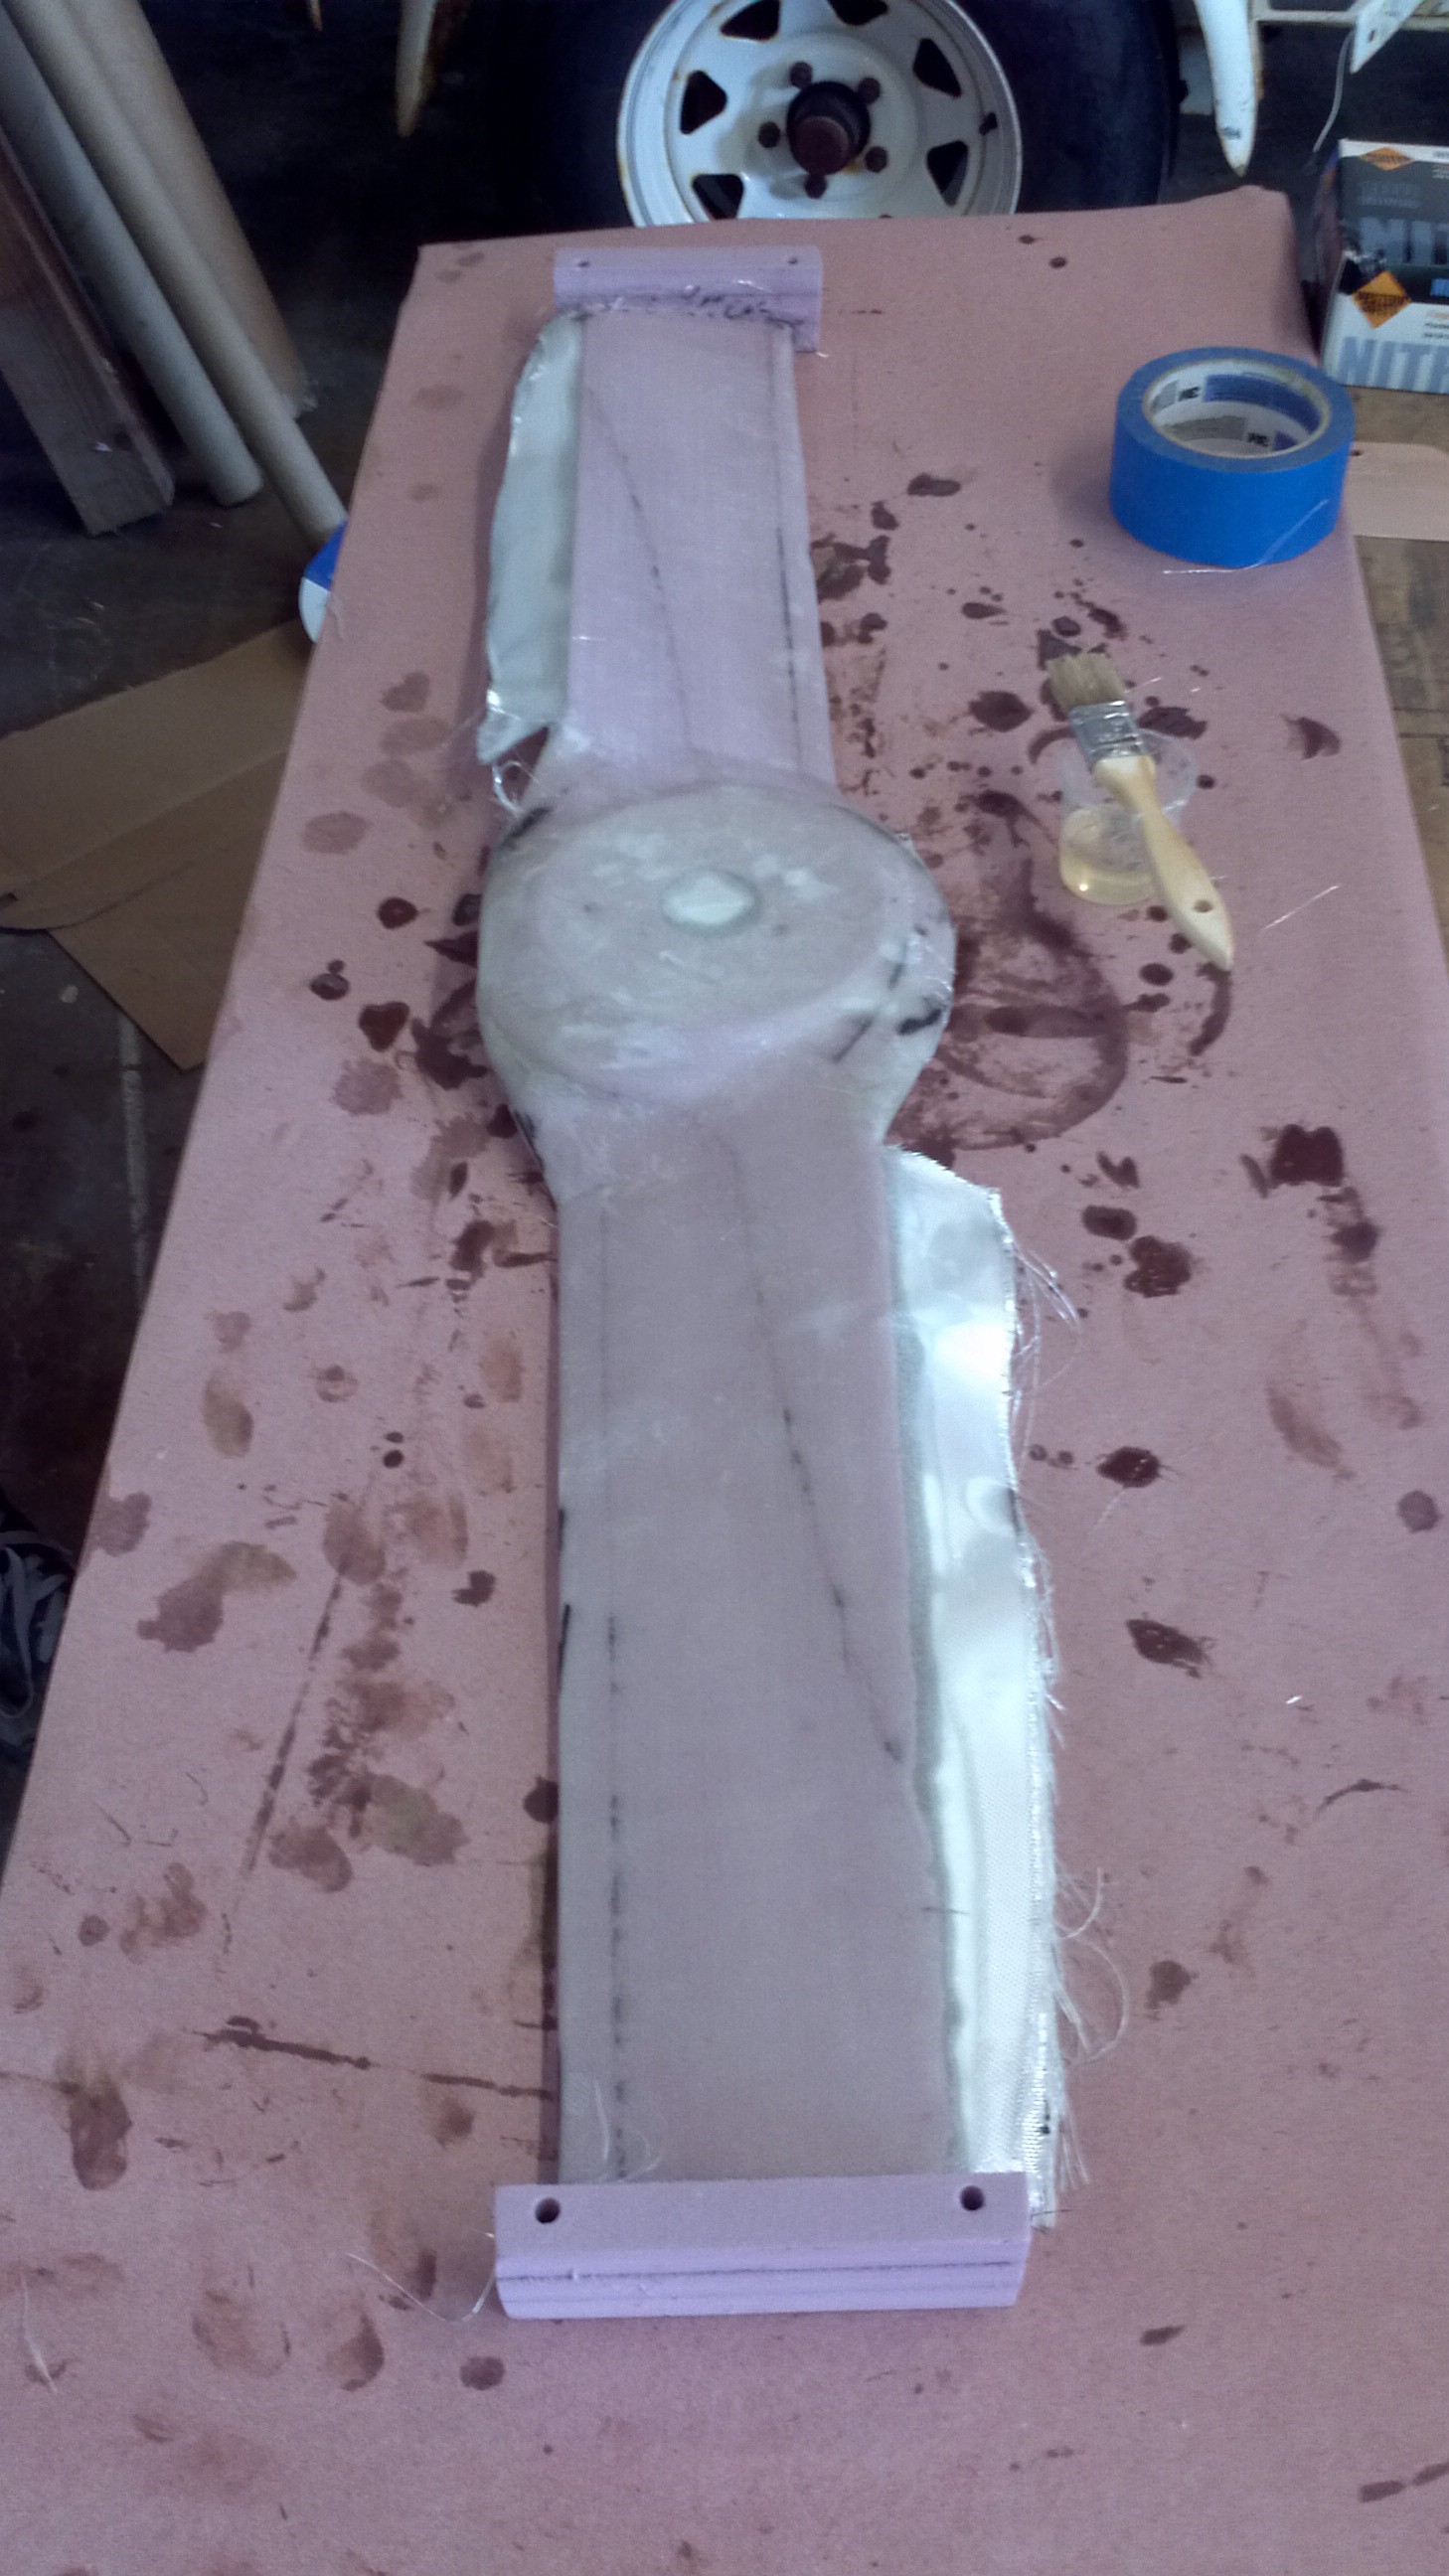
The second lesson learned was the the foam is not stiff enough to support the weight of the uncured epoxy and fiberglass when working with it. As I would turn it back and forth to get the fiberglass on it the blade would flex and the previous fiberglass layers would slide and start air bubbles (I kept working the air pockets out, but the final product has a lot of air pockets in it). After getting all the layers on it, it was wrapped up and placed in a vacuum bag.
After getting the cured product out of the vacuum bag the next day ( I guess I forgot to take pictures at this point), the final product showed the previously mentioned air pockets and one of the blades was twisted strangely, ruining the propeller. So the third lesson was that the supports at the tips are insufficient for keeping the blade in place in the vacuum bag. I'll have to build some sort of support to hold it in place during the next attempt.
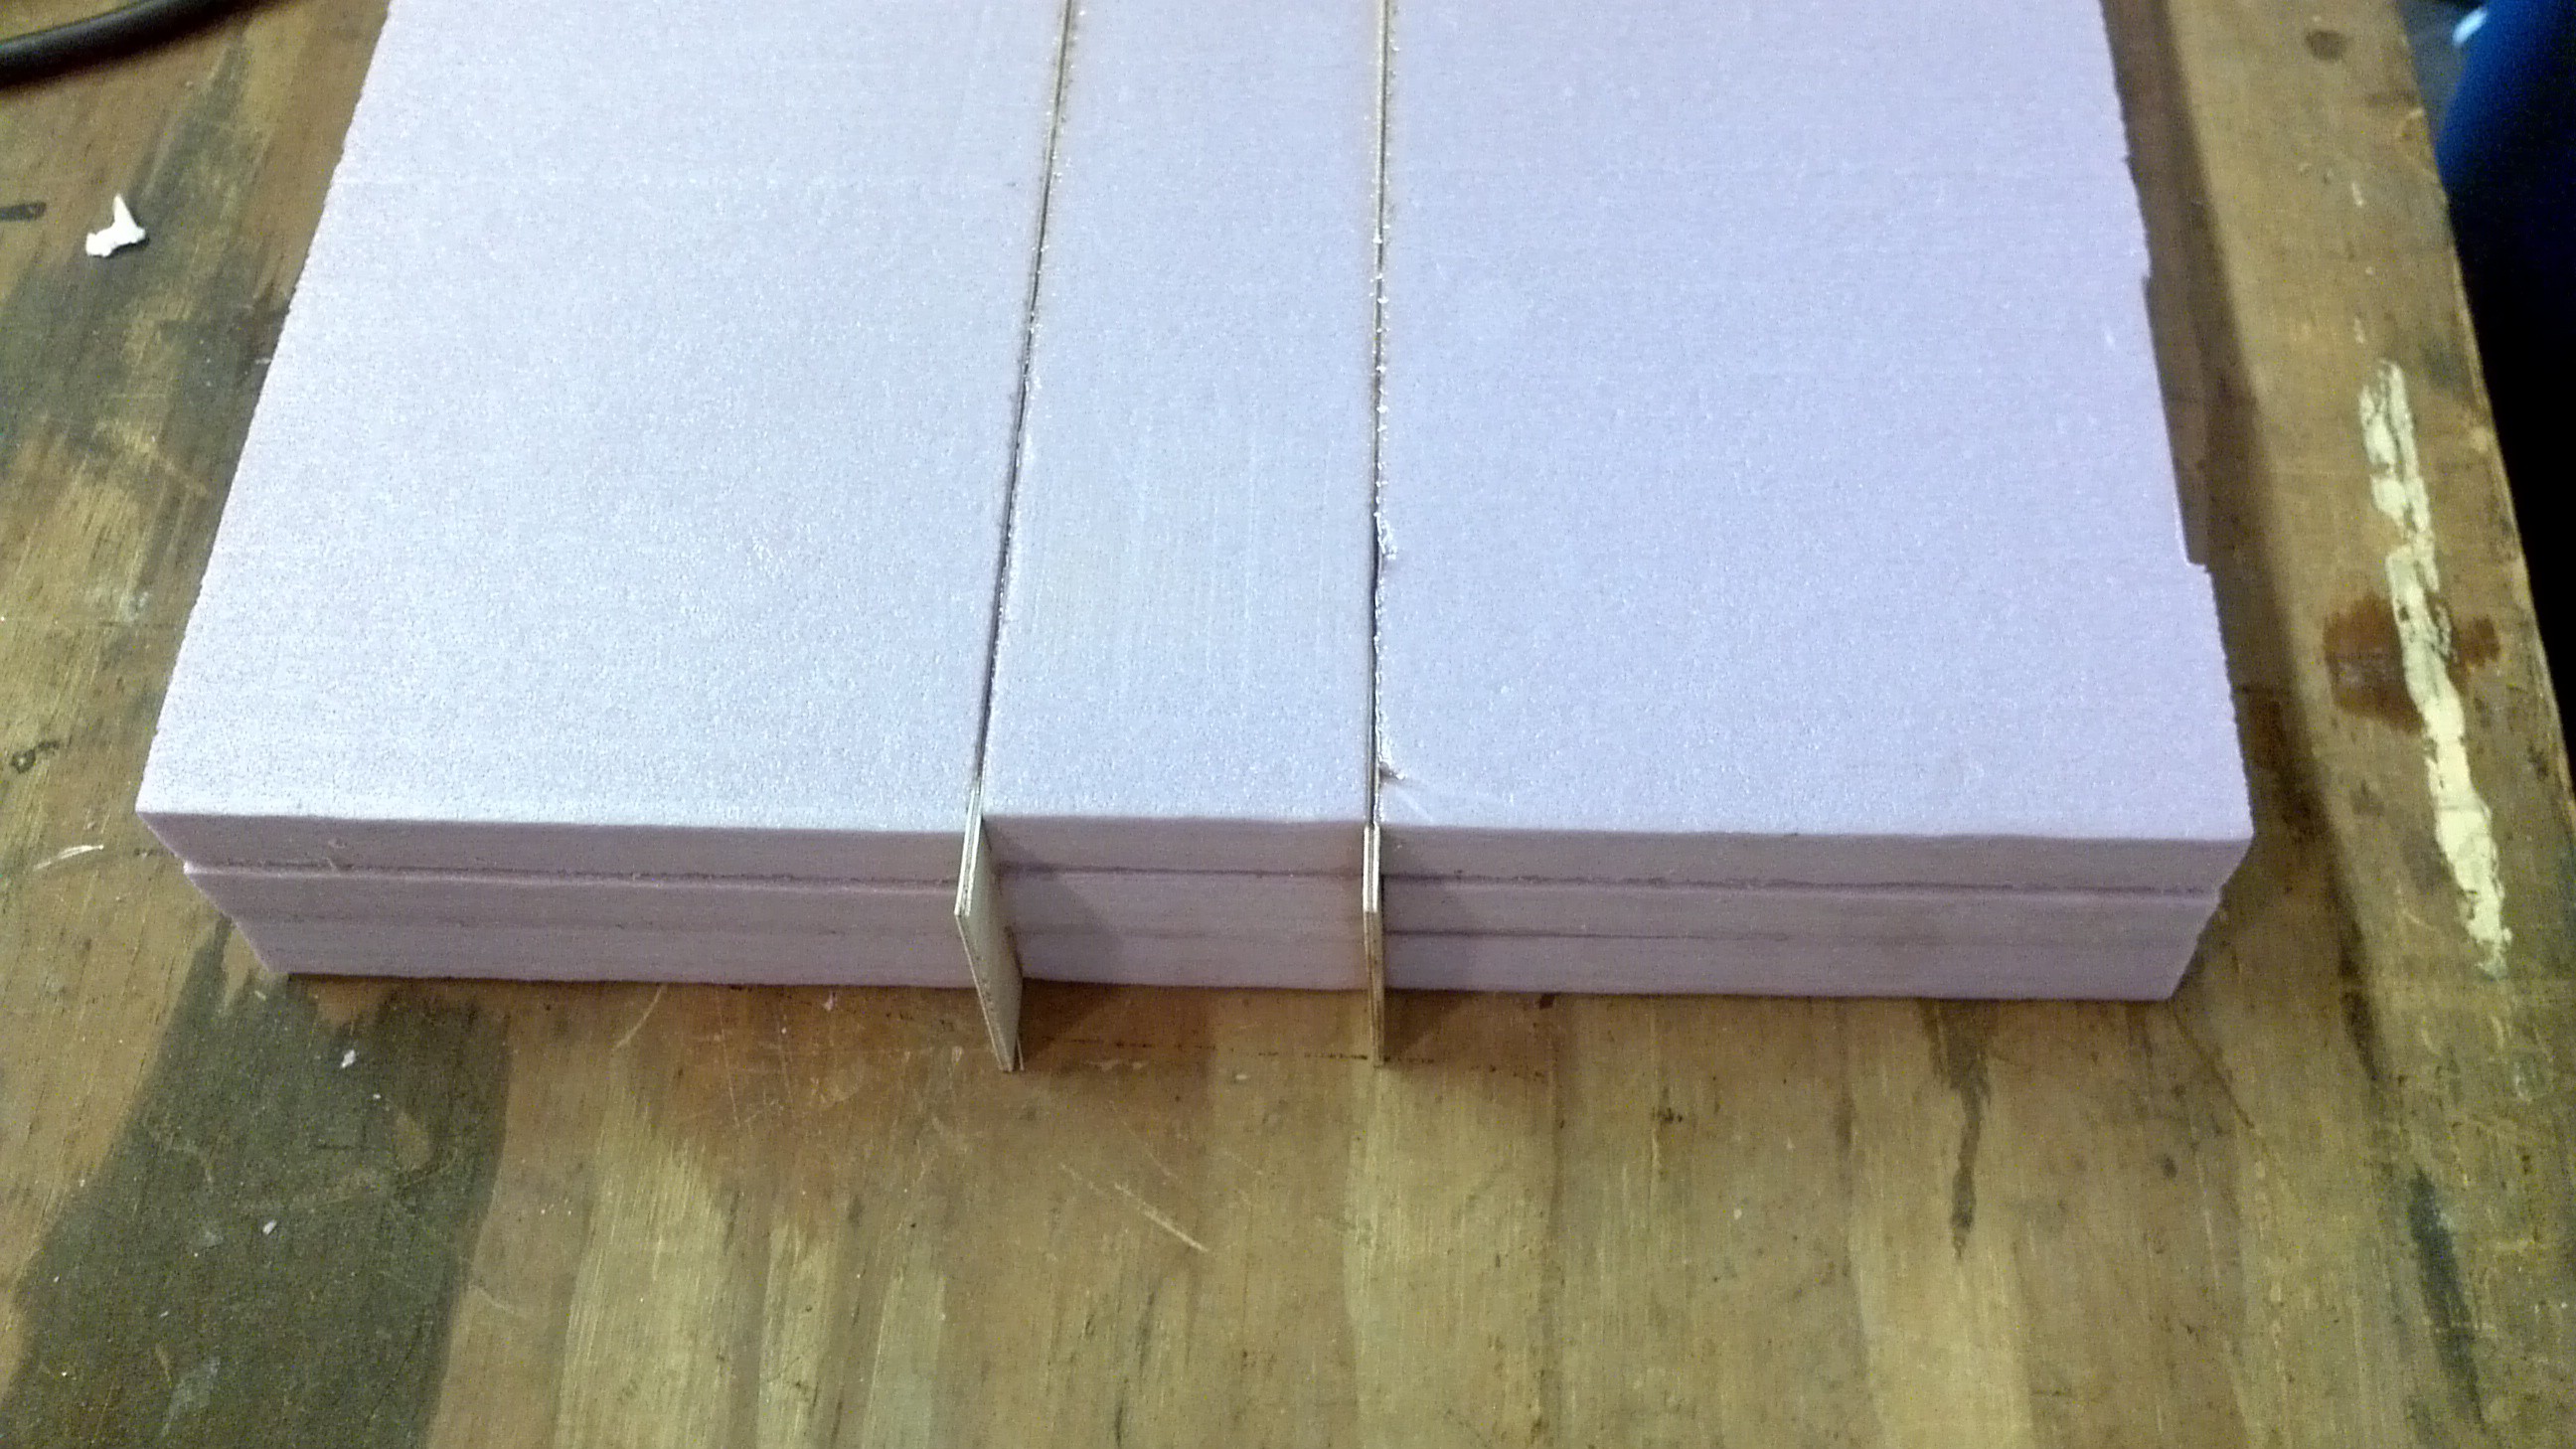
To fix the stiffness issue, I borrowed a technique from surfboard building, where they use wood strips along the center of the foam to add stiffness. The wood I choose was 1/16" thick birch plywood. I cut the 10" wide foam block into three pieces and used epoxy to glue the three sections and two wood inserts back together.
 After trimming off the excess, I started cutting a new propeller. The wood strips didn't seem to affect the routing and everything seemed to be going alright. Then for some reason I haven't figured out yet, halfway through the finish pass on the top side the CNC Router lost sync with the computer. Now I've had this happen on one or two occasions and I just restarted the g-code from the beginning and it'll be fine. This time I decided to restart the cut in the middle of the program, otherwise I didn't have enough time to let it finish before I went to work.
I really thought I had done everything right, but the results show that was not the case.
 It's lucky I'm working with foam because if this was anything harder, it would have messed up the machine.
In the meantime I've ordered and received a PixHawk flight controller and I'll get started on learning that soon. I'm also getting the frame ready to do some load testing to make sure it's sufficiently strong enough before running the engine. I've got another propeller blank curing and now that I've got some confidence in the tool paths I've been using I'll start posting those to the github shortly.
Discussions
Become a Hackaday.io Member
Create an account to leave a comment. Already have an account? Log In.