 DotPiDot
So now that the sensors housings are done (i created three for the temperature sensors - one for rooftop, one for plant height and one for outside temperature - the soil temperature seonsr stays without housing) i started to mount the sensors with their housing in the greenhouse. Therefor i got myself some cheap white cable conduits and some green spray paint (RAL 6005 - which is the same the greenhouse is painted in).
I measured the lenght of cable conduits, made the cut-outs and colored them with the green painting. I decided to just use doublesided tape to fix the conduits for now to fix it to the greenhouse aluminium profiles. Let's see how durable this will be (with the high humidity and high temperature variance it might be a problem later - let's wait and see)
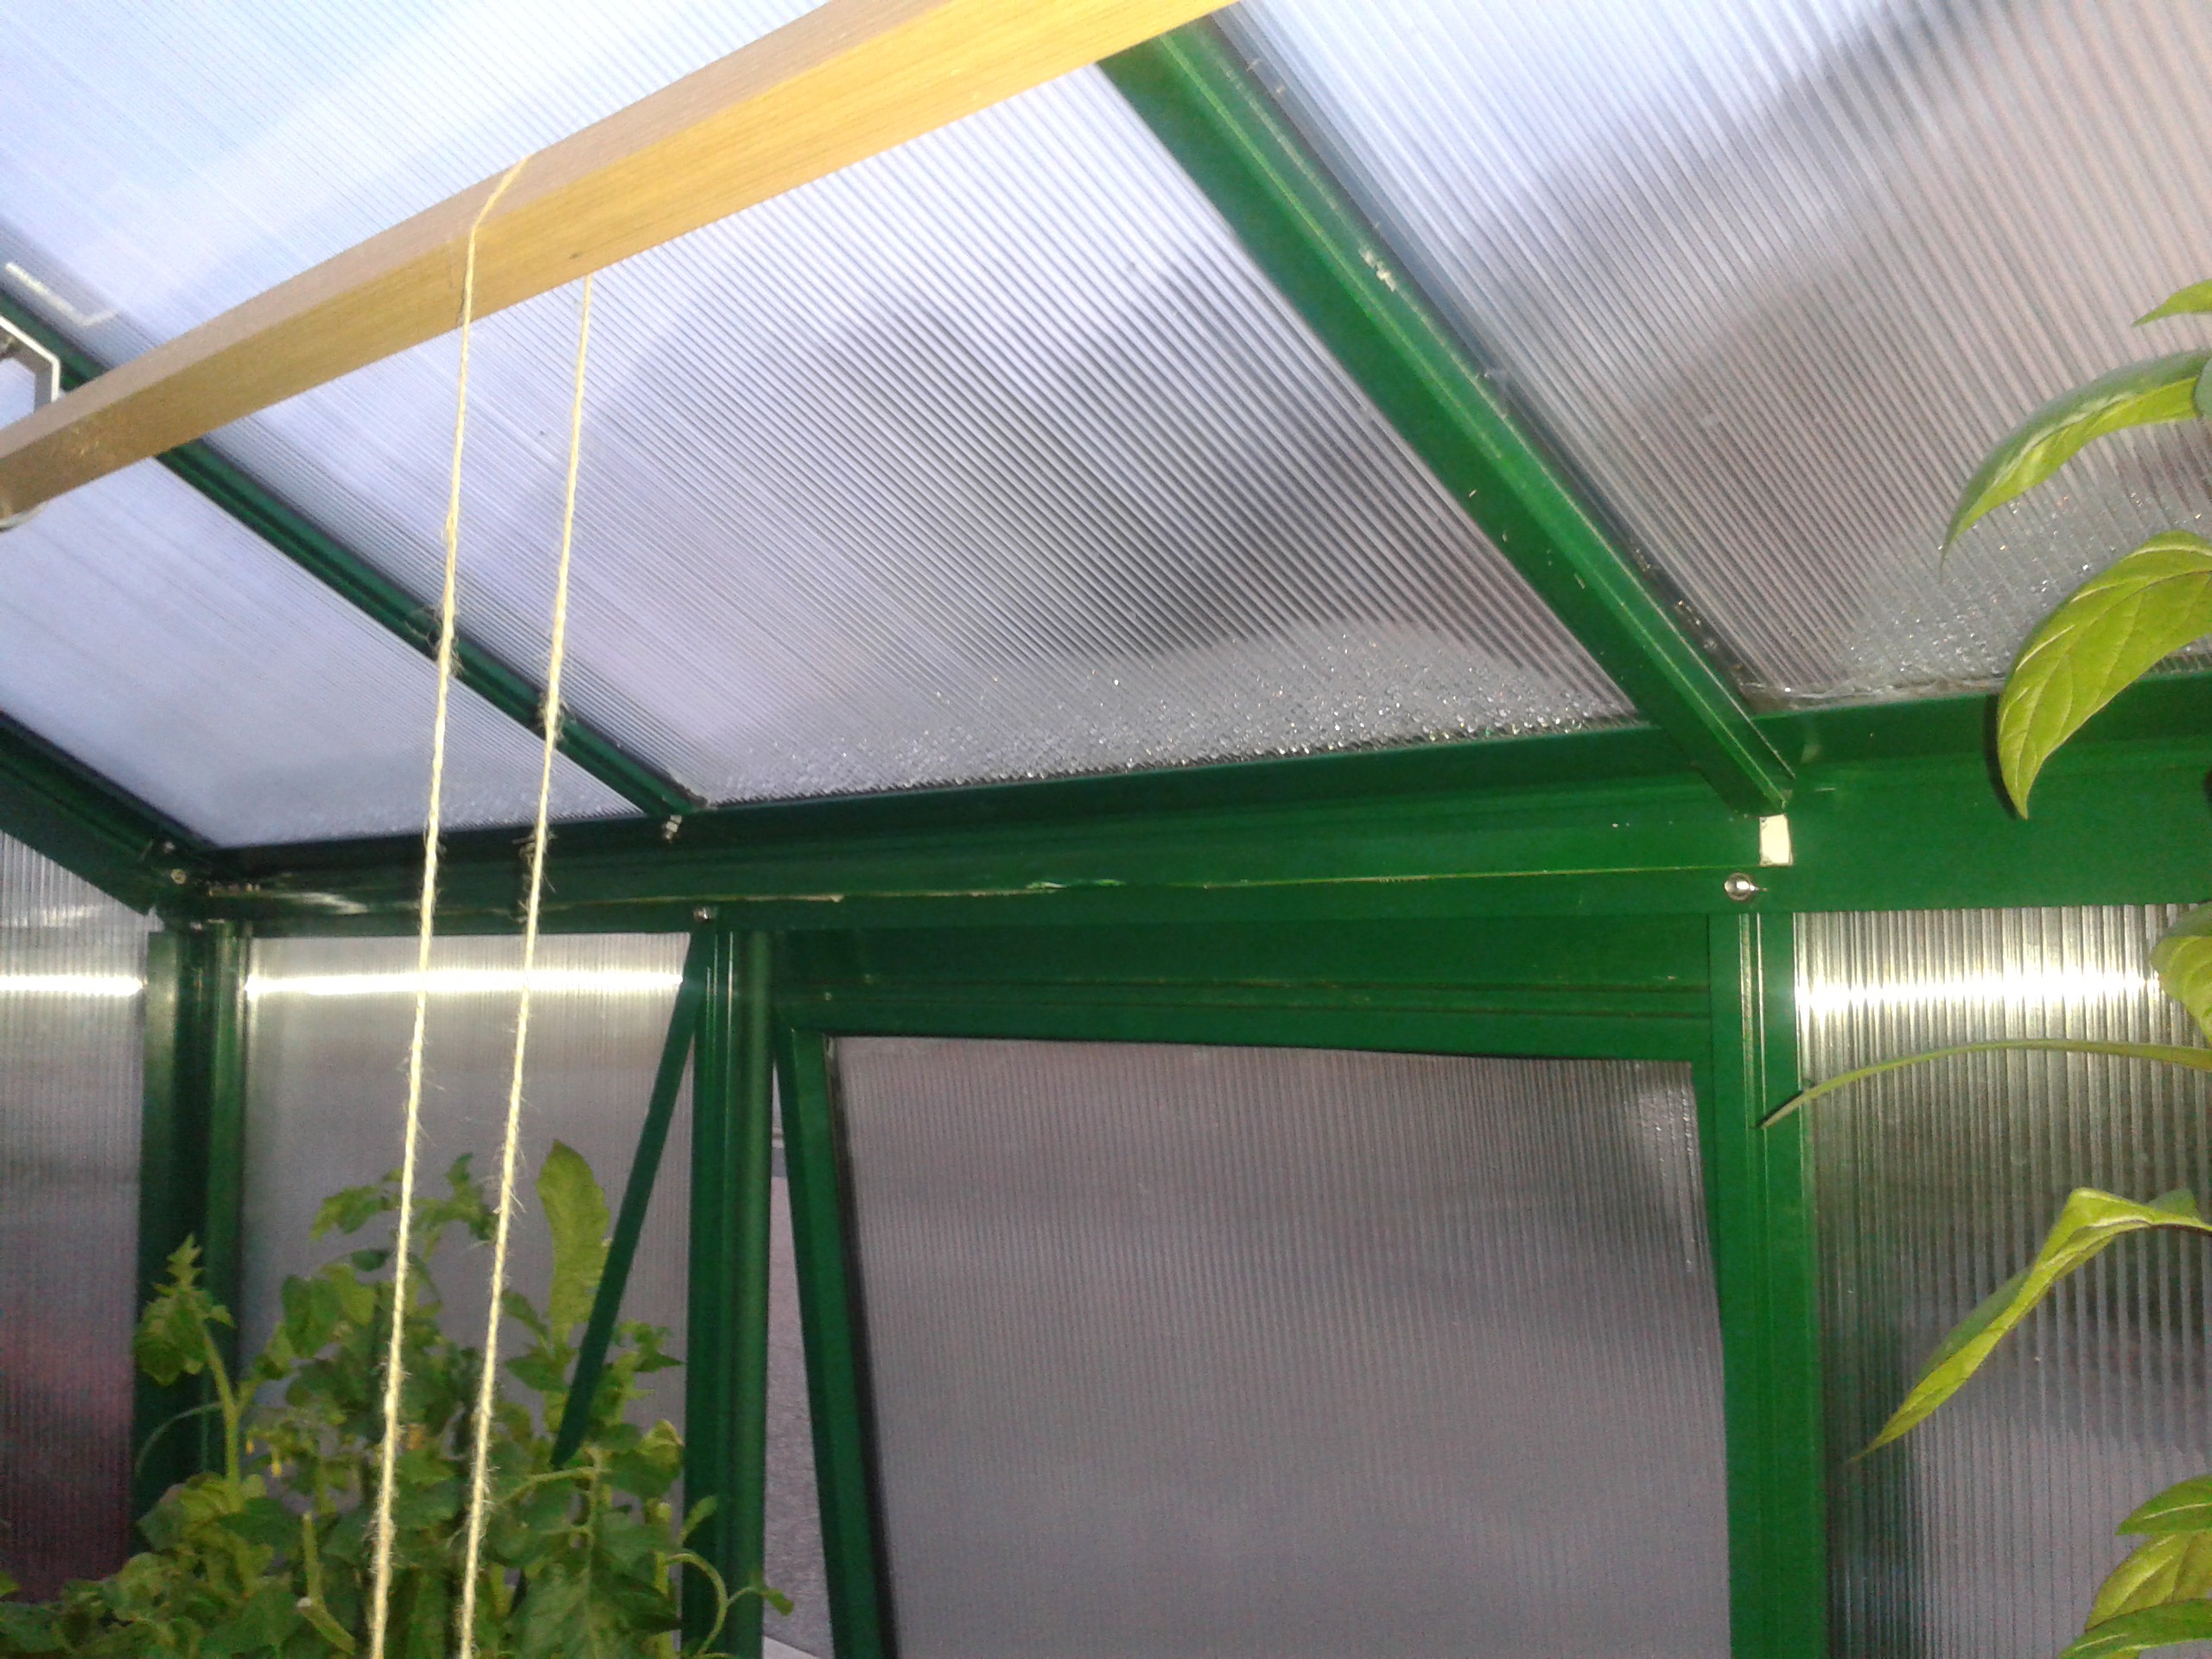
You can see that they are barely visible against the greenhouse profiles as the color matches very well.
Finally i put up the first sensor housing by dirlling a hole for an M5 screw through the sensor housing, which i used to fix it to the aluminium profile under the rooftop.
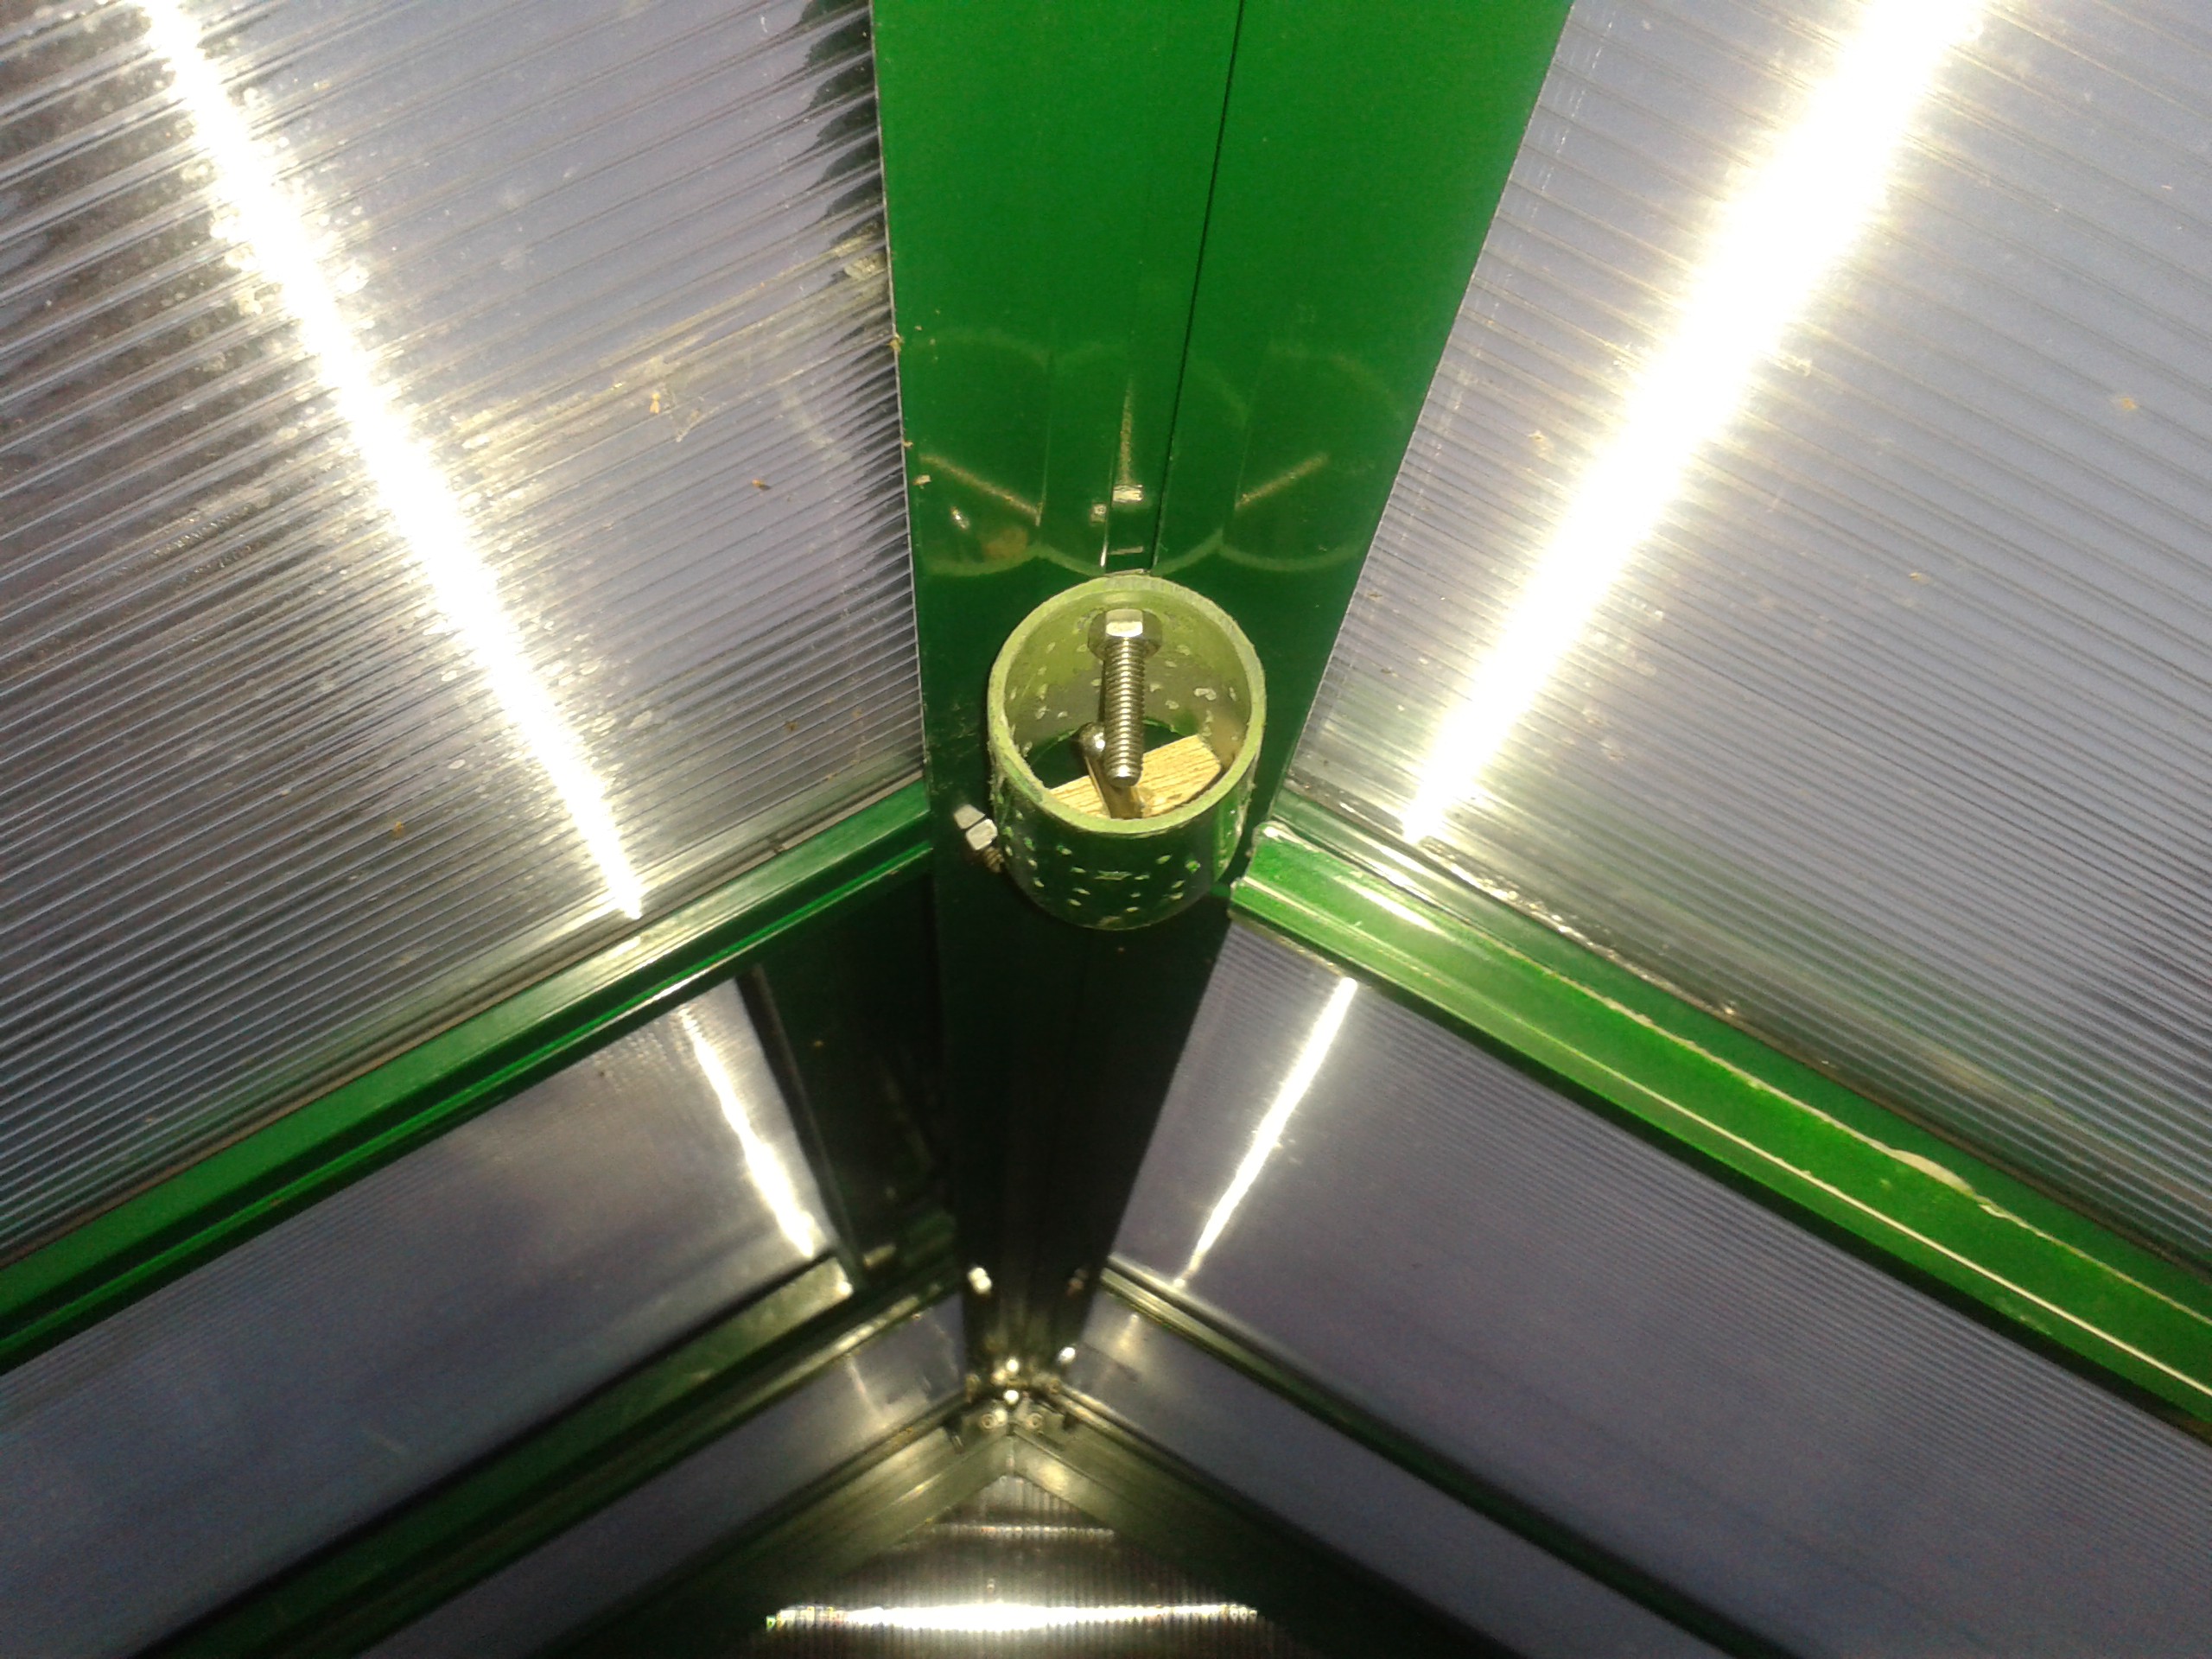
You can see the screw is a little bit long but it is clear from the sensor (metal pin behind the screw) and keeps the housing in place.
The sensor wire i simply had extended by soldering a few meters of 0.5mm wire to each of the three wires of the 1W interface. Unluckily i could not finish the whole business of fixing all sensors (the color of the conduits was not fully dried) - so this has to wait for next weekend. Anyways the proof of concept was successfull - one sensors mounted - all planned parts are at home - so no problem to finish as soon as i have some time to spend. More to come....
Discussions
Become a Hackaday.io Member
Create an account to leave a comment. Already have an account? Log In.