 Jonathan Buchanan
I'm not dead, though progress has been slow.
I have done a lot of work, but not enough on any specific thing to merit its own update, so I decided to do a combined entry.
Software
A large portion of what I've done has been small additions and improvements to the code. The data screen now sorts entries, the delete and edit buttons now work, and a lot of background cleanup. I've also started to experiment with fixing the size of the keyboard,
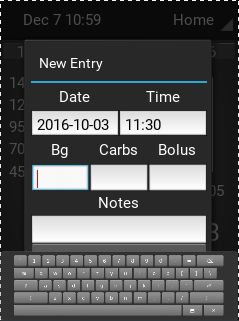 too small (and qwerty) too small (and qwerty) | 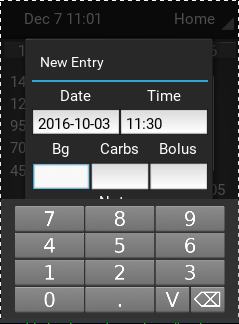 just right just right |
 Other than these things, there is not much more to see on the software side of things.
Hardware
I bought and setup a real time clock (RTC).
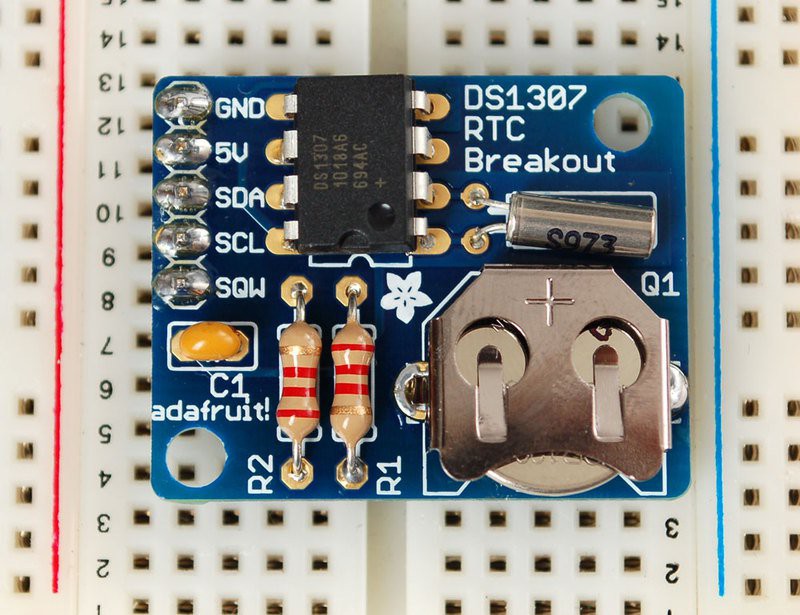
Speaking of adding new PCBs, this protype is made up of a total of 6 individual PCBs:
- Screen
- Pi
- Power Supply
- Glucometer
- ADC
- RTC
I have started preliminary work on combining the last four so into one big PCB for more compact space usage and the possibility of producing these to sell eventually. This is possible because all of Adafruit's PCB designs are open-source, but still difficult since I am unfamiliar with Eagle.
It has also become painfully obvious that the raspberry pi zero is not capable of running opengl like kivy requires. The whole system takes 60 seconds from power to ready-to-use to boot, and there is lag while switching in between screens. I tested the Pi 3 (a much more powerful device) on my 2000mAh battery, and it ran for more than an hour of continuous use. Though that may not sound like much, I probably use my current meter for less than 5 minutes a day of continous use, and the glucometer program runs silky smooth compared to the zero.
I believe I will have to switch to the Pi 3 to get the speed I need, and I'm going to play around with buildroot to try to optimize the boot time even better (still takes almost 20 seconds on the Pi 3). I will probably also have to put the battery underneath the pi, instead of between in and the screen, which will add 1/2" to the thickness of the device :(.
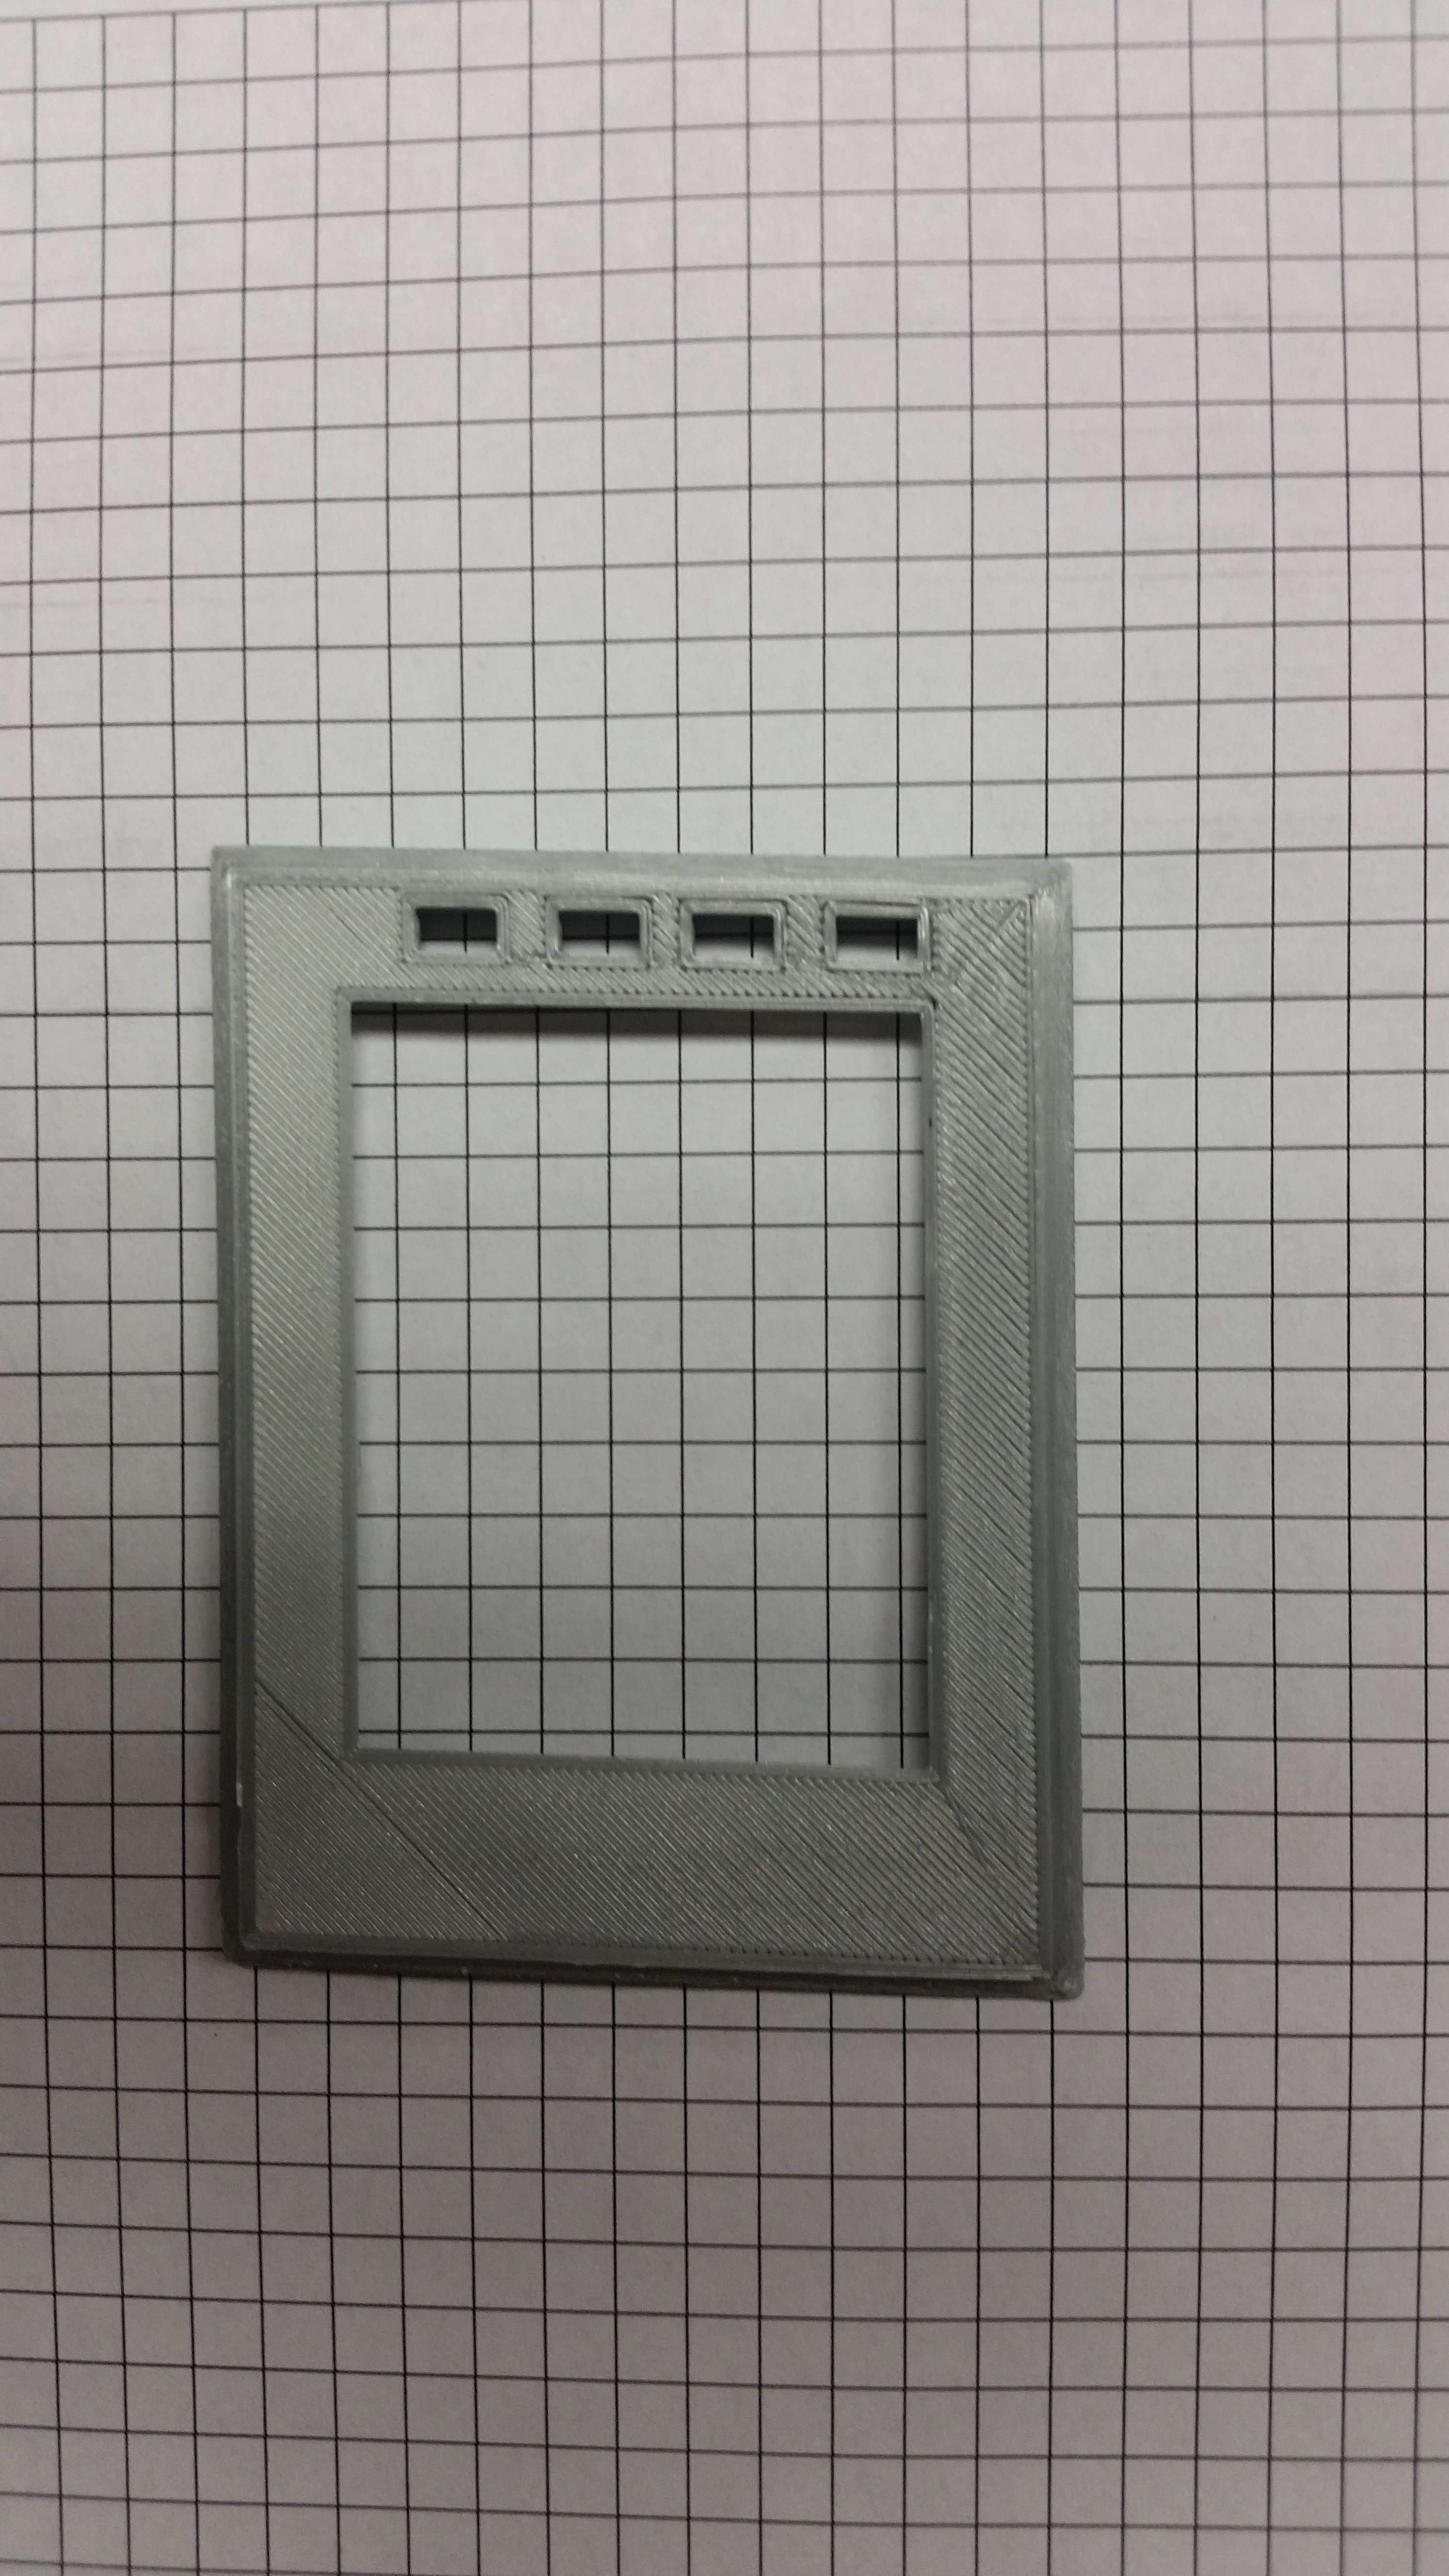
Case
The progress on the case has been proceeding slowly and simultaneously with the other projects, but I have a first draft faceplate. The model was made primarily by Samantha Maness, a classmate who is planning on studying matierals engineering.
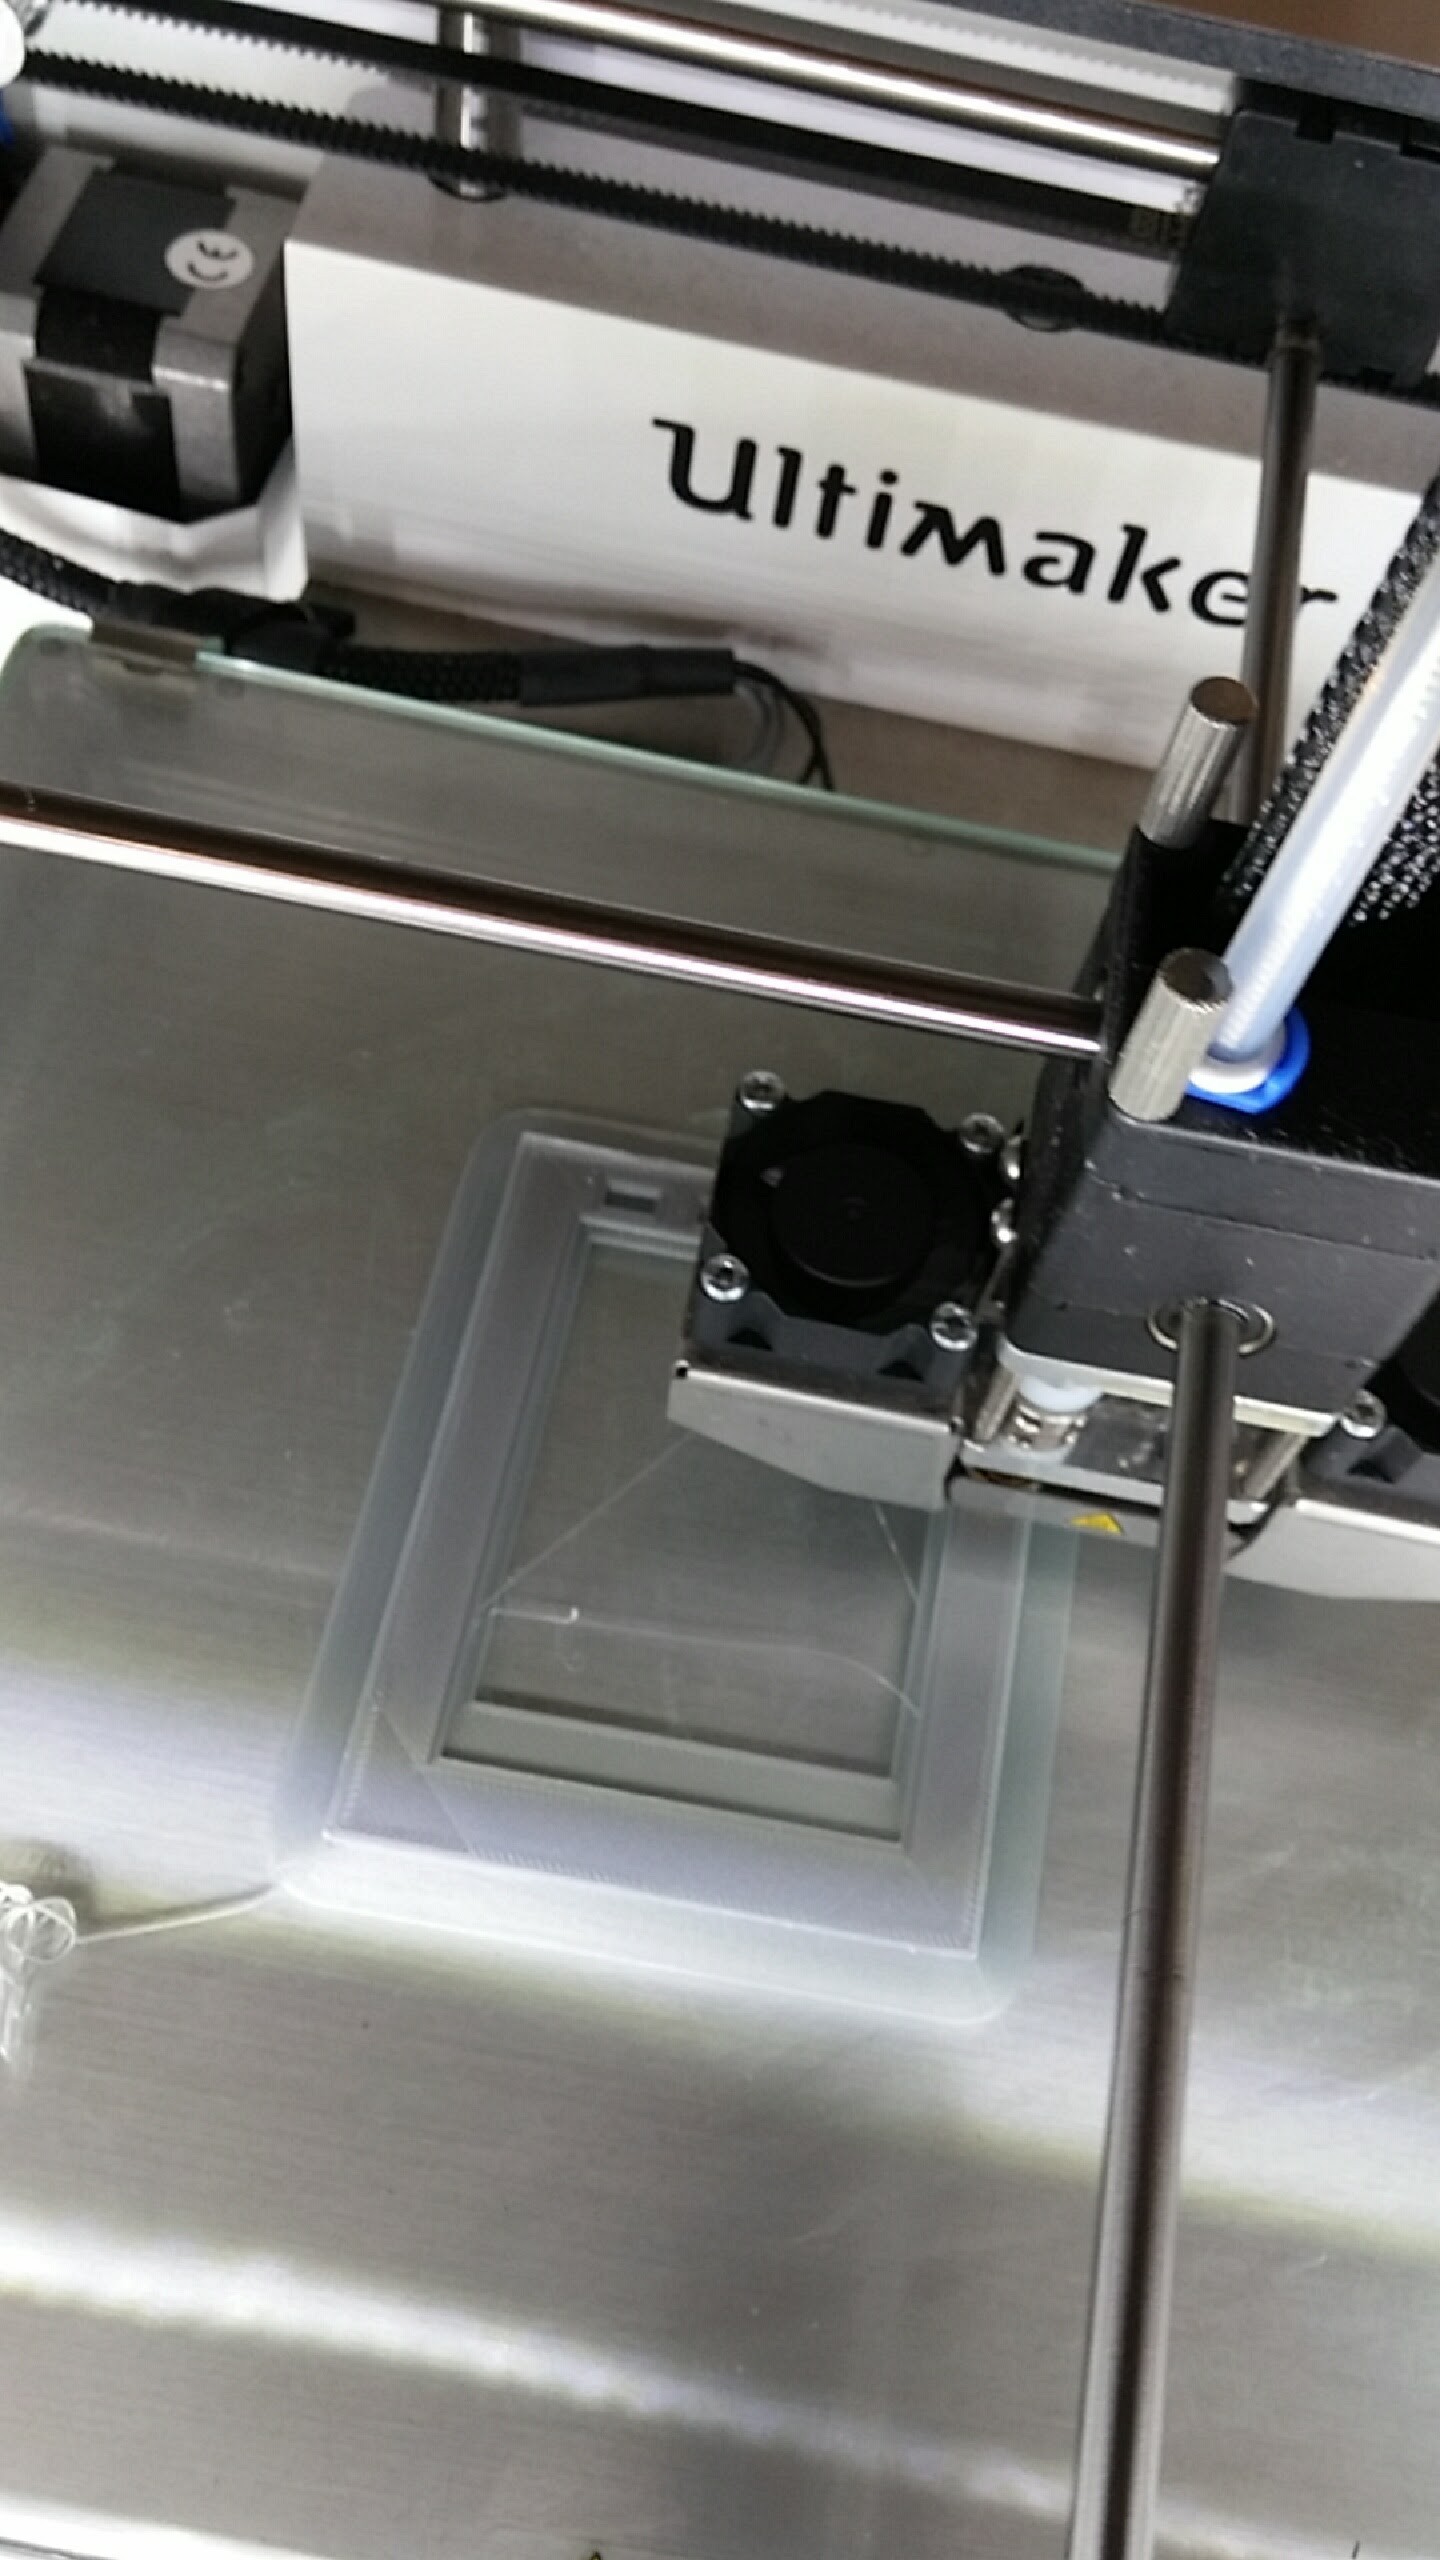
The model appears to be good, but I wasn't able to test fit it because the x-axis was out of alignment on the printer.
Discussions
Become a Hackaday.io Member
Create an account to leave a comment. Already have an account? Log In.