 Yaroslav Zhilin
Late to the project logs, so this has to be a combine effort!
Starting placing and soldering components on the board.
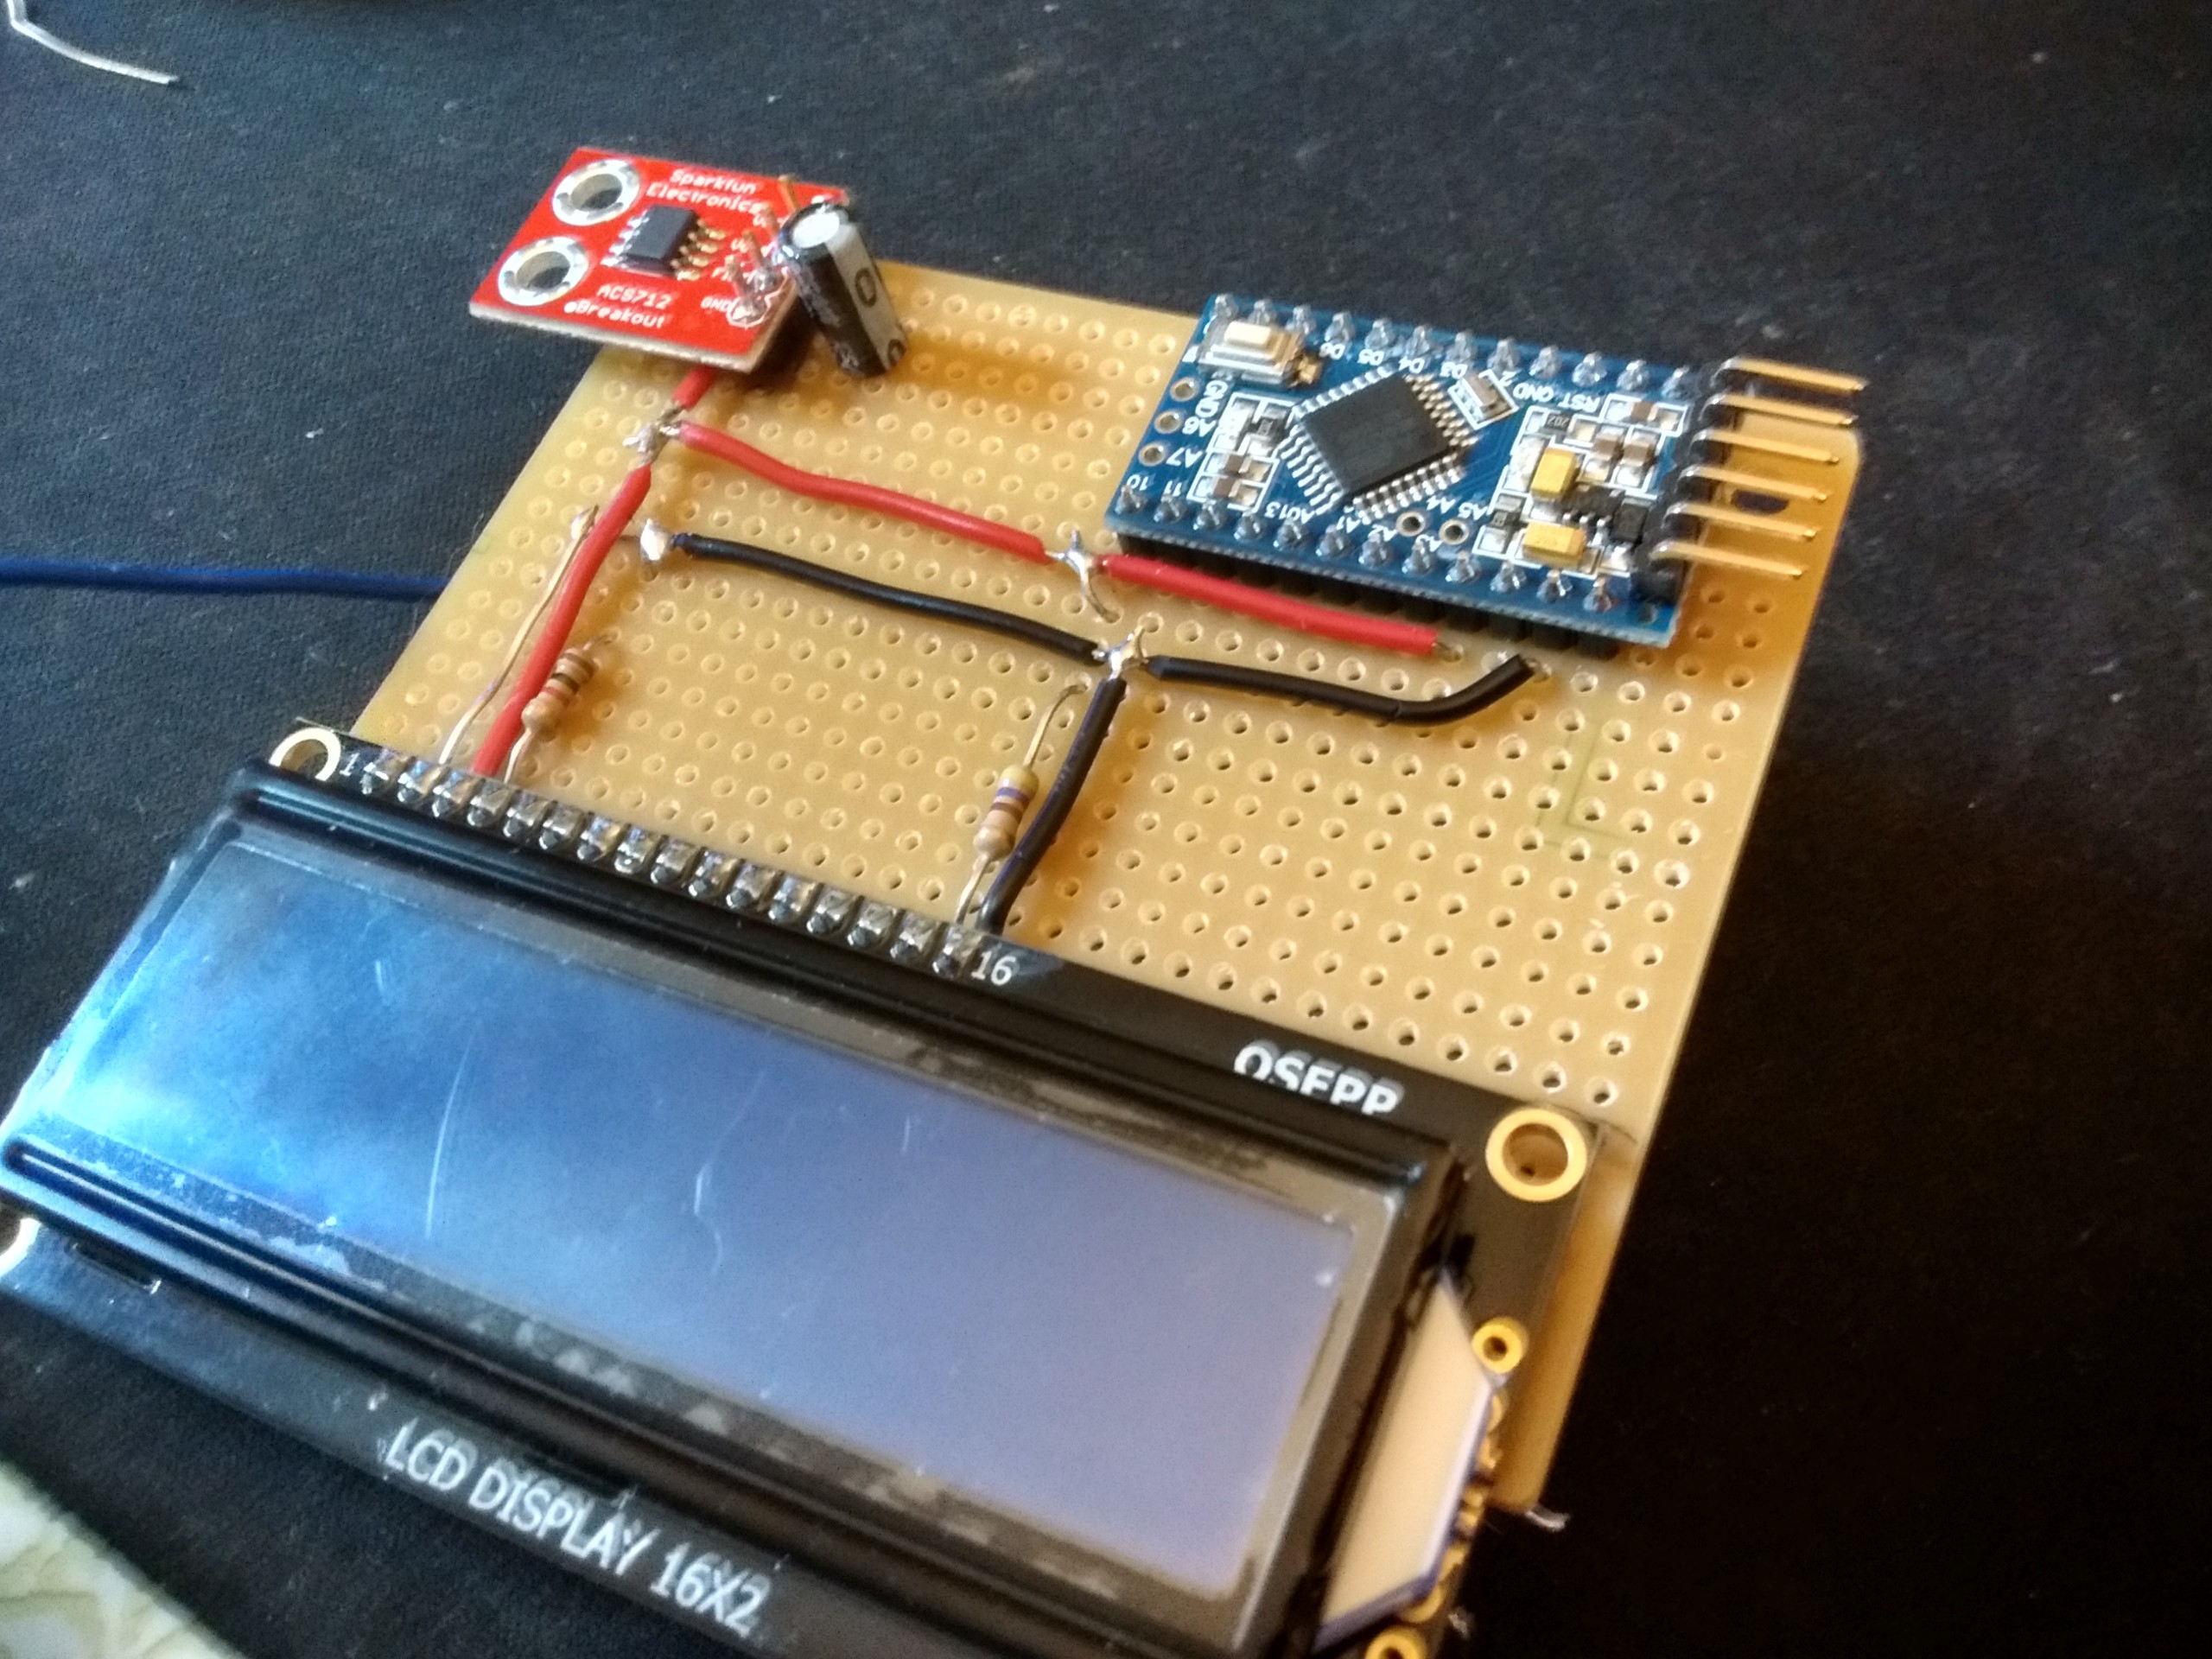
The general concept is Power is run on the surface, and data is run on the underside. Why i chose this is simply looks. The clean power runs look a lot nicer than the spaghetti mess that will become the underside. The only exception to this is for the ACS712 sensor; I had to solder on header pins through the breadboard, so i decided to run the power under the board for that. The header pins also raise the breakout board slightly, allowing me to run the 5v right under it. This works out for me since the 5v pin is the top most header. The resistors are there for contrast and brightness of the LCD and are the combination i think looks the best. I believe that they are 1k and 470.
Initial testing after wiring in power only, before i put on(or even owned) the ACS712:
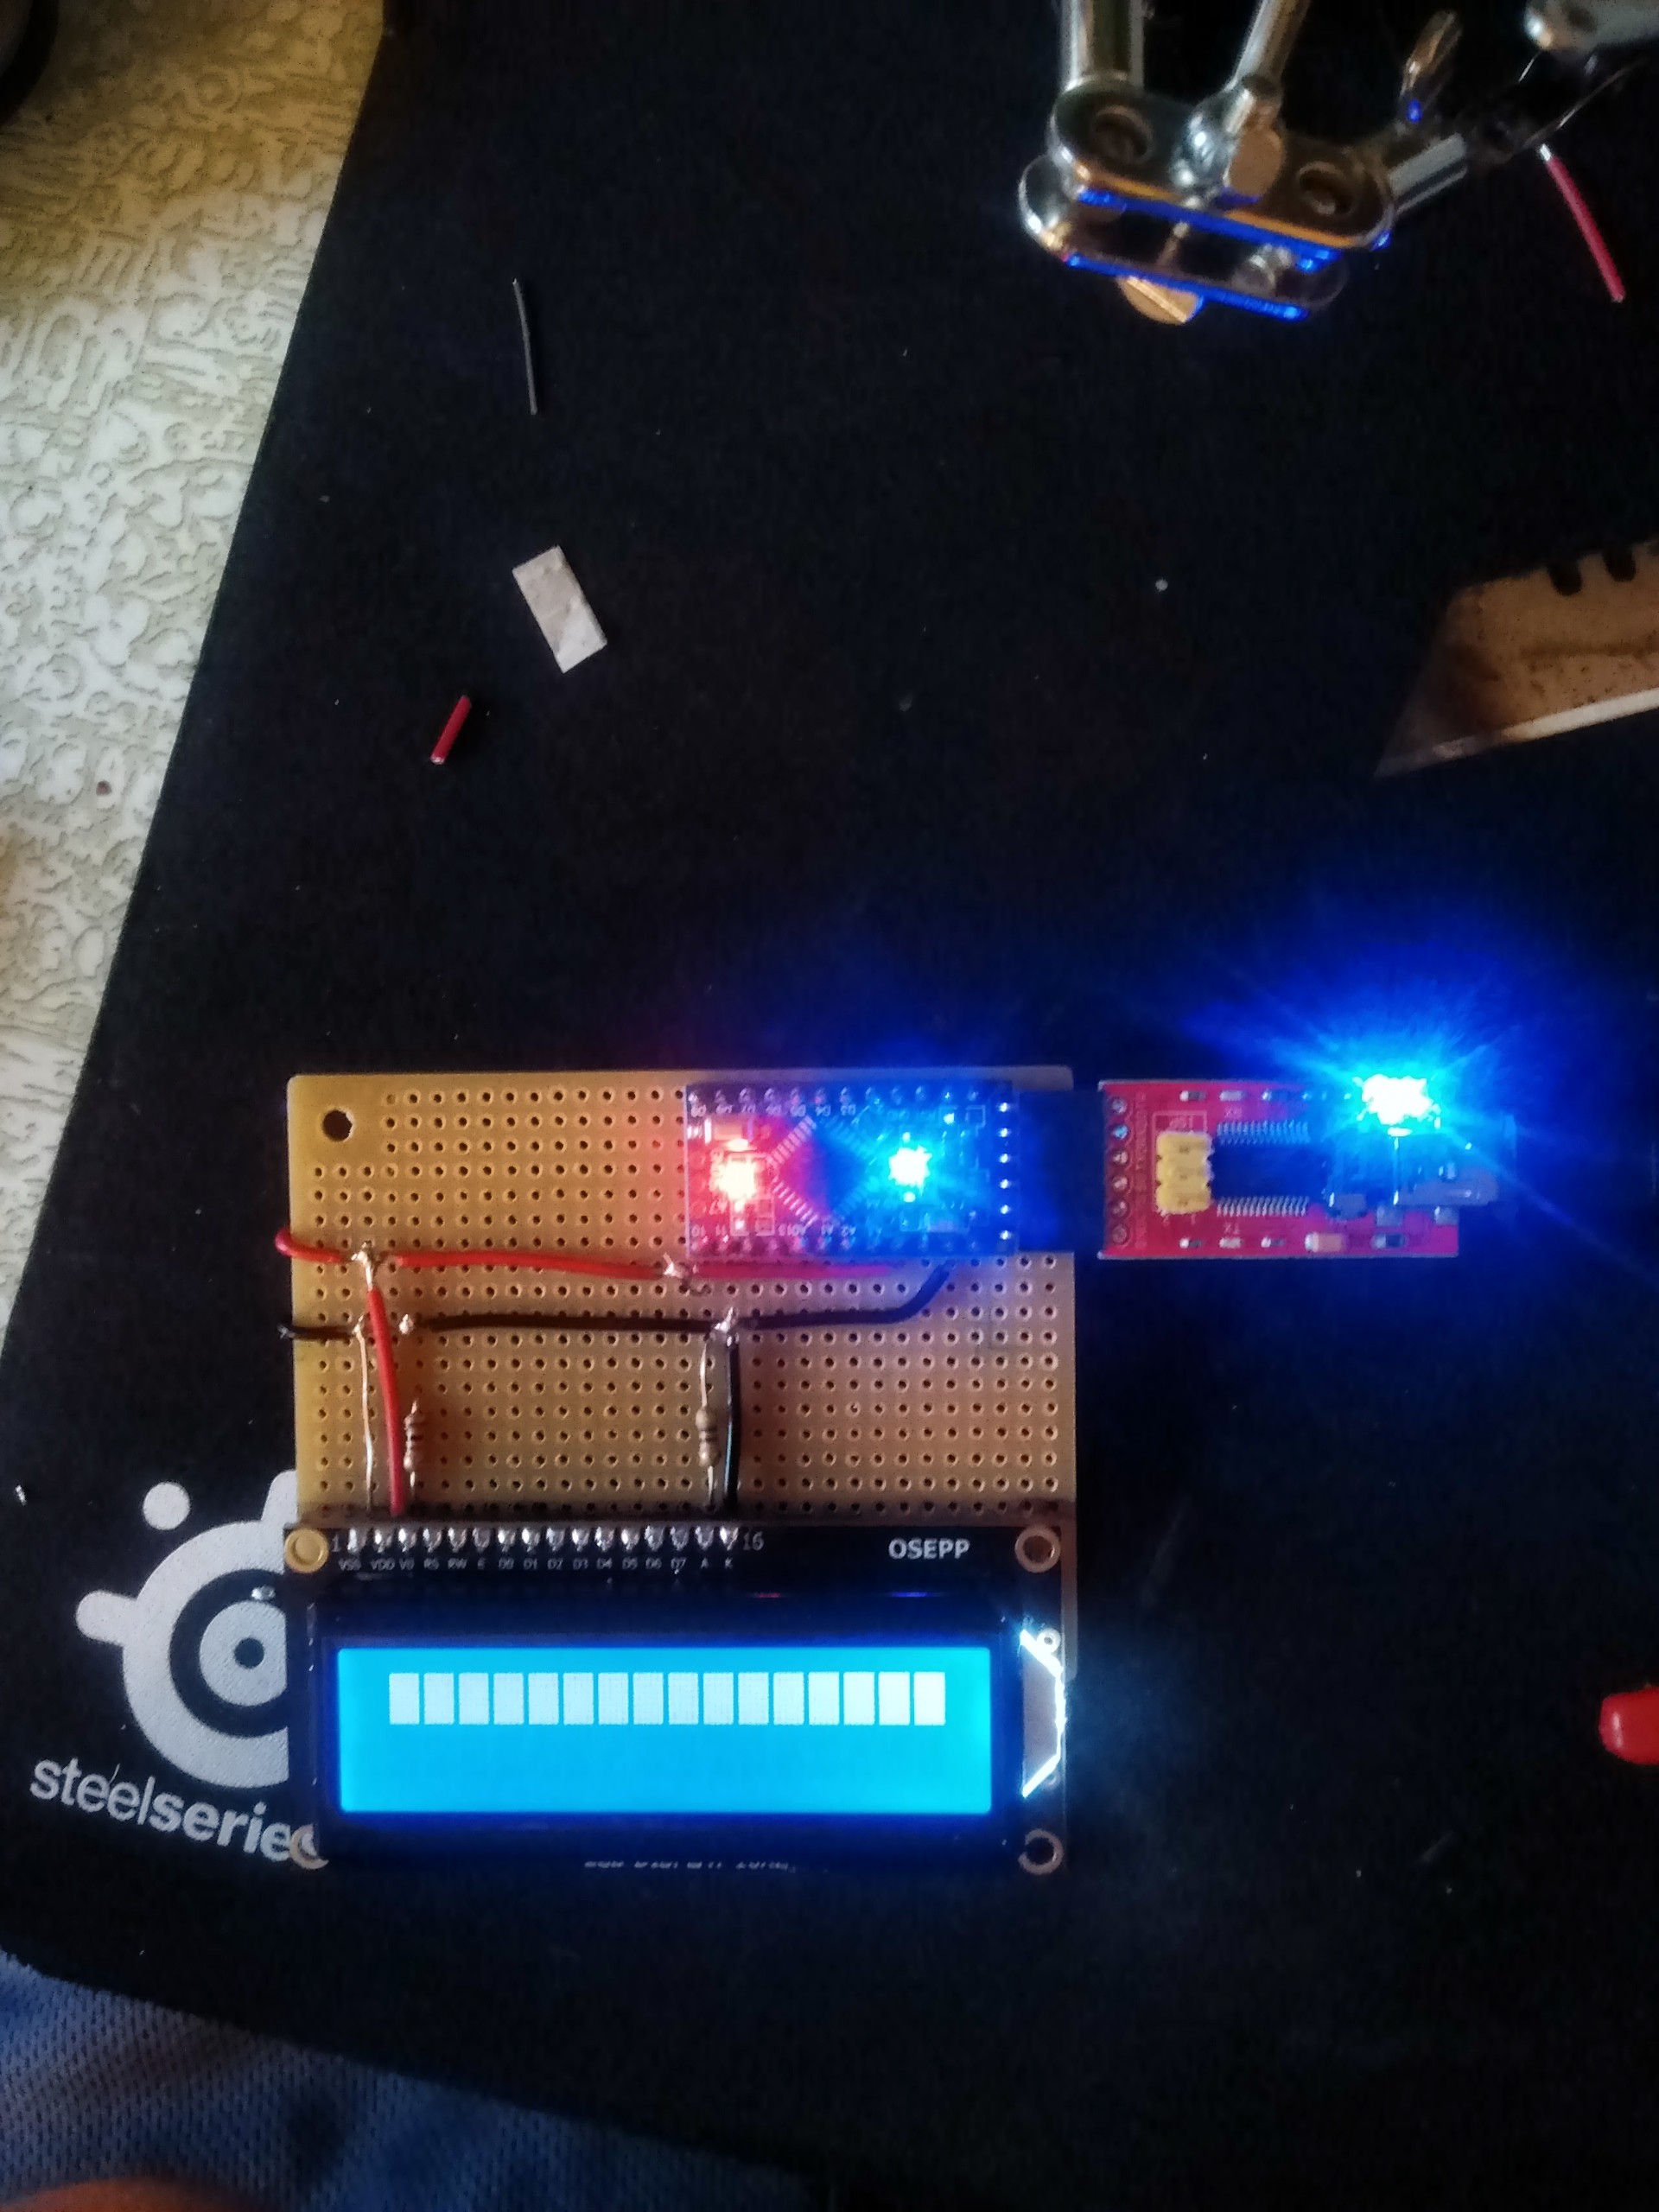
Nothing too exciting there. I havent' even trimmed off excess wire at this stage yet.
Discussions
Become a Hackaday.io Member
Create an account to leave a comment. Already have an account? Log In.