 Elaine Cheung
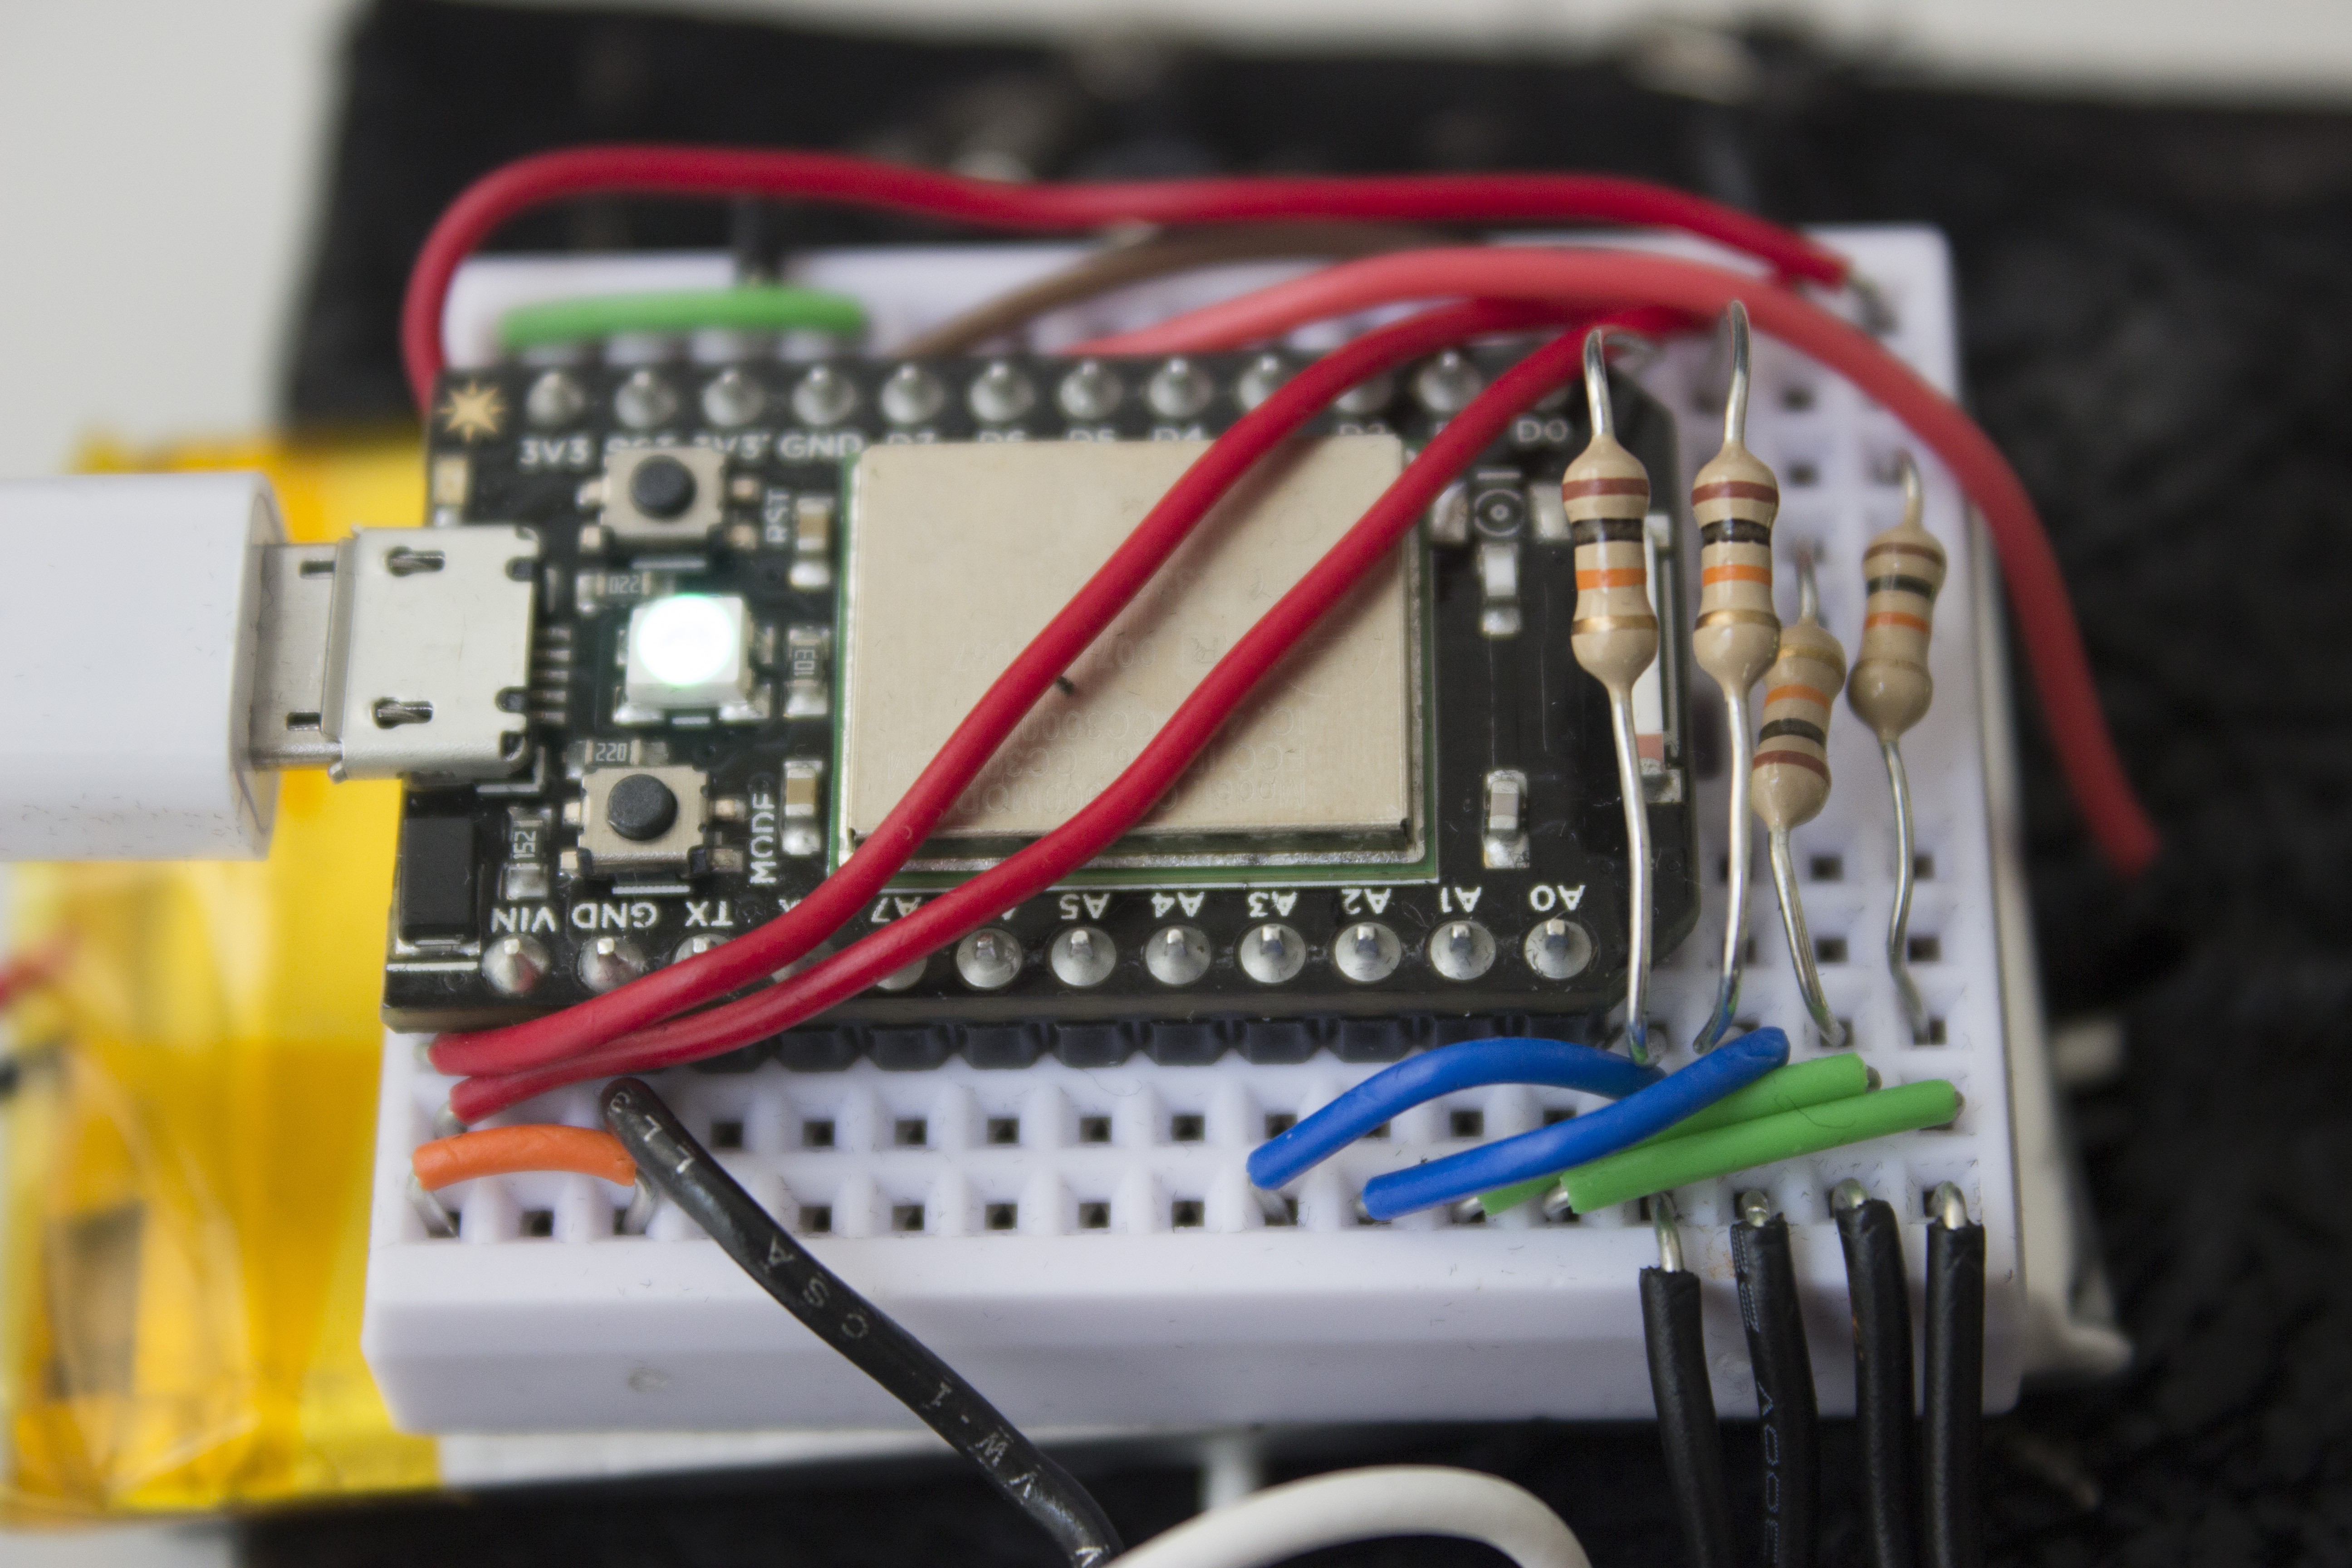
This is the setup I used from testing on the breadboard to sewing the components. It's best to test the whole setup on the breadboard first and label the photocells so you know which cell goes where on the hand. After making sure everything worked, I moved on to the soft circuits!
I placed the photocells on the outside of the glove (I used regular sensors but bent the leads/wires into a circular "o" loop on either side) and the wired circuit I had sewn with conductive thread. So basically we need all of the RED (positive) leads to connect to one source that goes to 3V3 or VIN and the GREEN to reach the resistors (analog).
Some things to note:- Make sure there's enough pull of the conductive thread when hand sewing (this is due to the knit fabric of the glove which has a lot of elastic - I made sure I wore the glove after sewing a few stitches)
- When you start with the conductive thread, make sure you loop the thread around the photocell wire for a stable connection
- Make sure the sewn circuits don't overlap! If they touch it will short circuit the connection!
- Best to insulate the wires (which I forgot to...) but I've used fabric/puffy paint to do this in the past
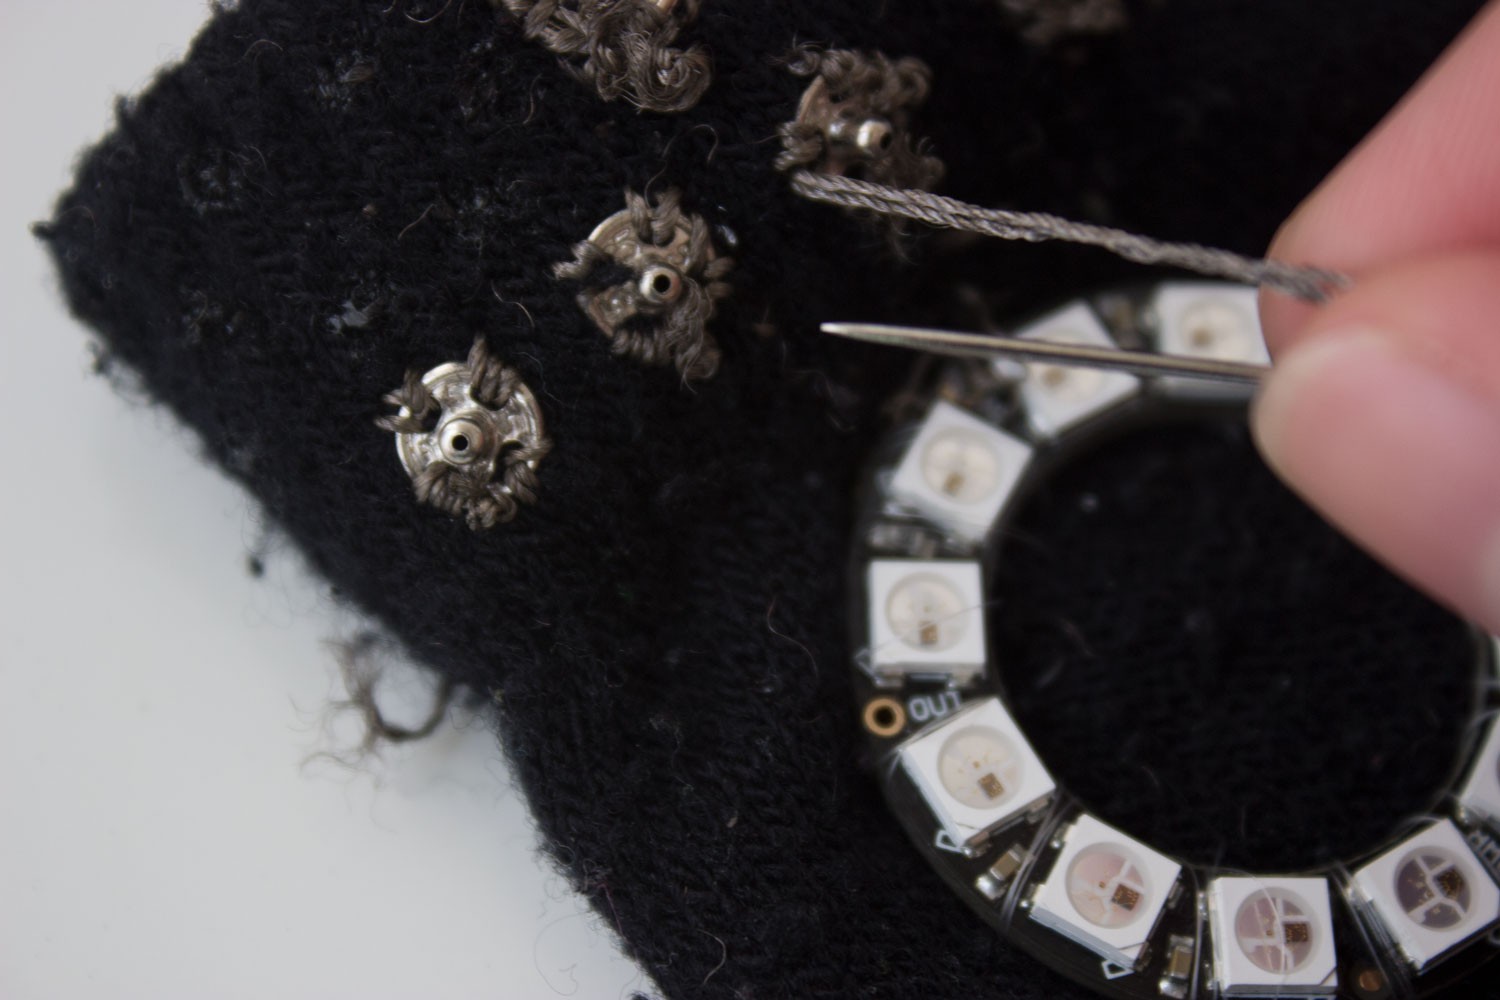
There are 4 snap on buttons which are the end points of the Analog side of the sensors. The Positive threading attaches to the button underneath these four (you can kind of see it at the top there). It's a large knot since there are 4 separate stitches overlapping to create one connection. And since its below the 4 analog buttons, I had to be careful not to have the thread touch any other threads. Quite tricky.
Once done with the glove, the breadboard and neopixel are assembled onto the extra fabric swatch, which will make a belt for my wrist. It is easier to keep all the components at the wrist because it lays more flat when making the rest of the hand is constantly moving around. Snap buttons are sewn onto the belt which will then be sewn towards the circuit. Since I'm still using a breadboard, the threads will have to connect to wires...

...like so. Voila, we have completed a half hard wired/half soft circuit! After making sure all the connections go where they are supposed to, it was time to test the electrical components to make sure they are all still working. Any simple AnalogInOutSerial will do or whatever the equivalent is in the particle.io console. Just make sure you can get the light readings from each of the sensor's ranges because they will be used to adjust your numbers in the code.
Discussions
Become a Hackaday.io Member
Create an account to leave a comment. Already have an account? Log In.