Close
0%
0%

MP3-Player

handcrafted MP3-player - wood work, Raspberry Pi, RFID, WIFI-sync

Similar projects worth following
MP3-player are not uncommon to find, even for children. But I had some special wishes, this is why I built my own one. So after two years, from first ideas to the 'final product', I'm proud to show the result: a self-made MP3-player with very special features, built to be very easy in handling (for children).

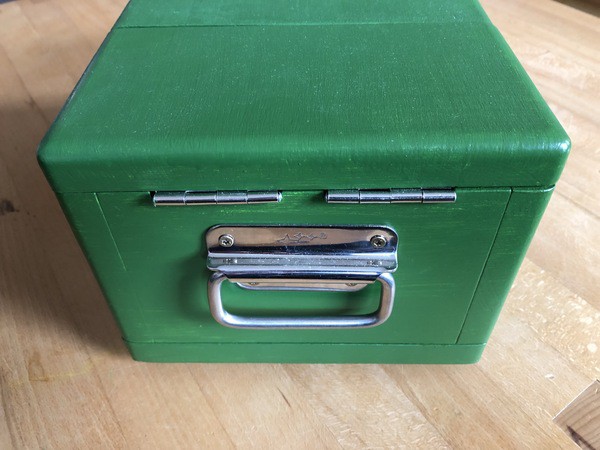
The usability is straightforward: with some cards (with RFID responders) you can choose what to play. End of story. (There are only three additional buttons: two to control the loudness and one to stop playback)

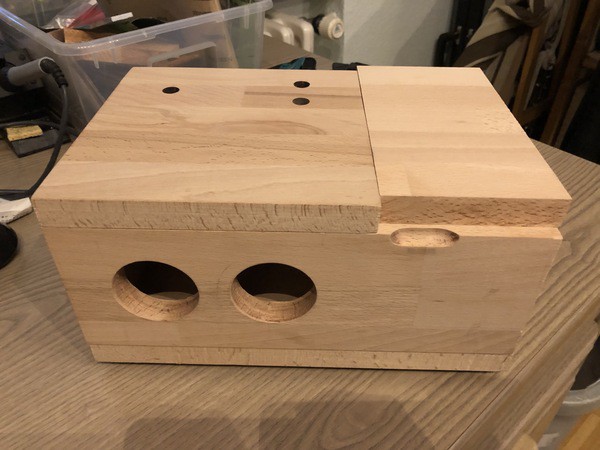
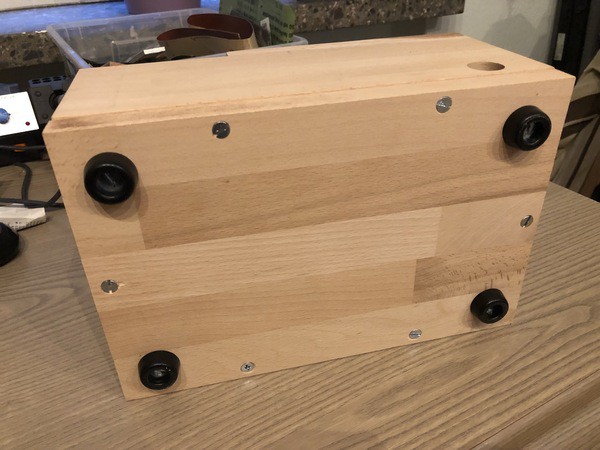
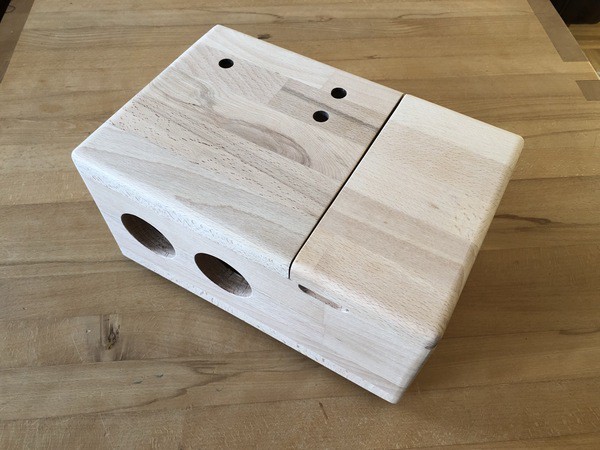
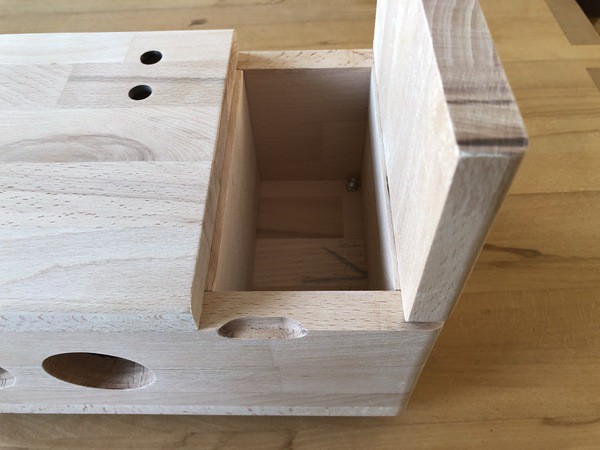
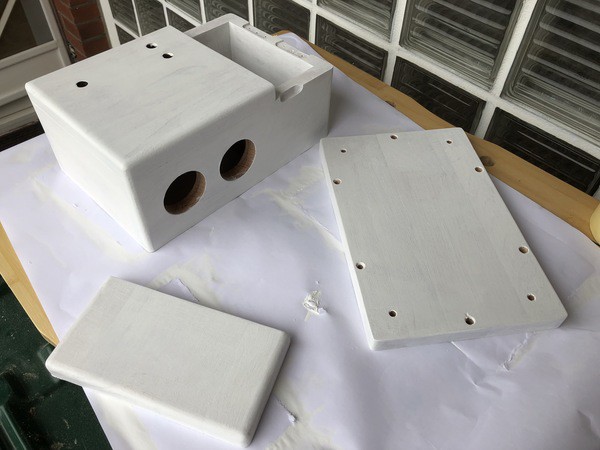
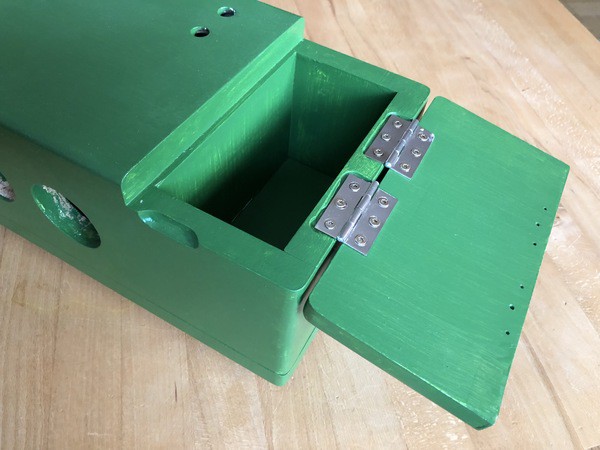
The first and second versions lack of a miserable sound quality, so I decided to build it from scratch. The third version (description below) was bigger, got its nice handcrafted case (built for eternity), has more features but less bling-bling.

Core concept

  • RFID to choose what to play
  • Raspberry Pi plays songs/audio books (Version 2B is enough)
  • Raspberry Pi has WIFI to connect to local network
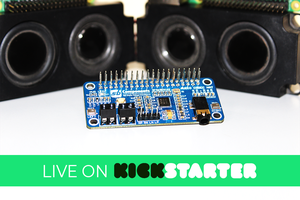
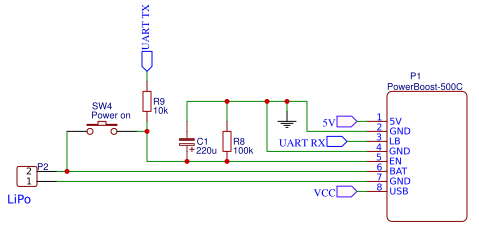
  • Raspberry Pi is connected to Adafruit MAX98357 Amp (over I2S)
  • syncthing allows over the net syncronisation of new music or audio books

  • 1 × Raspberry Pi type 2 or newer
  • 1 × RFIC RC522 module with antenna
  • 1 × Adafruit MAX98357 I2S module
  • 1 × speaker one 4-8 ohms speakers or two 4 ohms
  • 3 × buttons

View all 9 components

  • 1
    Woodworks

    A child-proof solution needs a case, which forgives intense stress. So I decided to build a wooden case (beech). It should be possible to carry everything around, so the (many) RFID-cards, loudspeaker, raspberry pi and maybe batteries have to be inside. I ordered button made of stainless steel and the loudspeakers are behind a metal grid.

    The cards can be put into a small compartment with a lid (top right side in first picture). 

    I asked if I should paint the case and green was desired, to here are the pictures...

    (on the right side inside the case you can see the recesses for the RFID-sensor, the tree buttons and the USB socket)

    (bottom view)

    (the finished case with rounded corners)

    (the compartment)

    (case with primer)

    (case with green paint and all metal parts)

    (the compartment, again)

  • 2
    Electronics (to be continued)
    • see schematic
    • the buttons used do not need a resistor for the LEDs
    • battery backup (adafruit PowerBoost 500C)
  • 3
    digression: battery backup

    After first tests in real life (and a near broken USB cable) I decided to implement a battery backup inside the case so that playback is possible without a wired power supply. After some research I chose the LiPoPi solution (Link). Its lightweight and relatively easy to add to my MP3-player. 

    The original solution has the drawback, that one has to press the button for three seconds minimum when starting up, until the Raspberry Pi holds the power-on-state for itself. This is the only thing I changed with the capacitor C1 which gets charged by pressing the button and holds the EN-Pin HIGH until the Raspberry Pi takes over (about three seconds after pressing the button).

    The documentation of the LiPoPi solution is detailed, I only had to add one or two "sudo" commands and had to change the line-end encoding of the script with "dos2unix" (install the tool with: "sudo apt install dos2unix").

    sudo apt install dos2unix 
    dos2unix /your_path_to_the_script/low_bat_shutdown 

    One last hint: the LiPoPi solution works with the adafruit PowerBoost 500C as well as with the PowerBoost 1000C. I bought to PowerBoost 500C and first tests showed that a Raspberry Pi 3 (only used for testing purposes) drained the battery even though I was charging with a USB supply. So maybe the PowerBoost 100C is the better solution for a Raspberry Pi.

View all 6 instructions

Enjoy this project?

Share

Discussions

Similar Projects

Does this project spark your interest?

Become a member to follow this project and never miss any updates