 Bryan Howard
After ripping out everything off the plastic frame, it's time to start installing the necessary components and testing that they work.
Rewiring the motor, circuit board and mechanical assembly together, I found that the original grease was solidifying and sticking causing the slide loading mechanism to jam. I had to clean and decrease the assembly and than applied some silicone oil and Teflon grease to get it running smooth again.
One thing I’ve realized after powering it was how much vibration the AC motor makes. The AC motor sits on rubber grommets and possibly over time, they’ve hardened. Maybe not. But the vibrations are enough that is could be visible when taking the side photo. I have a sheet of Sorbothane material that I plan on replacing those grommets with and hopefully that'll reduce the vibrations enough.
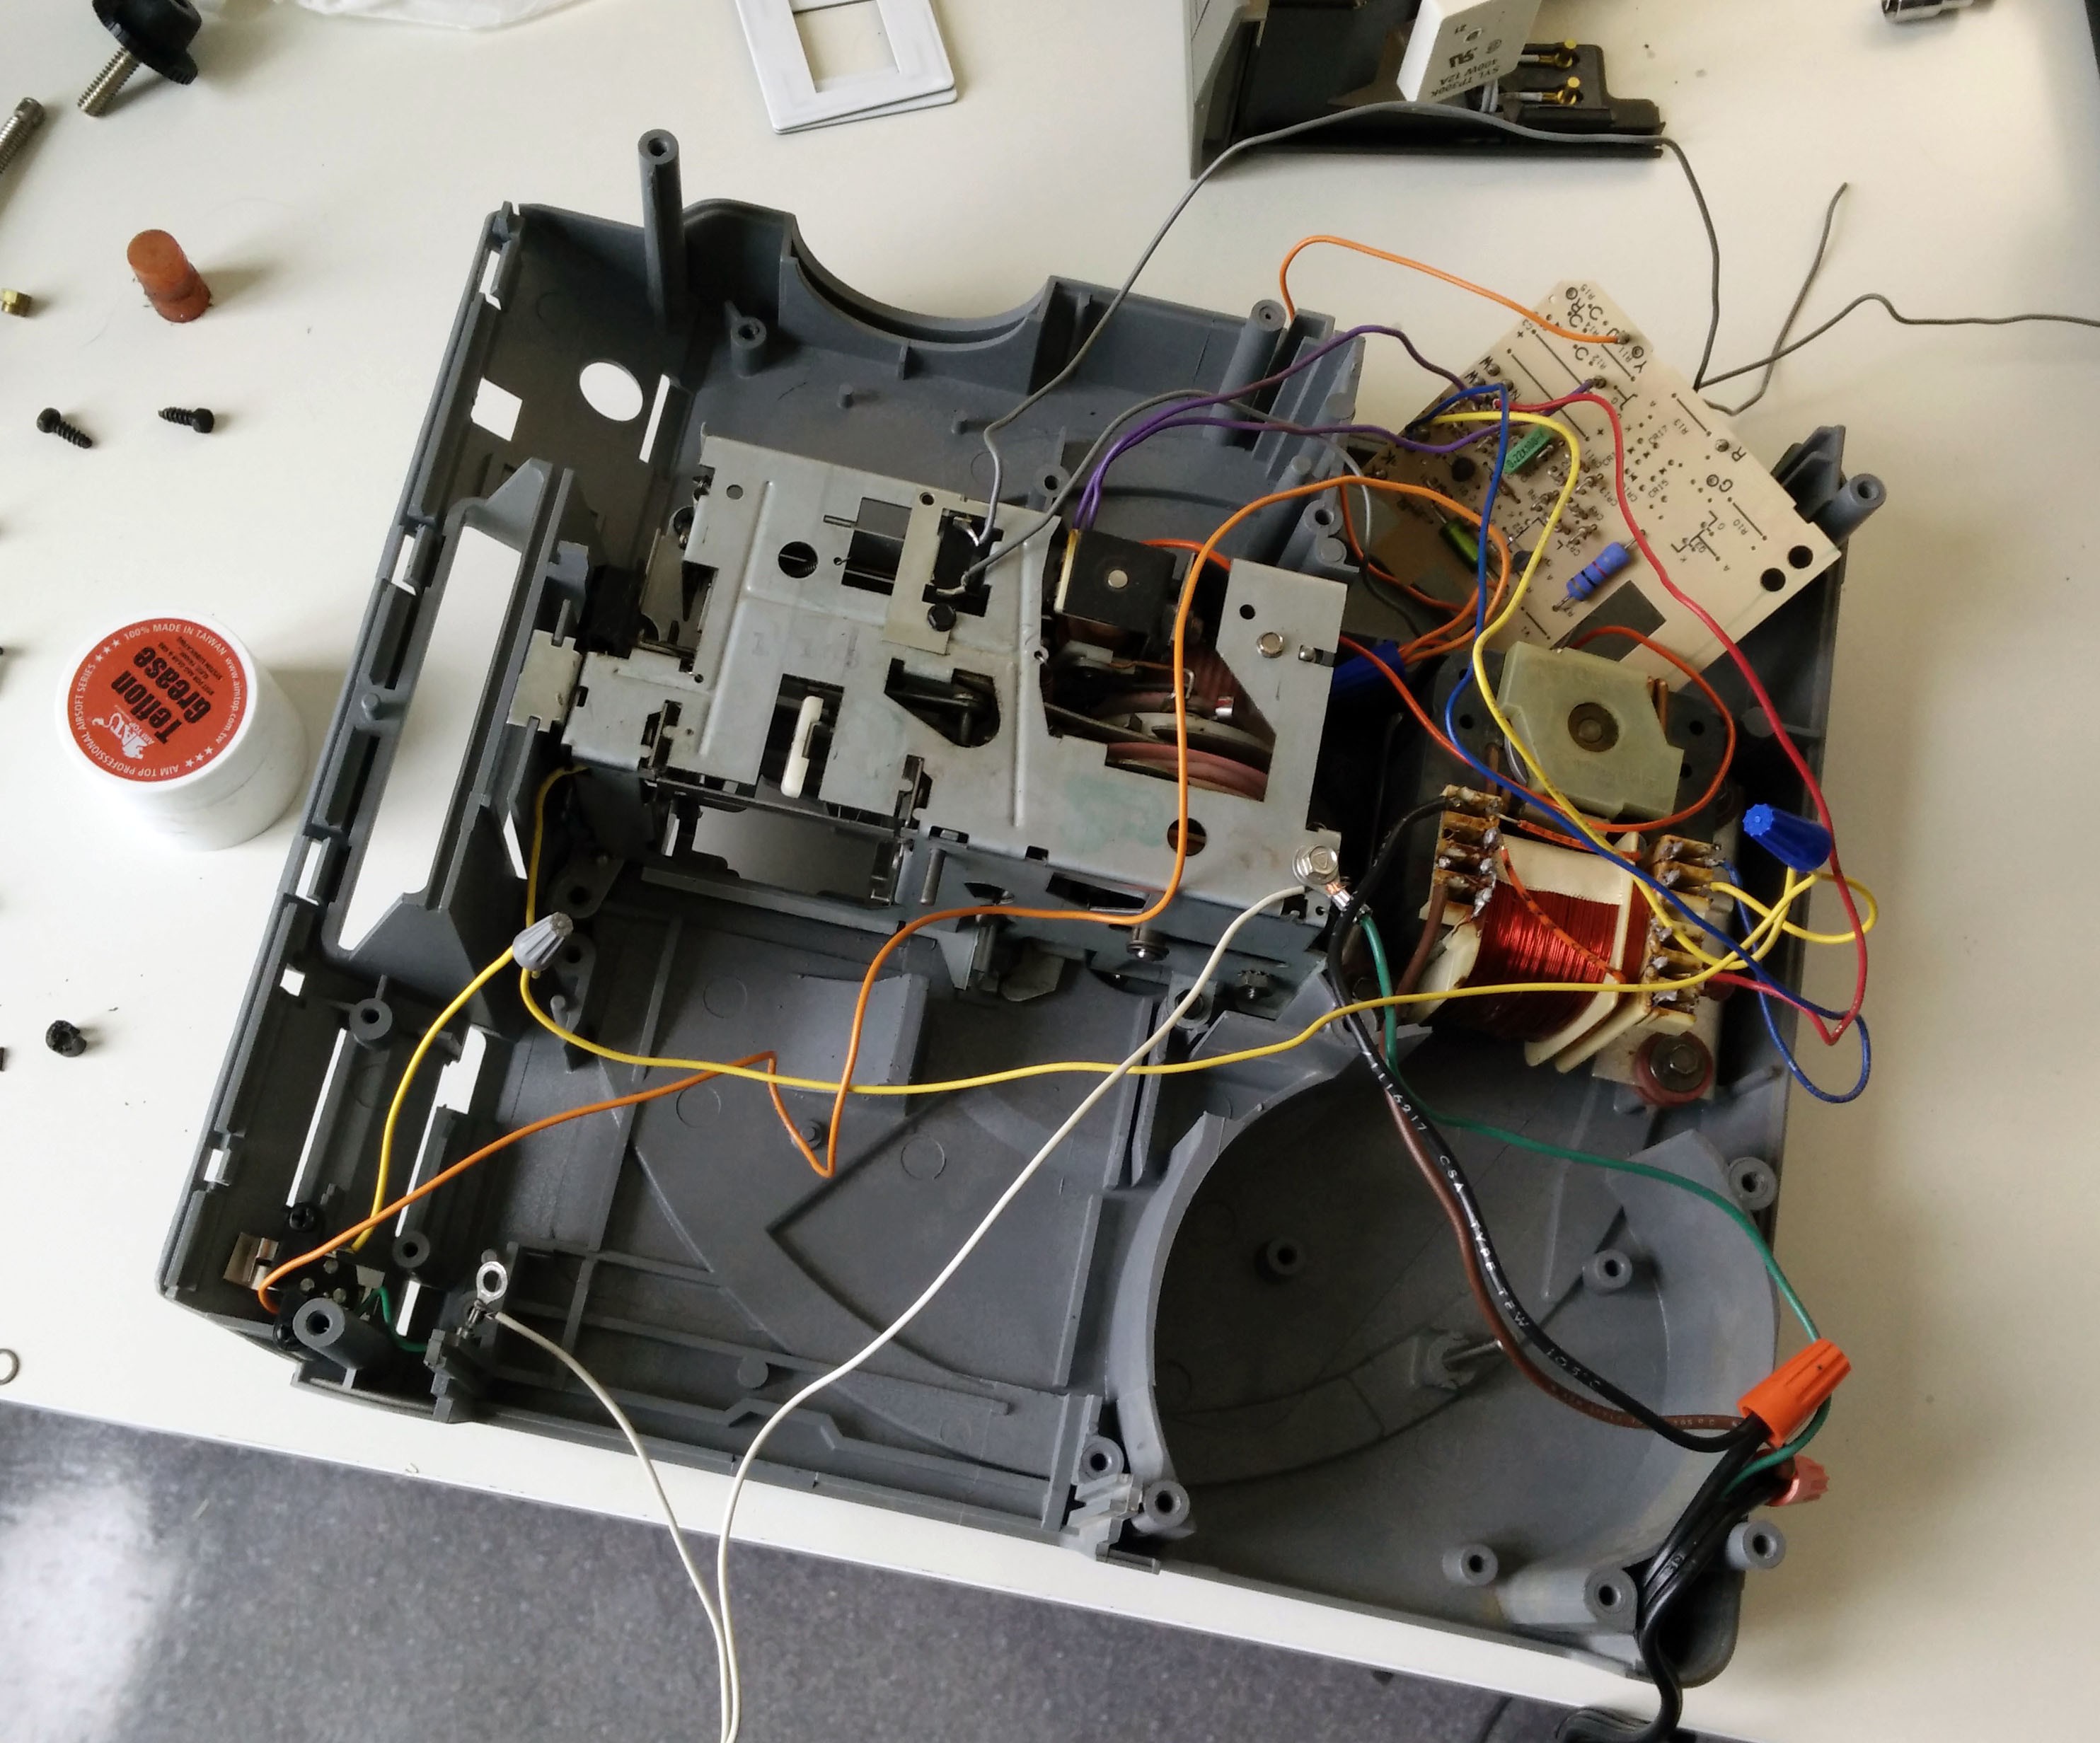
Once I wire in an ICE power cord and switch, I’ll wire in the relay’s that’ll be driving the mechanical actions. I'll be using relays to drive the projector because I want to keep the circuits of the DSLR camera, microcontroller, and projector isolated. The projector’s mechanical slide loading mechanism is slow enough that the slight delay from the relays will not be an issue.
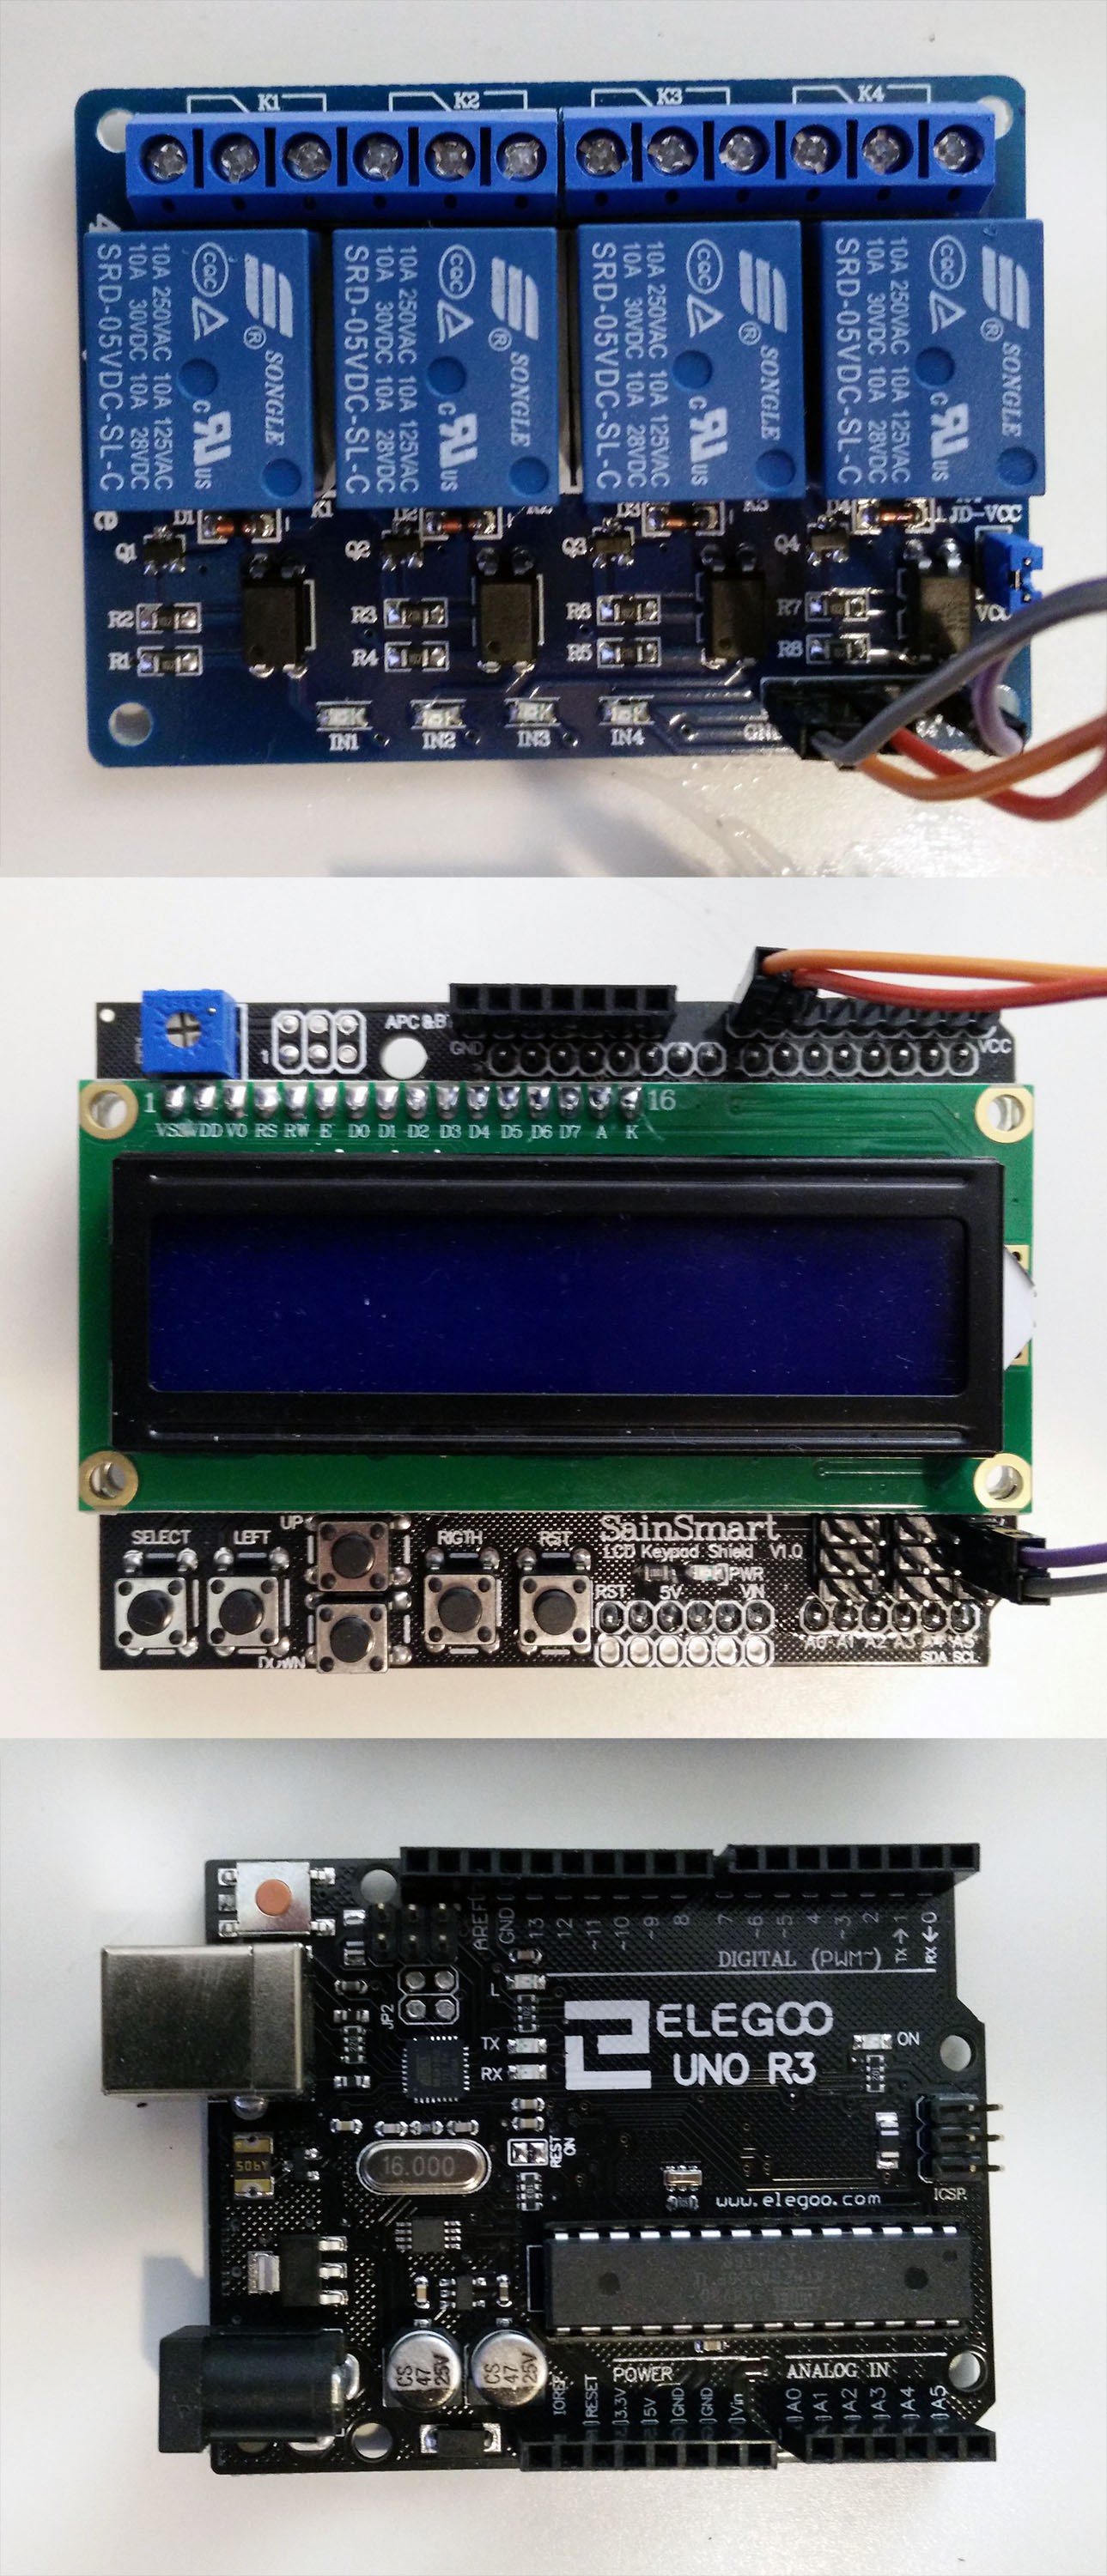
The relay board I’m using in particular uses 4x DSRD-05VDC non-latching relays that'll runs from 5V. This board also has optocoupler between the logic and is a nice small package.
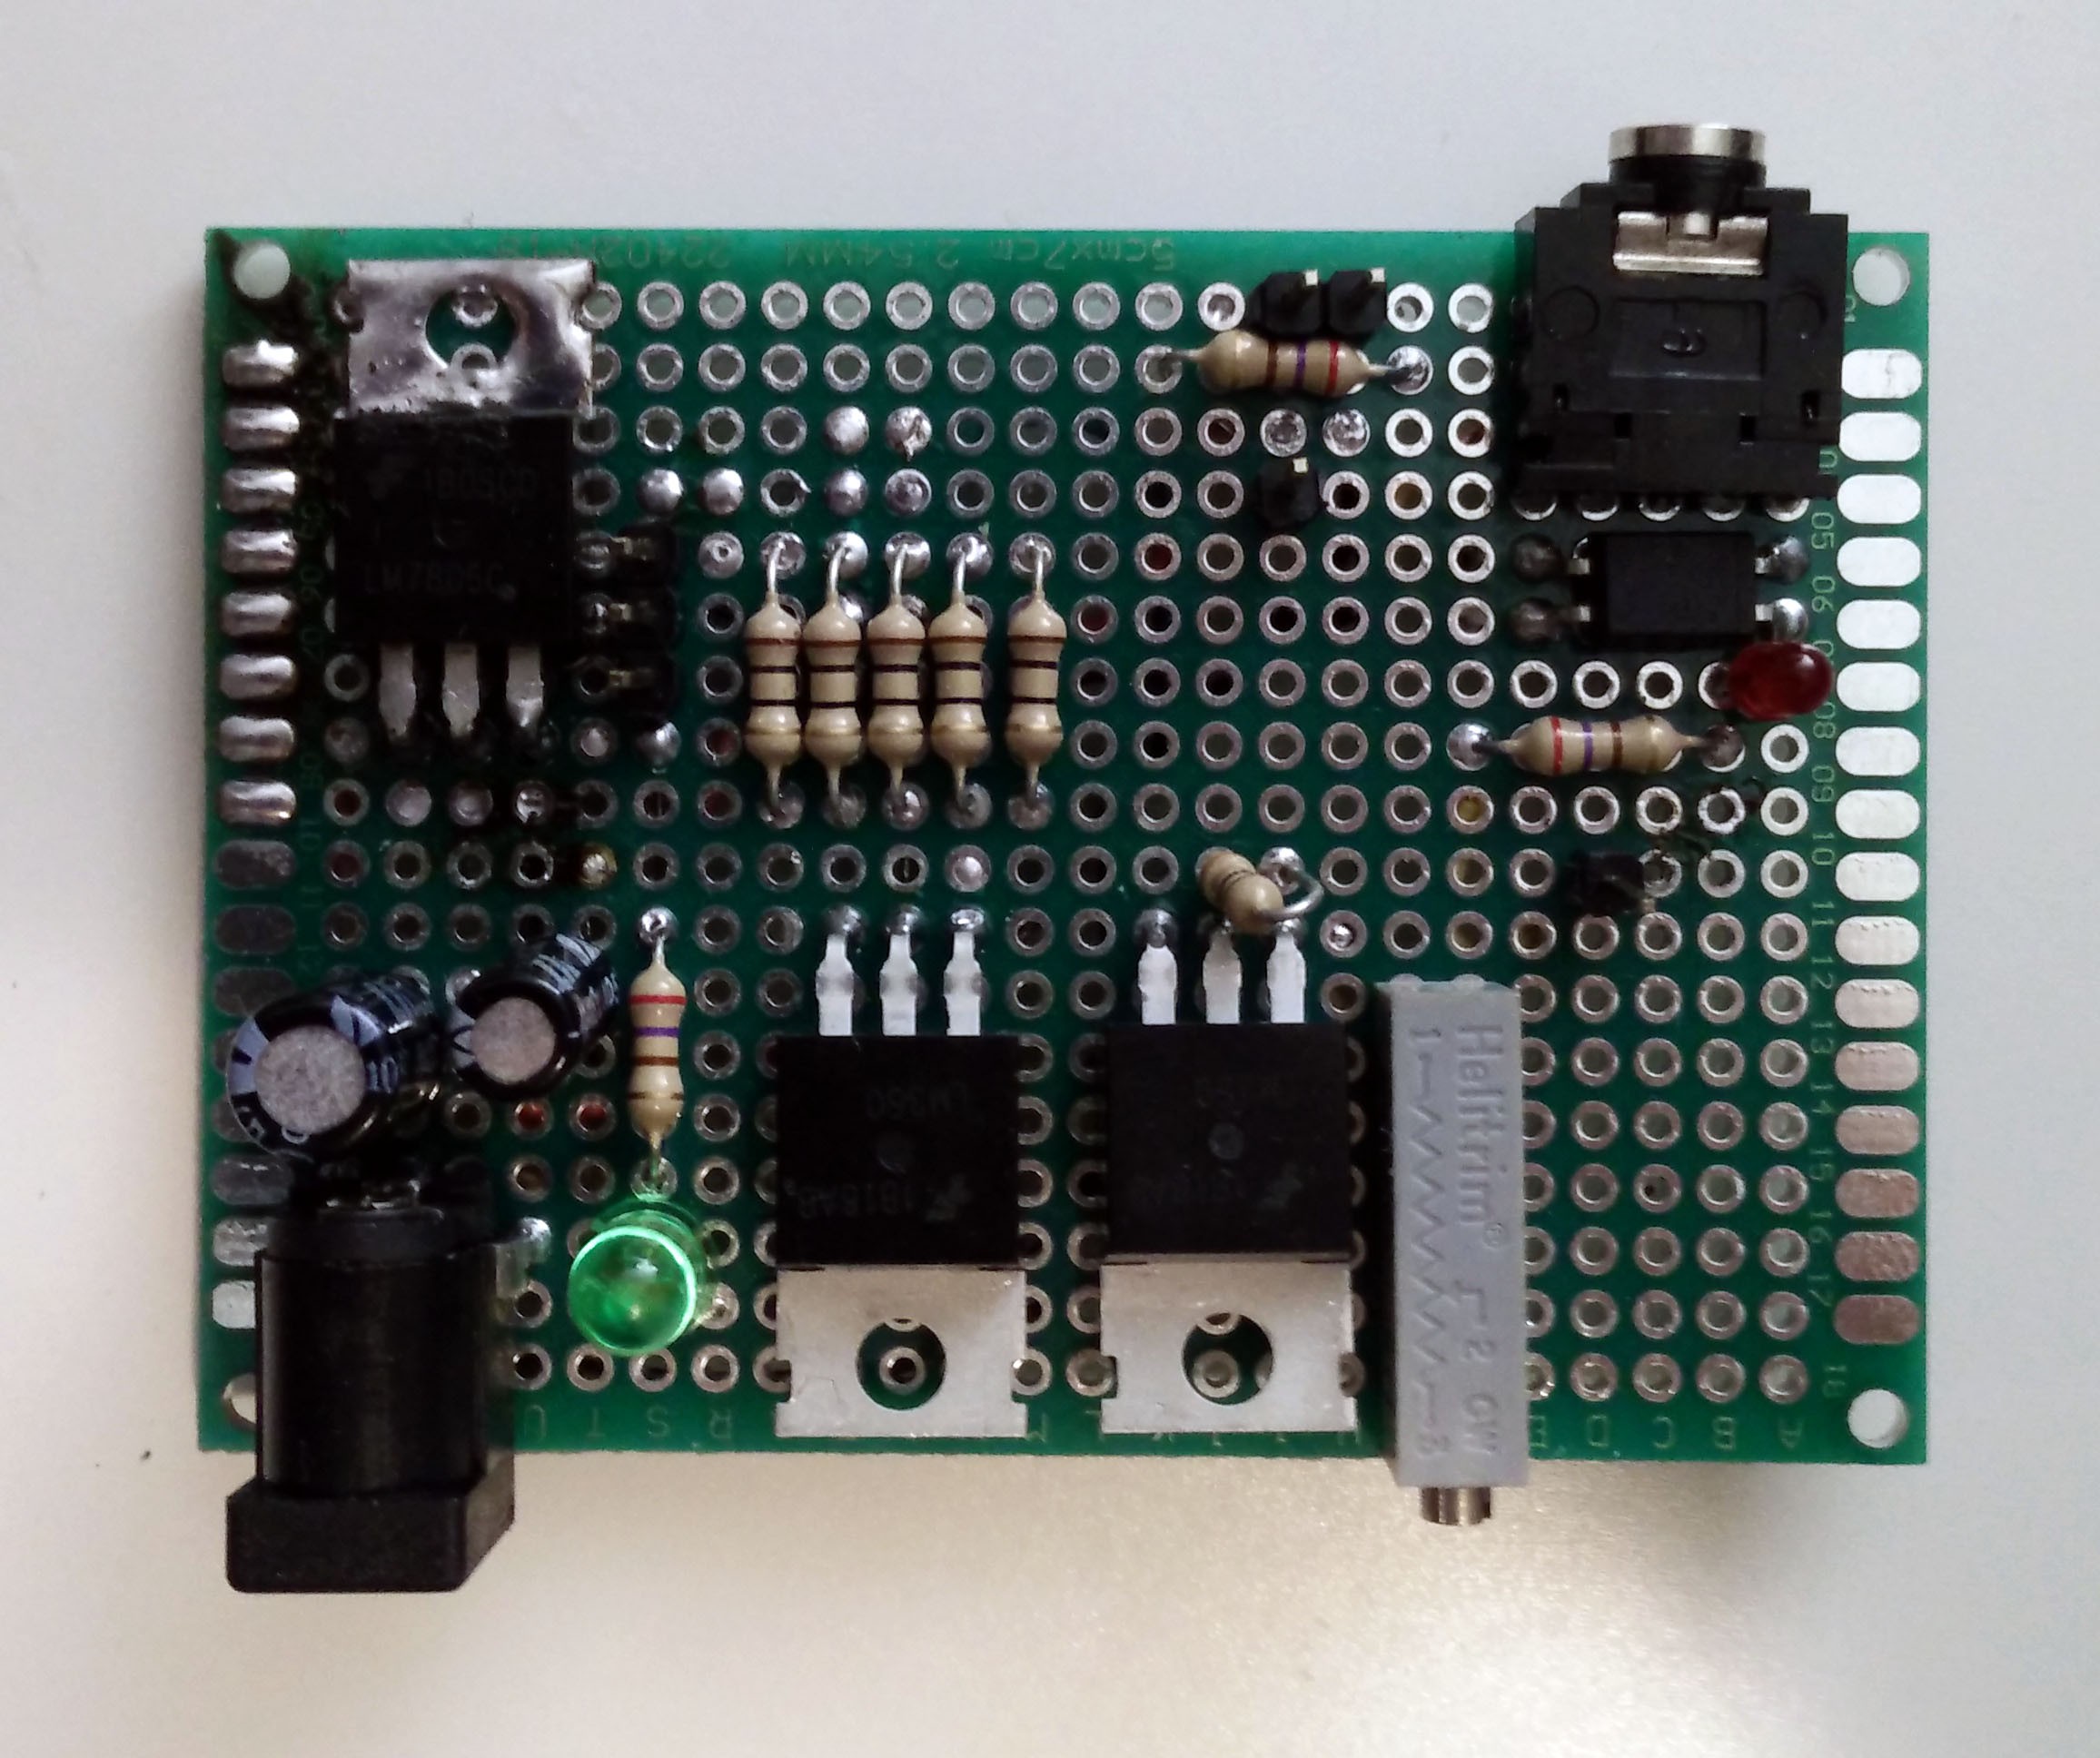
I’m still waiting on an LED power driver board so installing that will take some time. The plan for the LED is to mount it onto the backside of a CPU heatsink with a small fan to keep it cool.
The LCD board has some push buttons and the Hitachi HD44780 LCD and packaged as an Arduino shield that snaps into the Arduino micro-controller below it.
Originally I was making a custom board to drive the camera, projector, led driver, etc.. but I'm scrapping that because rewiring the projector is difficult enough and we can use off the shelf circuit boards that will do everything needed. This custom board is great, because it's created exactly for this projector and camera's purpose, but would be difficult and time consuming for someone else to reproduce this project.
Discussions
Become a Hackaday.io Member
Create an account to leave a comment. Already have an account? Log In.