 Geek Centric
Software to install ahead of time
After you've installed Node, install Angular by opening the terminal and running this command:
npm install -g @angular/cli
Check versions:
node -v <enter>
npm -v <enter>
ng -v <enter>
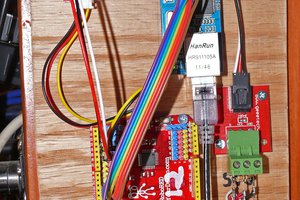
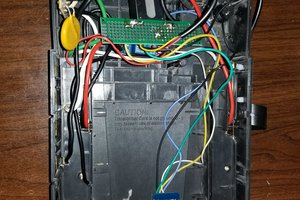
A project to show PH and Conductivity values on a web app using Angular 6, Arduino, and Firebase
Already have an account? Log in.
To make the experience fit your profile, pick a username and tell us what interests you.
 Terry King
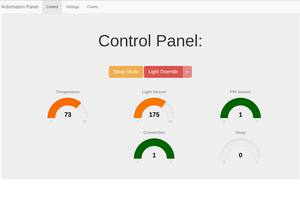
 Jordan Poles
 thjubeck