 Steve Wells
Finally got to do this log, apologies for the gap. a lot has happened, we have learned so much and loved every minute of it. This is a brief summary of events of the past 5 months (that long... really!) I have to say that it has been well worth it, a rethink and redesign has really paid off, but first a recap.
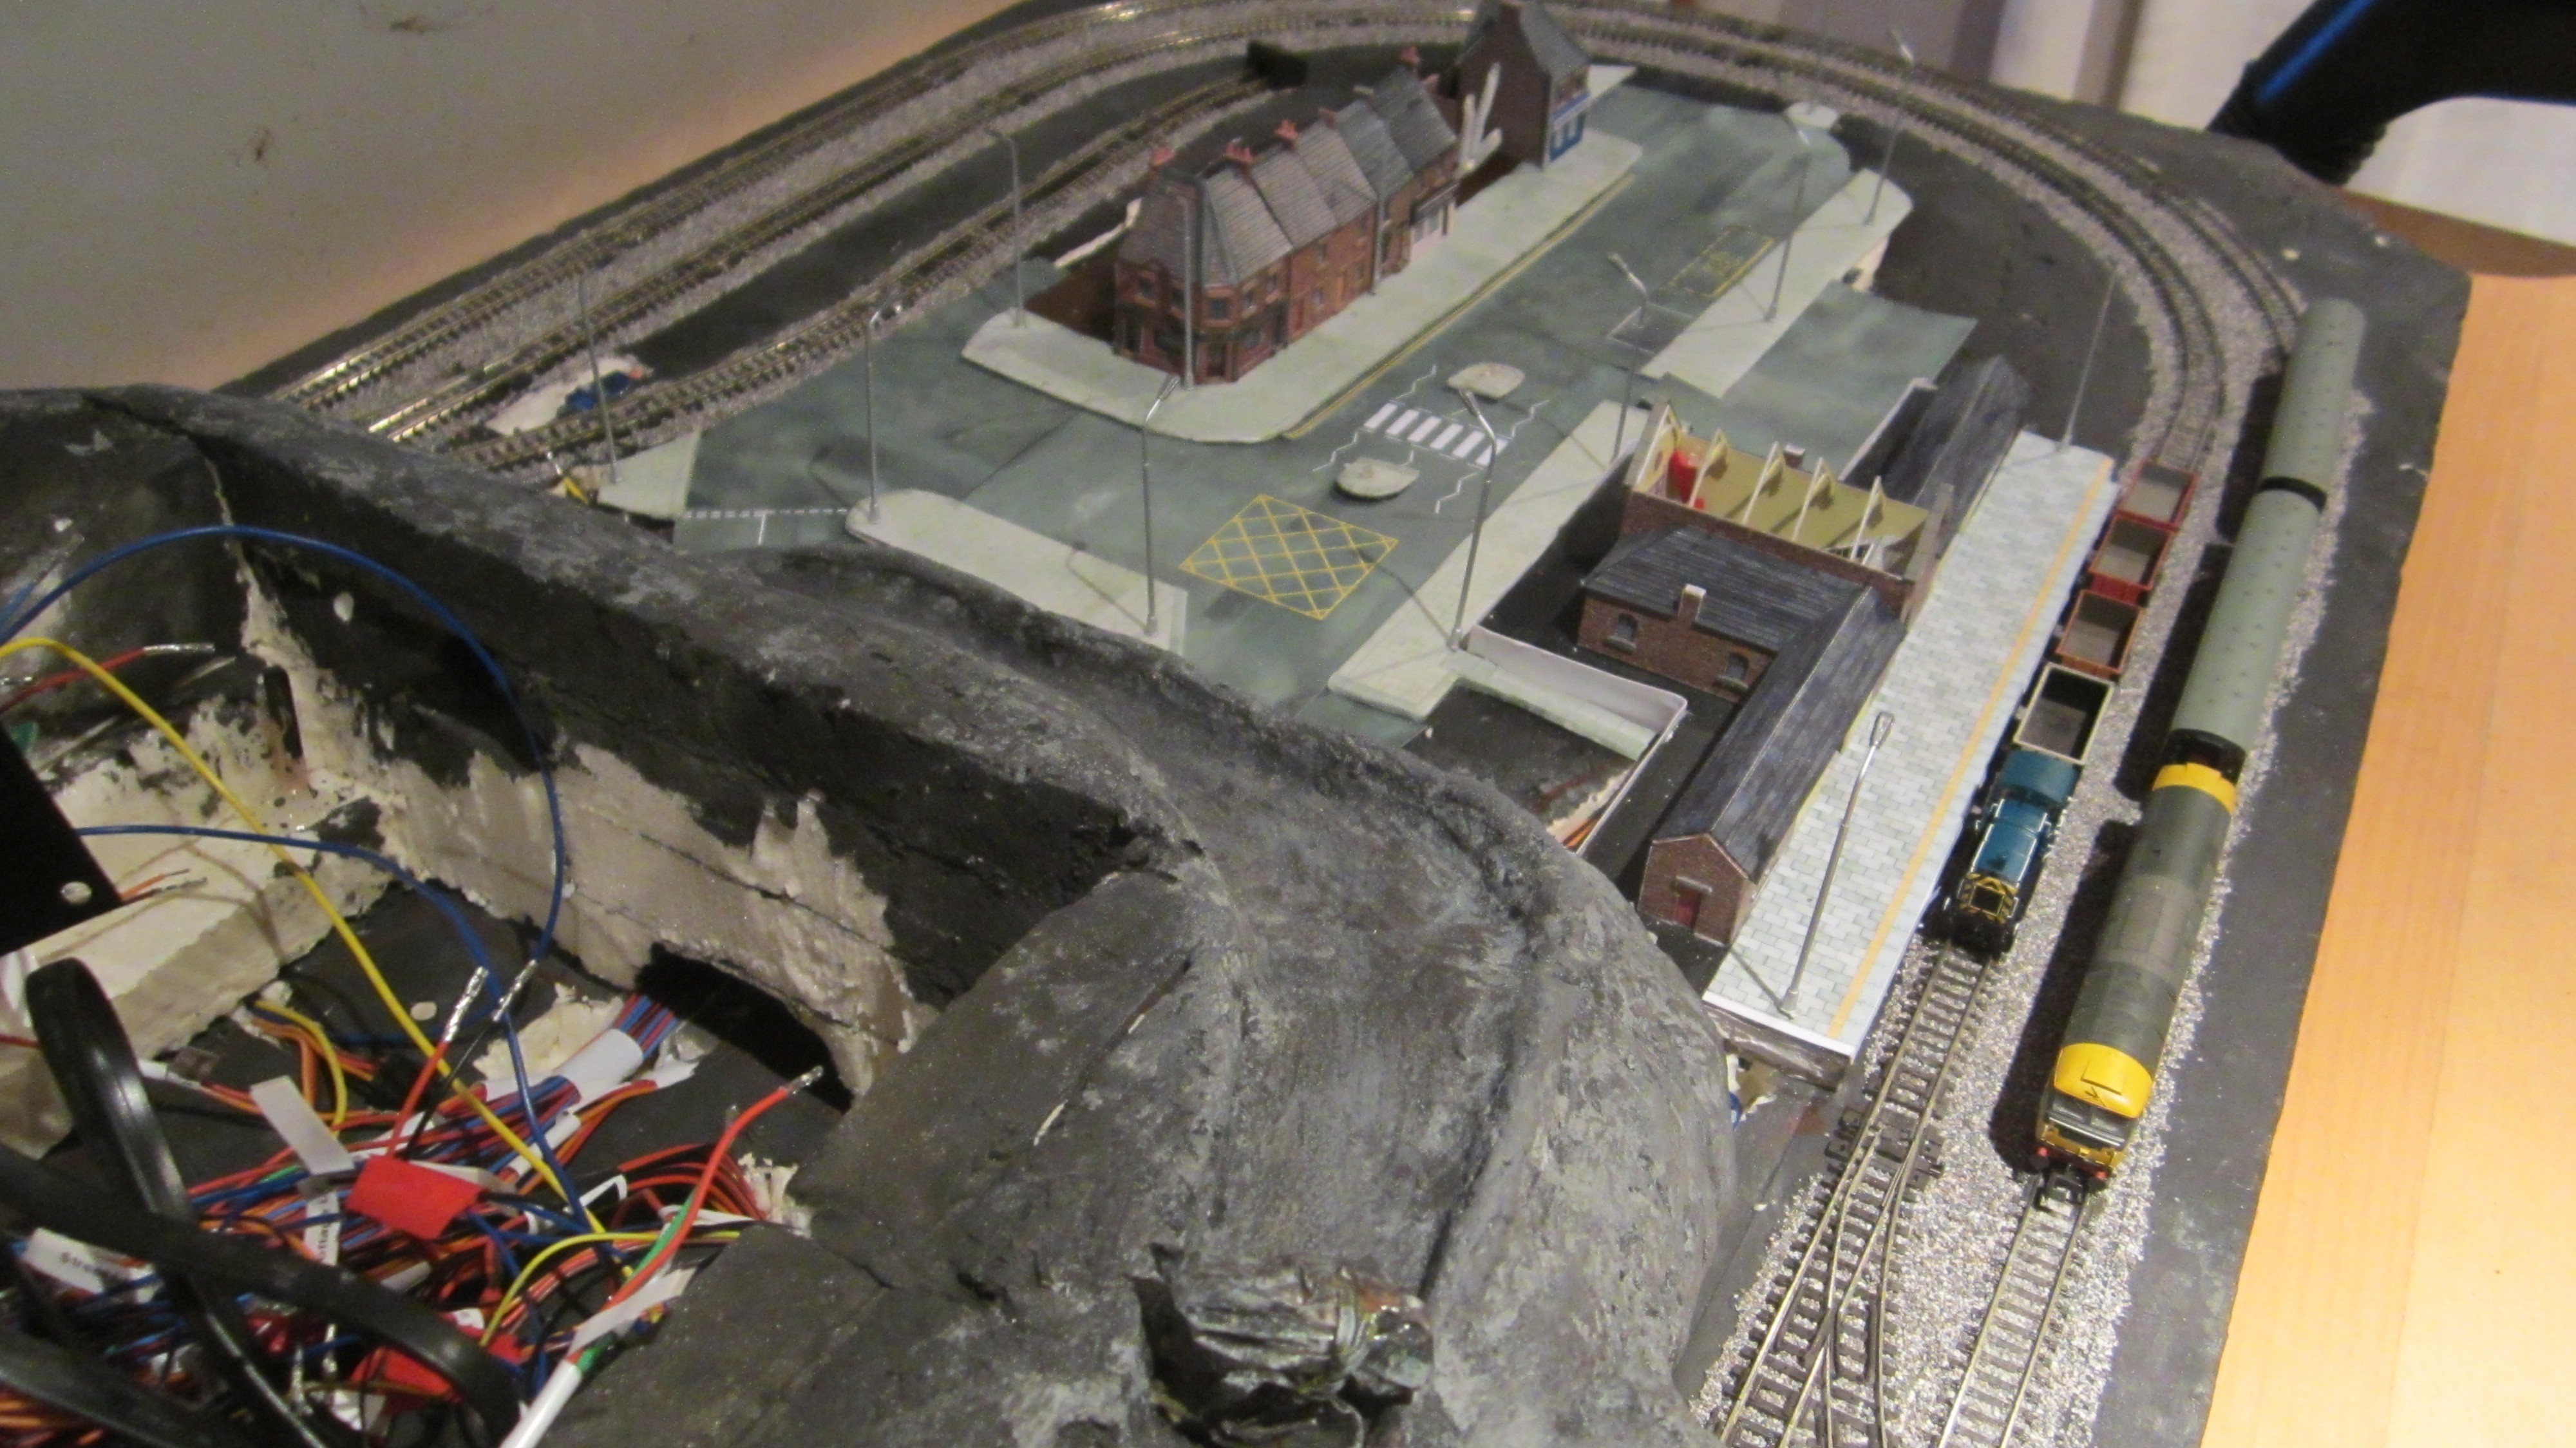
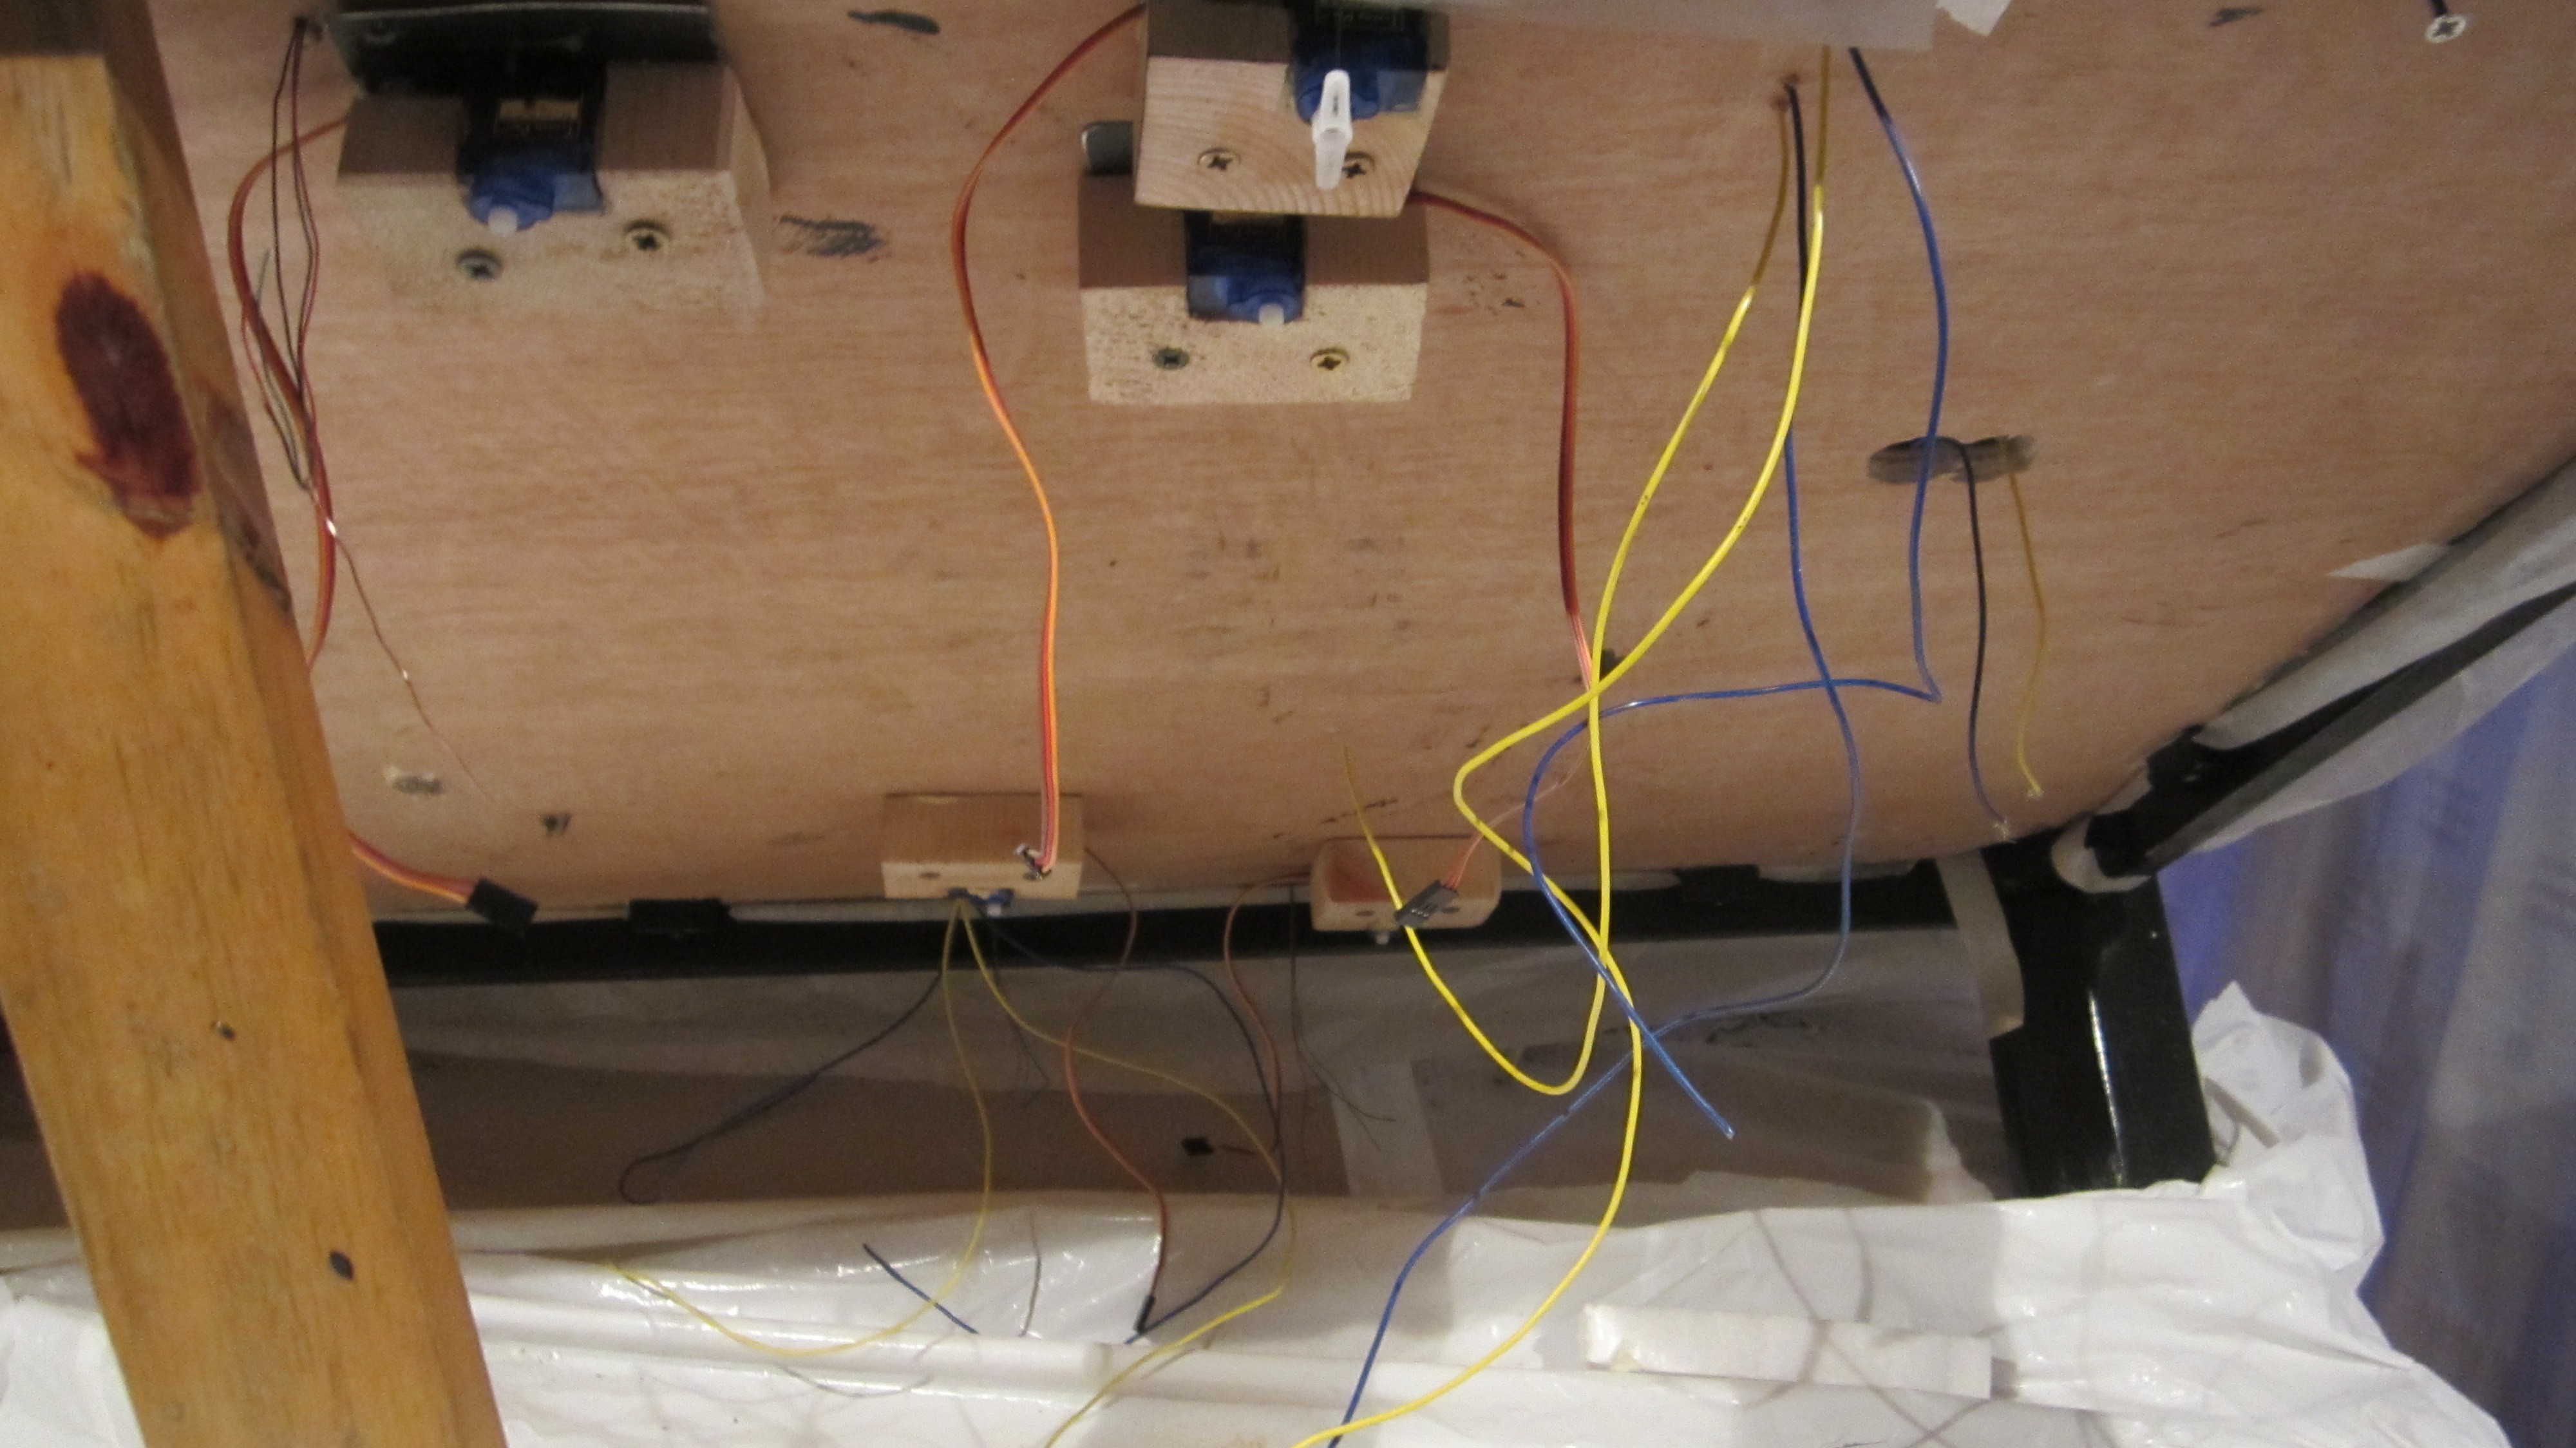
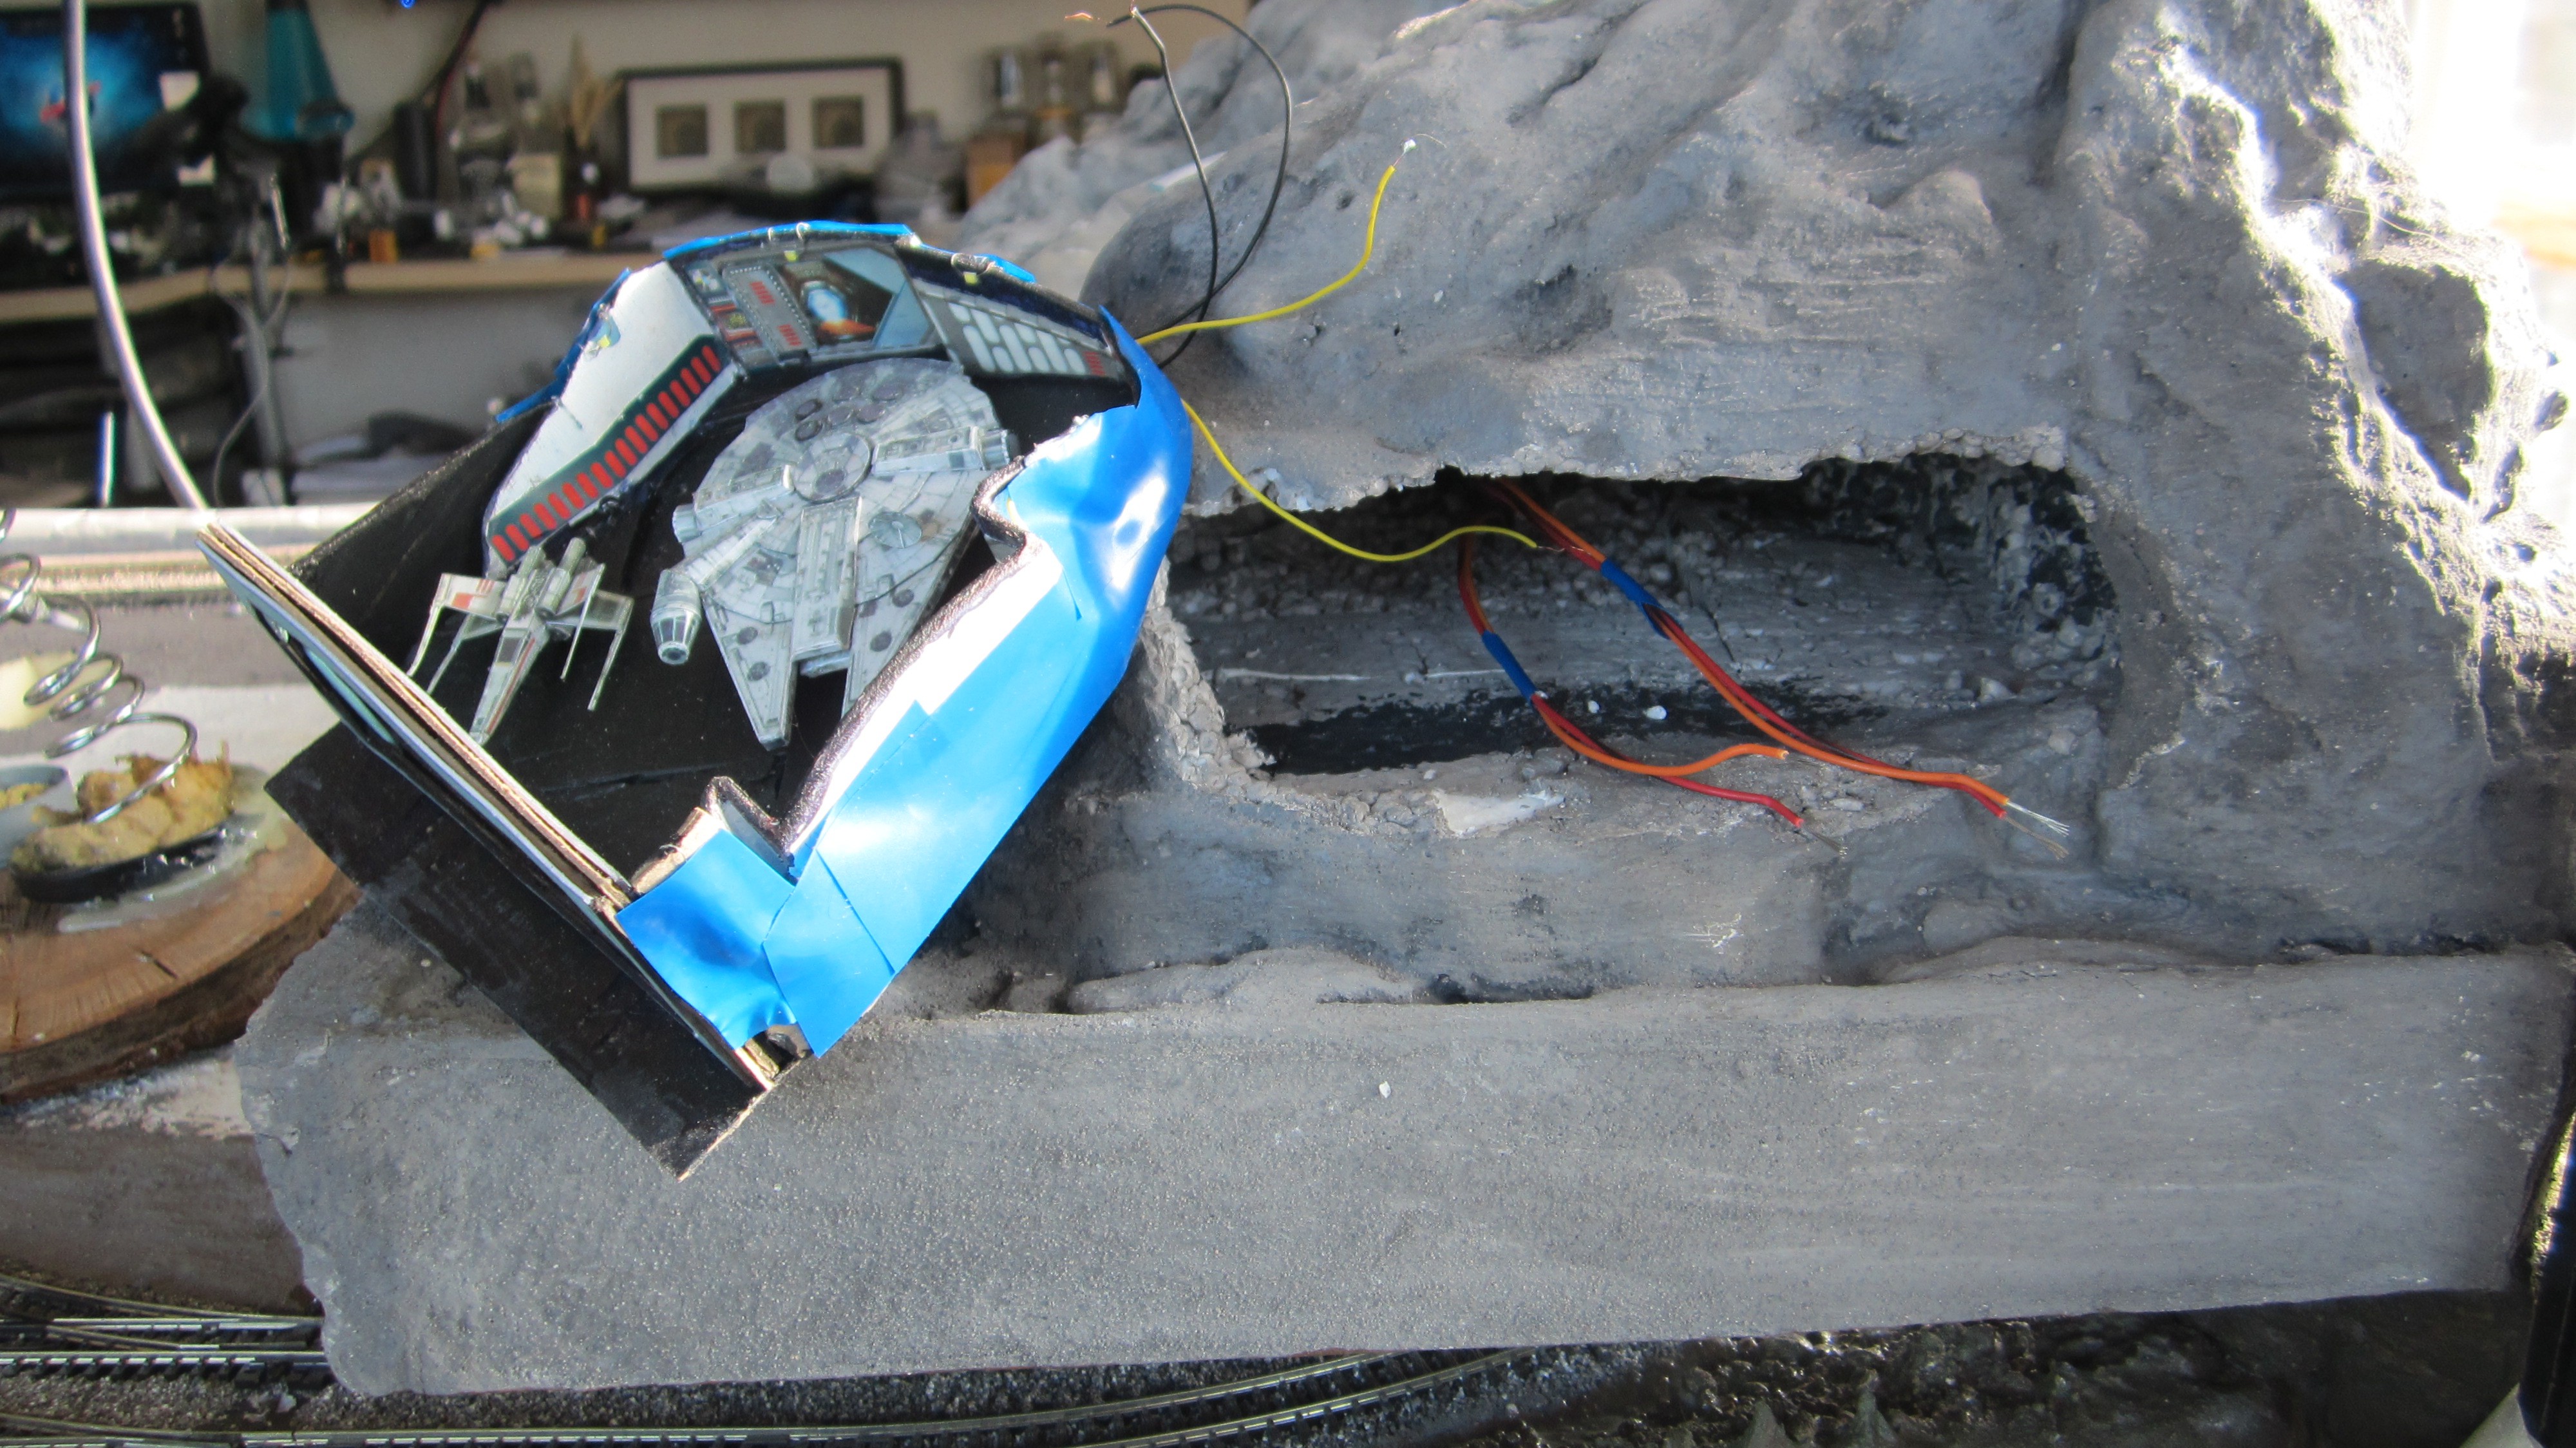
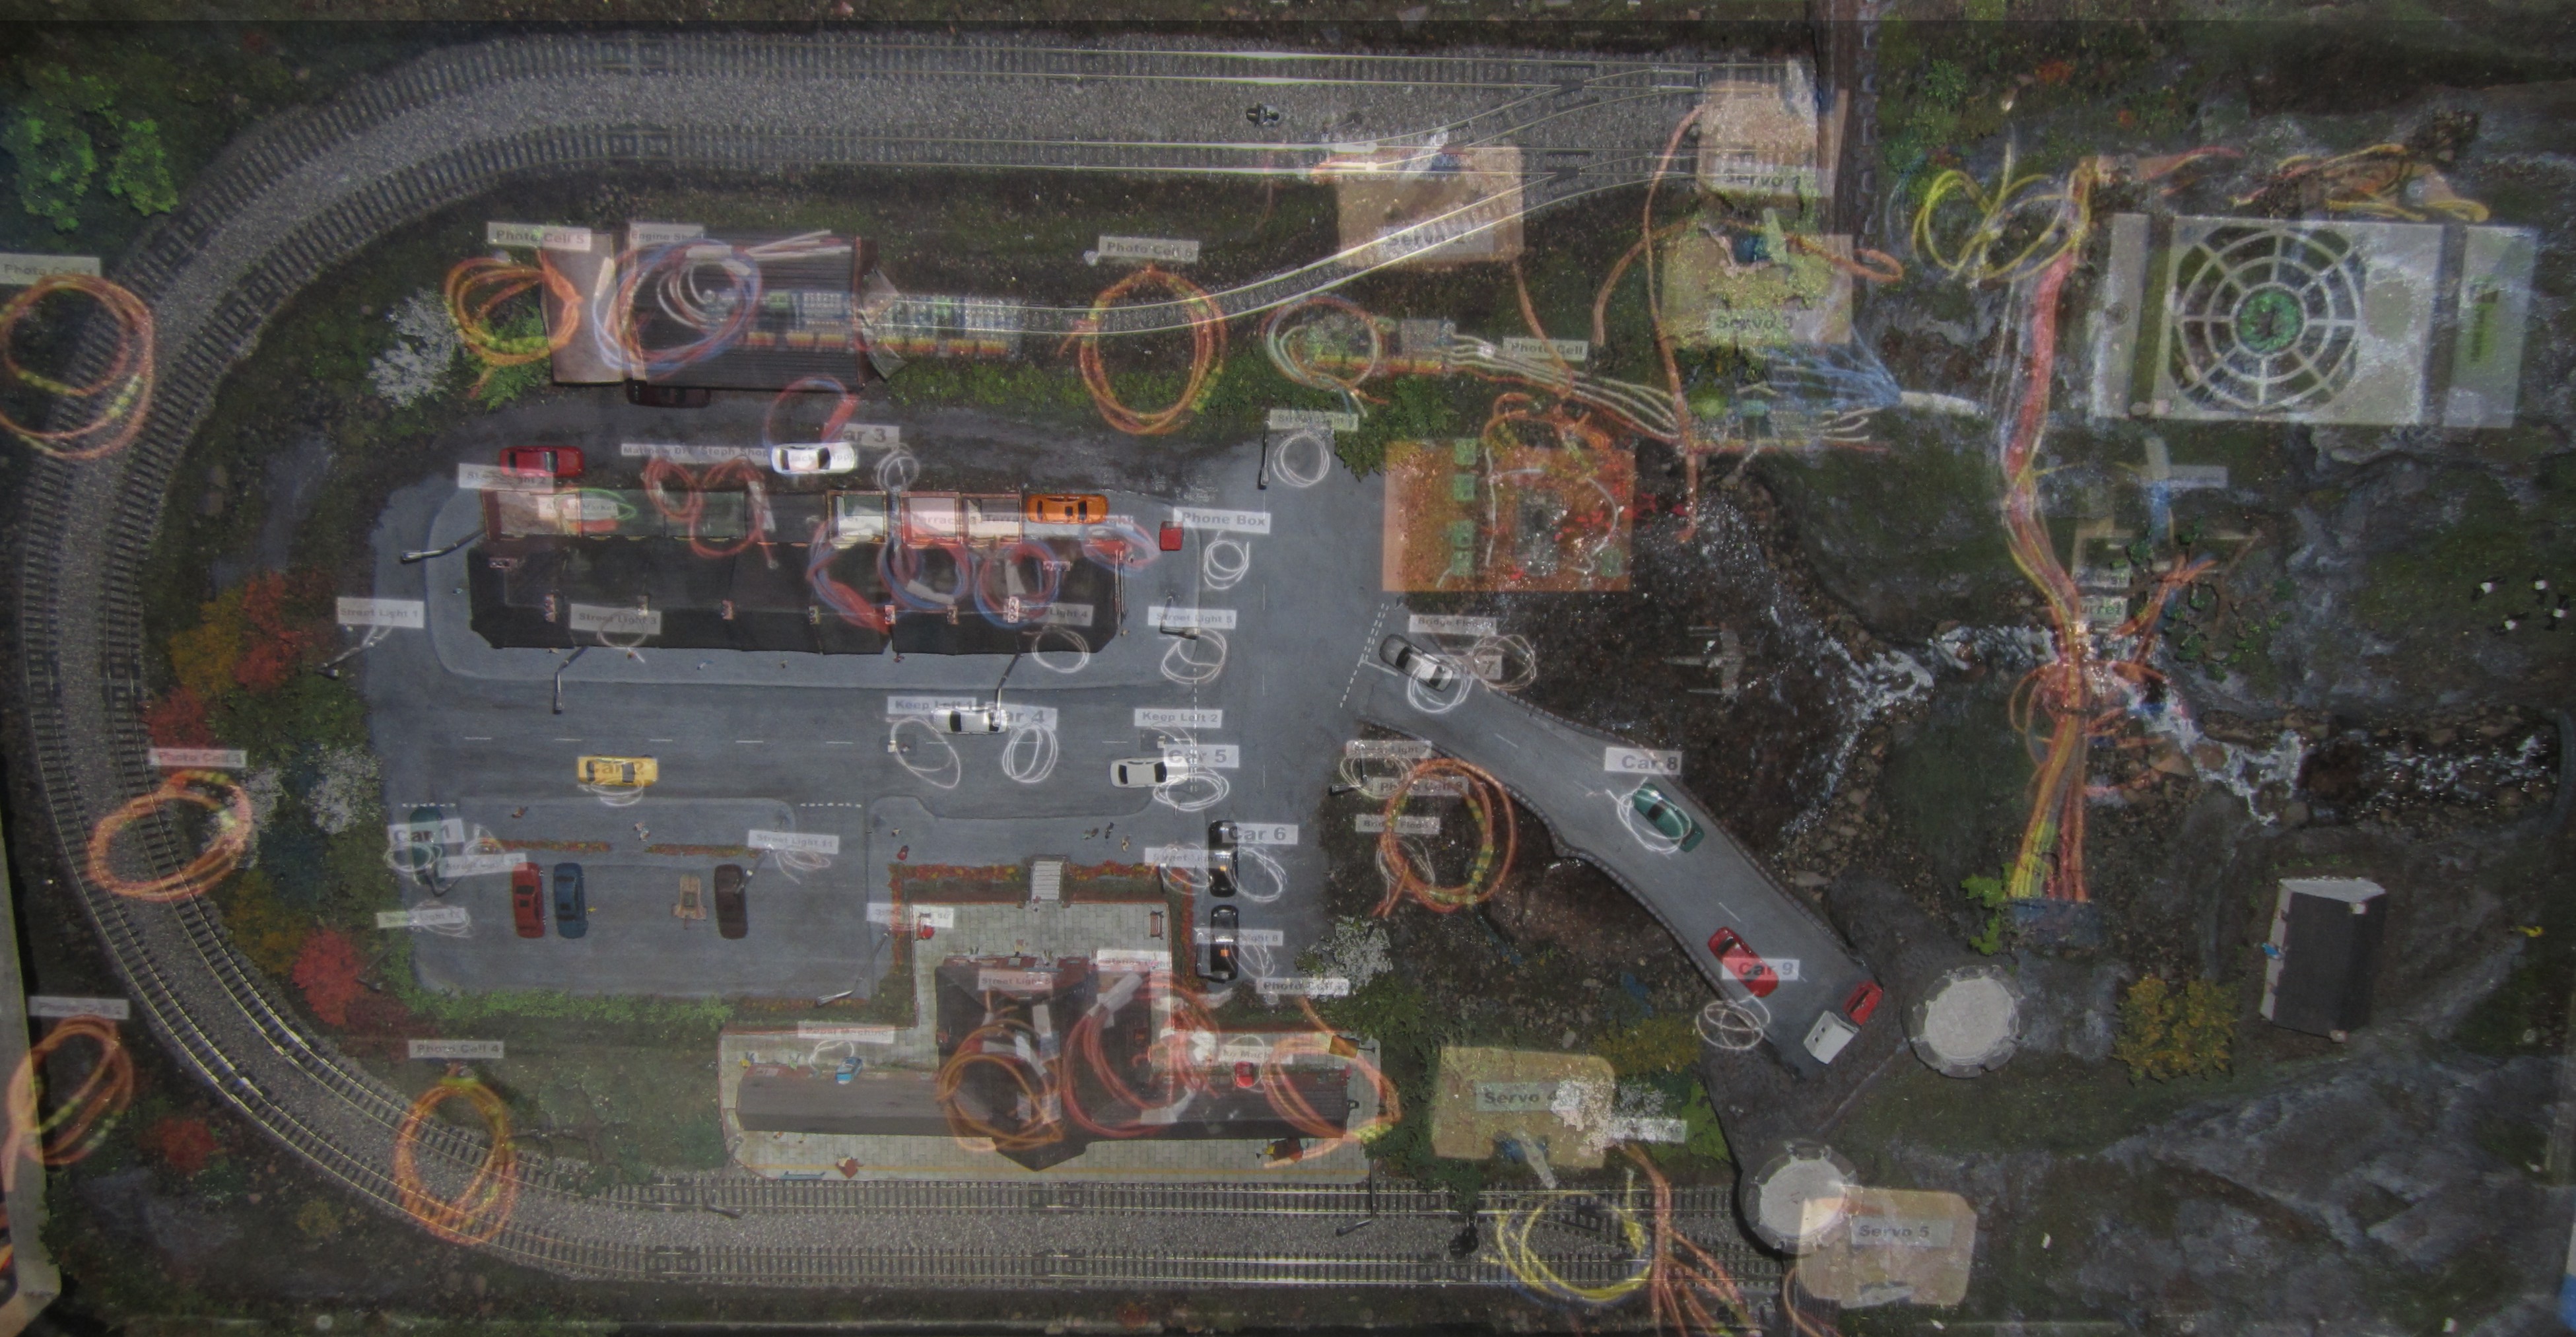
The wiring was embedded in the foam board, this would prove to be the wrong approach, wiring was run back to the control boards that we test fitted inside the hill, this also proved to be the wrong move but ignorance is bliss and we pushed on to get to a point of testing functionality.
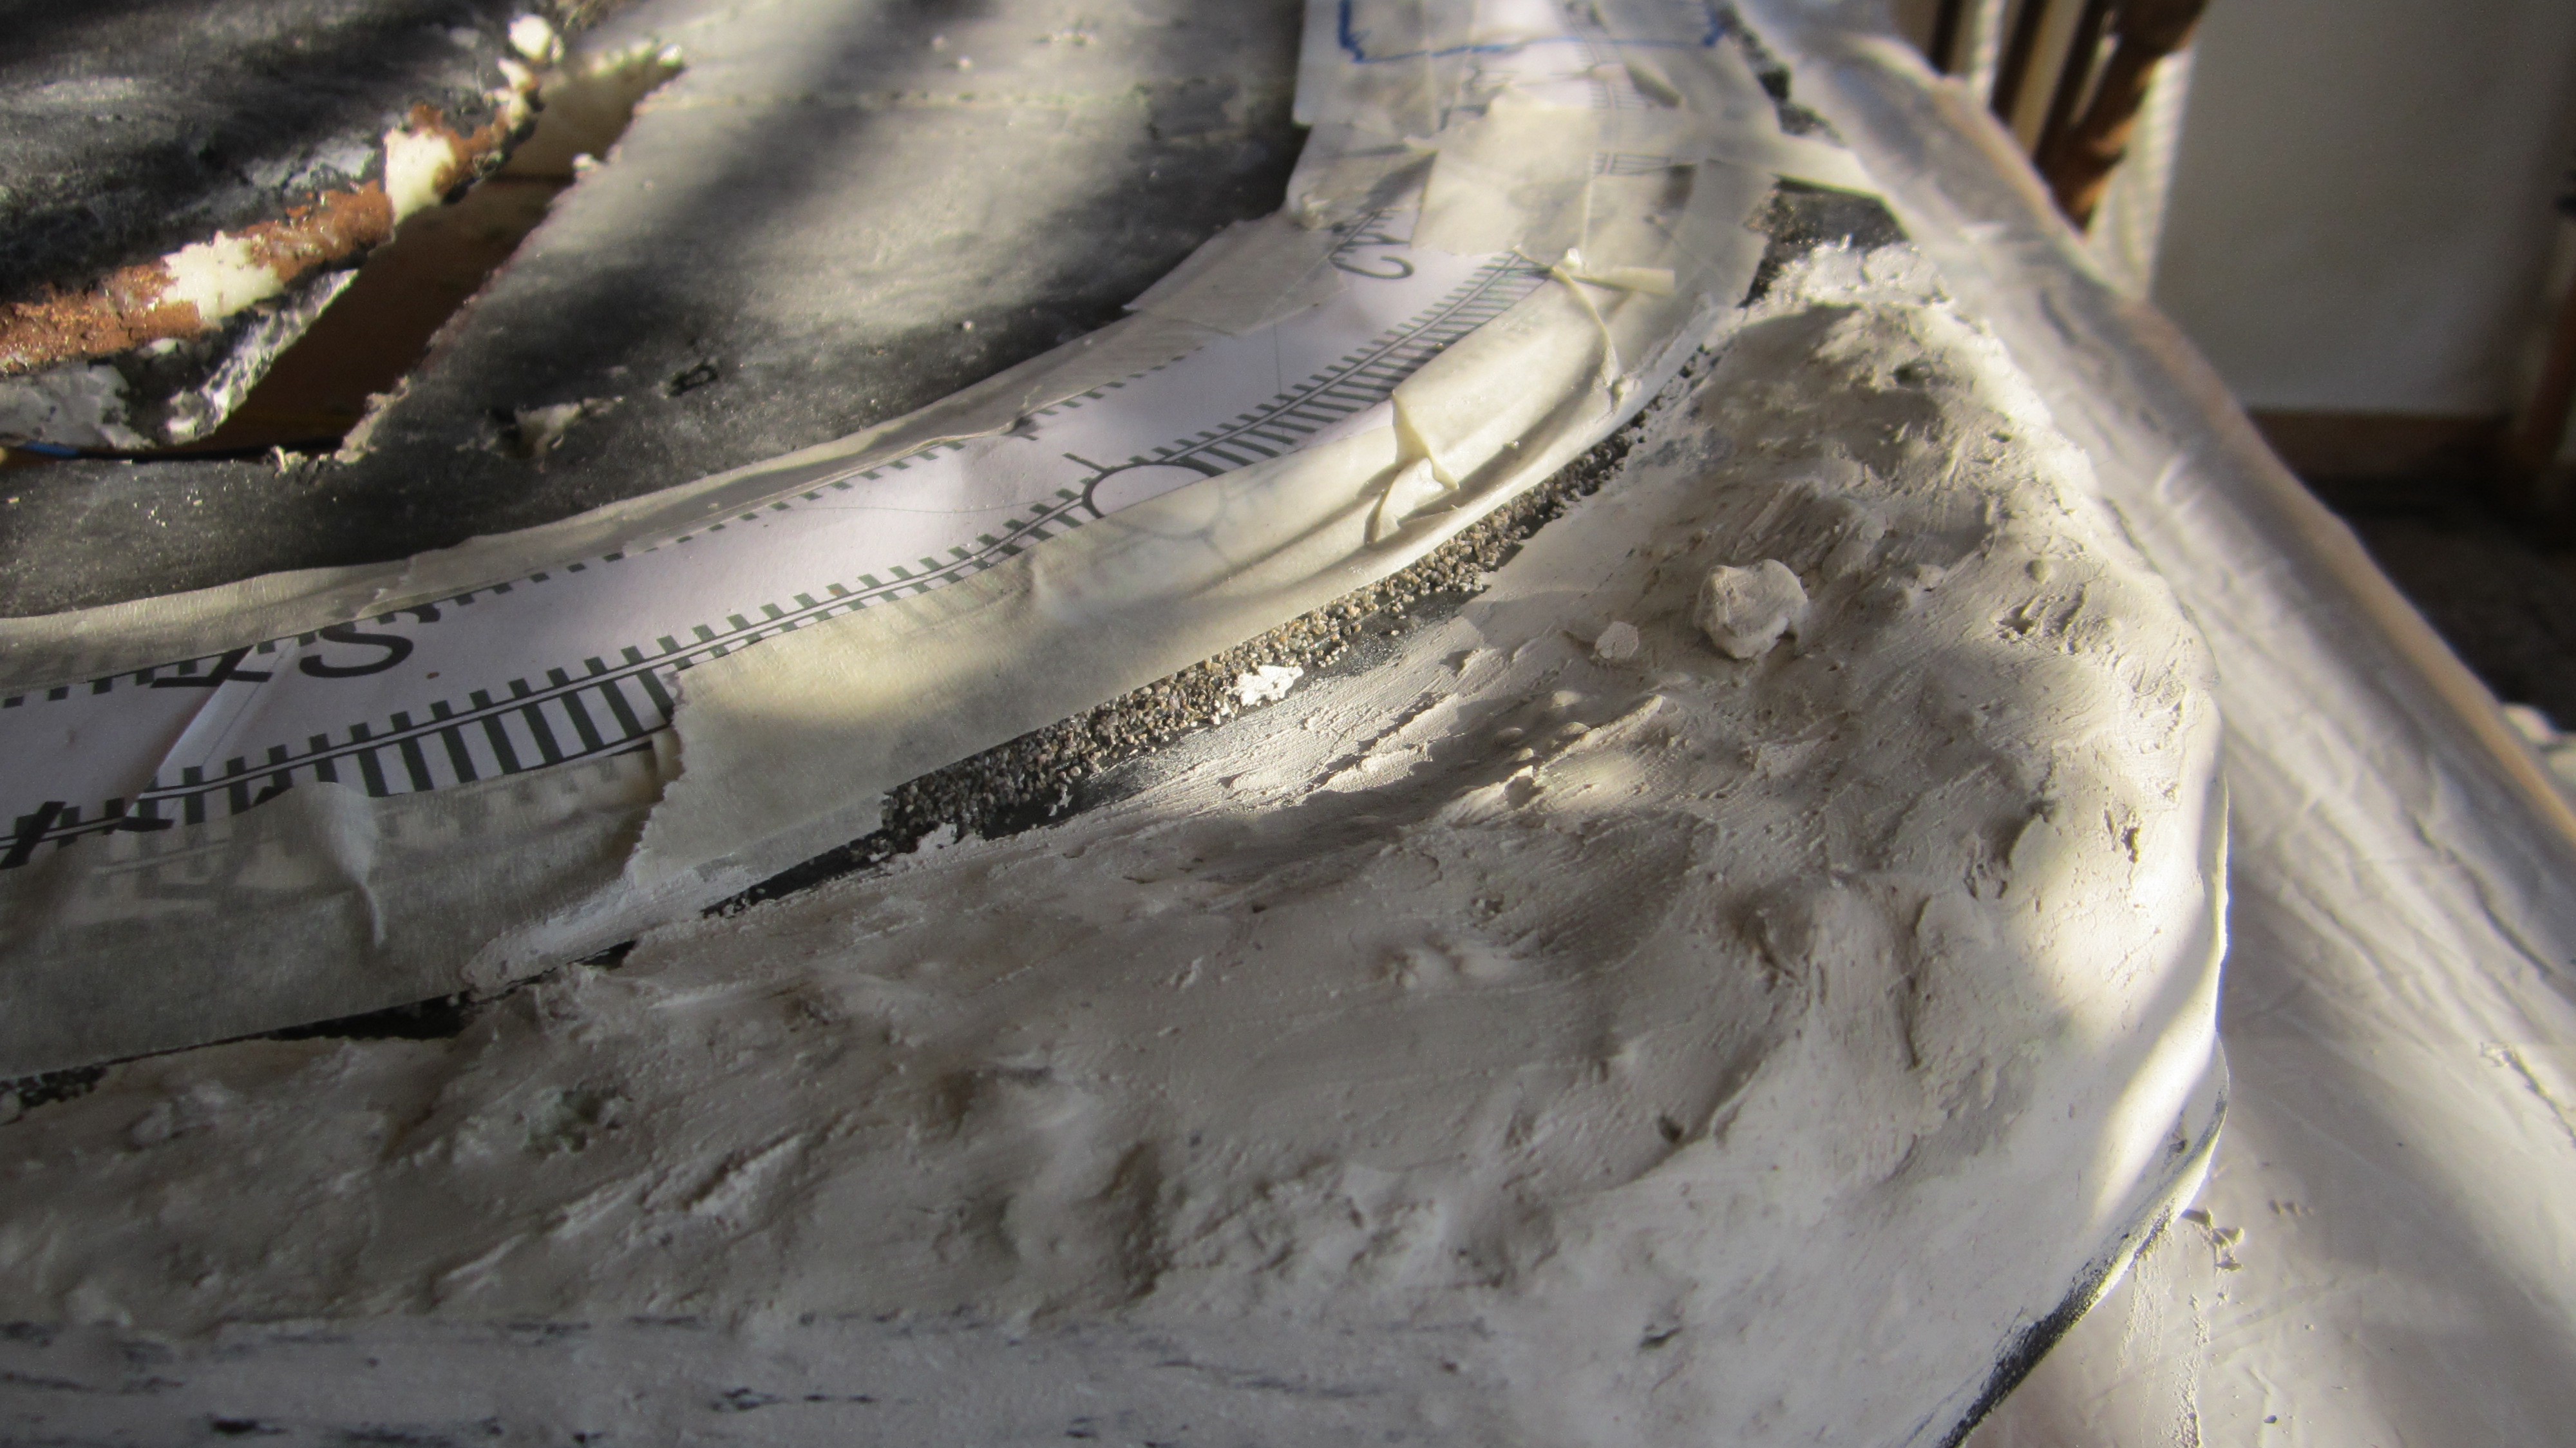
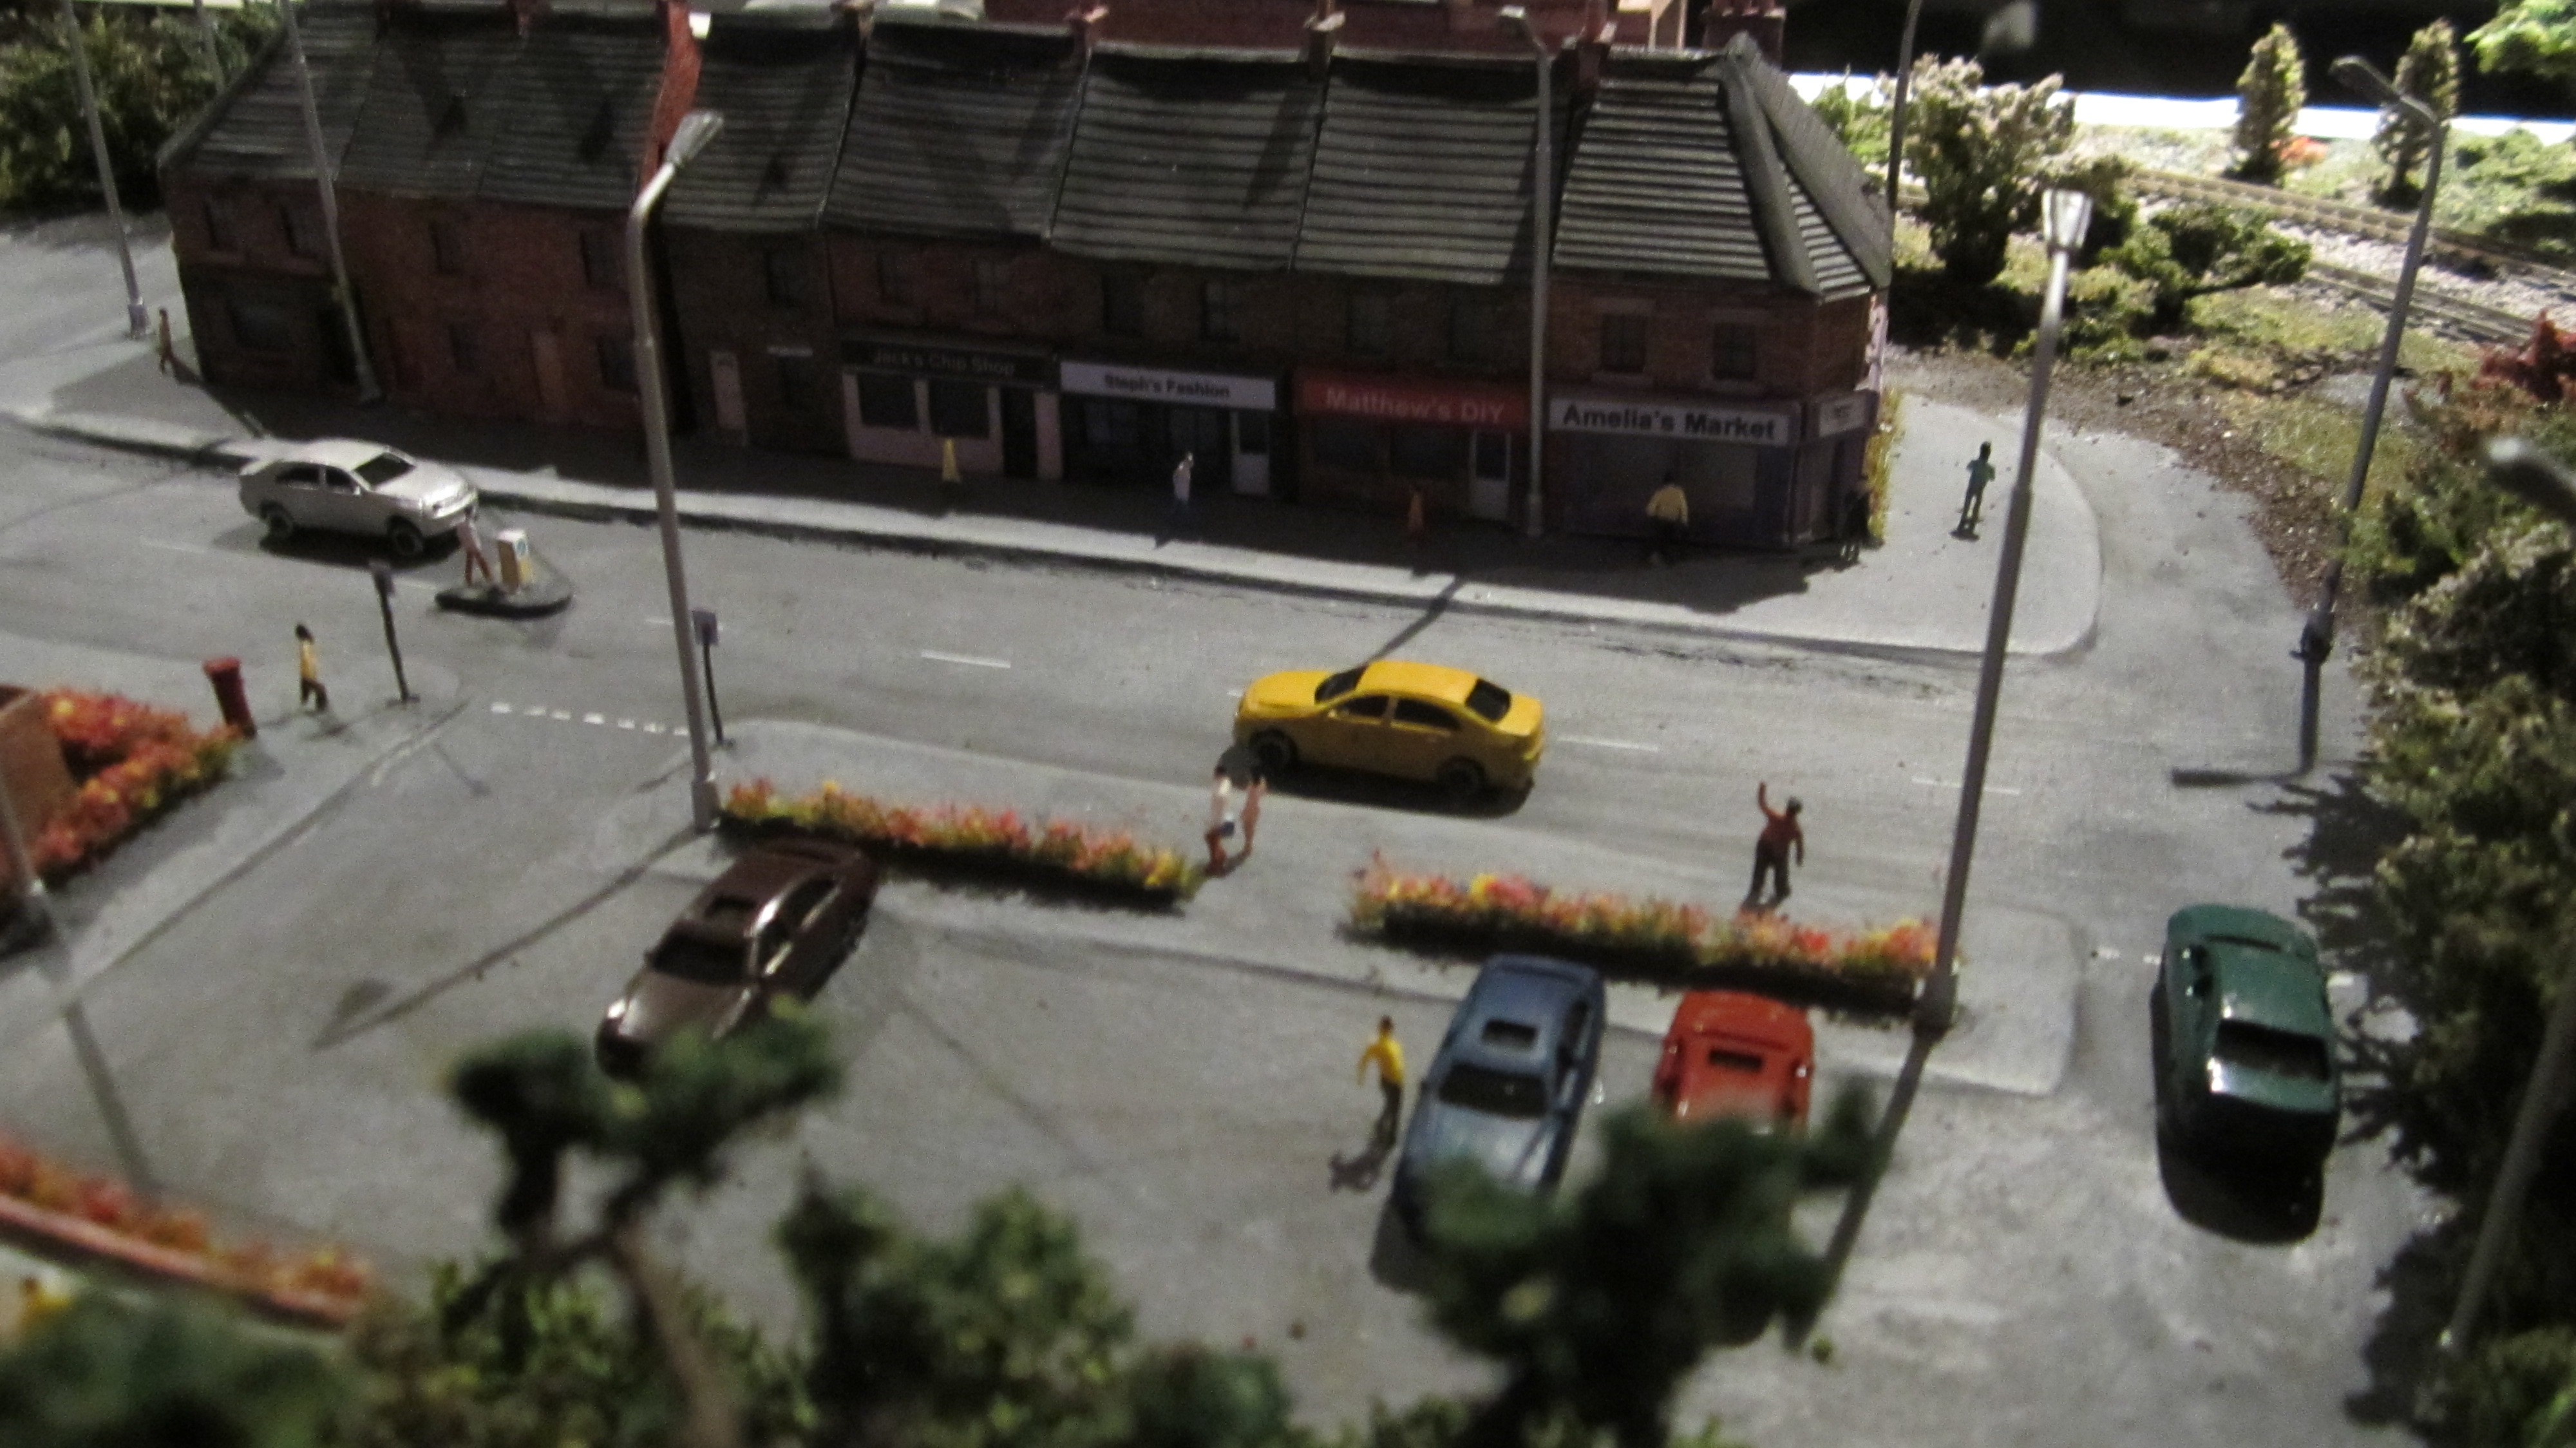
I downloaded a set of n-scale roads and printed them out, I then built up the road layout hiding the embedded wiring below the roads, I added the building that were complete and we were able to test run for Xmas day.

We learned a great deal from our test run, the proof of concept was really successful, the lighting looked awesome and the project "cool" potential was huge. The main lessons learned were we could not cut corners, we need to do this justice, we decided to remove any time restraints we had given ourselves and having mercilessly explored layout modelling on YouTube, we developed a new plan.
Lessons learned so far
1. Embedding wiring is not advisable, the conventional way is to drop the wires straight through the board to underneath the layout, allowing easy maintenance or fault finding.
2. Like point 1 the control boards need to be fitted on the underside of the layout for the same reasons, the original idea was to have a drawer in the bottom of the table and we attempted to contain the wiring and controllers in the foam core and inside hidden the hill, this proved impractical and woefully inadequate as the electronics list expanded.
3. We attempted to use an old kitchen table to make the coffee table, it quickly became apparent that we needed to build our own frame, the cost to adapt the kitchen table was comparable with buying the wood, we could then design and build exactly what we needed.
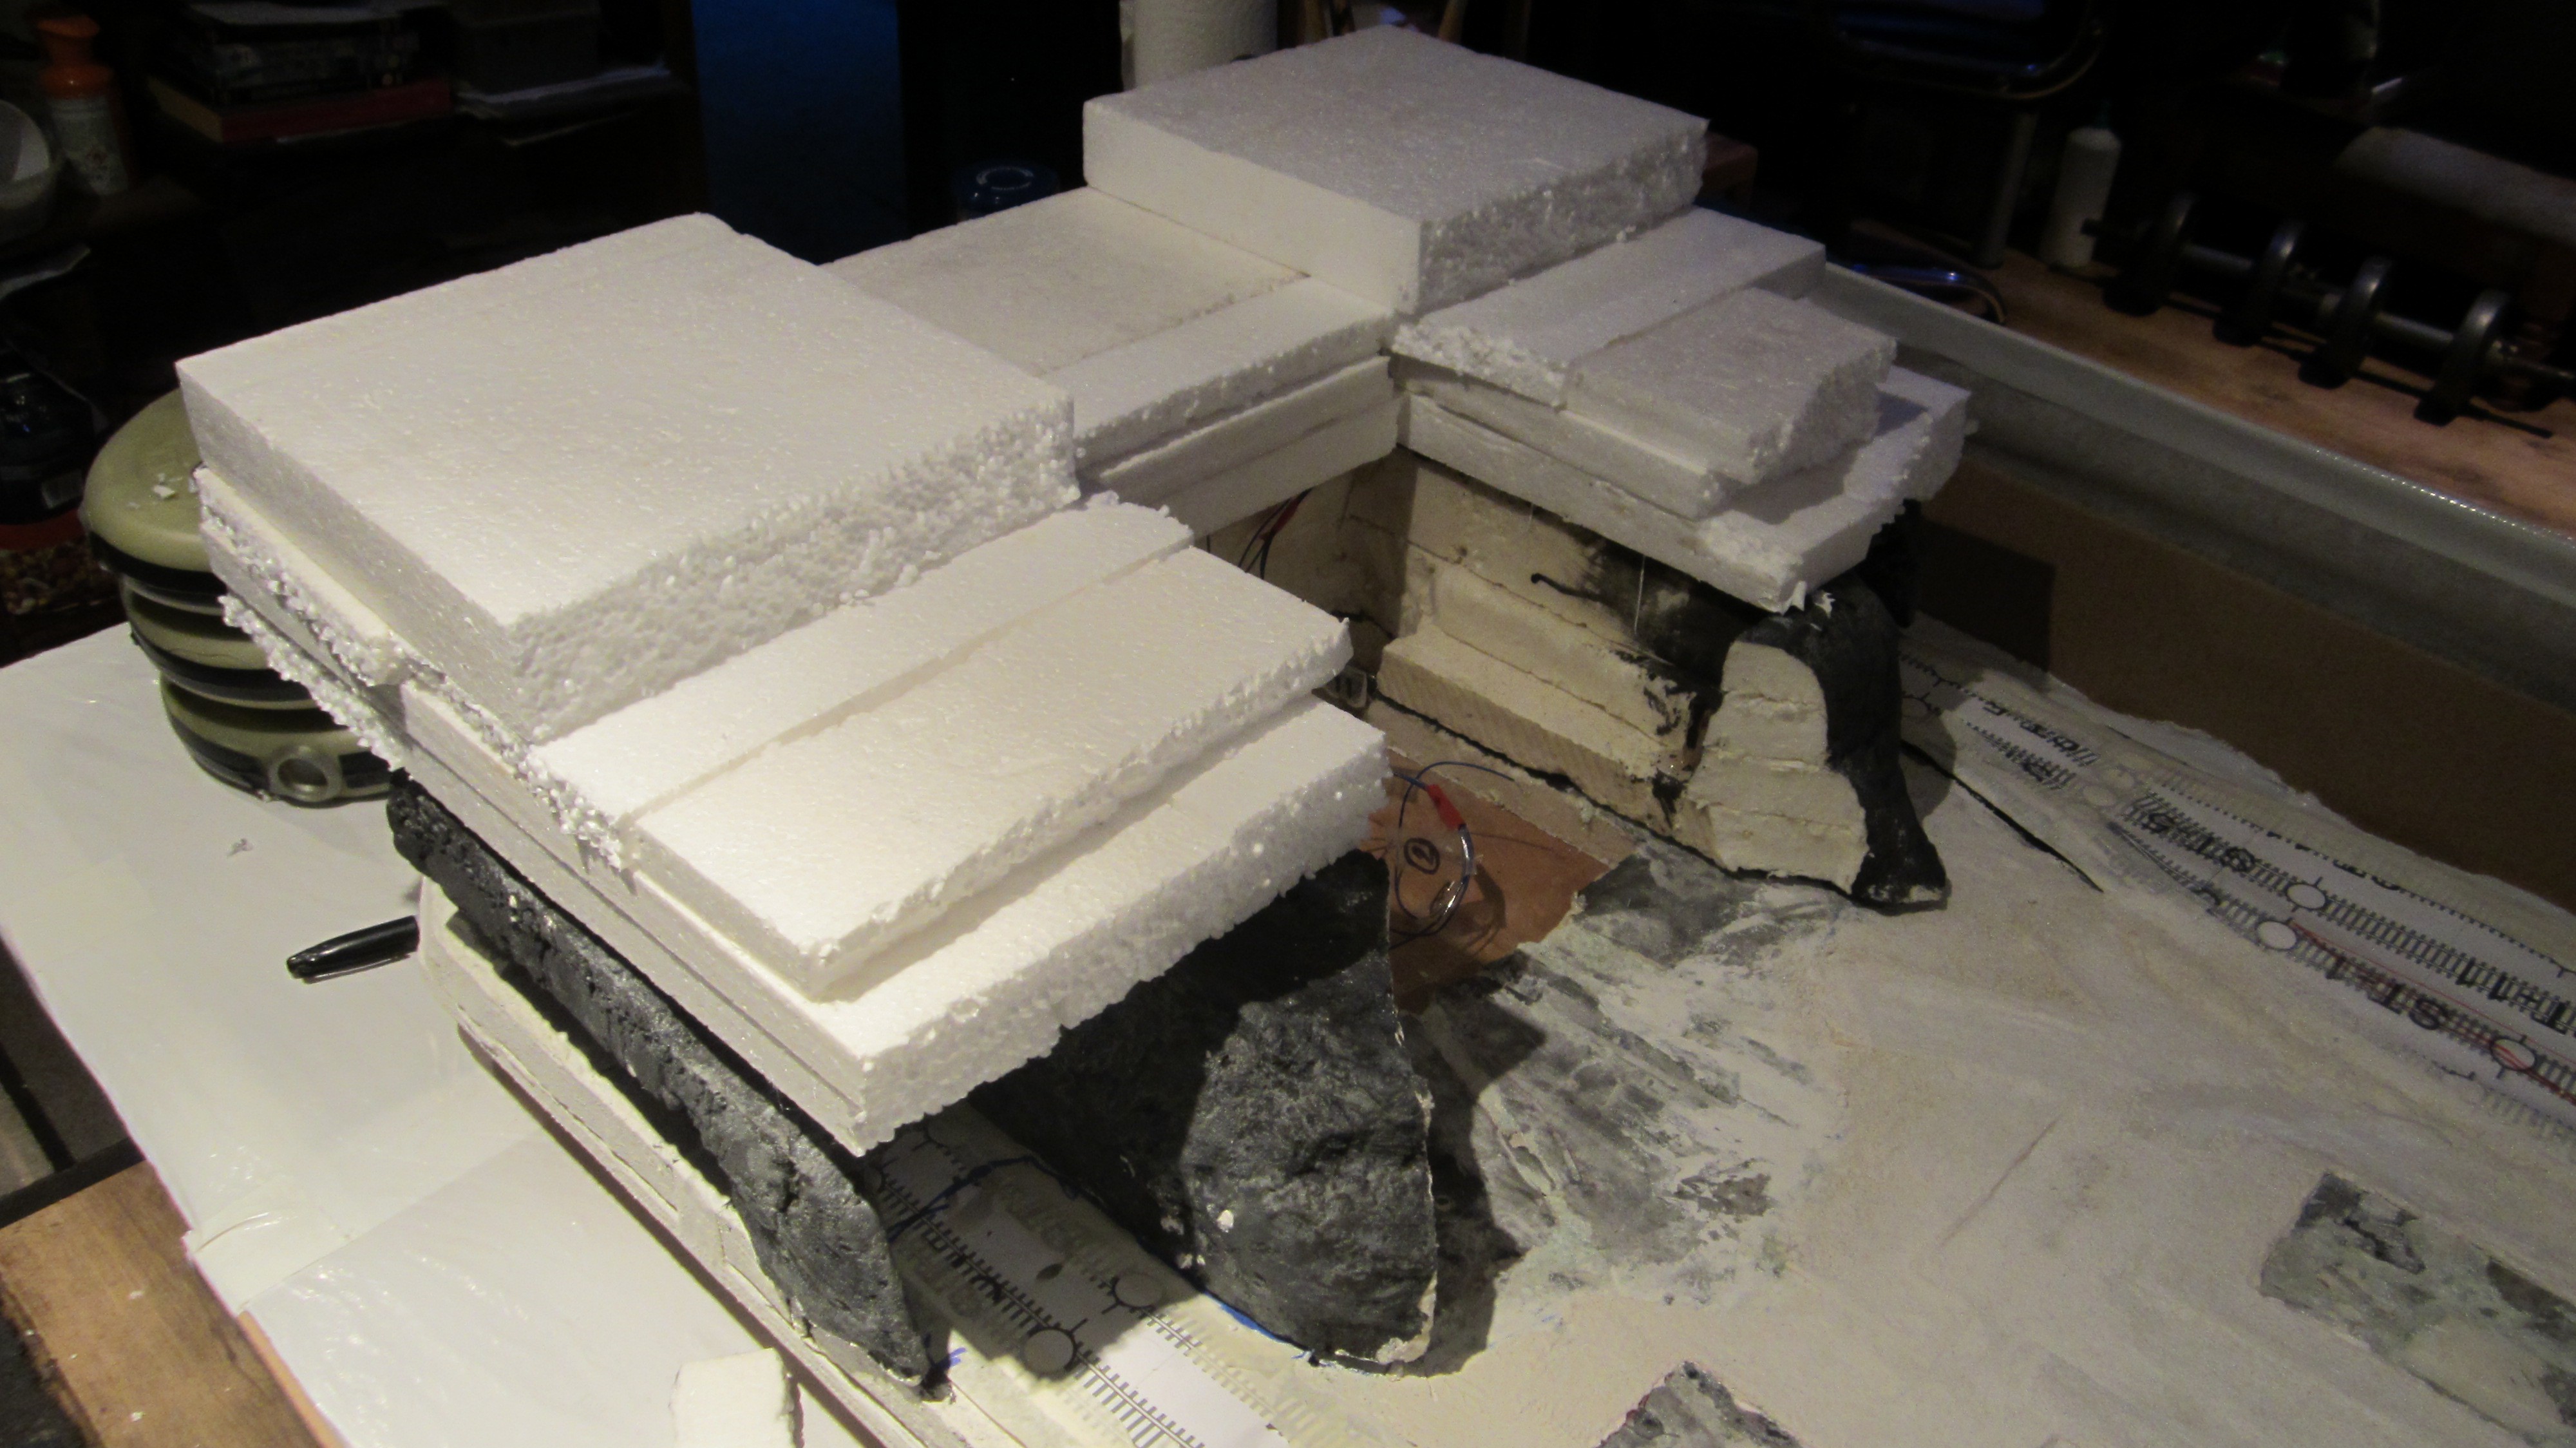
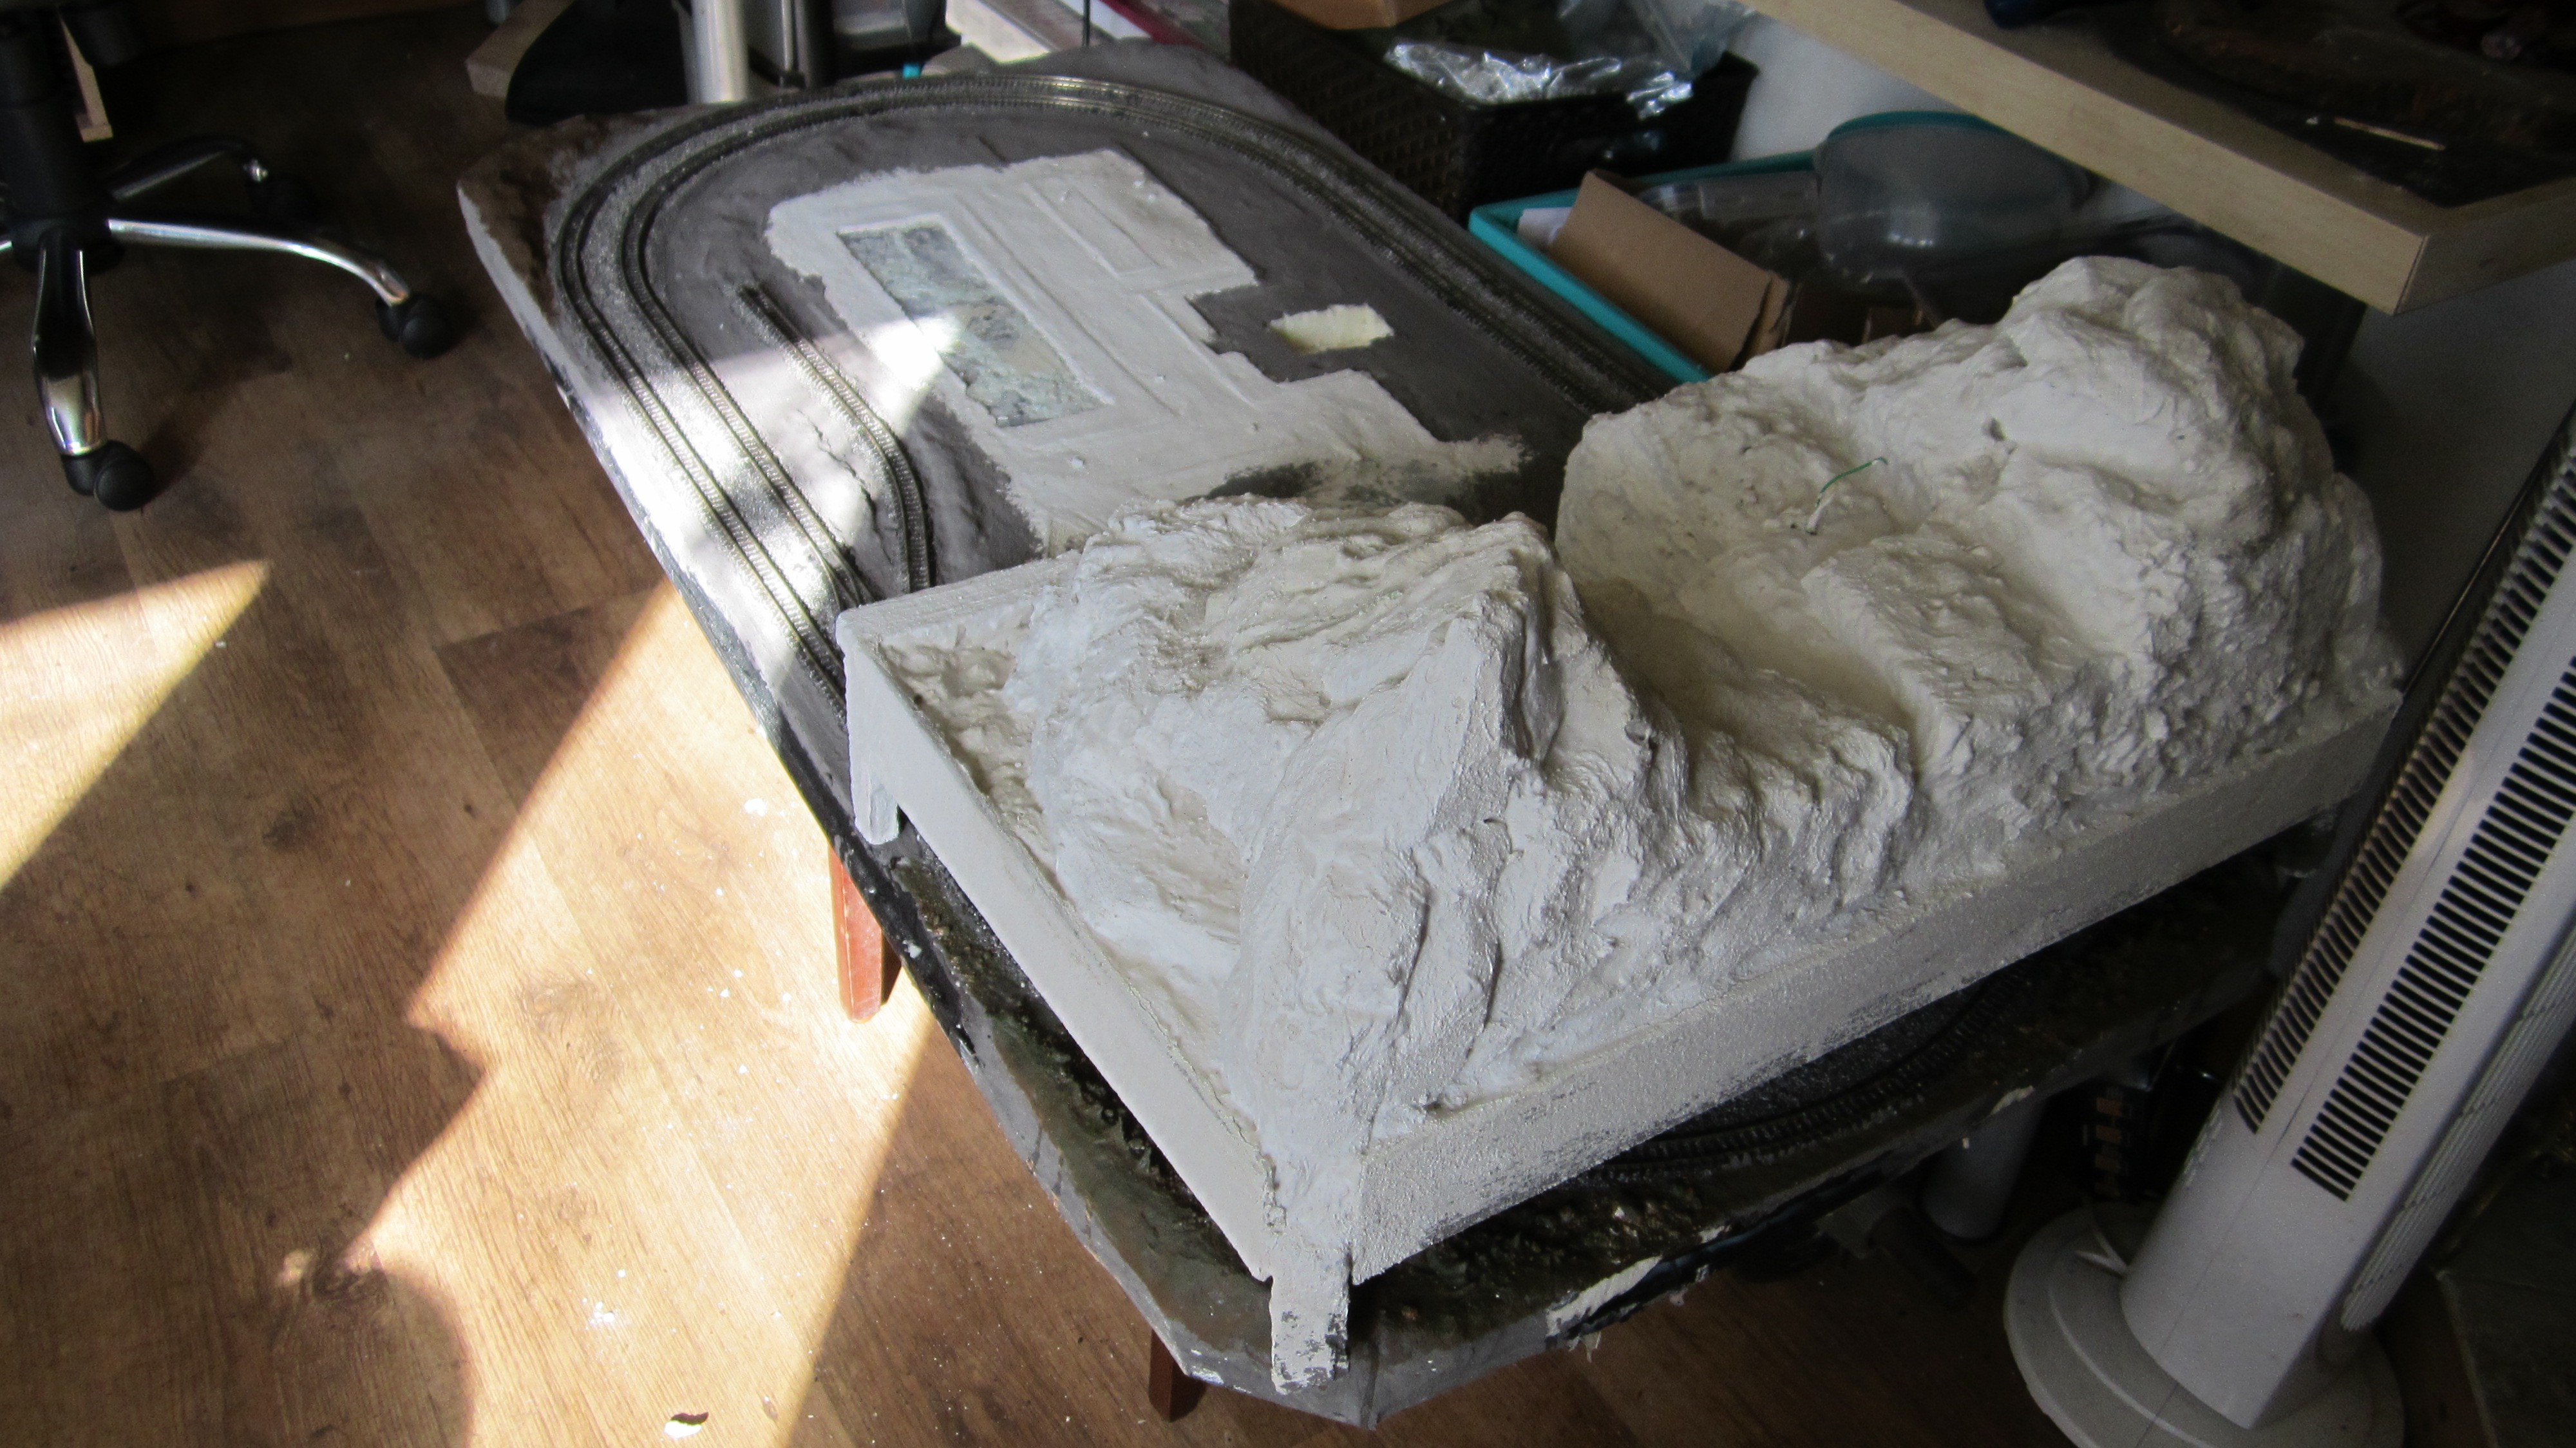
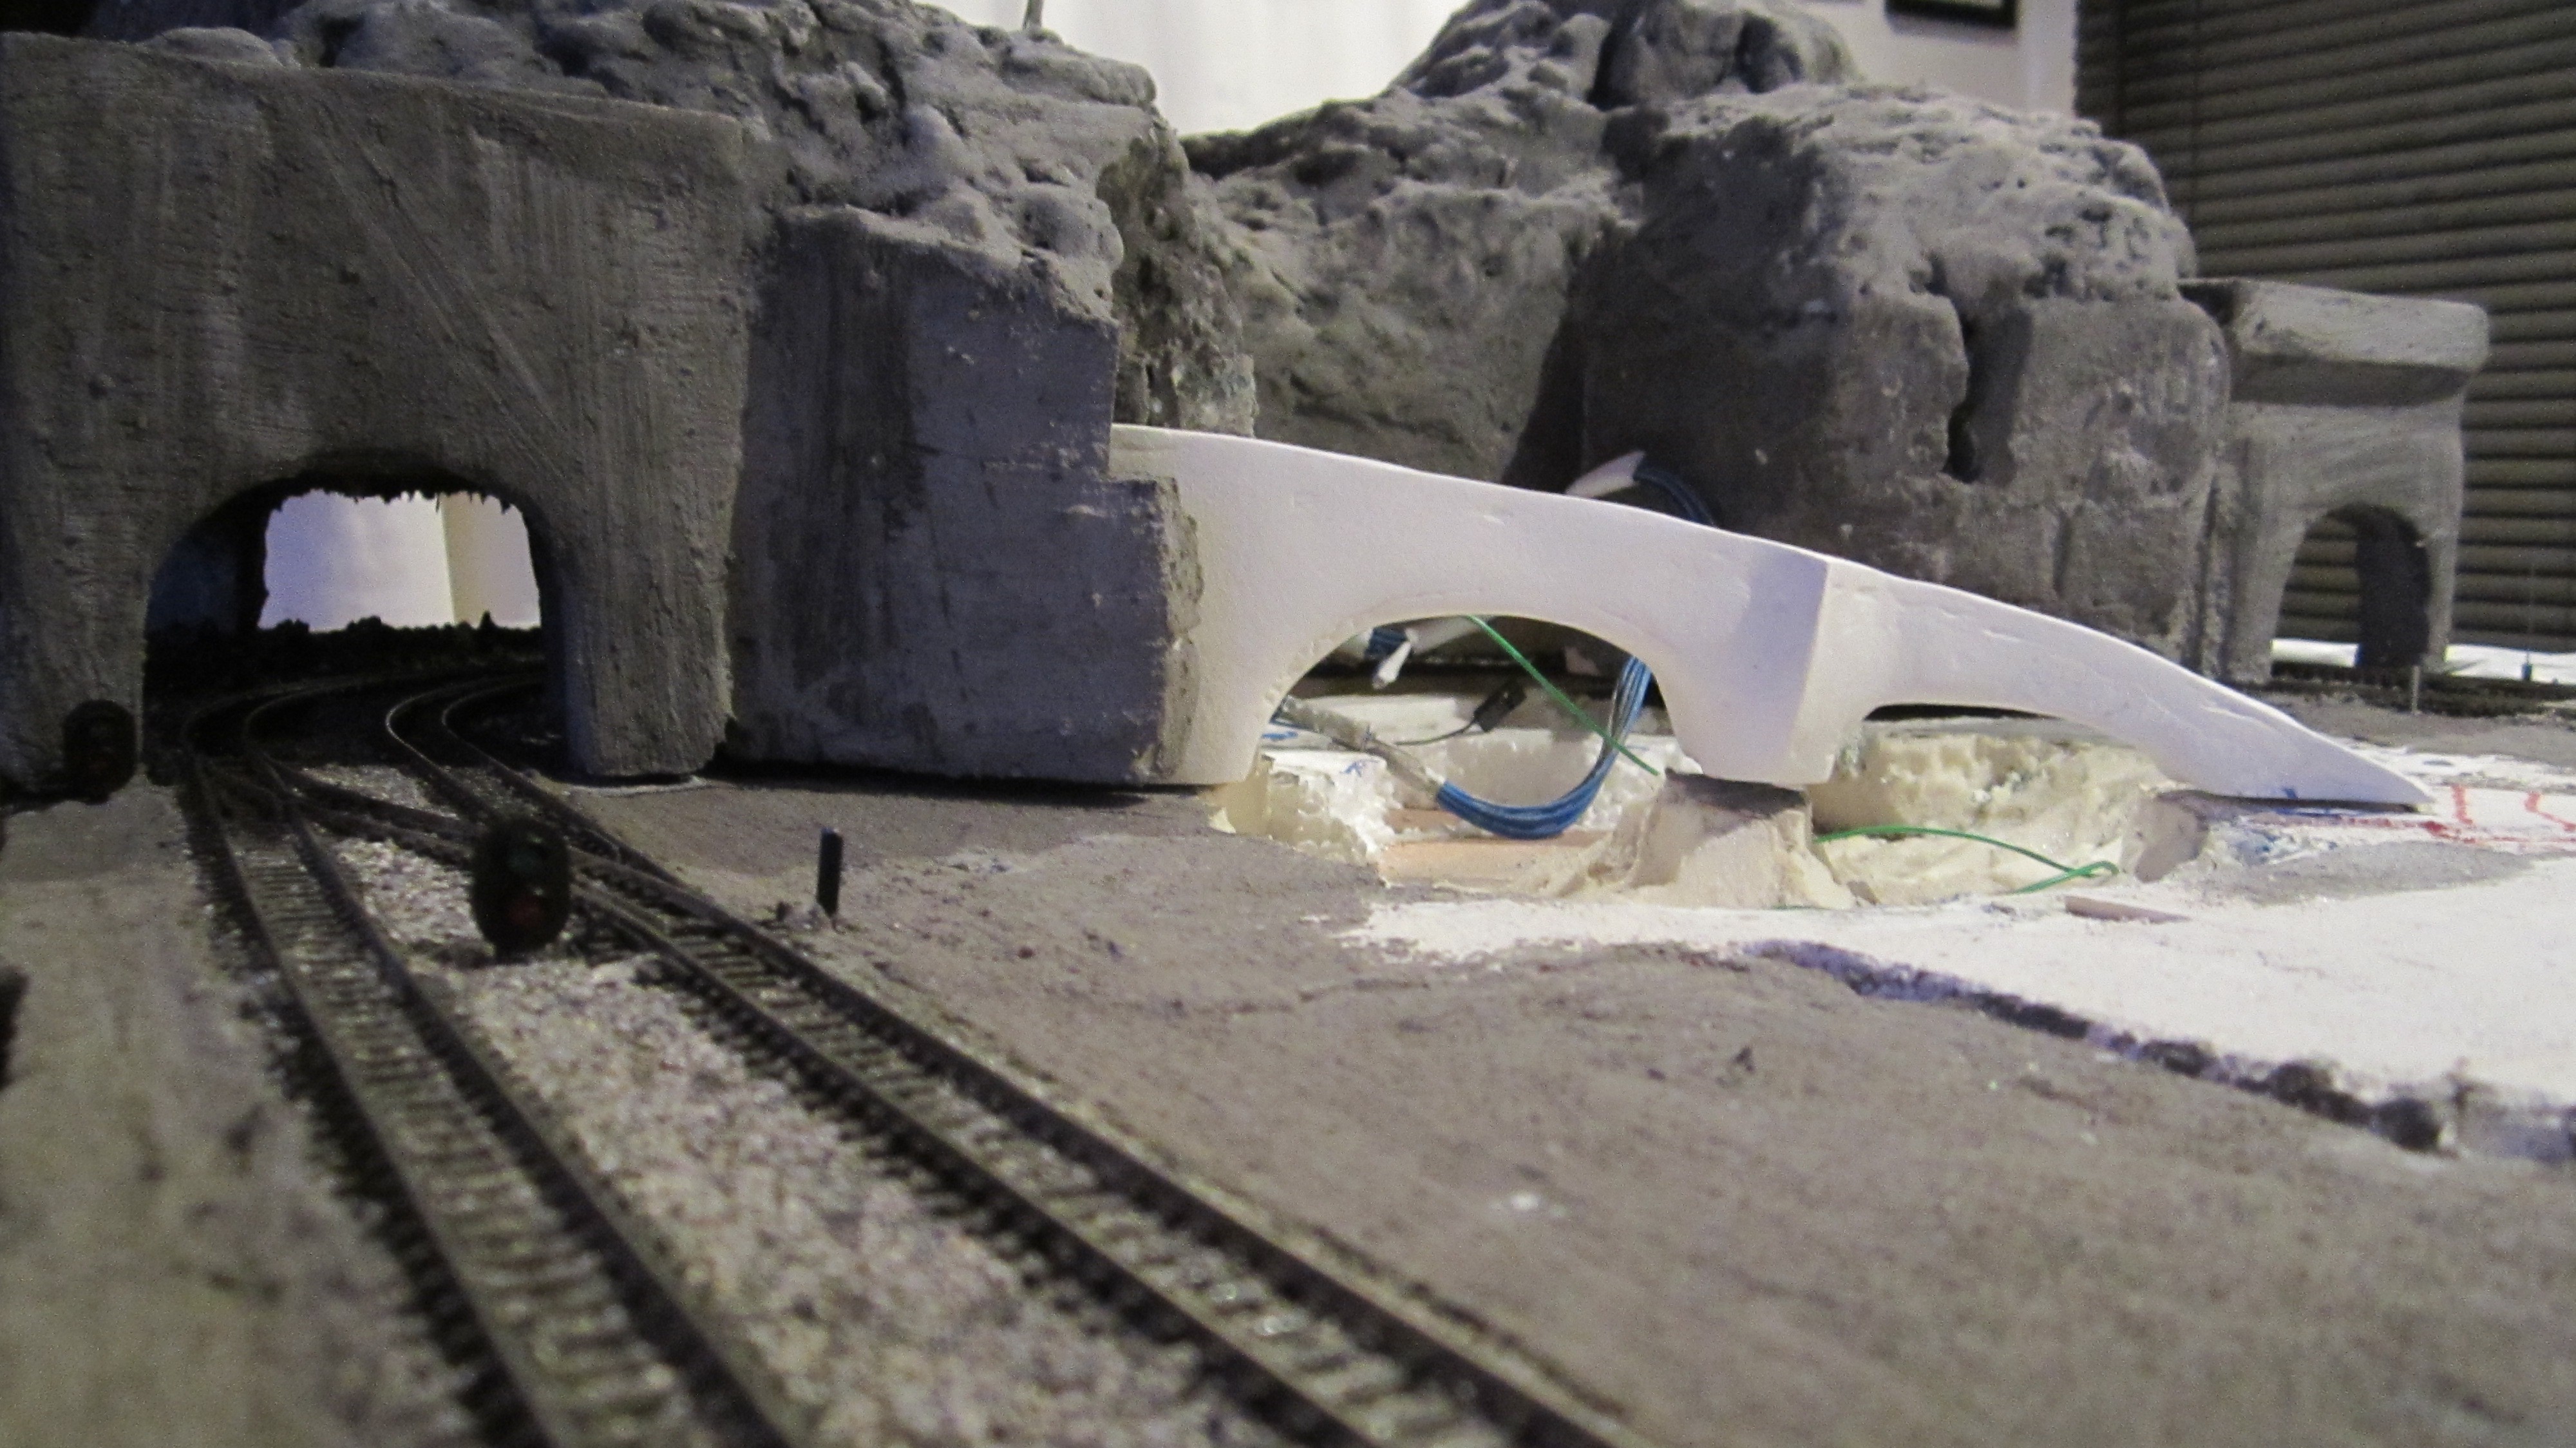
The new plan was to build the frame, mount the foam core to a plywood base, we could then run the wiring through and fit controller boards and power supply on the underside. This allowed us to develop the look of the hill and it was decided to expand the scenery into the void in the centre.


YouTube influences - Mel the Terrain Tutor - Luke APS - Luke Towan
We then soaked up modelling information and learned the following
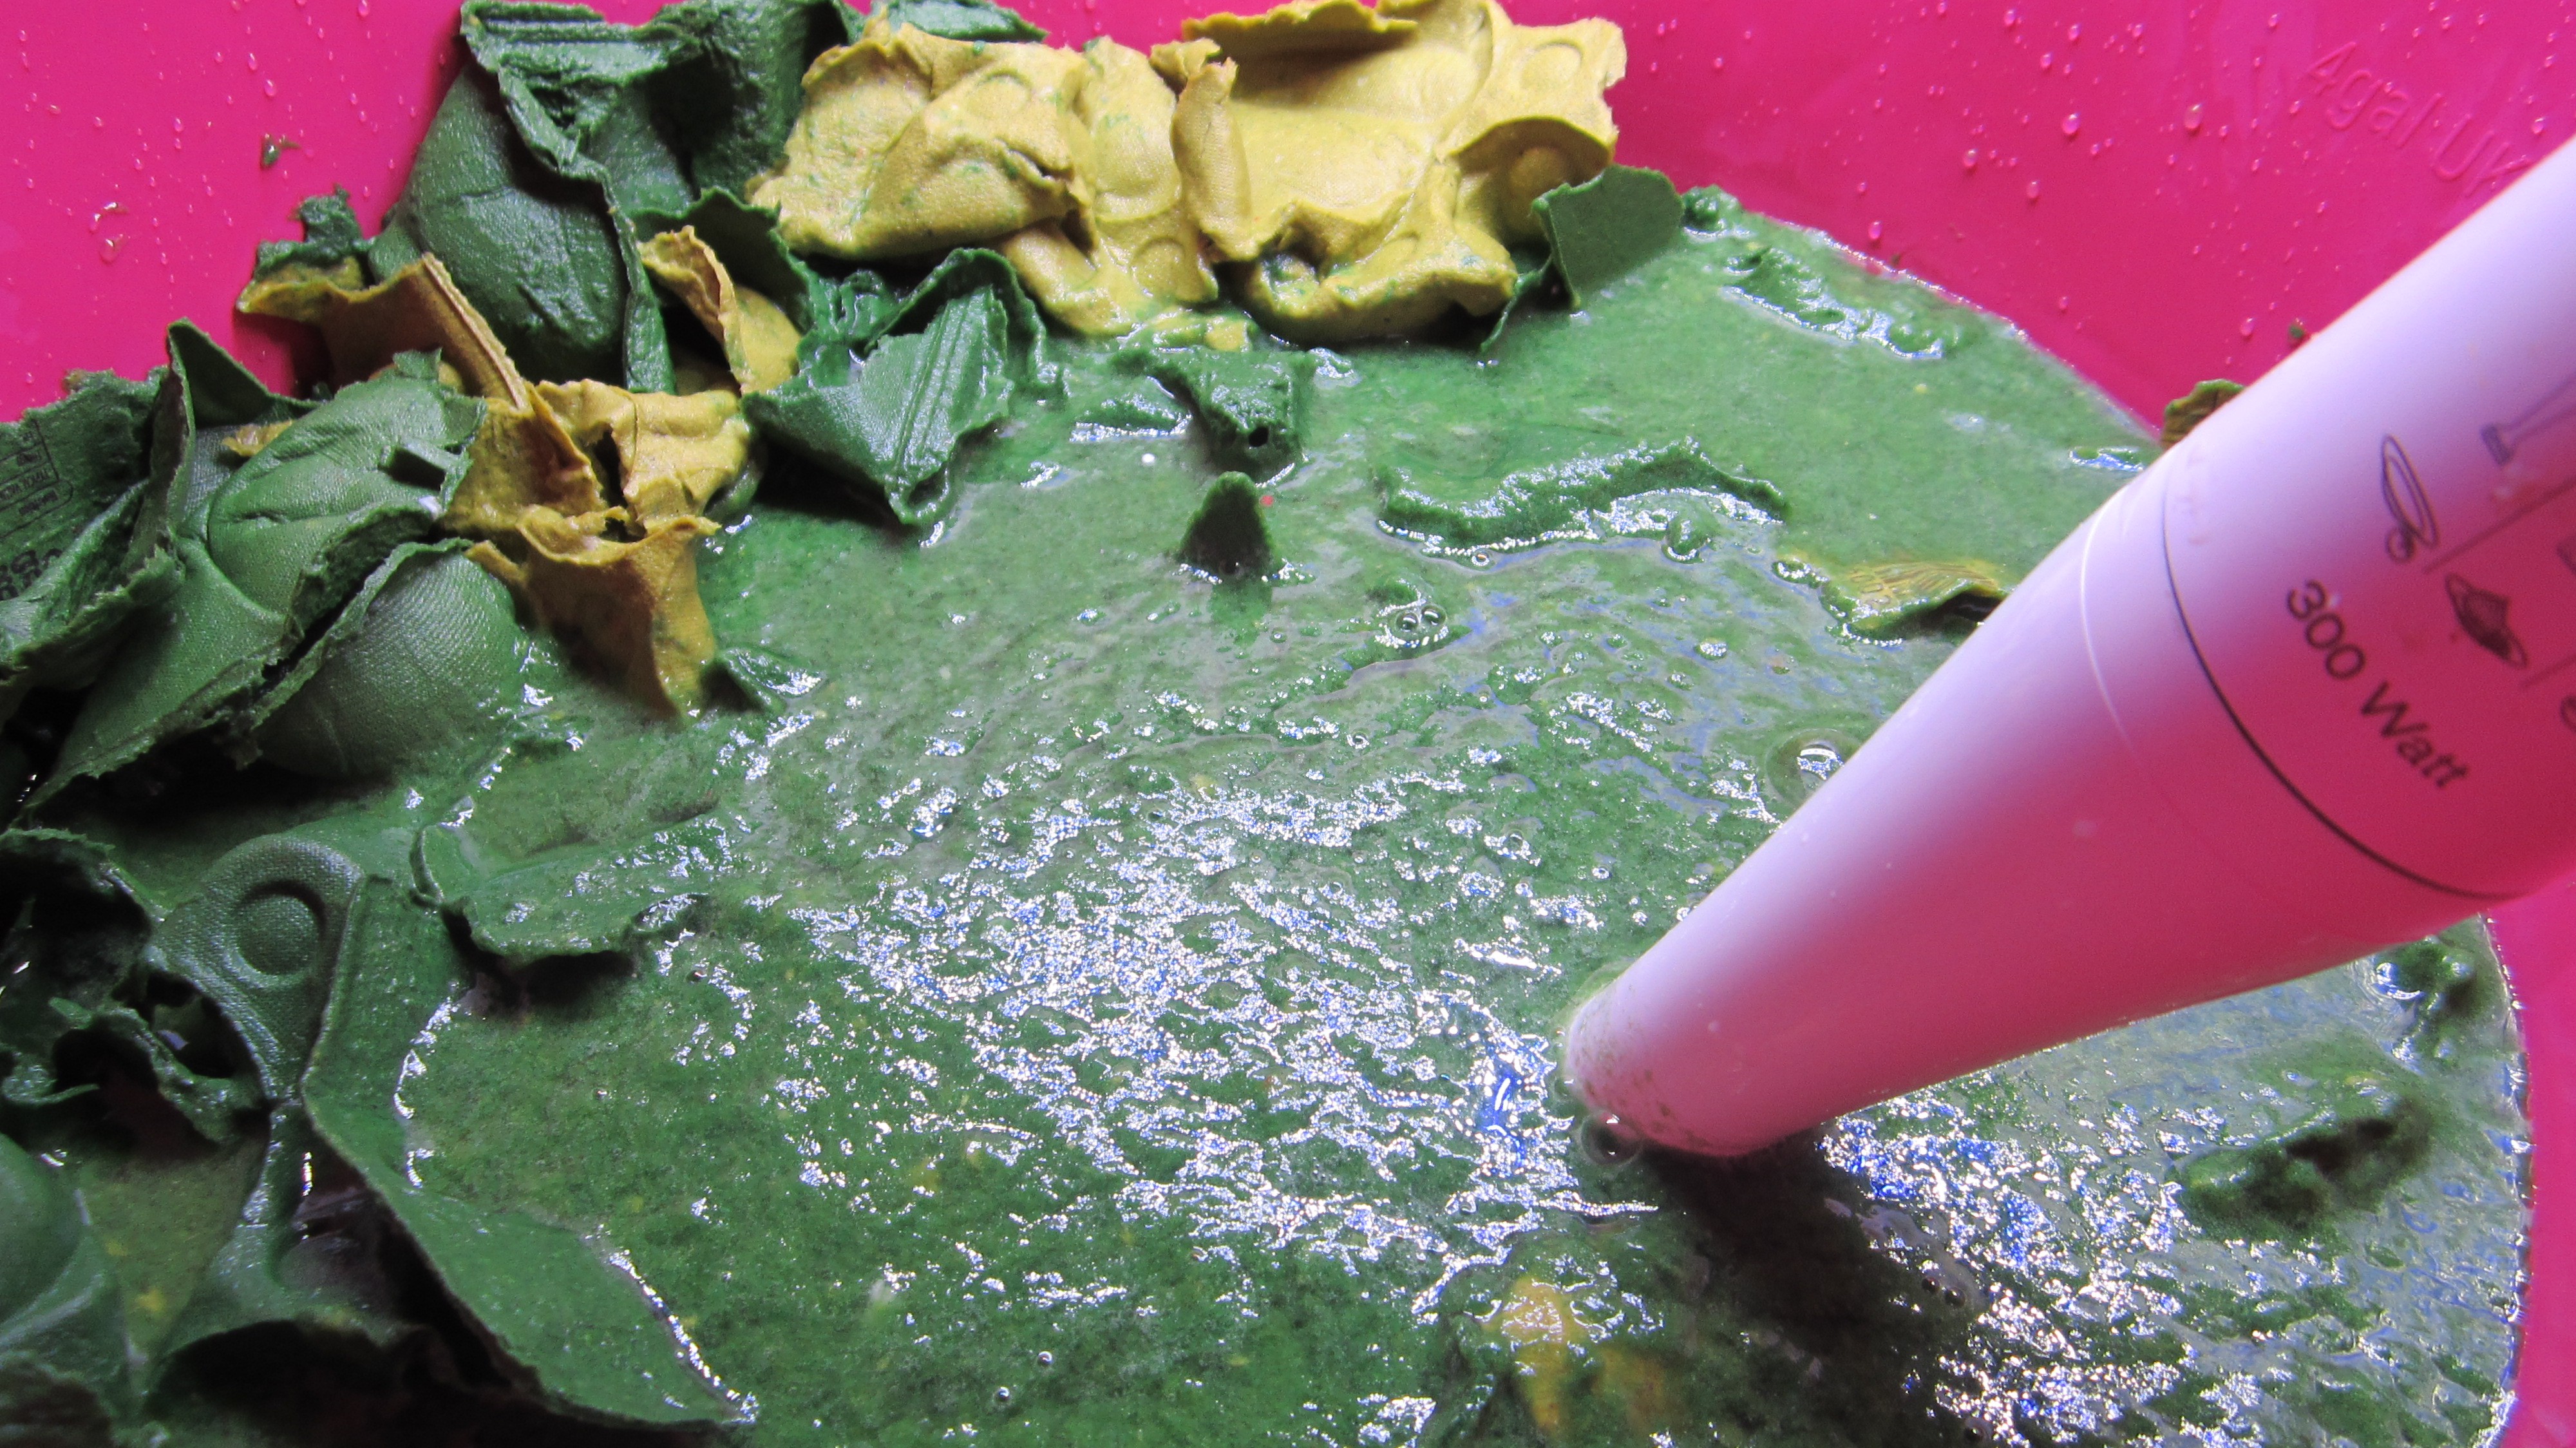
1. How to make Mod Podge for terrain modelling from egg boxes and plaster.
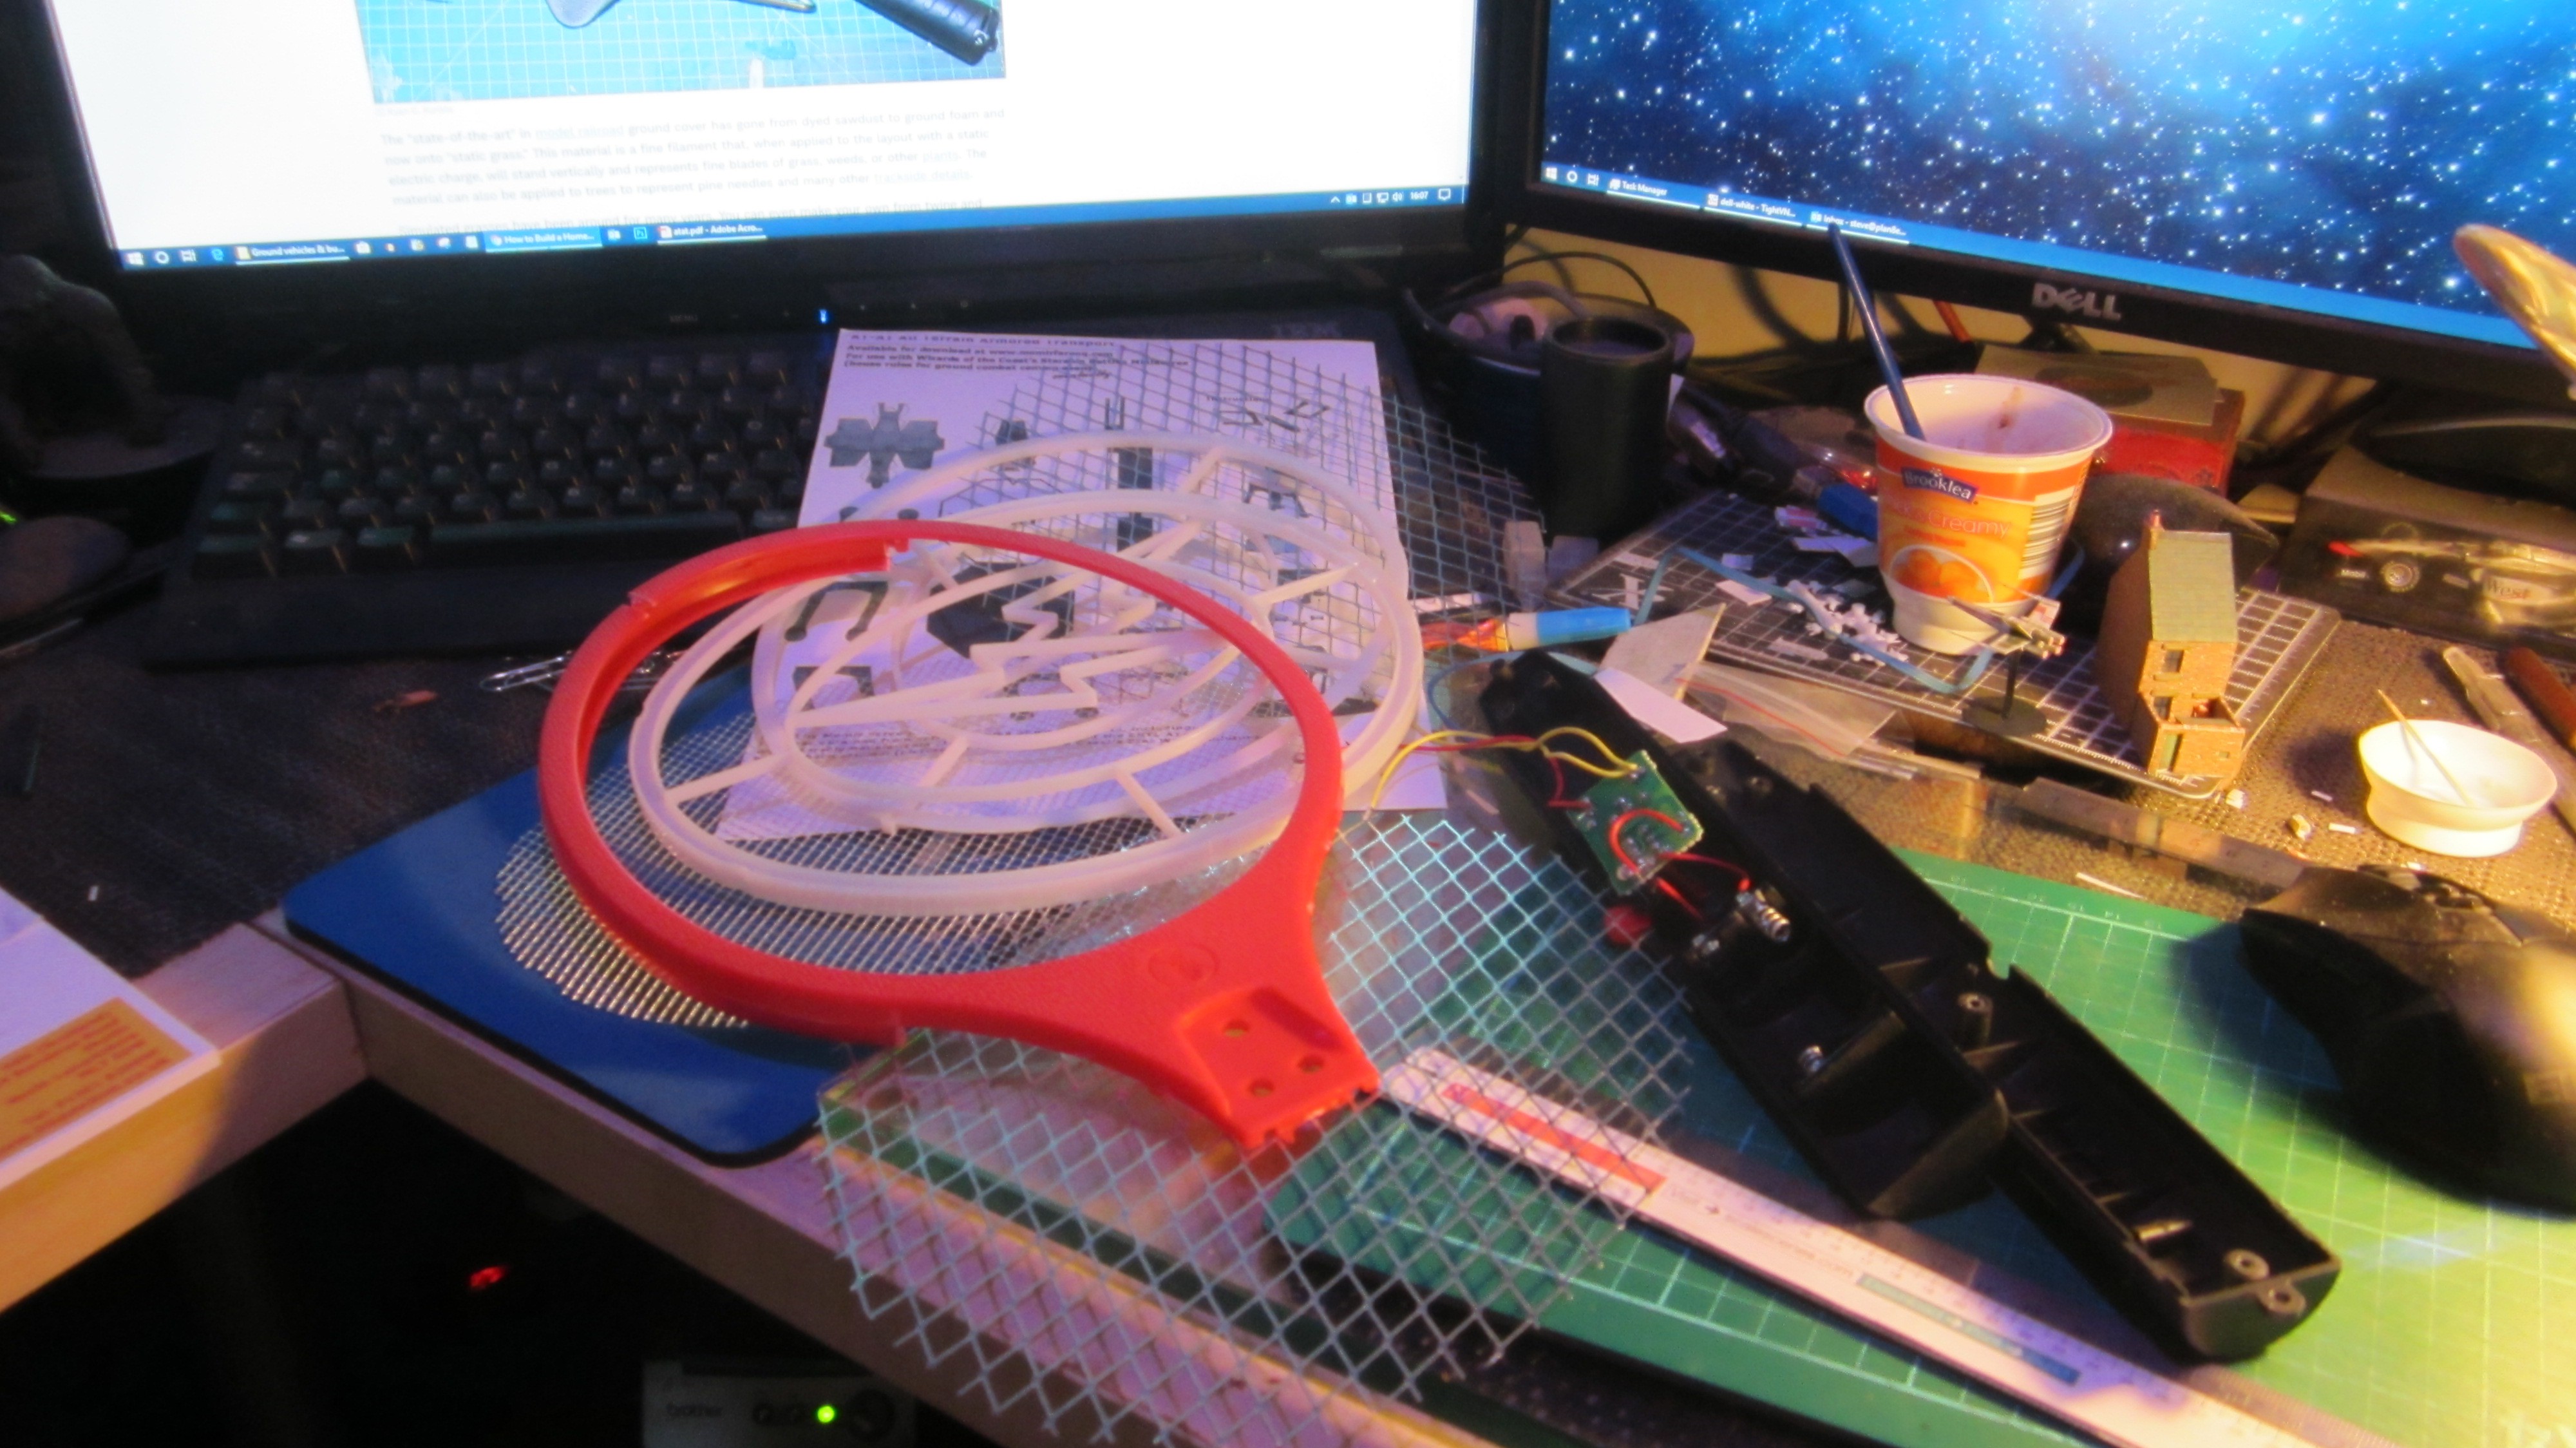
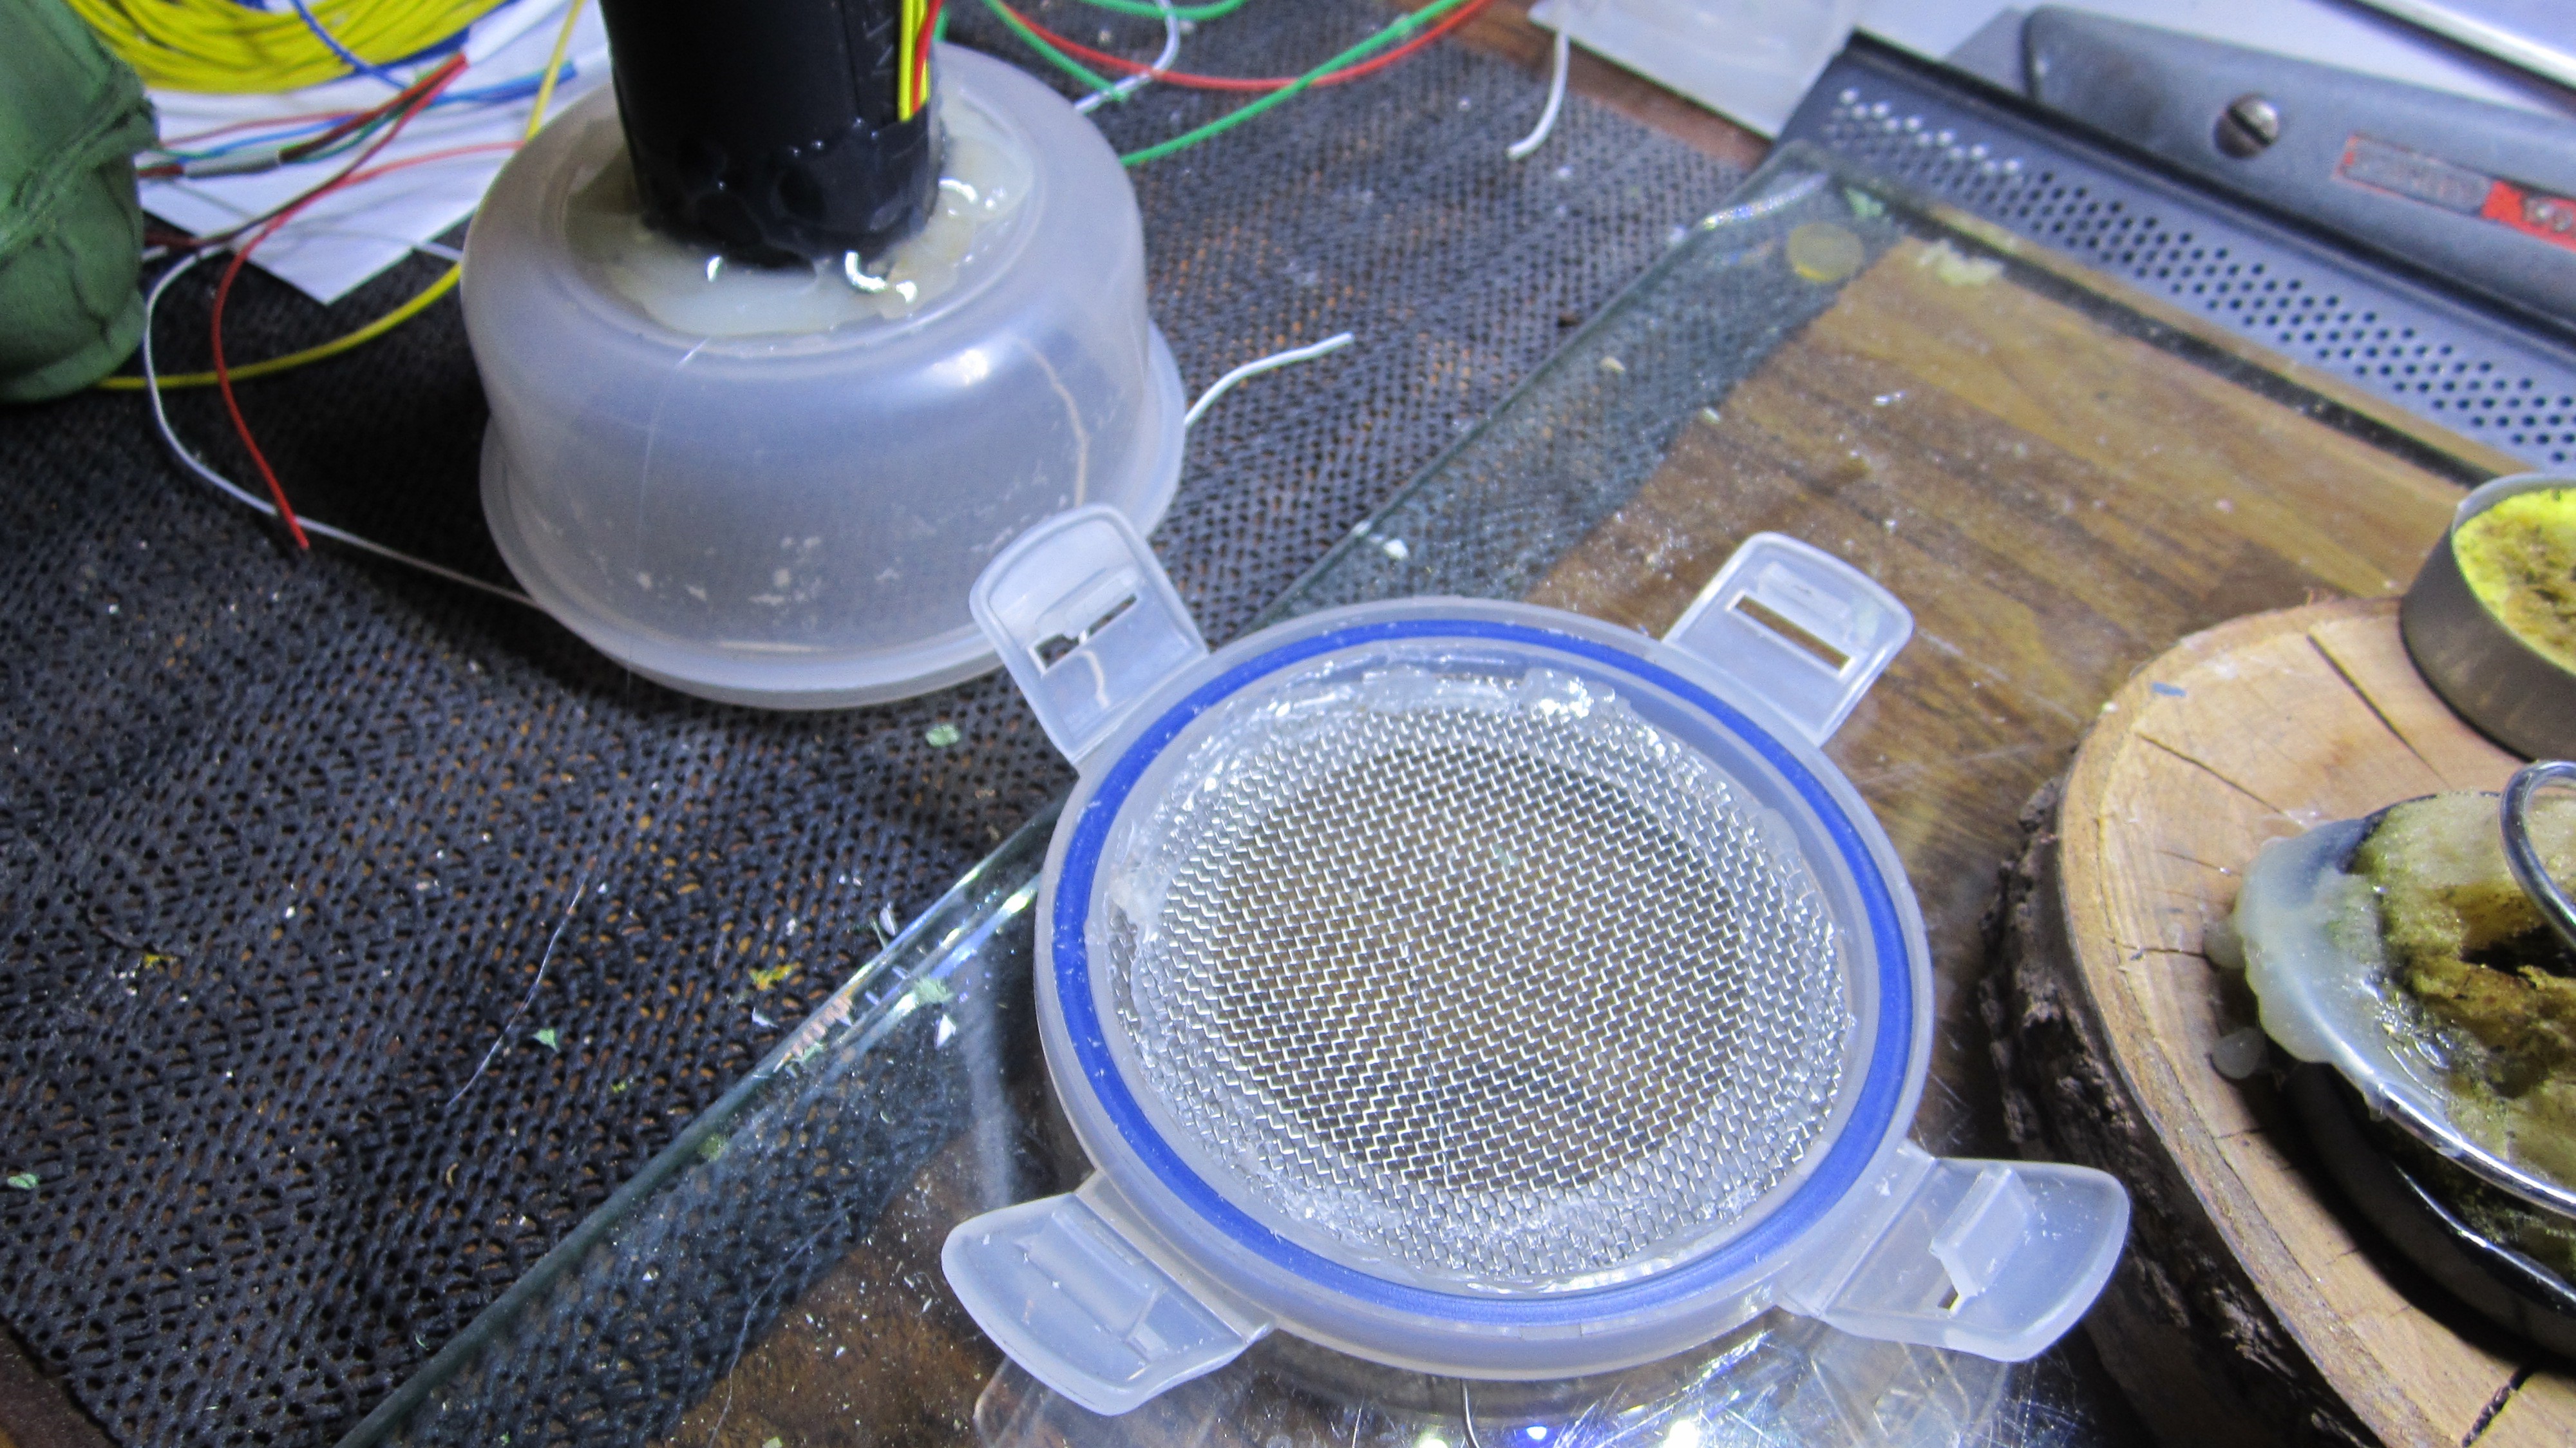
2. How to make a static grass applicator from a bug zapper.
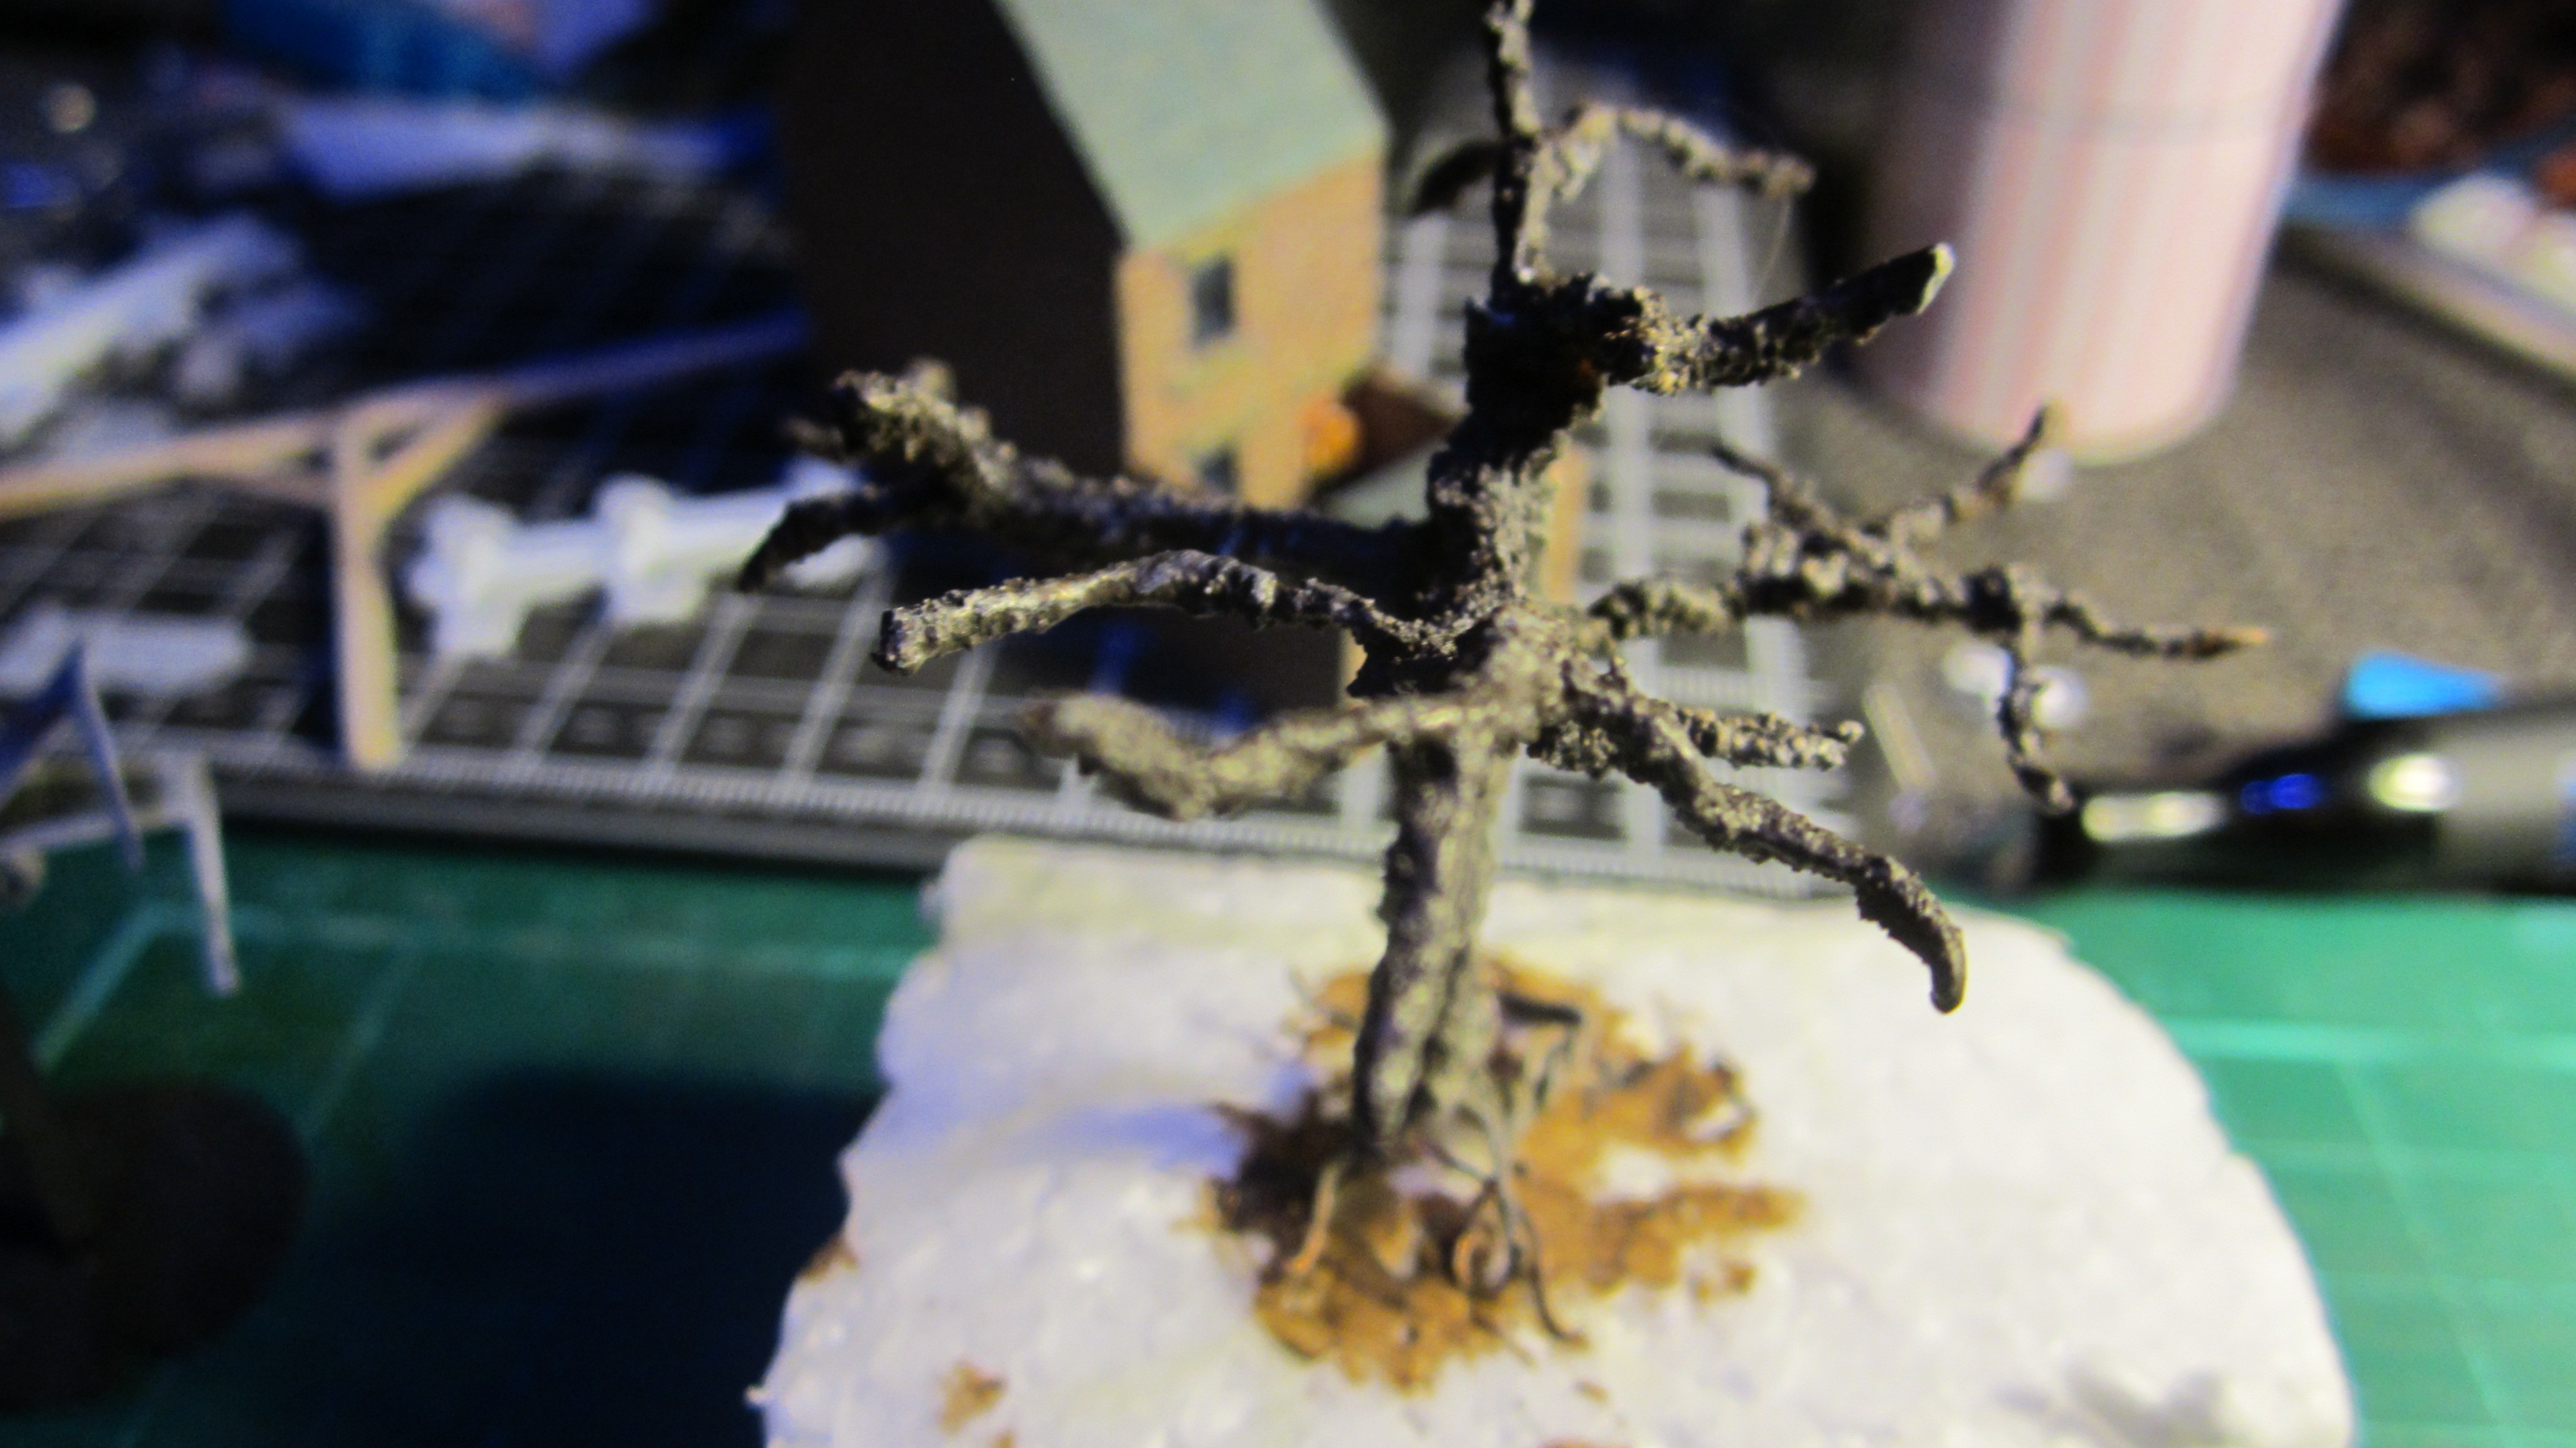
3. How to make trees with wire and coloured saw dust.
4. How to make a hot wire foam cutter.
5. How to make water with resin.
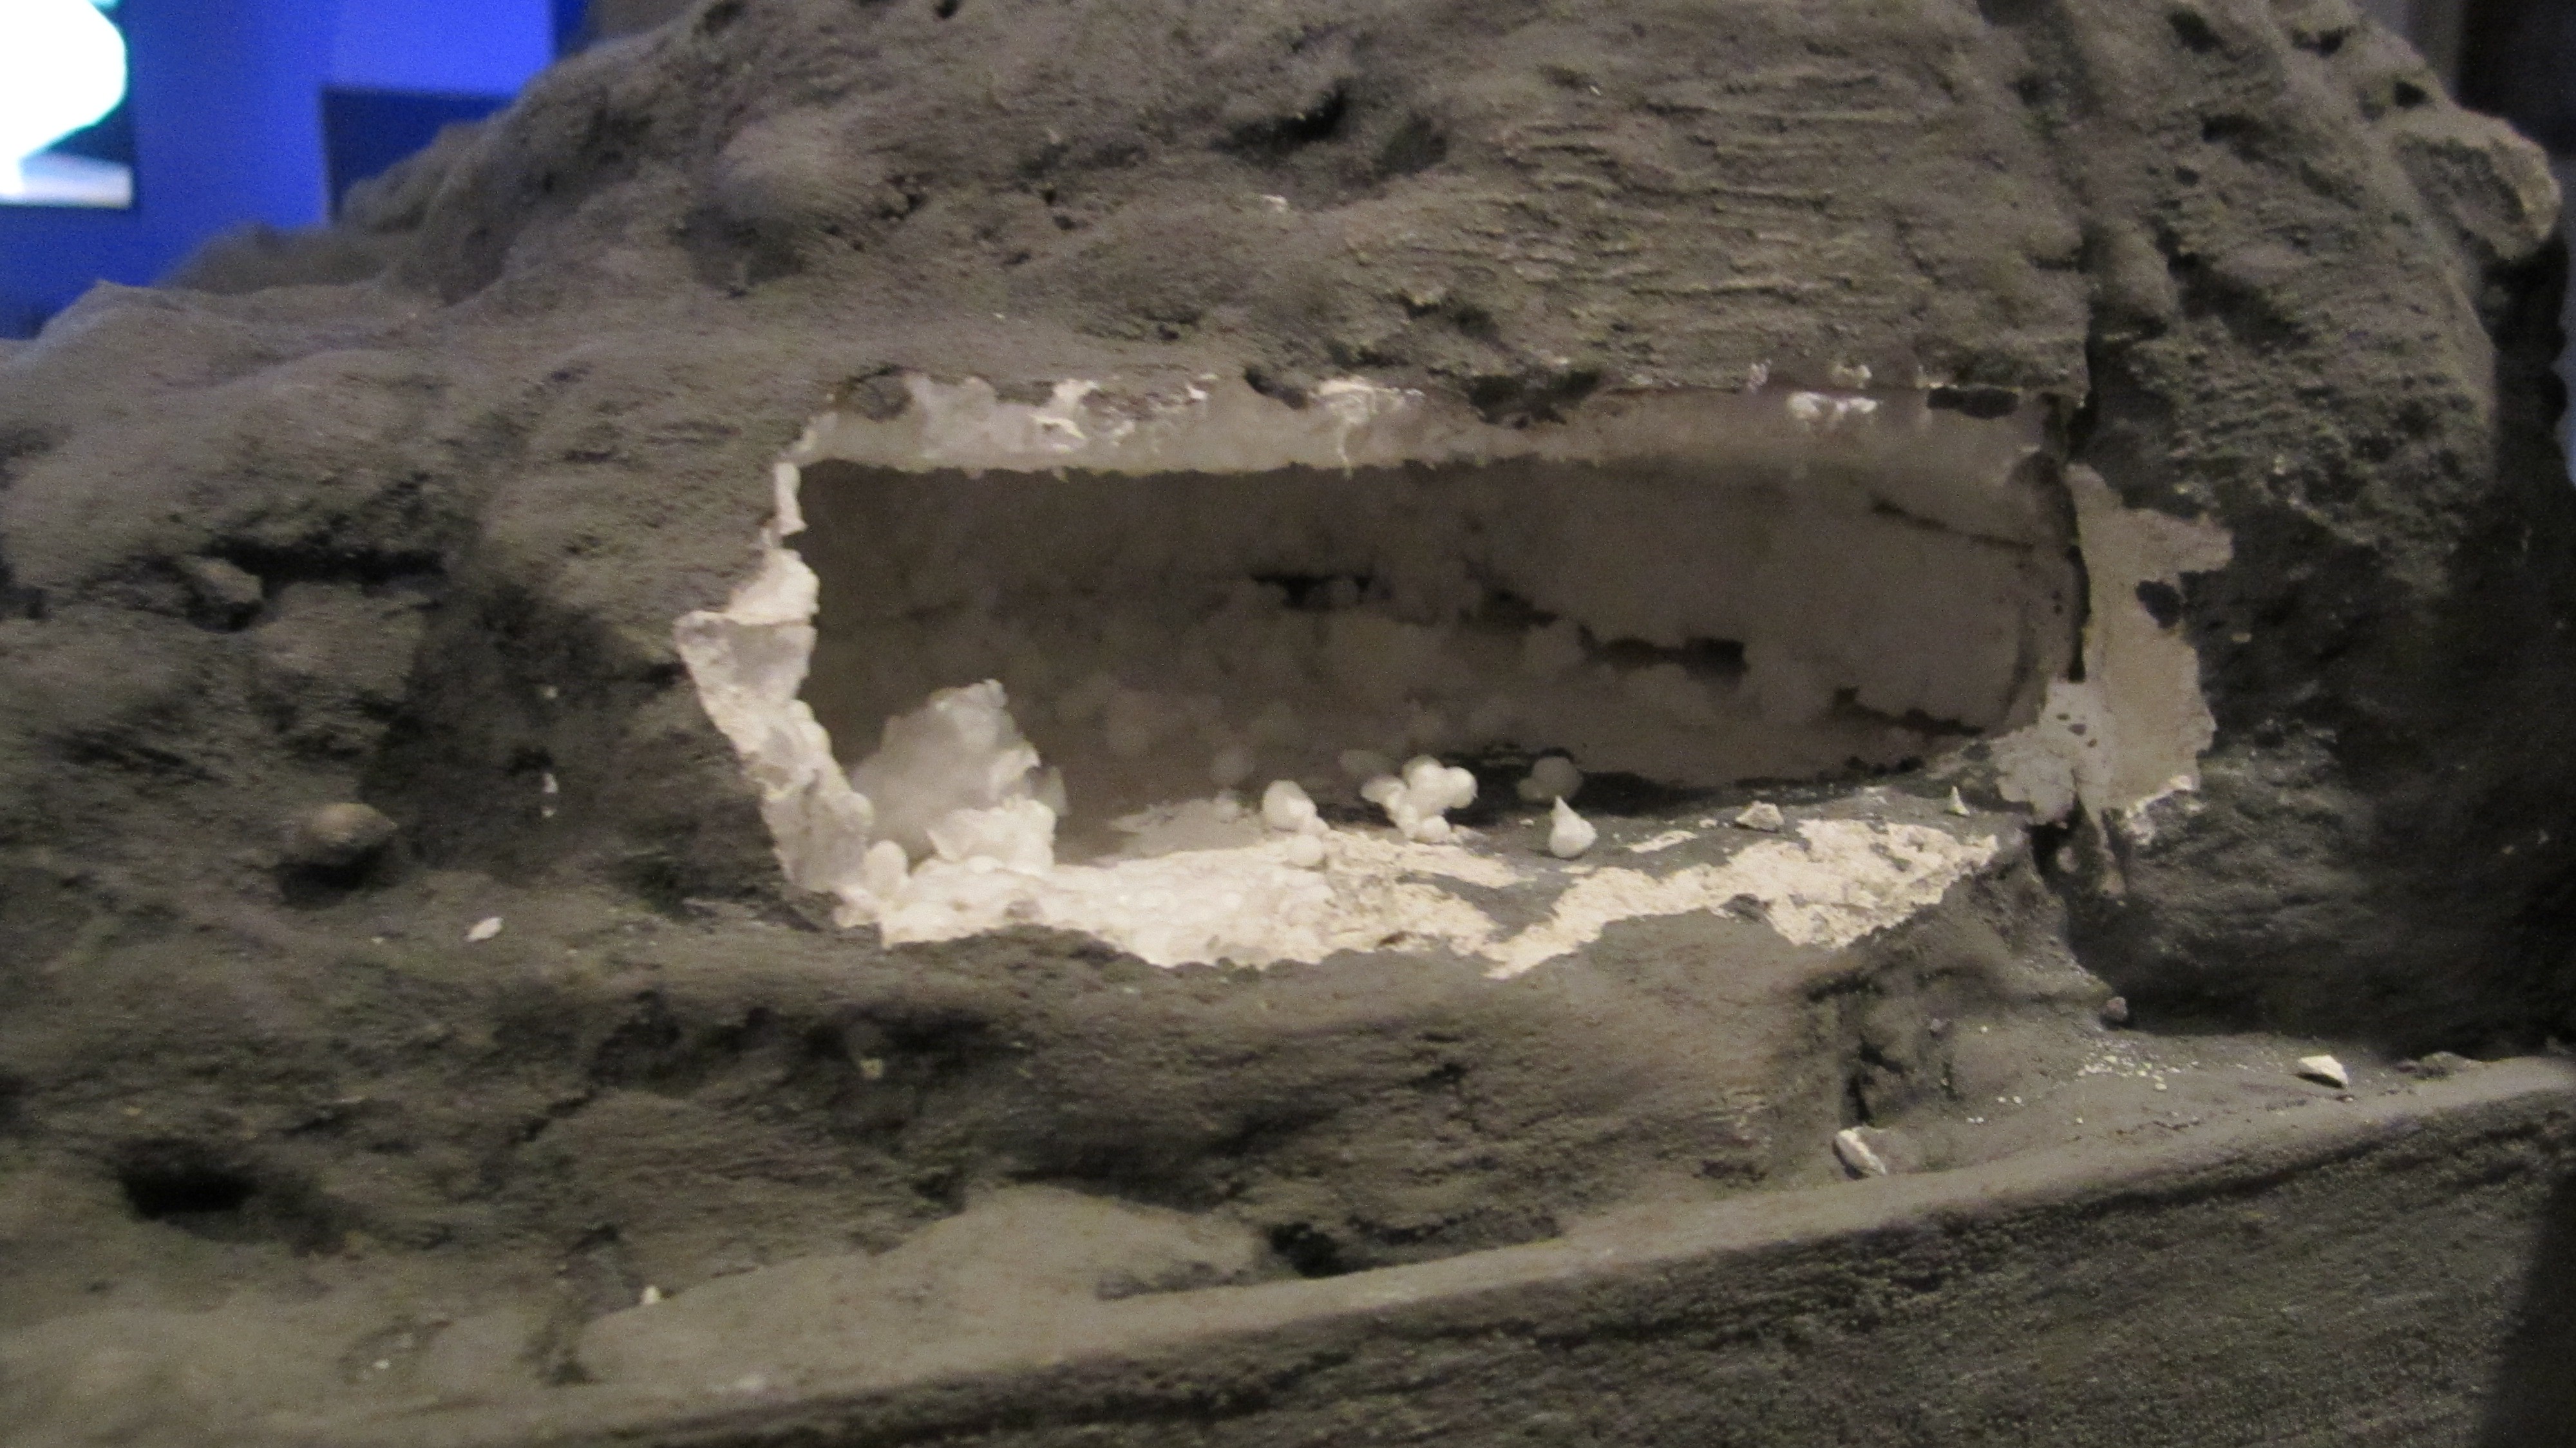
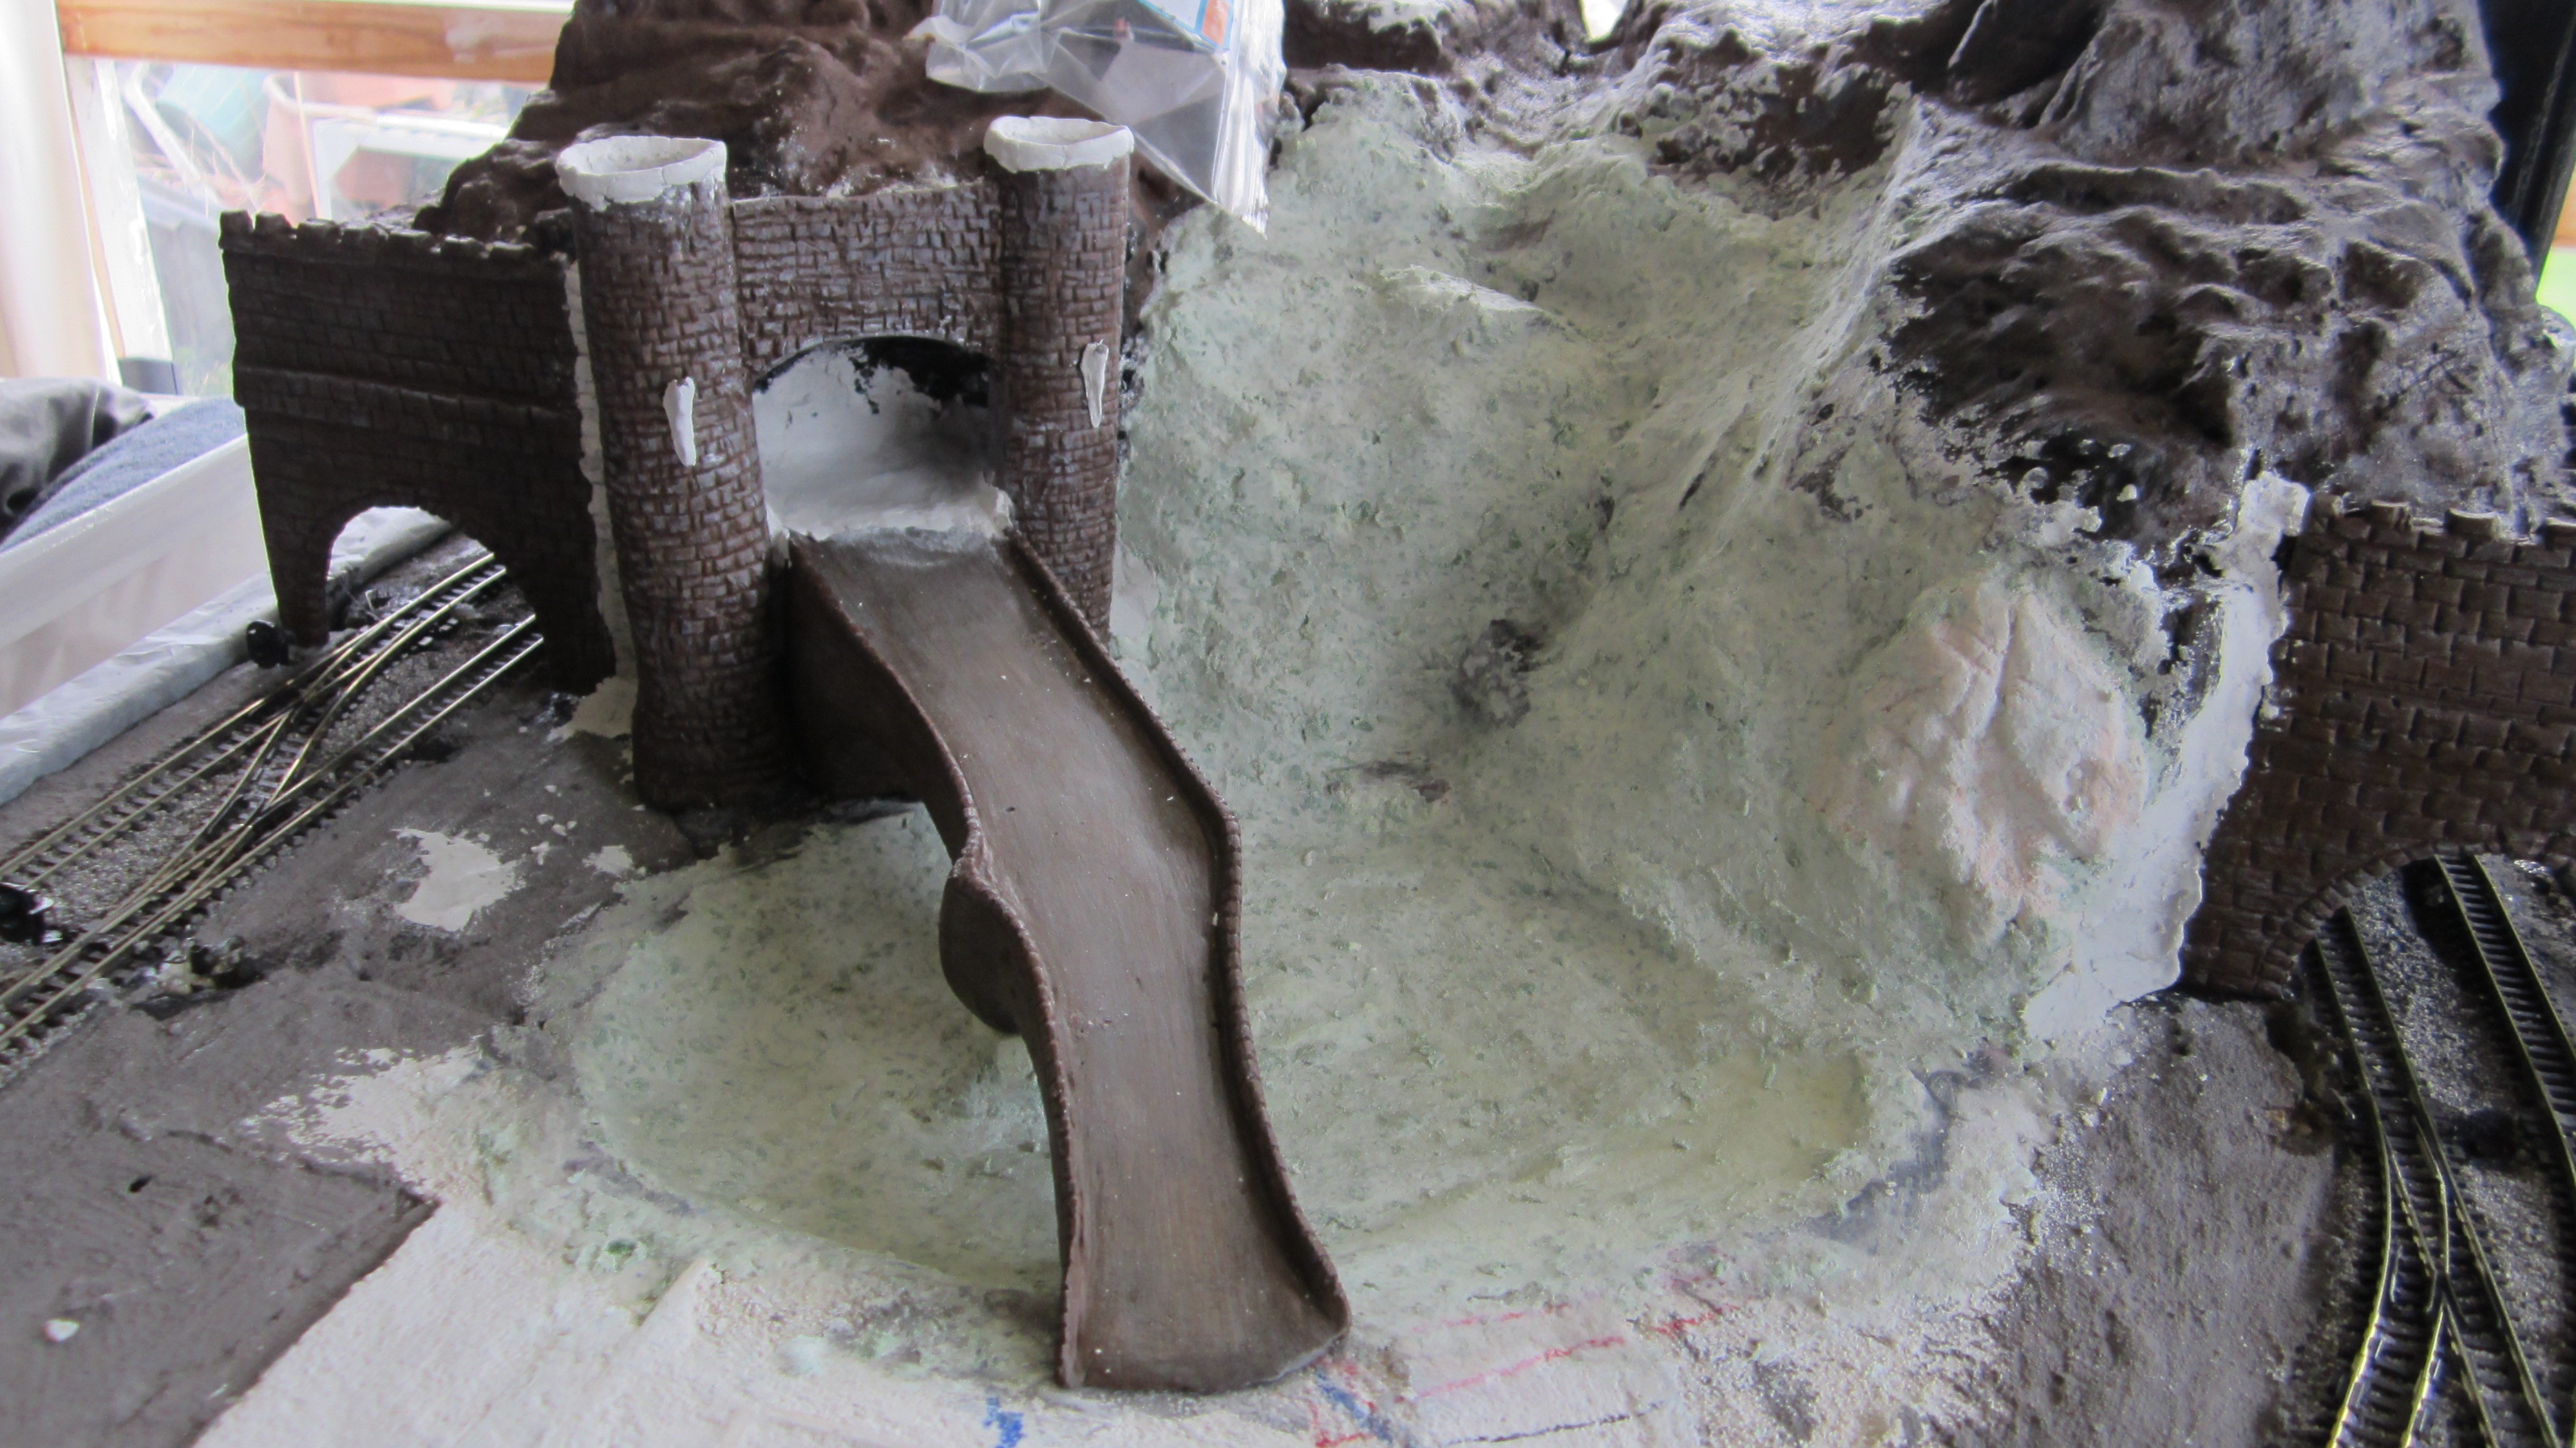
6. How to use Das air dry clay for structures.
7. How to make bushes with aquarium plants.
8. How to make waterfalls
Nearly 6 months from the test run we have allowed our artistic side free rein and the table project is back on track (shameful pun I know)
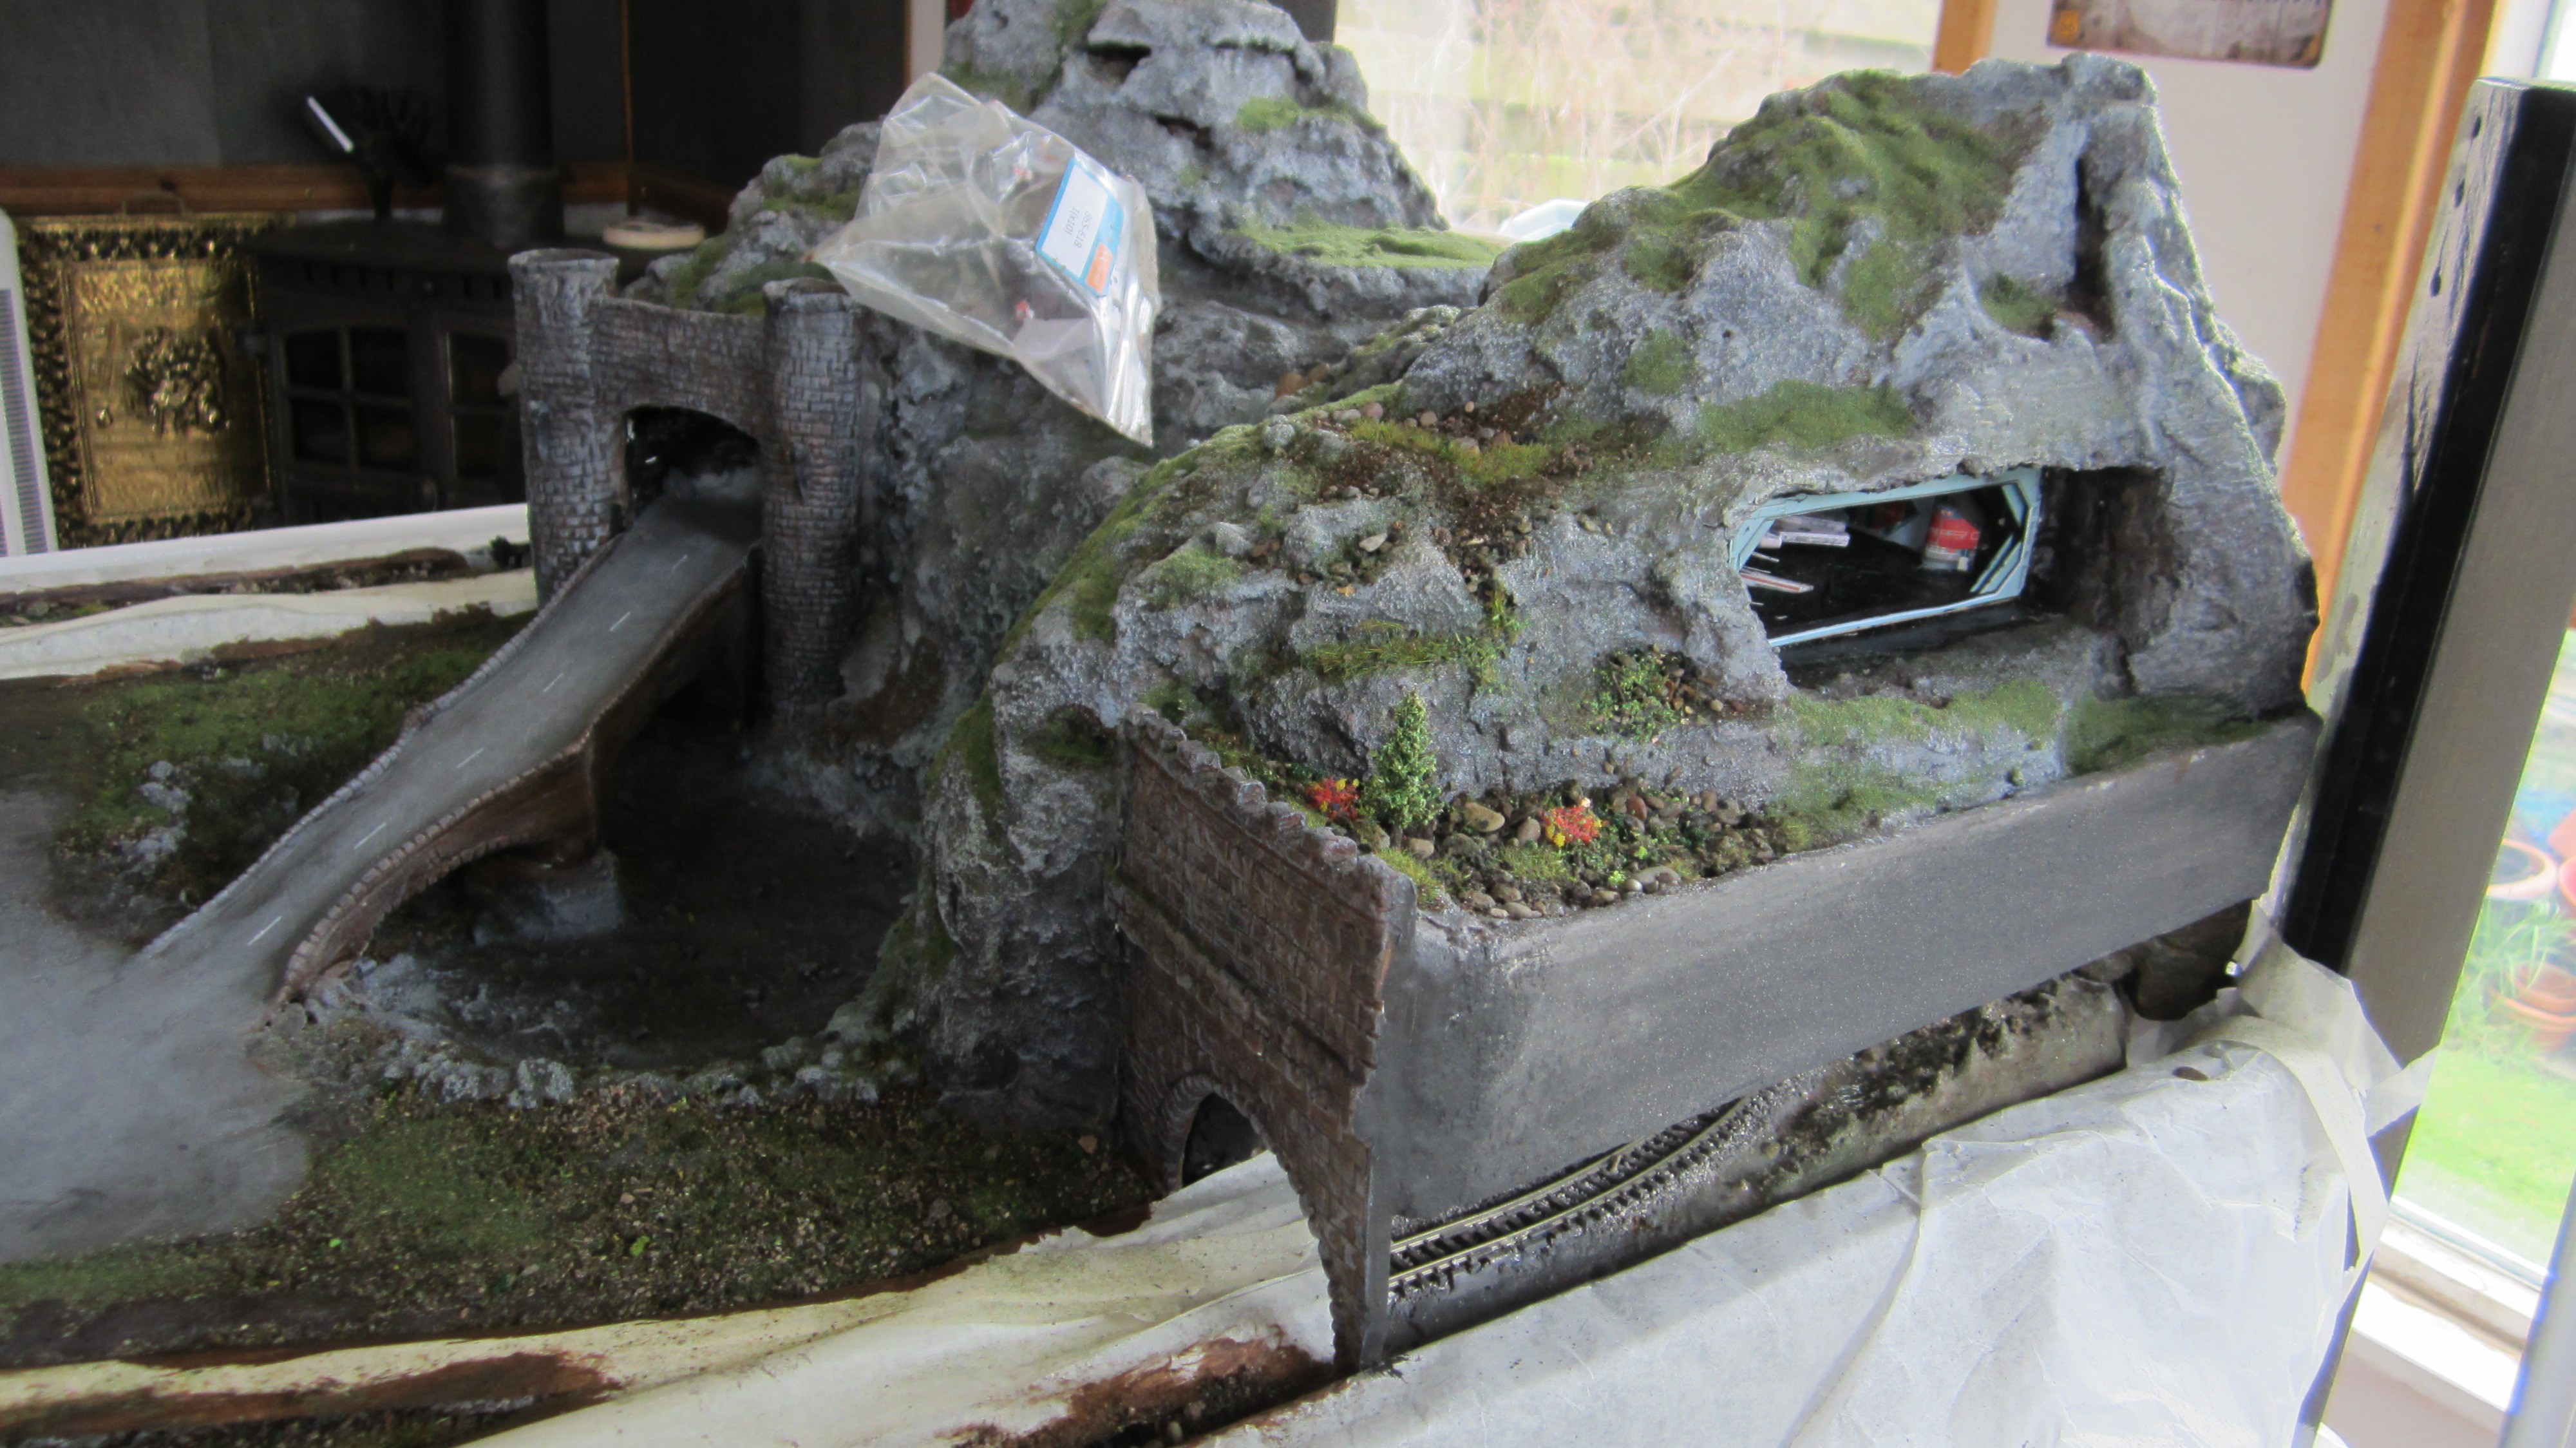
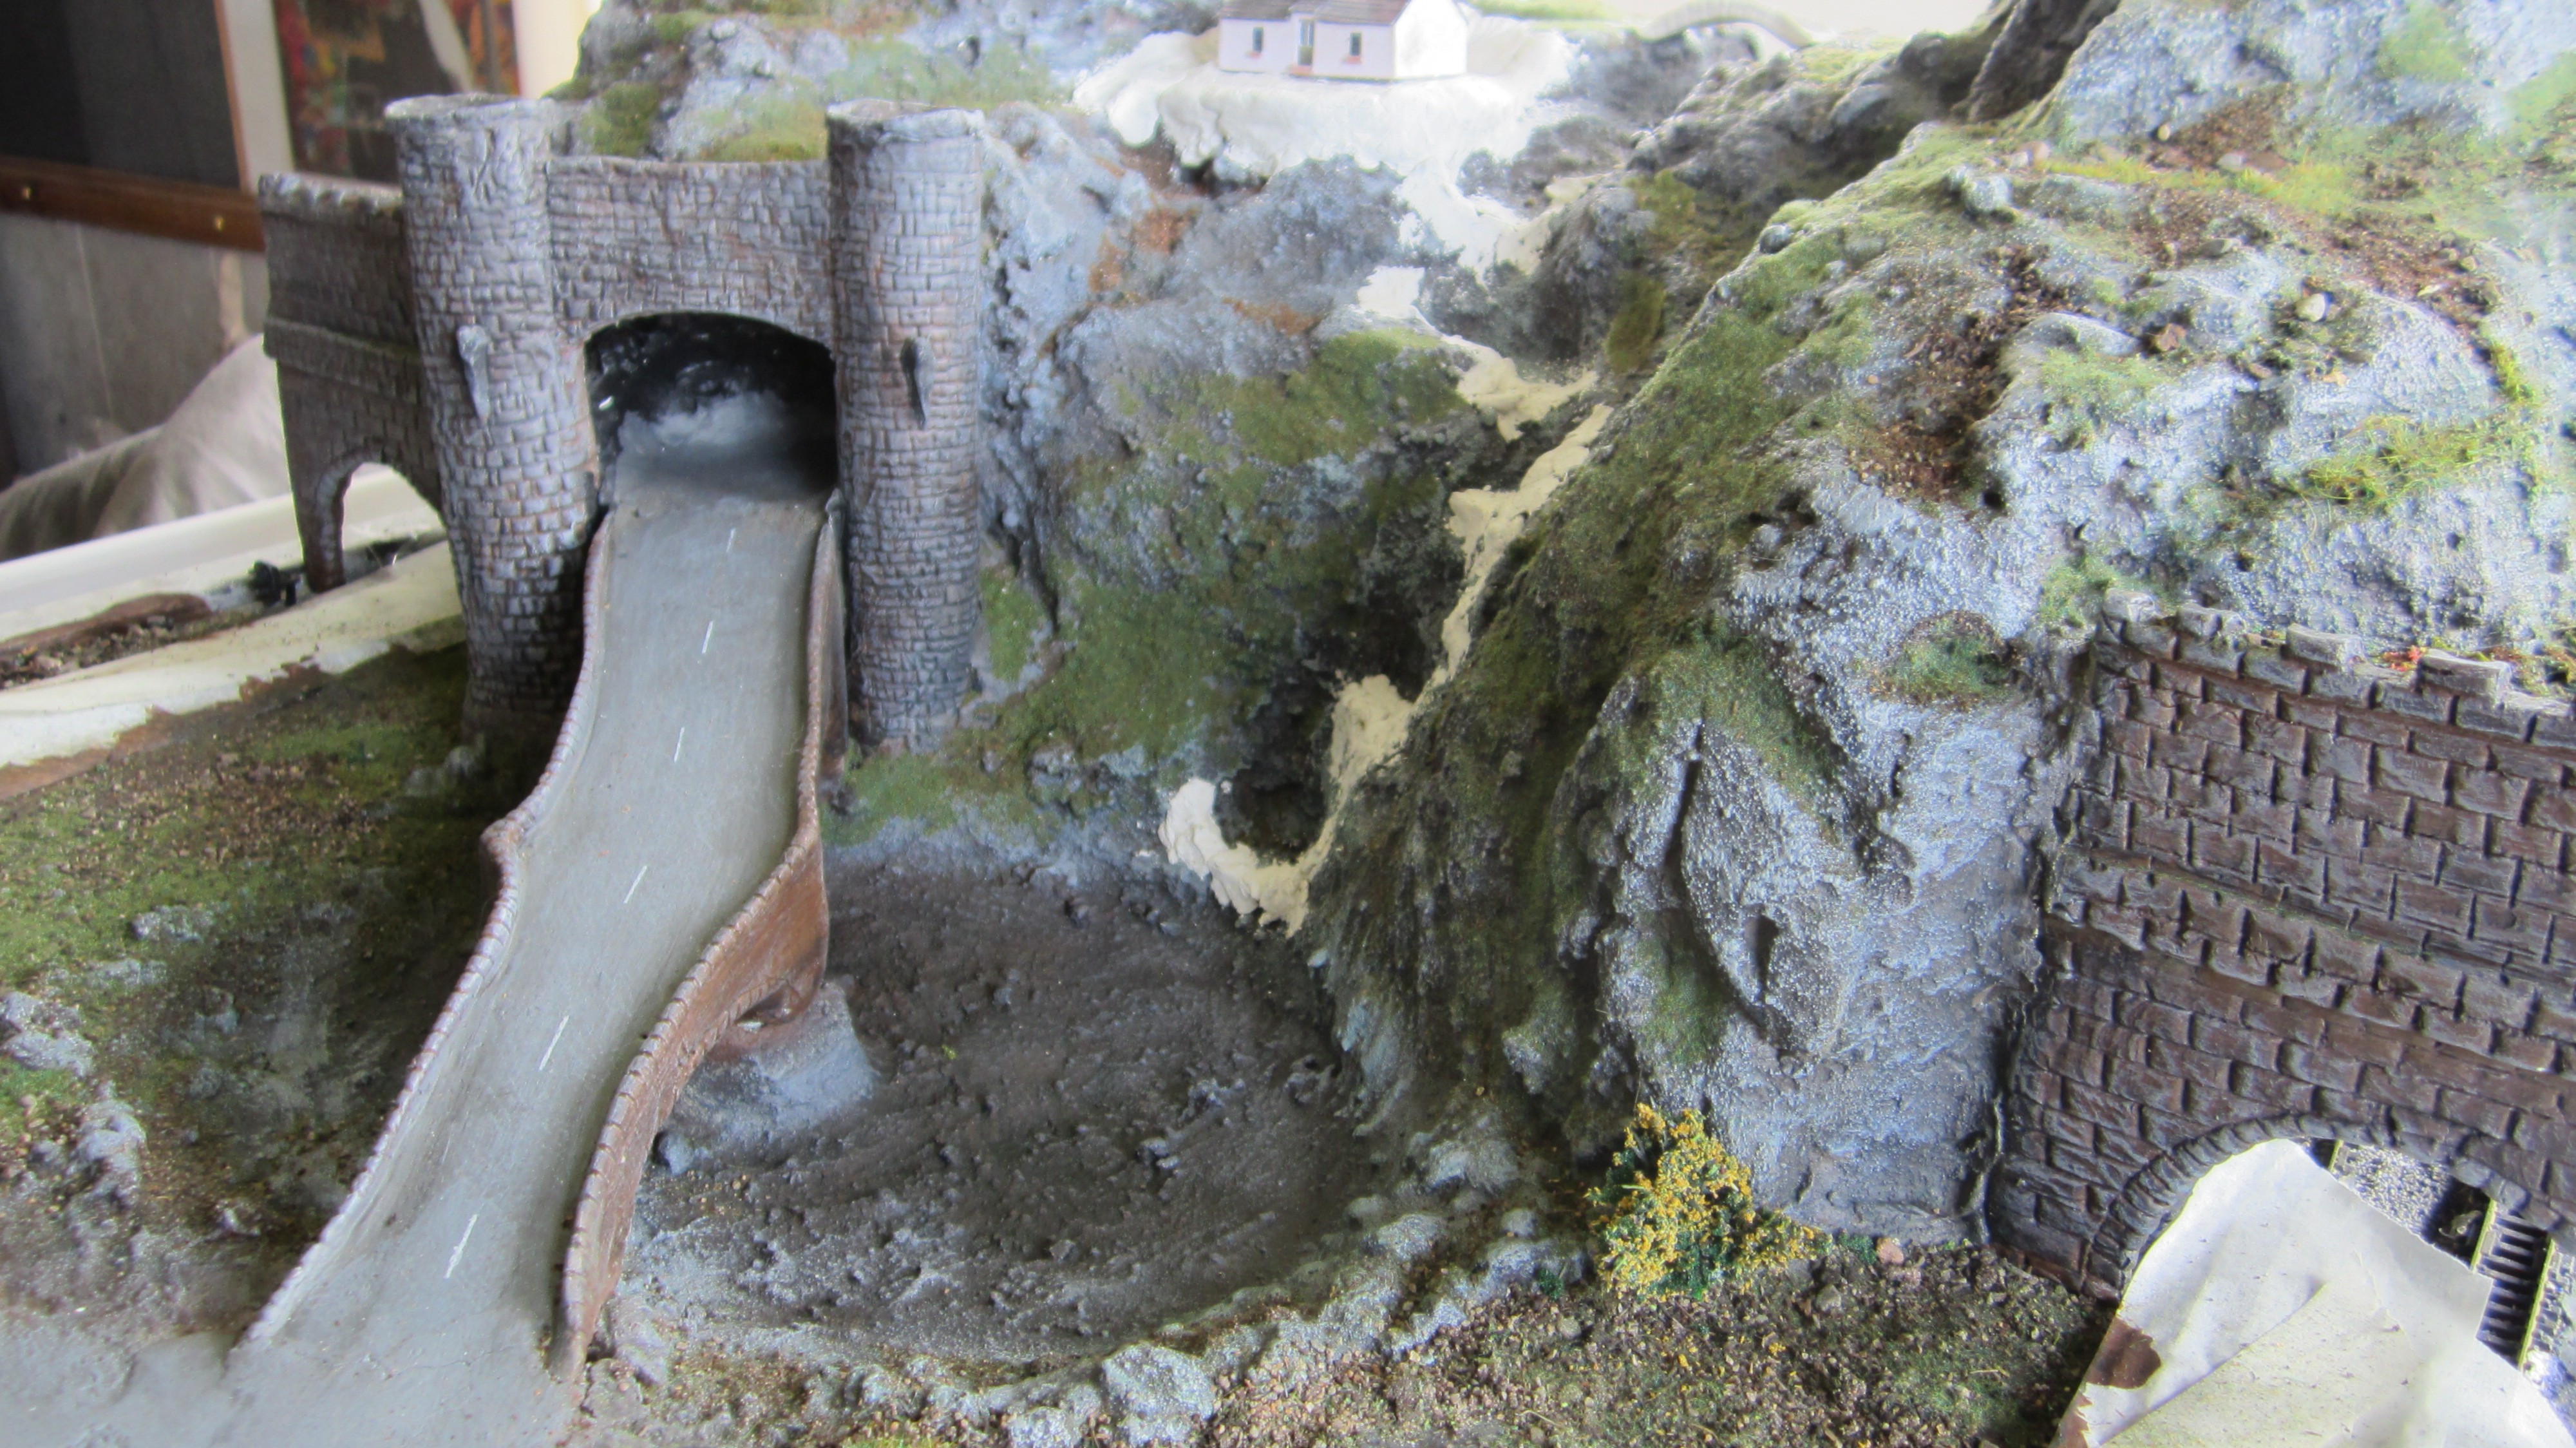
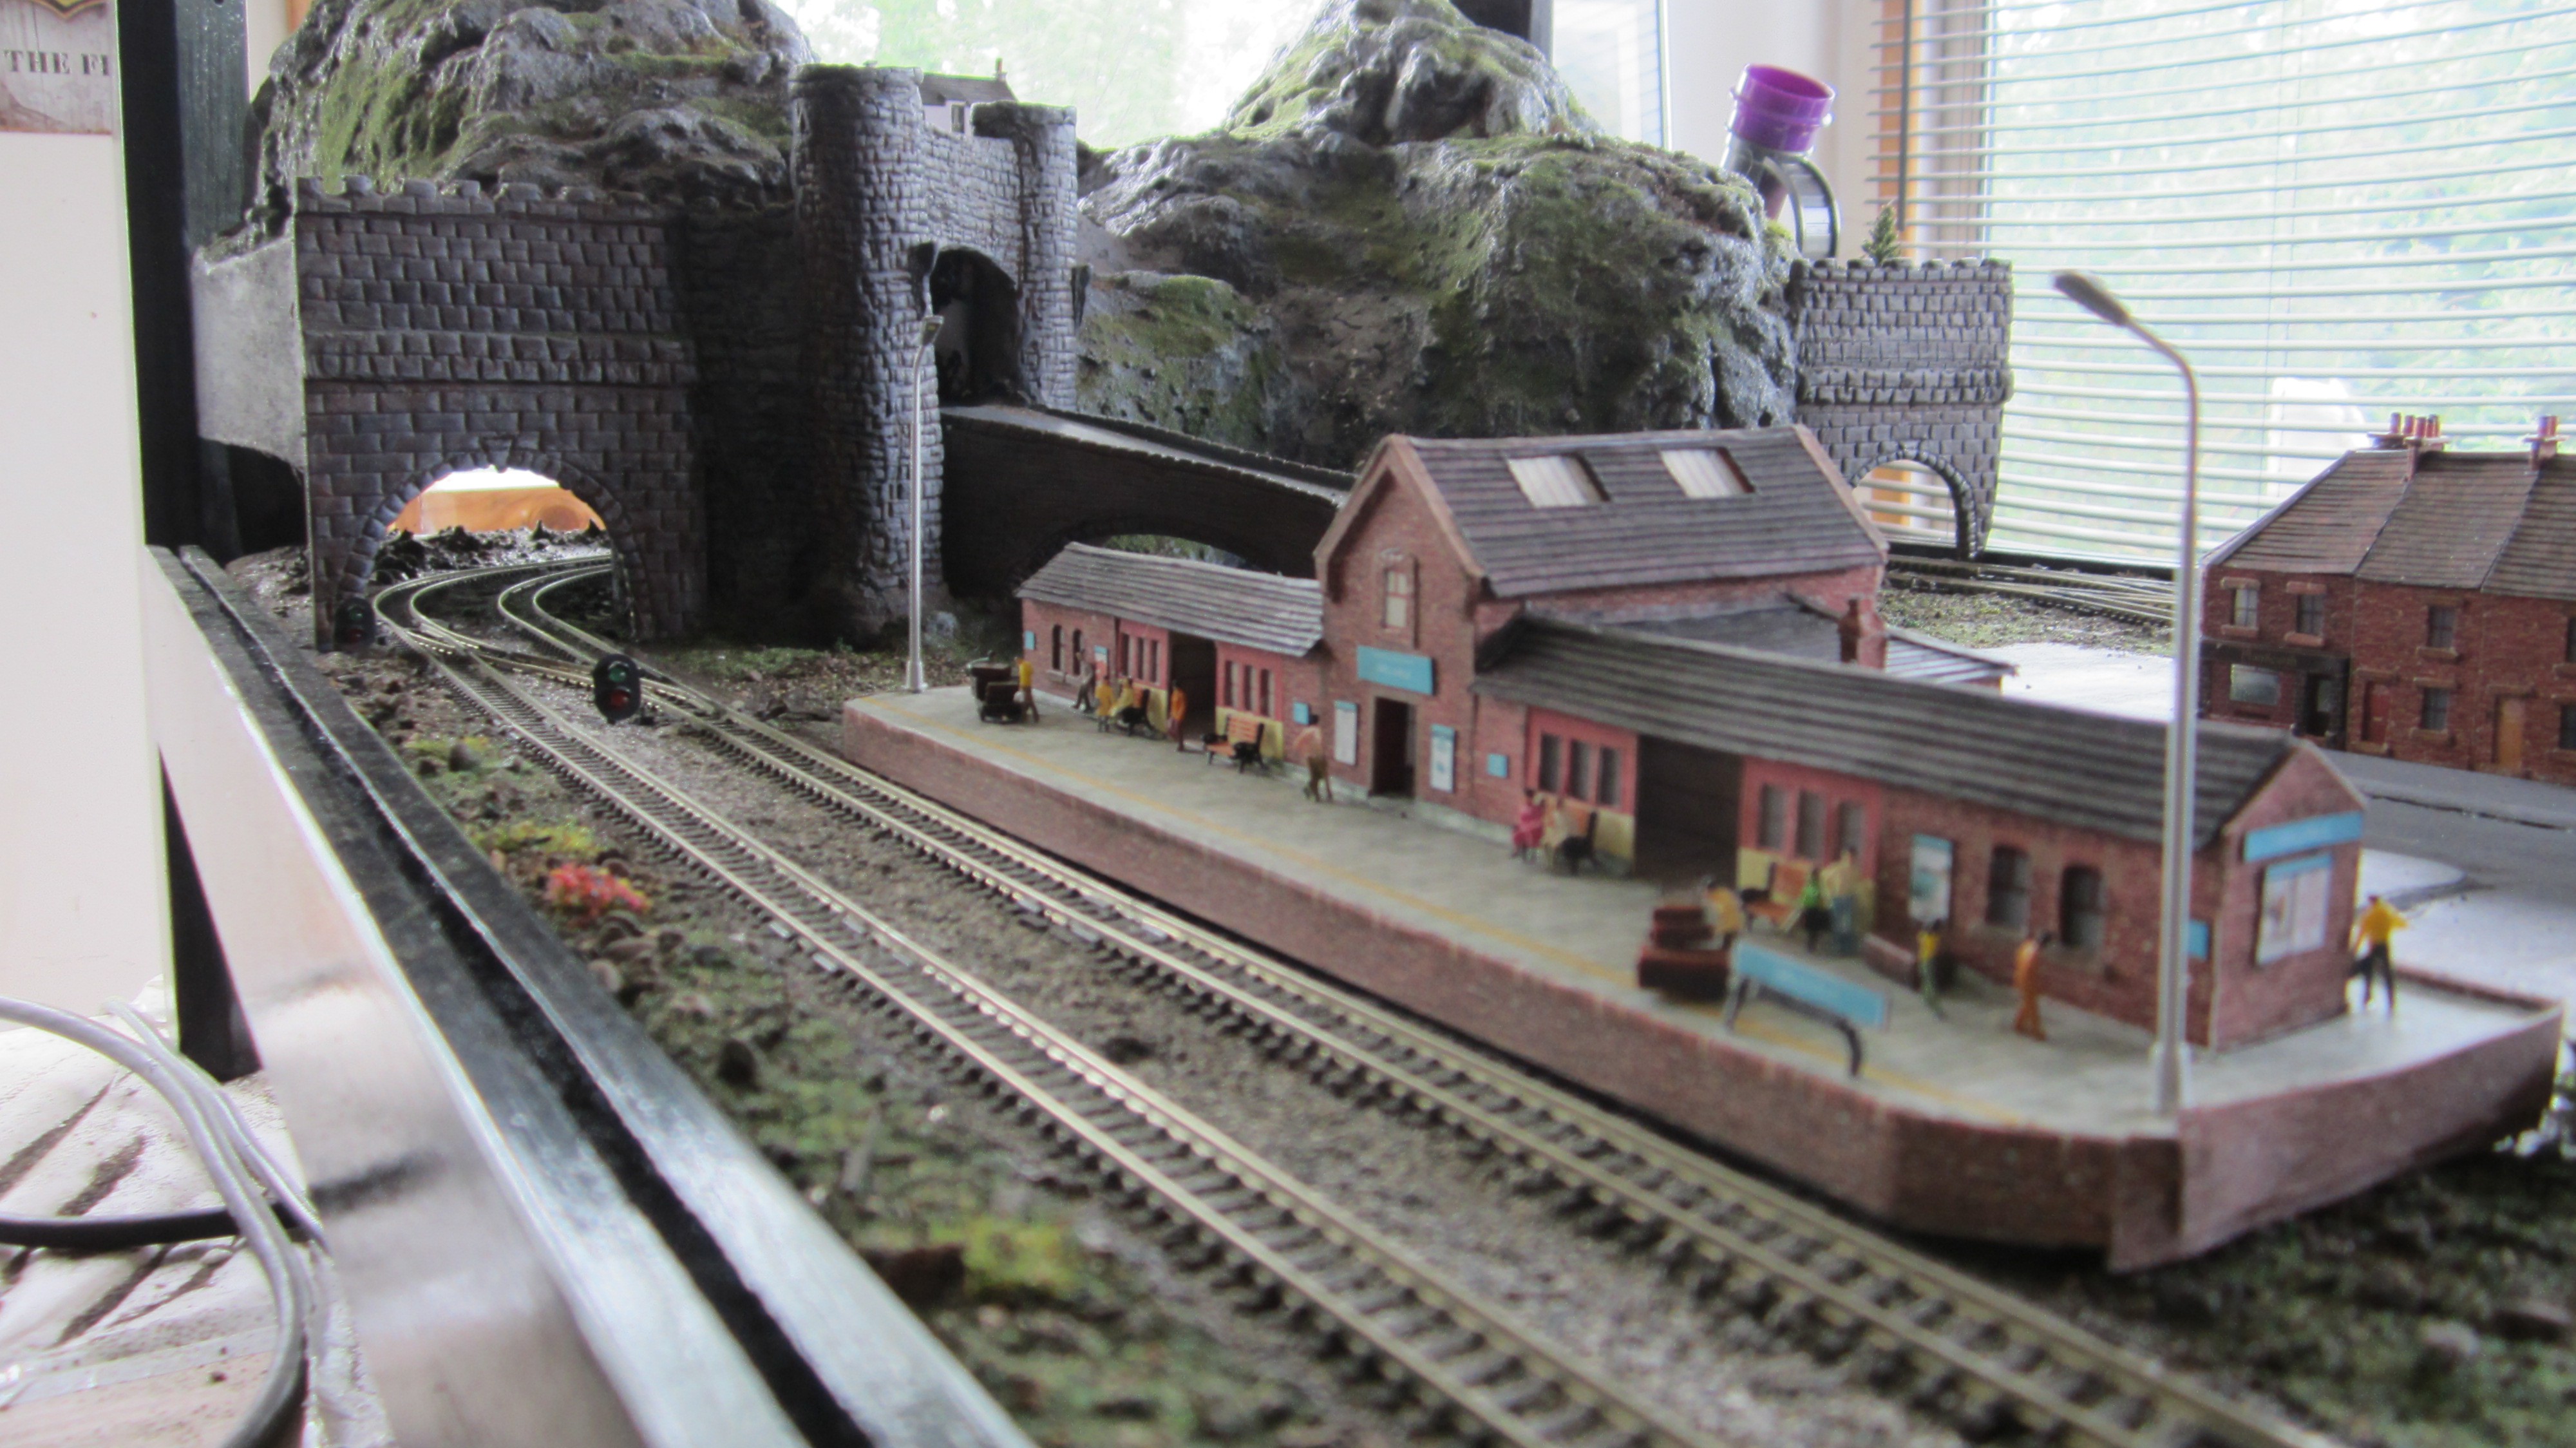
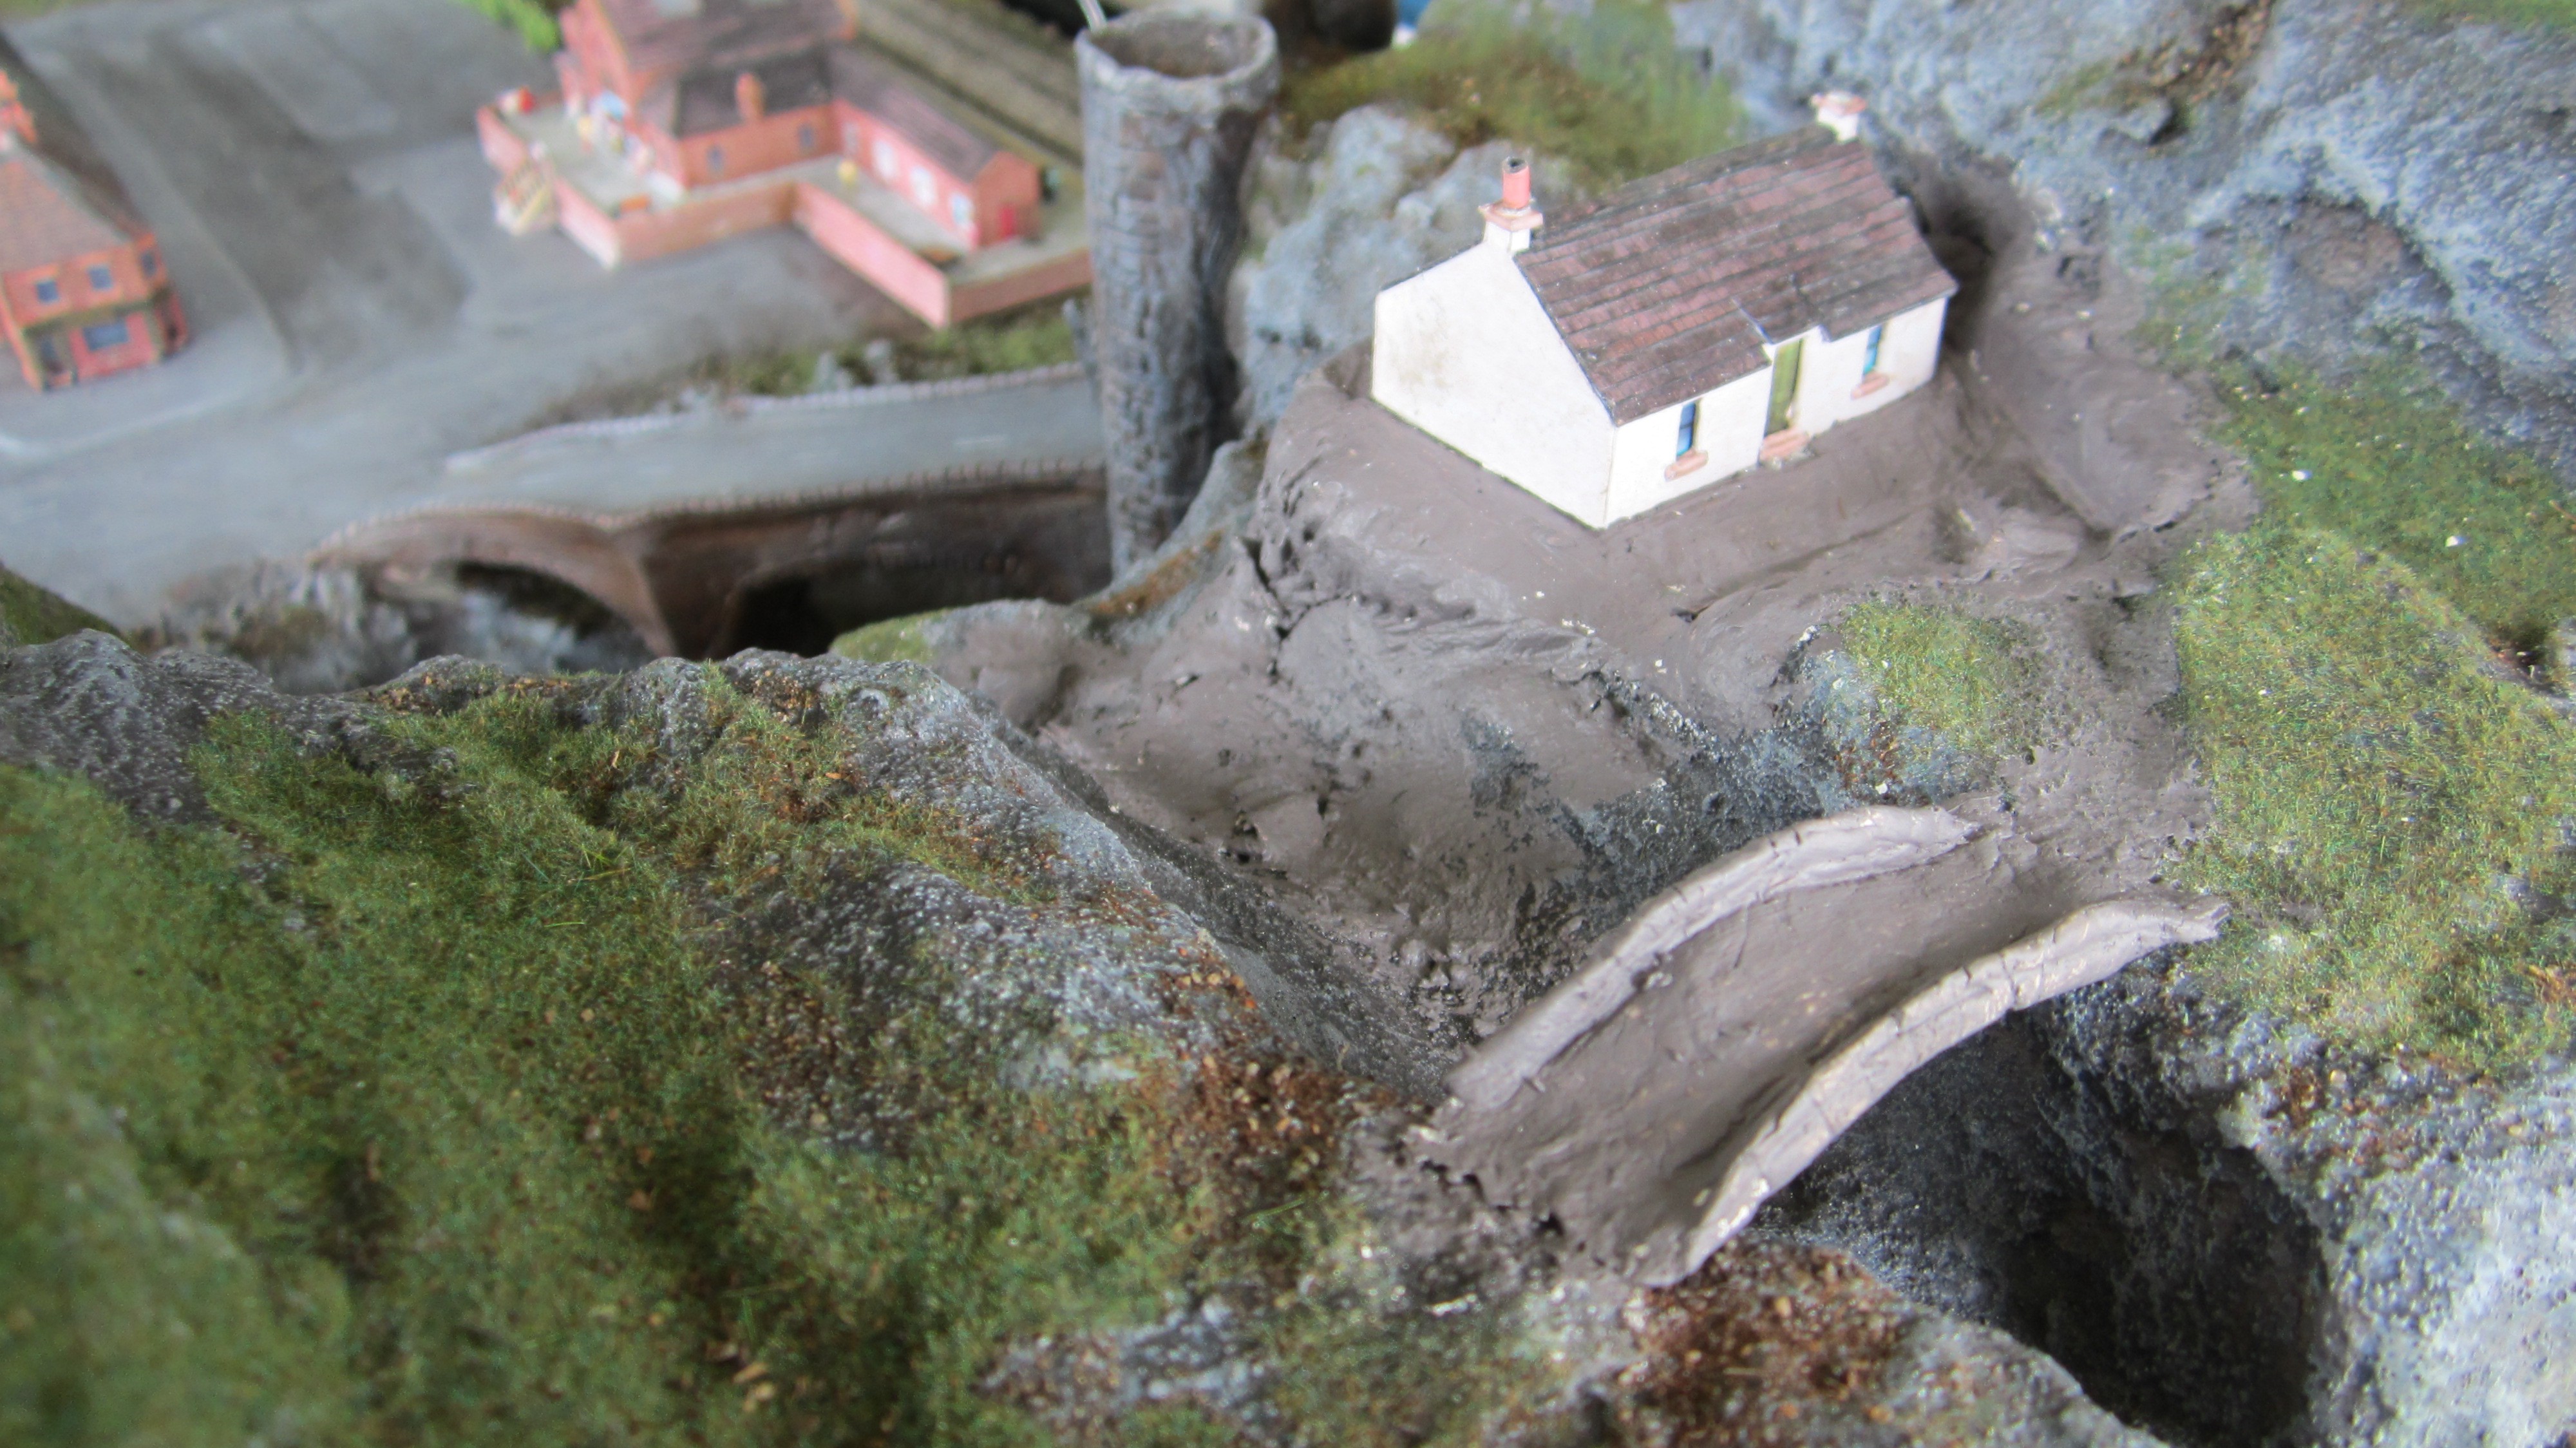
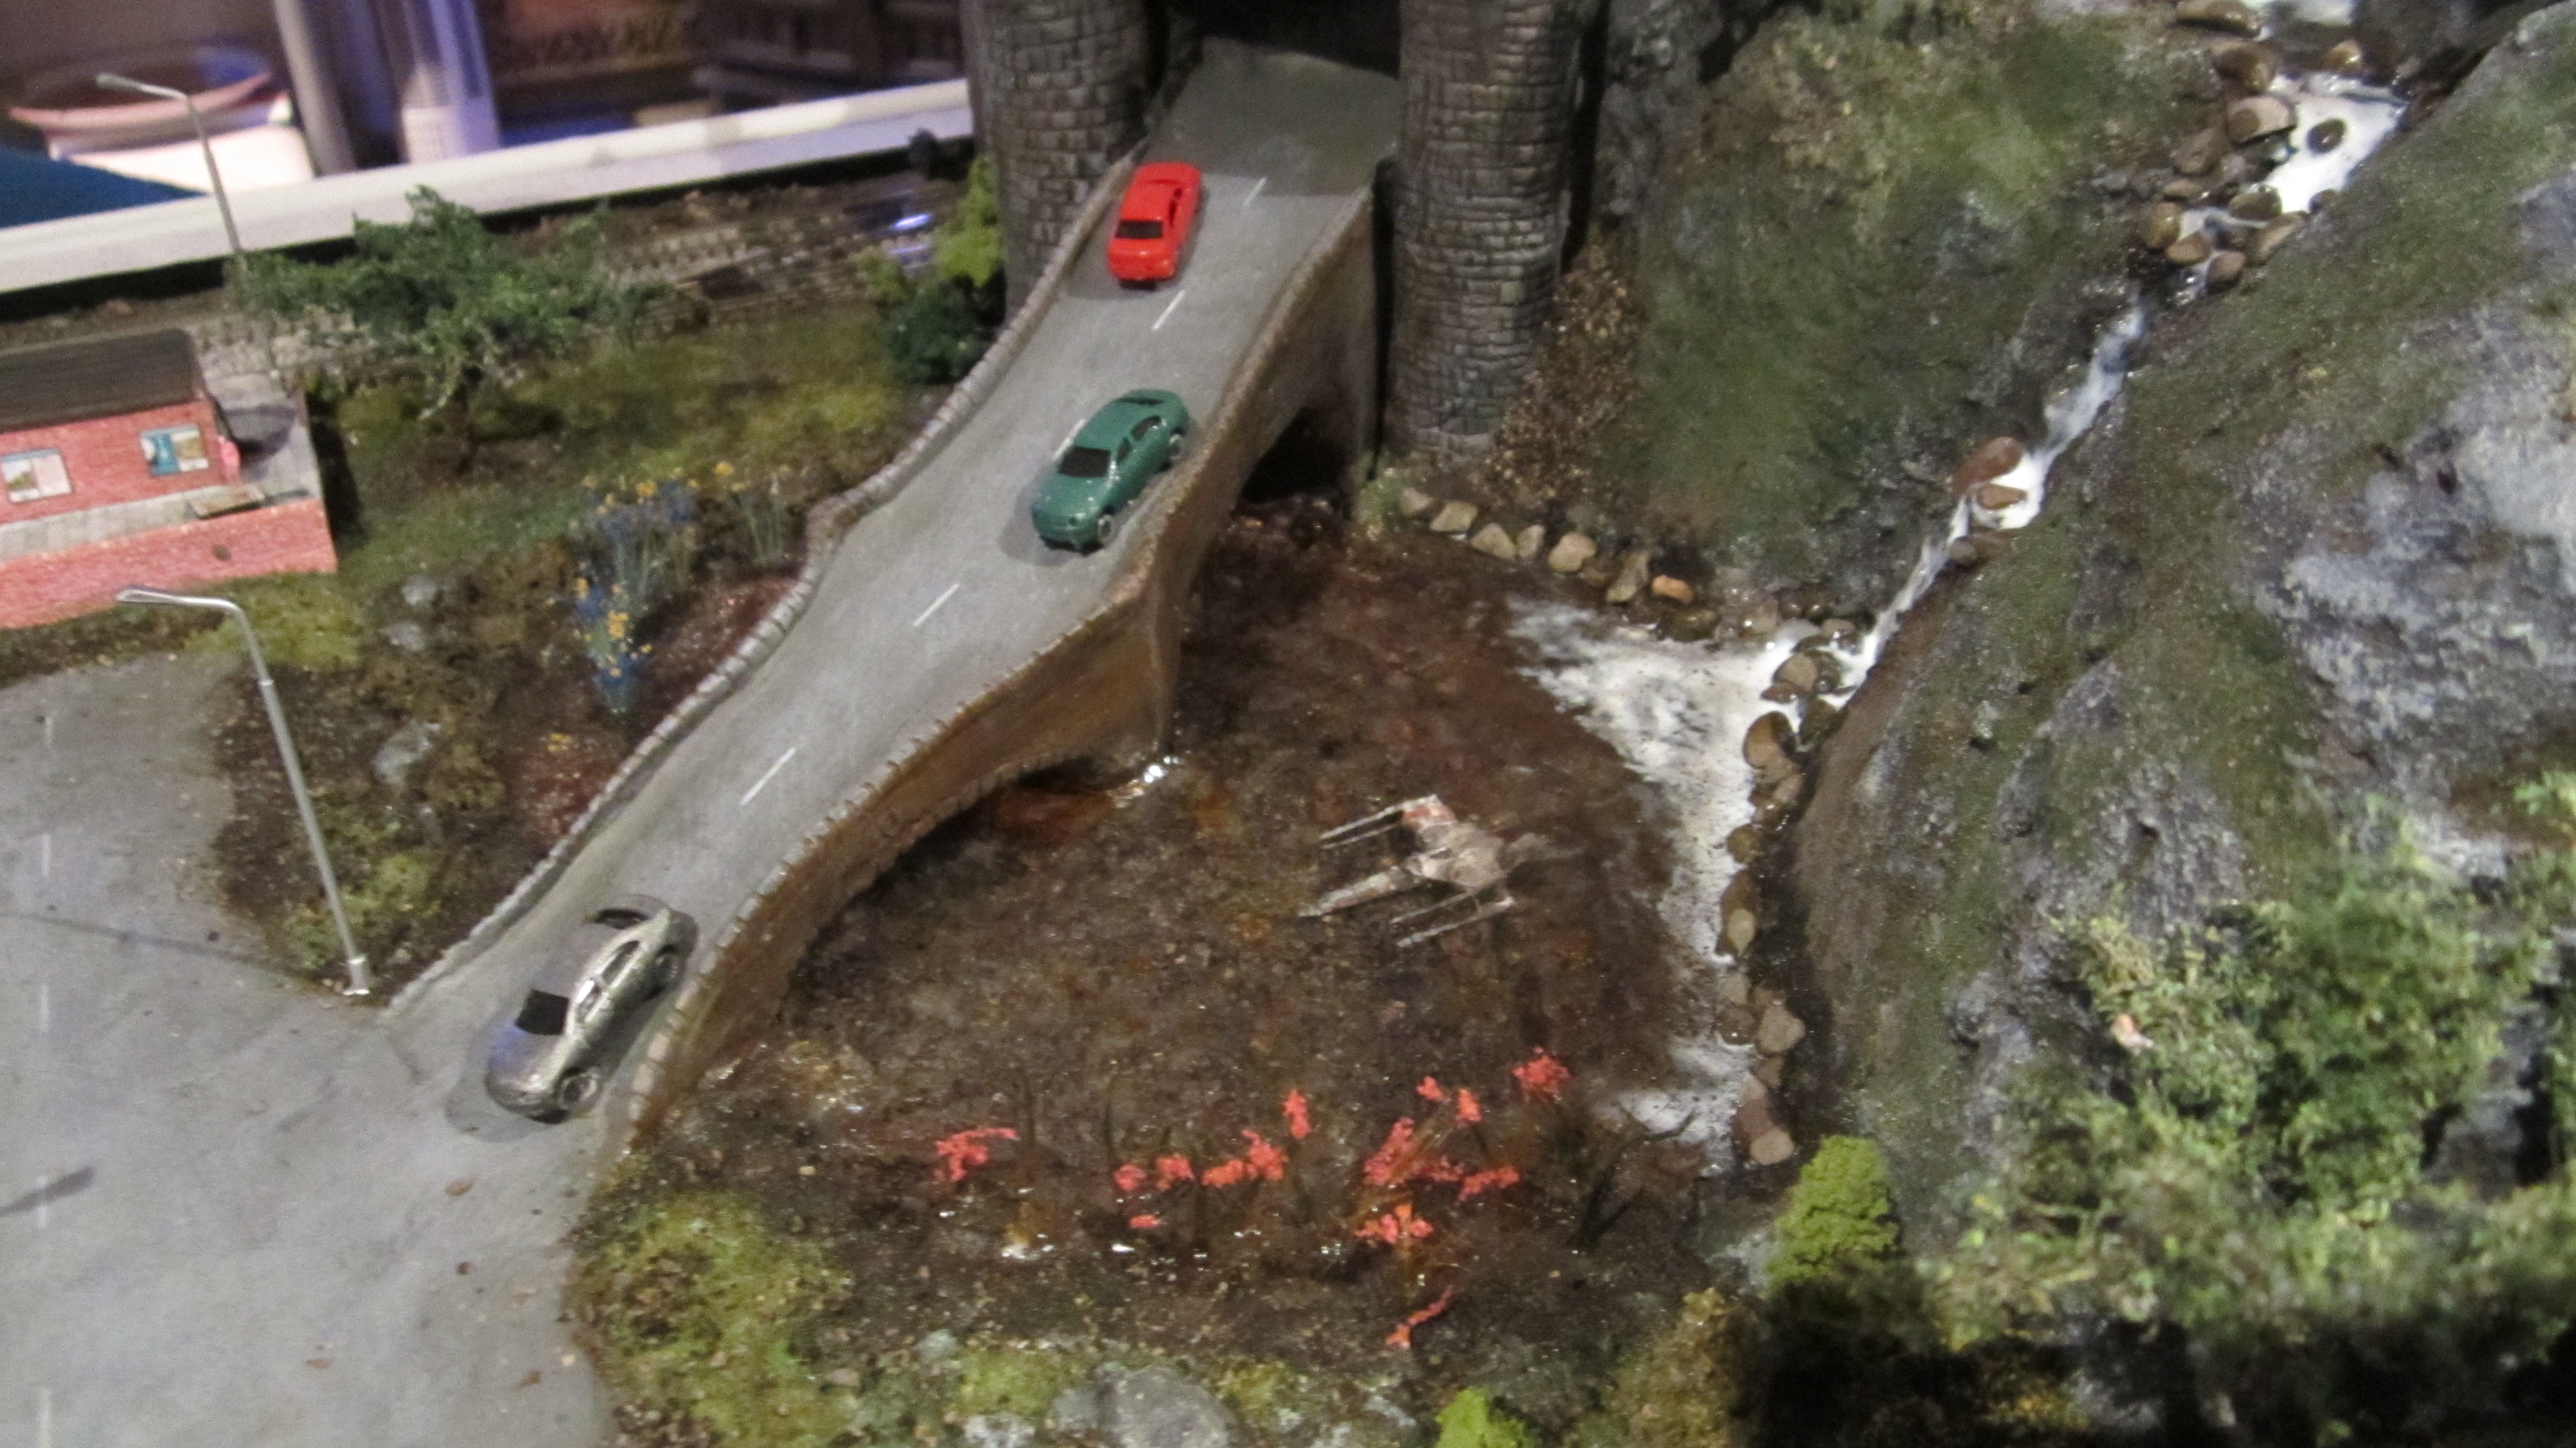
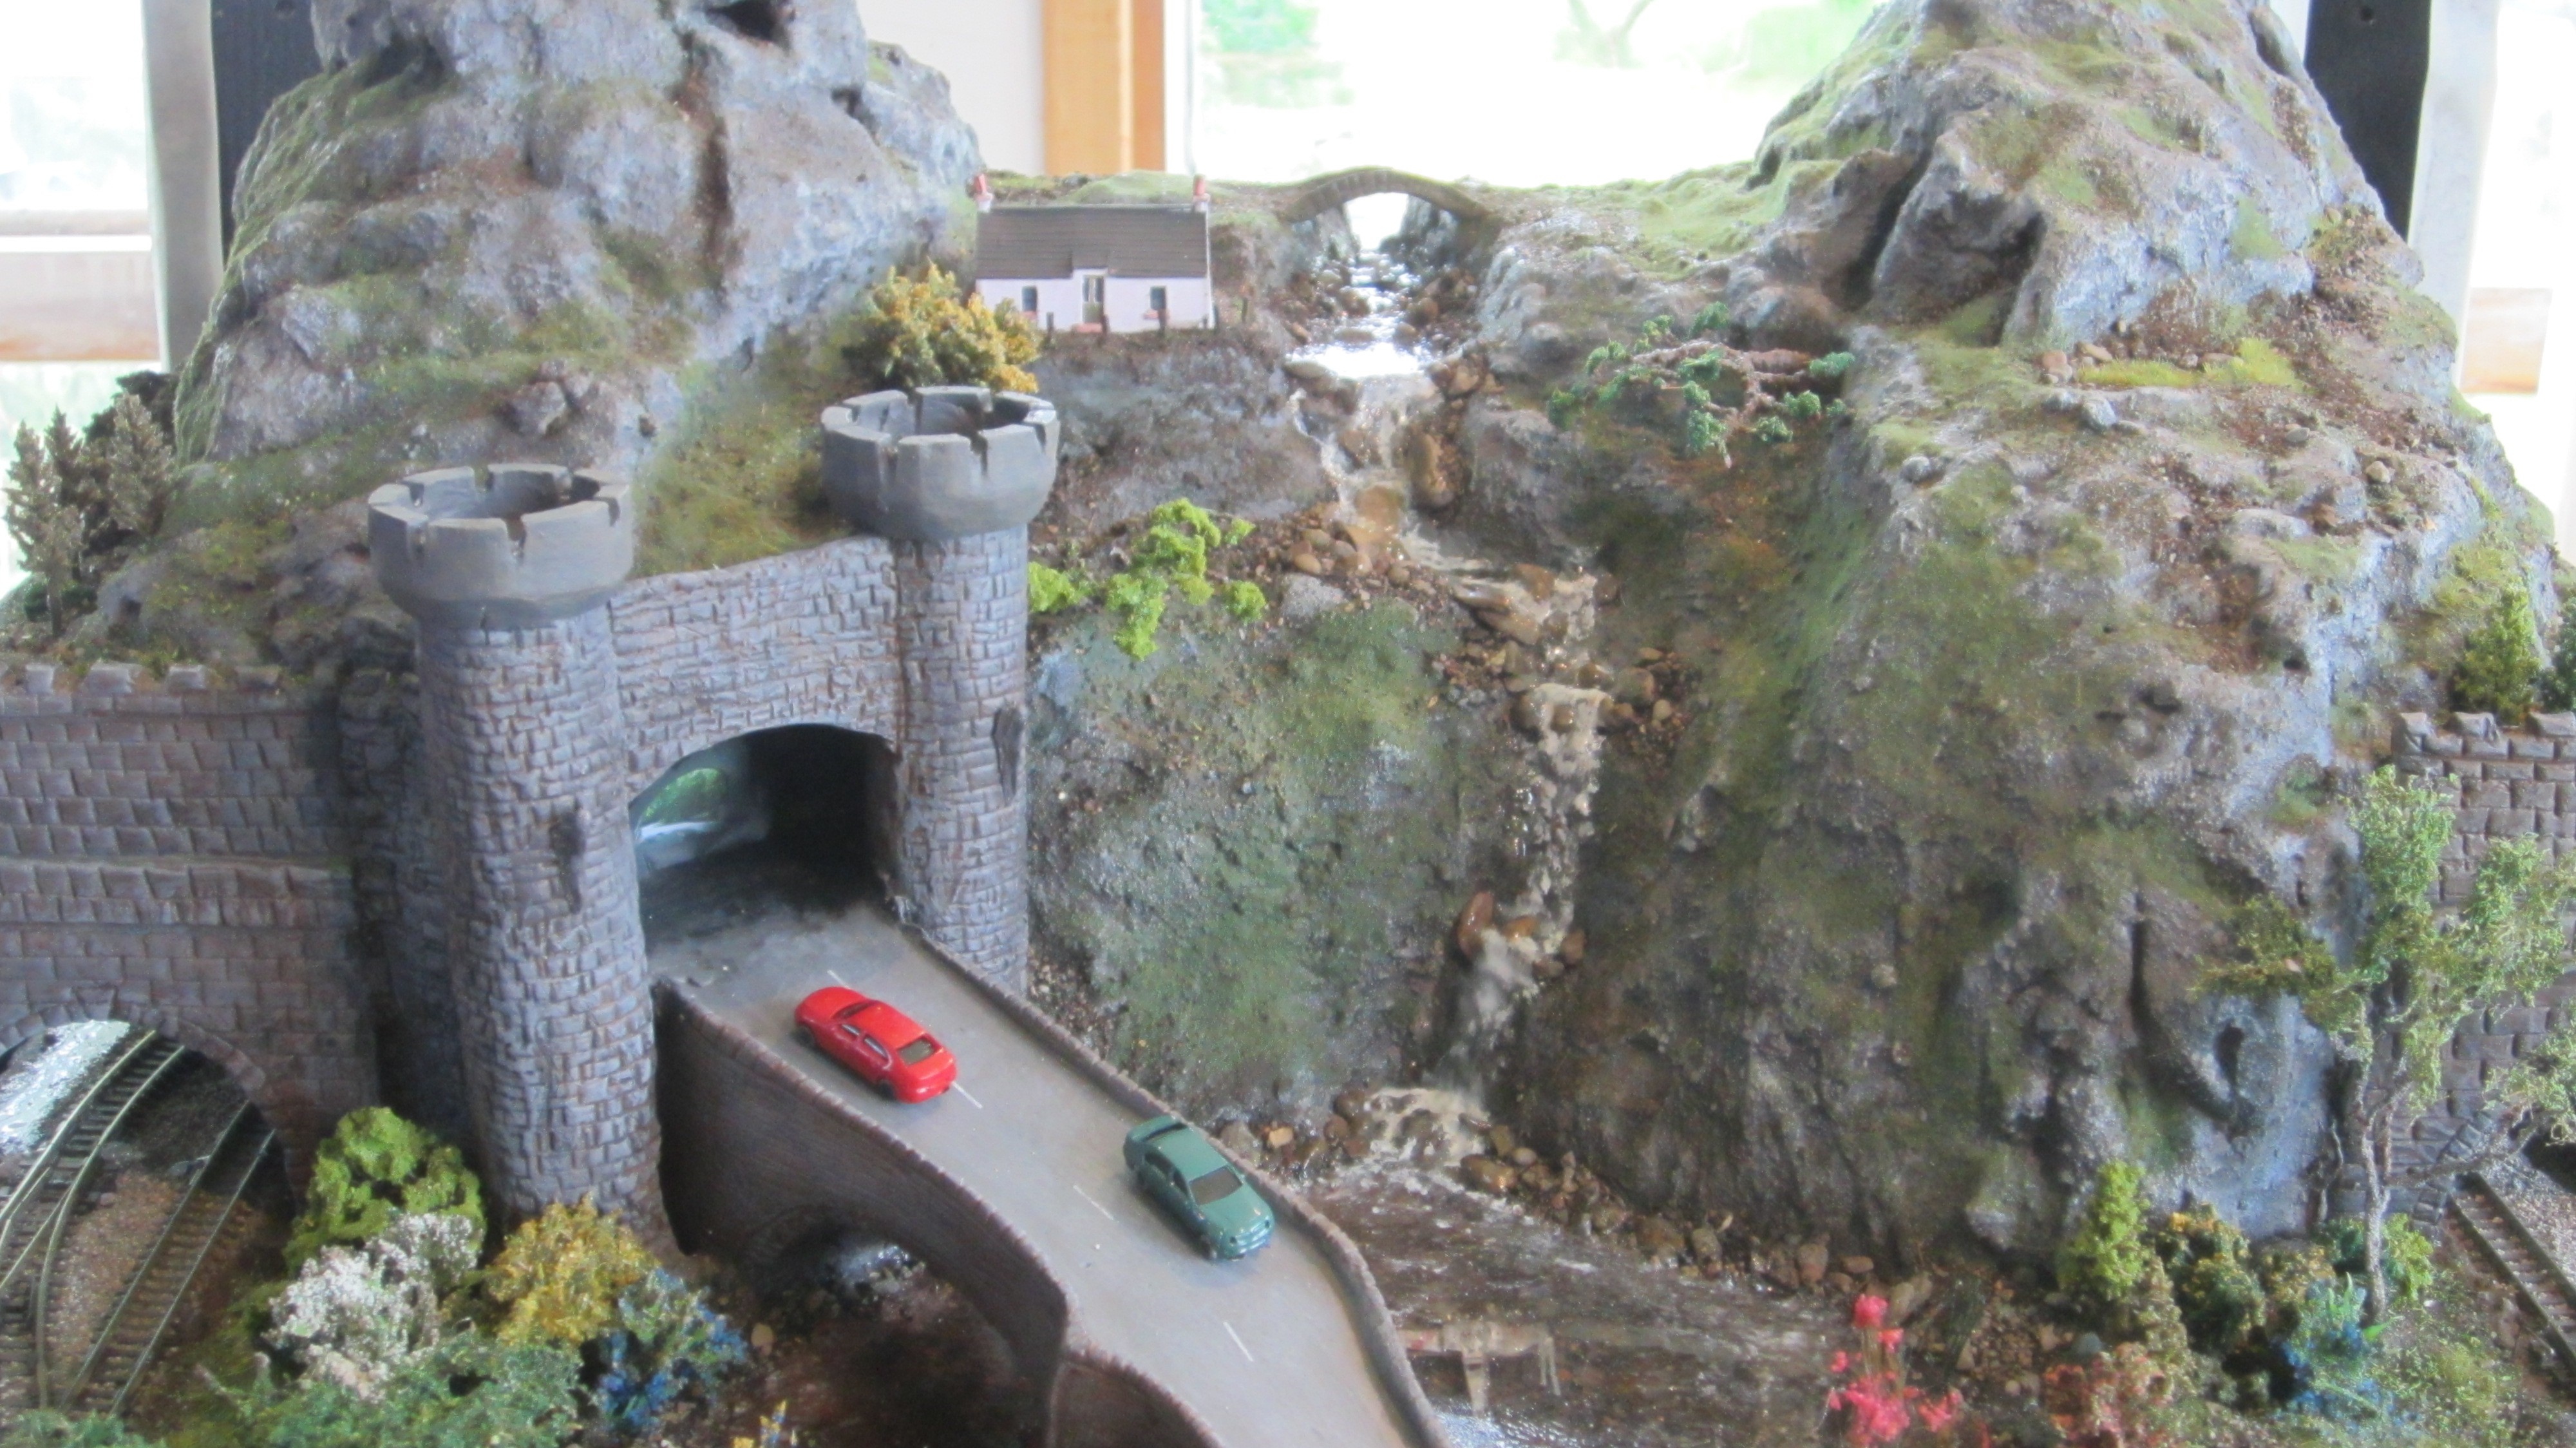
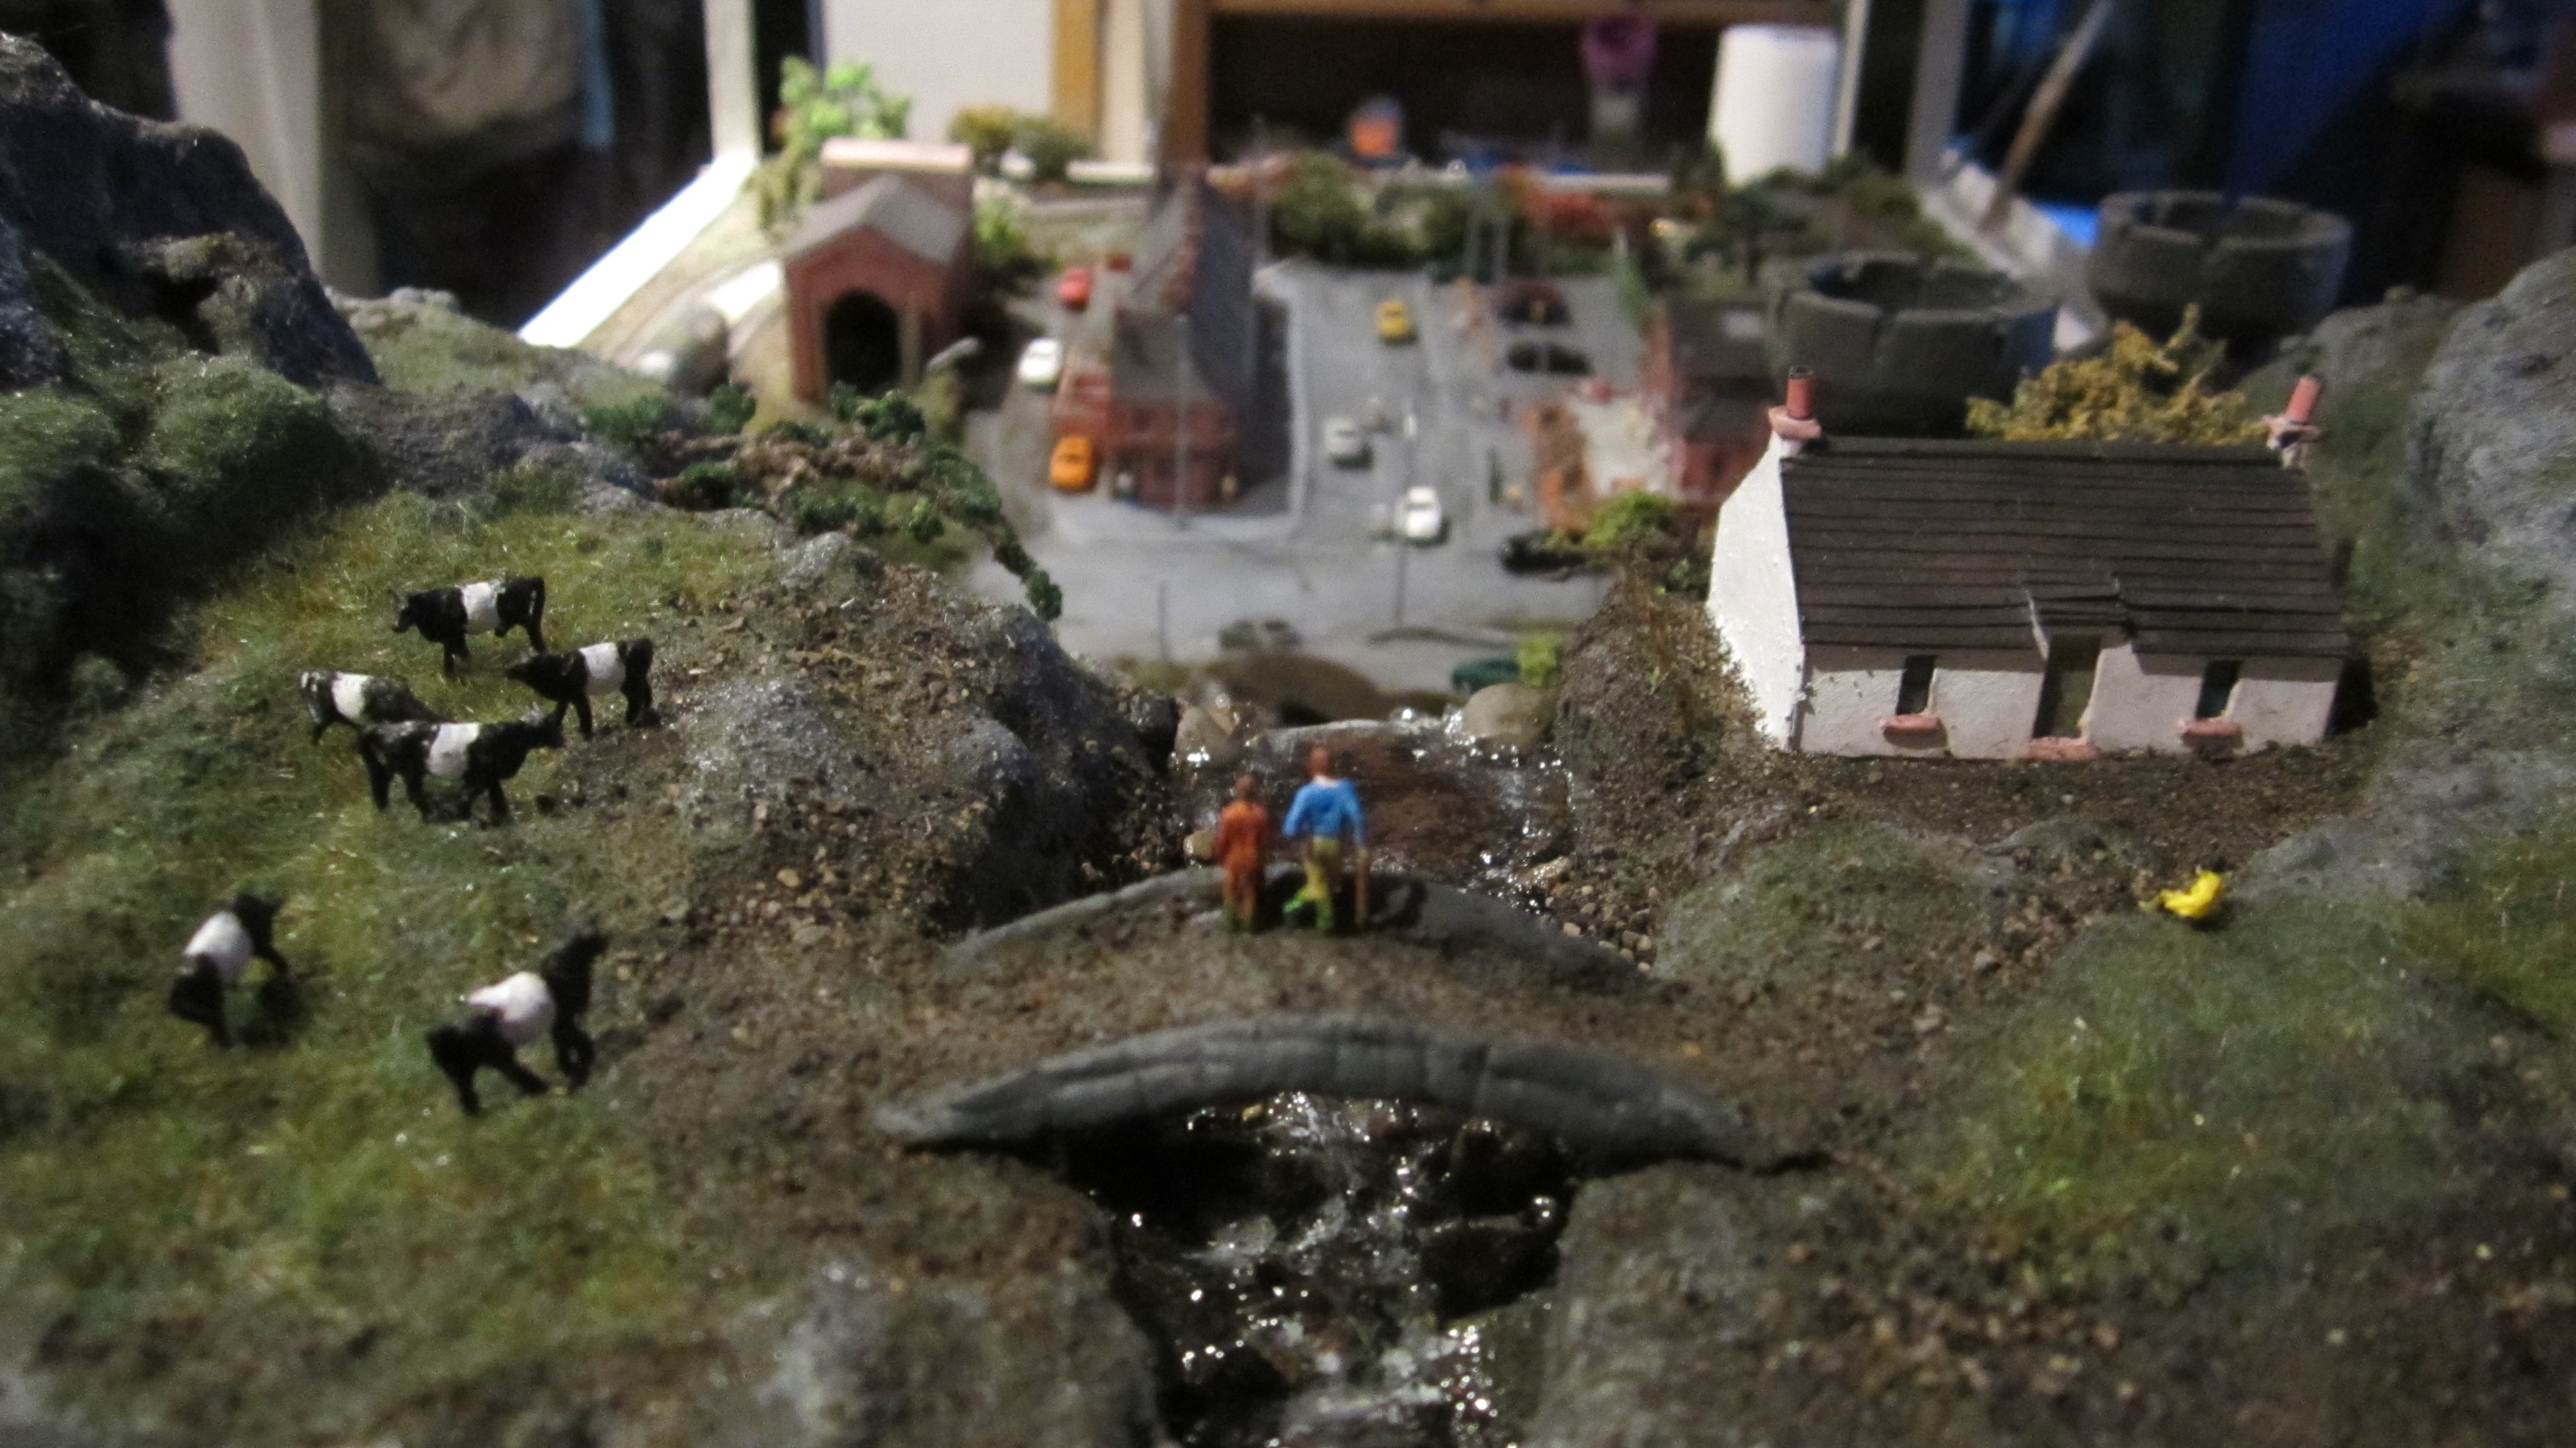


We are really happy with the terrain and rebuild so far, we are now at the stage of finalising the electronics and completing the woodworking.
Discussions
Become a Hackaday.io Member
Create an account to leave a comment. Already have an account? Log In.