 Mike Szczys
Badge to Badge
Remember those TI graphic calculators that had a cable to transfer programs? The badges can work in the same way.
- Connect the GND pins on the expansion header.
- Connect C14<-->C13 and C13<-->C14 on the two badges.
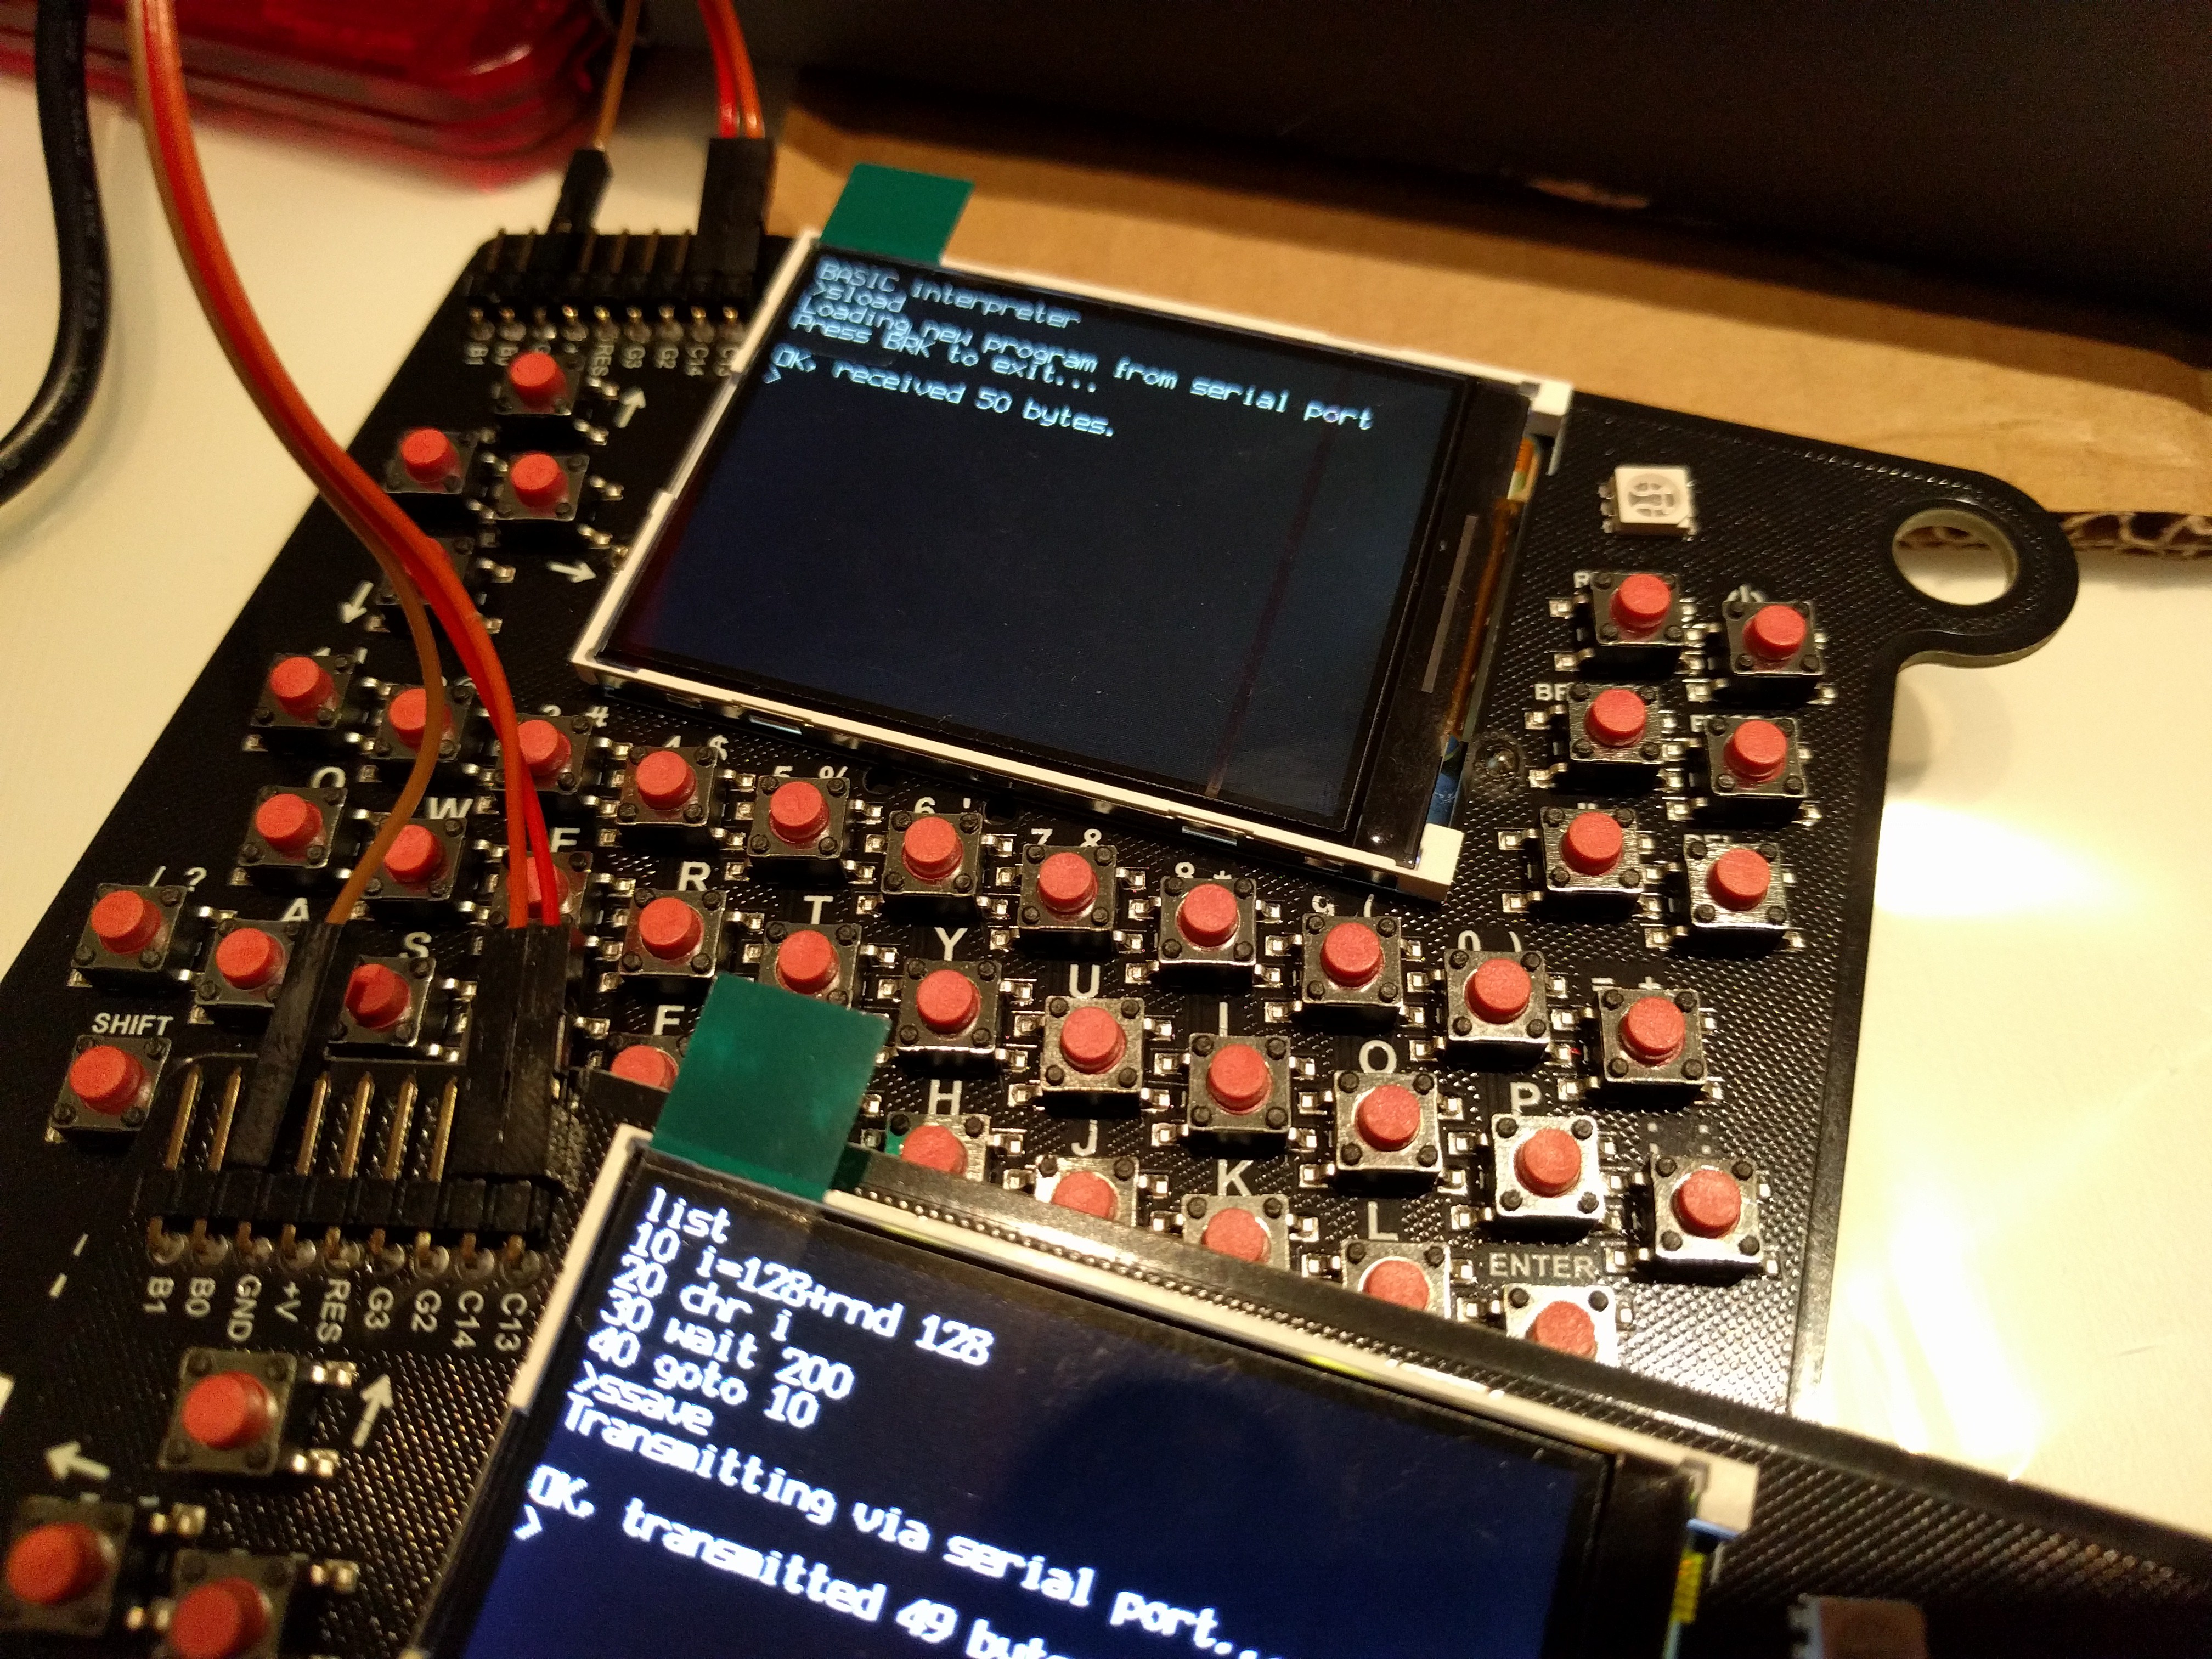
- On receiving badge type "sload" and it will wait for program to arrive
- On sending badge type "ssave". Program will be sent. Receiving badge will report 1 byte more than sending badge to indicate the zero terminator
- Type list on receiving badge to see new code in the program buffer.
IMPORTANT TIP: If the receiving badge doesn't react, reset that badge (shift-reset) and try again. Sometimes this is necessary after first connecting the cables.
Computer-to-Badge
A serial-to-TTL cable will allow you to communicate between the badge and a computer. If you own one of this cables we highly recommend you bring it with you! We will have cables on hand but it will be necessary to share them so extras are great!
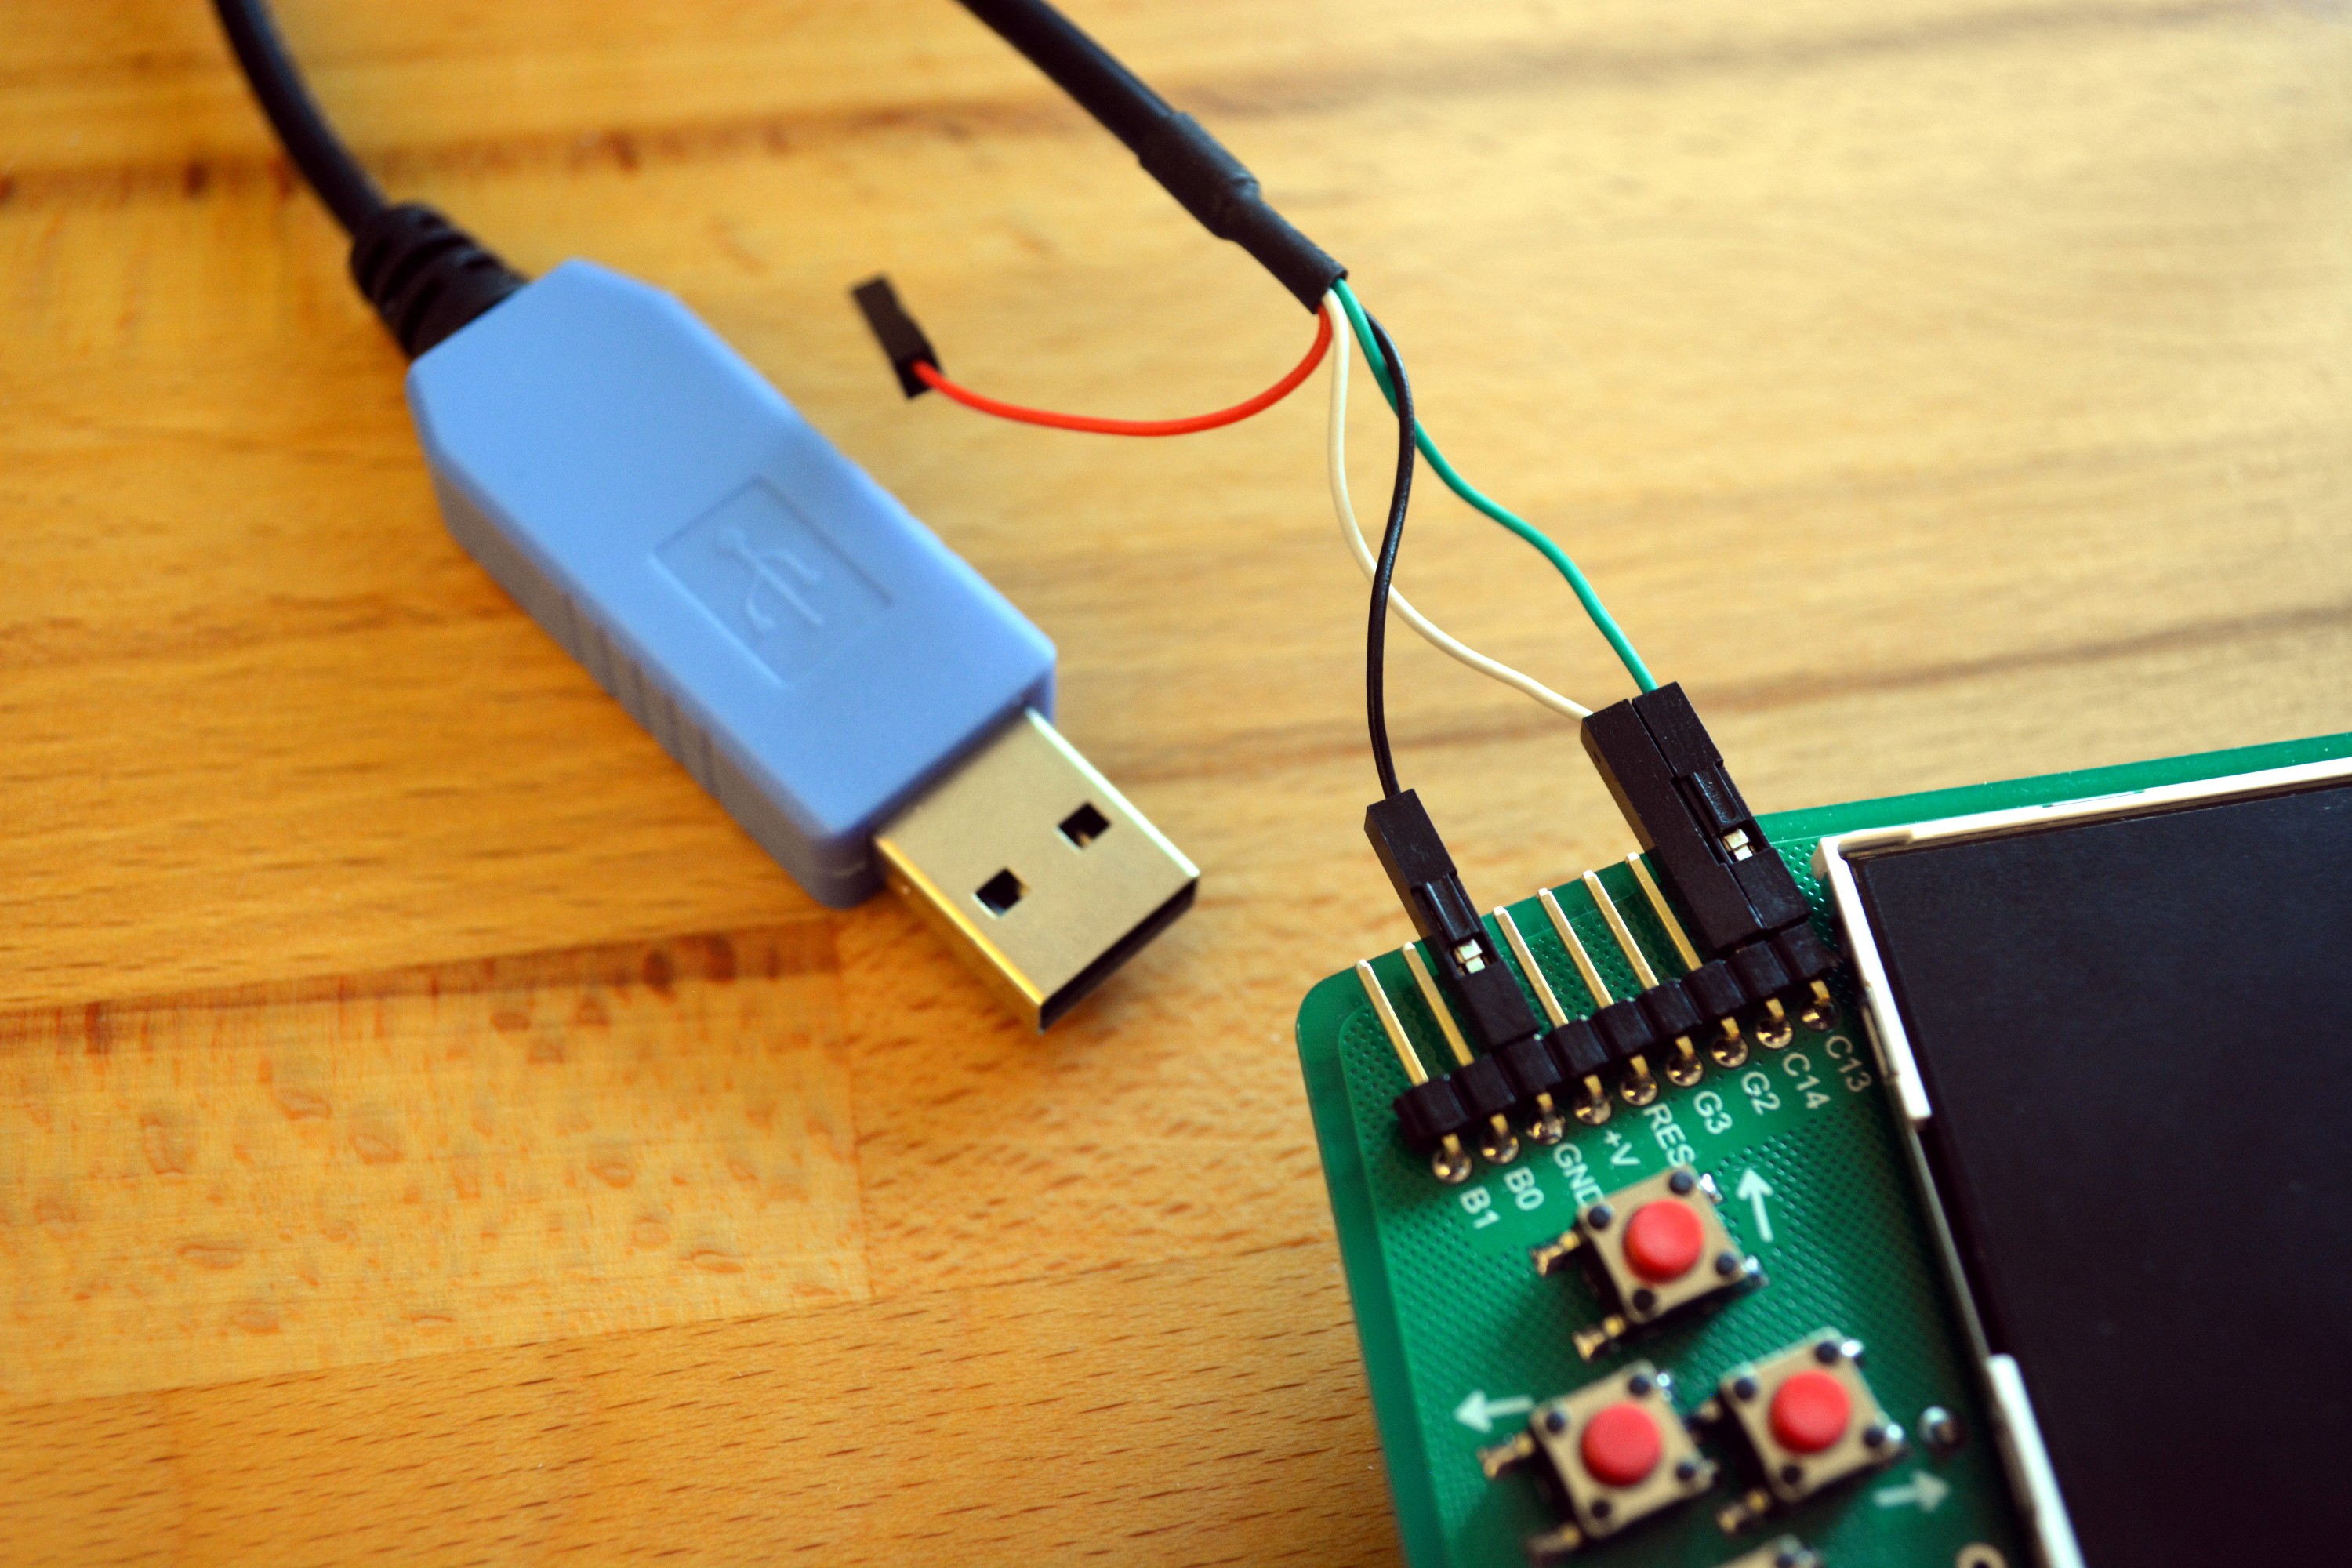
Wiring Diagram:
- Badge Pin Ground (GND) --> Ground on serial cable
- Badge Pin TX (C14) --> RX on serial cable (White in this example)
- Badge Pin RX (C13) --> TX on serial cable (Green in this example)
- Important: Leave voltage disconnected (Red in this example)
Serial Connection Info:
- Baud: 19200 8N1
- In basic, use command
ssaveto send program buffer as string - In BASIC, use command
sloadto recieve string into buffer - CP/M includes xmodem. Check your computer's serial program to ensure it supports this protocol. In the Z80 Emulator, switch to b: drive and run command similar to this:
xmdm r d:FILENAME.EXT
Linux: Simple Instructions for Transferring BASIC Programs
This quick walkthrough assumes that USB to TTL serial cable will enumerate as /dev/ttyUSB0. Look at dmesg output after plugging cable to ensure this is true.
Setup simple Linux serial connection:
Use dmesg and look for where the serial cable is mounted -- this example assumes /dev/ttyUSB0. It then sets permissions to that mounting point, sets the serial parameters to a "sane" value, and configures the port as needed. When in doubt, power cycle your badge and try again.
sudo chmod 777 /dev/ttyUSB0
stty -F /dev/ttyUSB0 sane
stty -F /dev/ttyUSB0 19200 cs8 -cstopb -parenb -opost -inlcr
stty -F /dev/ttyUSB0
Send a File to Badge
- On the badge, type
sloadinto BASIC - On computer type:
cat basic.txt > /dev/ttyUSB0 - On the badge, press BRK
Receive a File from Badge
- On computer type:
cat /dev/ttyUSB0 > newbasic.txt - On the badge, type ssave
- On computer type CTRL-C
MacOS X
Be sure your adapter is properly installed and set up (may require downloading and installing driver) before using either of the two options below: command line vs. GUI
Option 1: Command line configuration with 'stty'
(Works with some but not all adapters on MacOS X. Notably, this doesn't appear to work with PL2303-based adapters like the one sold by Adafruit.)
MacOS X also has the 'stty' command like Linux above. However, the MacOS implementation doesn't follow the same rules on persisting settings. According to information from this page on StackExchange, the trick is to "hold" the serial port so that it retains settings yet does not return a "Resource busy" error when something else tries to use the port.
The procedure is as follows:
- Find the name of your serial port device inside /dev/. It is probably /dev/cu.usbserial-[something something]. Use this name in place of the example 'cu.usbserial-ABCD1234 for the rest of this procedure.
$ ls /dev/cu.usb*
/dev/cu.usbserial-ABCD1234
- Before using any serial port commands, open a "file descriptor" on that device. This only needs to be done once per session.
$ exec 3<>/dev/cu.usbserial-ABCD1234
- Run the 'stty' commands, now the settings will stick.
$ stty -f /dev/cu.usbserial-ABCD1234 19200 cs8 -cstopb -parenb -opost -inlcr
- As above, transfer BASIC program to badge with cat [filename] > [usb device]
$ cat basic.txt > /dev/cu.usbserial-ABCD1234
- Transfer from badge with cat [usb device] > [filename]
$ cat /dev/cu.usbserial-ABCD1234 > newbasic.txt
- Repeat serial commands as many times as desired for this session.
- When done, clean up by closing the file desriptor.
$ exec 3<&-
Option 2: CoolTerm
(Works with all known adapters, but requires installing software.)
- Download CoolTerm for MacOS X, install, and launch.
- Click 'Options' to configure CoolTerm.
- 'Port' = the USB to serial adapter.
- 'Baudrate' = 19200
- 'Data Bits' = 8
- 'Parity' = N
- 'Stop bits' = 1
- Click 'Connect' to establish connection.
- To upload a text file: Inside "Connection" menu, select "Send Textfile..."
- To download, "Connection"/"Capture to Textfile"
Windows: Serial transfer
Courtesy of [Electron Plumber]:
Configure serial port (COM3)
C:\Users\user>mode COM3 BAUD=19200 PARITY=n DATA=8
Copy file to serial port
C:\Users\user>copy basic.txt COM3
        1 file(s) copied.
Discussions
Become a Hackaday.io Member
Create an account to leave a comment. Already have an account? Log In.
You can also use the serial connection to avoid the keyboard / screen by pressing: Lshift-Rshift-BRK. This makes the connection the serial console. Works from the main screen ONLY. E.g. you must reset (both shifts and reset) then switch (both shifts and BRK) and THEN your terminal program will work. You can do 2 and Ctrl+enter to get to CPM and it will work normally until the badge is power cycled.
Are you sure? yes | no
Putty on windows also seems to work for ssave but make sure to turn on implied CR for every LF.
sload is ok too.
Are you sure? yes | no