 Jan
JanAs the last log showed, the 60 to 70mm thick clay doesn't preserve the heat very well. It needed insulation badly.
I wanted at least 50mm or so of insulation. A small format metal sheet (2000x1000mm) wouldn't be long enough then. So I chose the next format of 2500x1250mm. This gives the opportunity to use 80mm of insulation: yay!
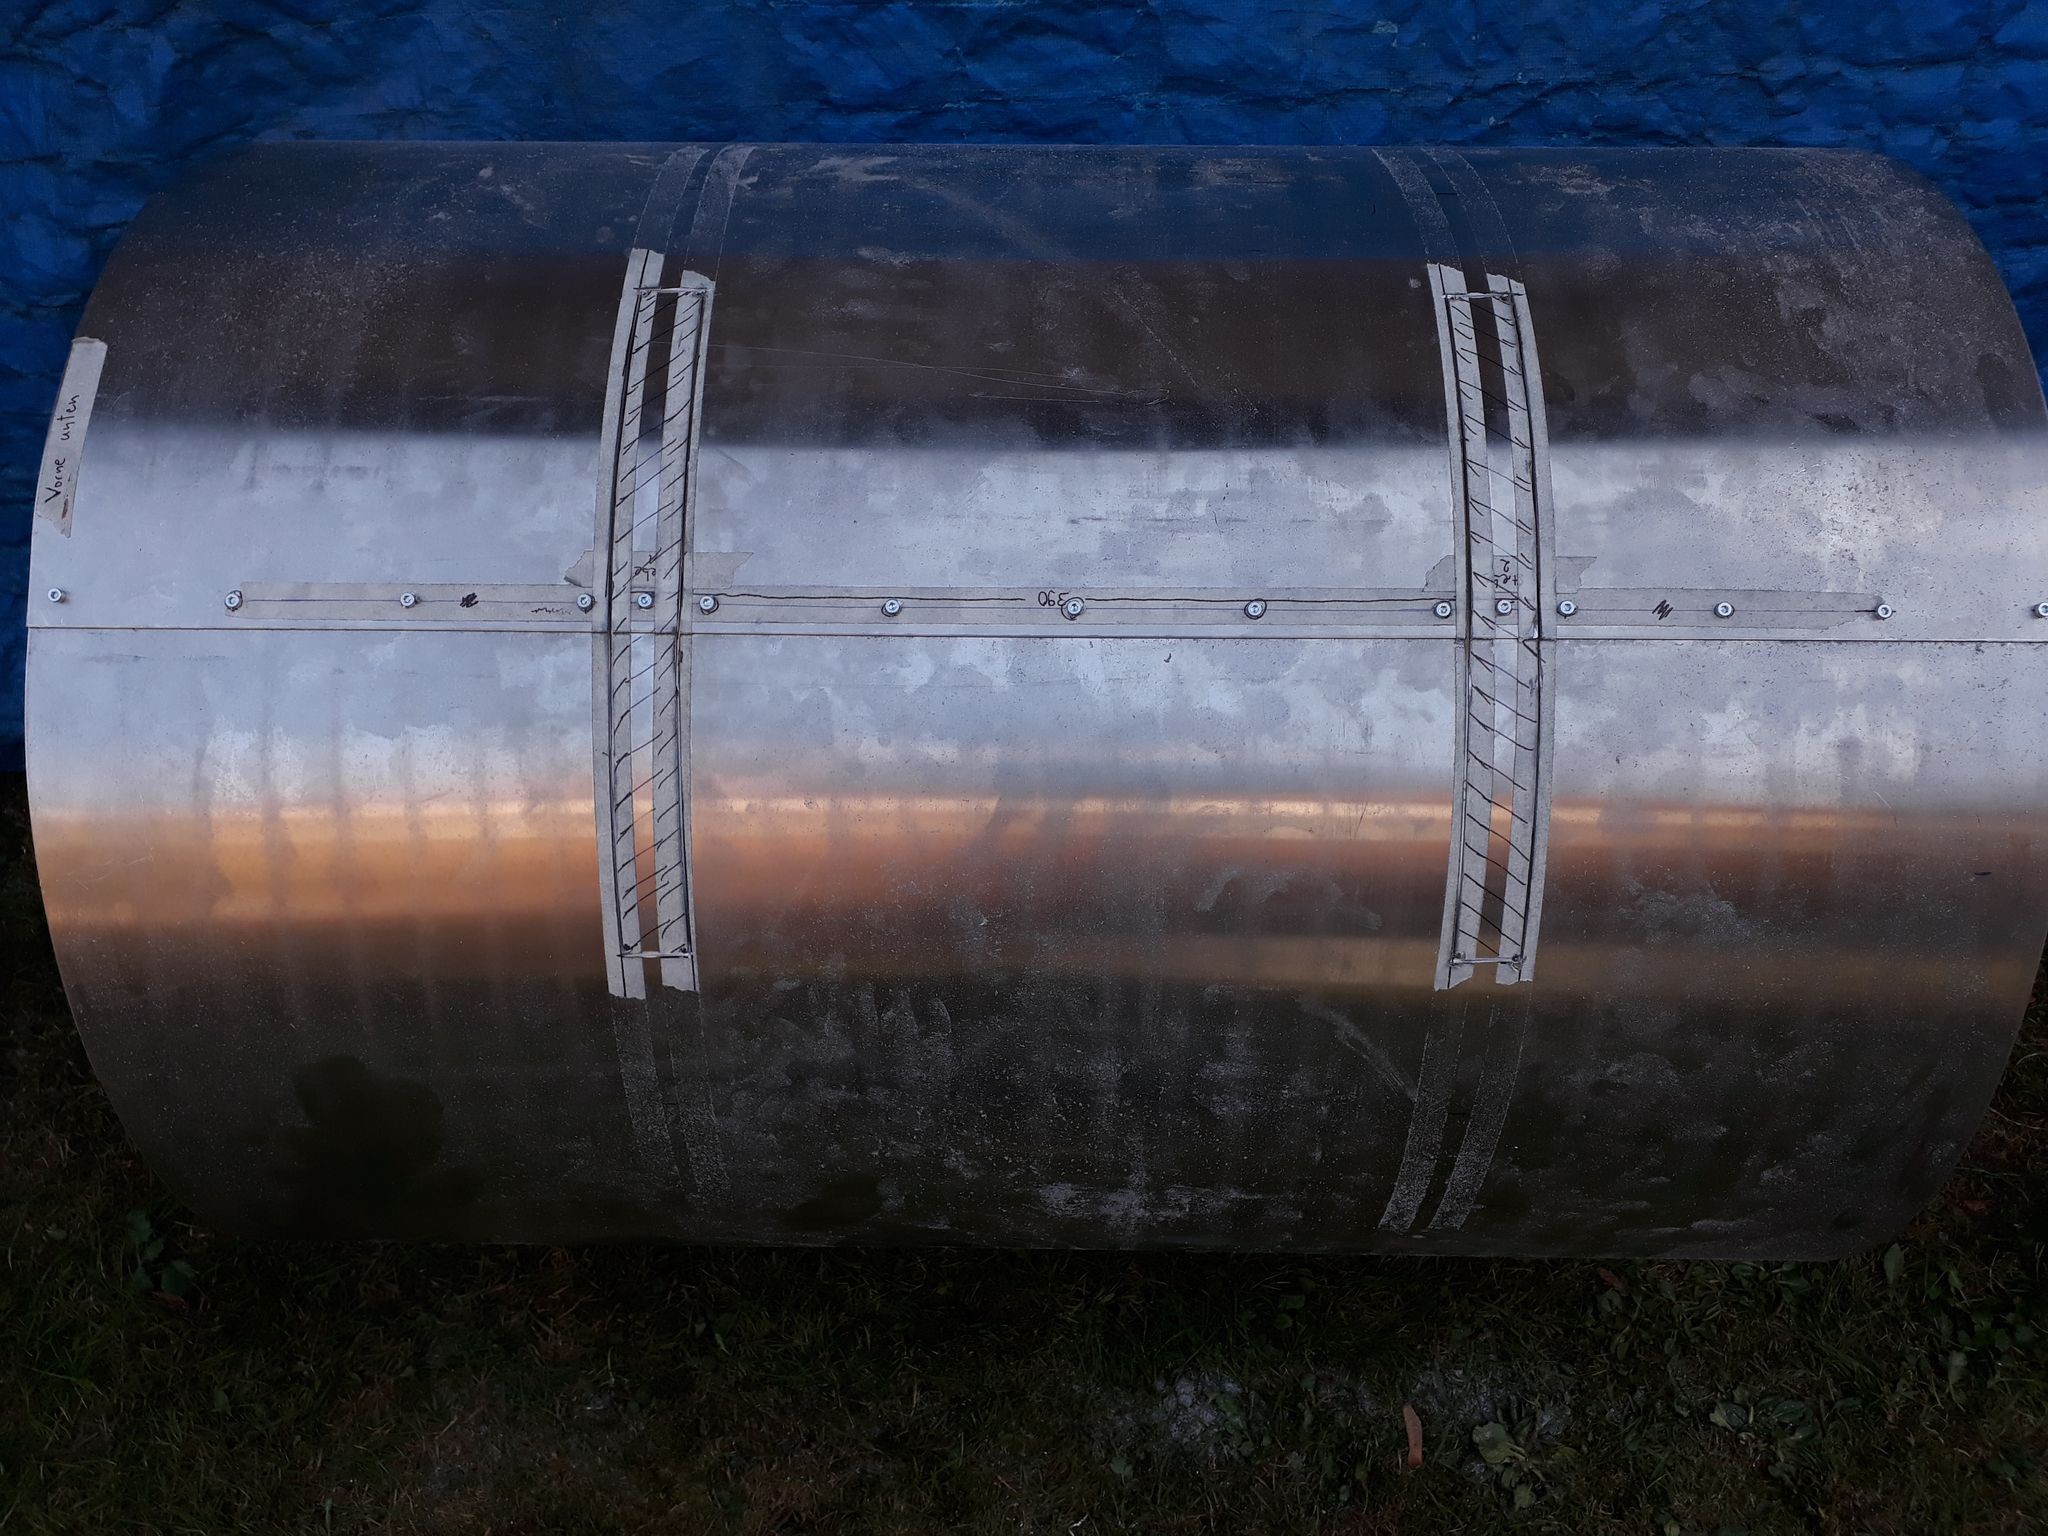
I got my metal sheet (2mm thick) and used a roller at the company to roll it into a cylinder of 740mm diameter with 30mm overlap:

I wanted to use rock wool instead of glass wool and soon regretted that decision.
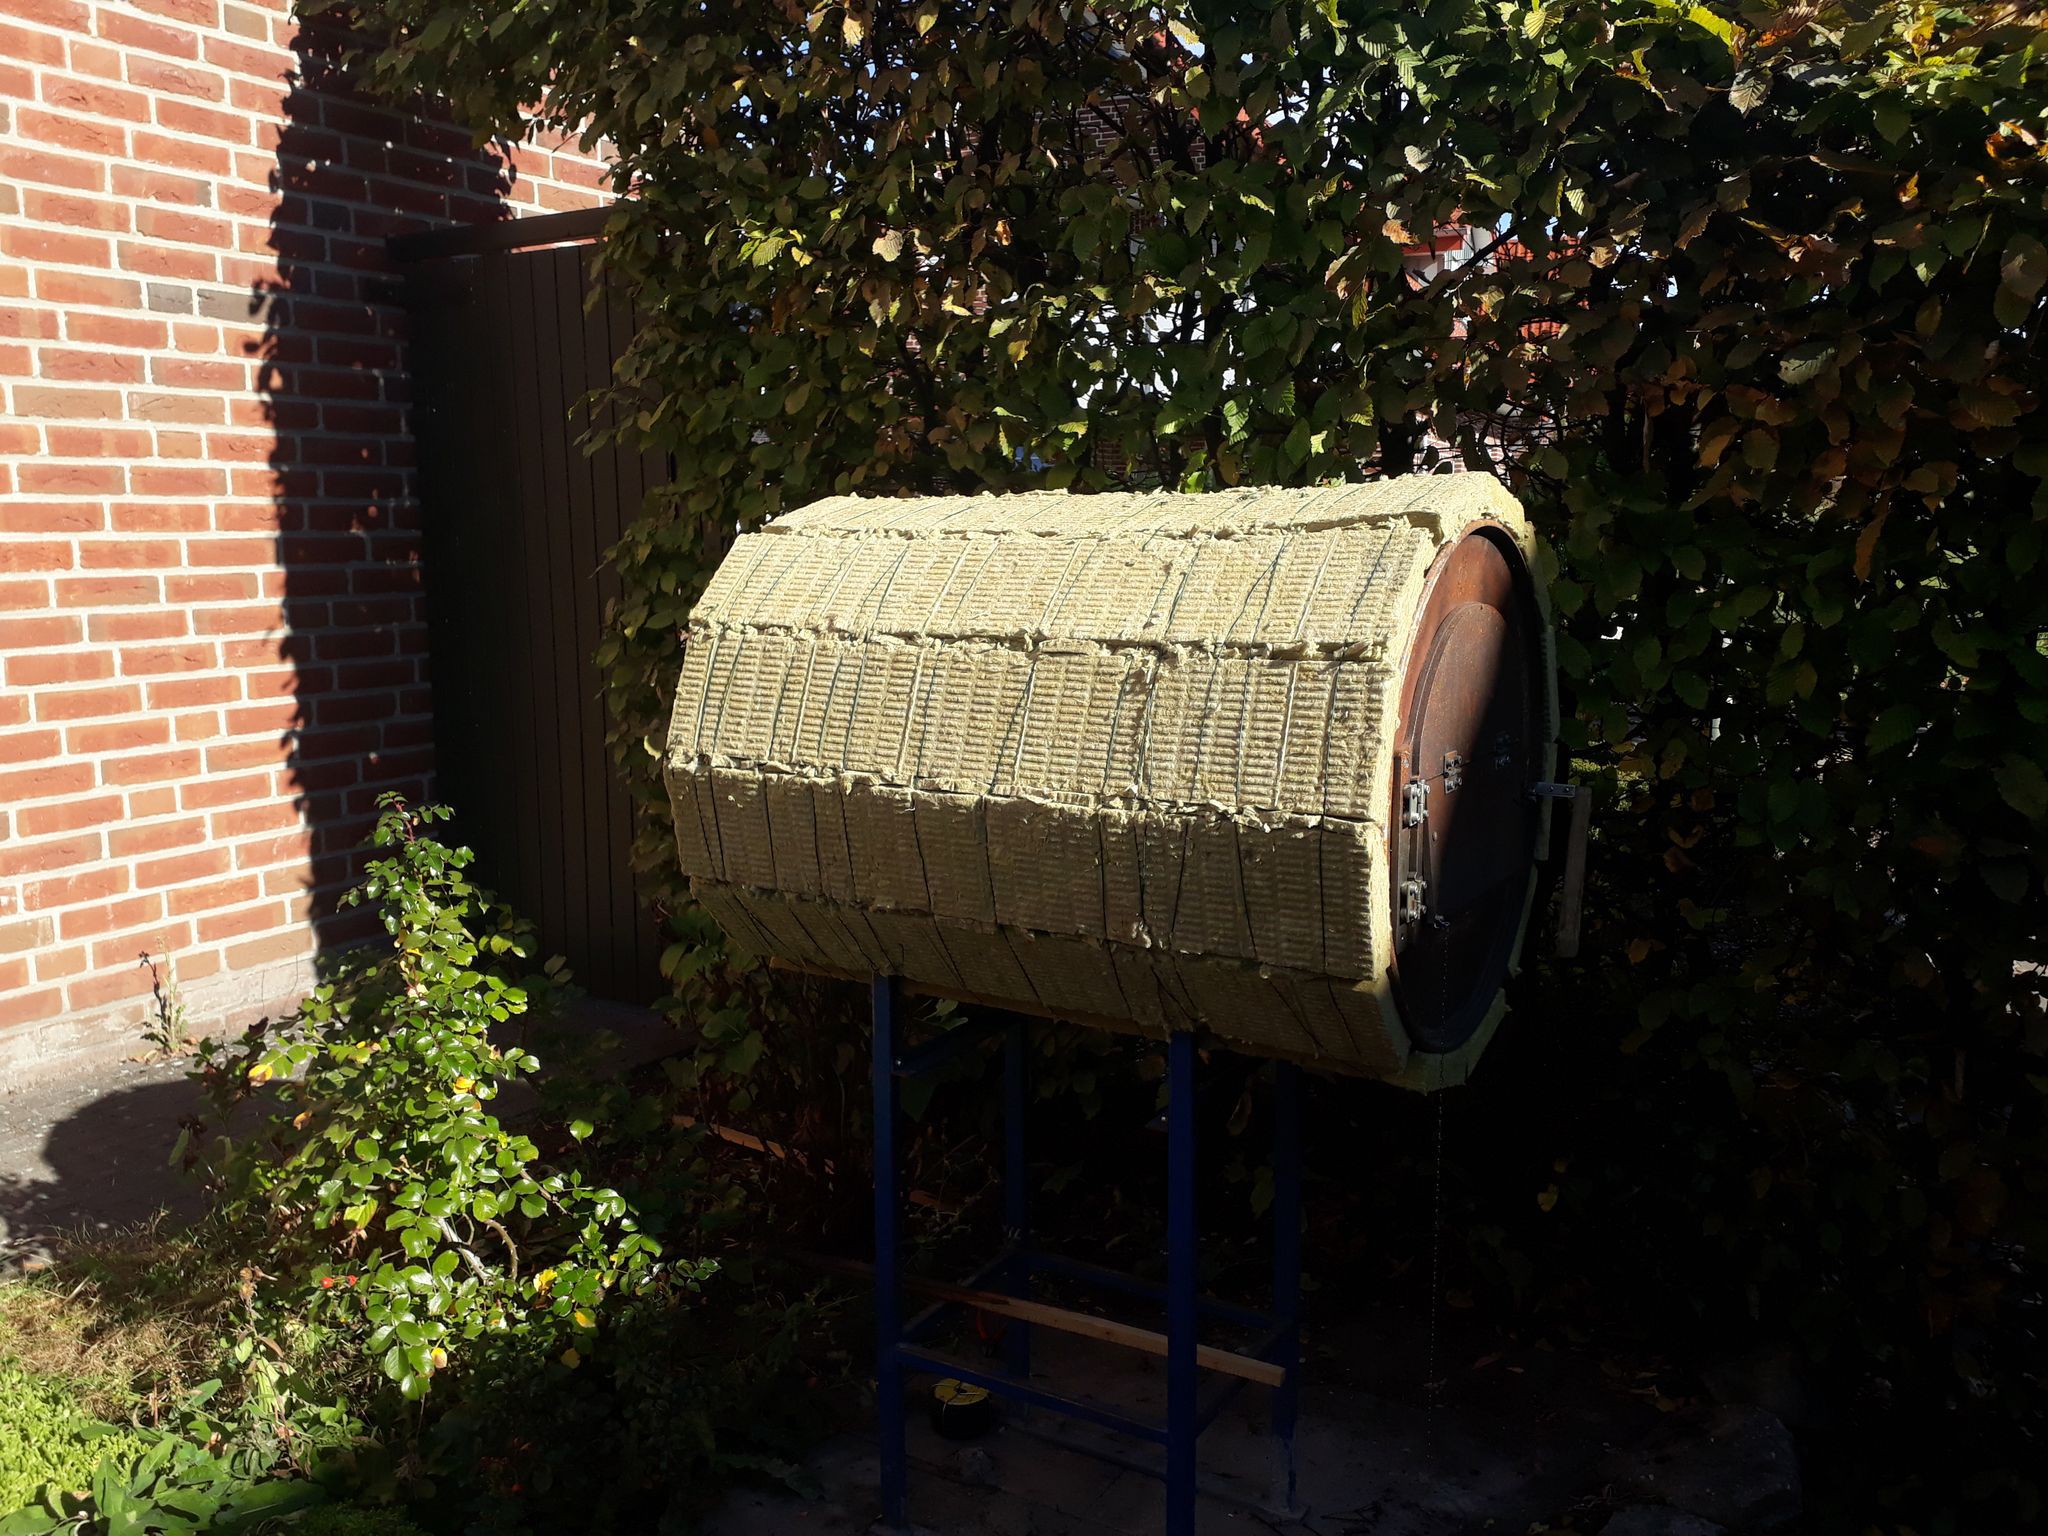
Rock wool is everything but easy to bend, so we had to cut lots of strips which were a mess to get around the oven! Wire was used to hold it in place.
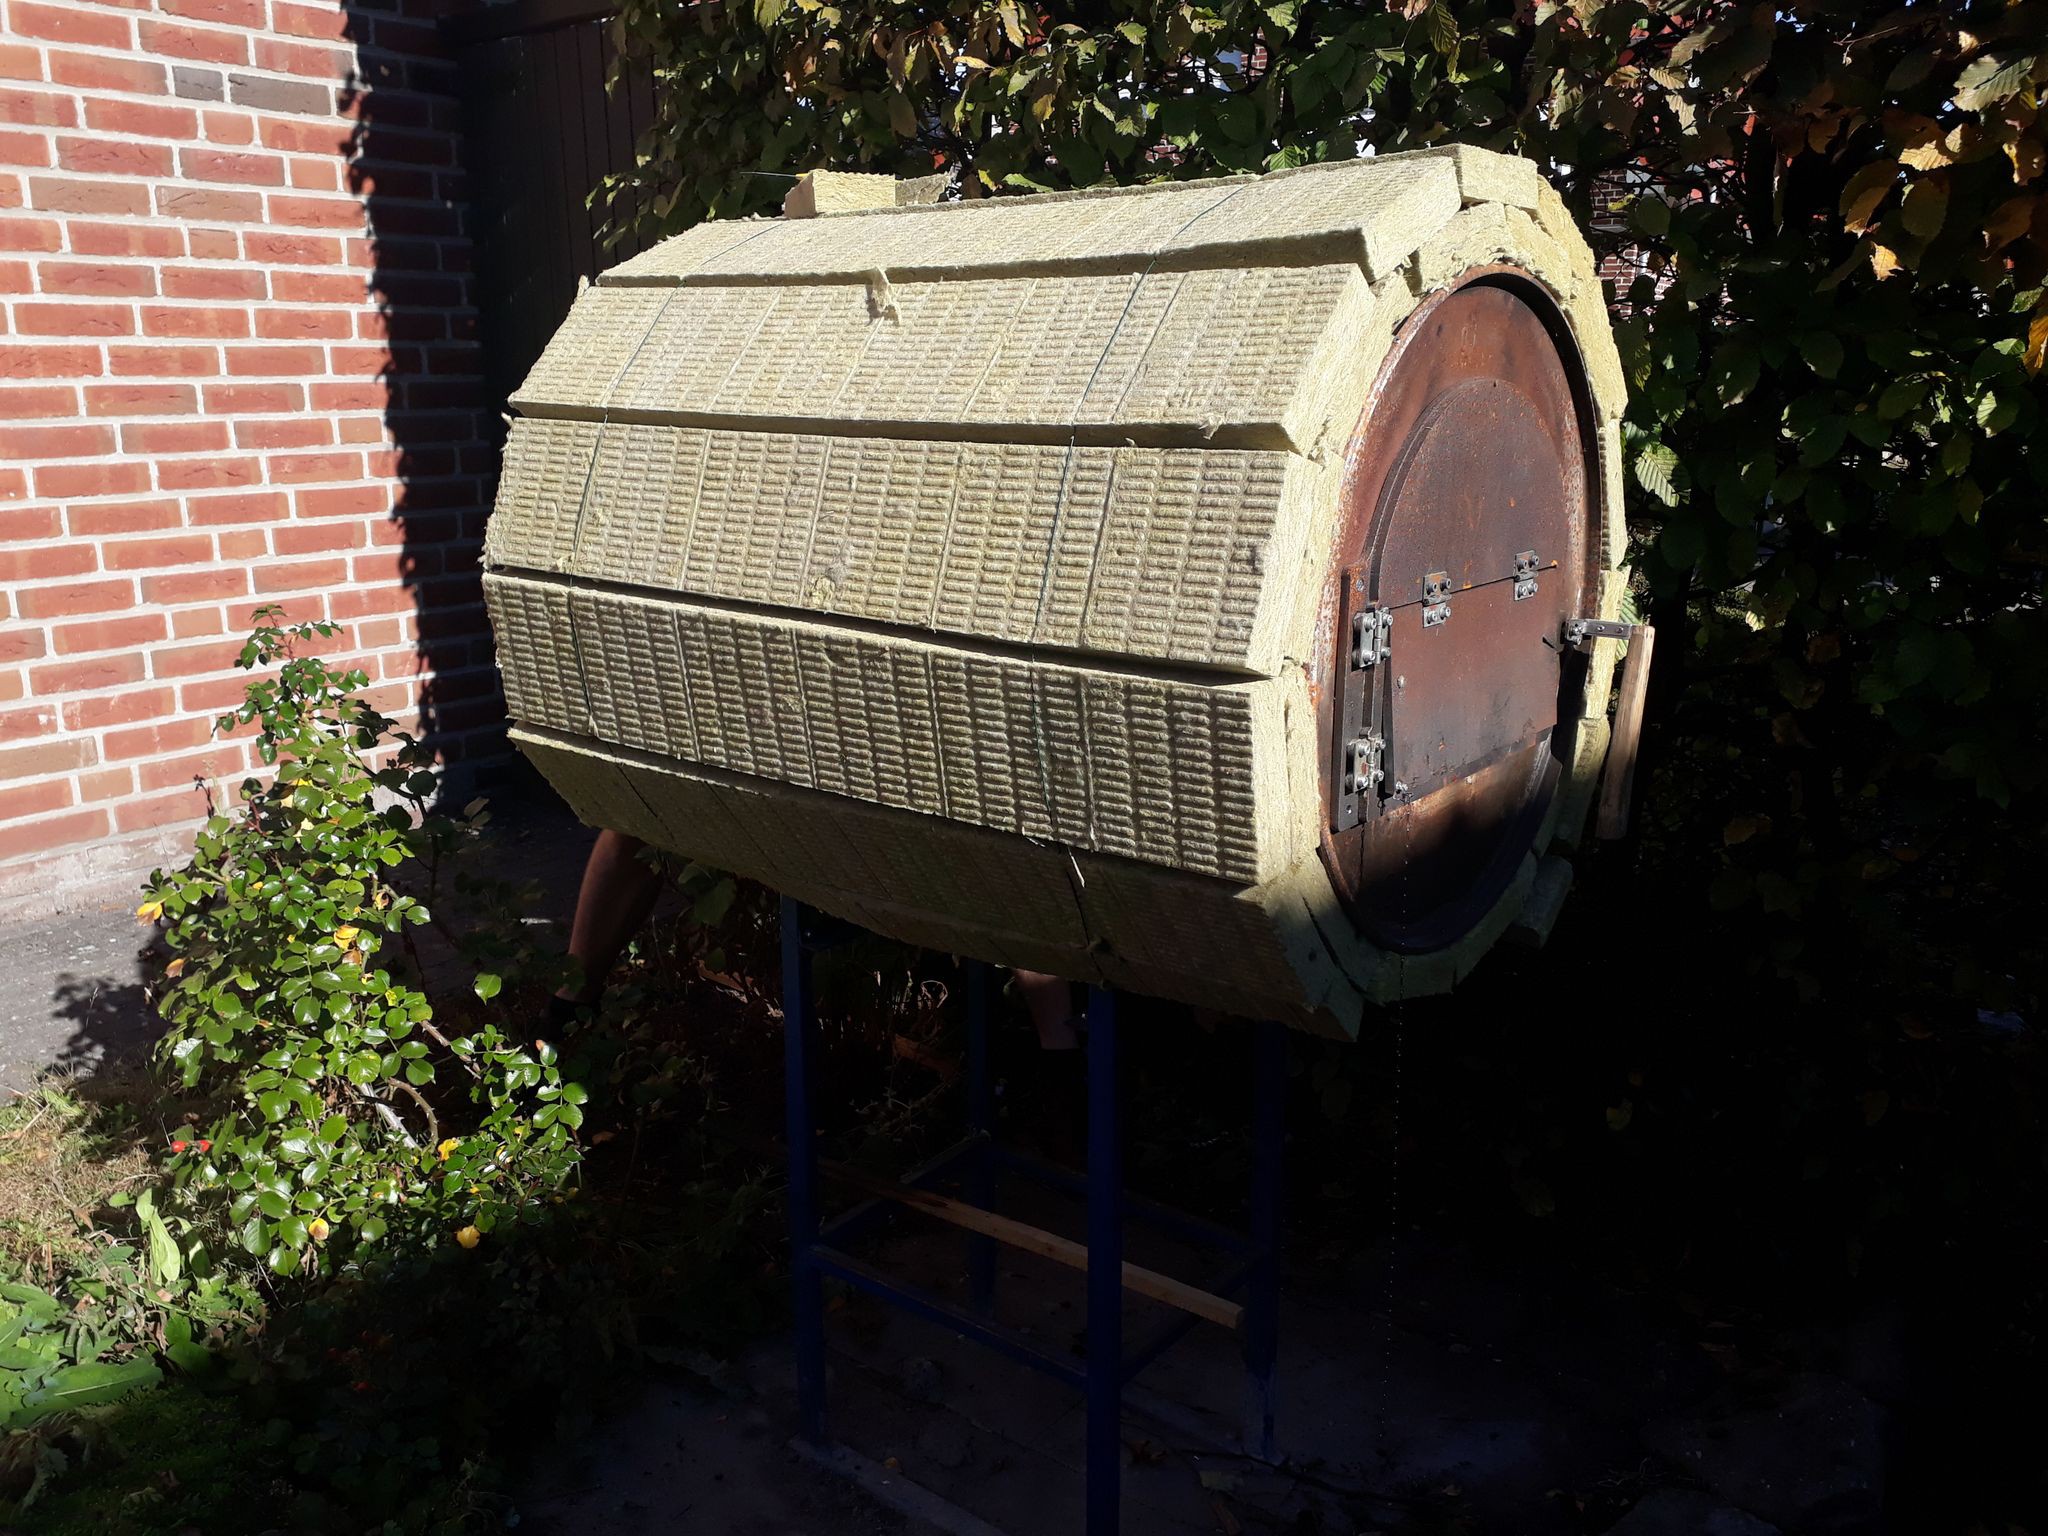
Above picture shows the second layer. Overlap was not as planned but should work nonetheless.
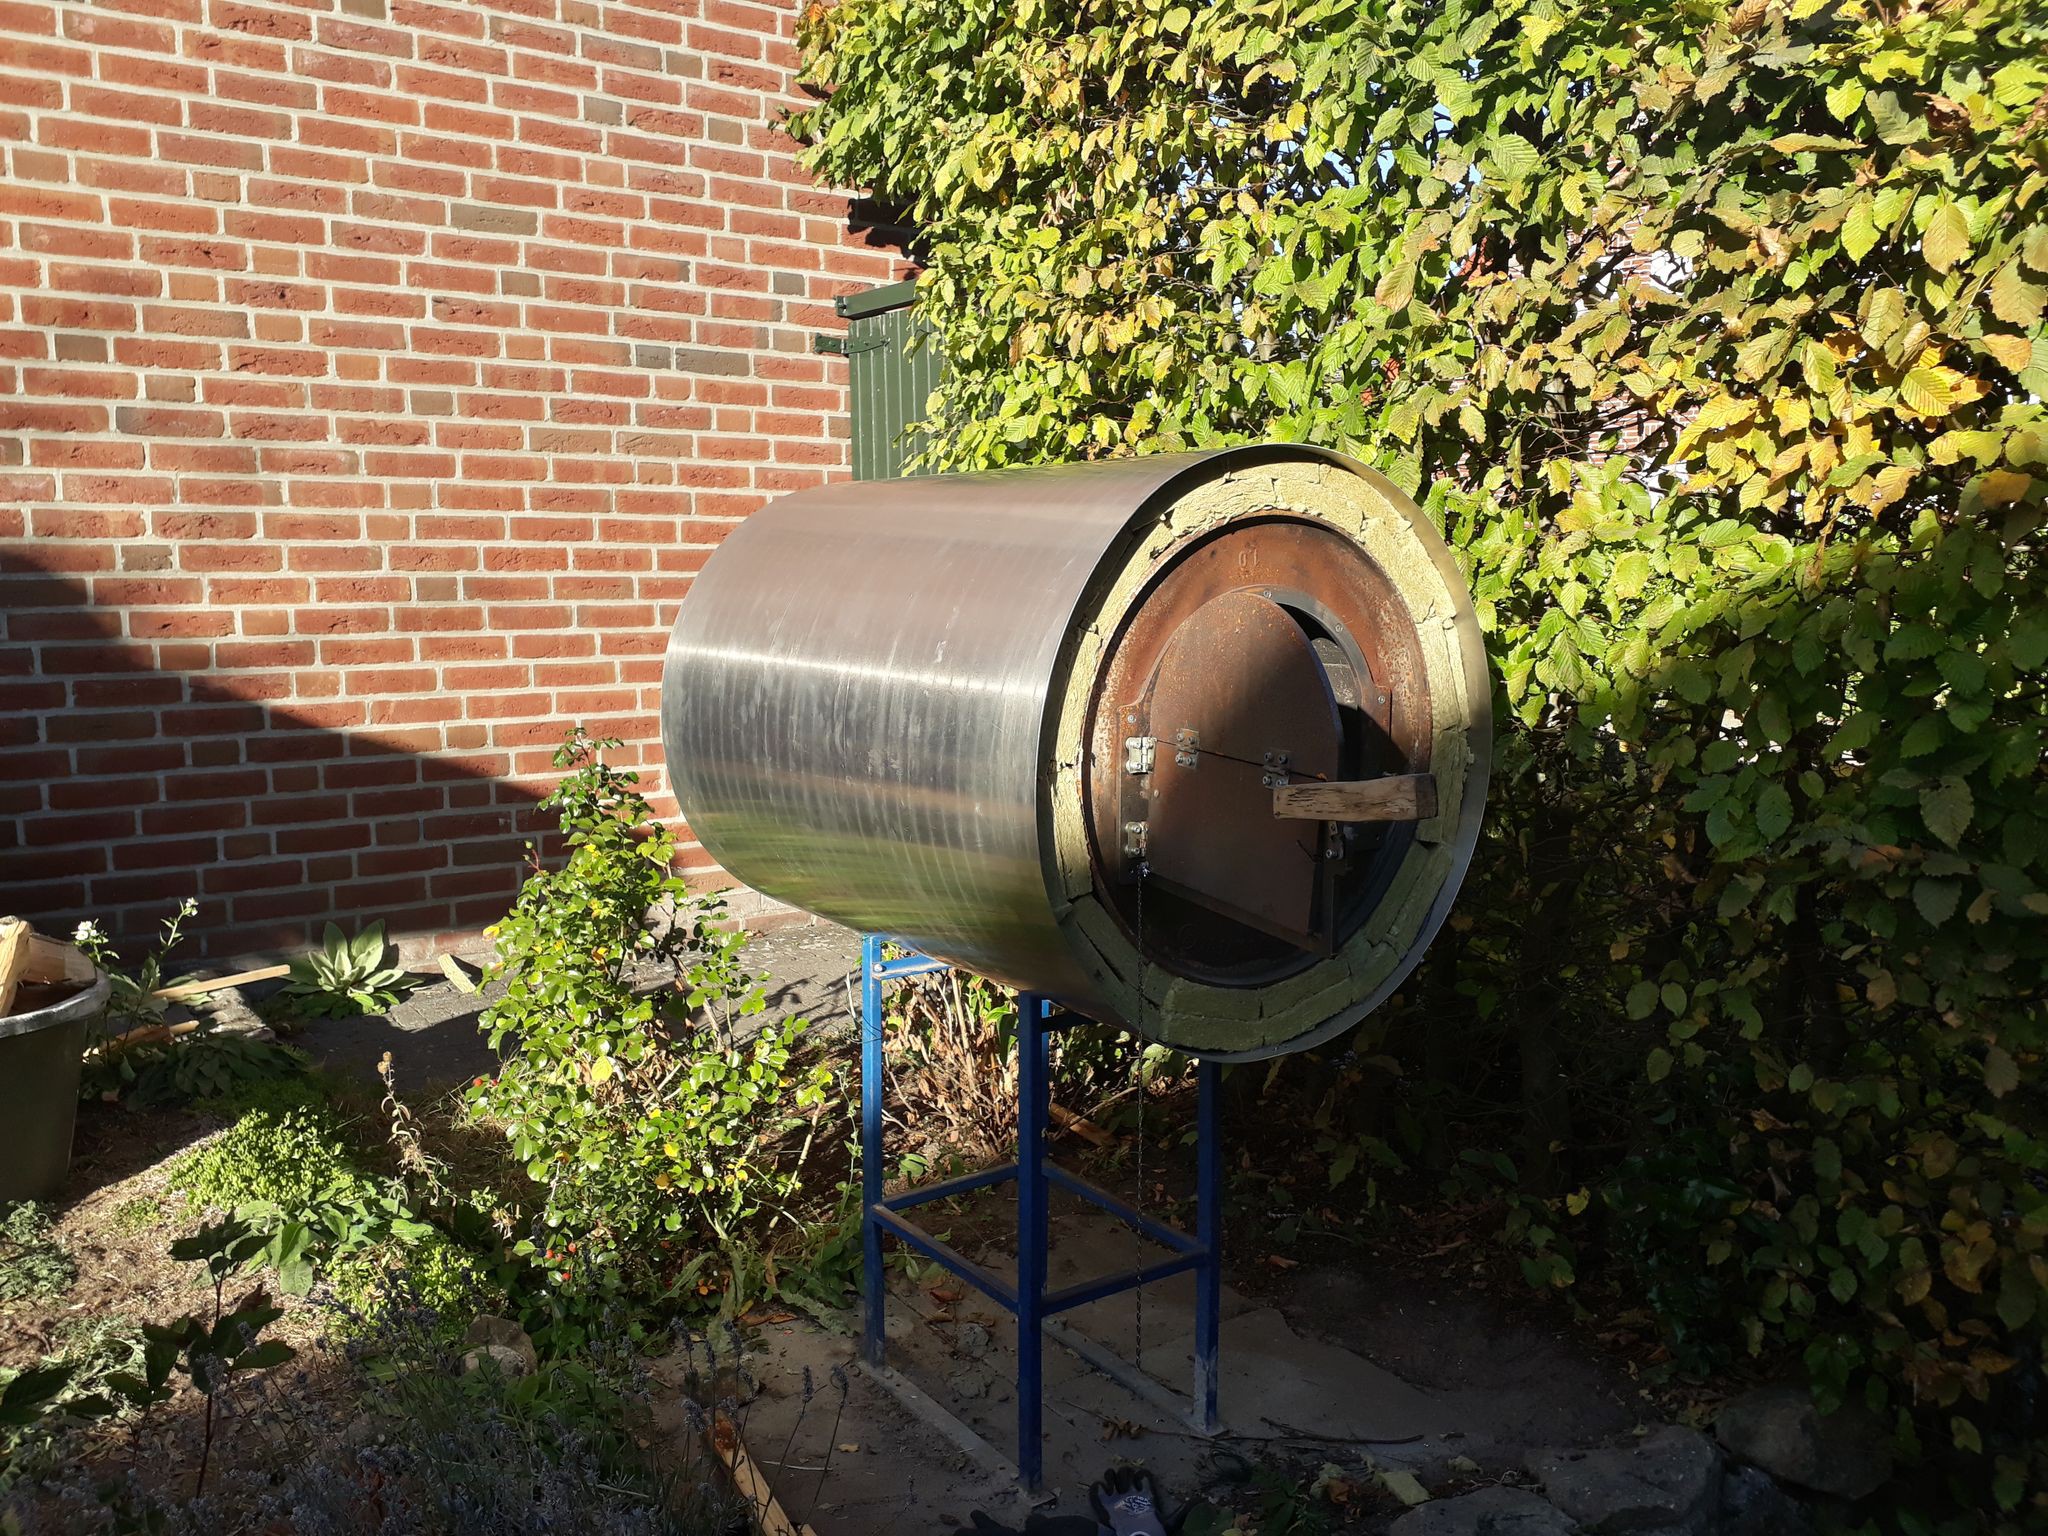
The metal cylinder was easily bent open by about 400mm and put over the insulation. Two straps were needed to get the already drilled and tapped holes aligned and bolted together again.

Insulation worked great. You can now still touch the outside when the oven is a max temperature (around 500°C, 932°F).
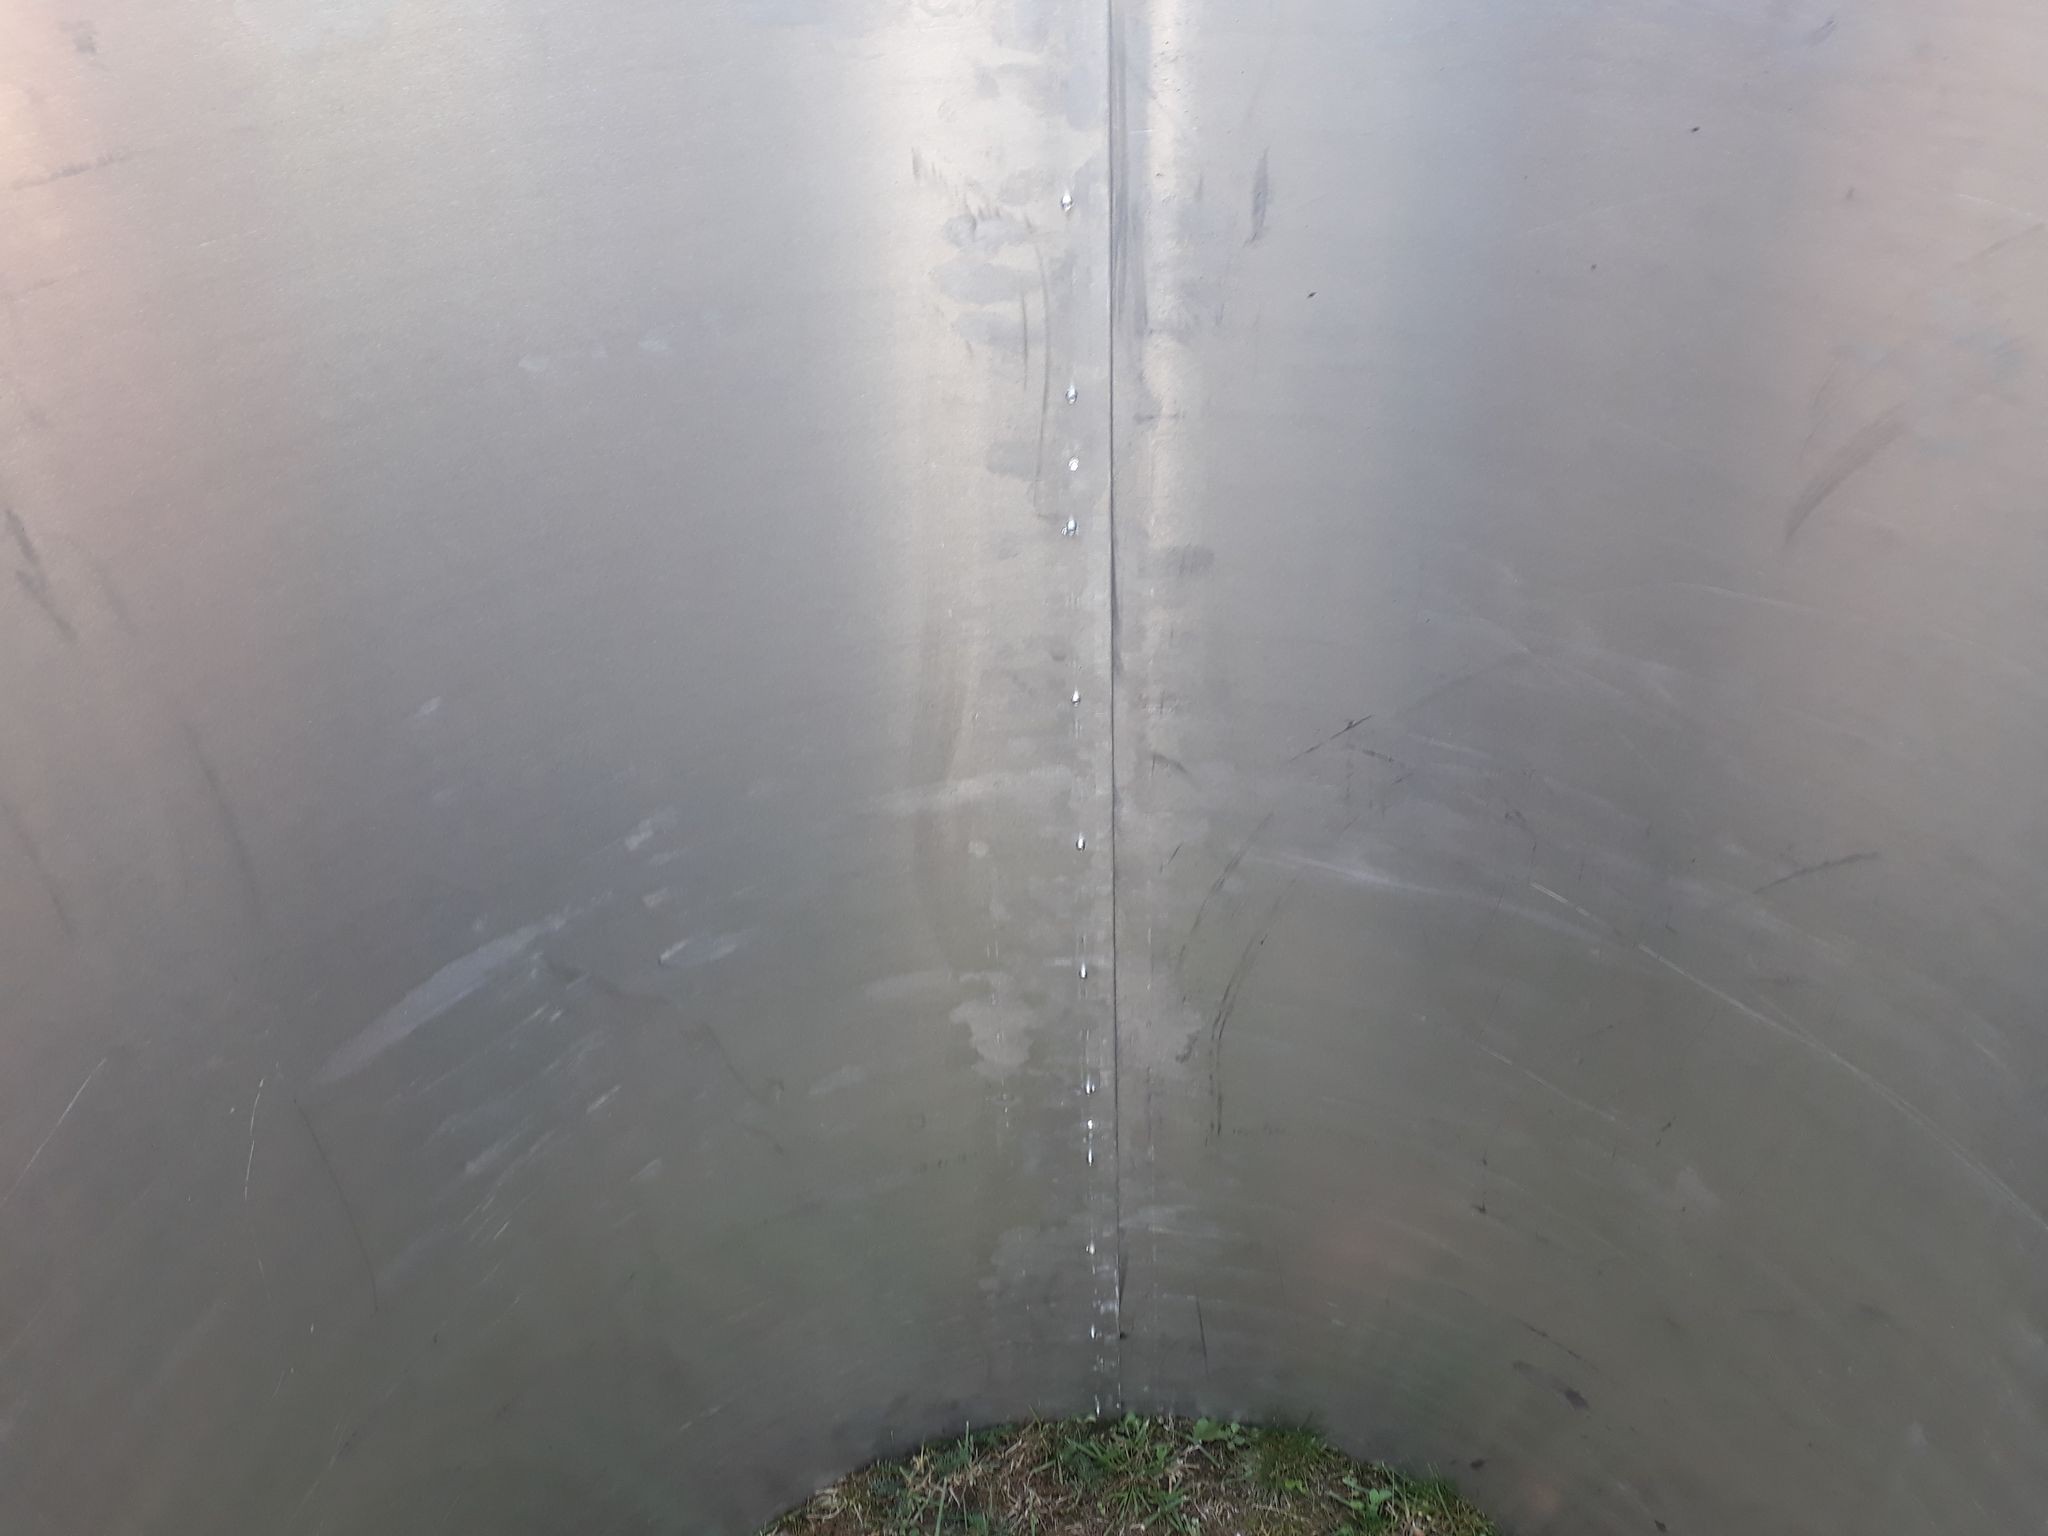
To close the back, I chose not to buy another sheet but to use the strips left over:
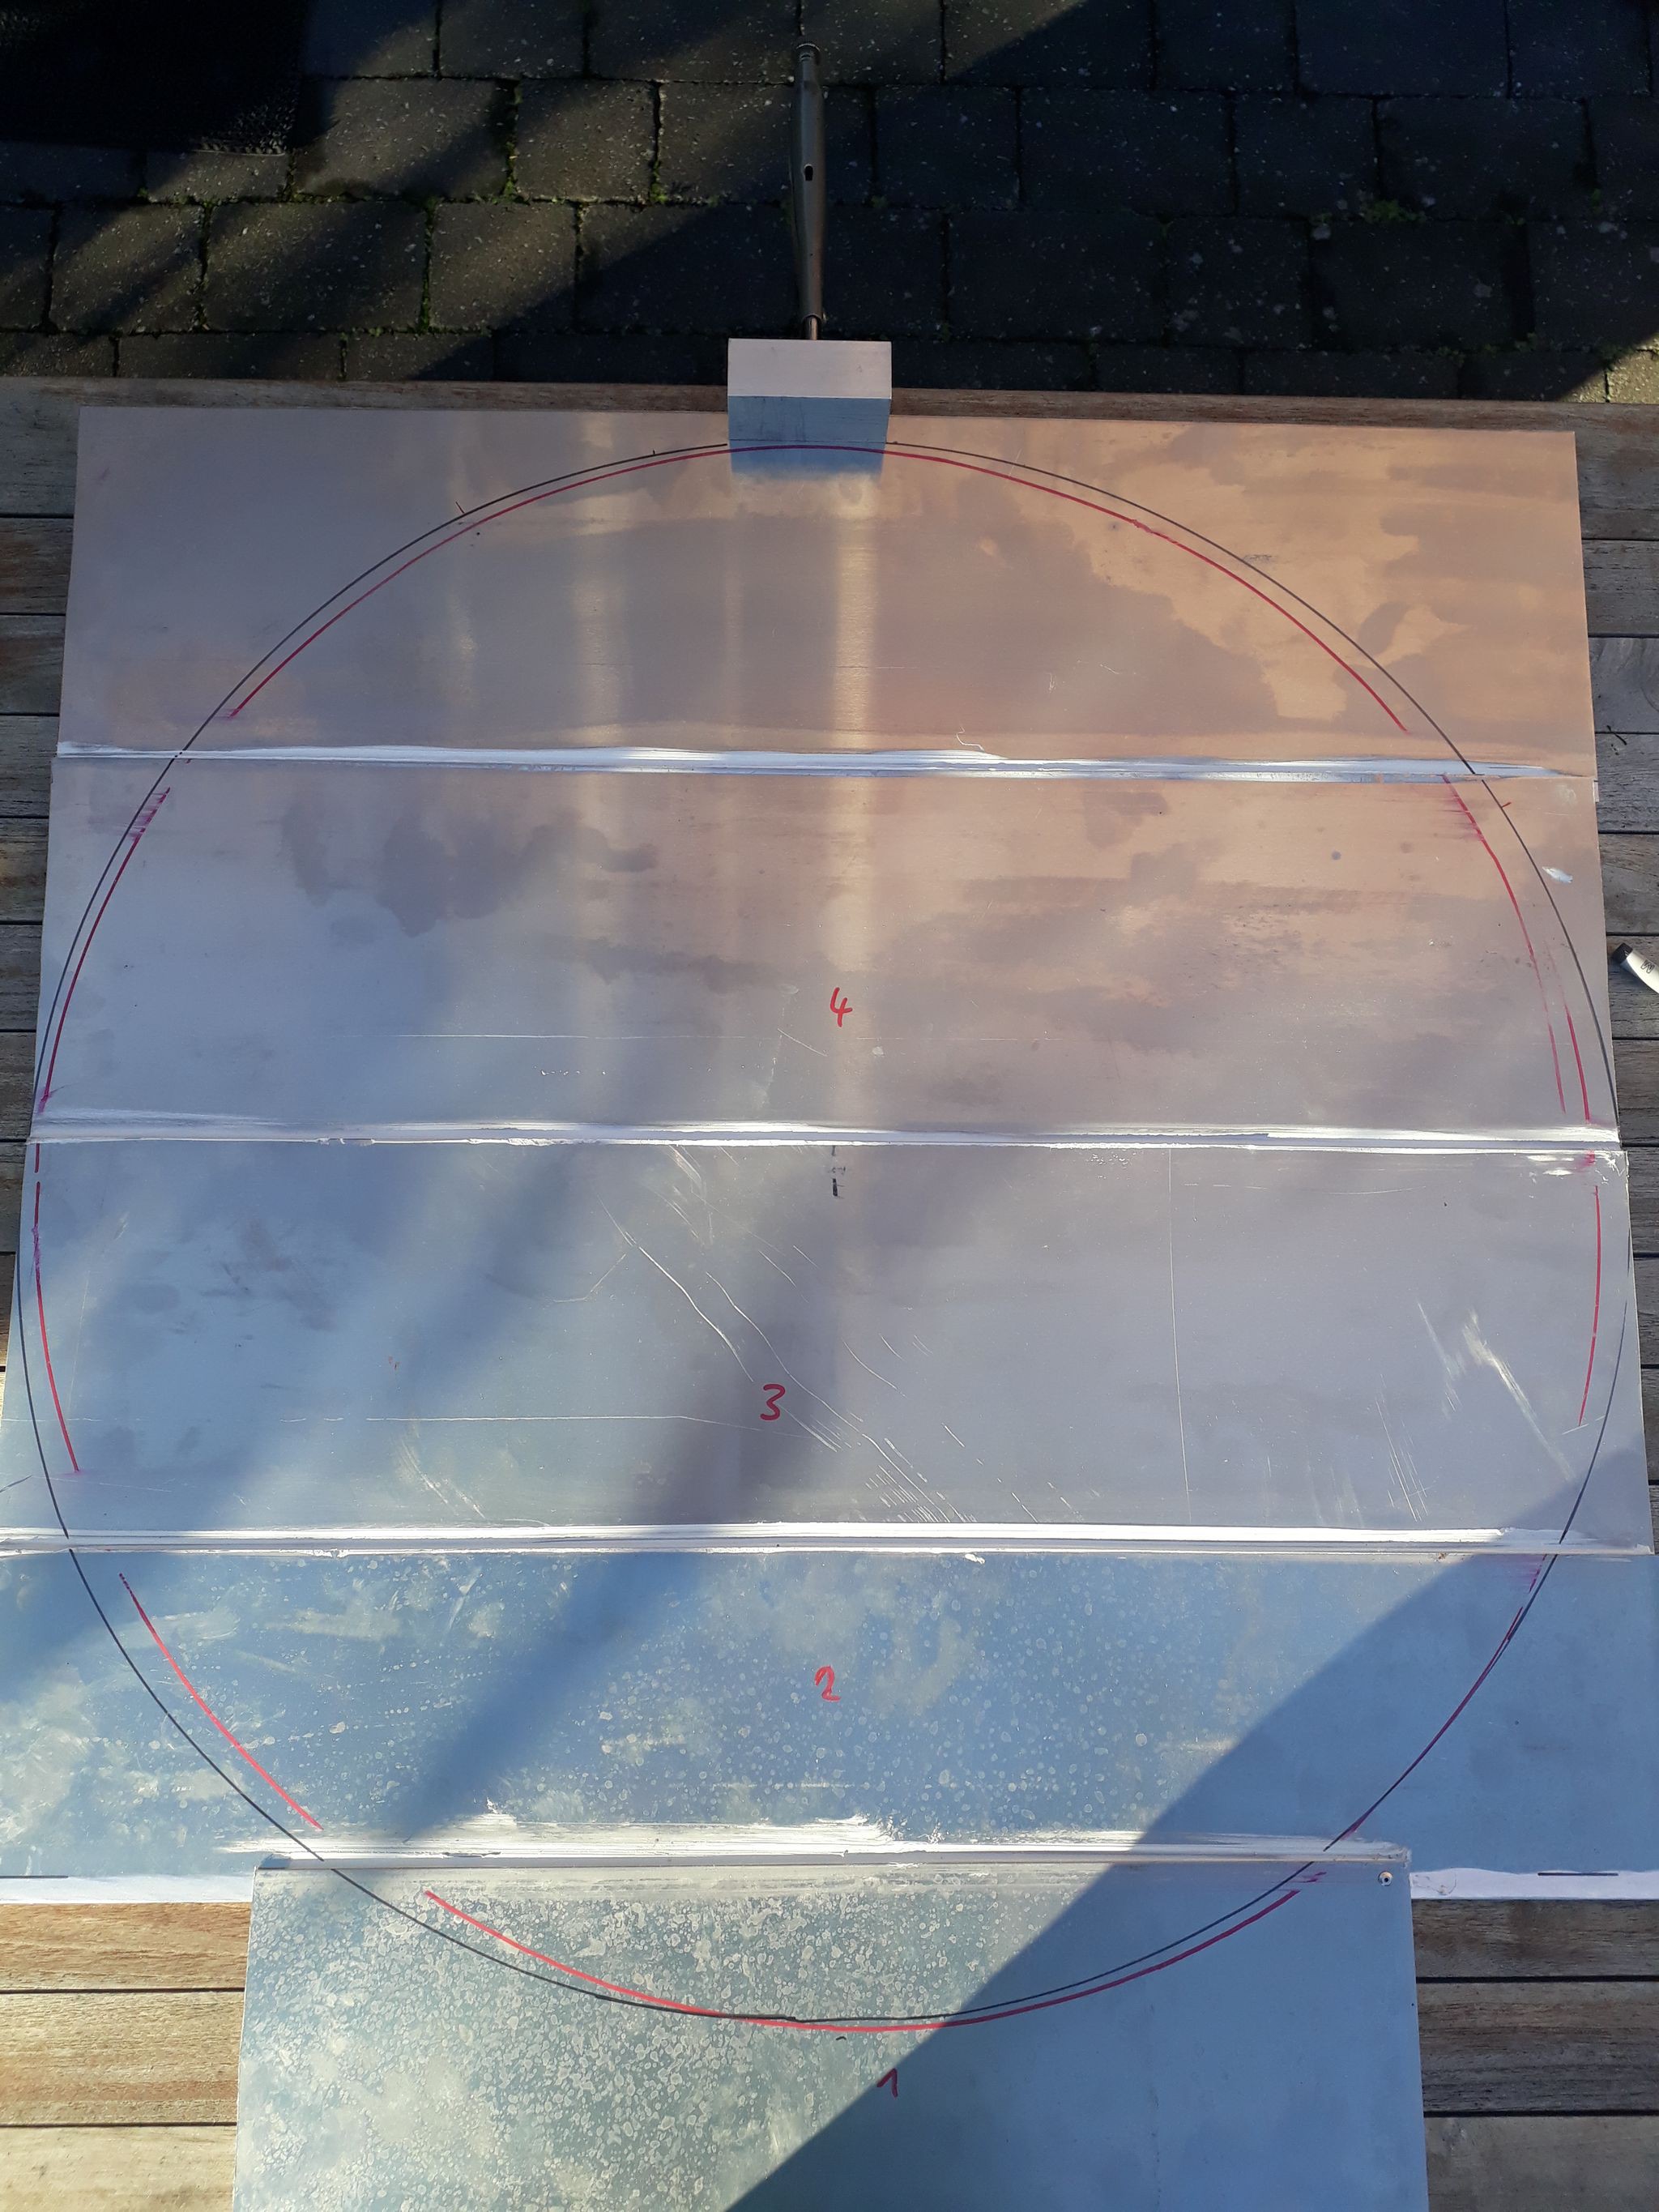
They were cut to length, roughened and glued together with 10mm overlap. After the glue cured, cup rivets were used to keep it from coming apart ever again :)
Those create a water and airtight connection.
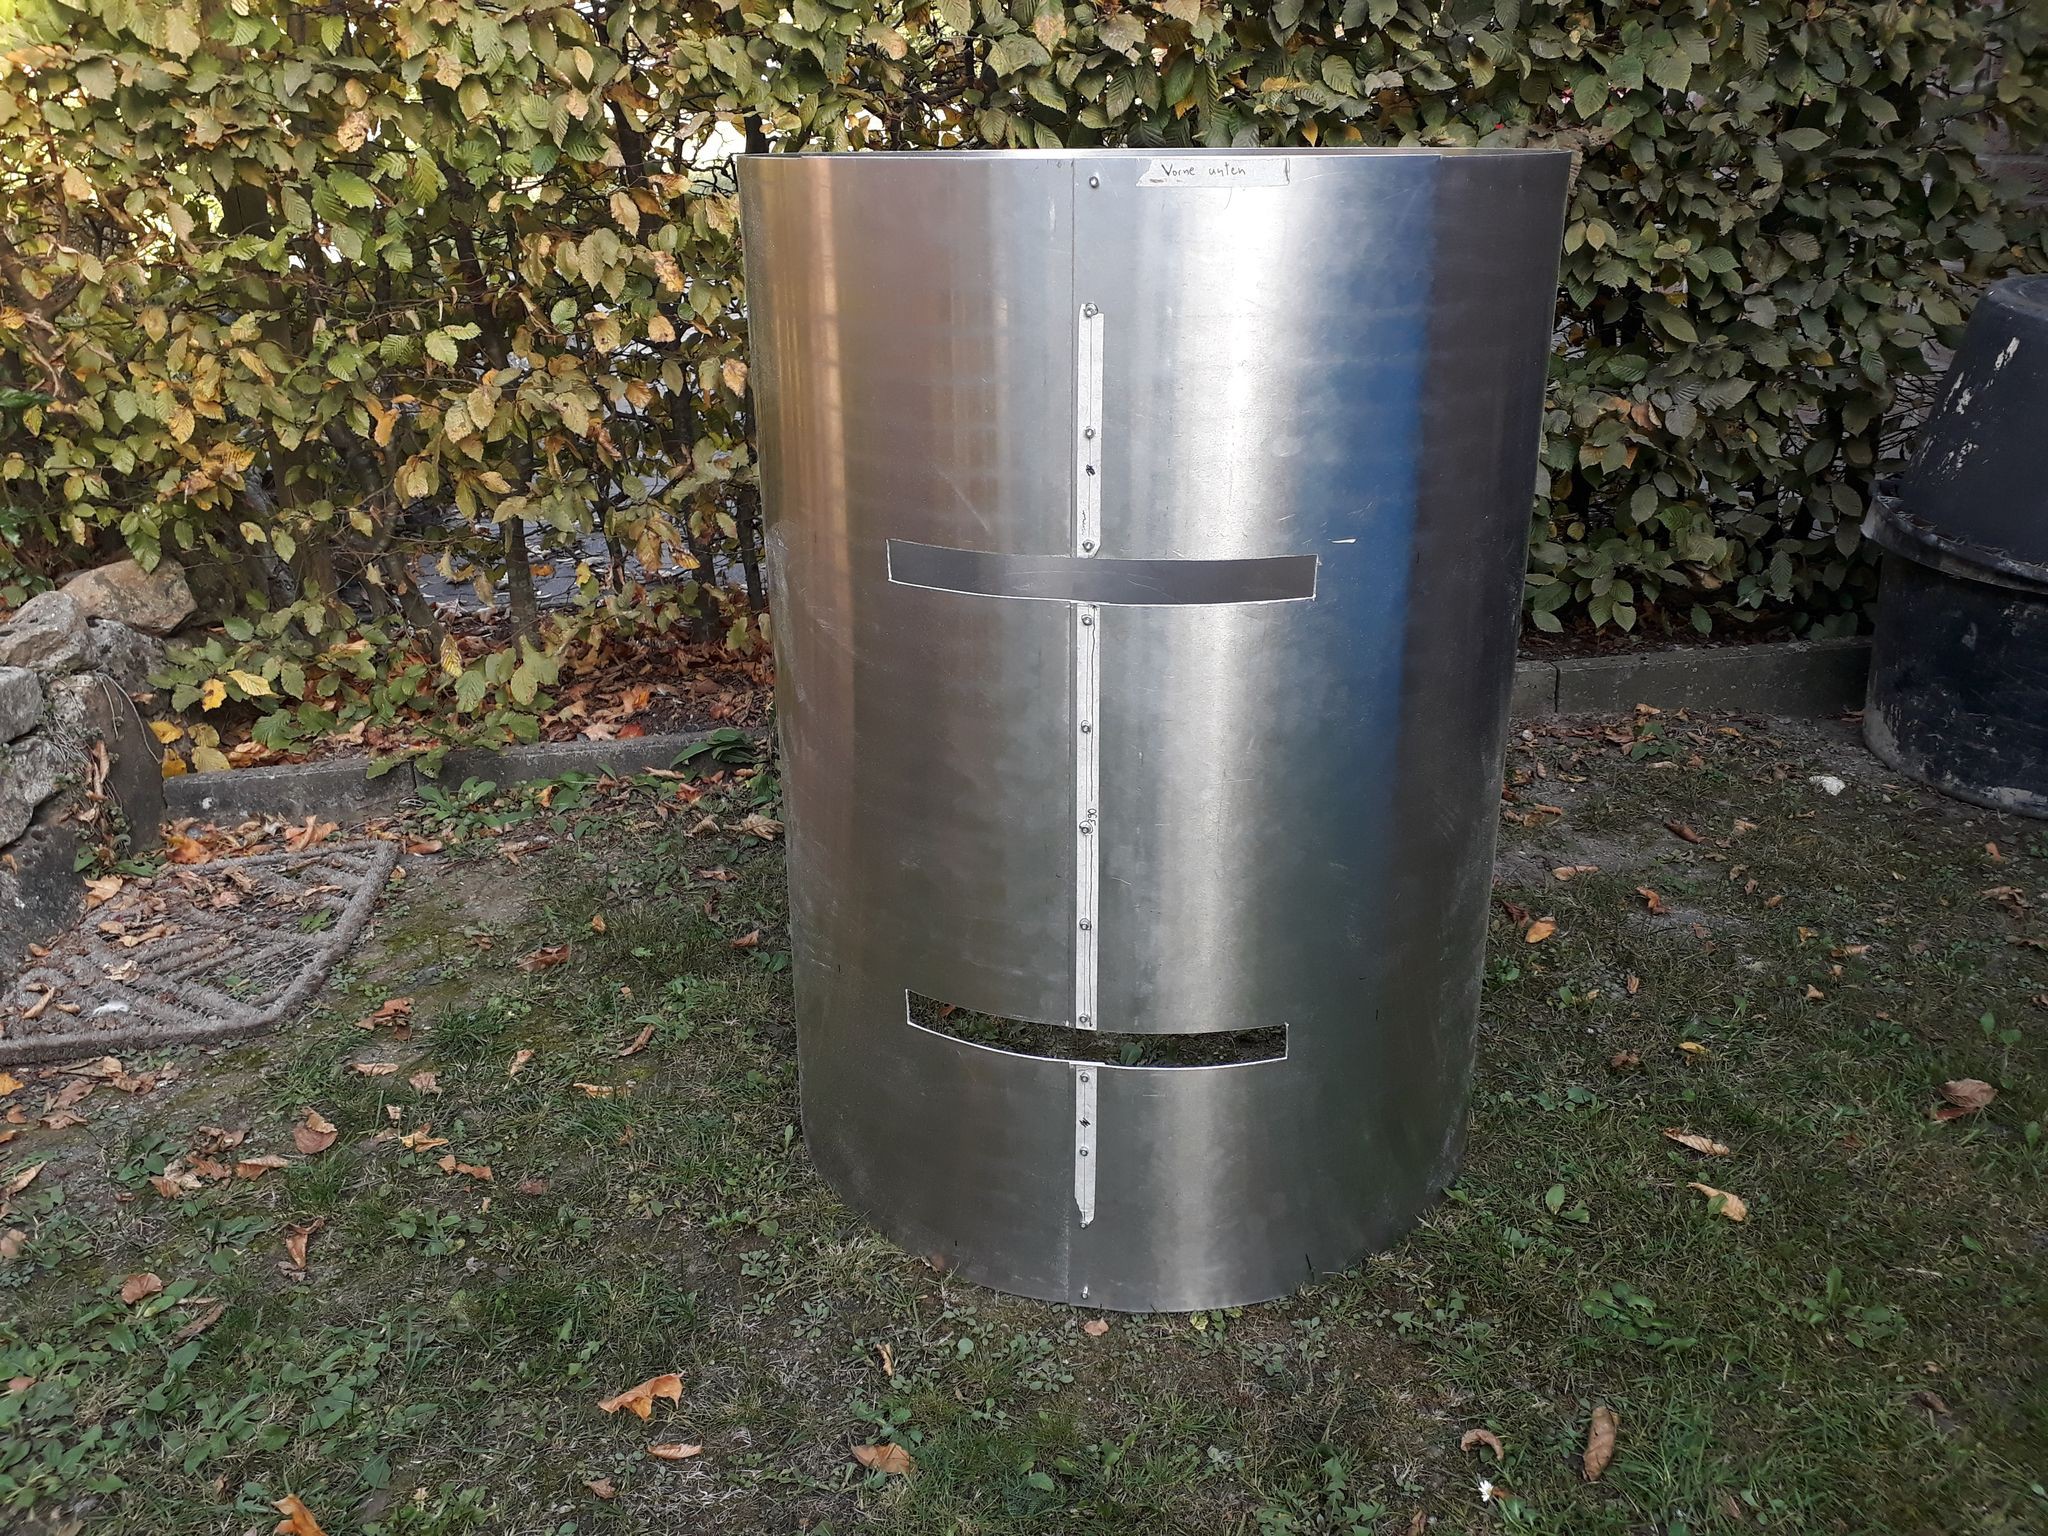
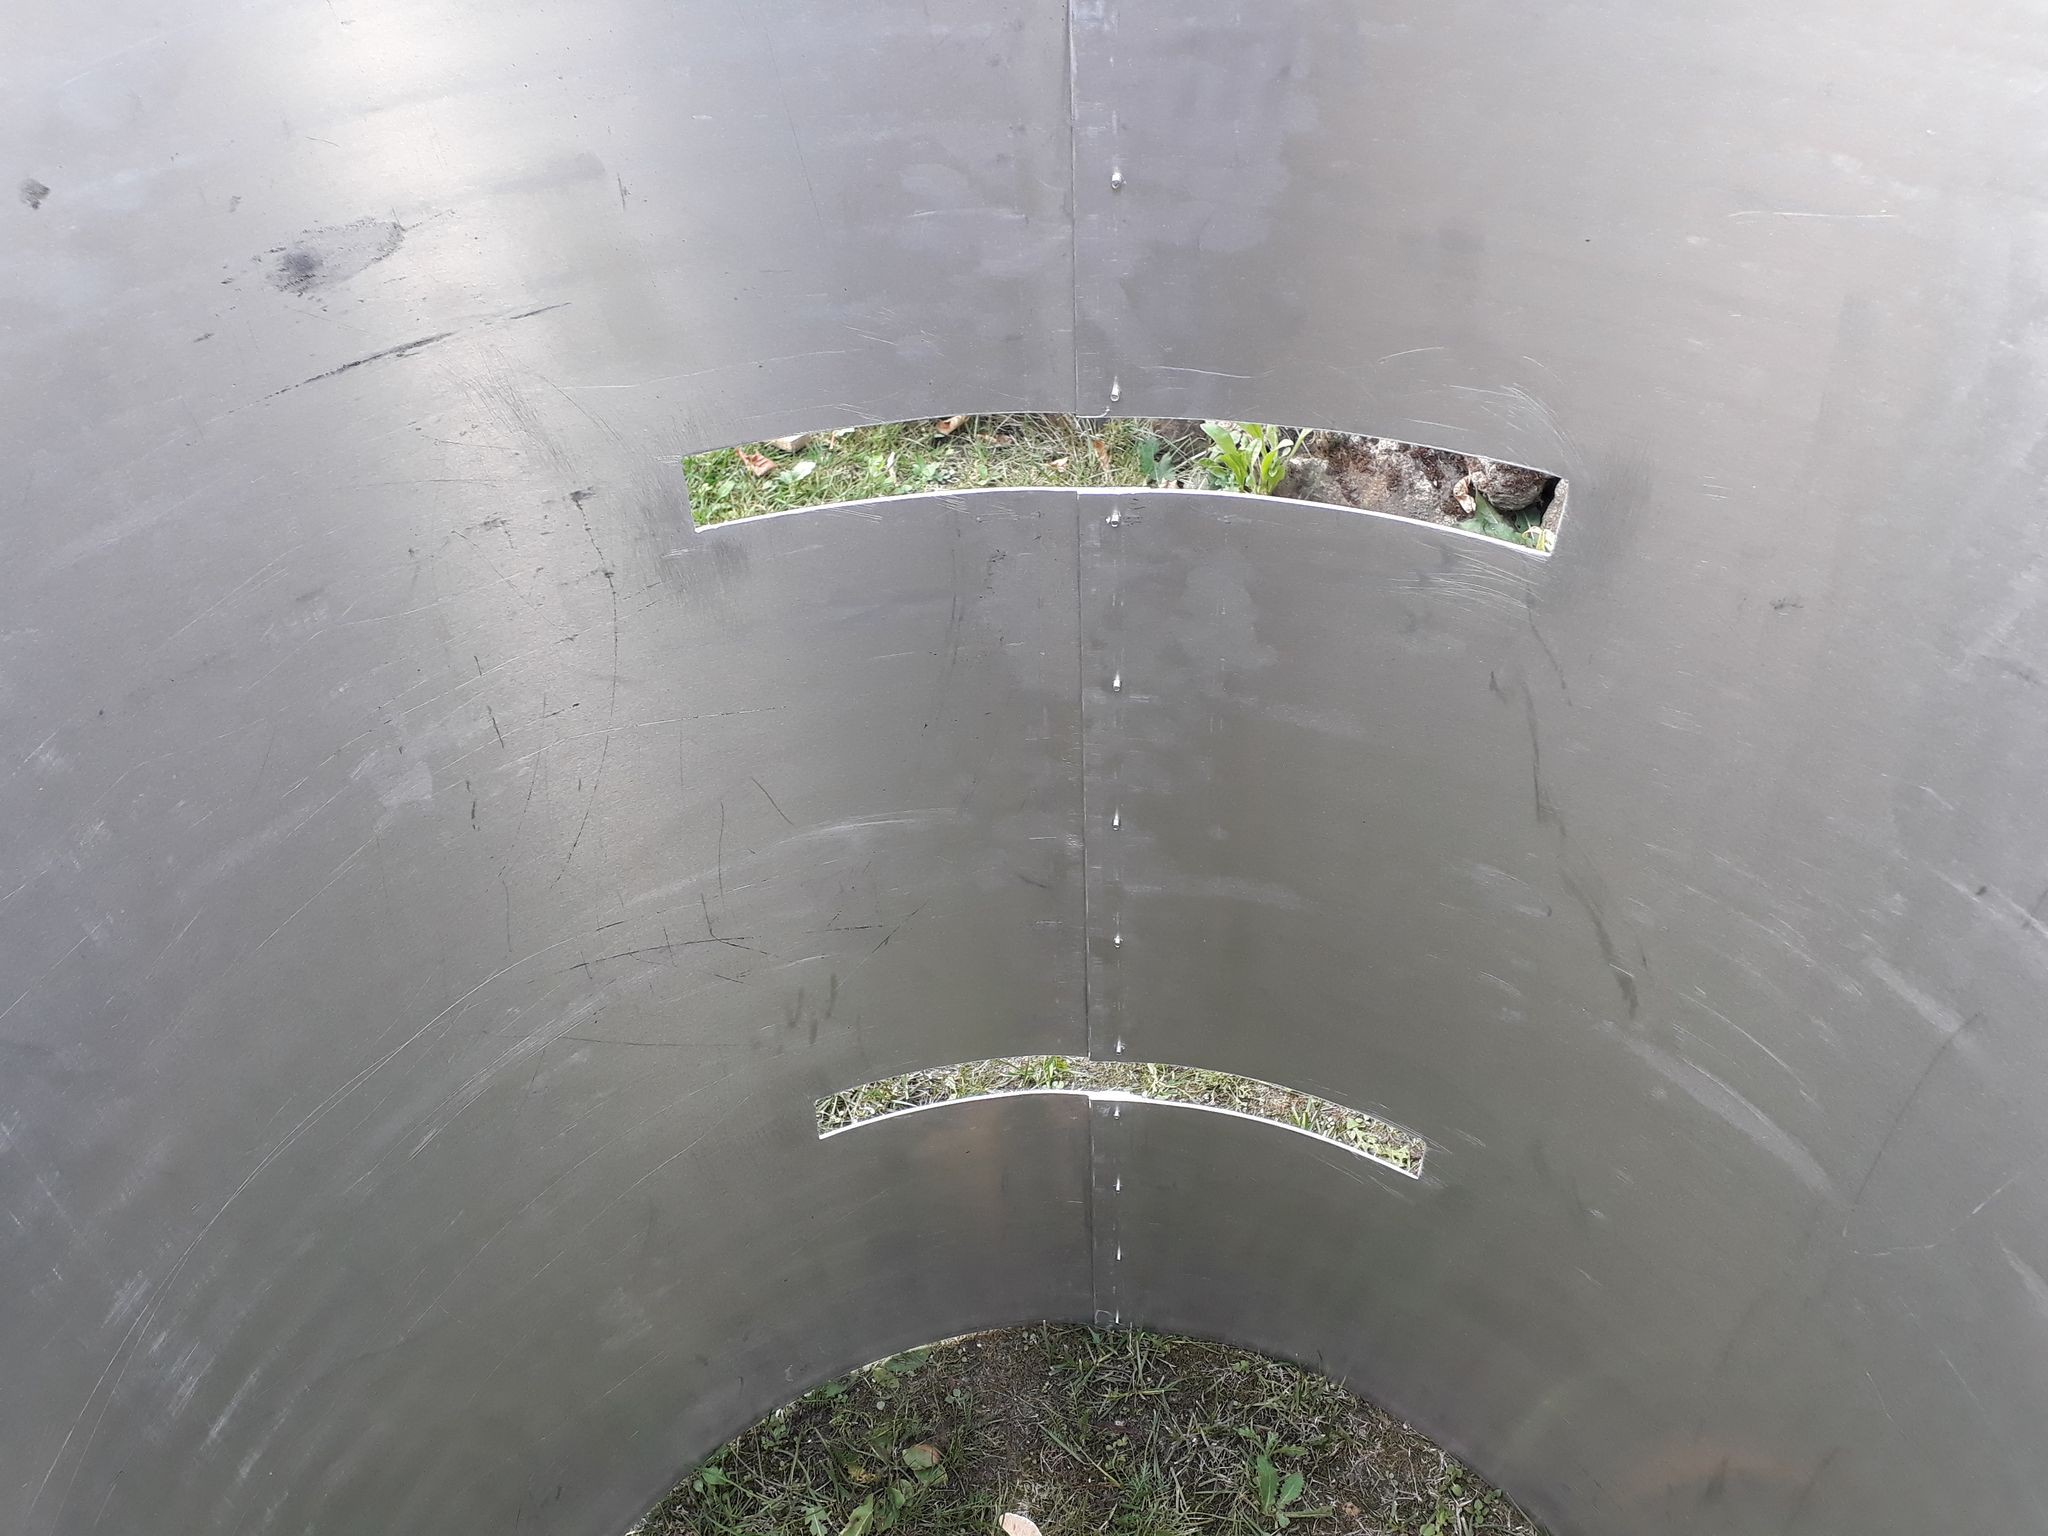
This is how it looks now. Best thing is I made use of the whole metal sheet this way. Almost zero waste. Nice!
Still to be done: closing the front of the oven. I need to cut a ring for that but have no sheet metal left. We'll see how to solve that.
Discussions
Become a Hackaday.io Member
Create an account to leave a comment. Already have an account? Log In.