 Amos
AmosSo far I have explained how I connected the modules together and got them talking. There is one more significant piece of hardware I need - a way of setting values (constants) and creating expressions, so the programmer can create some code like:
x = y * 3
Or even just simply, specific a number of times to loop, as in:
for x = 0 to 3
First however, I should step back and spend a bit of time designing the programming language that we are creating. Knowing what form the language will likely take can help inform the design of values and/or expressions.
My initial aim for this project (apart from satisfying the requirements of my university course 8^) ) was to create a tangible programming language that could be used to teach children the basics of programming. One of the keys will be to keep the programming language as simple as possible. I decided that strings would end up getting too messy - how would the programmer create constants? And how would I hook up a keyboard and display to an Arduino to allow entry of strings (and other data)? How will the string handling work? What string functions should be included? That's all too much for now.
So to simplify things, I decided that the programming language will only support numbers. Simplifying even more, I am initially only going to implement integer values. A final simplification, considering the target audience's age and likely mathematical ability, I will keep the numbers to two digits.
Supported Datatype(s):
- Integer - initial values ranging from -99 to +99
That seems like a reasonable compromise for now. When this is all working, floating point numbers (aka decimals) can be added and after that, strings could be considered.
The next question is: What types of programming operations will the language support? Obviously we need some way of setting and manipulating variables. Given that this is only a learning tool, I figure that we could implement a limited number of pre-defined variables. Each variable could be represented by a colour. I had some red, blue, yellow and green mini-breadboards, so I arbitrarily chose those colours to represent four variables. If I add more variables, I can pick some other colours later.
There also needs to be some form of looping construct; a way of displaying results of calculations; and finally branching. Future additions could include functions, extra input/output options; and perhaps even integrating with Arduino modules and sensors.
Supported Programming Constructs:
- Set/change variables
- Loops
- Output
- Branch (if/then)
With this basic language specification in mind, how do I implement it? The main language commands can be implemented by a programming block, which we already have talking to one another. Setting variables will require something extra however.
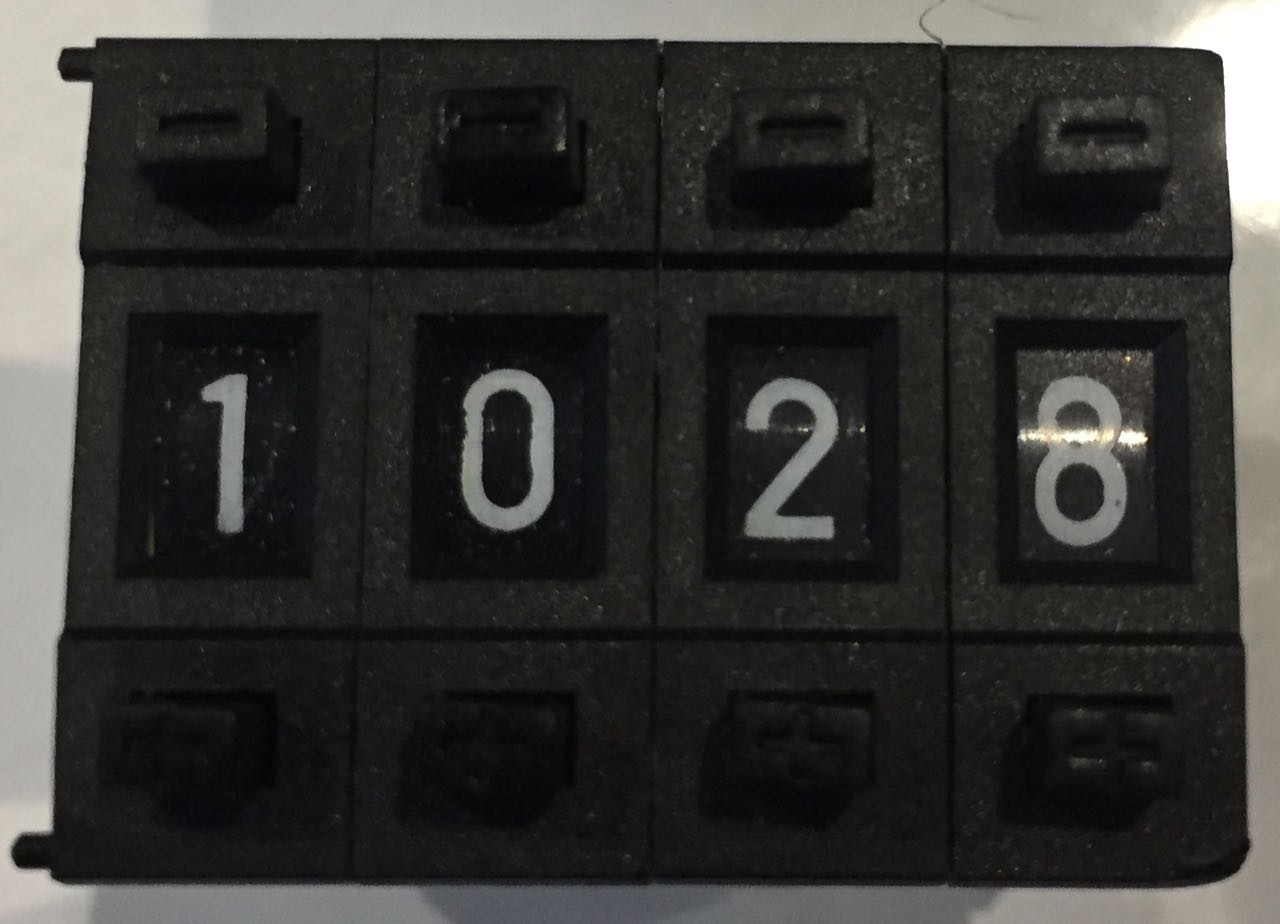
Having decided to limit the variables to two-digit integers, I looked around for some suitable input devices that would allow the programmer to set values for the variables and expressions. I ended up settling on using a 0-9 BCD (Binary Coded Decimal) thumbwheel as shown below. The thumbwheel switch lets you select any digit from 0 to 9 and outputs a BCD value, which takes up four bits per digit. Two of these digits could be combined to allow numbers from 0 to 99 to be entered quickly and easily.
A value module could have sockets for two digits, which could be read by the Arduino to get the current value. As each digit is from 0 to 9, but a single digit requires four binary digits to represent it, there are six values (10 to 15) which are unused. I realised I could use these extra values to specify variables - I only need four variables for now, so Blue could be represented by a digit value of 10, Red could be 11, etc. Two 4-bit digits would require 8 GPIO pins to read, which should be available on our program blocks.
To implement an expression however, I would need more than this. An expression would take the form of <number or variable> <operator> <number or variable>. For example:
Yellow + 5
Or:
15 * Blue
The operator of an expression must support at least the four basic arithmetic operations: plus, minus, multiply and divide. Other operators might be needed, especially for comparisons in an IF/THEN block. For comparisons we might need equals, less than, greater than and maybe some others.
A simple expression with two operands and one operator would therefore require 8 bits per operand and let's say 4 bits for the operator. We simply don't have enough GPIO pins on the Arduino to read all these bits, so I chose to use the PCF8574 and PCF8575 IO expander ICs to give more available inputs. The IO expander ICs use I2C to communicate with the Arduino, which drops our GPIO requirement down to two pins for the I2C protocol.
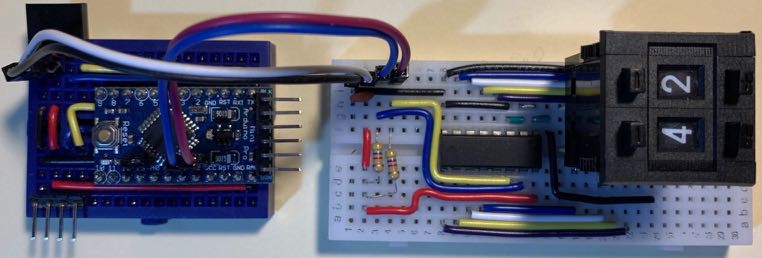
My initial value prototype fit nicely on a half-length breadboard and seemed to work well.
I initially implemented the expression module with two PCF8574 ICs, although a single PCF8575 could have done the job. The operator for the prototype simply used two pins from the Arduino, allowing four different operators. (I reasoned that a variable assignment would only use +, -, *, / while an IF/THEN would translate the four values as ==, <, and >.)
The expression prototype comfortably fit on a de-railed breadboard:
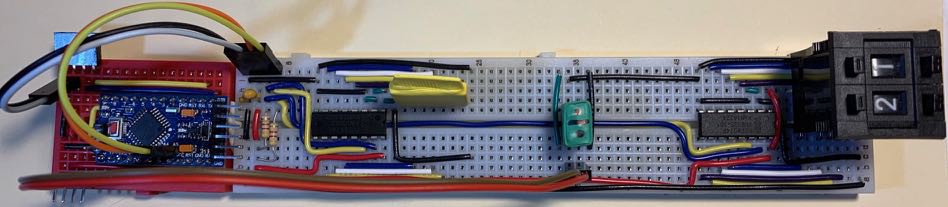
This example of an expression is equivalent to the code:
red = yellow / 21
I revisited some of these design decisions when I created the PCBs, but the principle has survived mostly intact.
Next up I will briefly (ha!) describe how I implemented the language in code.
Any questions or comments are more than welcome. 8^)
Discussions
Become a Hackaday.io Member
Create an account to leave a comment. Already have an account? Log In.