 Stephen Holdaway
To give an idea of scan quality with a DSLR, here's a comparison against a negative scanned with a consumer-grade film scanner and another scanned with a professional film scanner.
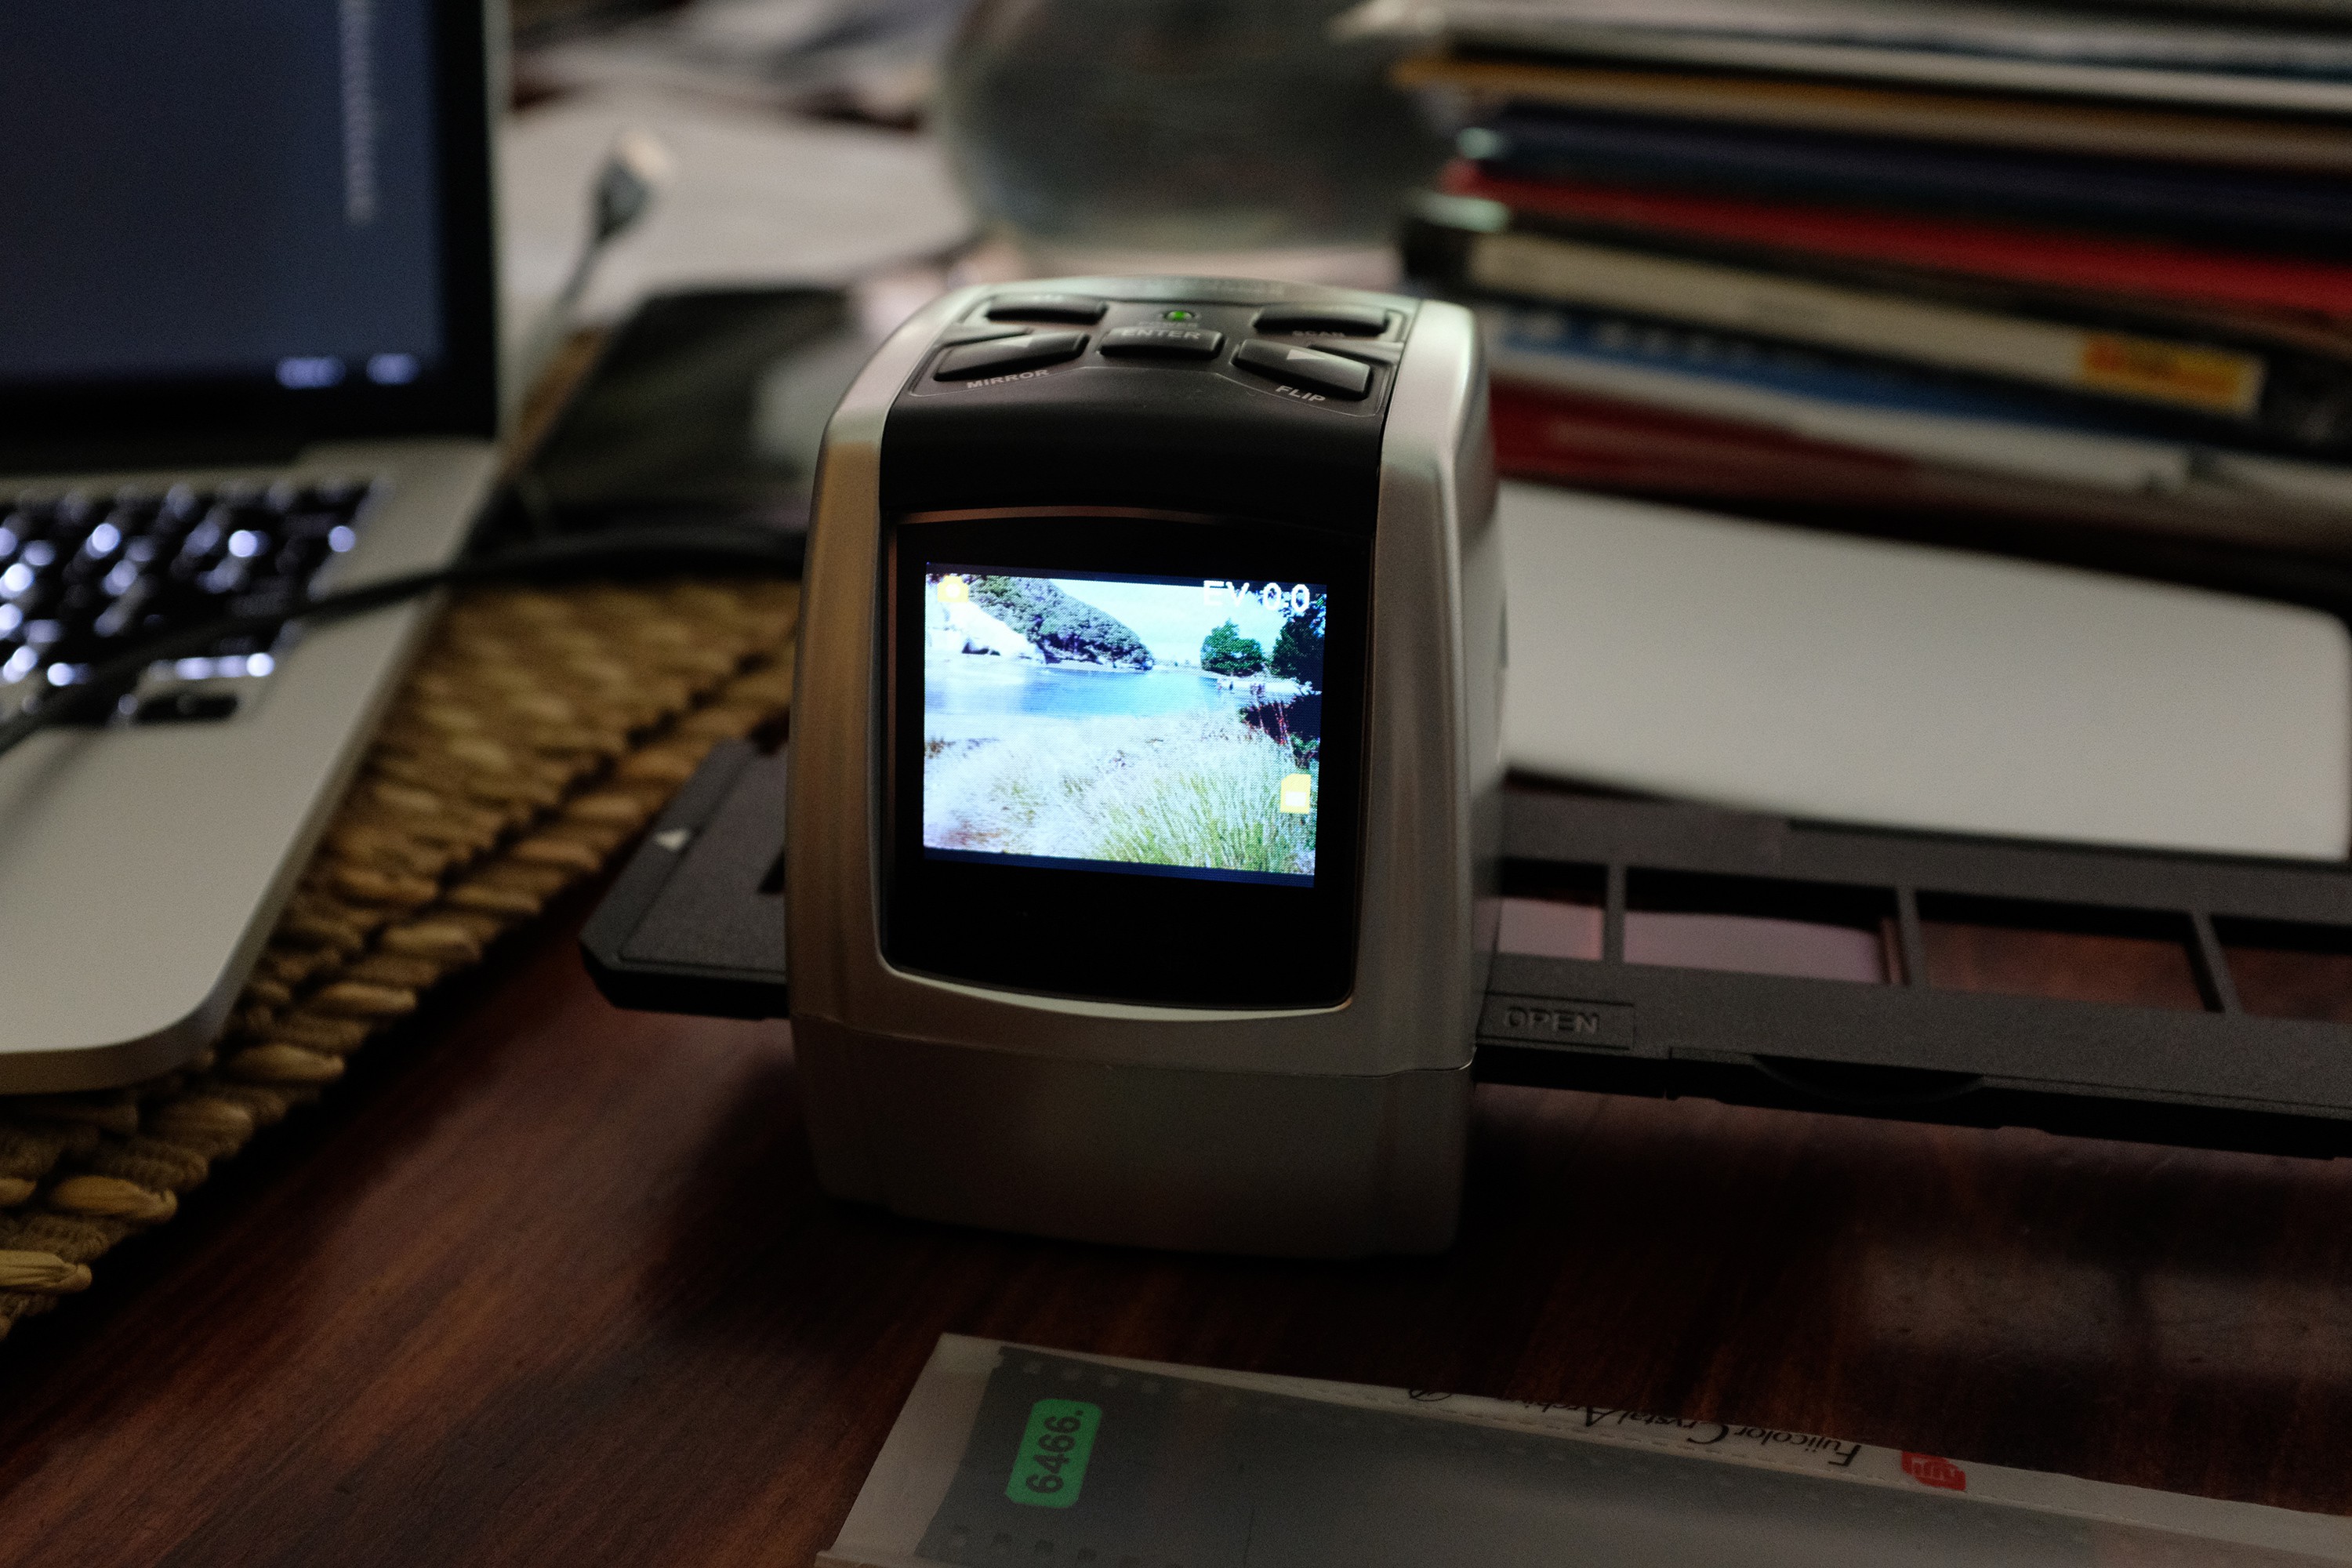
Basic consumer film scanner
This Endeavour "Personal Film and Slide Scanner" belongs to a family friend. I'm not sure of its history, but it looks like it was purchased around 2013 for the $149 NZD stickered on the box. This one has a 5MP CMOS sensor, similar to devices that can be picked up online currently for around $60 NZD.
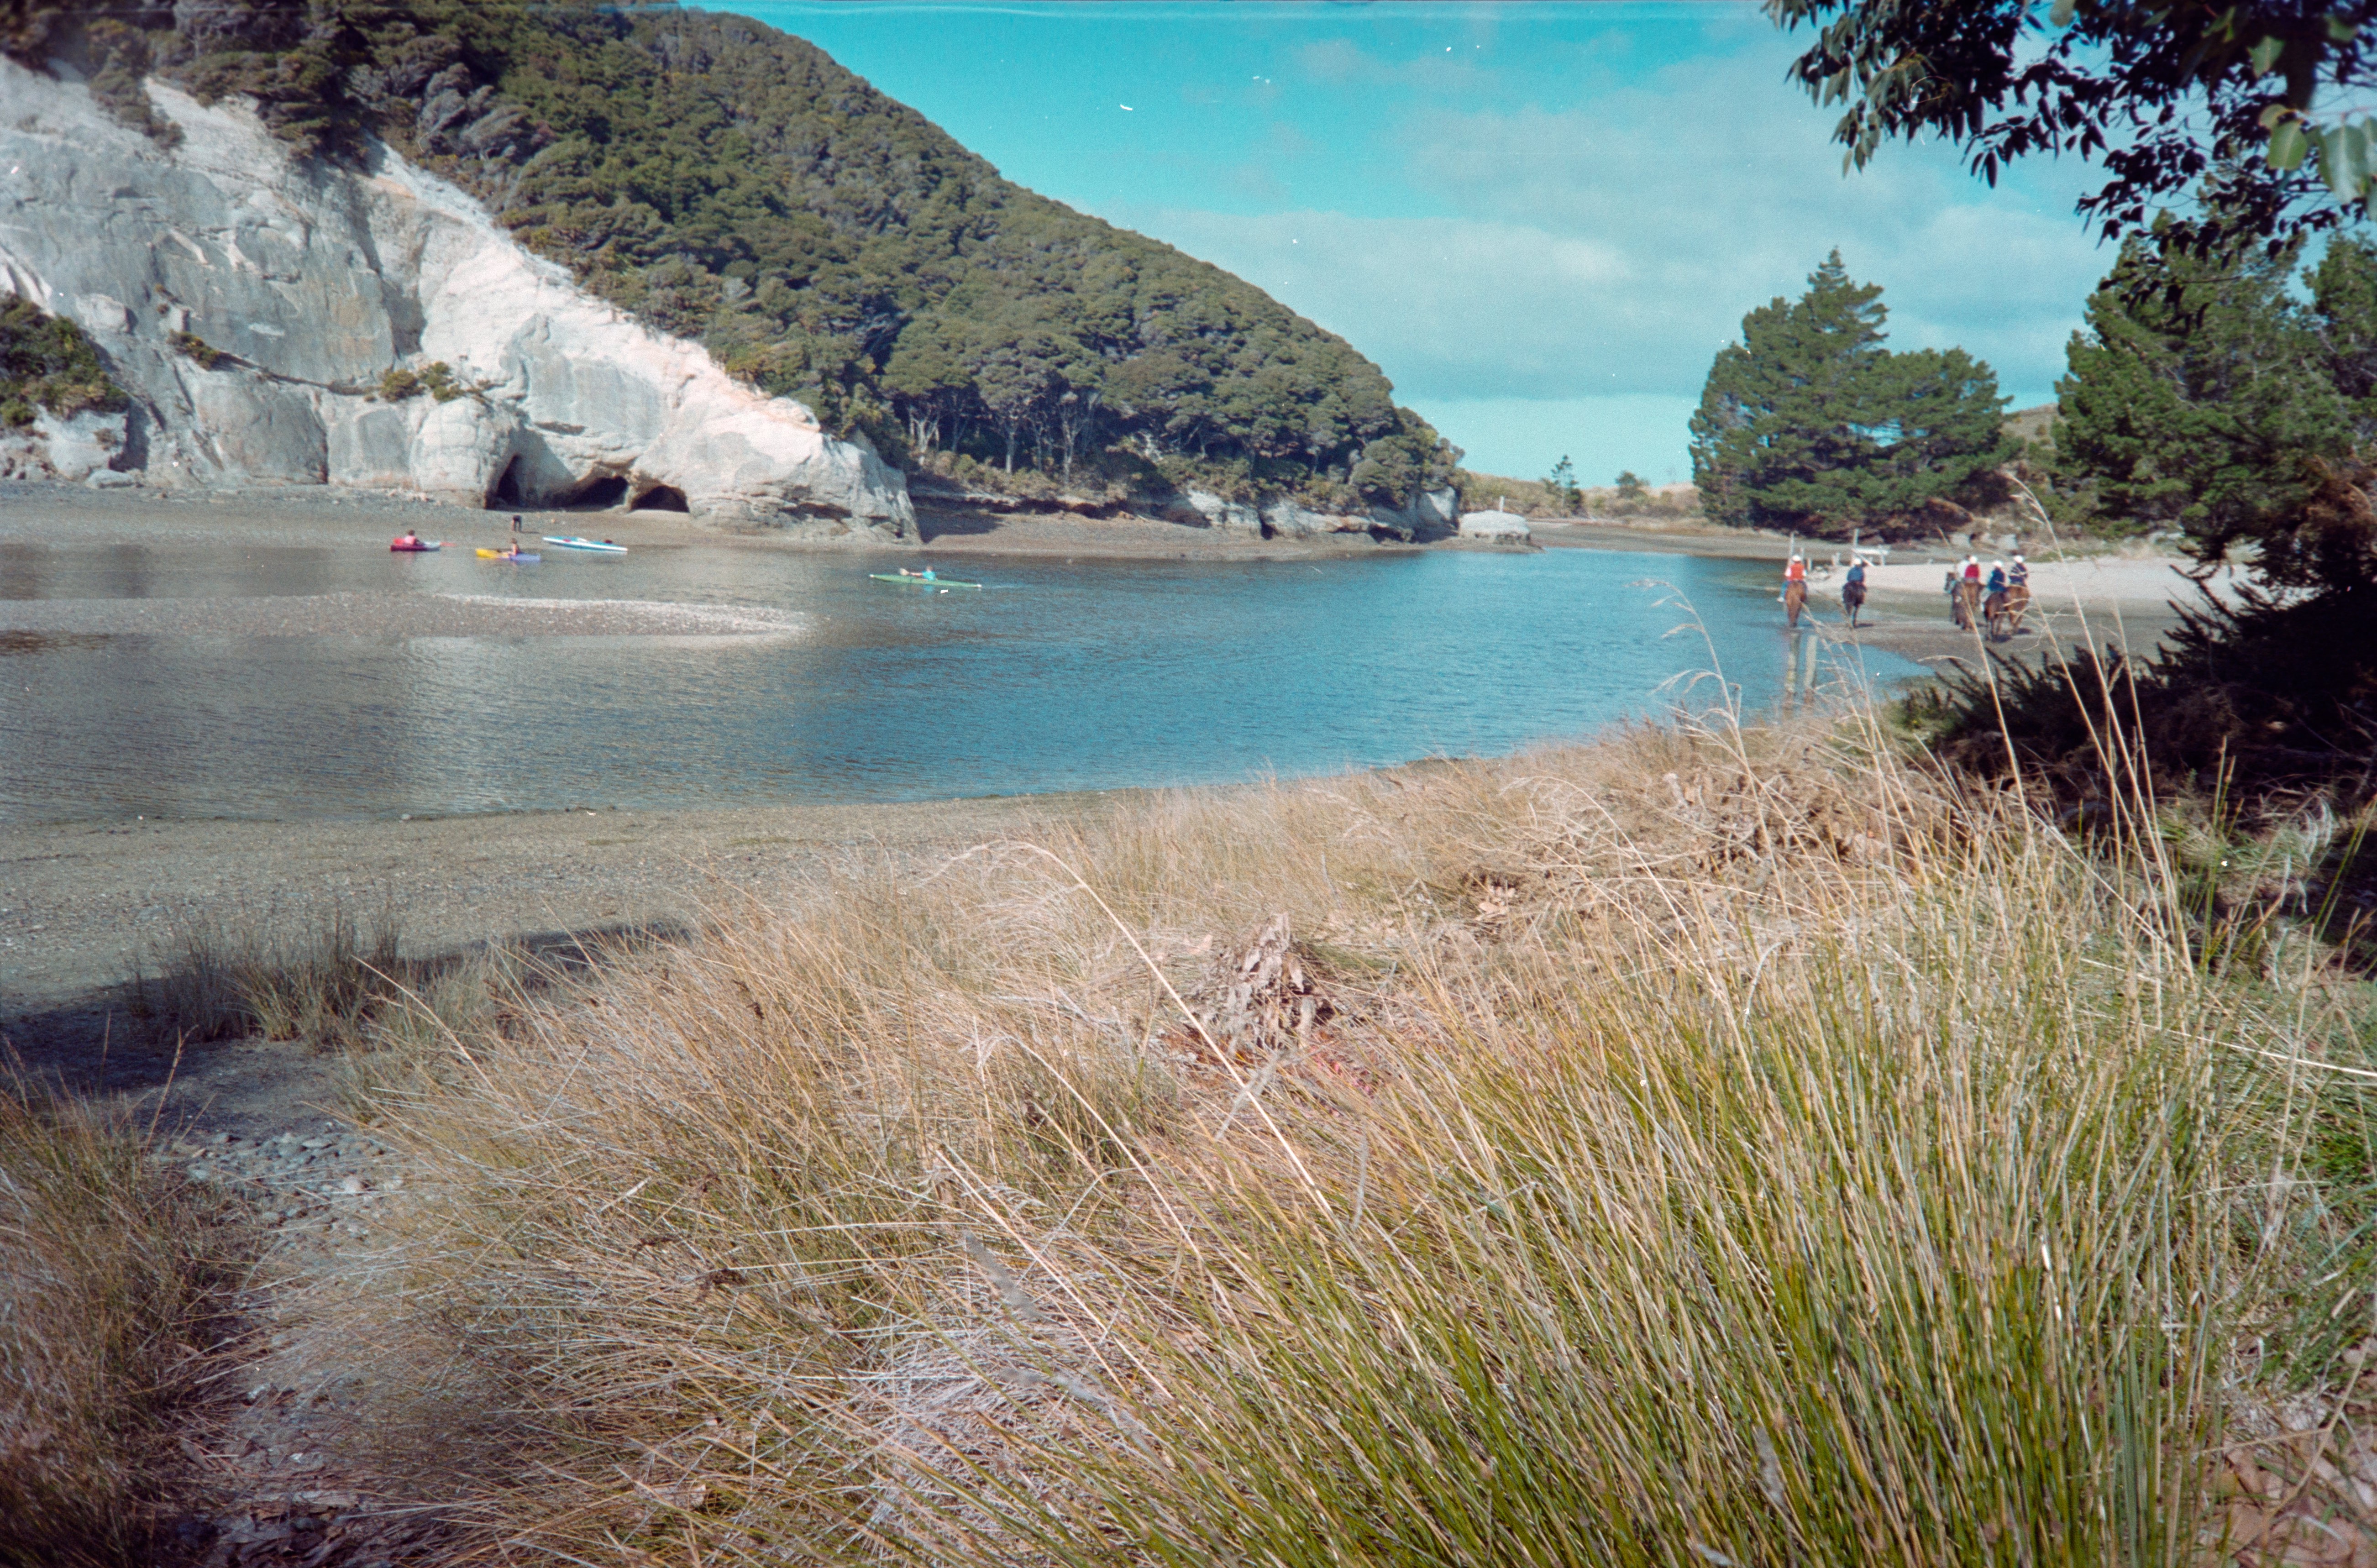
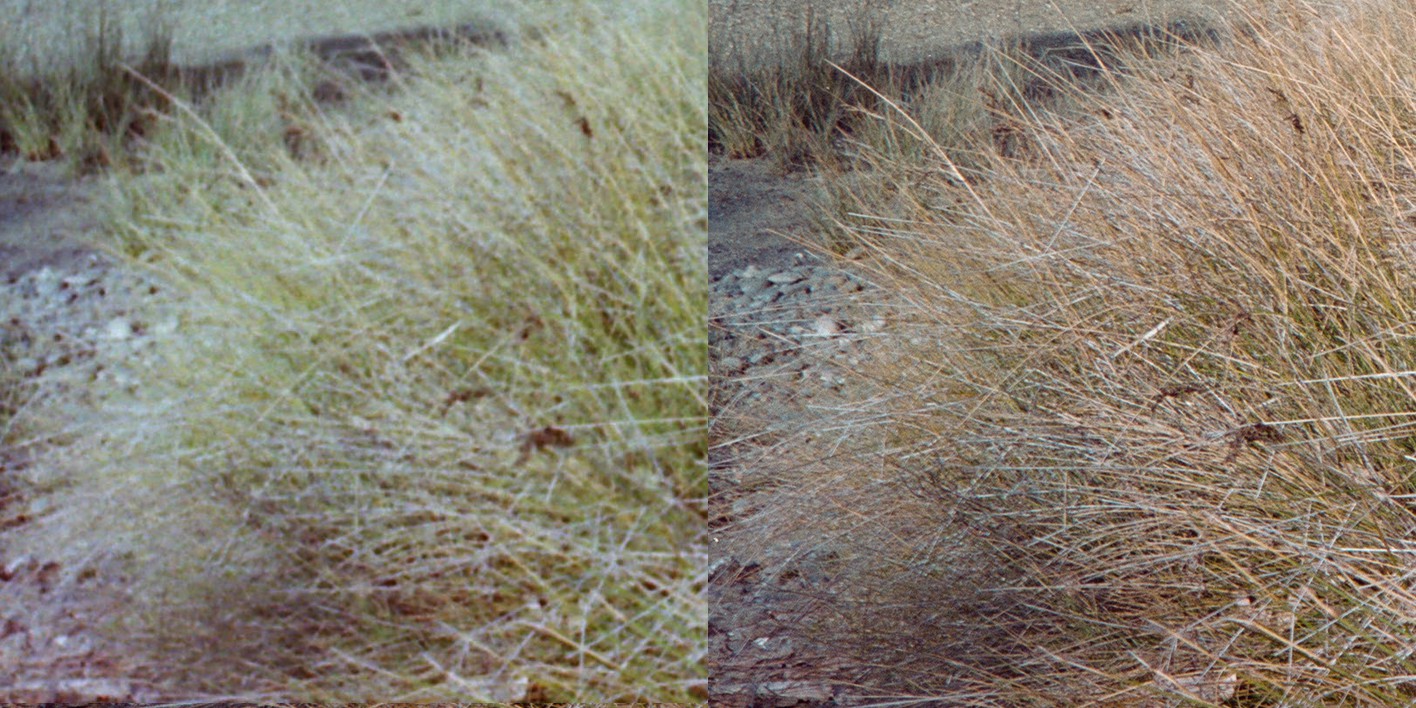
The negative I chose for this comparison was simply the first I could find that wasn't of people, as I'm in the middle of scanning my girlfriend's family photos. By chance, this roll happened to be an example of exposures not aligning with this scanner's style of mount. The images on the film aren't aligned with the sprocket holes as the mount is designed, so part of the exposure is obscured by the mount:

Scanning the left-hand exposure with the Endeavour gave this result:
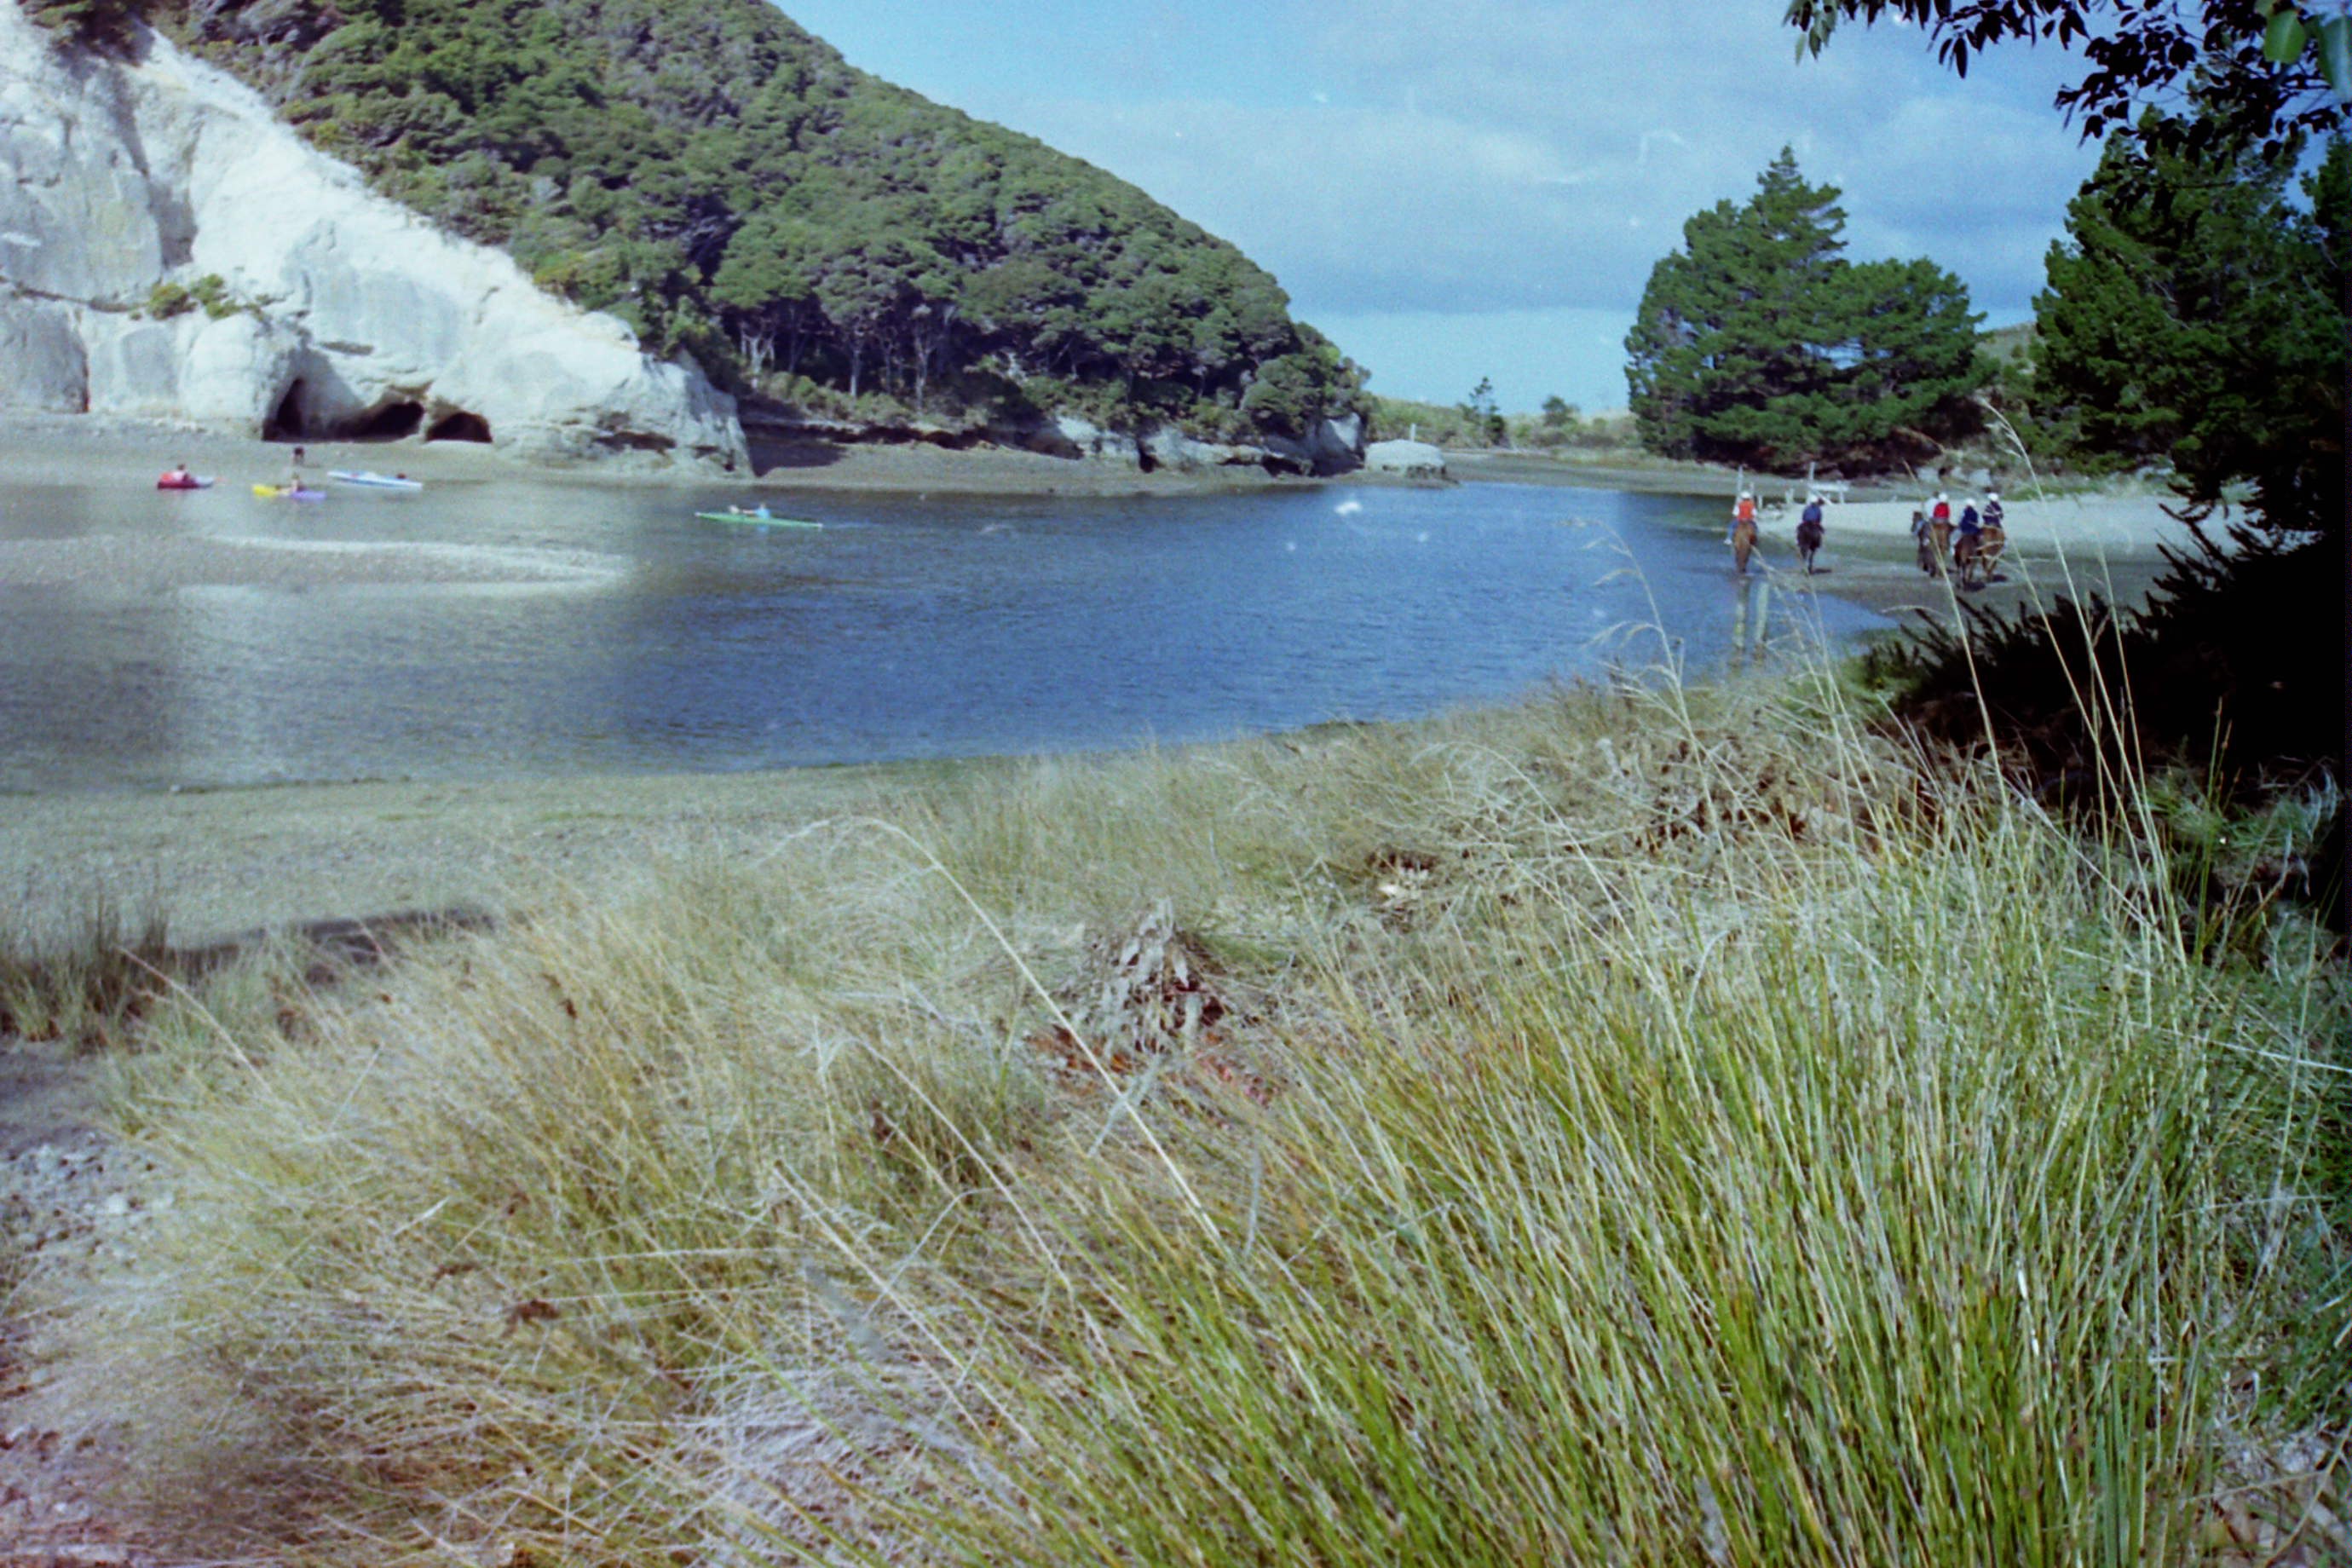
The same exposure captured through my DSLR + macro lens setup and processed to a positive manually looks like this:
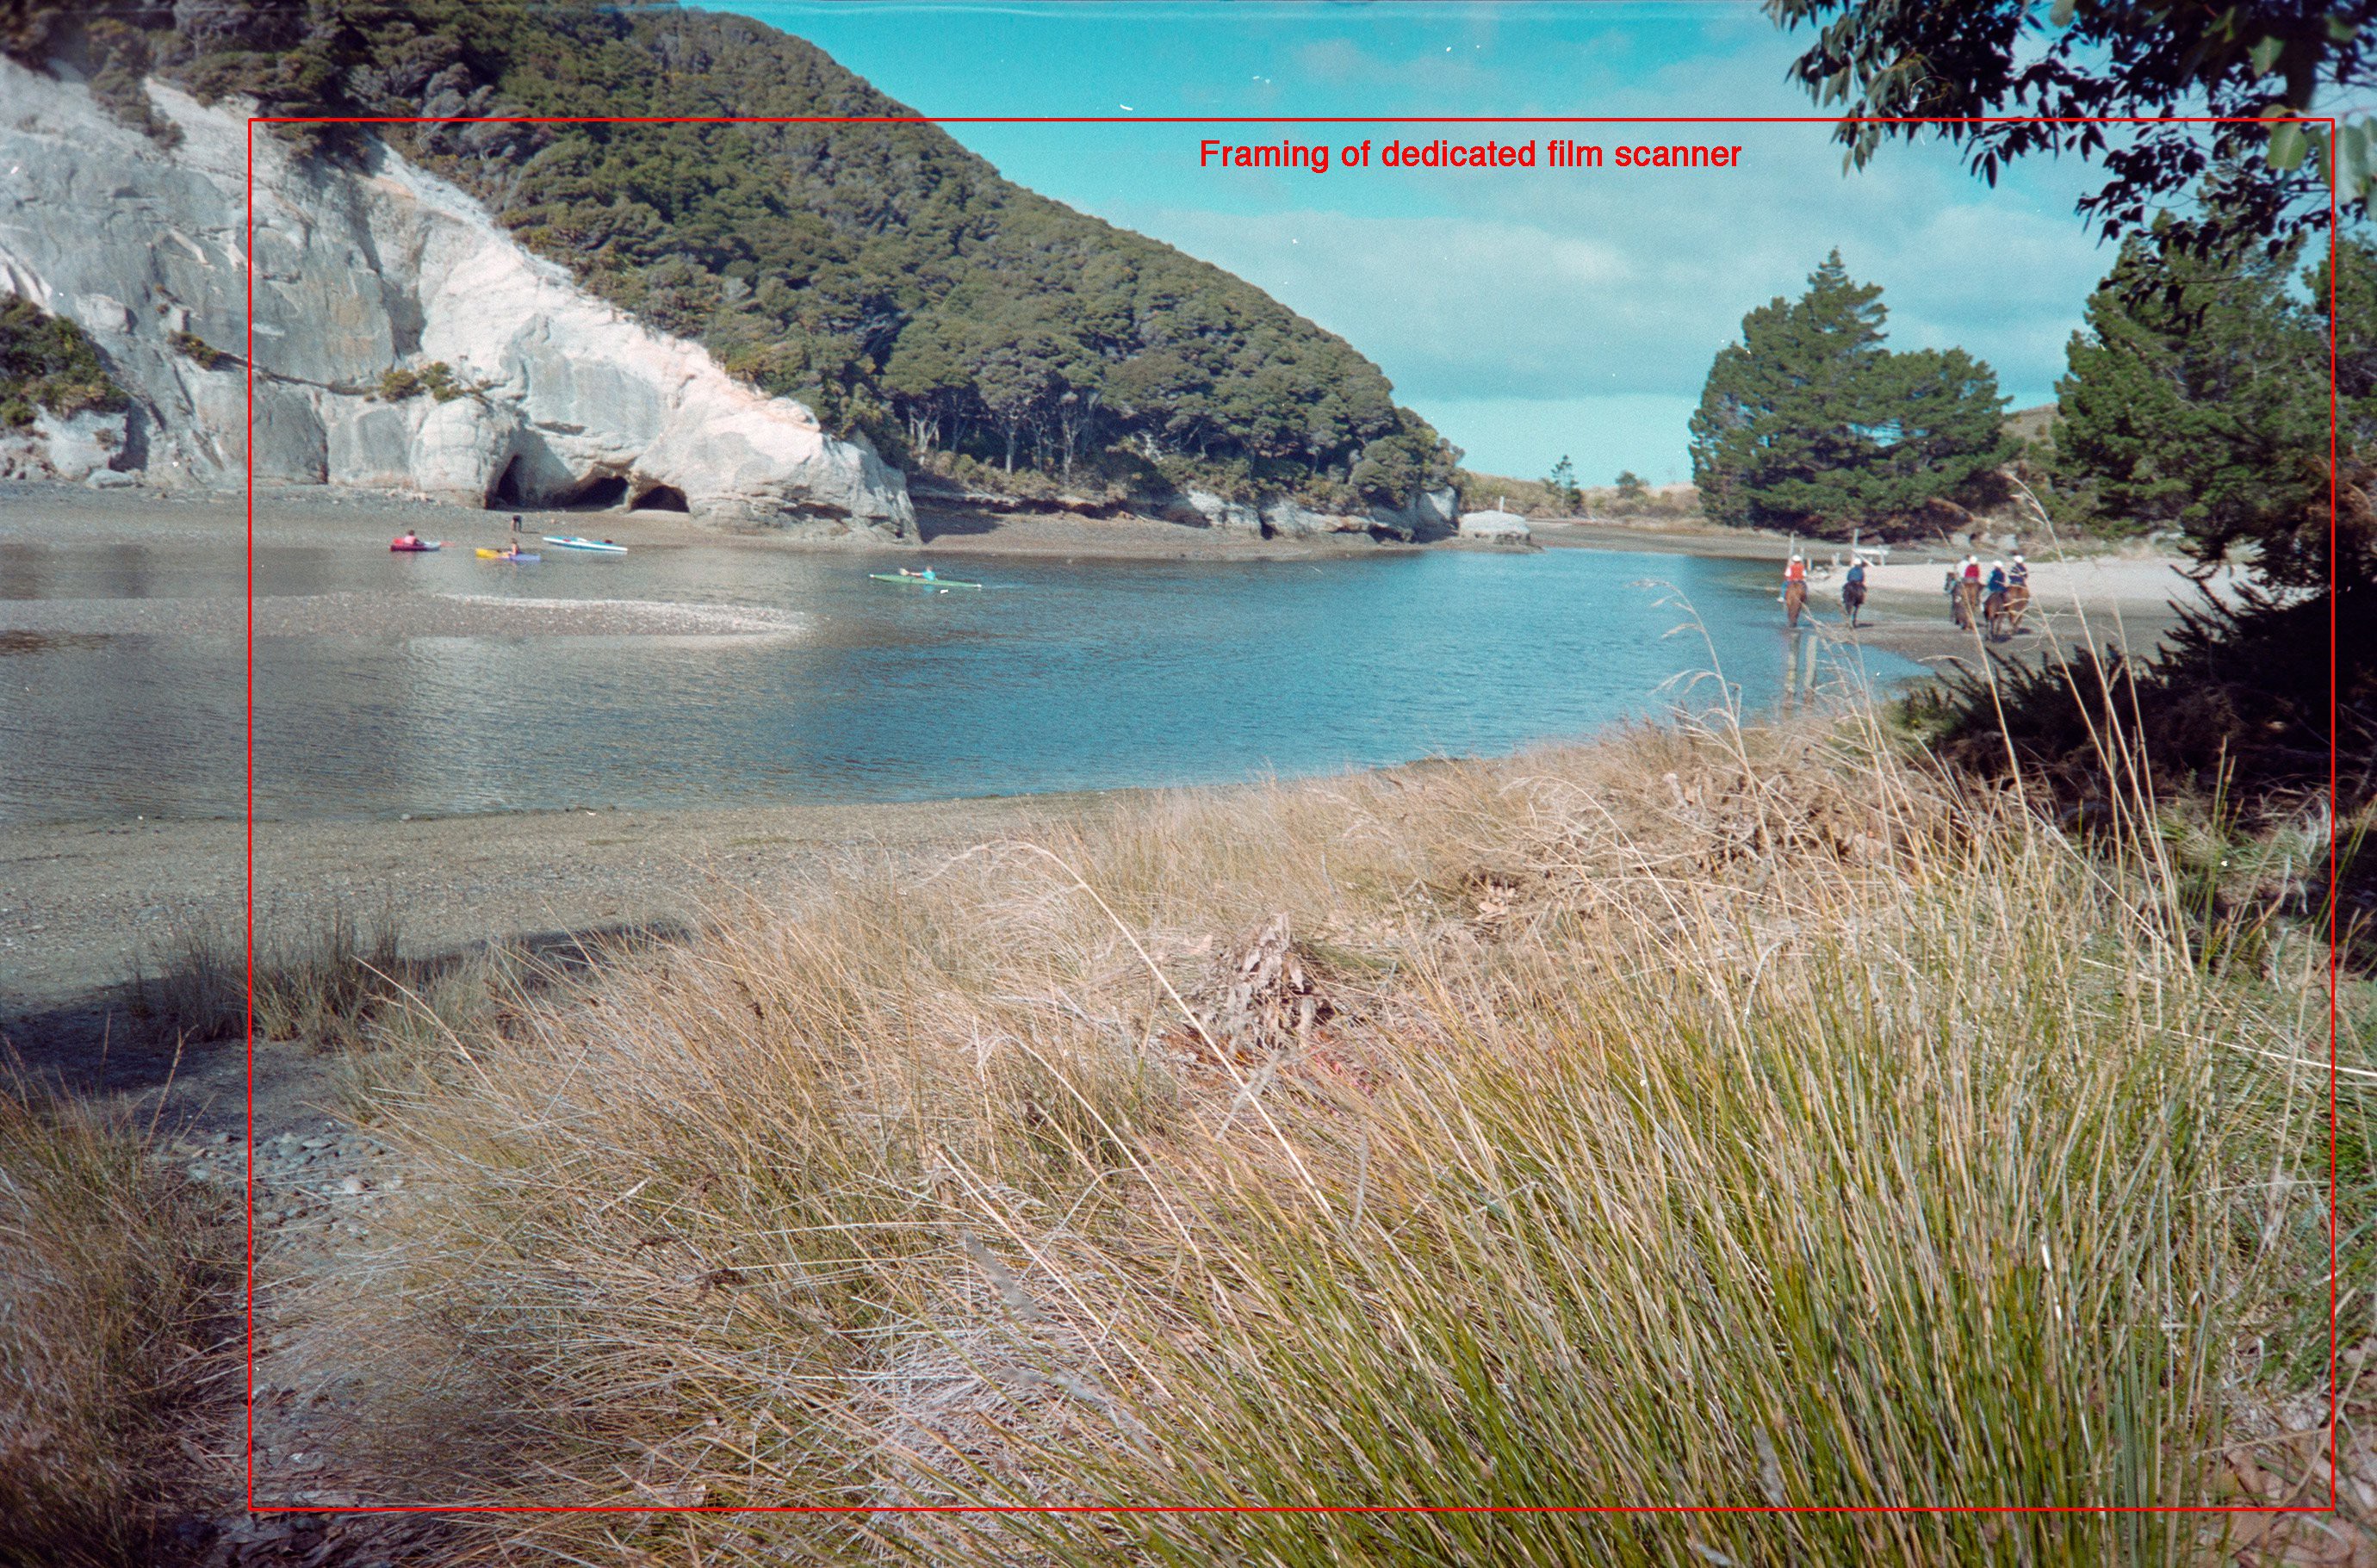
Neither of these get the colour quite right (colour is something I'm still getting the hang of in my processing), but what struck me was how much of the image is cropped out using the consumer-grade scanner. You can see that even if the film was aligned correctly in the mount, a decent chunk of the edges would be lost:
The original exposure isn't a particularly high fidelity or technically good, but comparing detail between the two scans, I would say the Endeavour is simply not useful outside of quickly emailing an old picture to a friend for laughs:
I've recently seen devices like this with 14MP sensors on AliExpress, but I suspect at this price-point the image quality would still be ultimately limited by the size and quality of the lens inside.
Professional film scanner
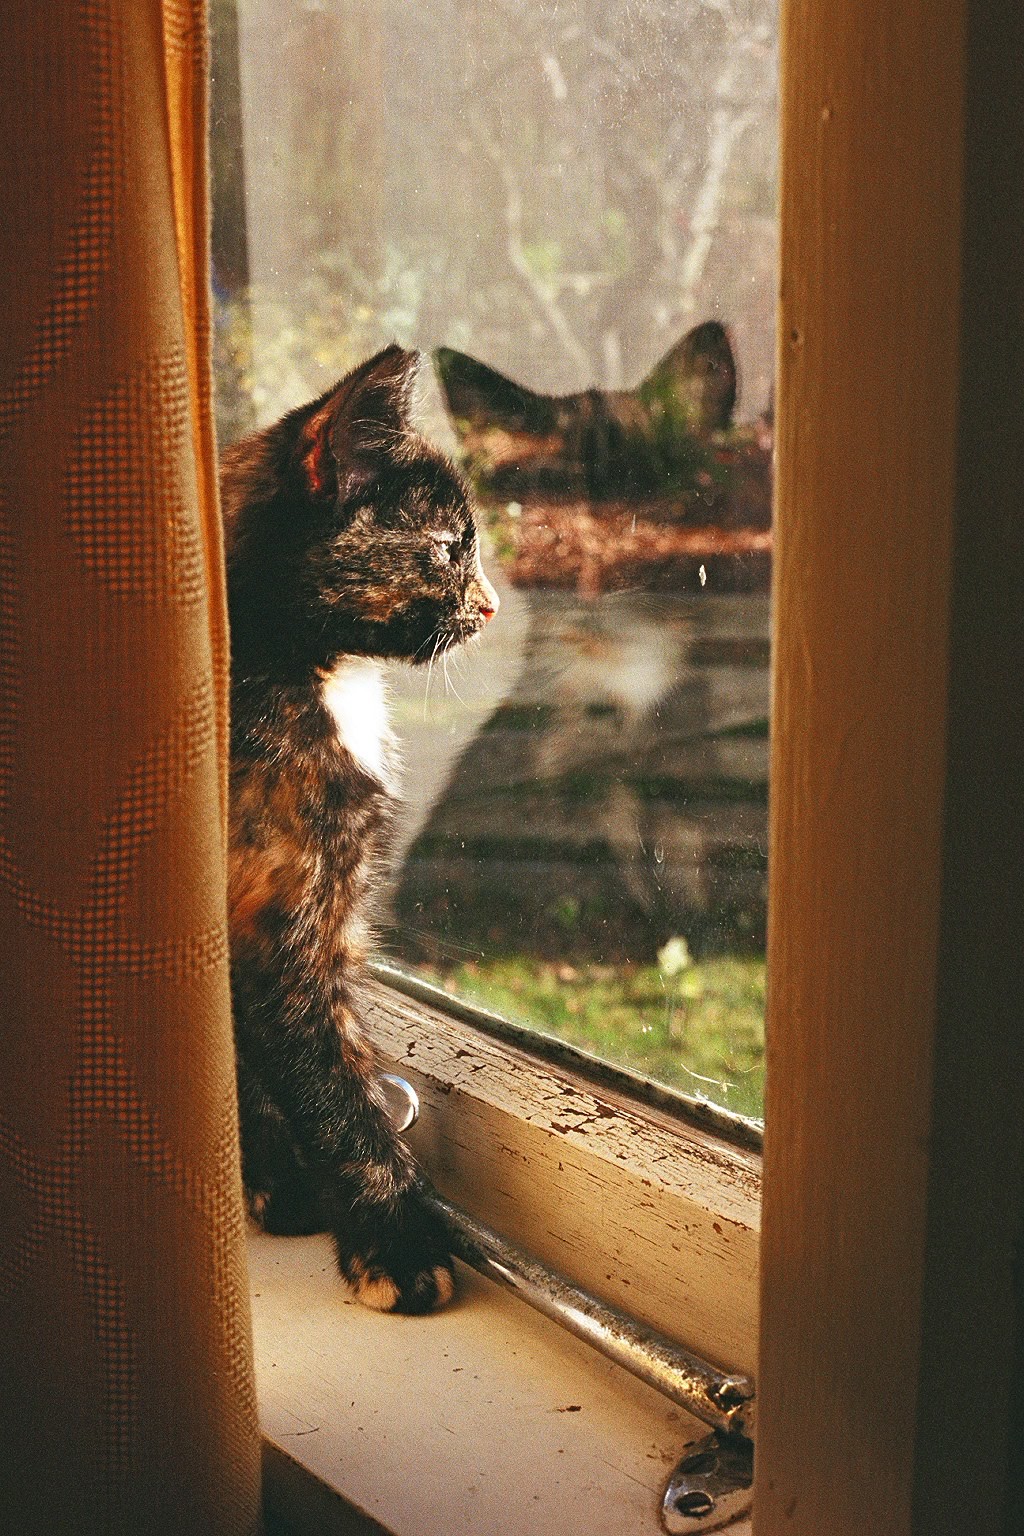
The mail-in developing service FotoPost we used in the early 2000's used a Noritsu Koki QSS to scan the images sent back on CD, according to EXIF data. The exact model of scanner isn't specified, but the image quality really speaks for itself:
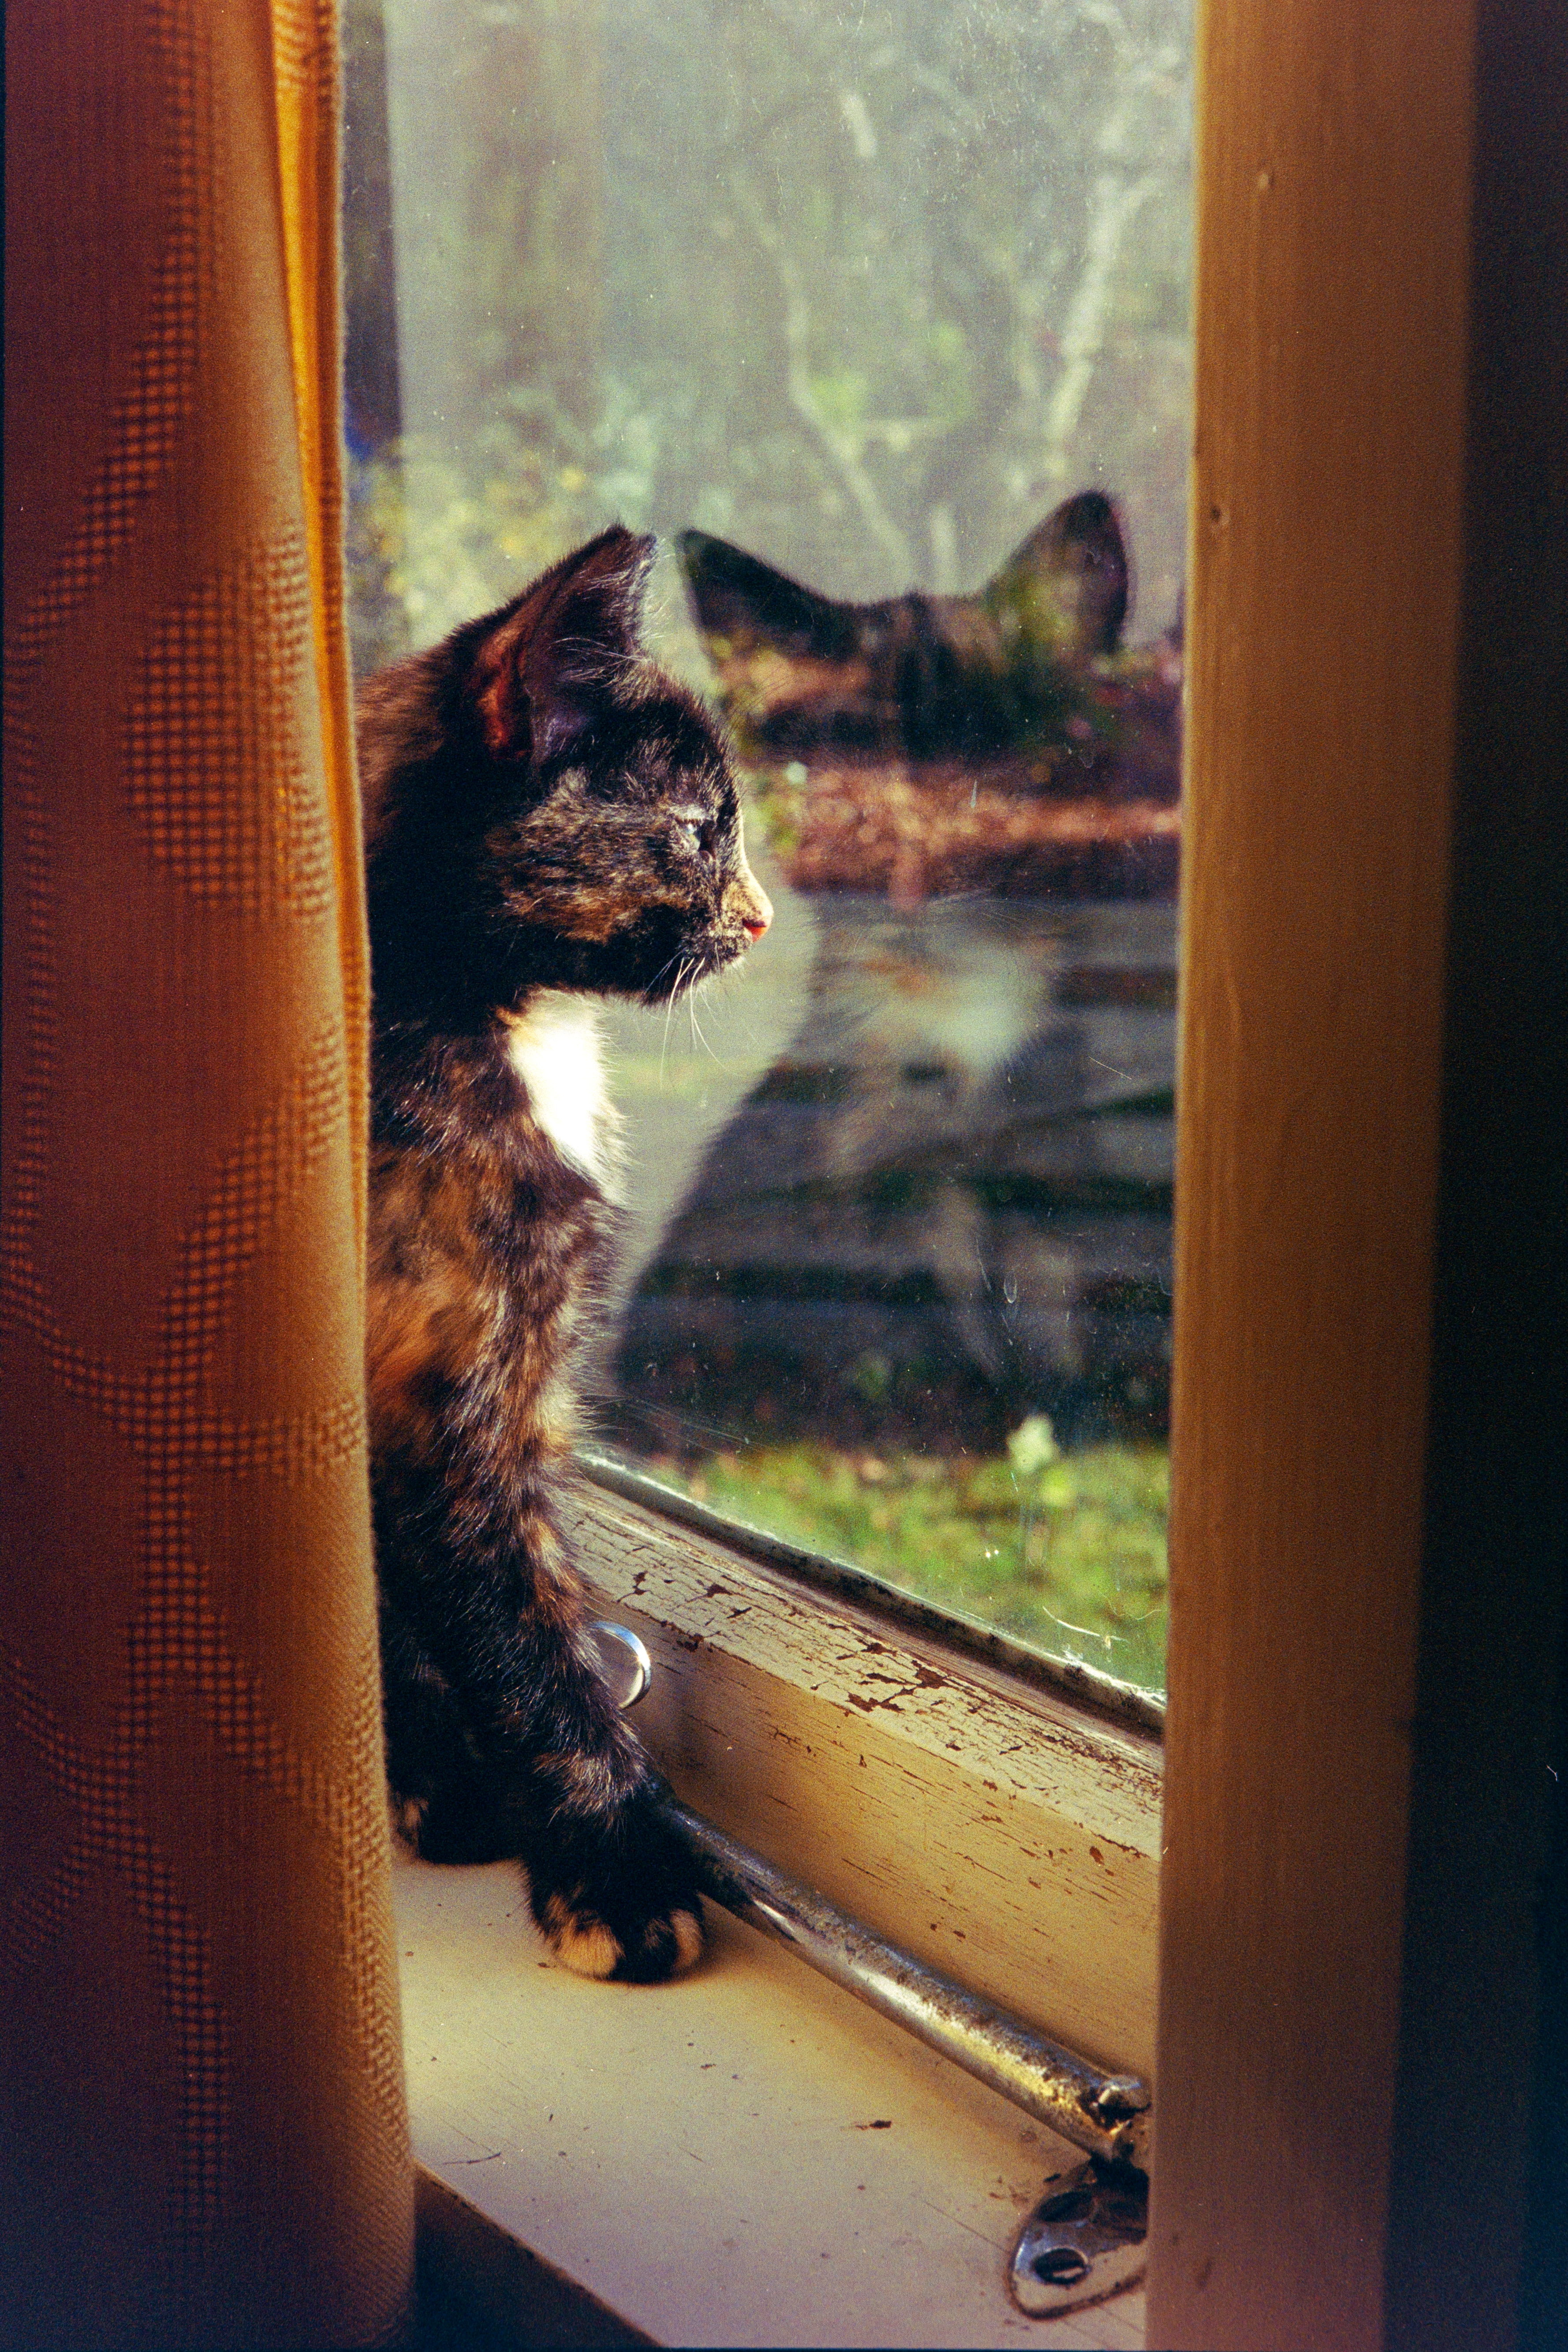
The same negative scanned by my Canon 70D looks like this when roughly matched for colour and scaled down to the same resolution:
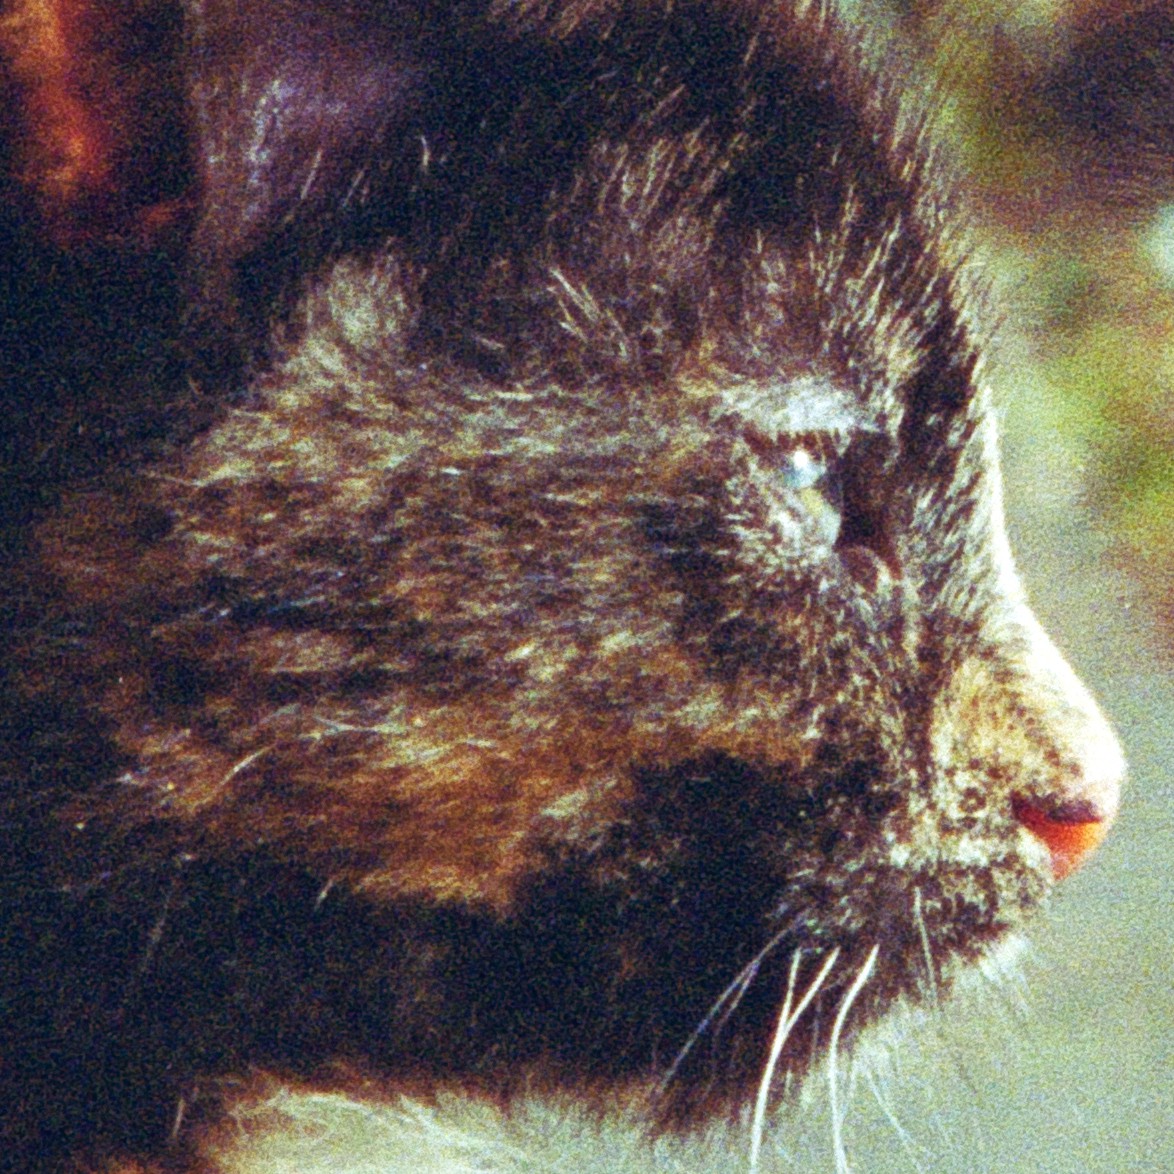
I've just re-scanned this negative for this post as I found the original scan from a year ago was slightly out of focus while processing it. Even with the correct focus, this DSLR scan seems a tad softer than the FotoPost version. The cat's cheek has more hair detail visible in the FotoPost scan, though at the closest focusing distance I still couldn't resolve this detail, so it may be a result of the image processing or just too small for my lens to resolve:
Modern professional scanner?
To continue this comparison post, I'll have this same negative scanned at 18MP by a local service once I'm back from Christmas break. It costs $15 NZD for a single scan at this resolution, but it will give an idea of how much or little I'm missing out on by scanning these myself.
Continued in: "Professional scan" comparison
Discussions
Become a Hackaday.io Member
Create an account to leave a comment. Already have an account? Log In.
Those "personal film scanners" are crap. I researched this a few years back and got an Epson flatbed scanner that also does slides and negatives. The scanner does microstepping in film mode and can reach 9600 dpi (IIRC), but I settled for 3200 dpi as I was begining to see film flaws so no point slowing down the scan heaps just to try to get quality that's not there. Also key to the decision was the software that came with it which does colour correction. Most of the time, the one click correction button got good results.
Are you sure? yes | no