 Bertrand Lemasle
The project started when I started to ditch my big BOSS multi-effect pedal in favor of separated units. I first built a 4 loops version with an Arduino UNO, a custom PCB and a cheap relay board on eBay.
Sadly, by the time I finished the build, the 4 loops were already used and left no room for additional hardware. I then started to build an 8 loops variant but decided to build something that I could be proud of, something that could actually look like a real product, learning as much as I could in the process.
The following months were dedicated to building a rough prototype on a breadboard, based on an Arduino Micro that time because of its additional serial port. I also knew from the start that I wanted a 7 segments display on the device because... 7 segments :D
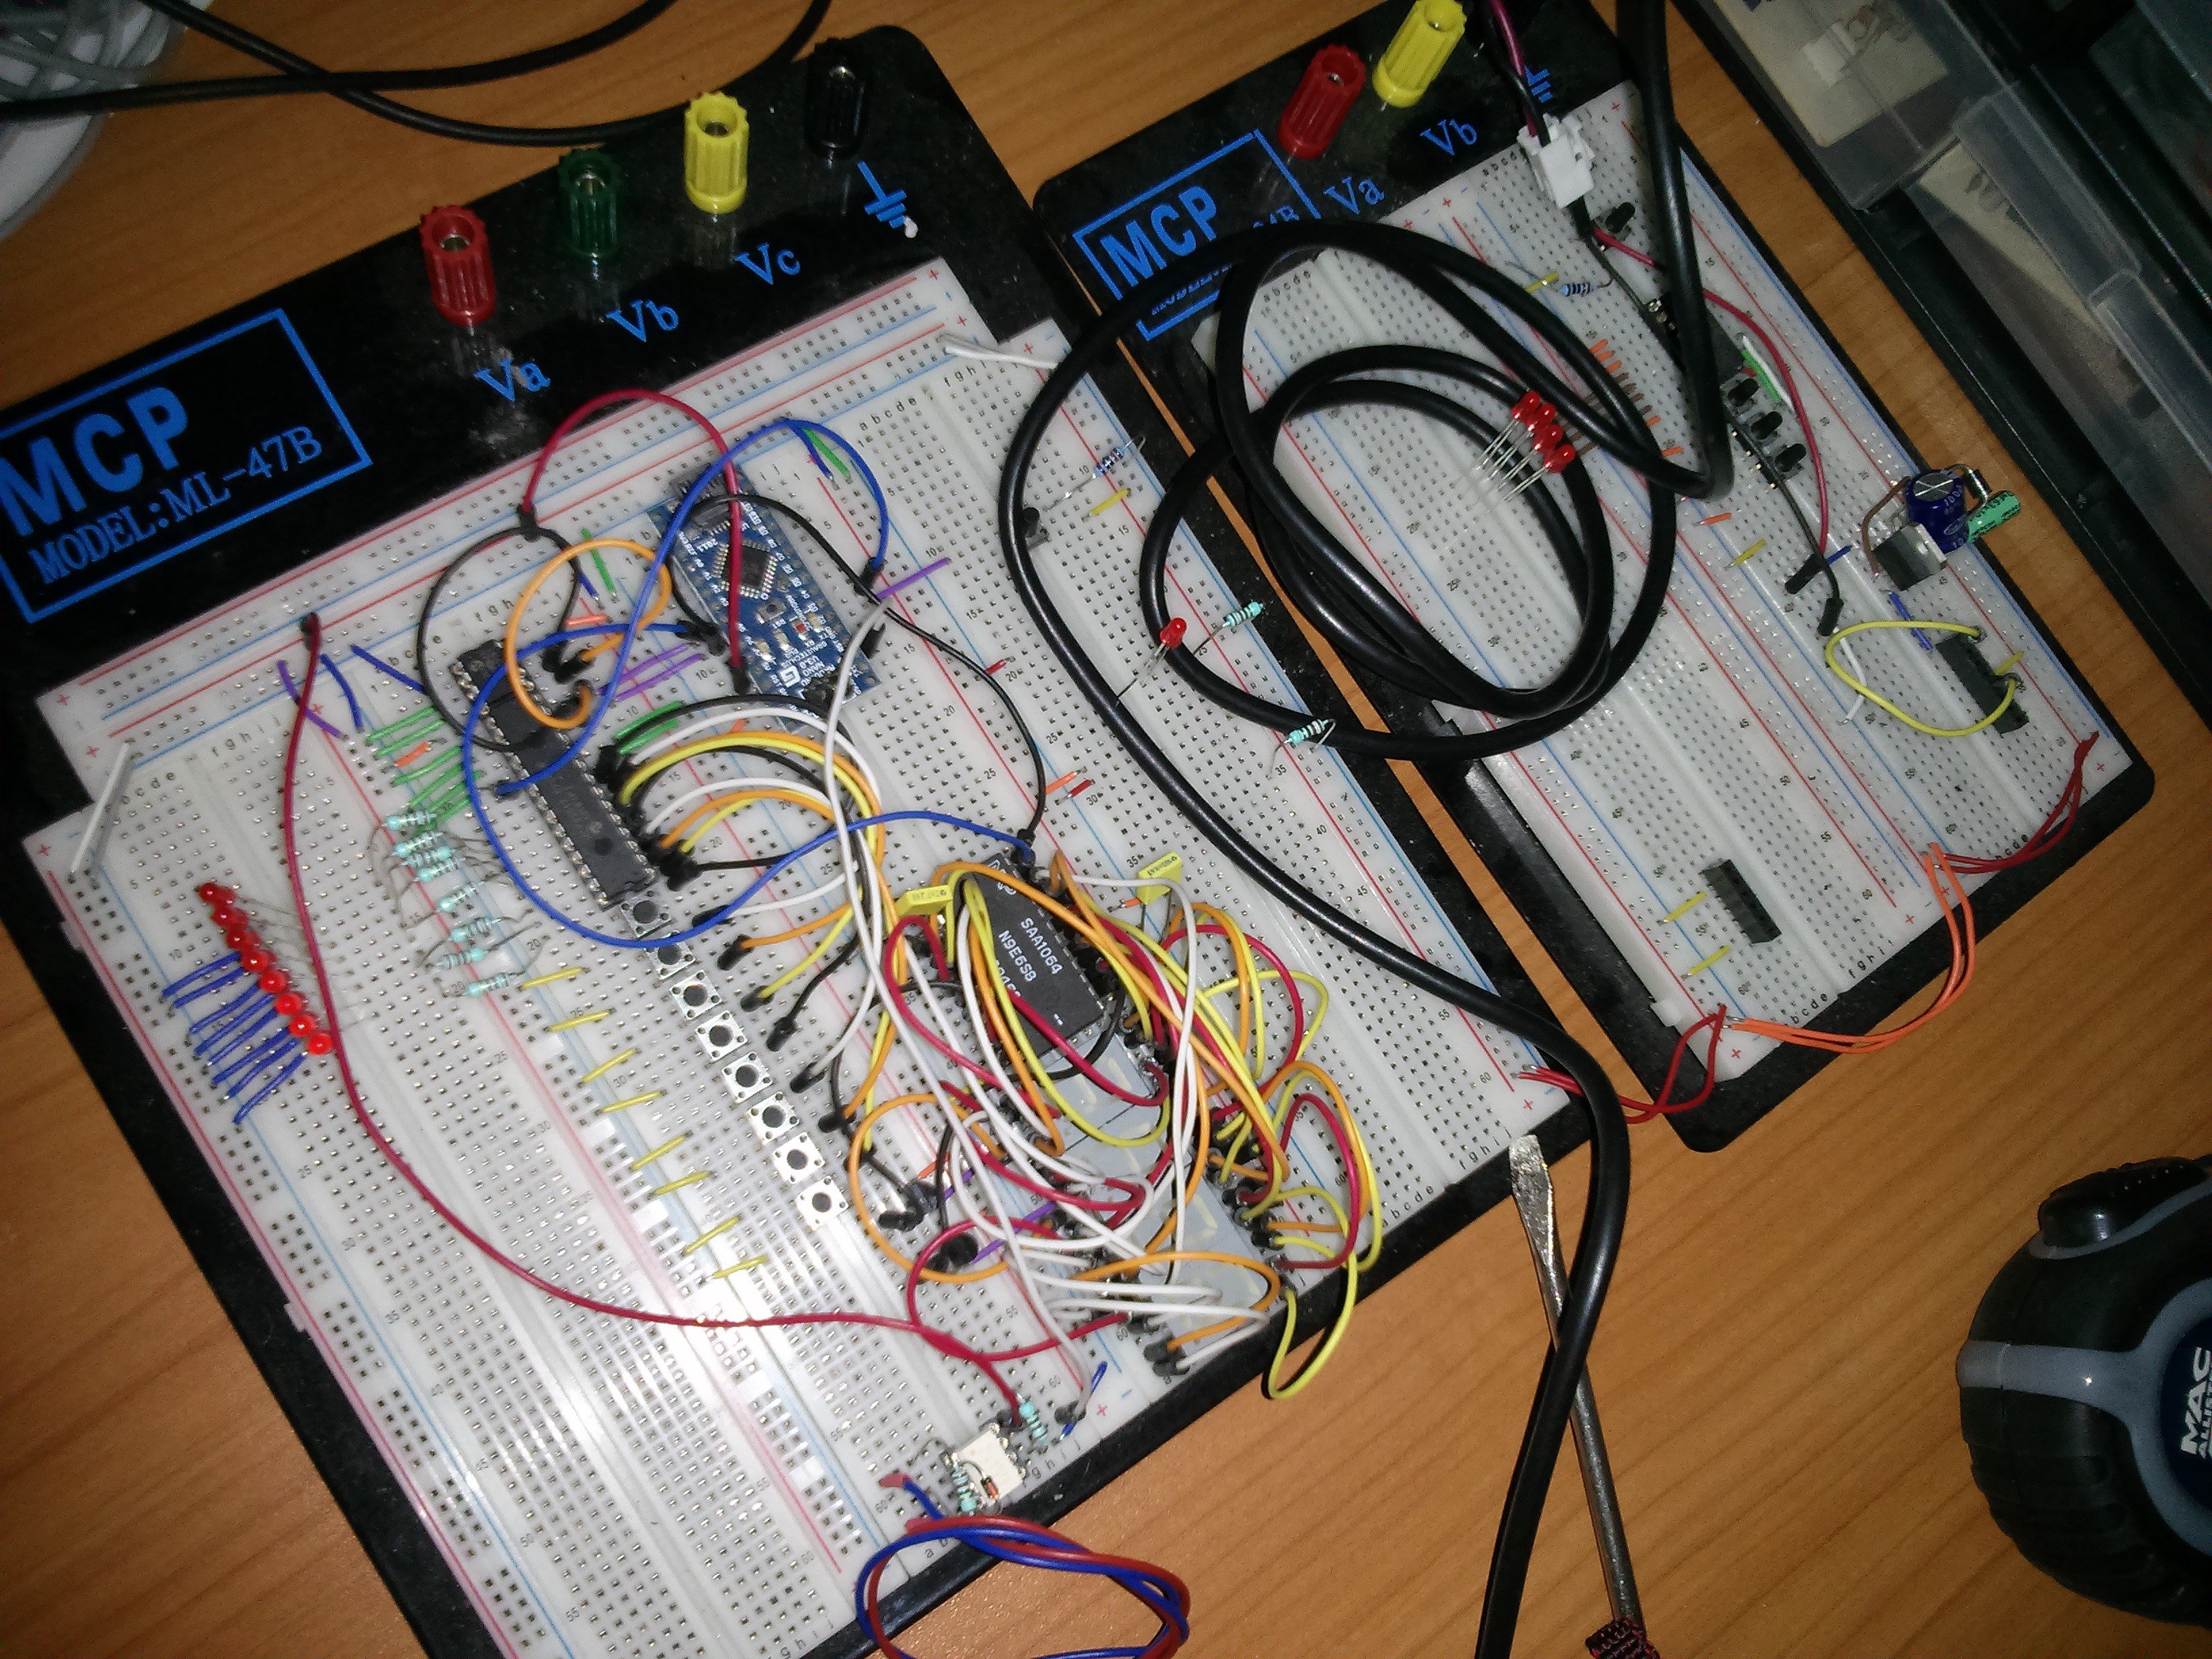
After some trial an errors, the major components were selected :
- ATmega32U4: Main processor
- 24LC256 : Storage
- AS1115-BSST : 7 segments driver and key reader
- MCP23017 : Port expander
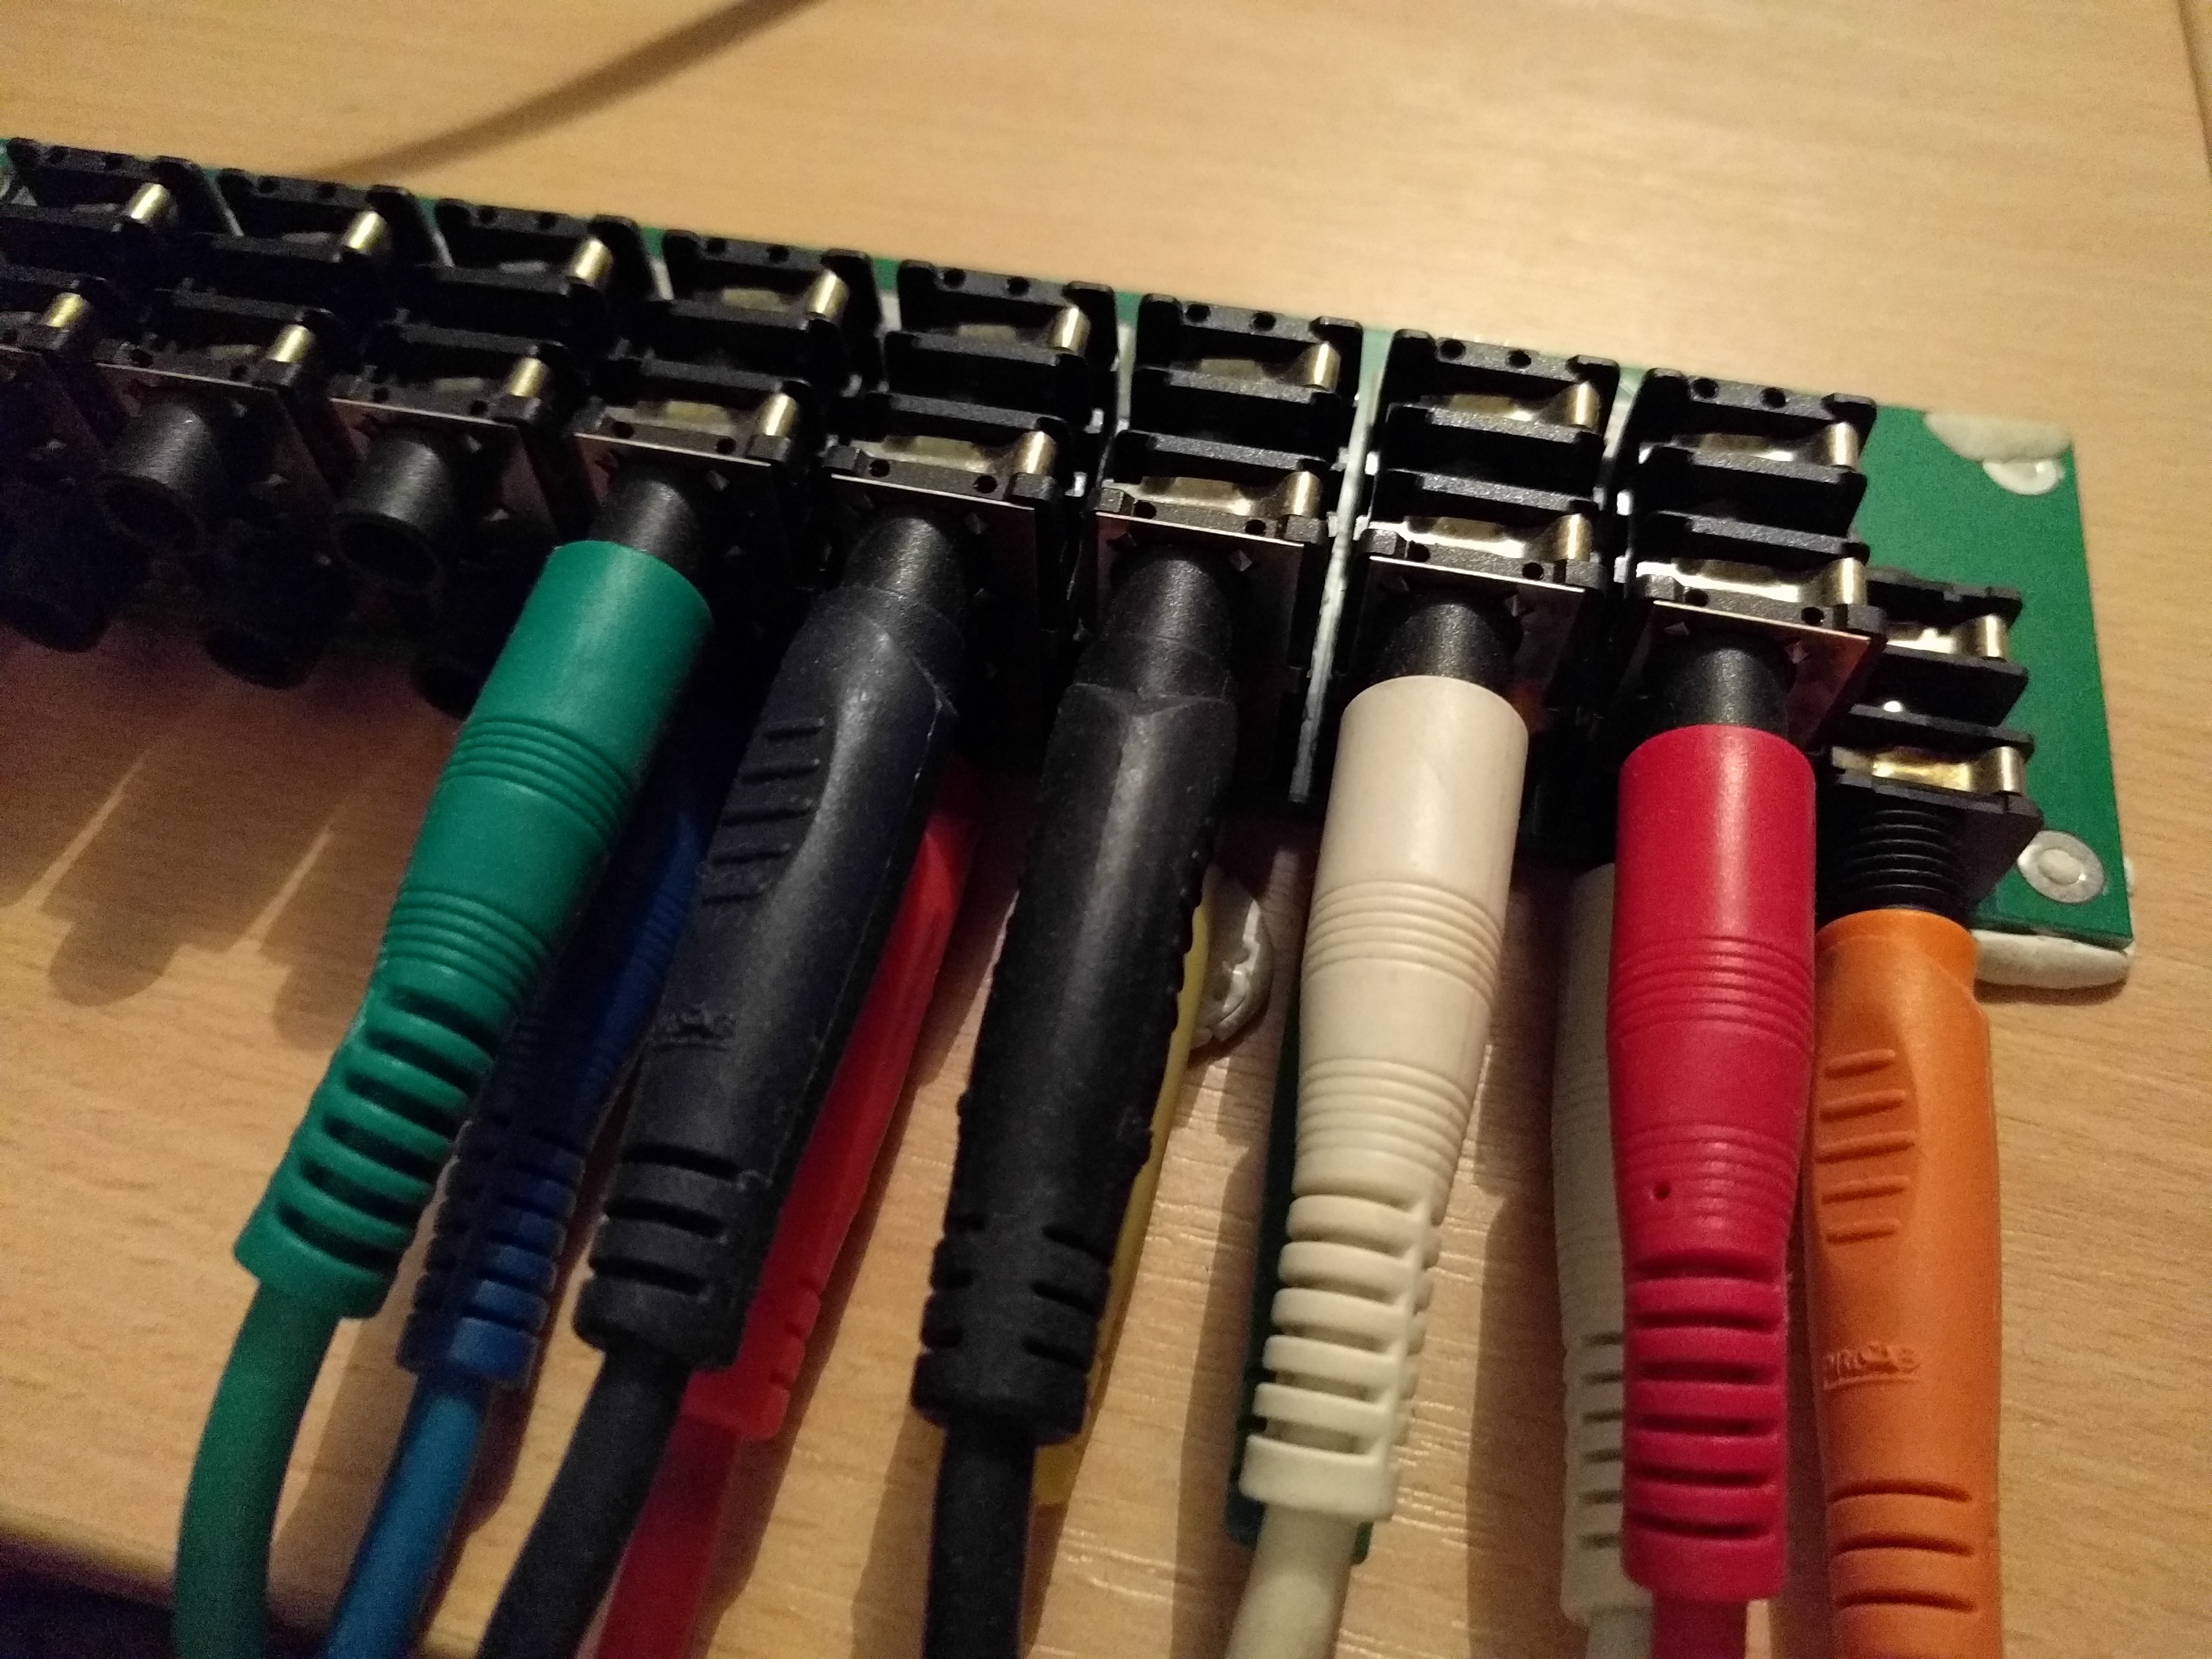
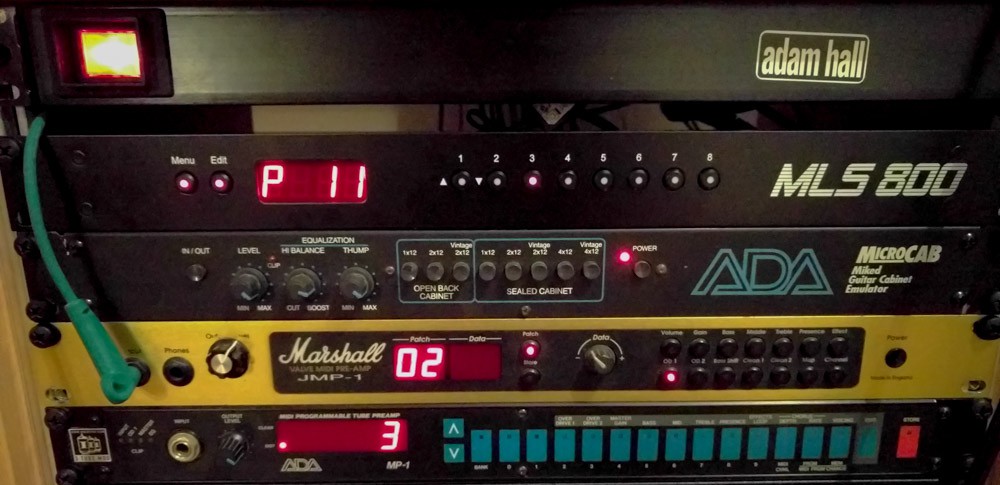
- 5GSH93582 and 1ES096 switches from Apem : There nice, illuminated and looked a lot like those in the Marshall J-MP1 I had.
Those components were selected because I could find them on several retailers and had good datasheets. As I wanted to learn how to drive that was an important requirement. The external chips also all use an I2C bus, which allowed me to use only one bus to rules them all.
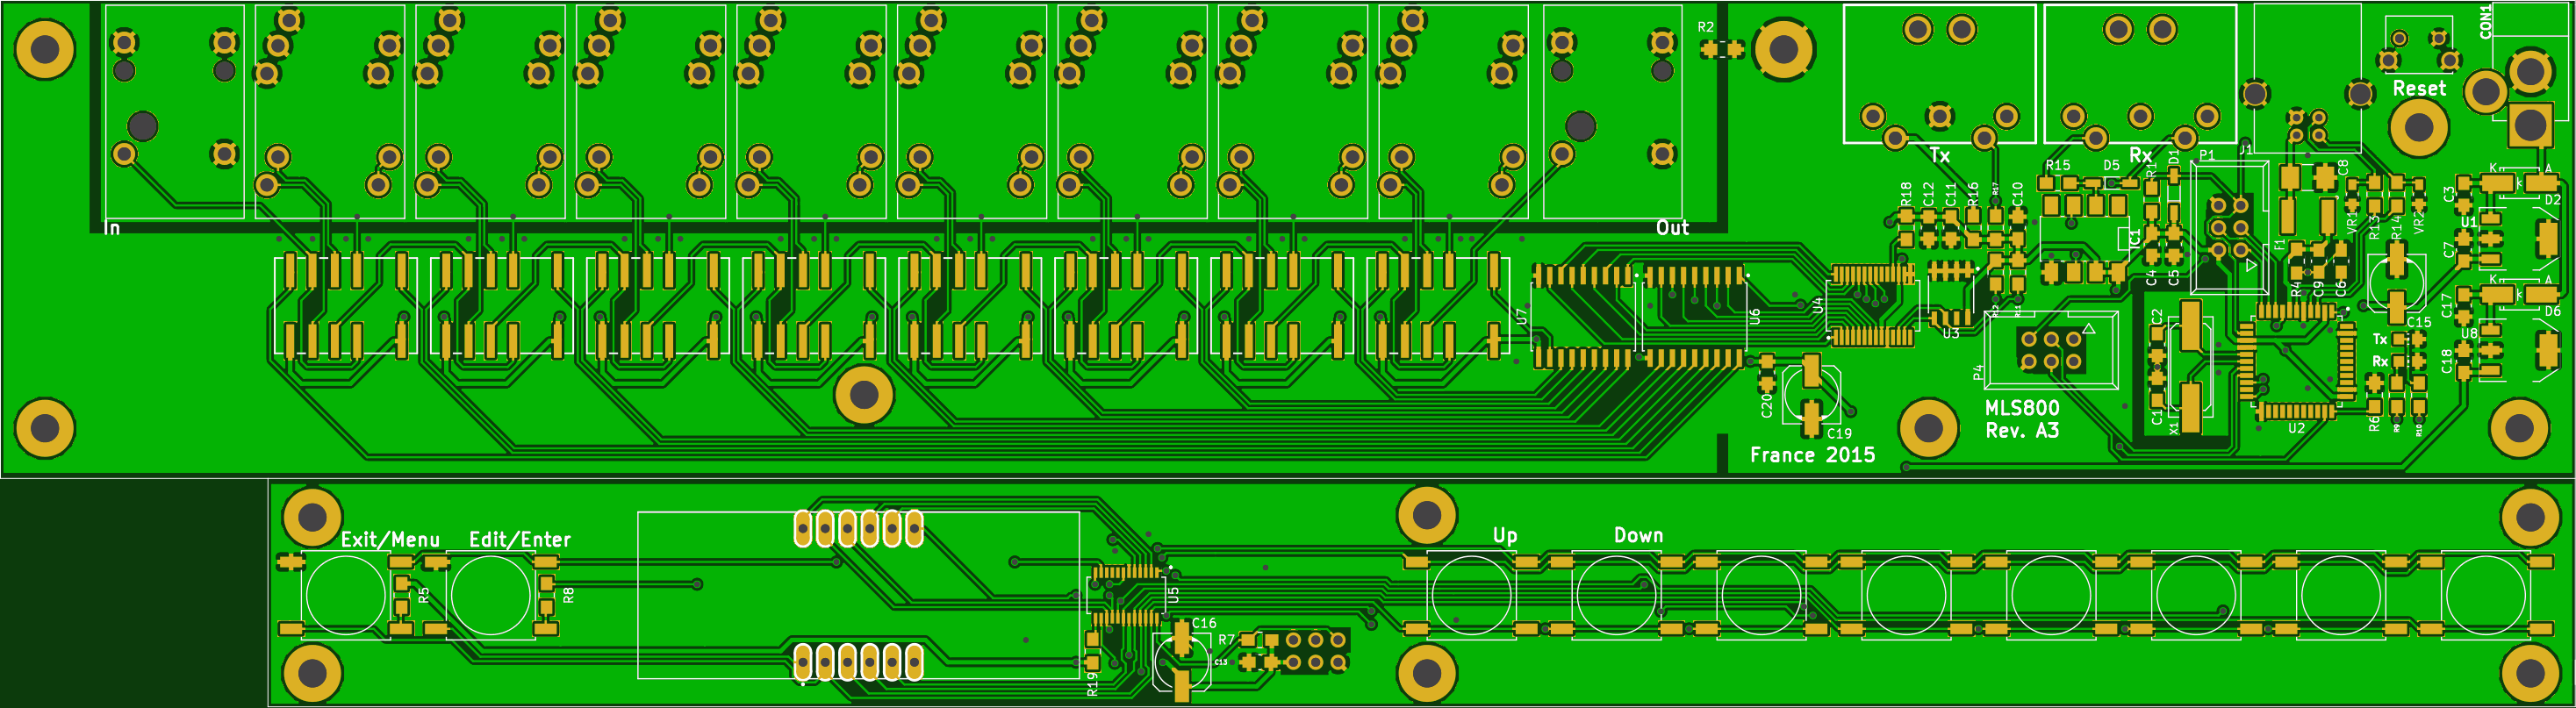
After the schematics were done and tested on the same breadboard, I started making the PCB. This was the most research-intensive part as I was concerned about the noise I might introduce in the audio signal with a bad designed PCB. The form factor was also an issue as I knew that I would eventually build a custom made rack to enclose the thing so I started to build the case at the same time using Solidworks just to get the dimensions right.
After a few months of sometimes intensive work on the project, I ordered the PCB from Seeed. Some stupid small mistakes were left in the PCB so I needed 3 revisions to have something I was happy with (meaning without jump wires).
All in all, I couldn't have made this part of the project without Dave's EEVBlog YouTube channel, from which I learned so many things. Kudo Dave, and thank you so much.
I soldered everything, solve some usability problem with the code and started to use my creation for real. Without a case, I had to stick the PCB to my cabinet using some blue tack.
Fast forward a few years and a new flat later, The PCB is still glued to the cabinet. I'am seriously bored at work and need something to drive my day and get a sense of accomplishment.
Instead of starting a new project, I decided to finish what I started years before and build a 1U rack unit for my beloved loop switcher. The most complicated phase of the project was to find someone, somewhere that would be able to build my case. Lots of people told me that I should 3D print it and be done with it, but you see, I wanted a finished product, and 19" is often too large to be printed at once (well at least at the time, I don't know where we at now with that).
That's when I found Protocase. They were a blessing and a curse at the same time. A blessing because for someone who didn't know anything at building that sort of stuff, they were very comprehensive. A curse because they can build your things on demand, using self-clinching fasteners and printing them. That was too good an opportunity for someone who wanted to make (or at least try to) something with the same level of quality than an actual piece of gear that could have been bought from a shop. So I restarted the rack enclosure from scratch using the new tools at hand.

I was really pleased with the quality of the build, and I now have a not really home-made but at least fully home-designed rack unit in my cabinet that I'm using every single time I play guitar for the last few years.
The best part is that no one notices my creation like along with the other unit in my cabinet, and even I, sometimes forgot that this is something that I made when I'm using it.
That to me is proof that I built something of a great quality level and that I can be proud of what I achieved.
I'm still using the BOSS pedal I talked earlier but now, Its only purpose is to send Program Change MIDI messages.
As I said earlier, the goal was to make a finished product, so I also added a user manual for it.