 Arduino Enigma
Soldering this was a lot of fun. So now it is time to start putting it together.
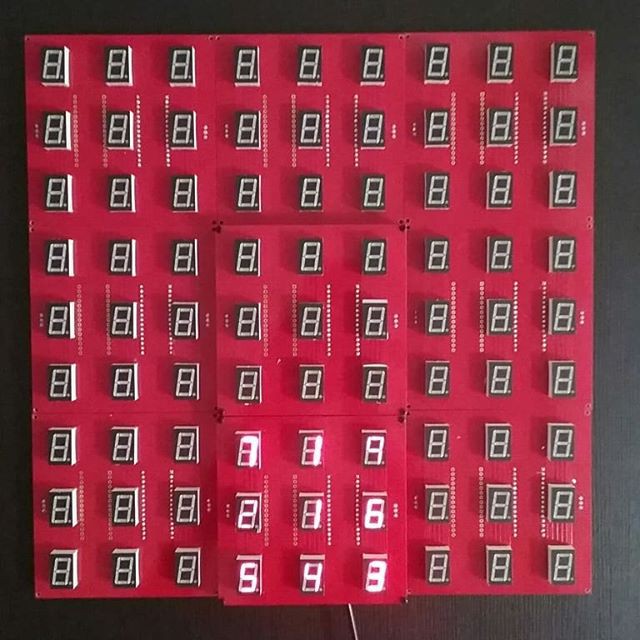
This is how it will look.
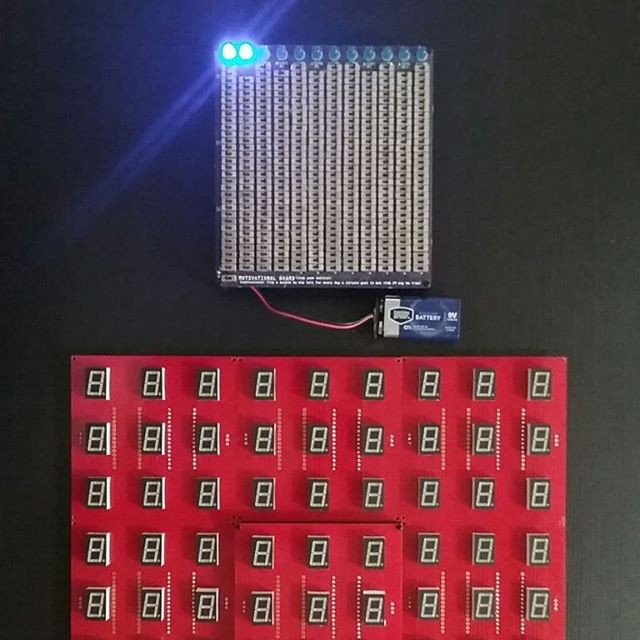
Comparison with Motivational Board, another monster soldering project. Care to guess which one has more solder joints, the Motivational Board or the Seven Segment Art Installation?
Powering up all the tiles in a daisy-chain configuration by feeding 6V DC to the first tile. Each tile is running a standalone animation. This eats a pack of AAA batteries quite fast. It will be run from a 6V or 9V wall adapter. Each Nano is responsible for converting raw DC power to 5V.
An Arduino Nano on a separate breadboard is sending data to the first tile in the installation. The data gets relayed to the last board. Shown below is a demo of double buffering. The data gets written to a buffer that is not visible and then a command is sent to swap the visible buffer with the other one.
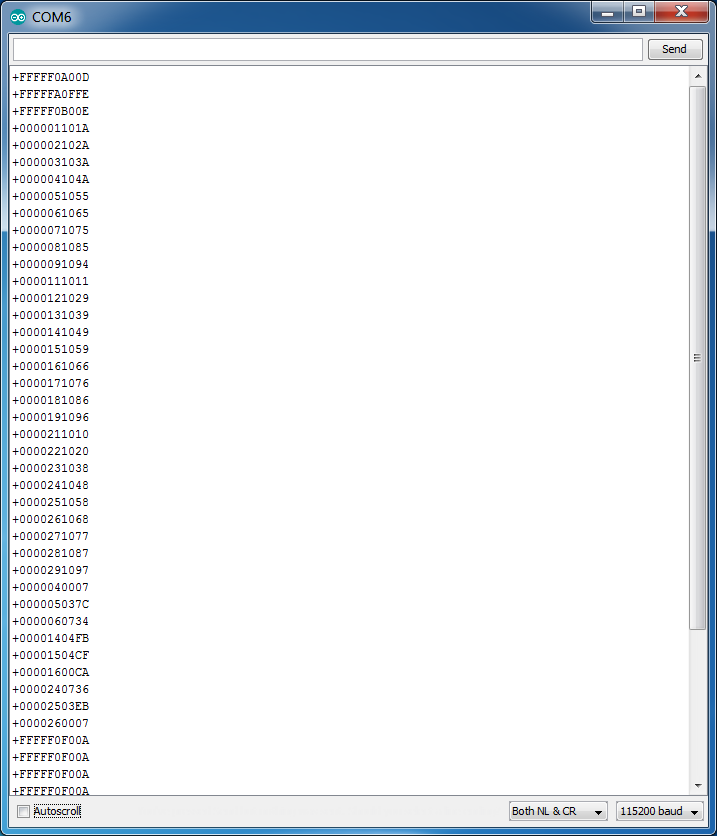
Below are the commands the Master Arduino sends to the first tile. The first 5 characters are a board address, FFFFF means this command is meant for all the tiles. Each tile processes it and re-sends to the tile down the chain.
The first command selects buffer A, the visible one, for all future commands. The second command lights up all the segments. The third command selects buffer B for all future commands. Then boards 0, 1 and 2 are initialized, but not displayed. Finally, a flip command is sent every few seconds to all boards to swap the A and B buffers.
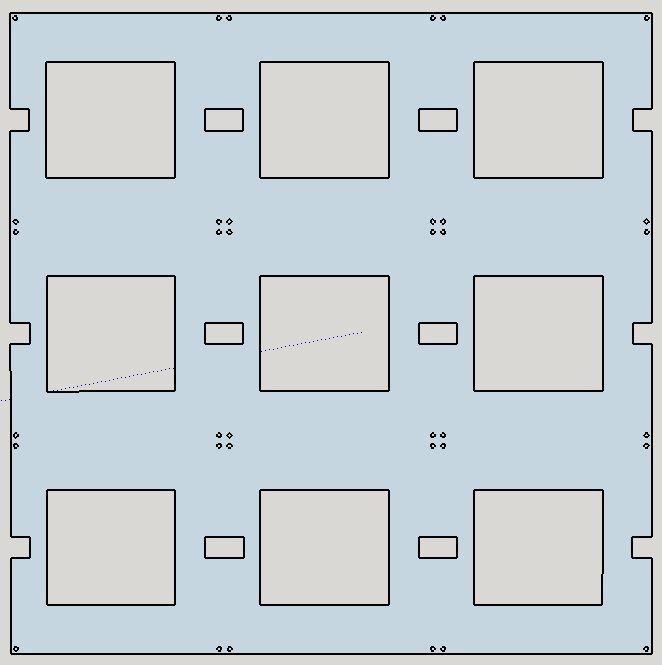
Next step is to design an acrylic piece to mount all the boards. This will get laser cut at Ponoko. The design below is missing 4 mounting holes in the corners to bolt it to a larger piece.
Discussions
Become a Hackaday.io Member
Create an account to leave a comment. Already have an account? Log In.