 Stefan-Xp
In parallel to the printing i was able to create the LED Matrix.
Unfortunately the LED distance did not match my Expectations...
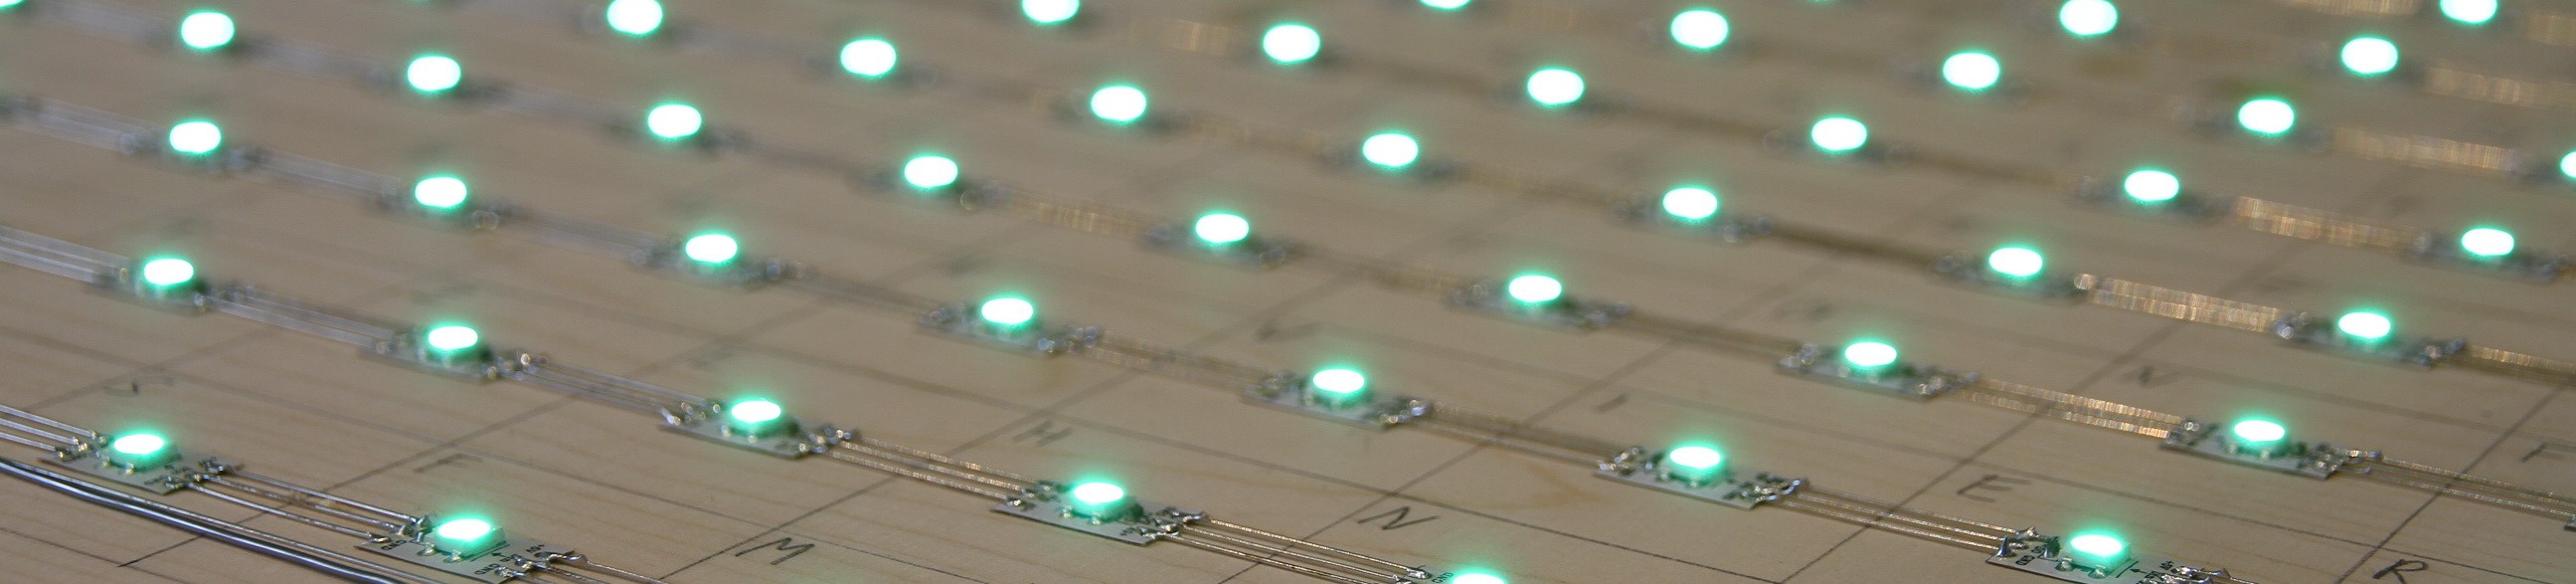
So i did the labourious way: connect the LEDs with silver wire. I had a template to place the LED Strips pieces. Afterwards the LED pieces are connected in ZigZag Mode. I connected all Ground to one Side and all Plus on one side.
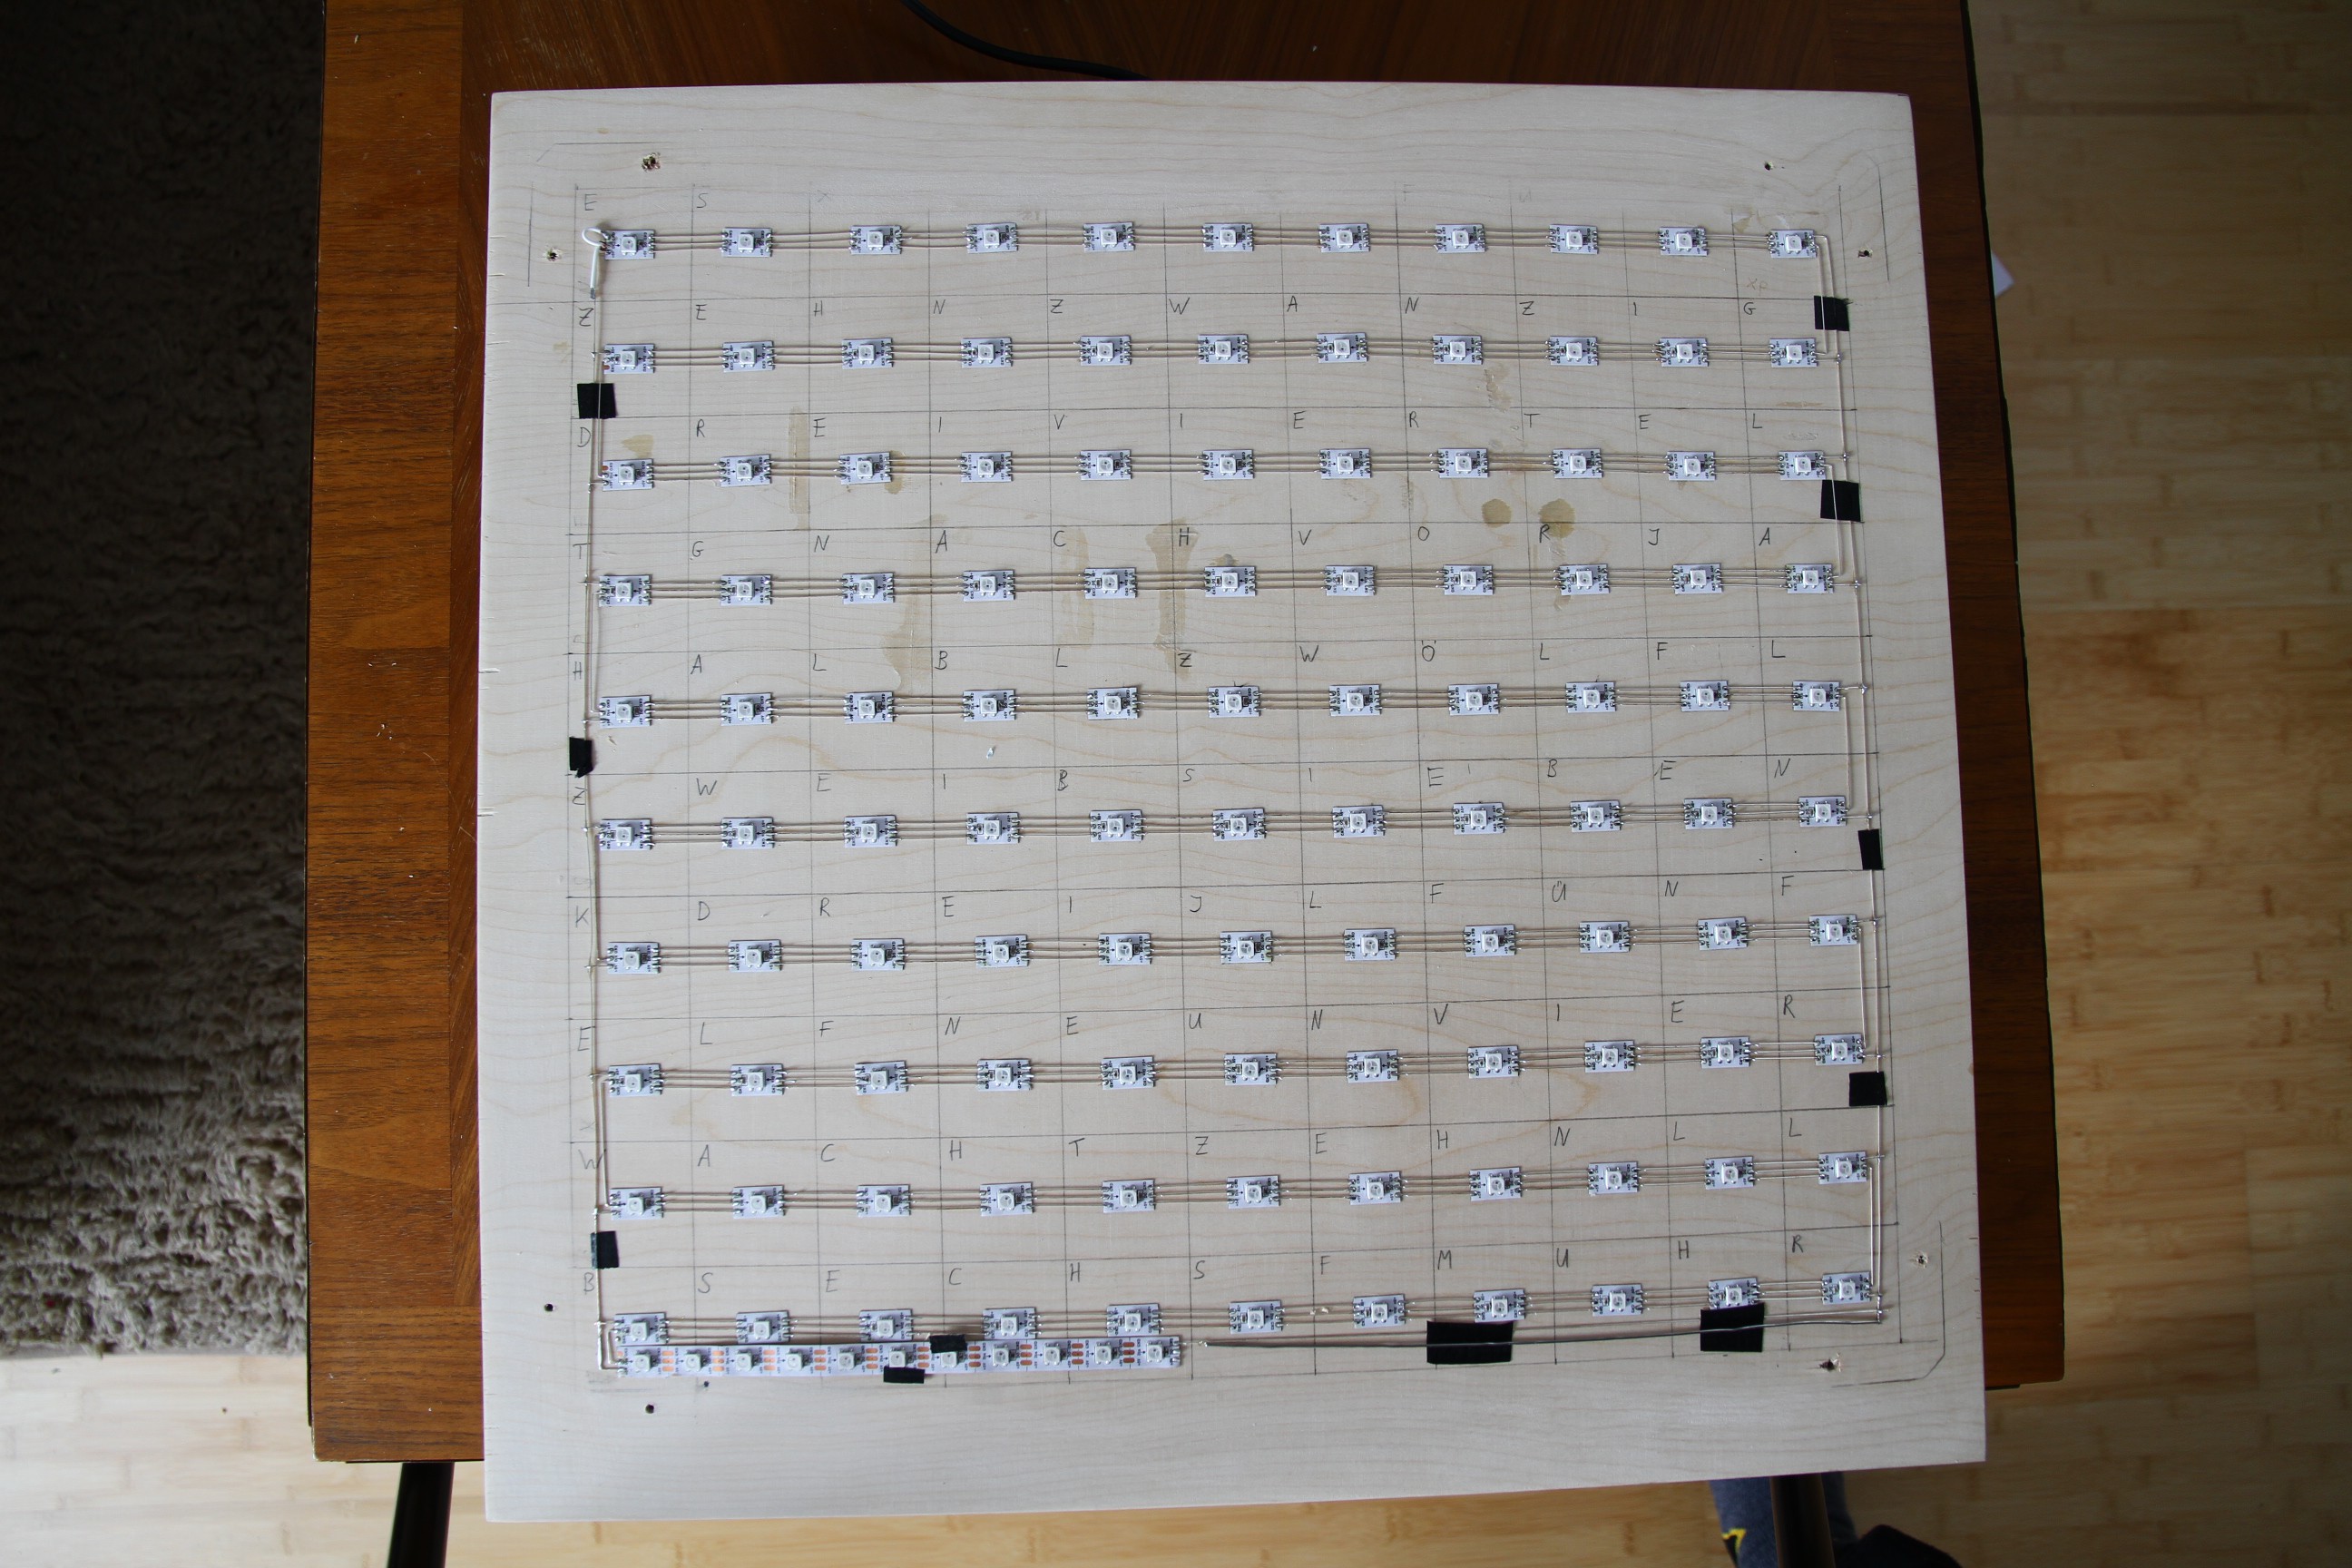
Beforehand i added the Grid and the Letters to the Plywood. I imagined i could check the programming with this... but it also worked OK with the printed template from Step #1.
With a bit of experience and training i did like 2 Rows an evening... bot it took not all of the evenings ;-)
Almost like doing Mandelas or something - really serene and relaxing.
Don't forget to check each row after soldering for the complete statisfaction.
On the Bottom there are additional 10 LEDs for spare.
In retrospect it would have been more convenient to check for other LED strips and adjust to the Size...
Discussions
Become a Hackaday.io Member
Create an account to leave a comment. Already have an account? Log In.