 Jonty
Jonty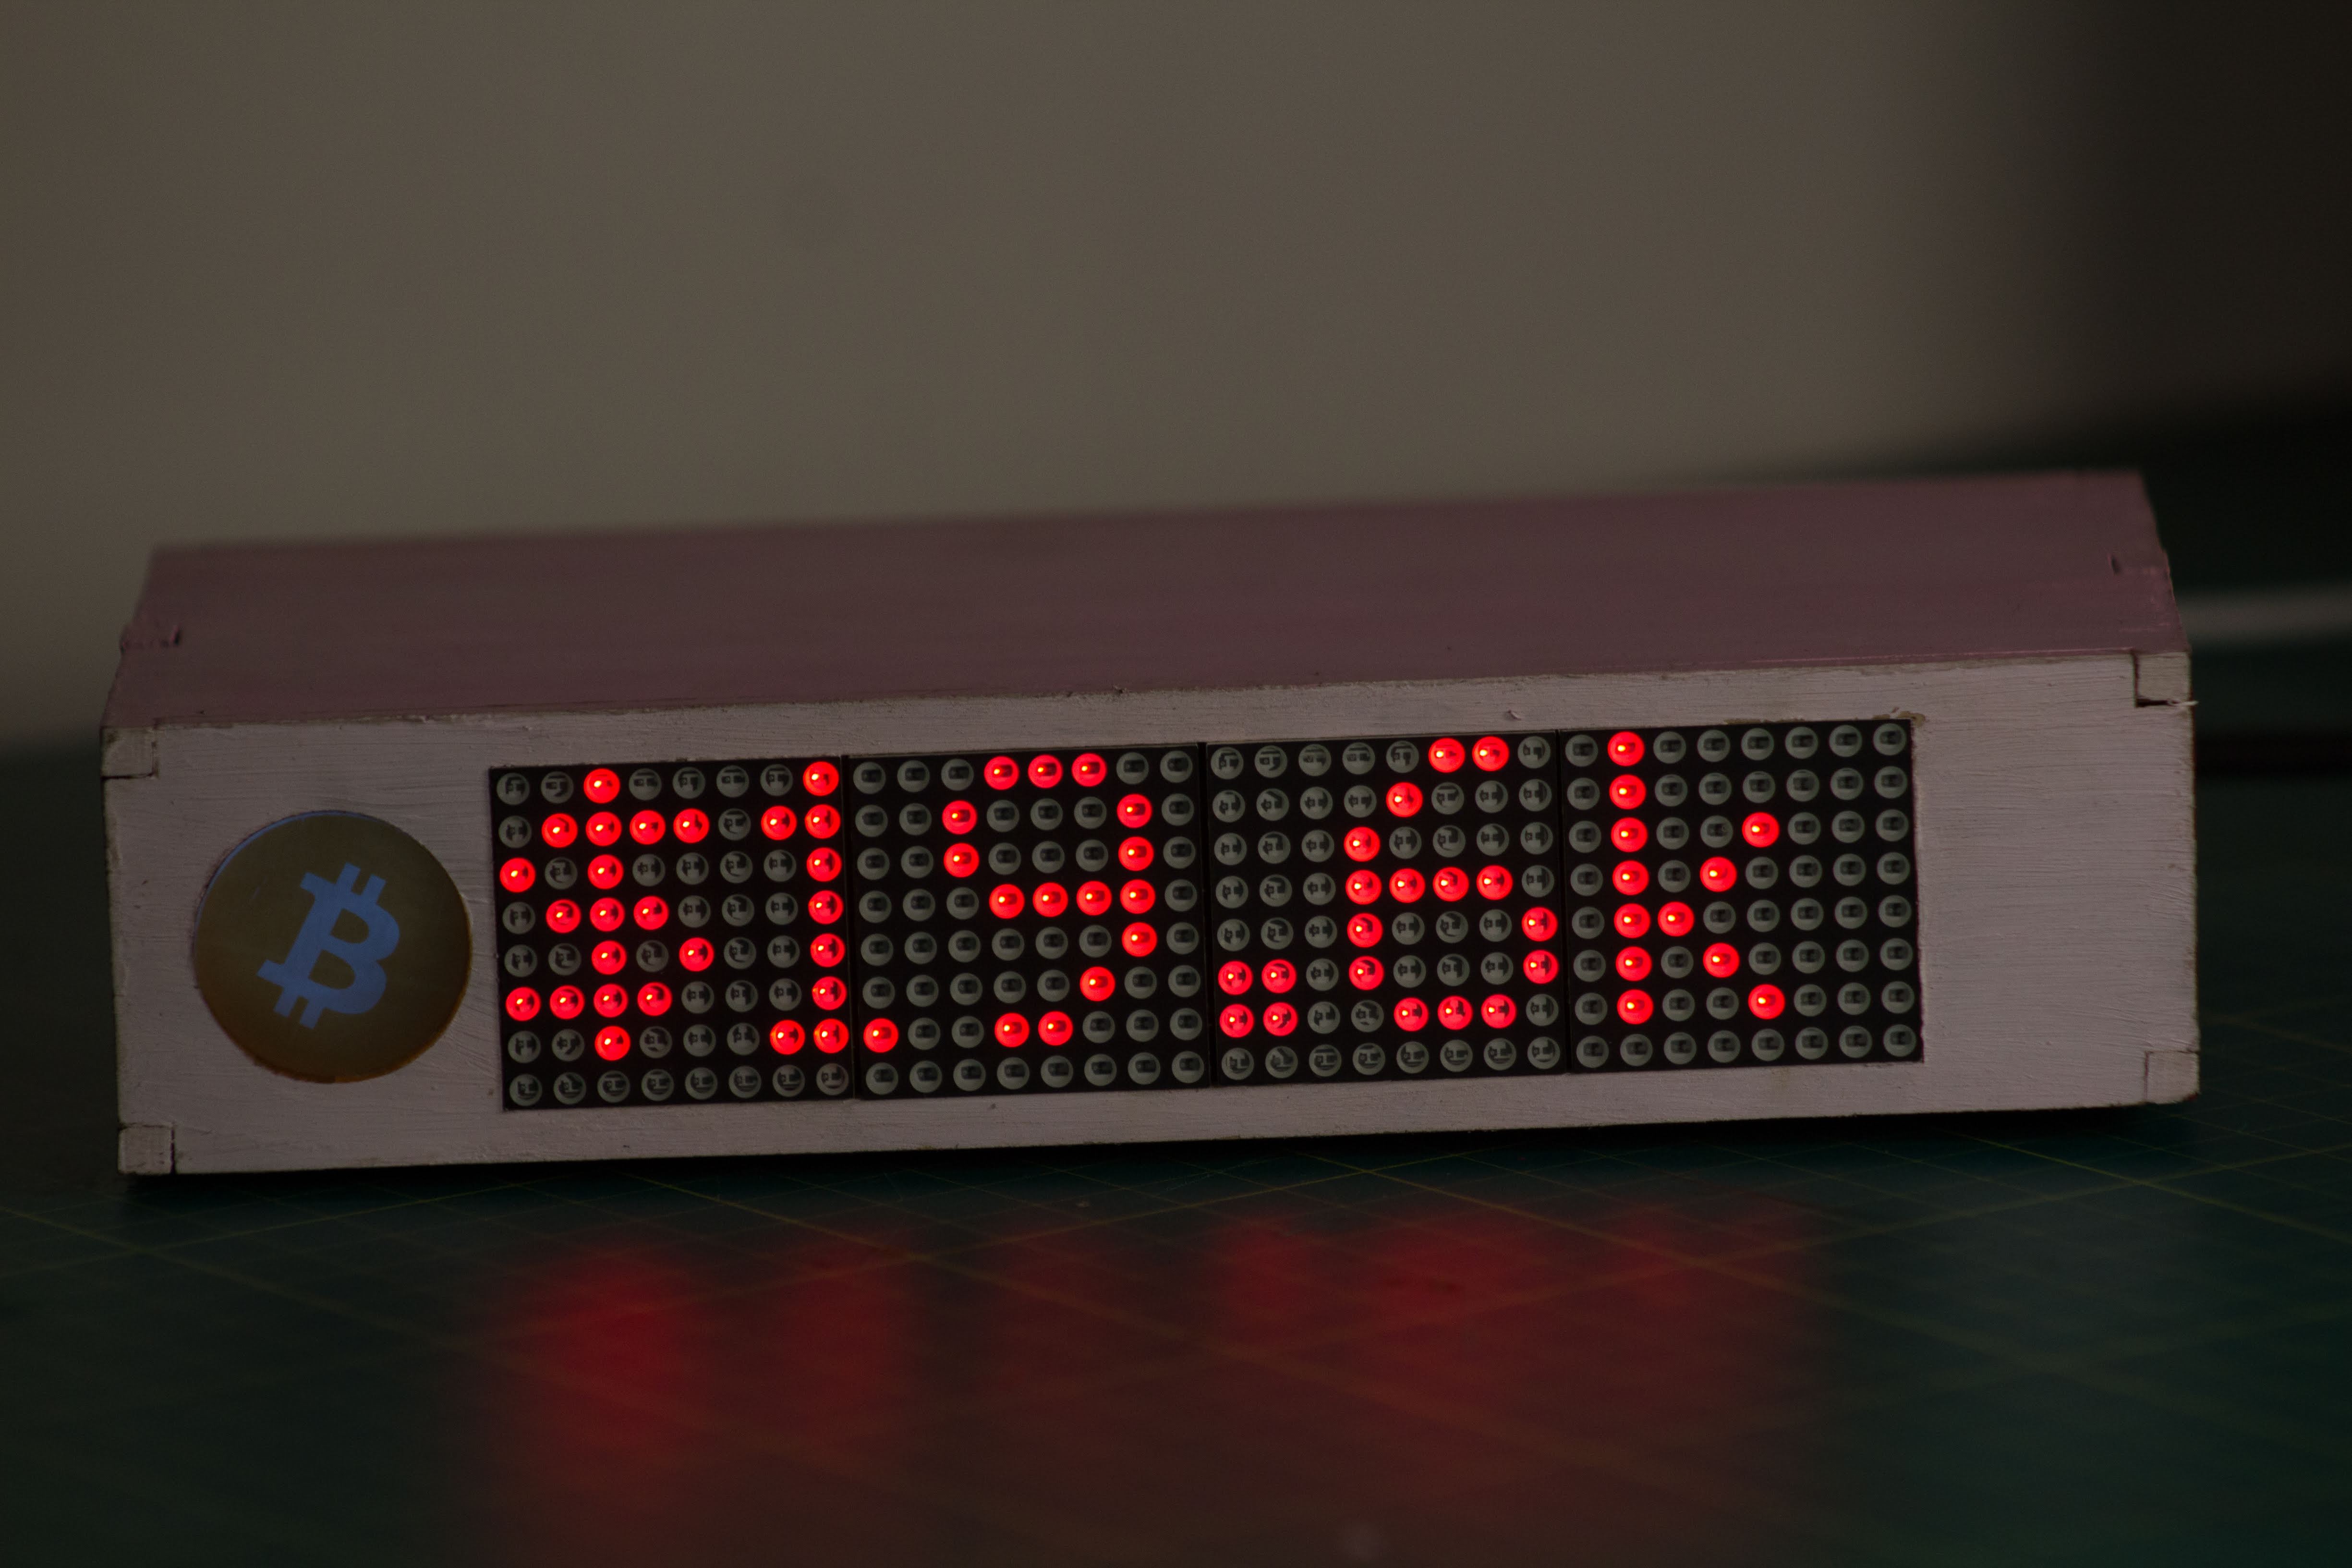
Subscribe on YouTube: Jonty
Contribute: Are you a programmer, engineer or designer who has a great idea for a new feature in Bitcoin Bar? Maybe you have a good idea for a bug fix? Feel free to grab the code from Github and tinker with it. Bitcoin Bar: GitHub
Step 1: Parts Required
Electronic Components:
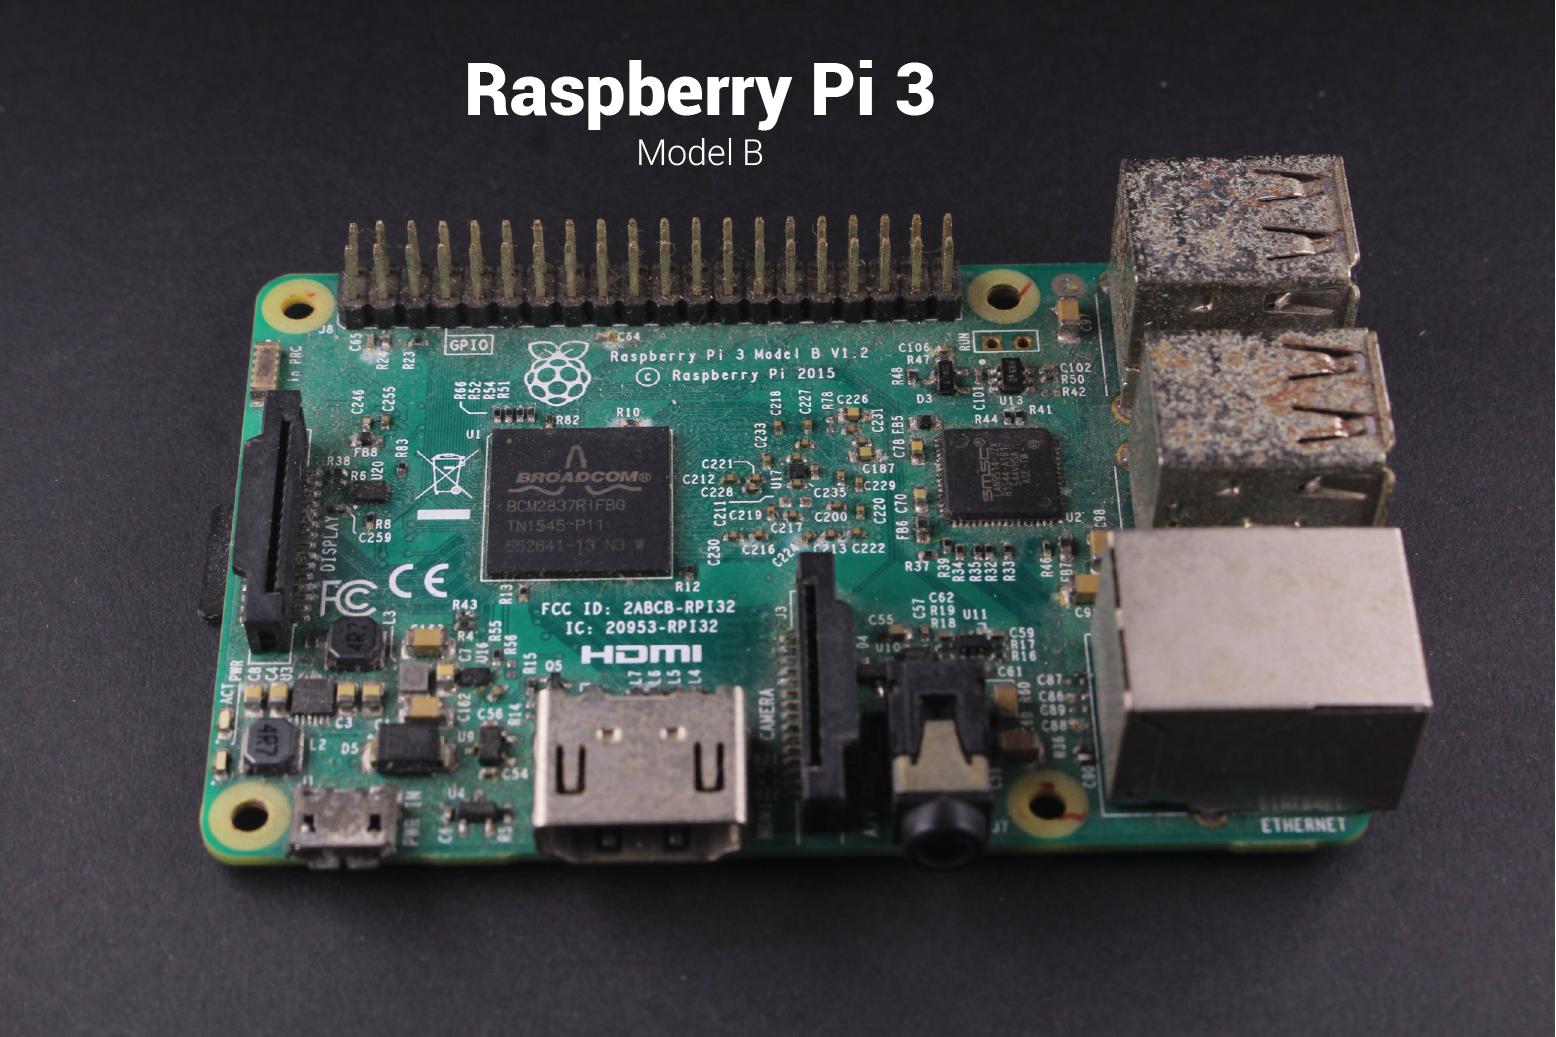
- 1 x Raspberry Pi 3 or Raspberry Pi Zero W - Amazon
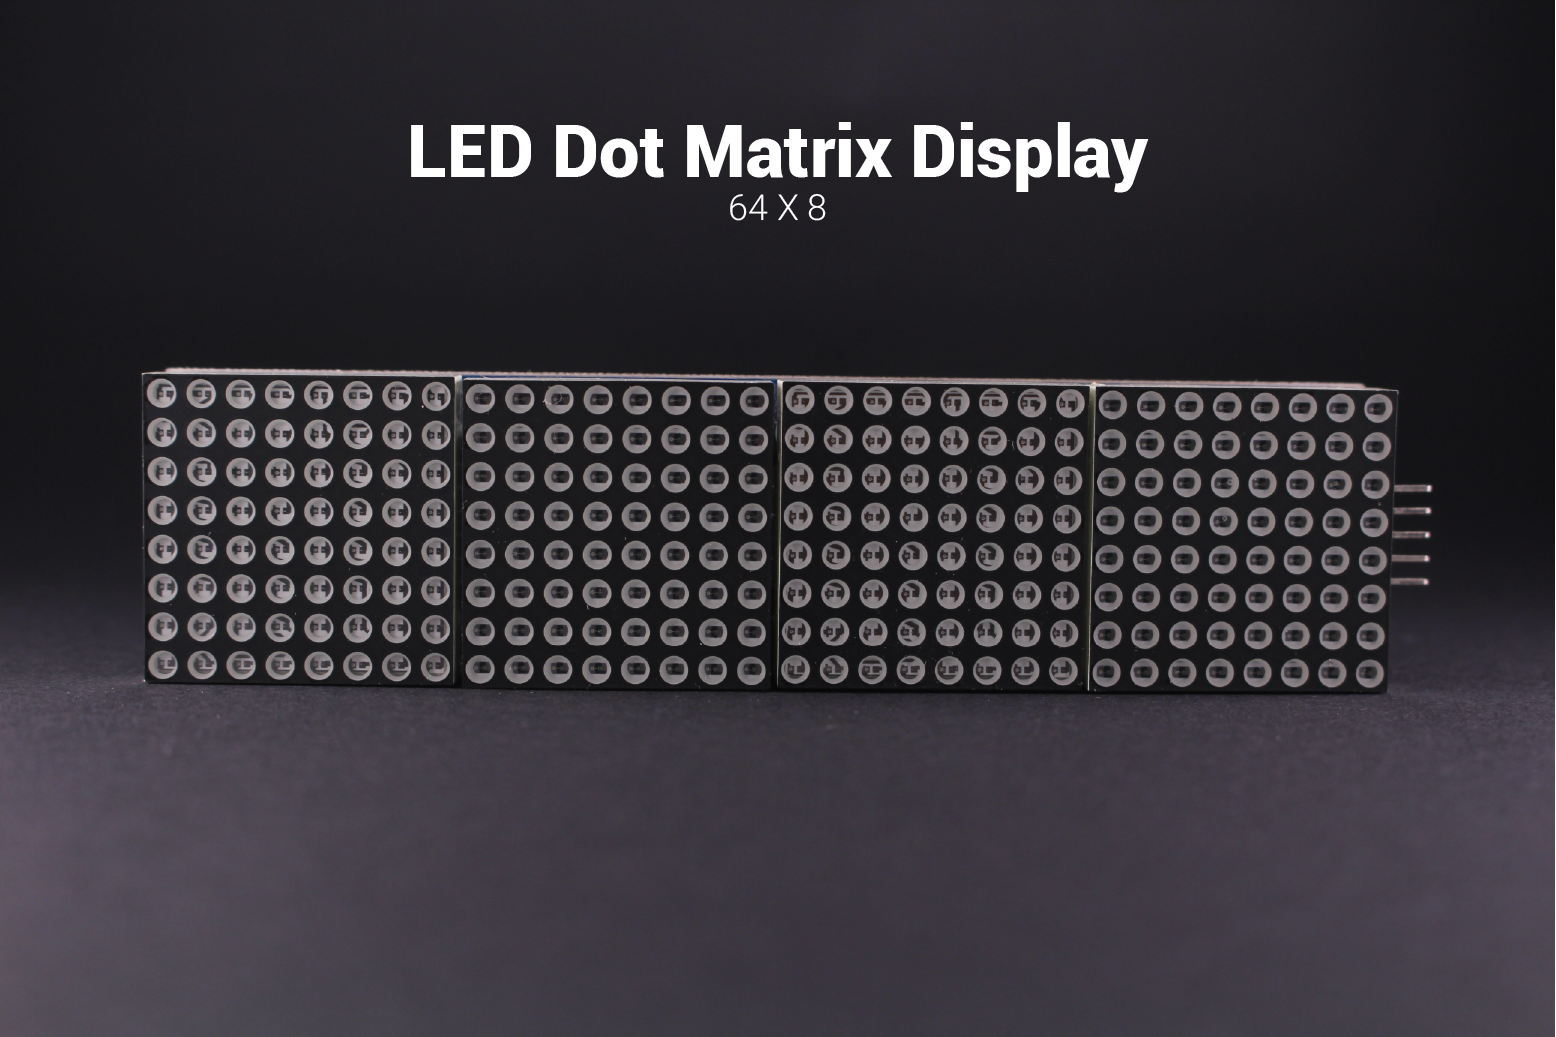
- 1 x LED Matrix Display 32x8 - Amazon
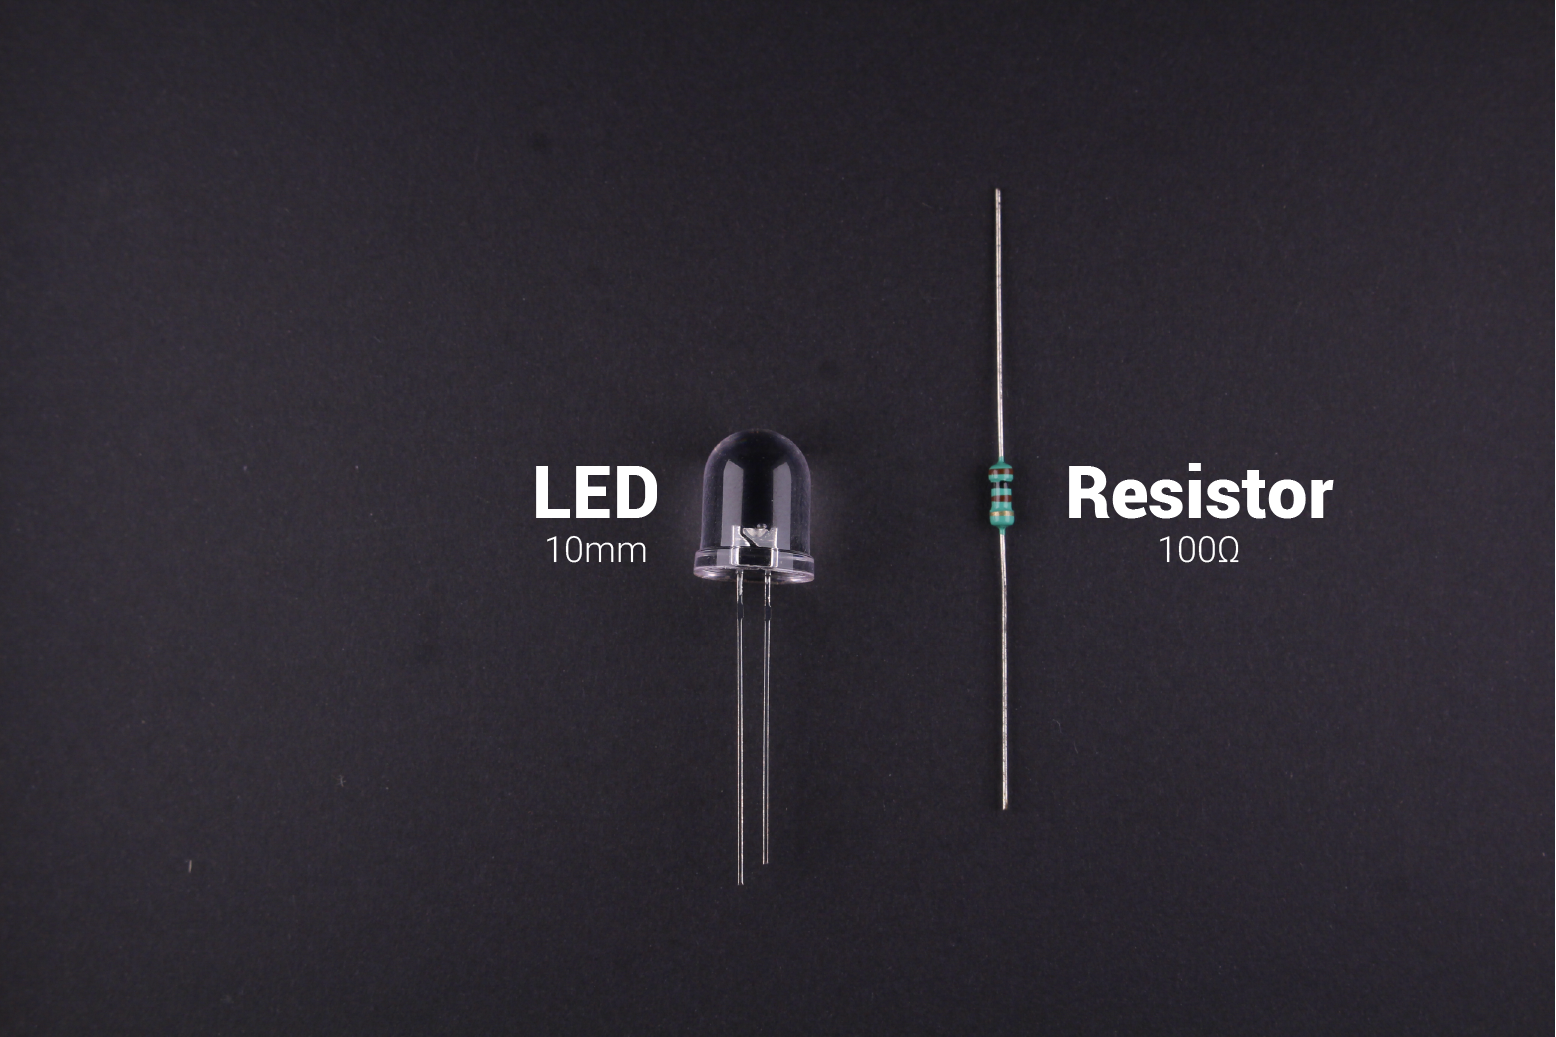
- 1 x 10mm White LED - Amazon
- 1 x 100-ohm Resistor - Amazon
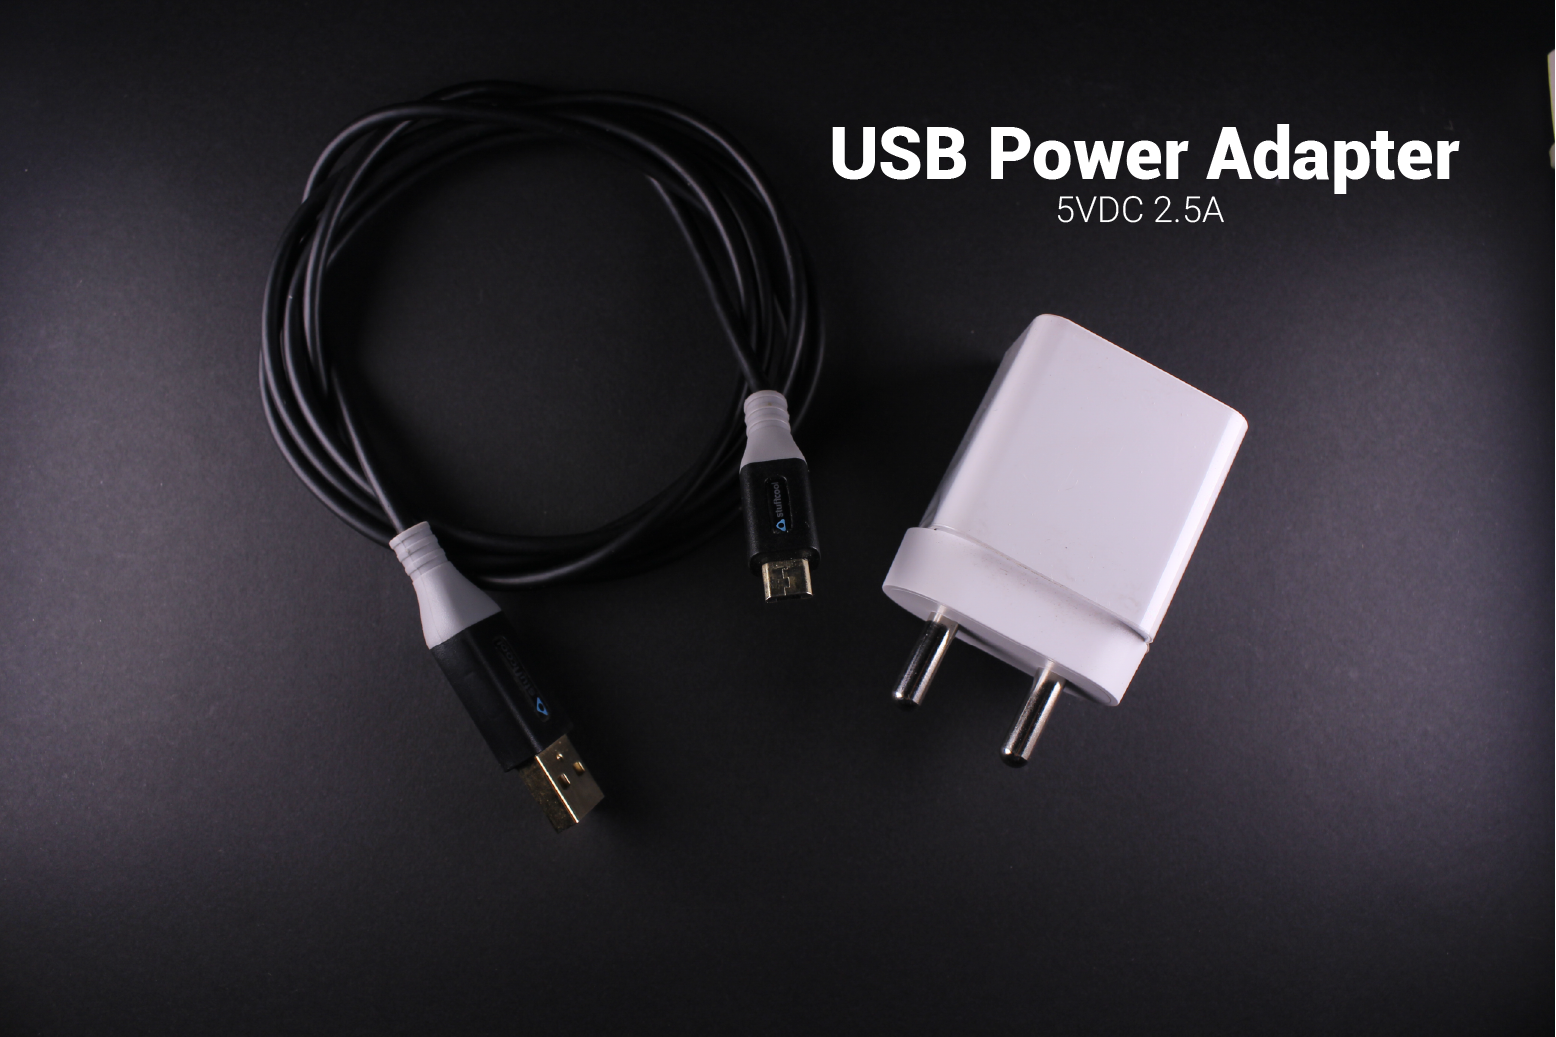
- 1 x 5V USB Power Adapter - Amazon
Tools:
Other Materials:
- 5mm MDF & 5mm Acrylic
- Glue
- Paint
Step 2: Electronic Design
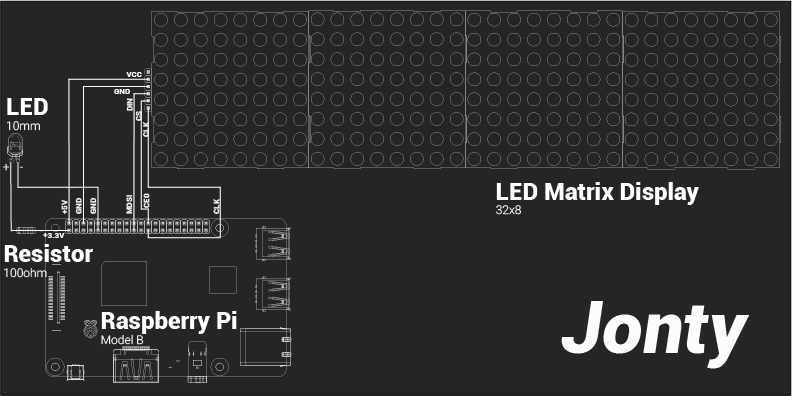
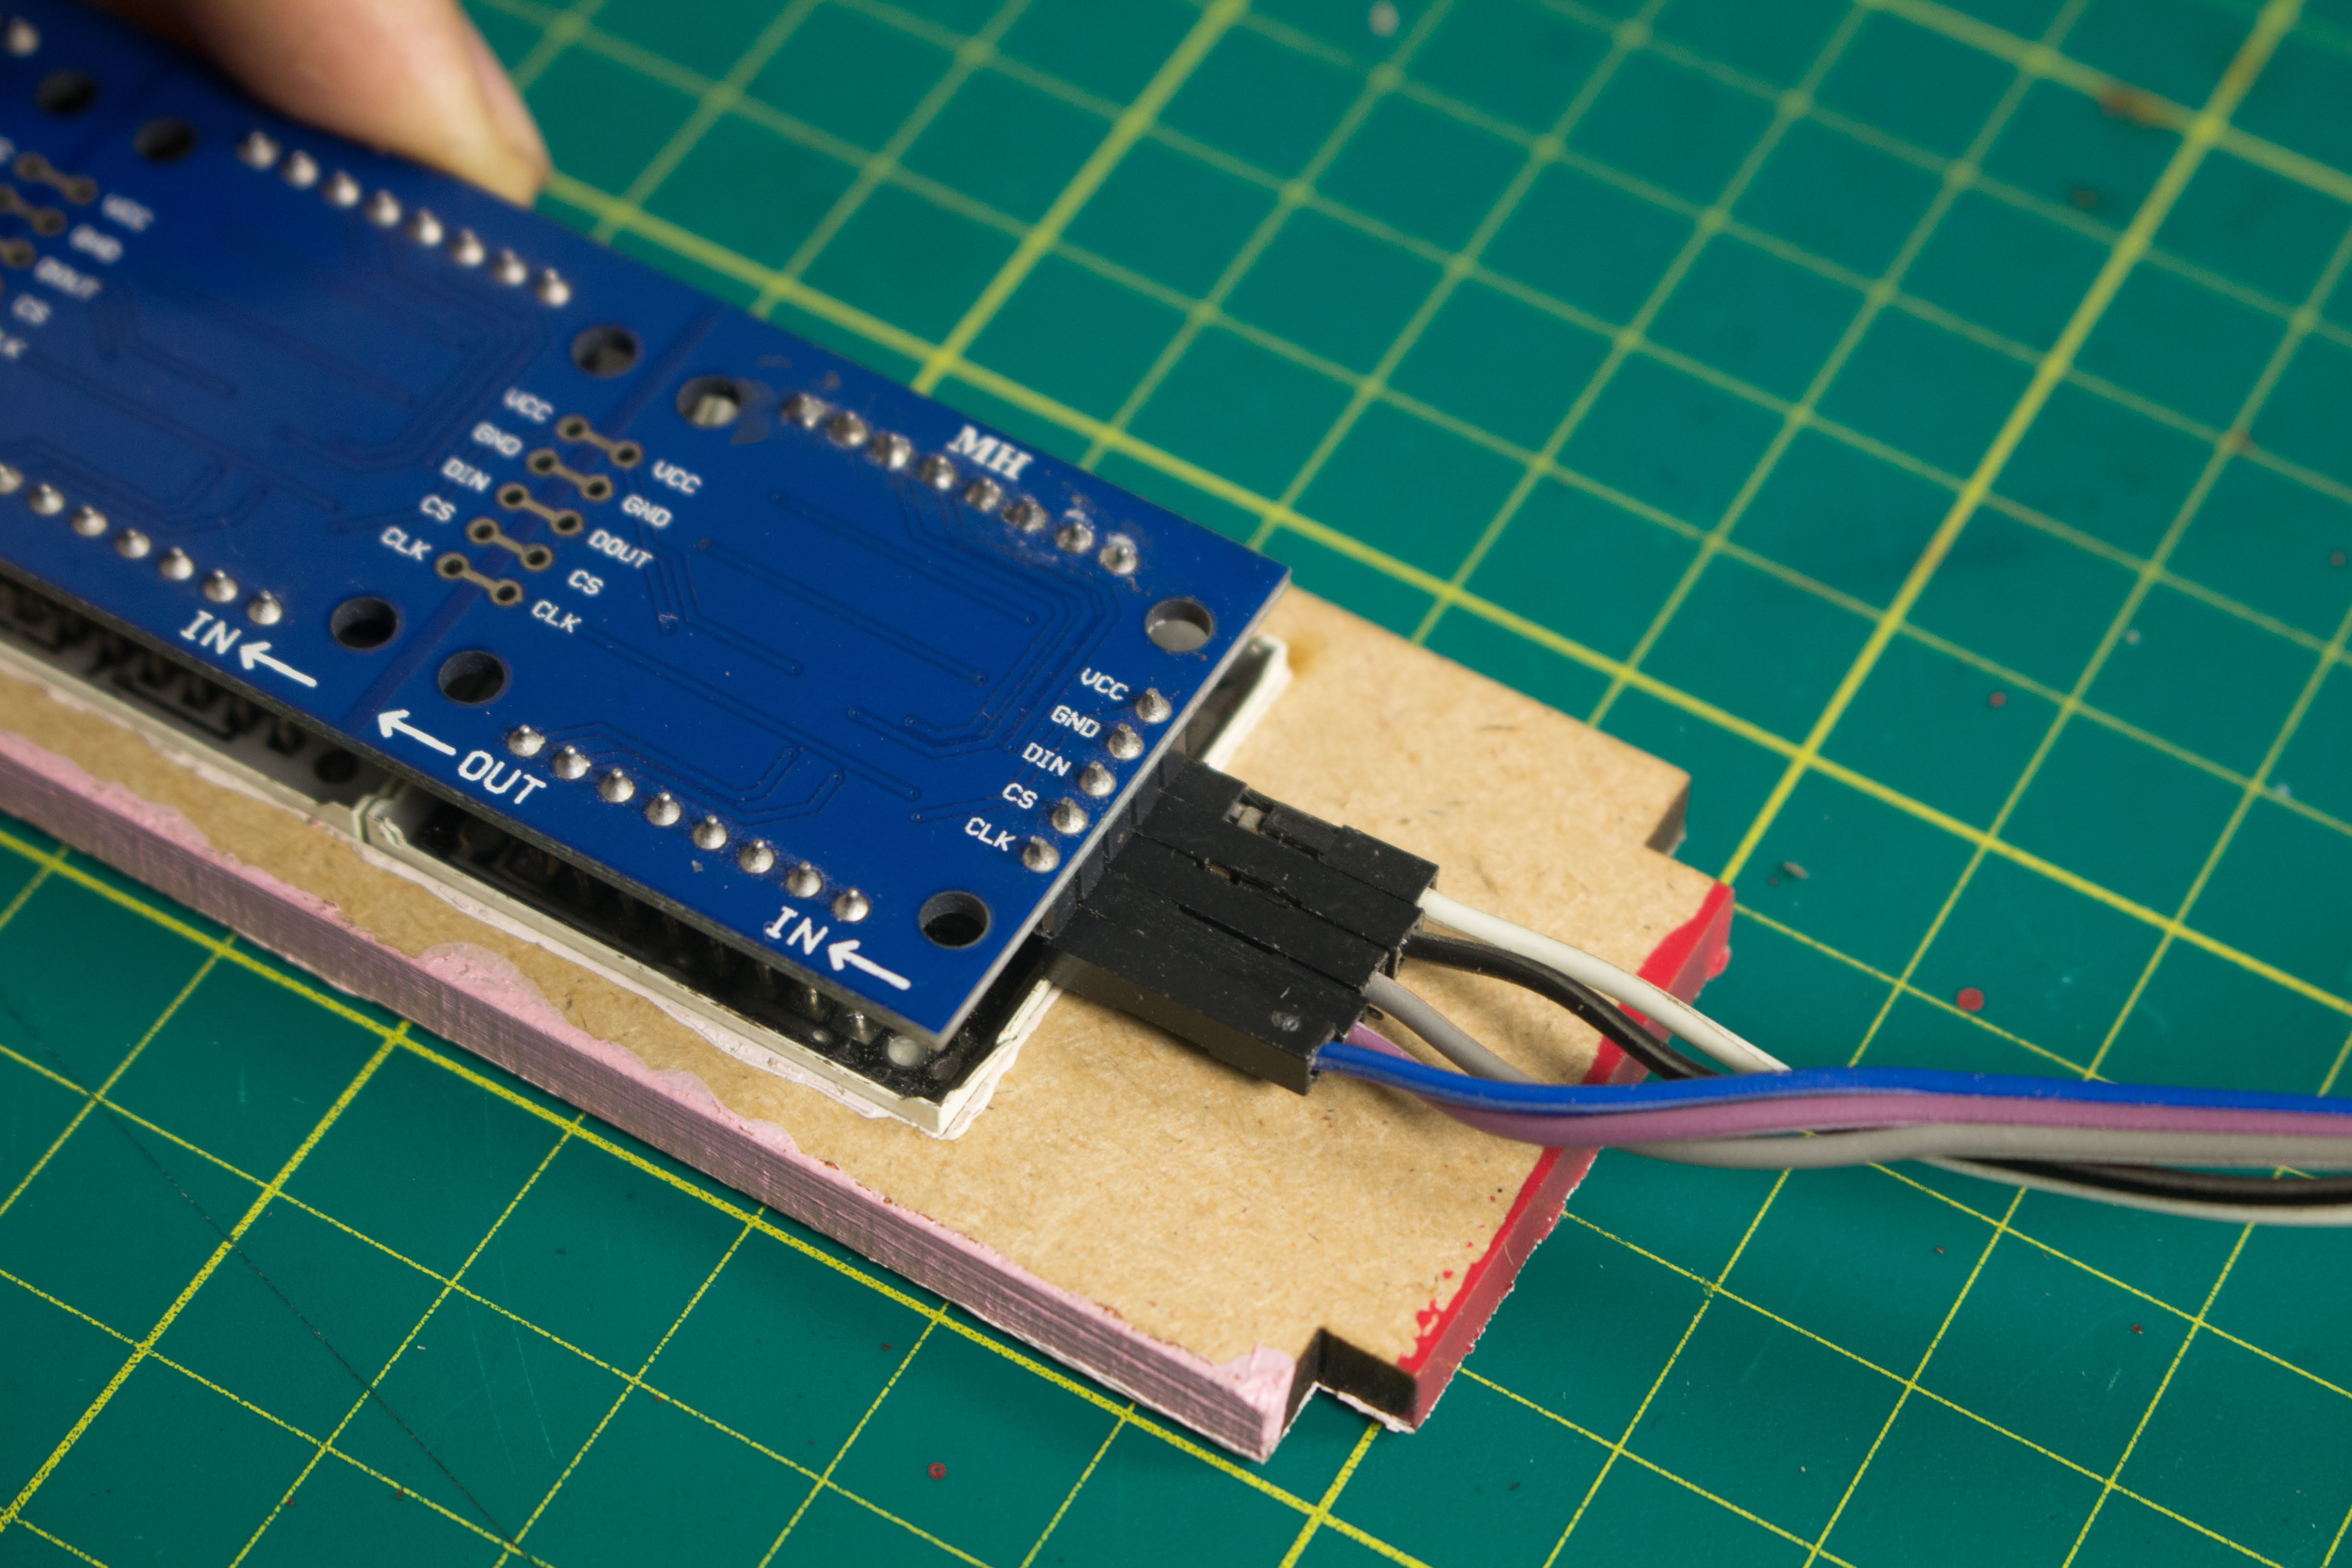
Serial Peripheral Interface(SPI) is an interface bus commonly used to send data between microcontrollers and small peripherals such as displays & sensors. It uses separate clock and data lines, along with a chip select line to choose the device you wish to talk to. The LED Matrix Display is connected to the Raspberry Pi's SPI pins.
| Raspberry Pi 3B | LED Matrix Display |
| 5V | VCC |
| GND | GND |
GPIO 10 (MOSI) | DIN |
GPIO 8 (SPI CE0) | CS |
GPIO 11 (SPI CLK) | CLK |
Step 3: Software
Dependencies:
Web scraping
- Requests is an elegant and simple HTTP library for Python. Requests Installation & Documentation.
- Beautiful Soup 4 is a Python library for pulling data out of HTML and XML files. Beautiful Soup Installation & Documentation.
Python Library for Max7219 LED Matrix
Python library interfacing LED matrix displays with the MAX7219 driver (using SPI) on the Raspberry Pi. Installation. By Richard Hull
Setup & Configurations:
Once all the Prerequisites have been successfully installed, download/clone this GitHub Repository. Connect the Display to the Raspberry Pi as shown in the Schematics. Run the main program bcbar.py
Bitcoin Bar can display upto 19 different real-time data parameters. These can be configured to be displayed in any order or sequence. The main program displays all 19 data parameters sequentially.
Data parameters can be individually displayed & their order can be changed by configuring the following line in the main program:
show_message(device, disp[i], fill="white", font=proportional(LCD_FONT),scroll_delay = 0.02)
The value of i will determine the data parameter being displayed. Bitcoin Bar can display the following real-time data parameters:
INSERT TABLE WITH PARAMETERS
Scrolling Speed & Static Text
By adjusting the value of scroll_delay, the scrolling speed can be changed. The led_test.pyexample uses the text function to display static text.
Rate Limiting
The data parameters are web scrapped from bitcoinblockhalf.com. I have limited the number of visits to the site to once per hour so that the website is not burdened with unnecessary traffic. I use this website since it collects several of these data parameters from various other API's & hosts them centrally. Check out the websites repository for more information.
Run Program on Startup/Boot
I followed the official RasPi documentation which modifies the rc.local file in order to run the Python script on boot up.
Contribute:
Are you a programmer, engineer or designer who has a great idea for a new feature in Bitcoin Bar? Maybe you have a good idea for a bug fix? Feel free to grab the code from Github and tinker with it. Bitcoin Bar: GitHub
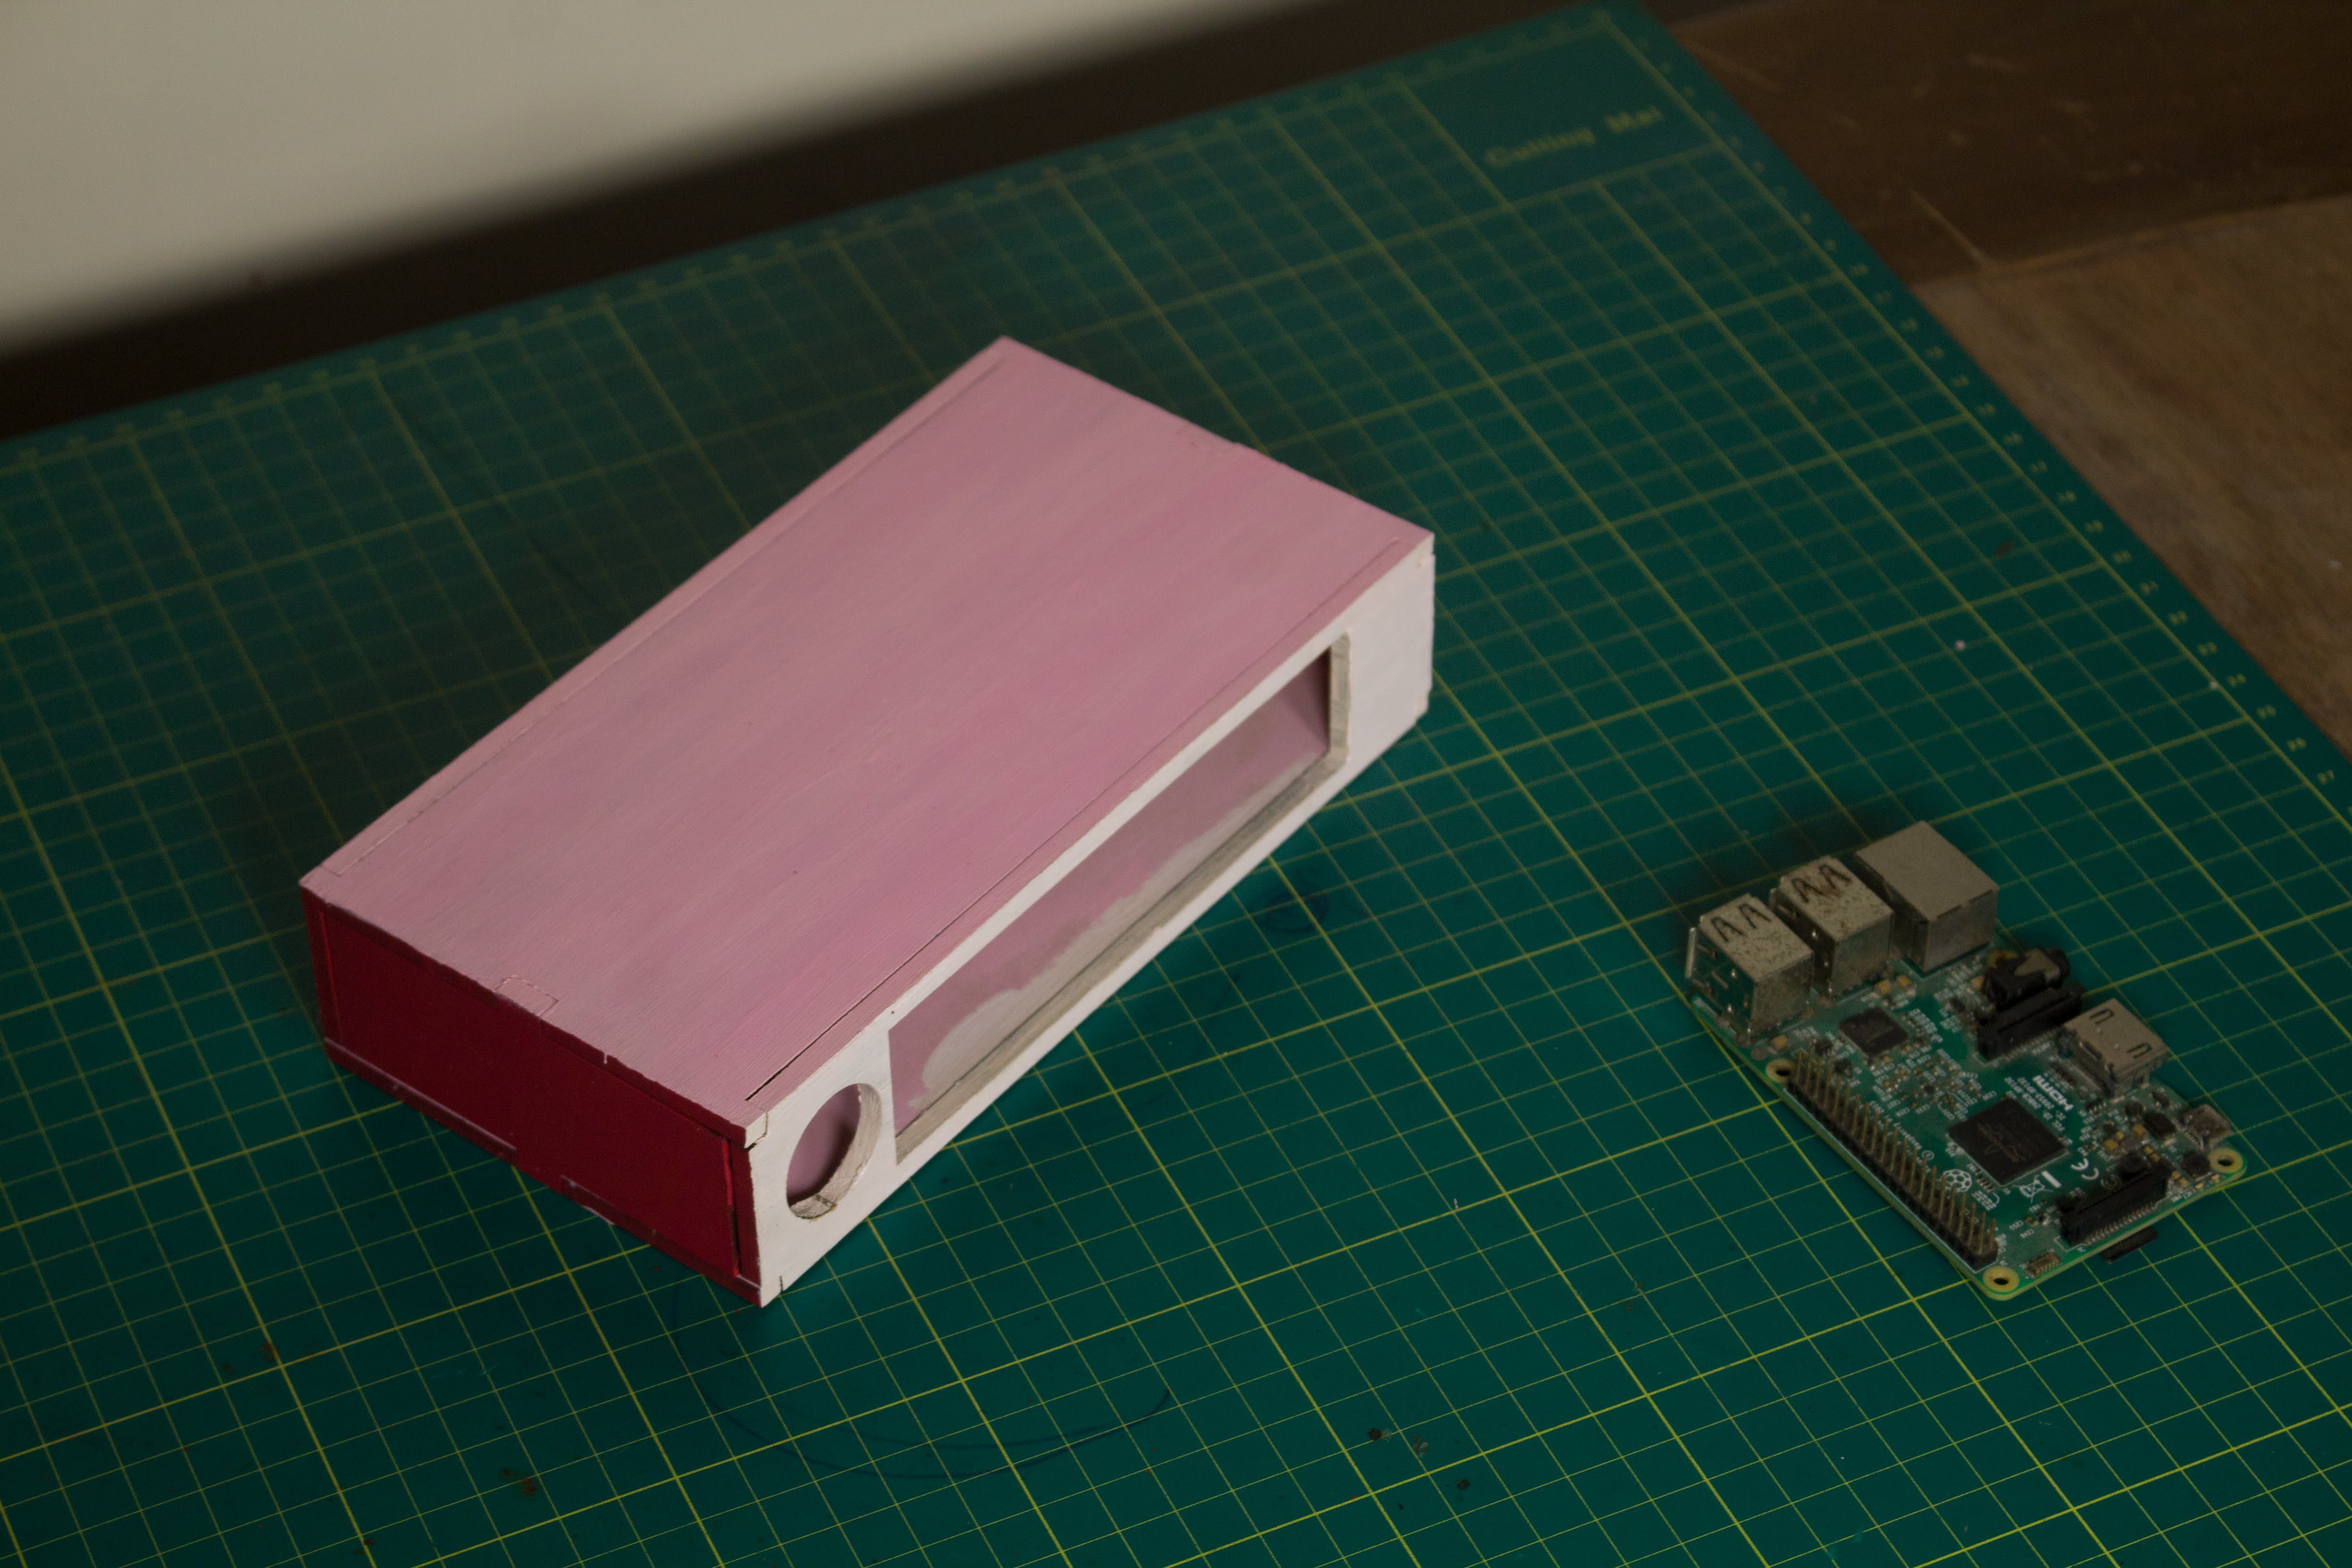
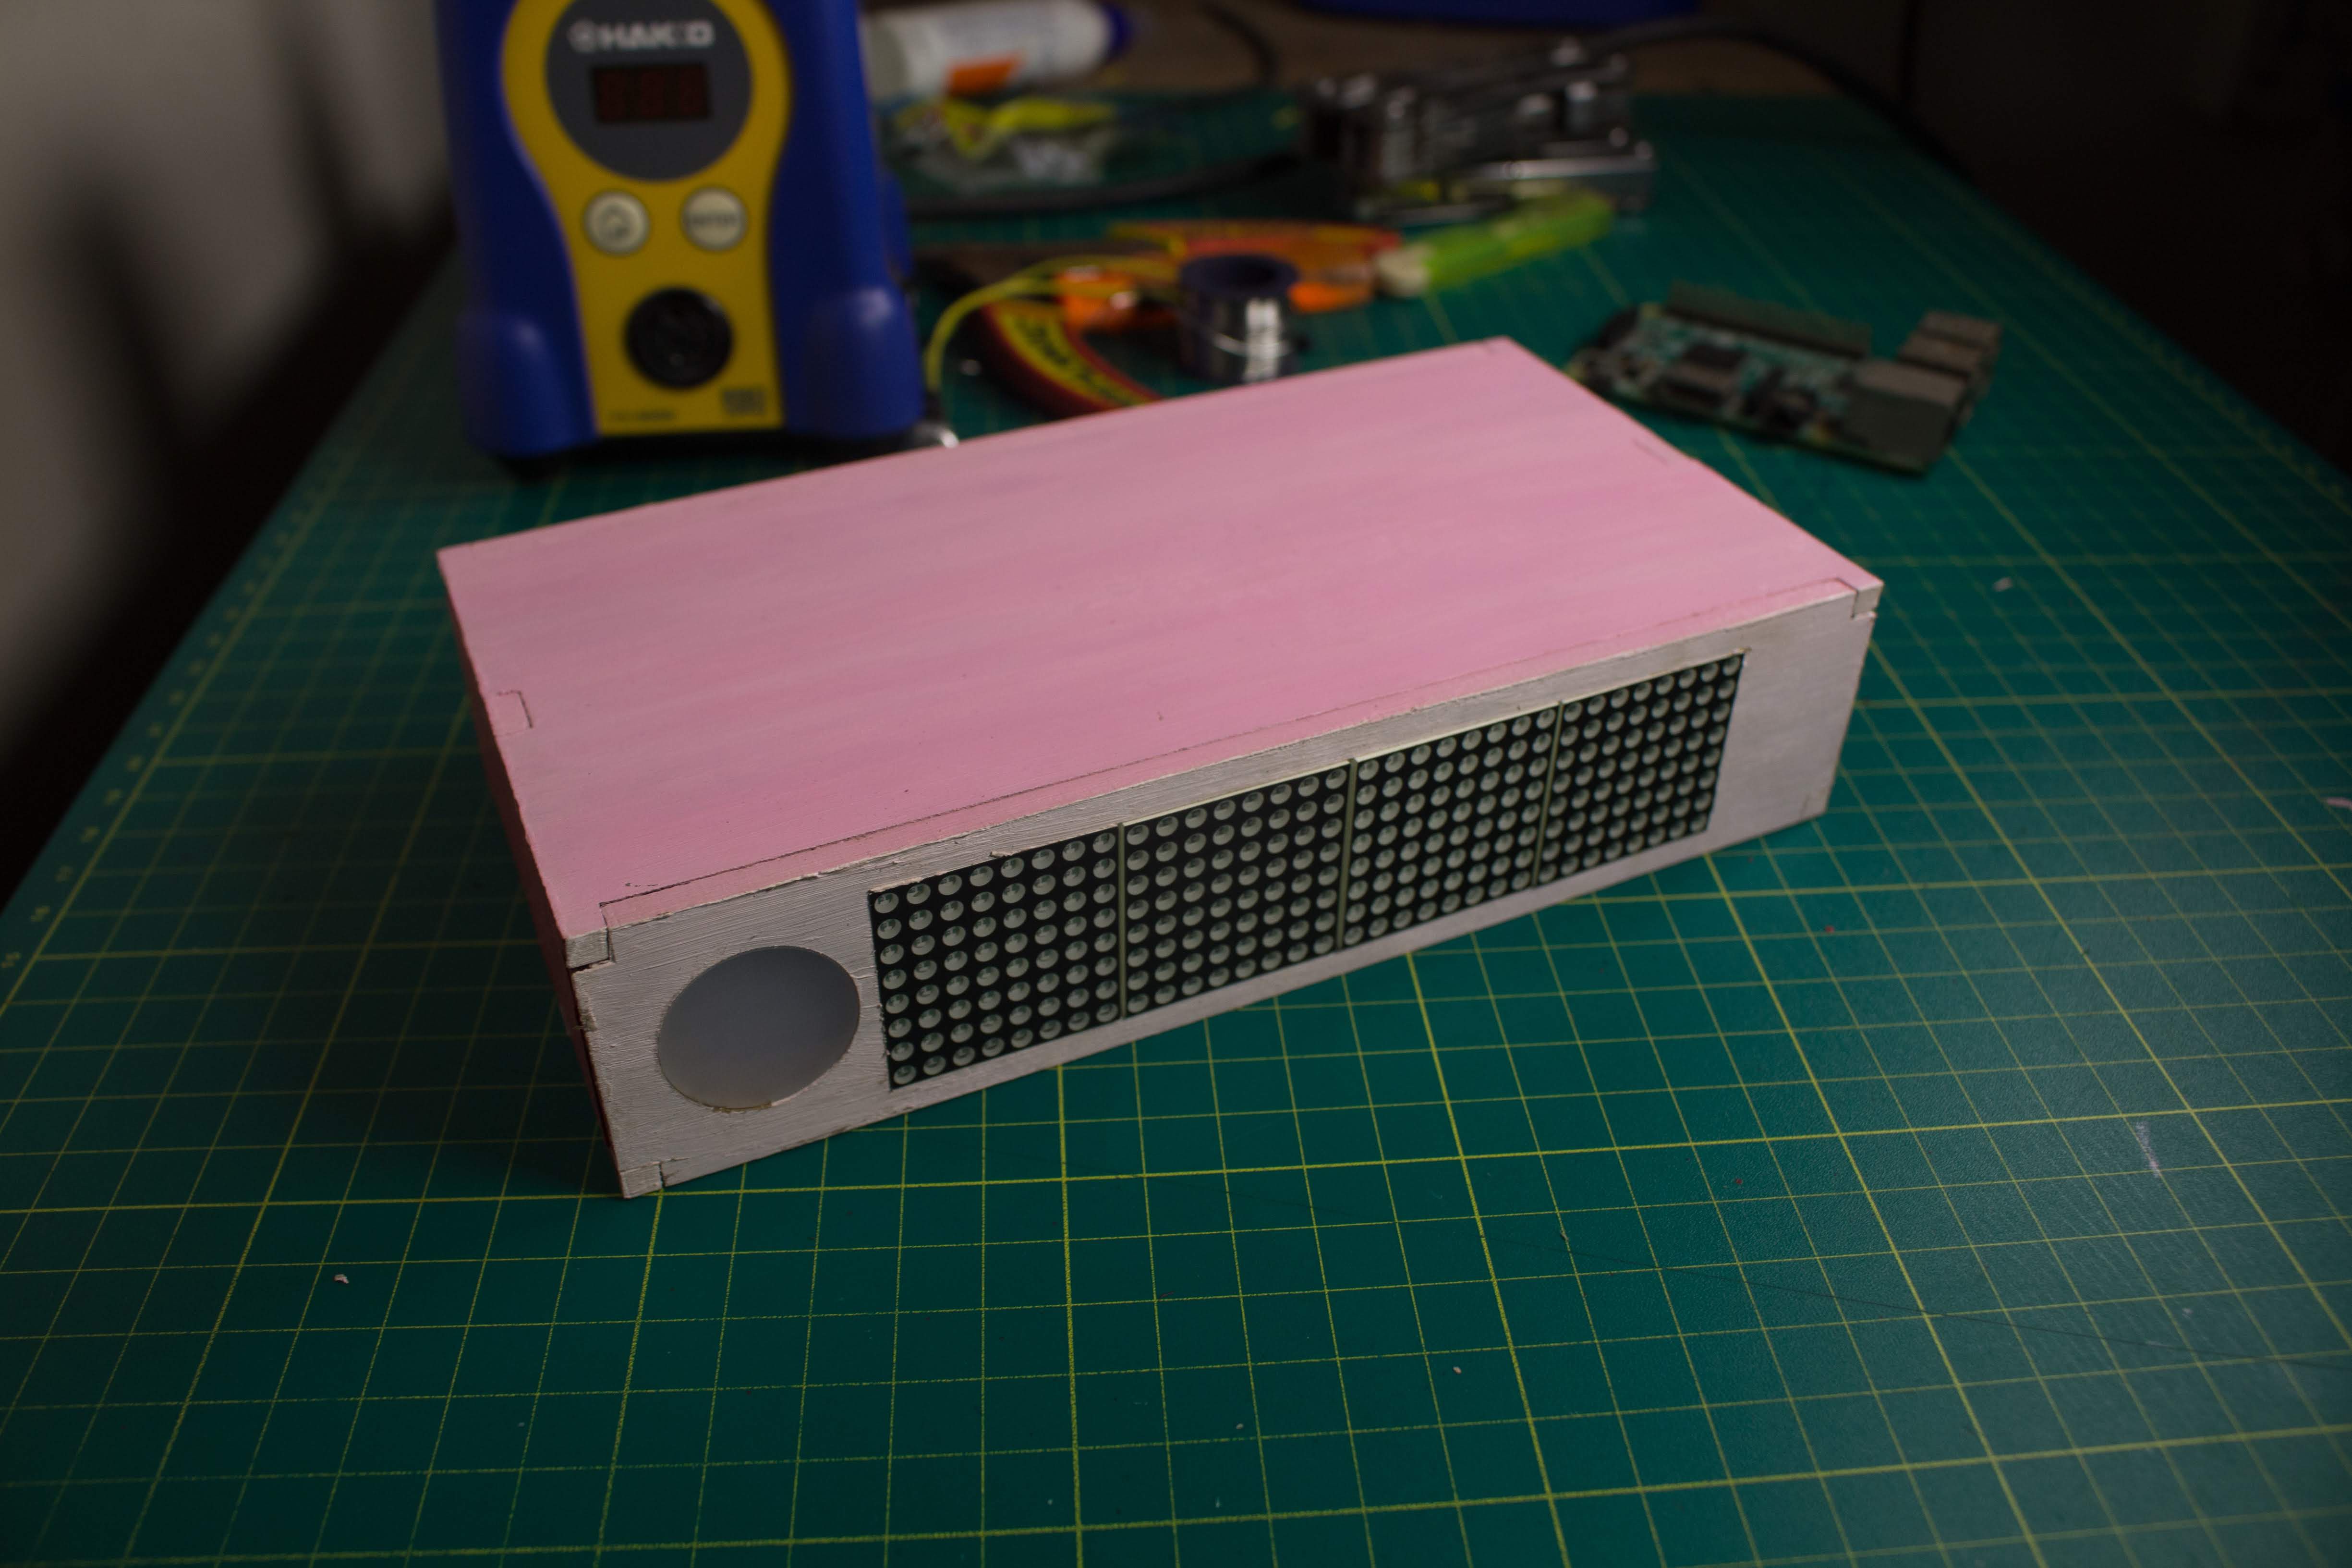
Step 4: Mechanical Assembly
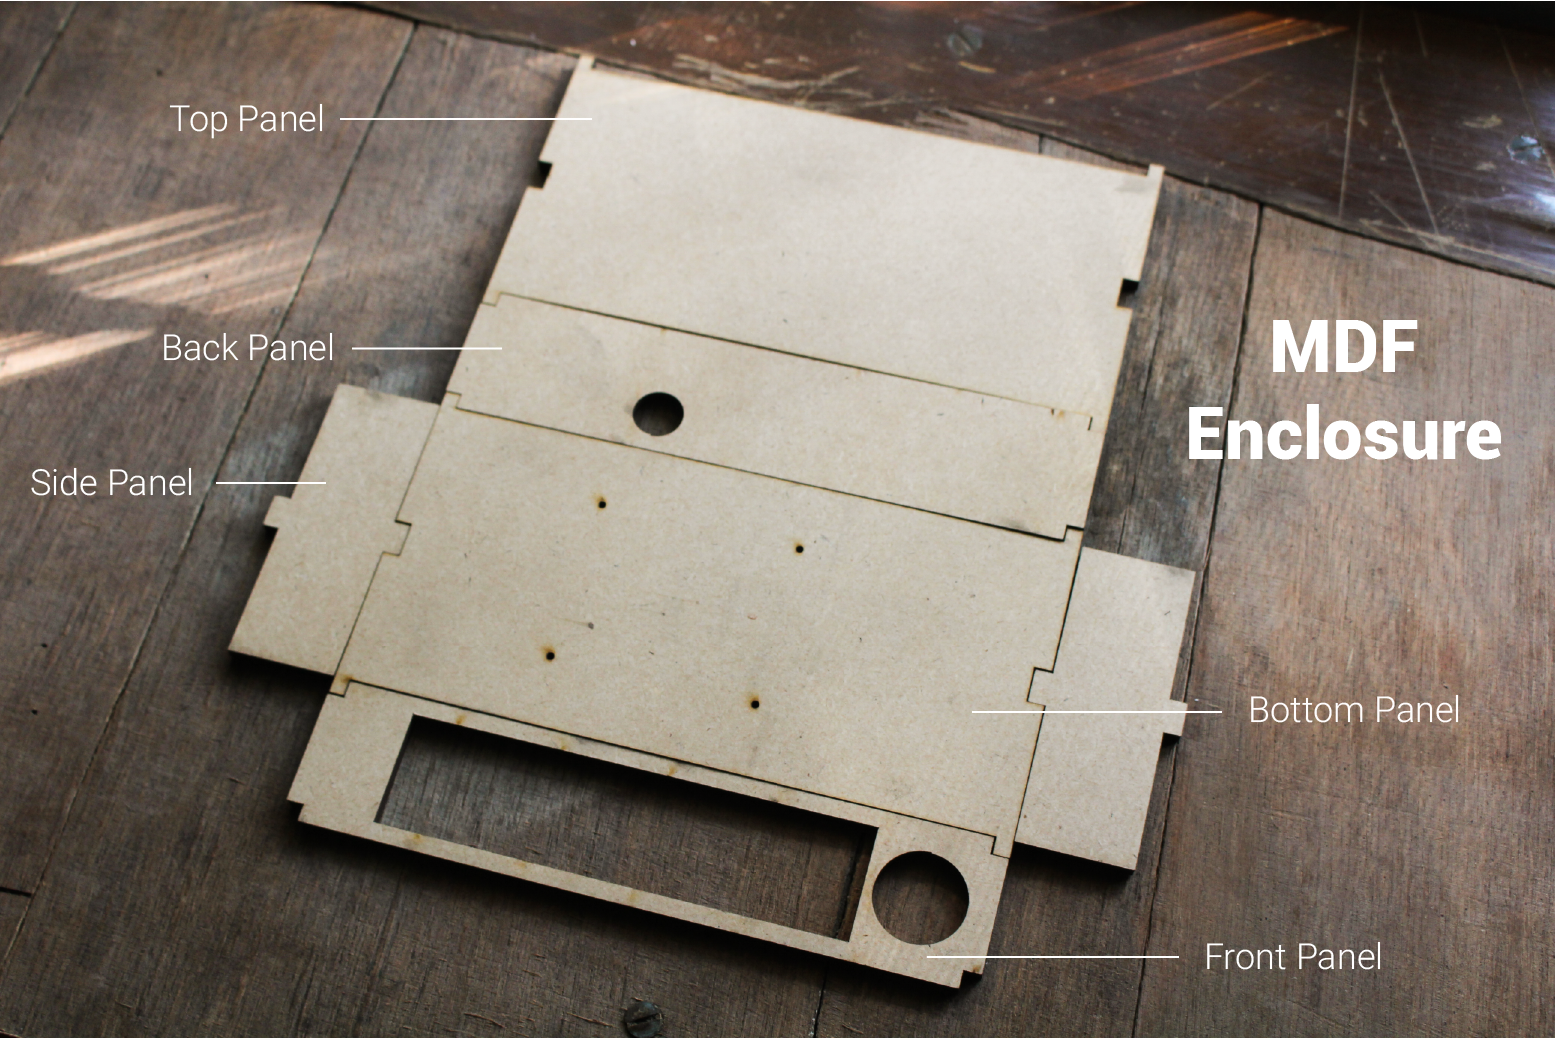
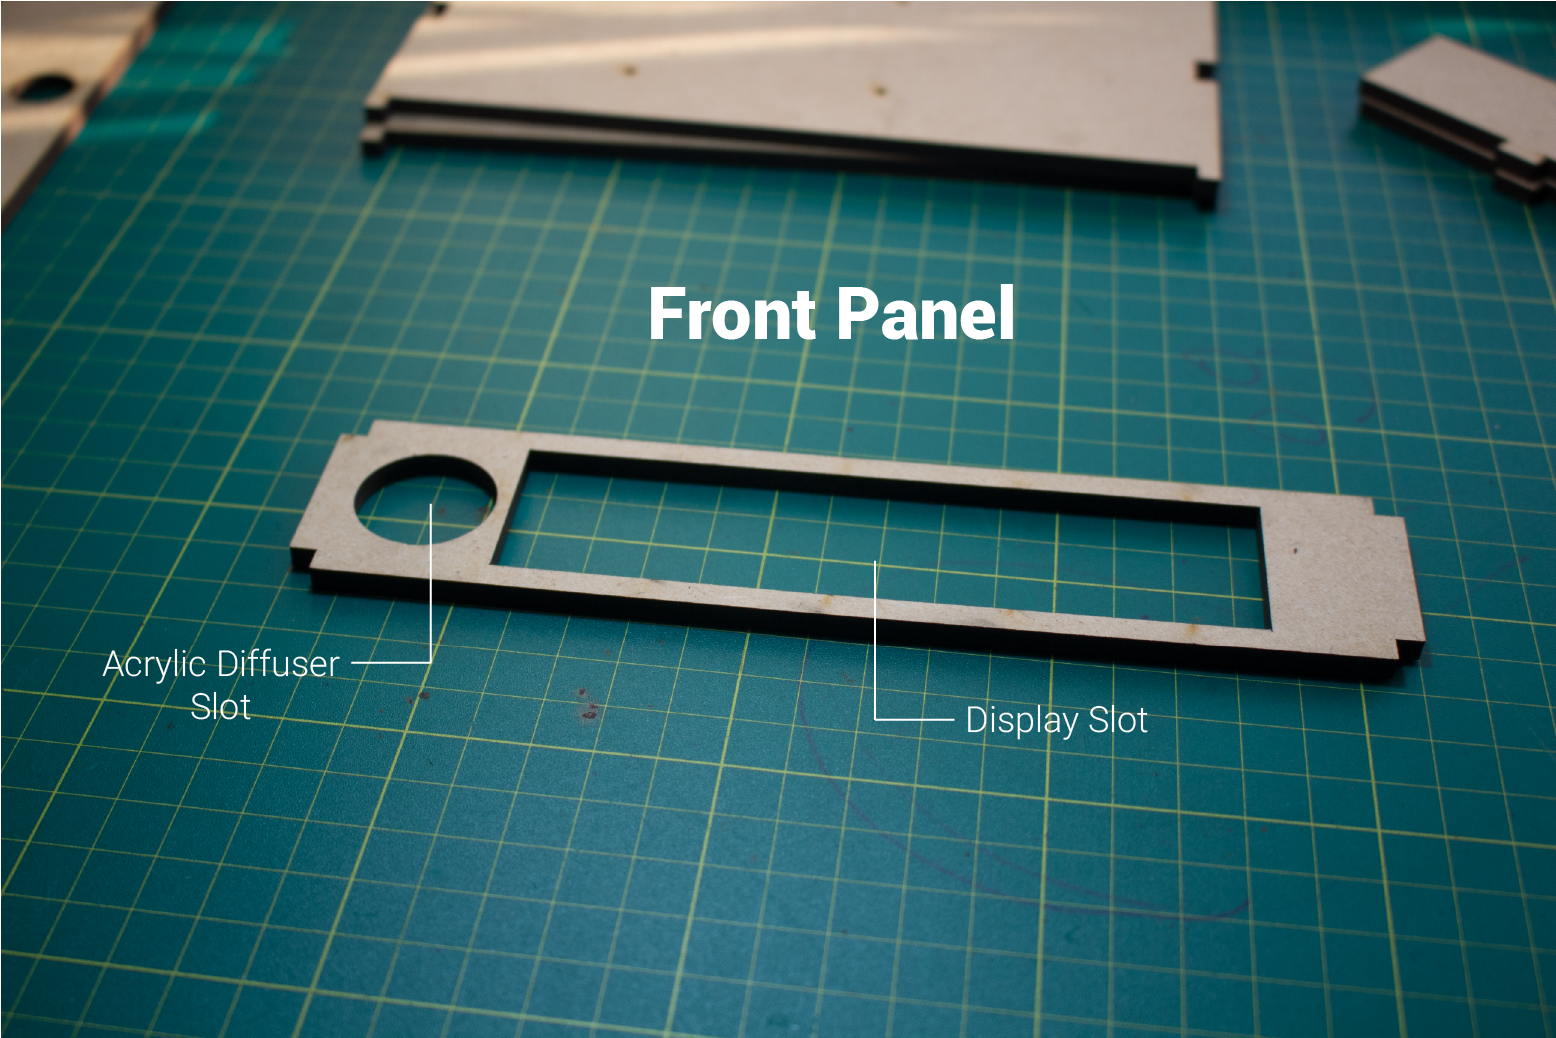
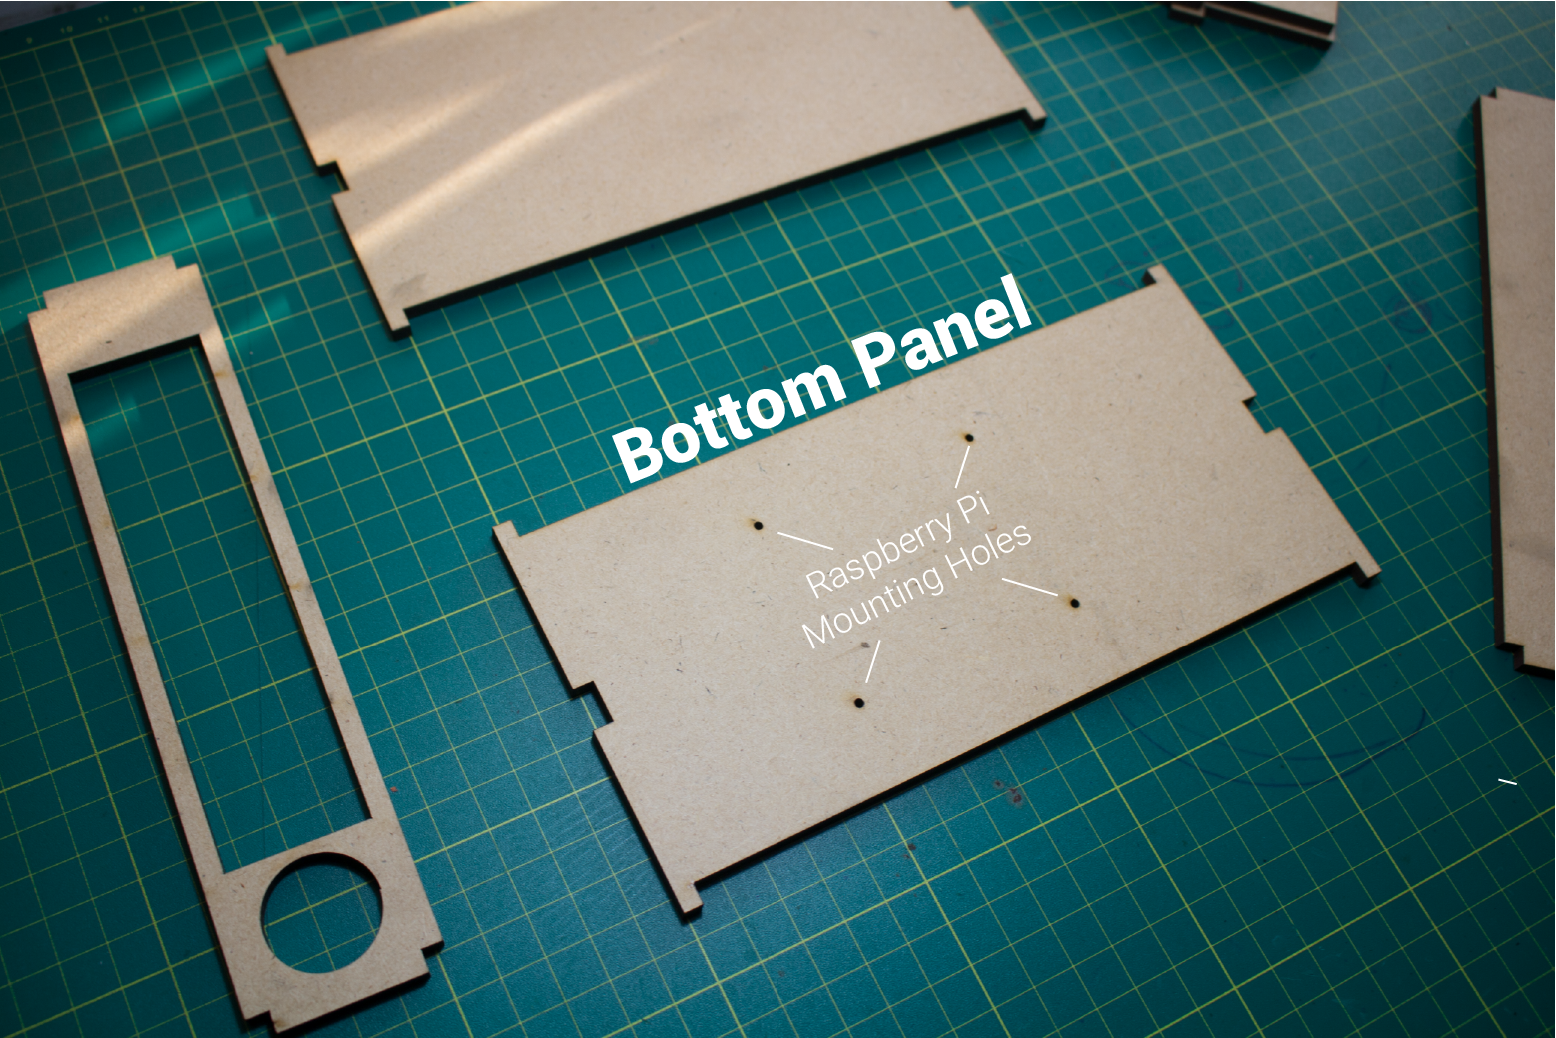

Bitcoin Bar's enclosure consists of an interlocking box which is laser cut from 5mm MDF. The Front Panel has two slots: one for the LED Display & the other for the Acrylic Diffuser. The Back Panel has a hole for the power supplies USB cable which is plugged into the Raspberry Pi. The Bottom Panel has 4 holes to which the Raspberry Pi is mounted too.
You can find the laser cutting files (for both MDF & Acrylic) below or in the link: Bitcoin Tracker: Laser Cutting
Step 5: Paint the Enclosure
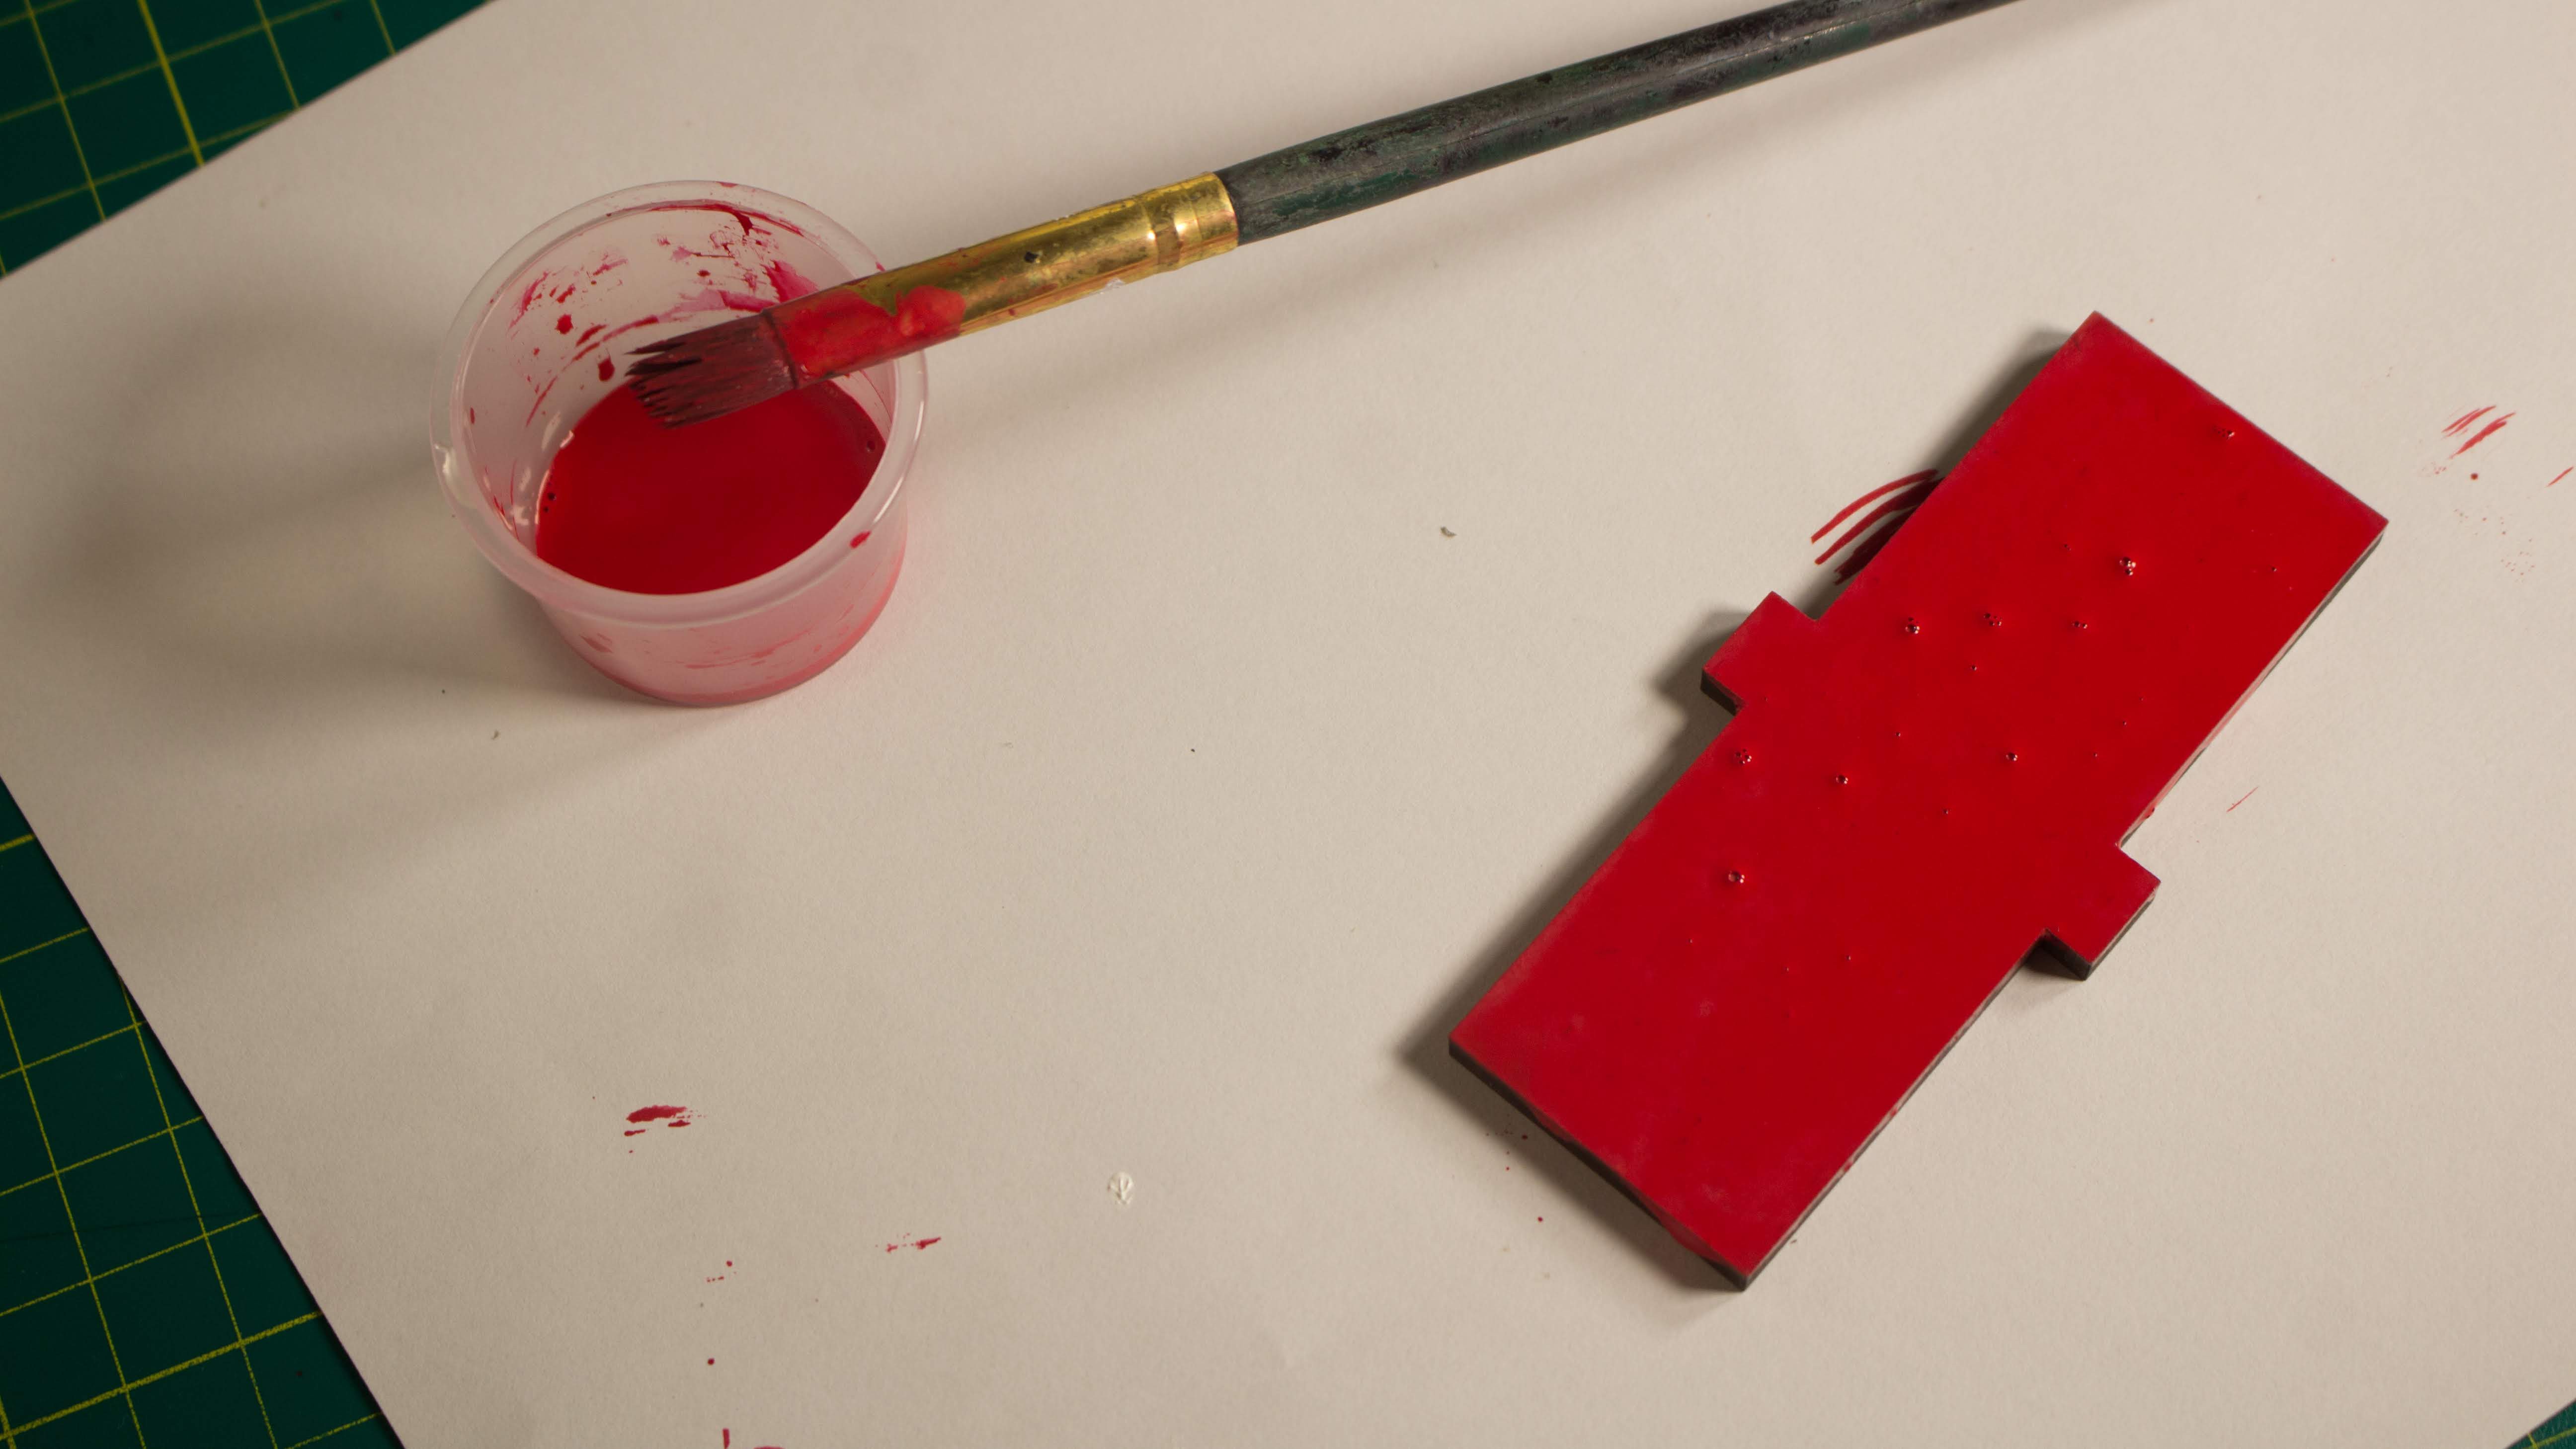
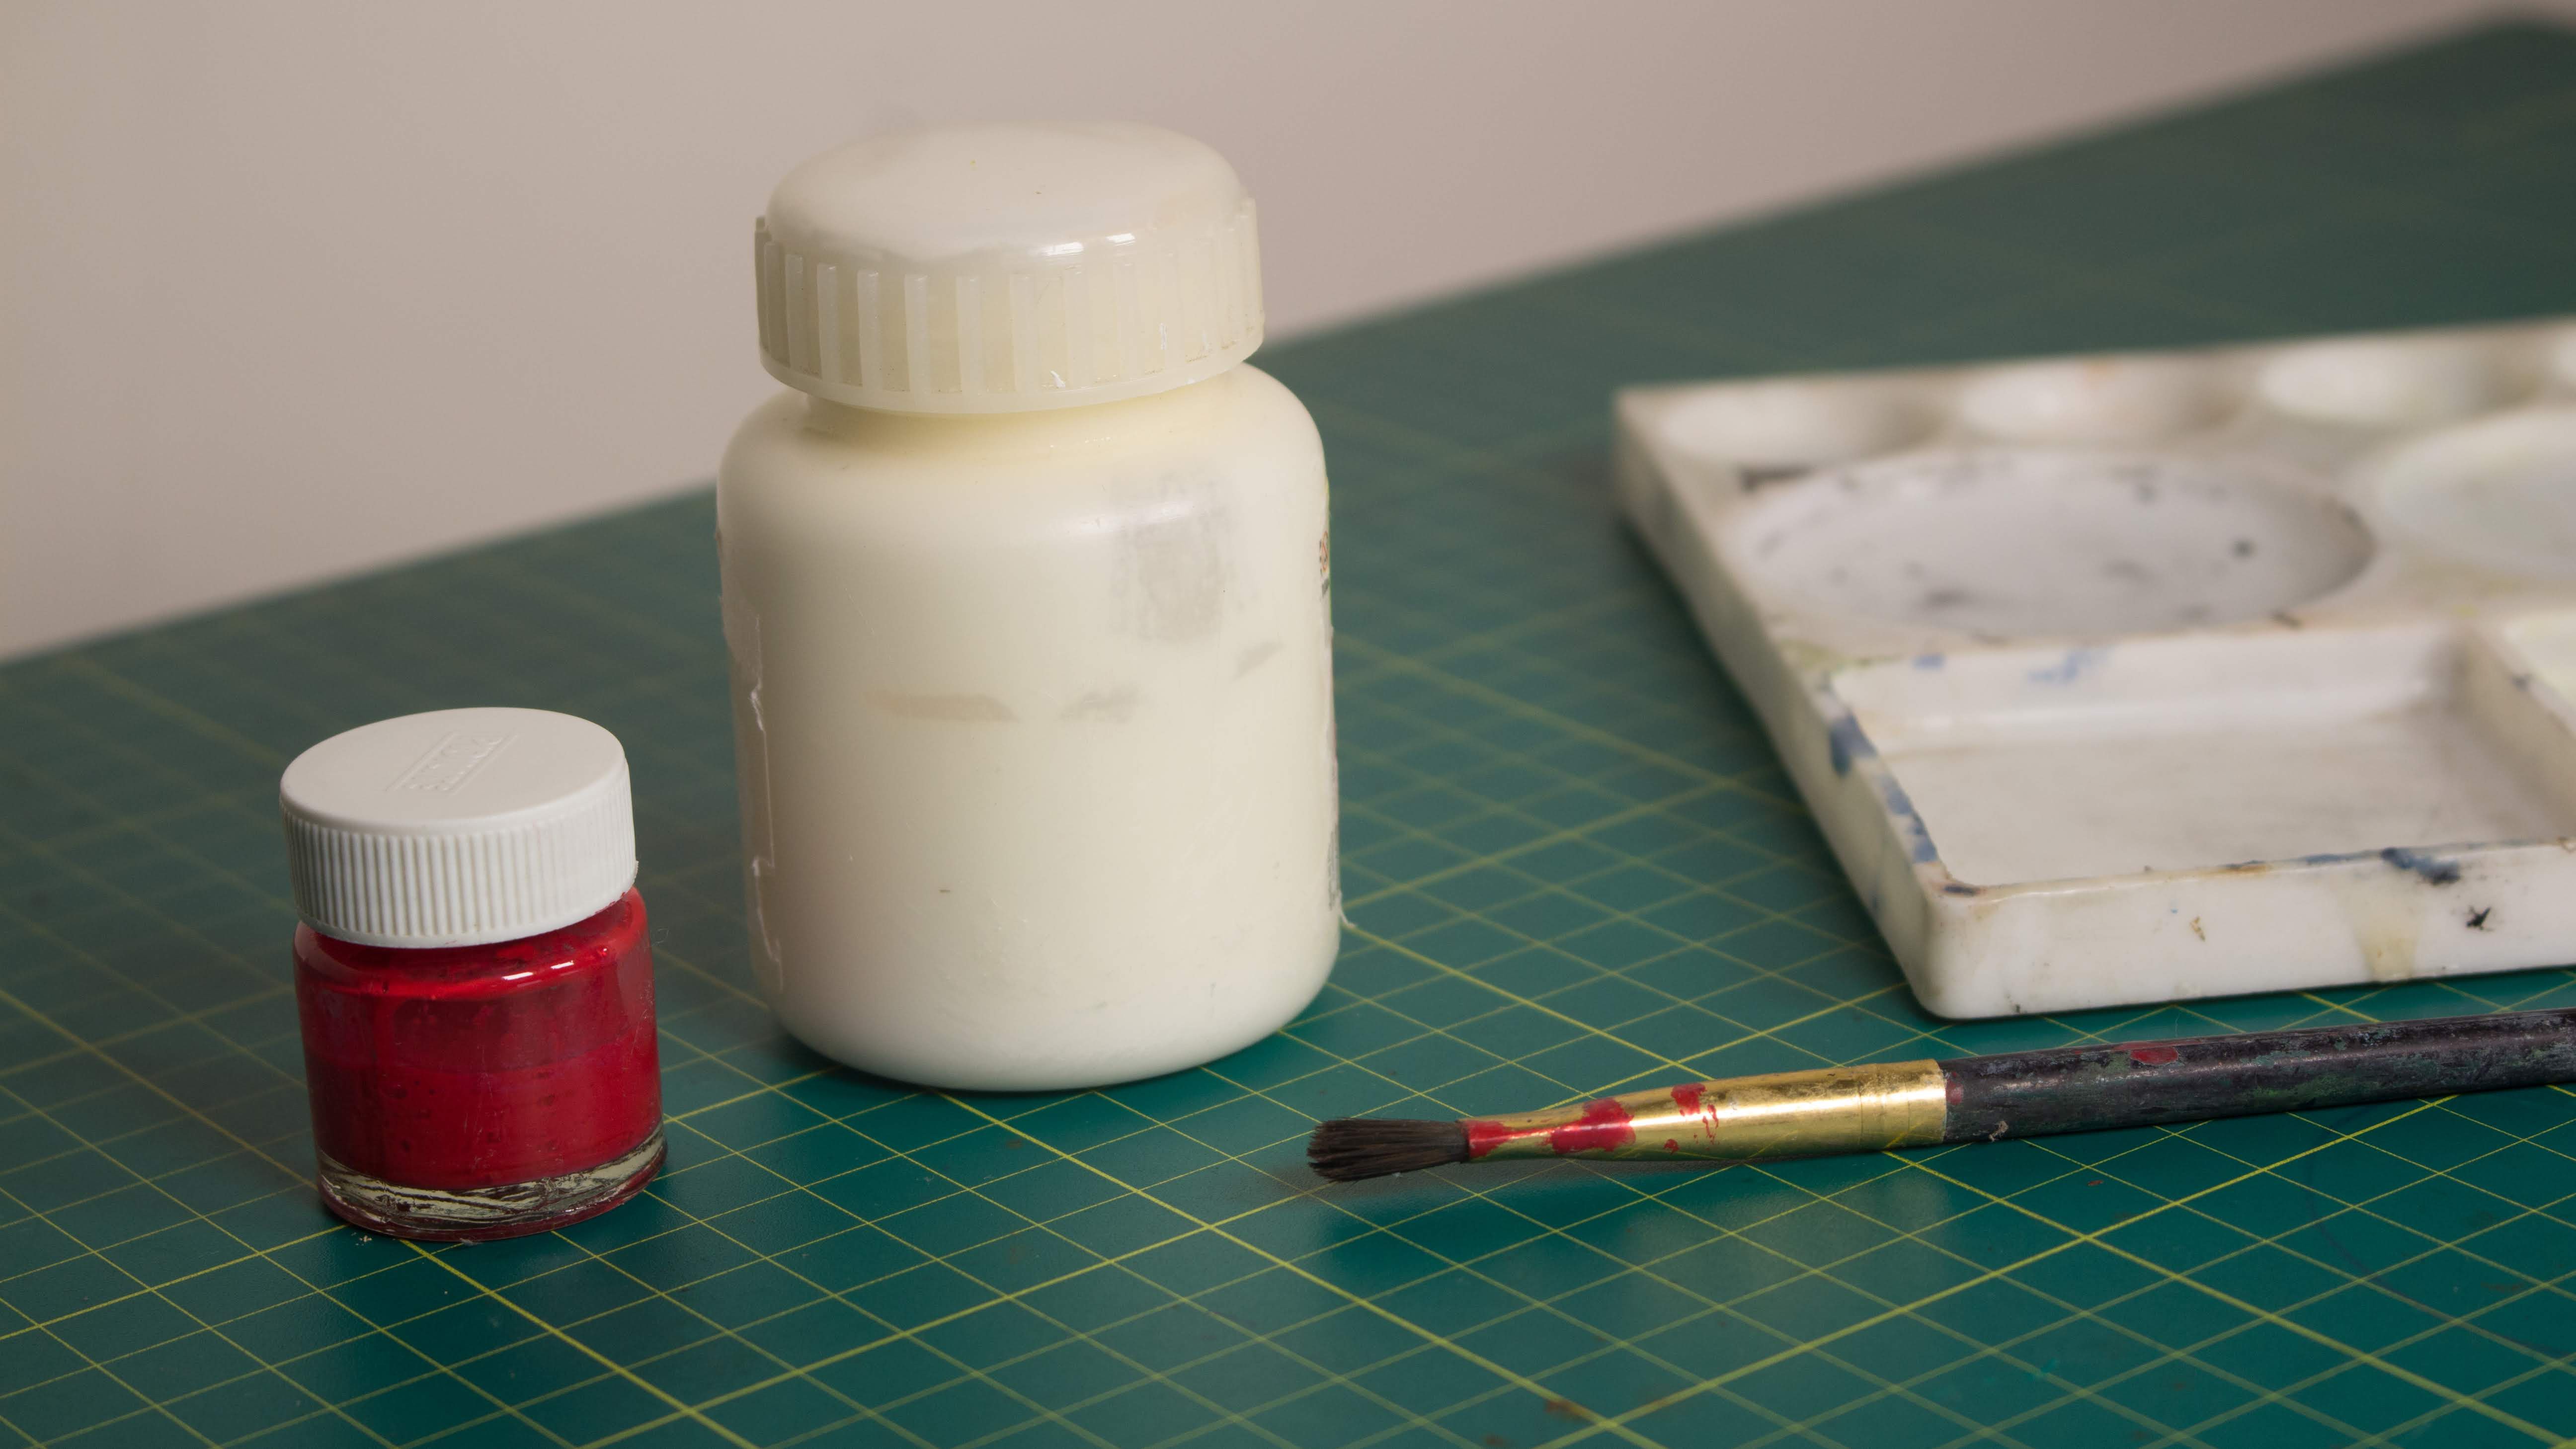

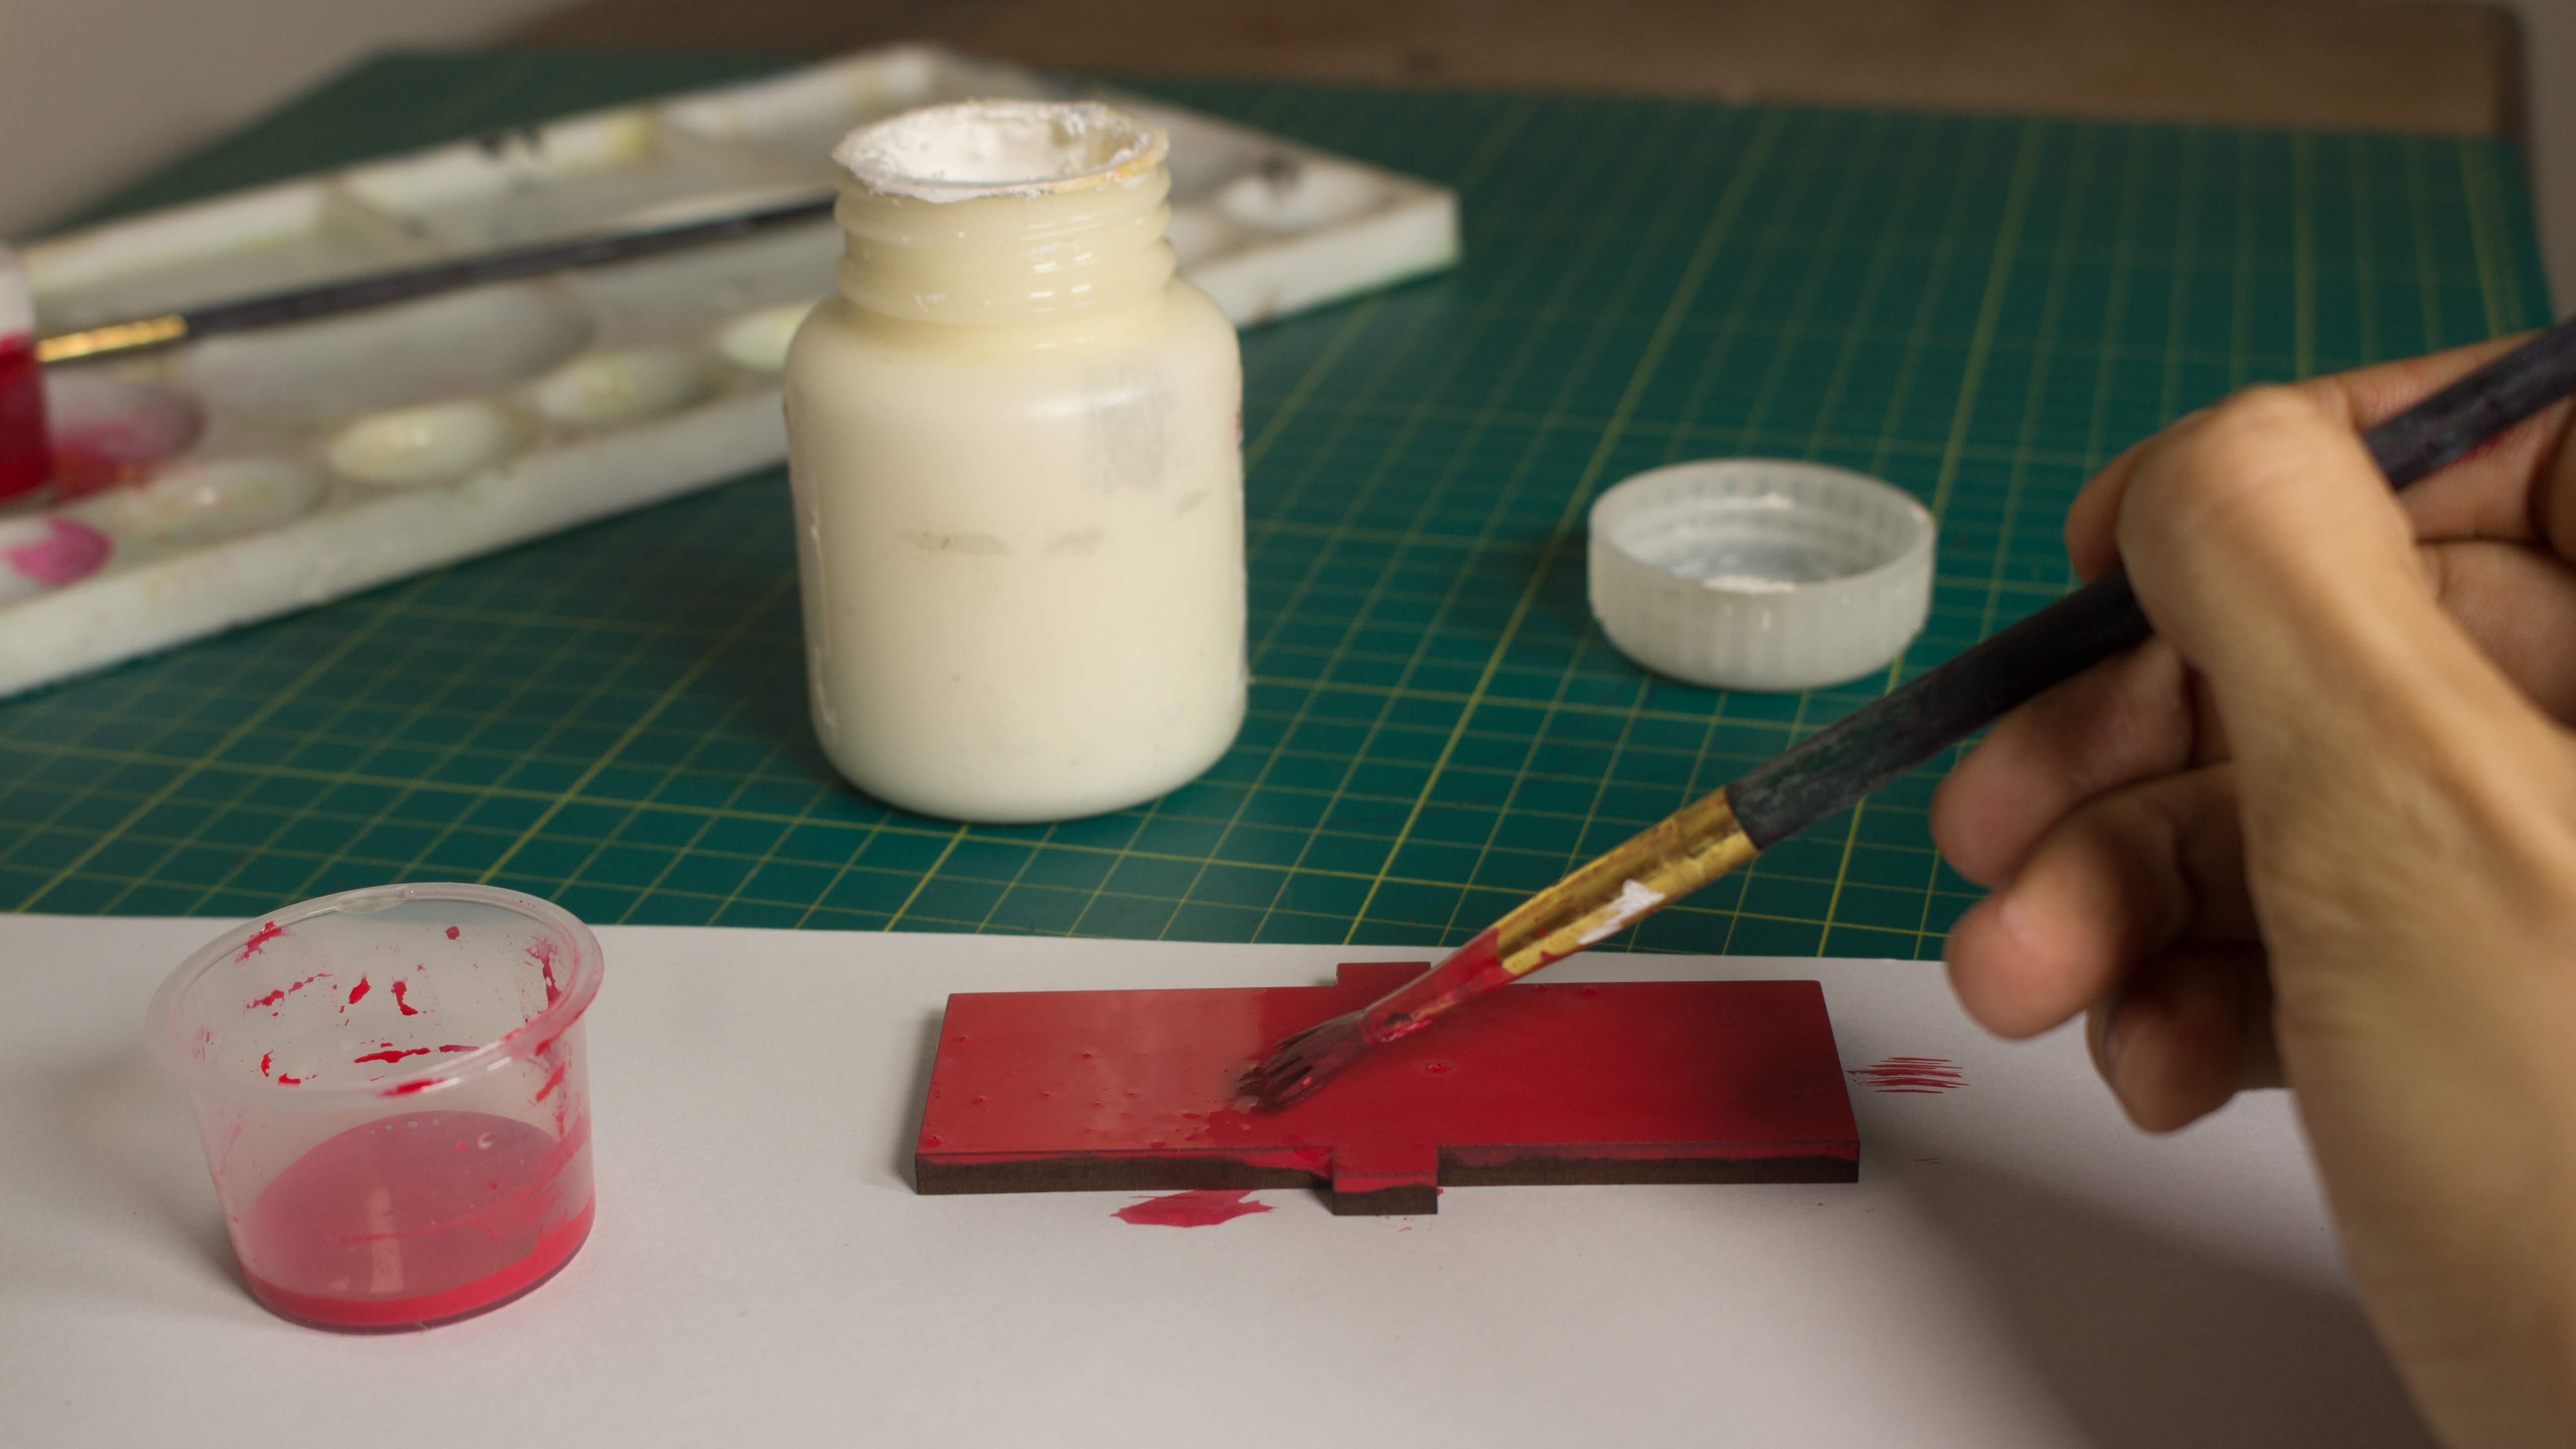
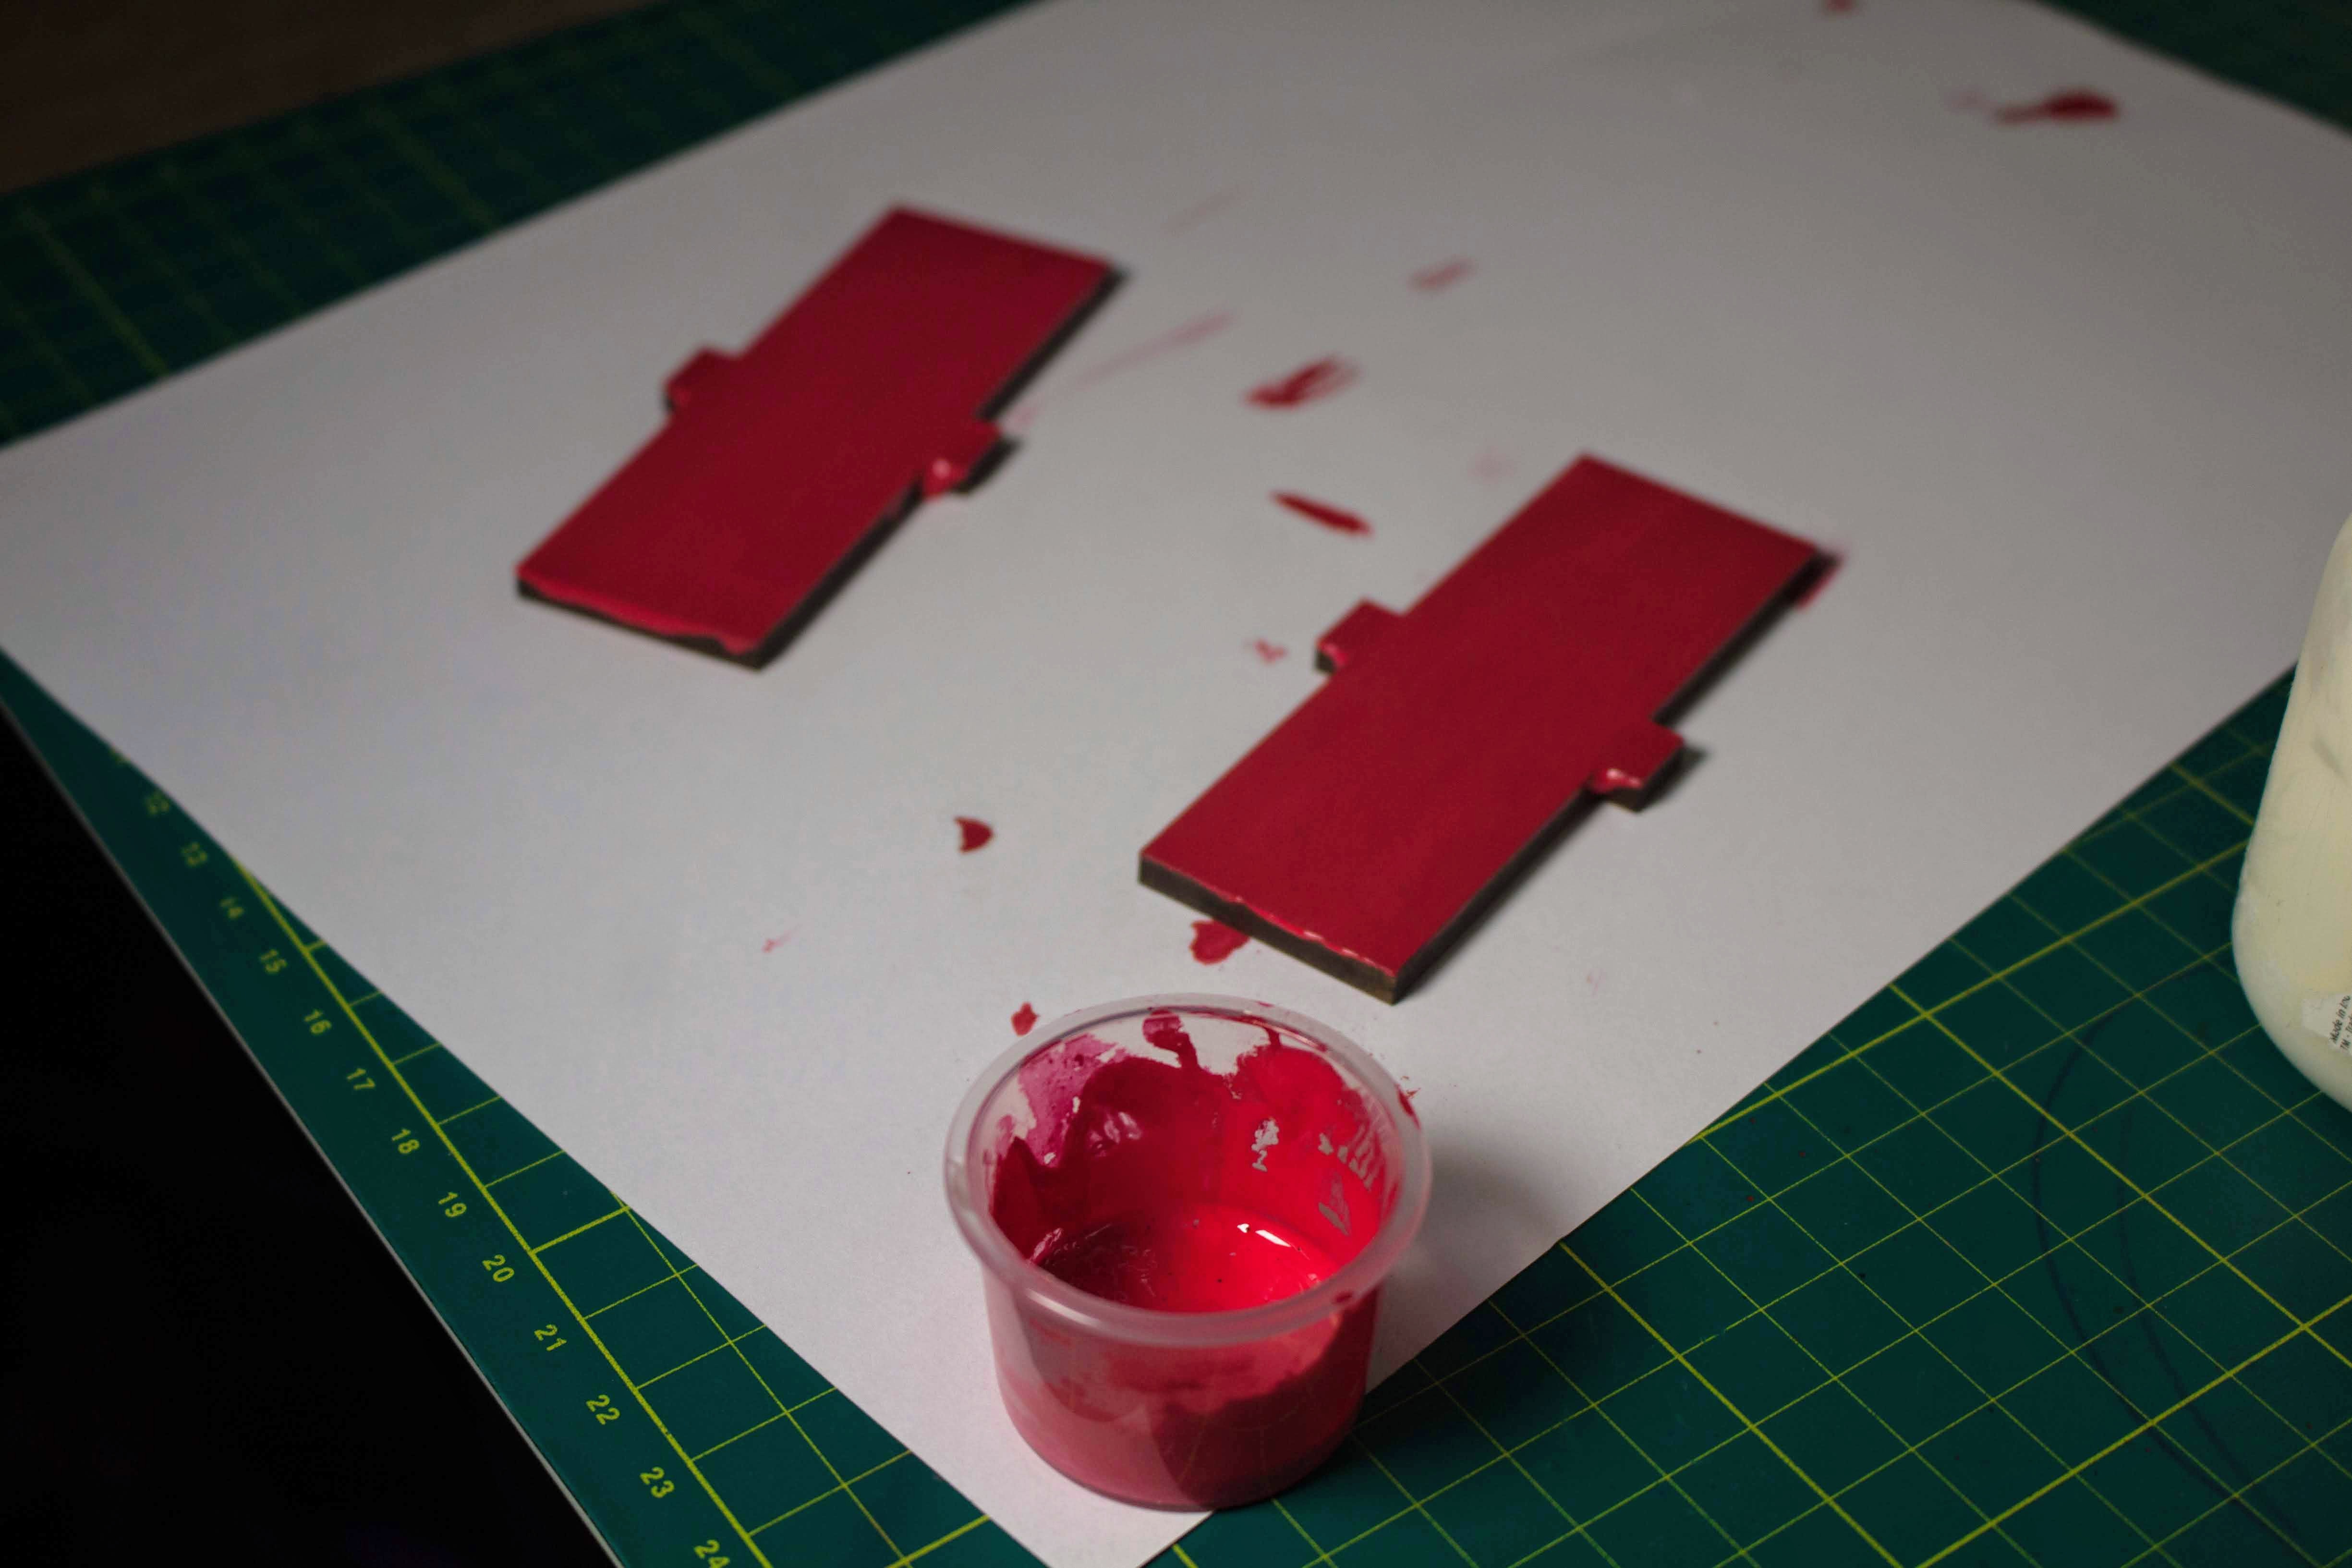
Paint the MDF enclosure to prevent it from getting affected by humidity. I used acrylic paints to do so.
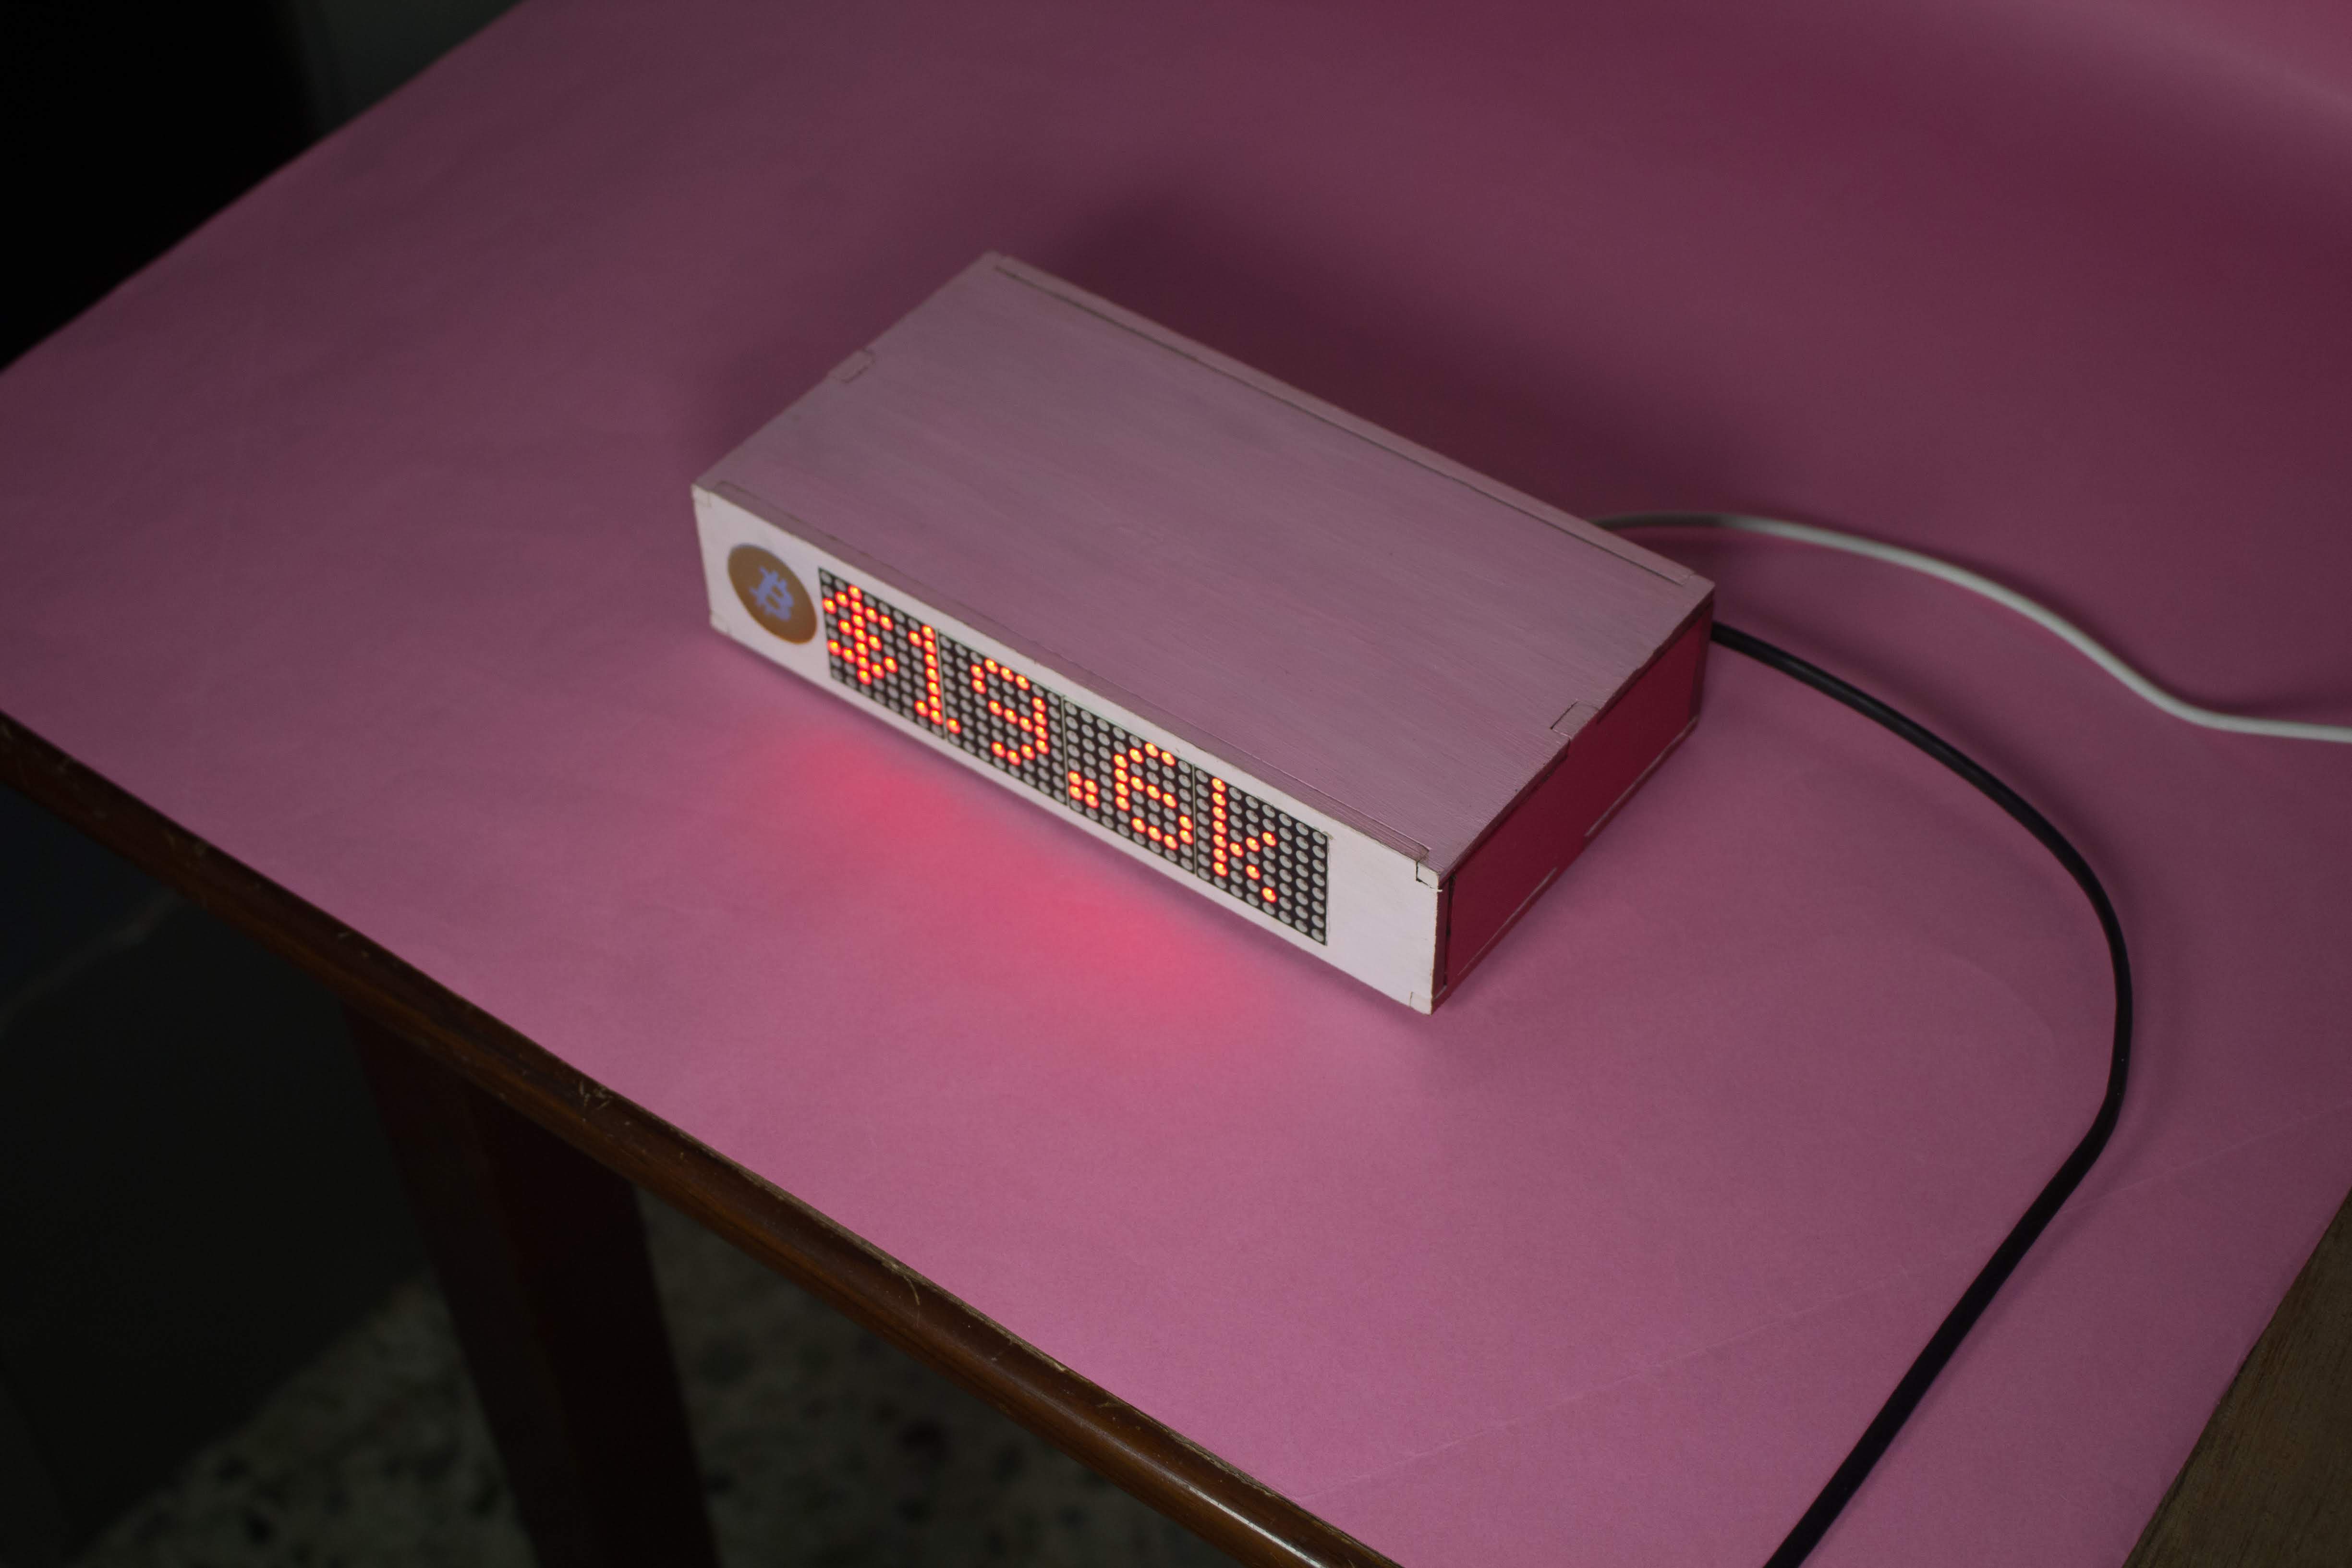
I chose to paint it like a pink piggy bank.
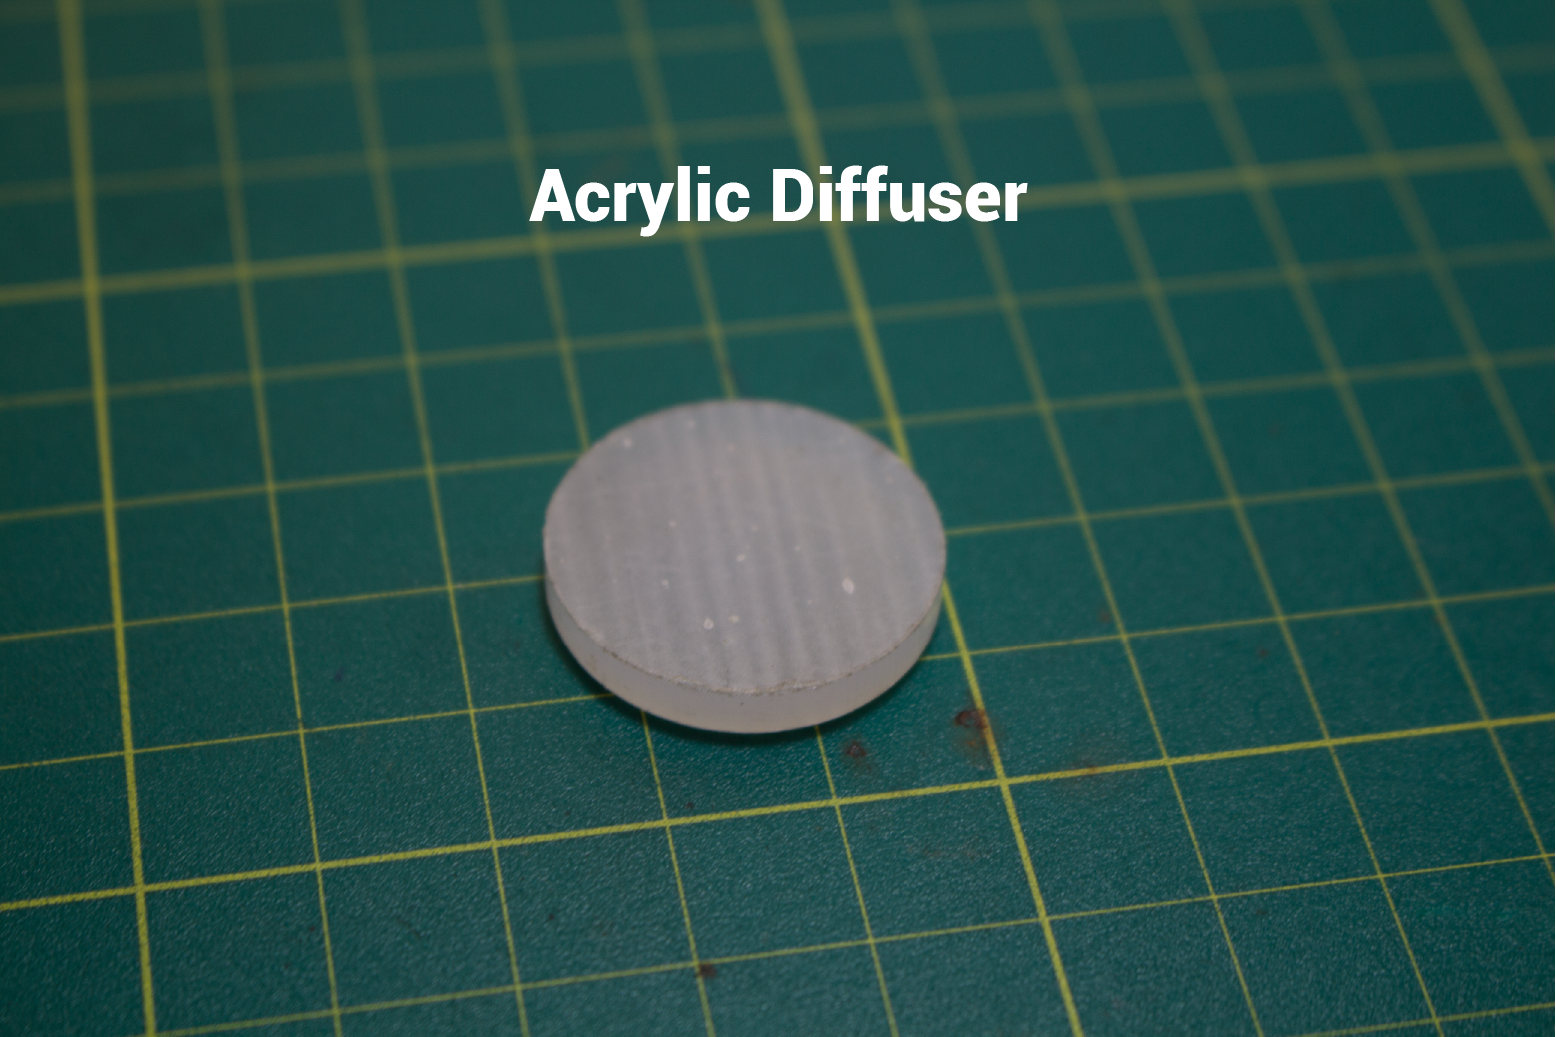
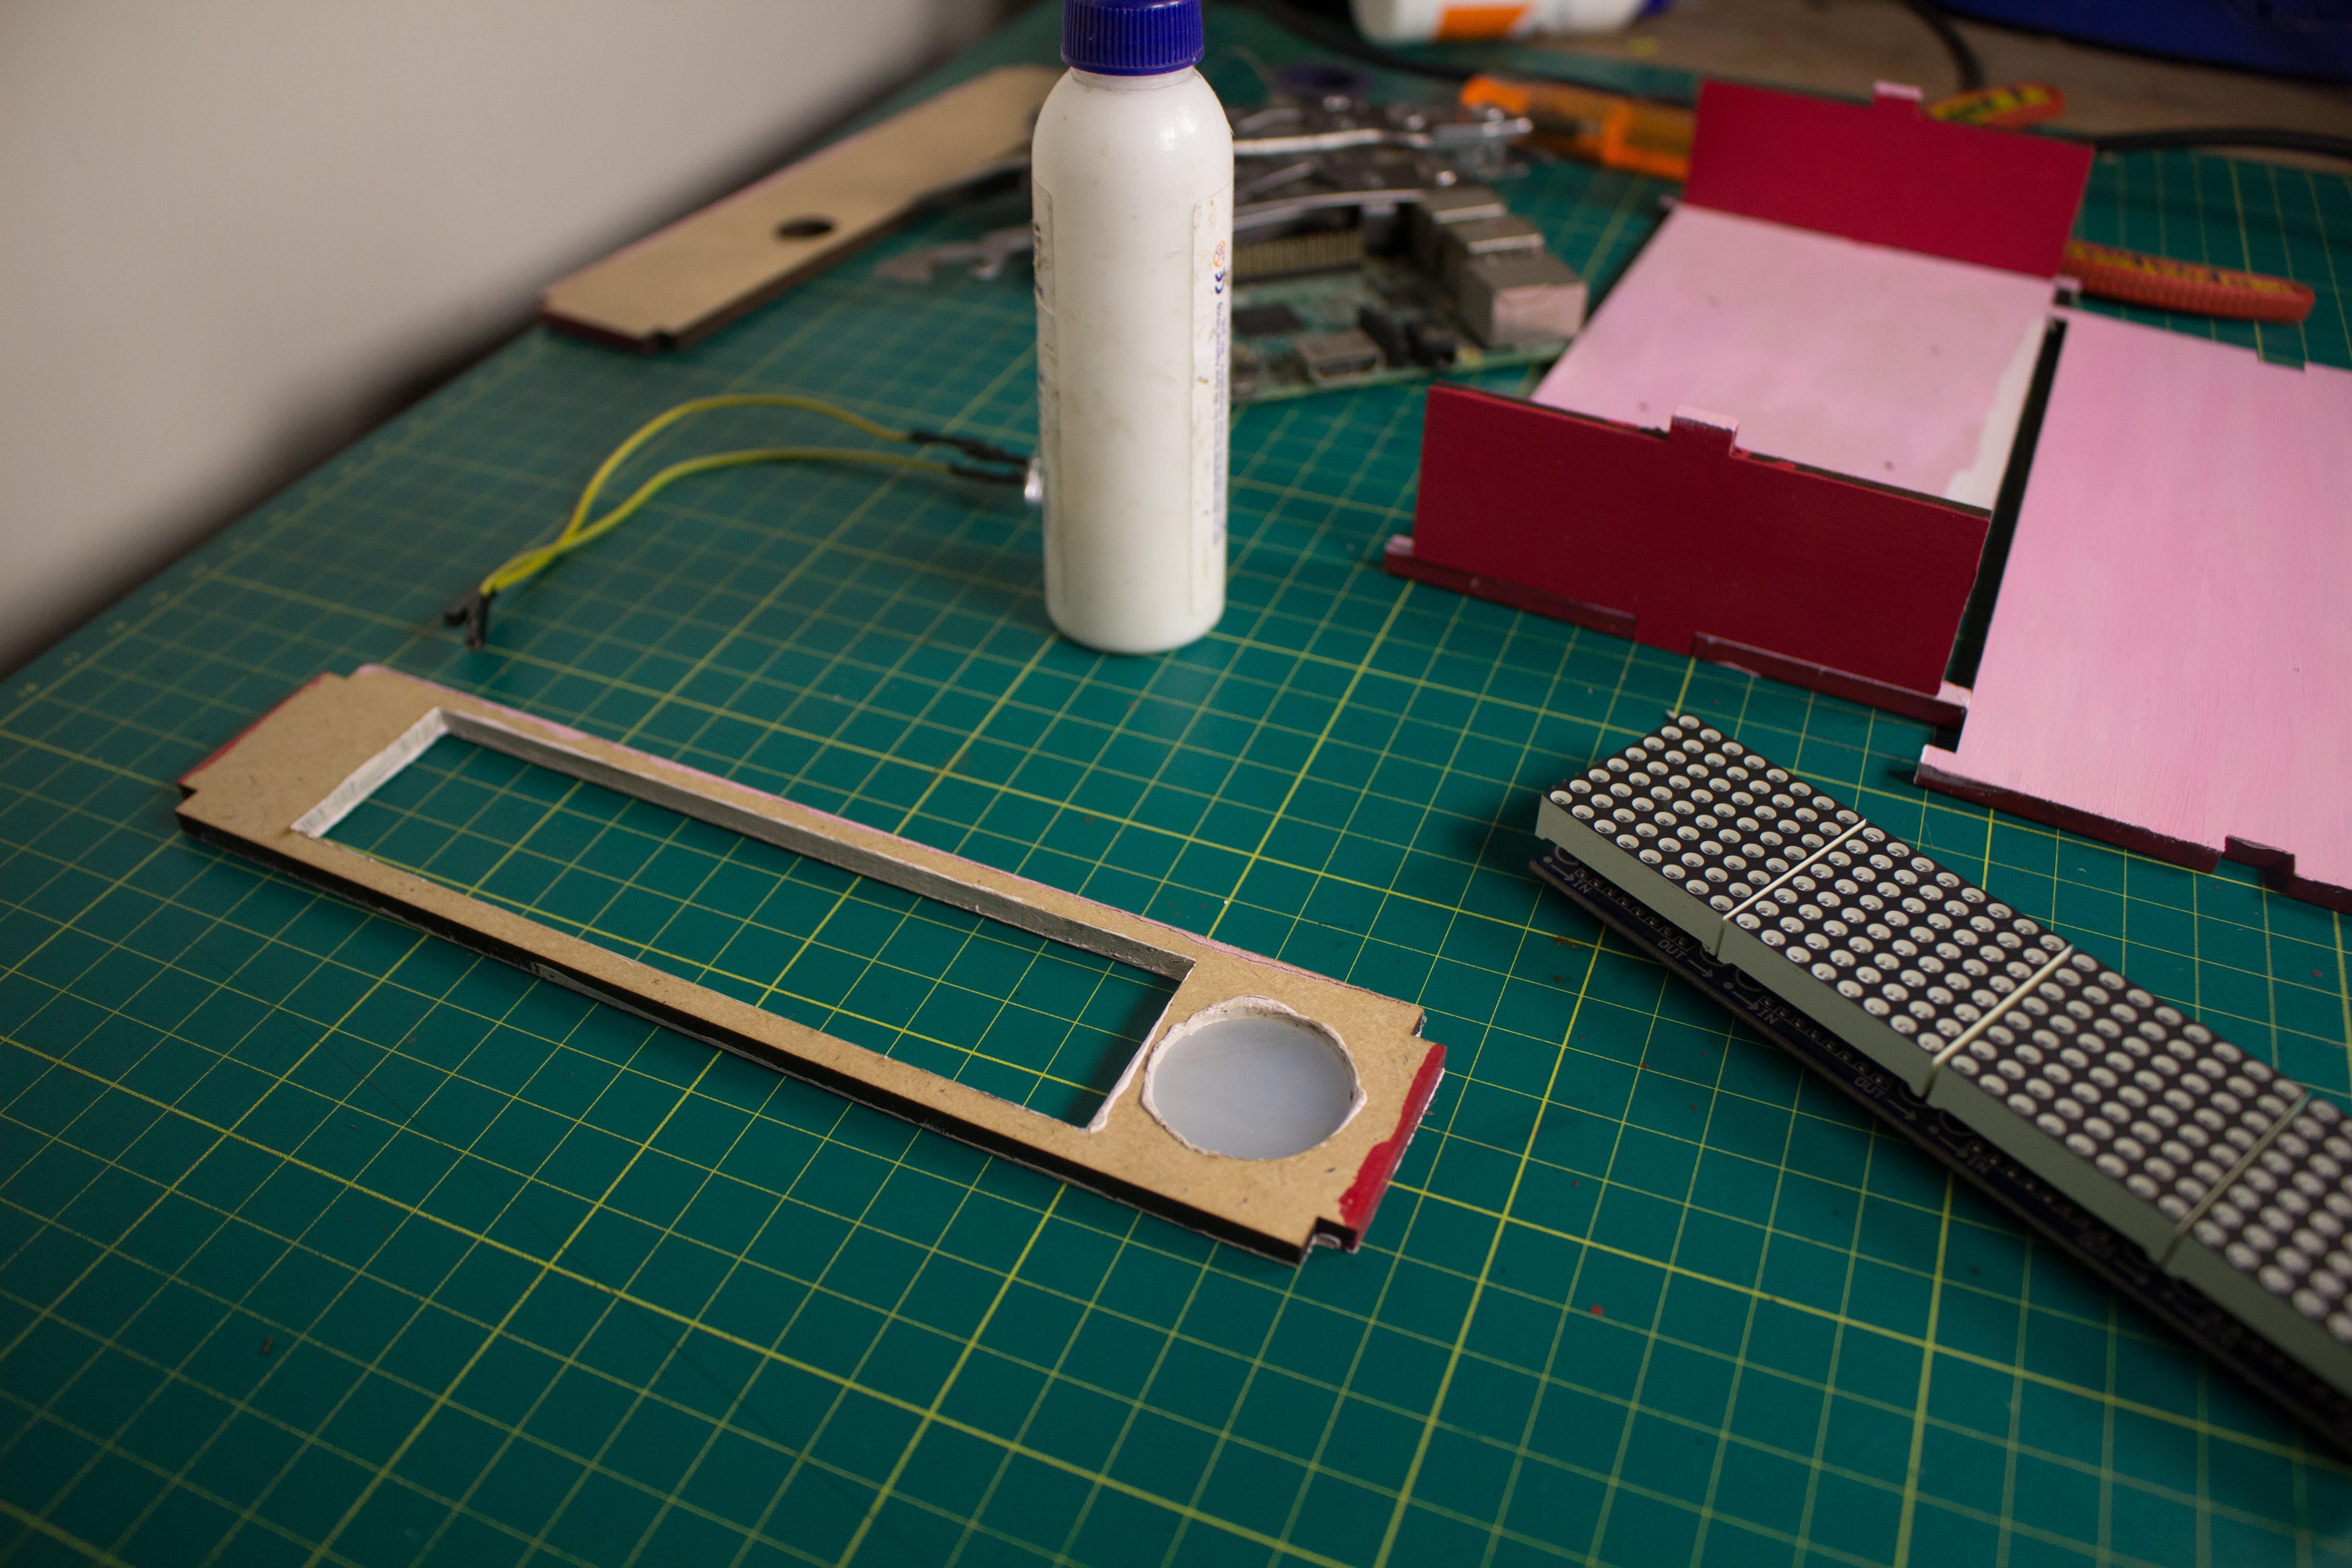
Step 6: Stick the Acrylic Diffuser


Once the paint has dried, you can begin assembling the project together.
Stick the circular acrylic diffuser into its slot on the Front Panel of the MDF Box.
The Laser Cutting files can be found here: Bitcoin Tracker: Laser Cutting
Step 7: Stick the LED Matrix Display
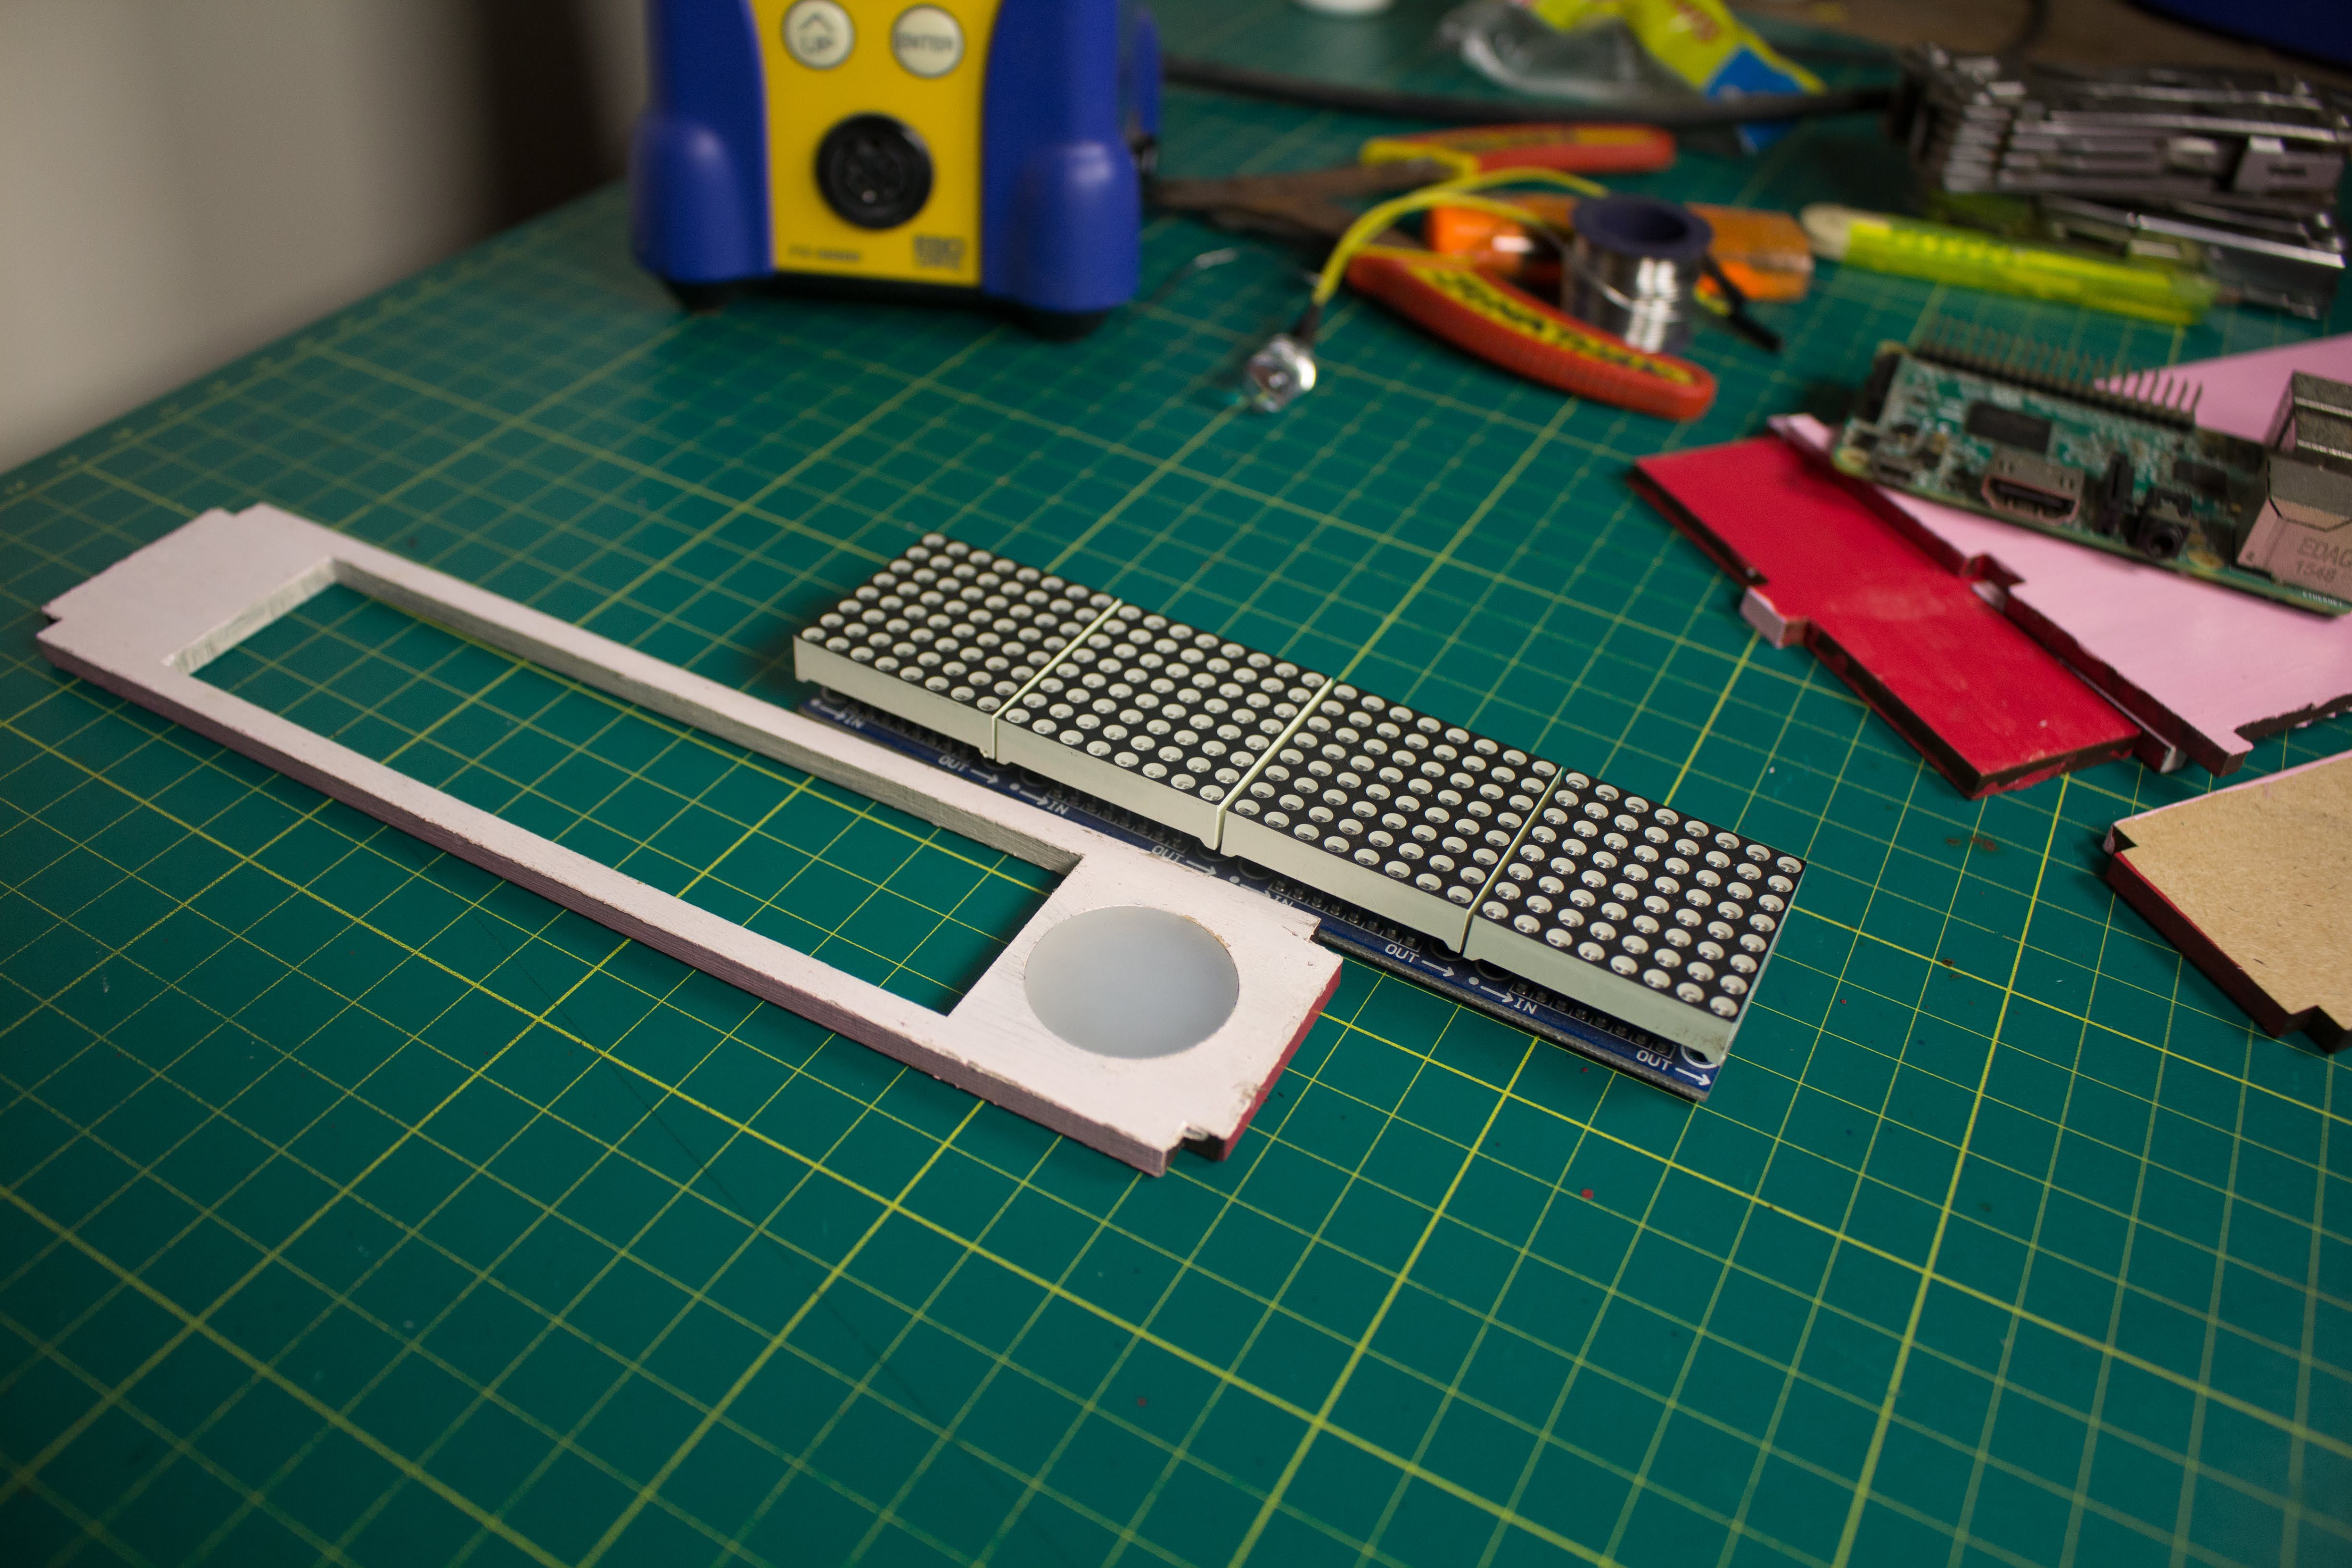
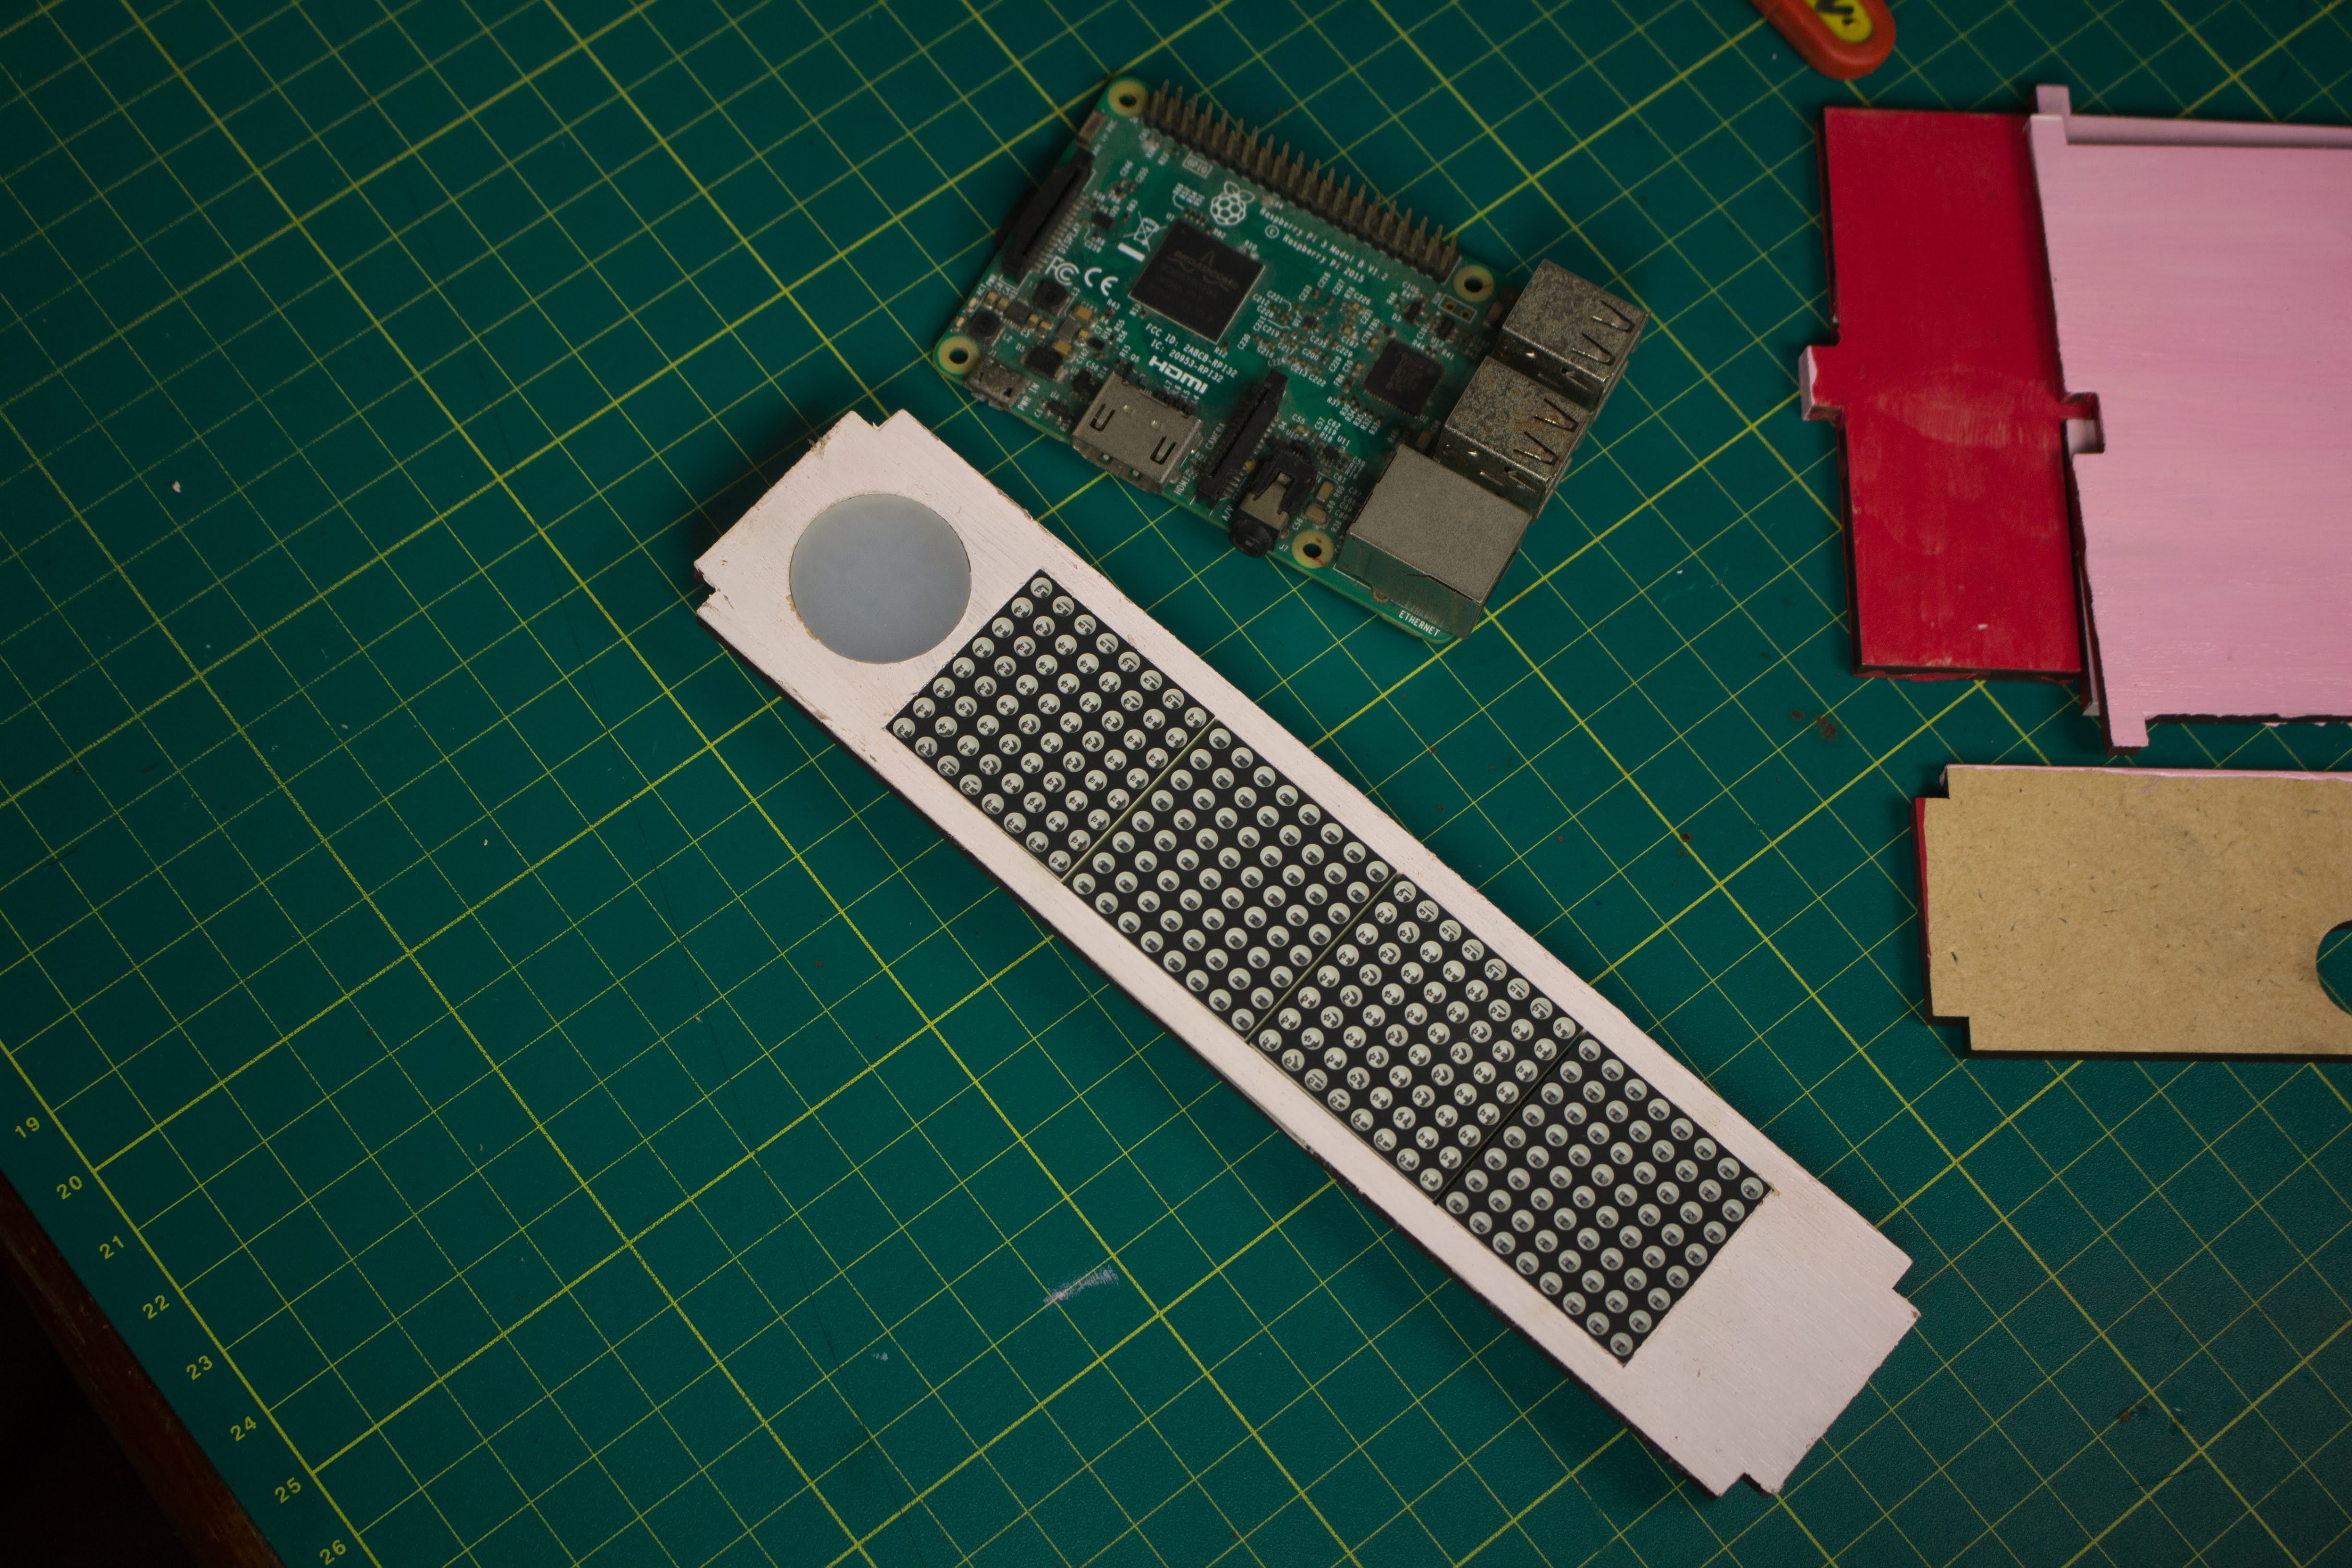
Place and stick the LED matrix display into its slot on the Front Panel of the MDF Box. Make sure that it is aligned flush with the front surface of the panel.
If you are using a different display module, you will need to make the necessary changes to the slot's dimensions in the laser cutting files.
Step 8: Bitcoin Sticker
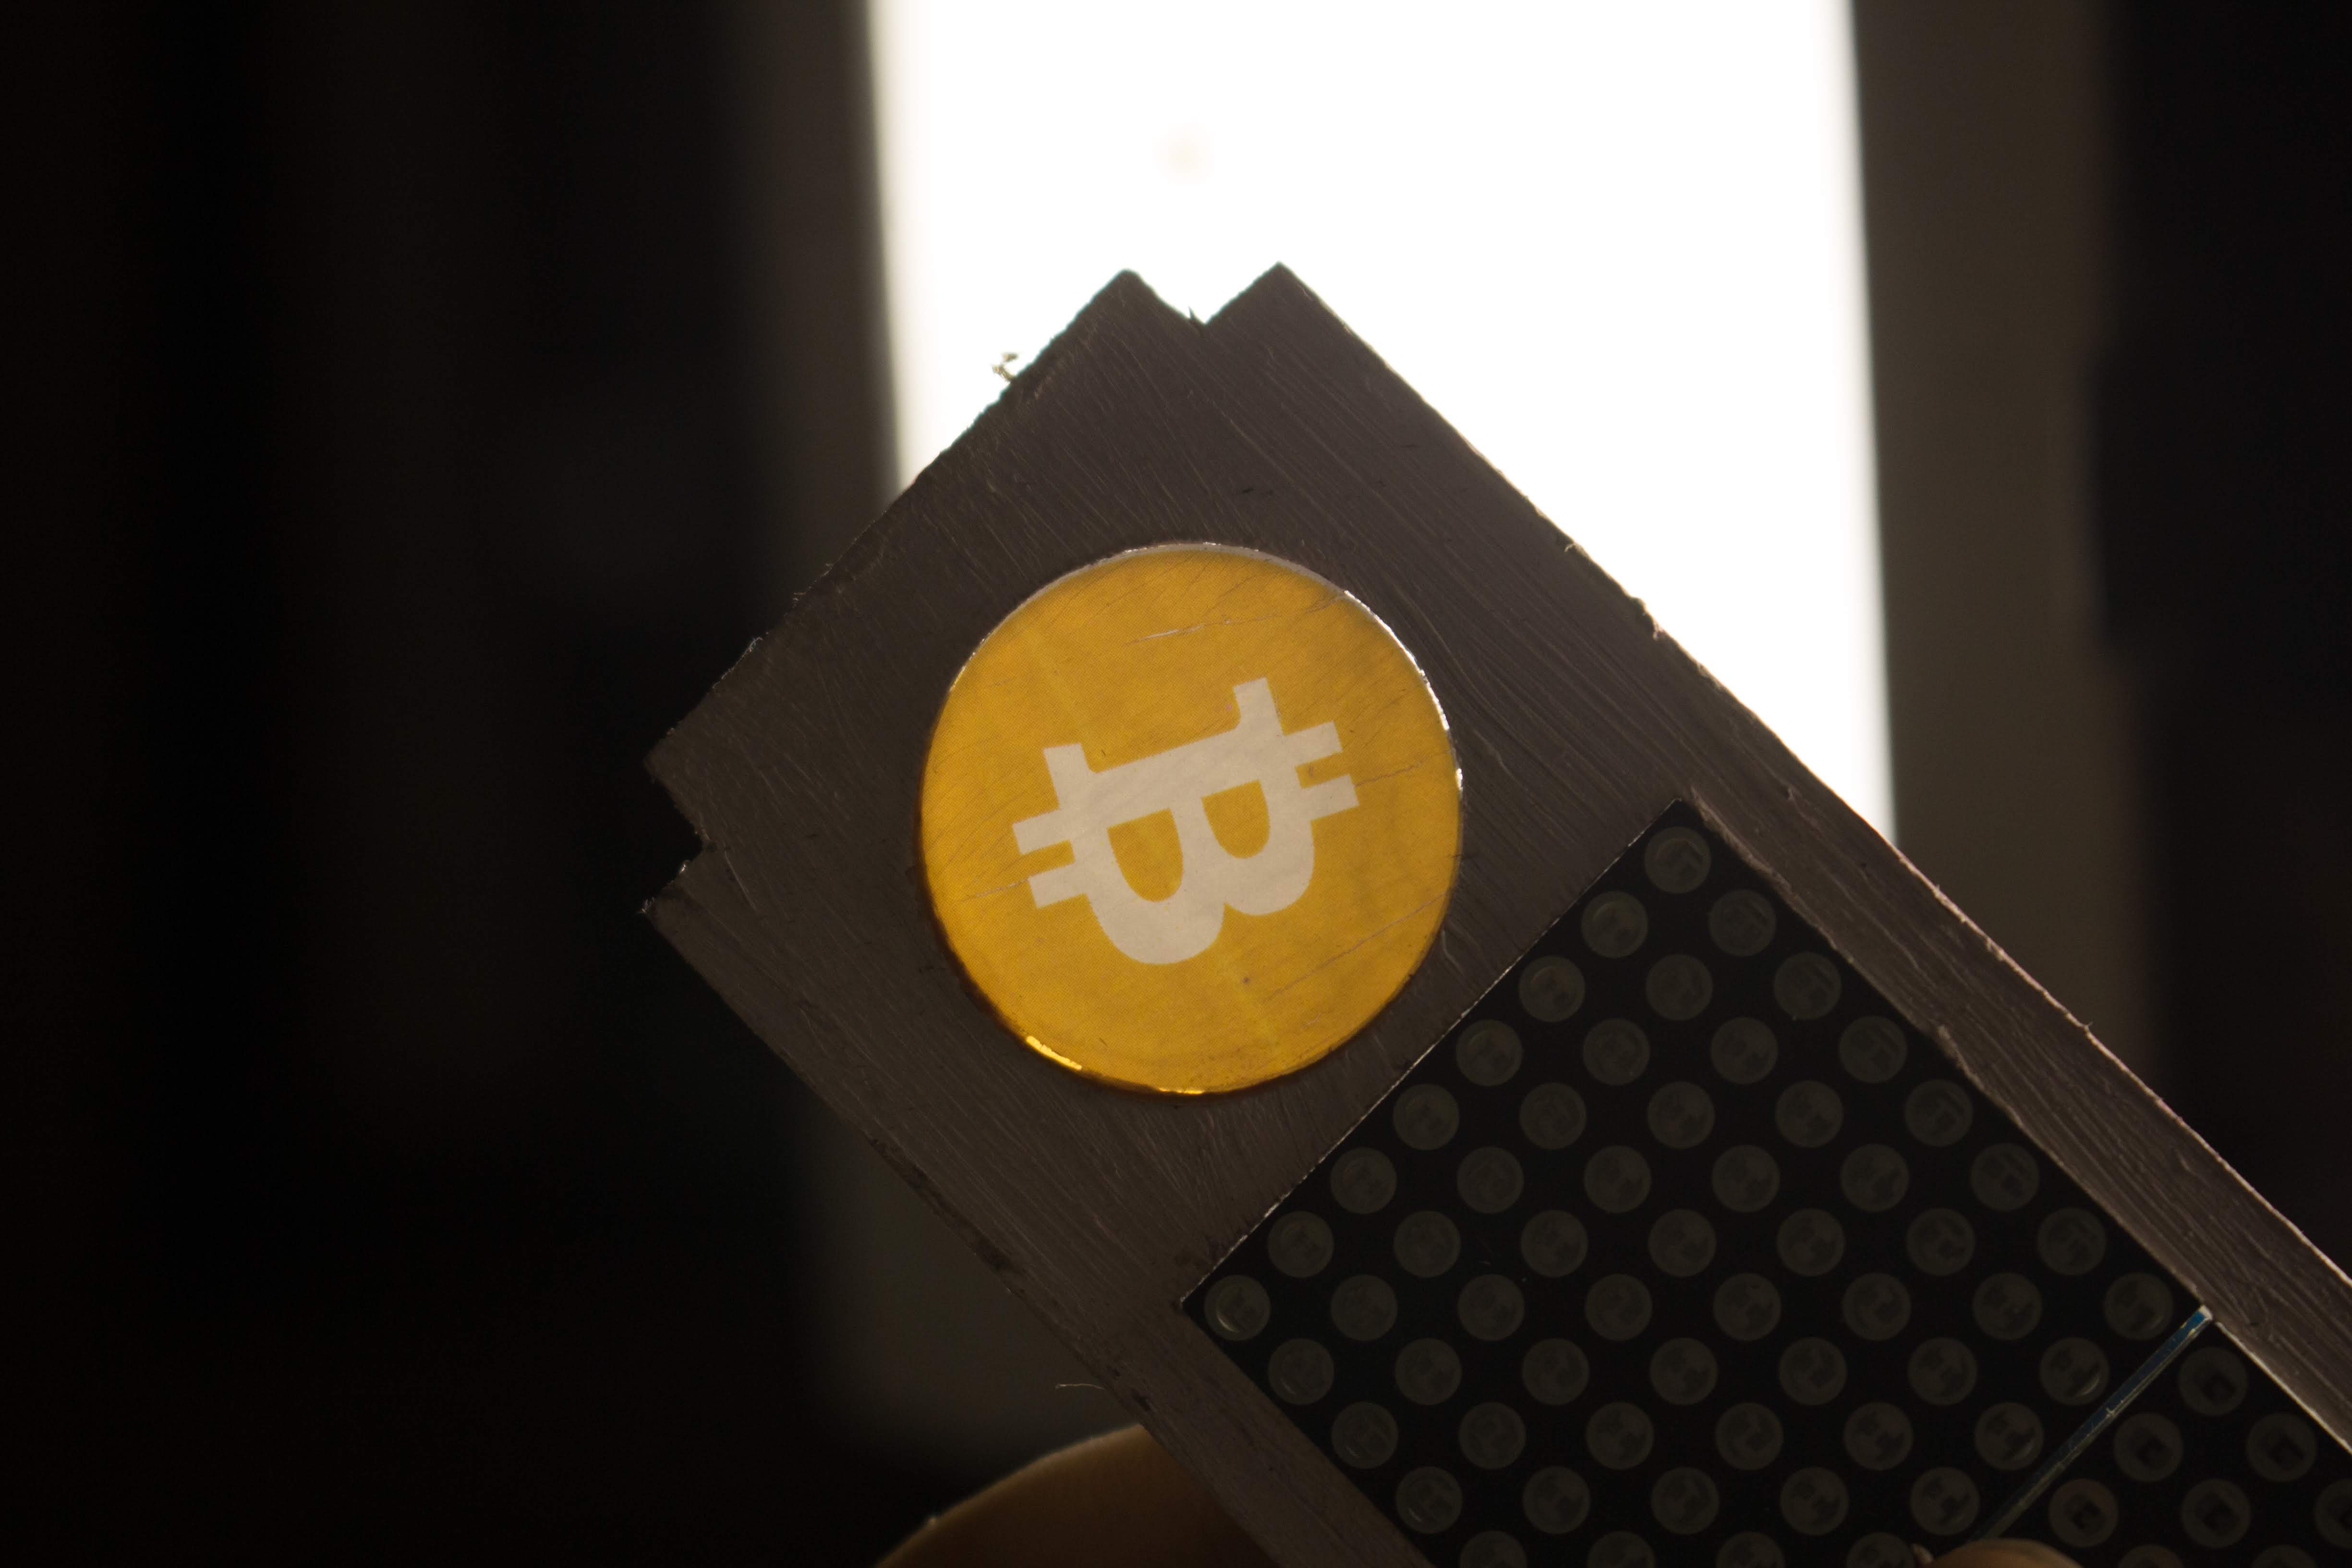

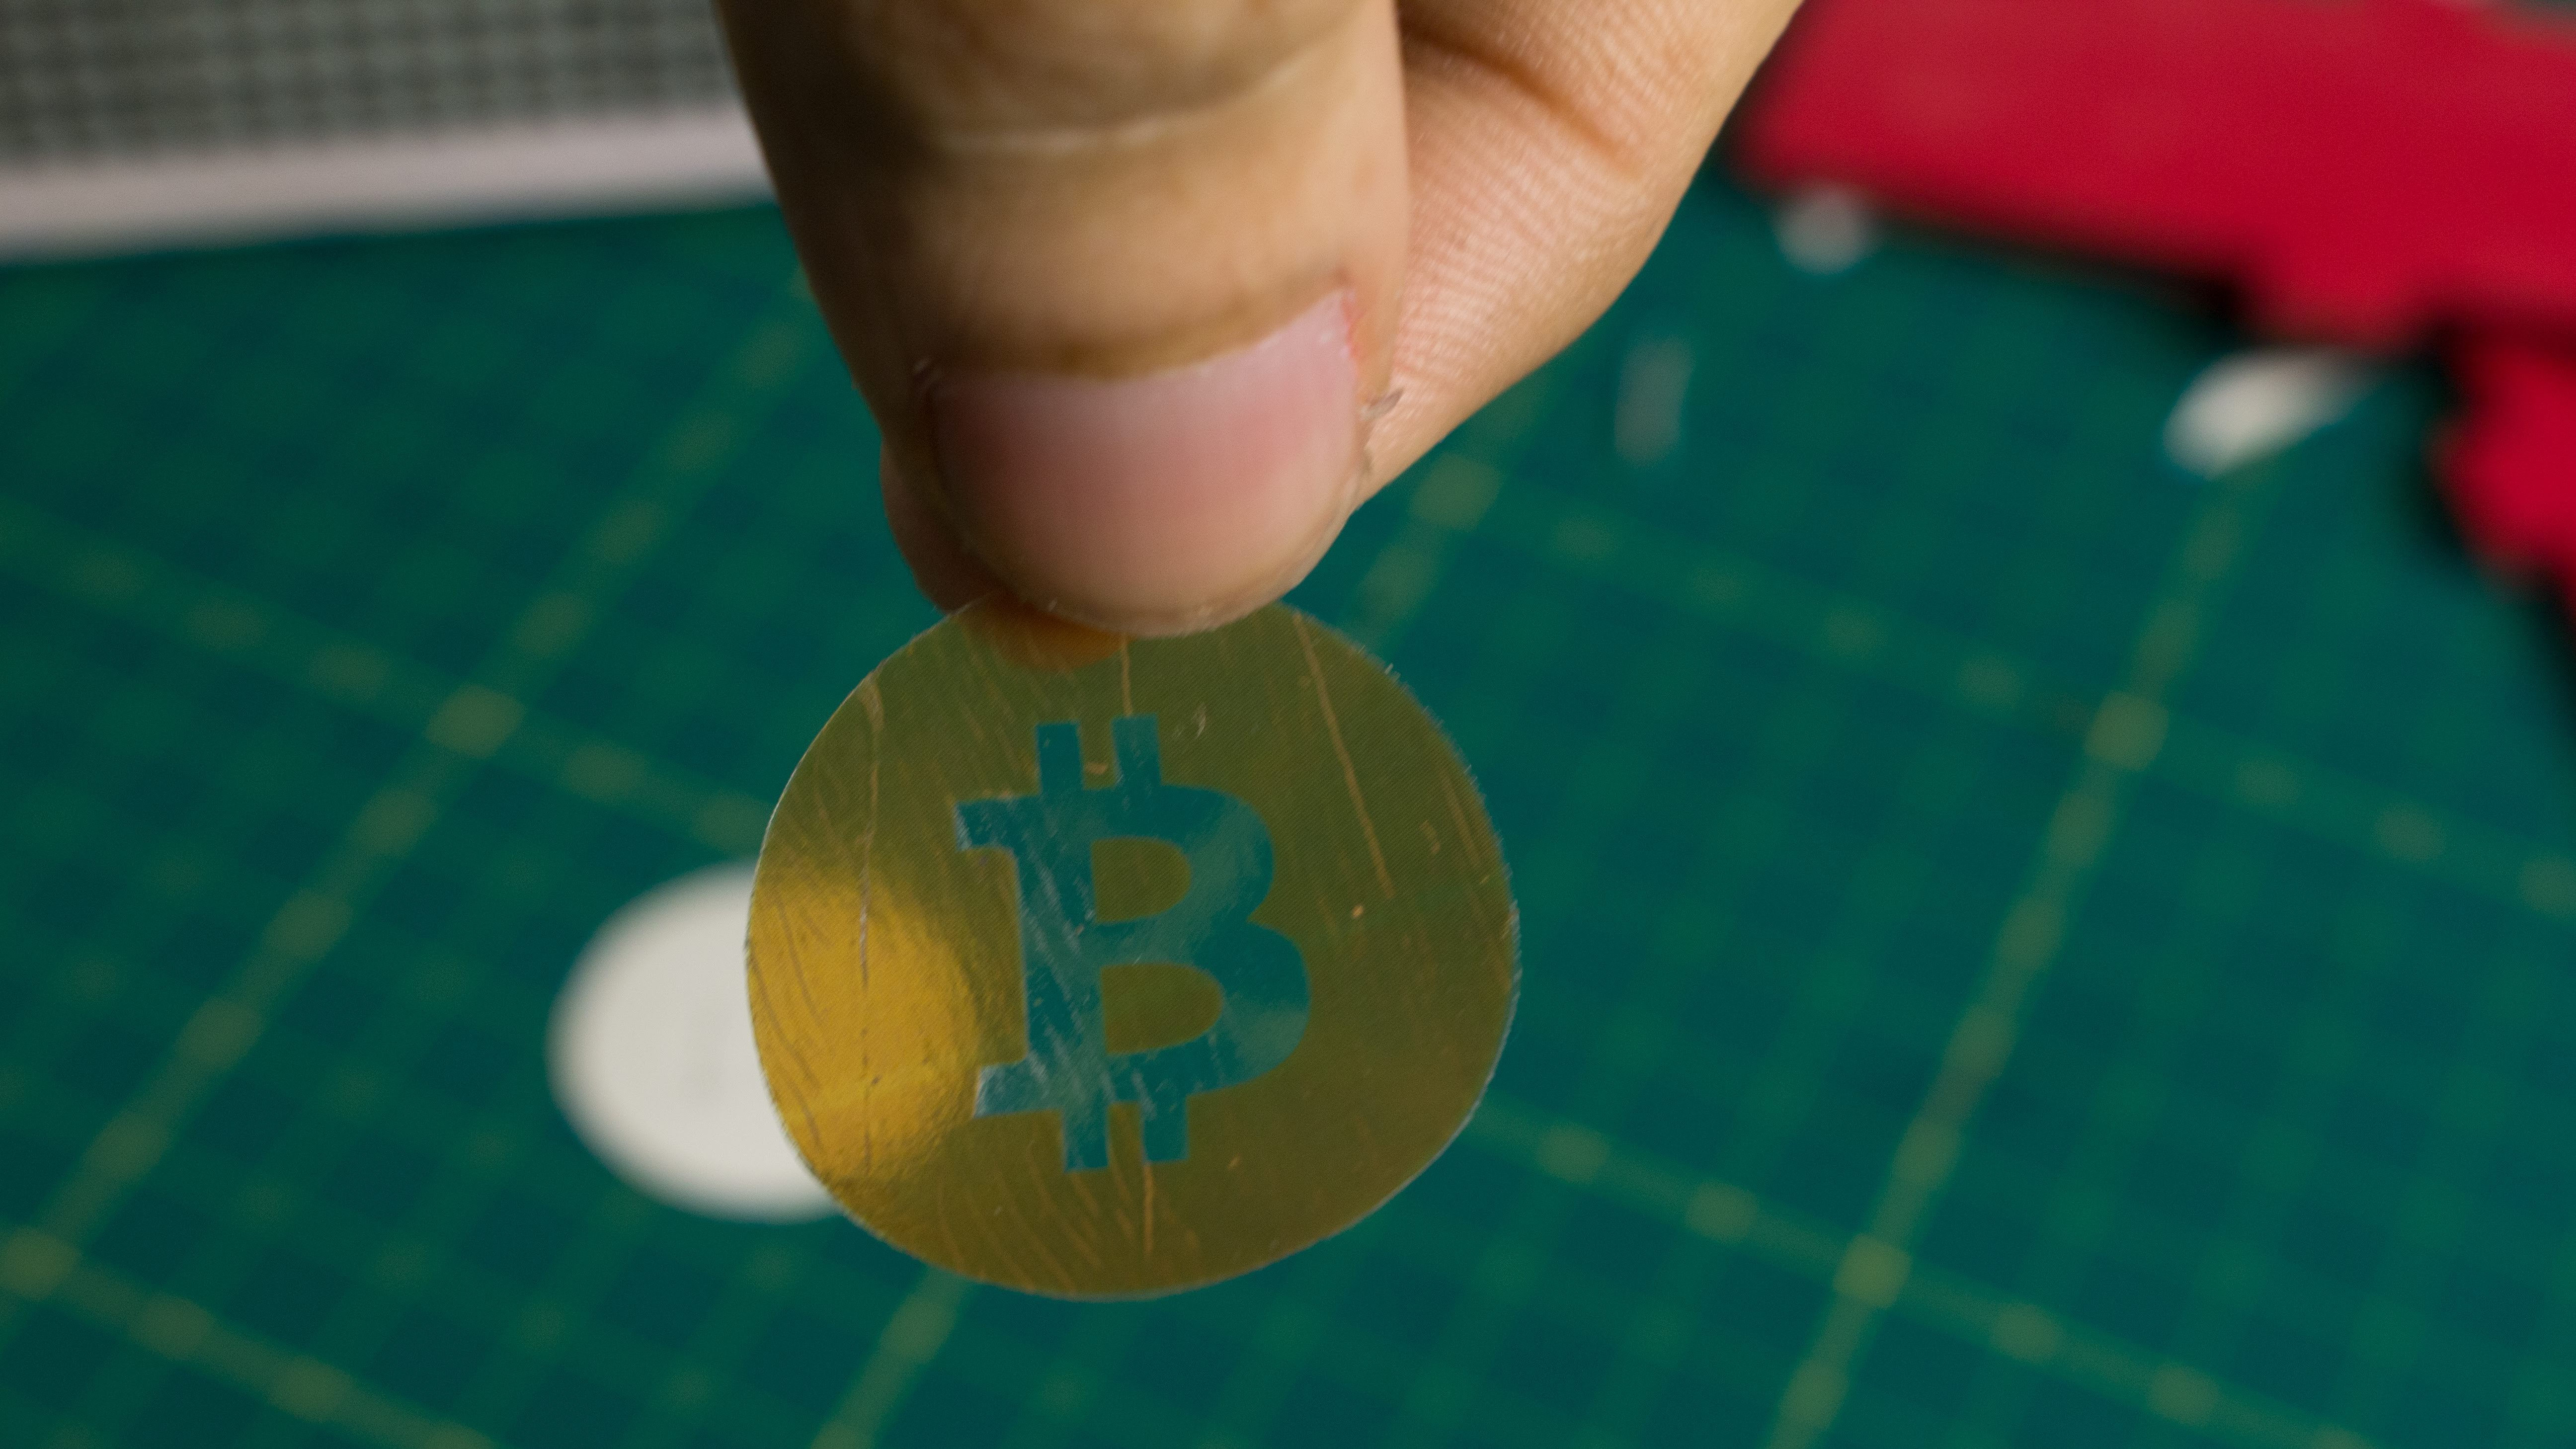
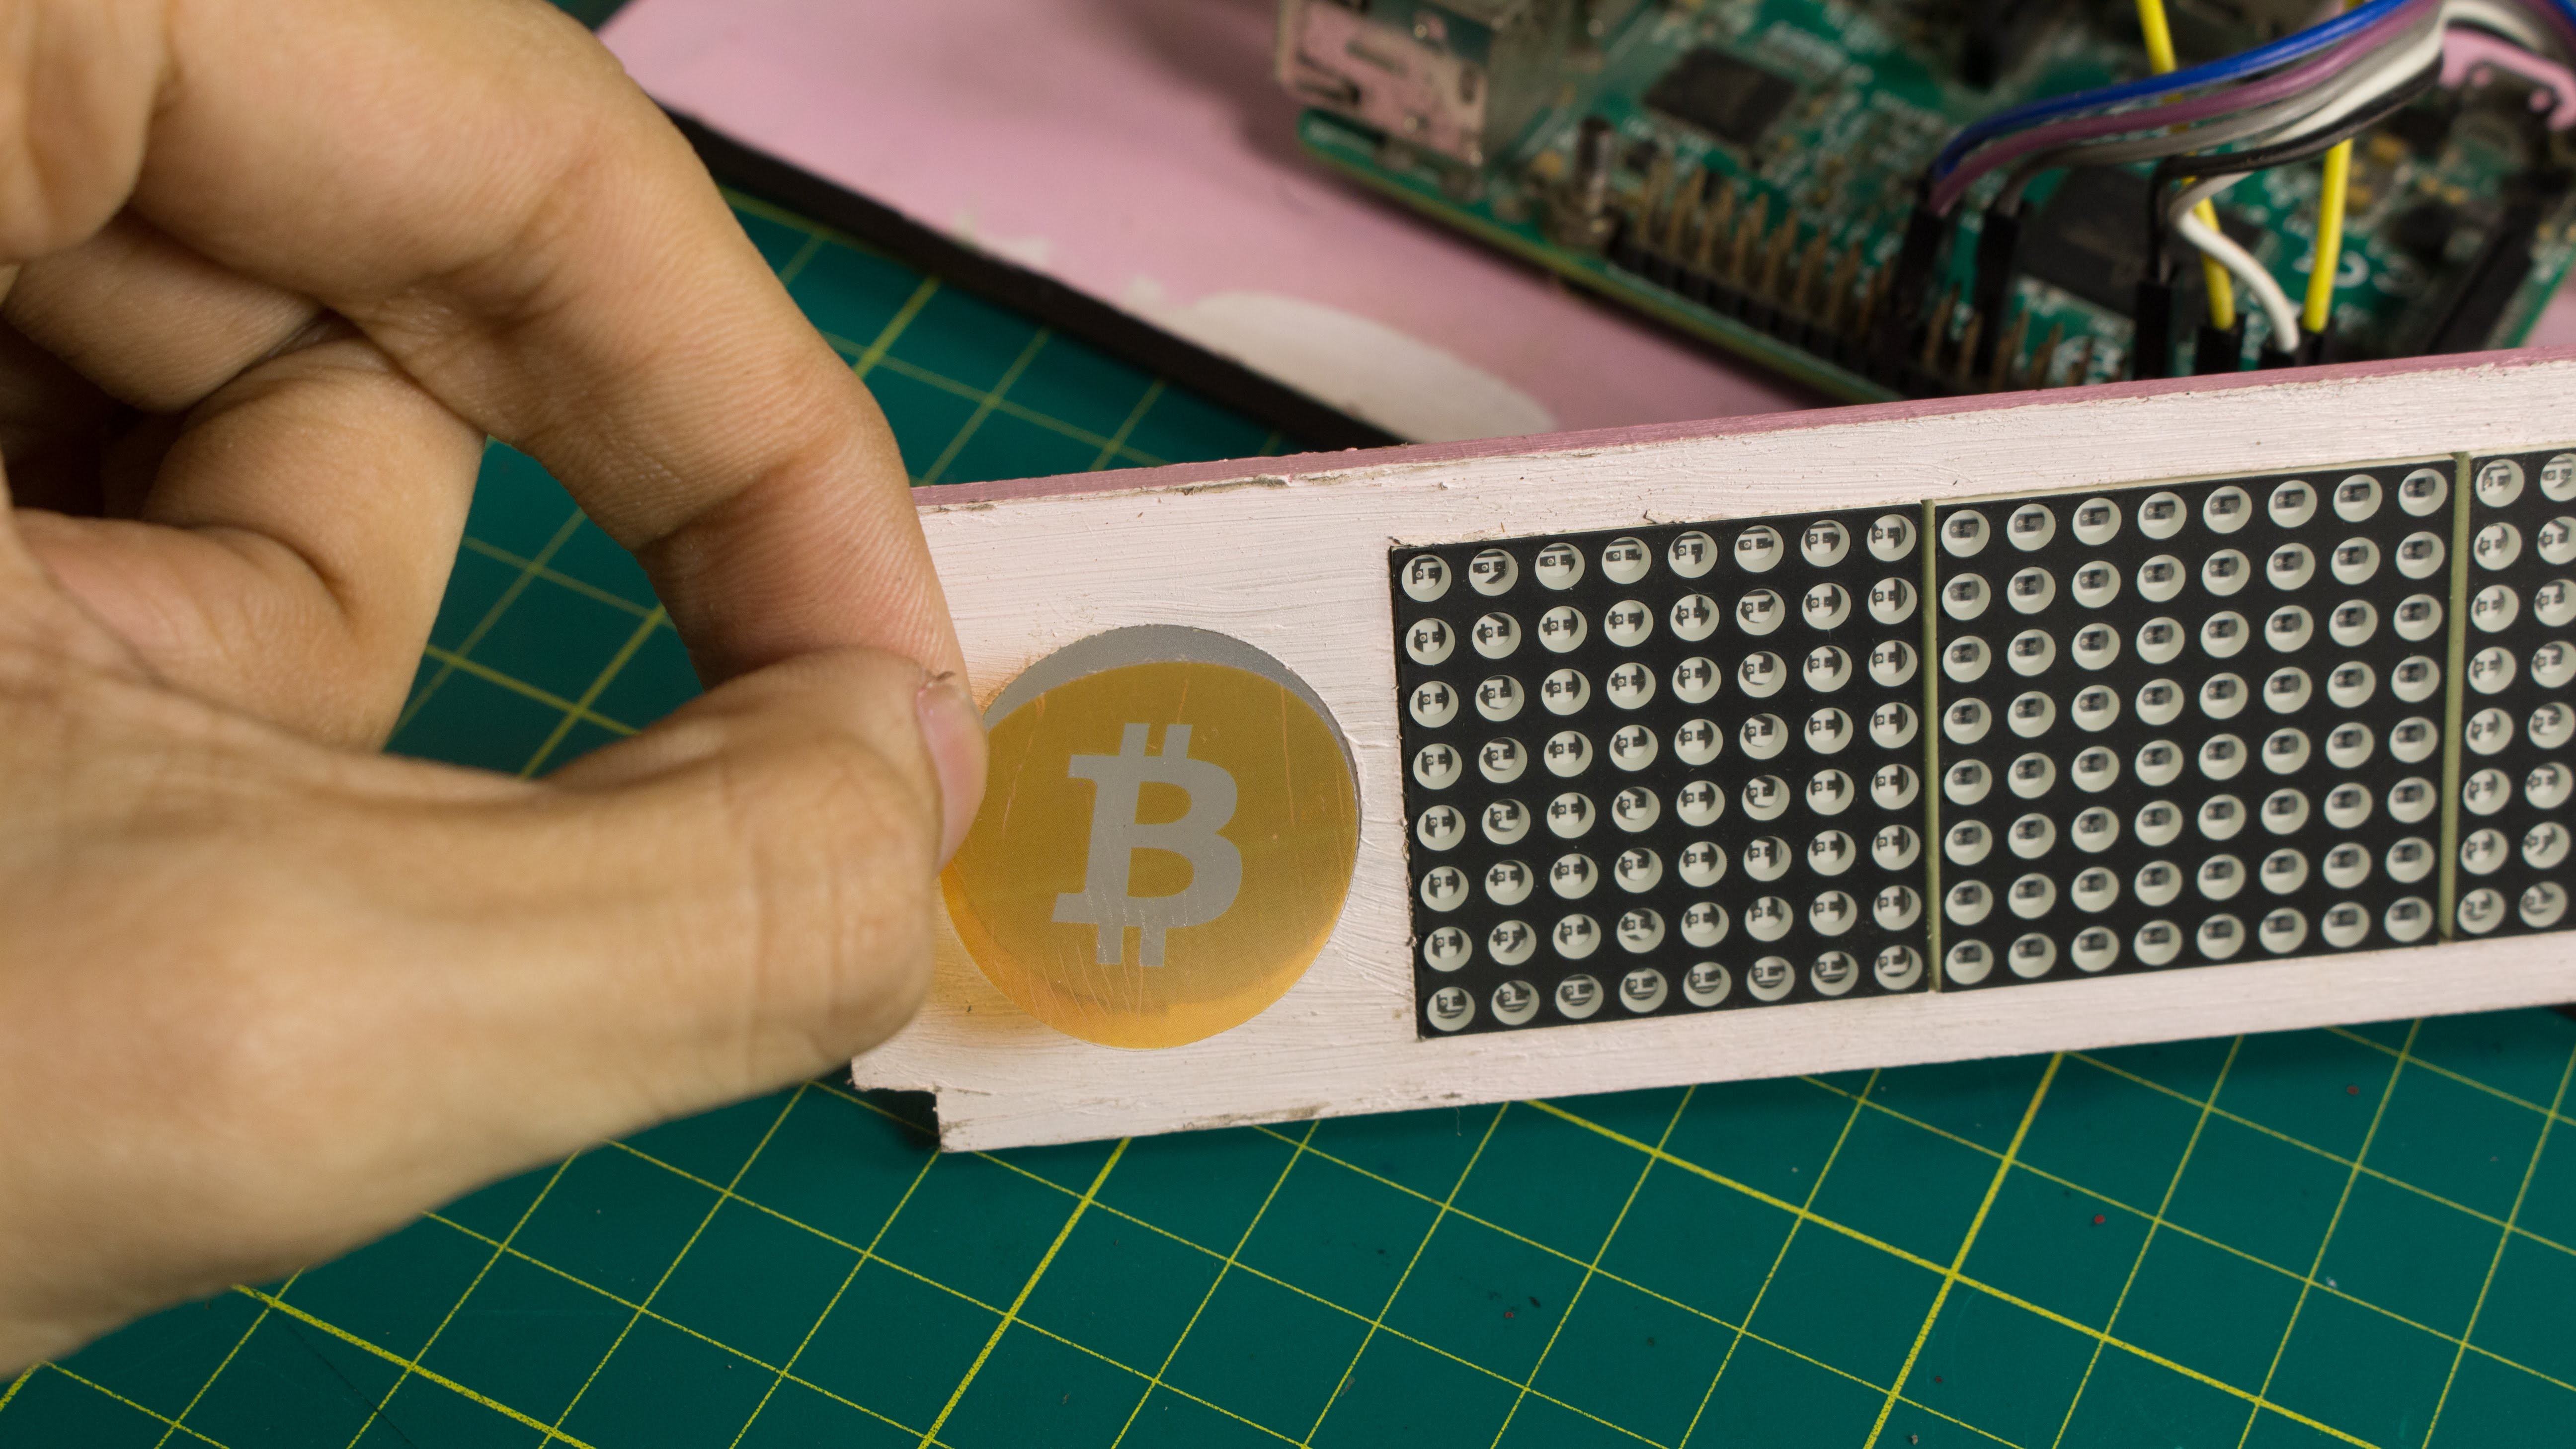
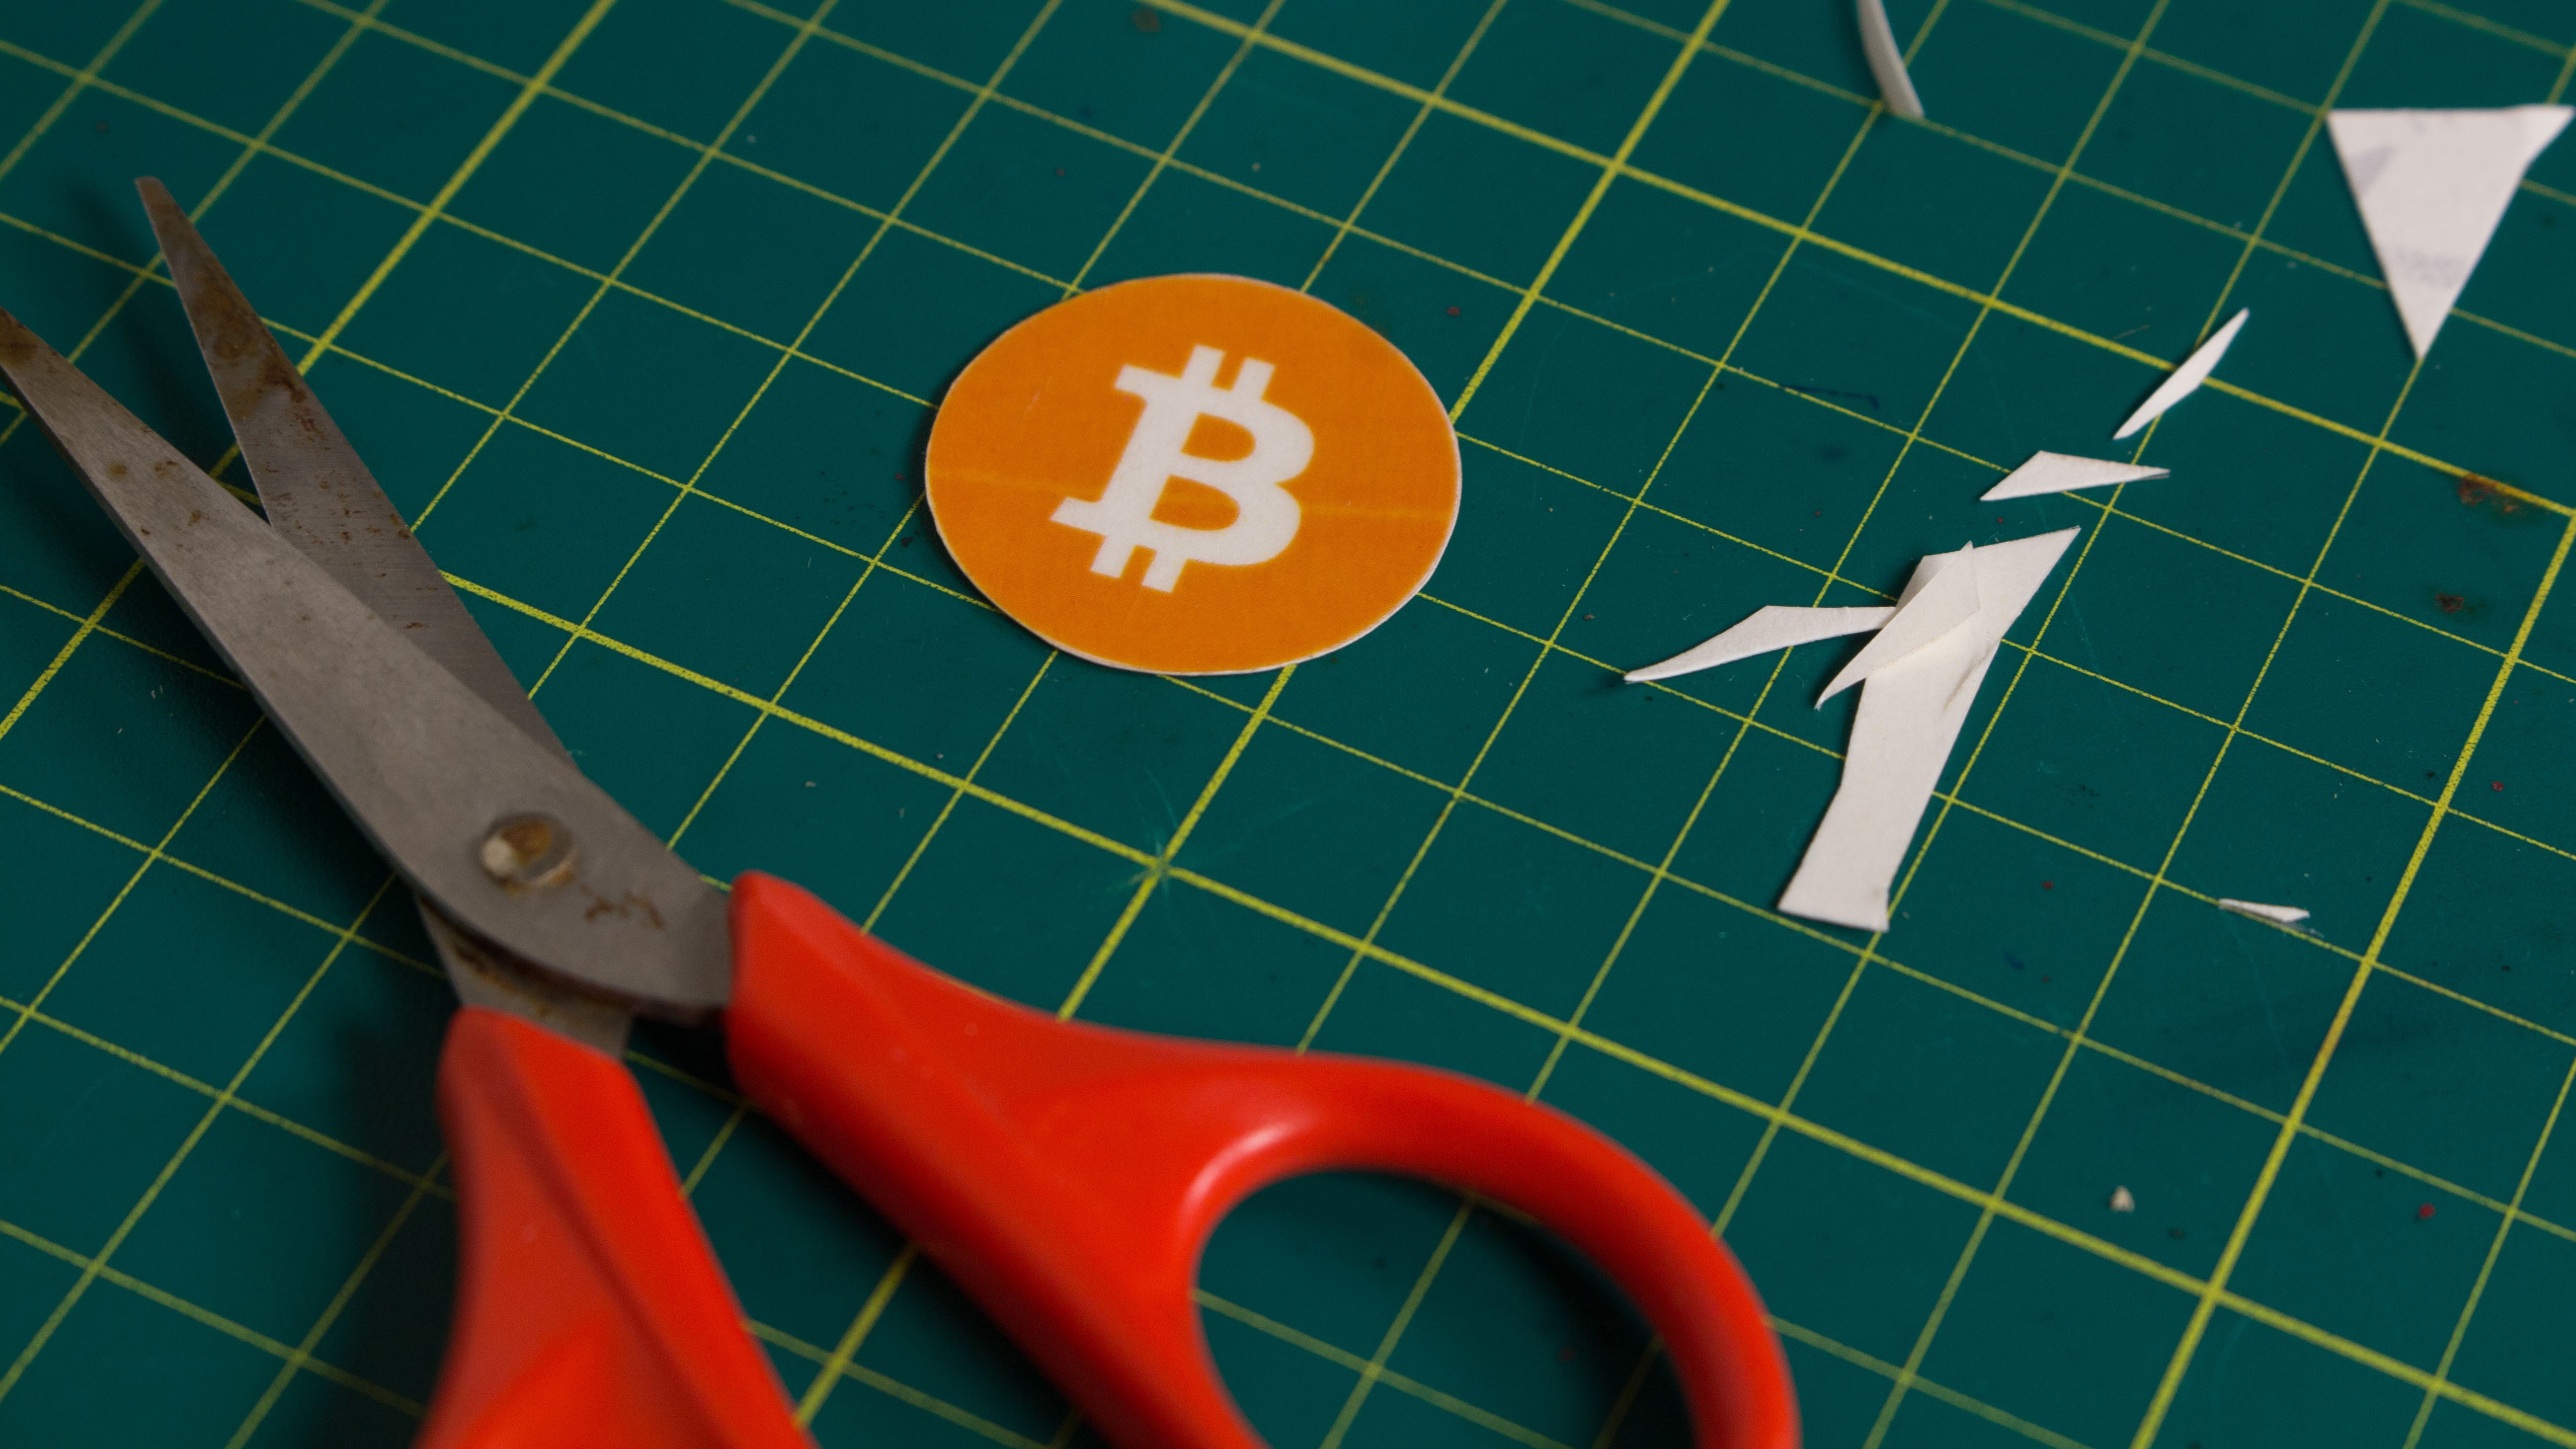
In order to make the glowing Bitcoin logo, print the Bitcoin logo onto a piece of clear sticker paper. Cut the circular logo and stick it onto the acrylic diffuser on the Front Panel of the MDF box.
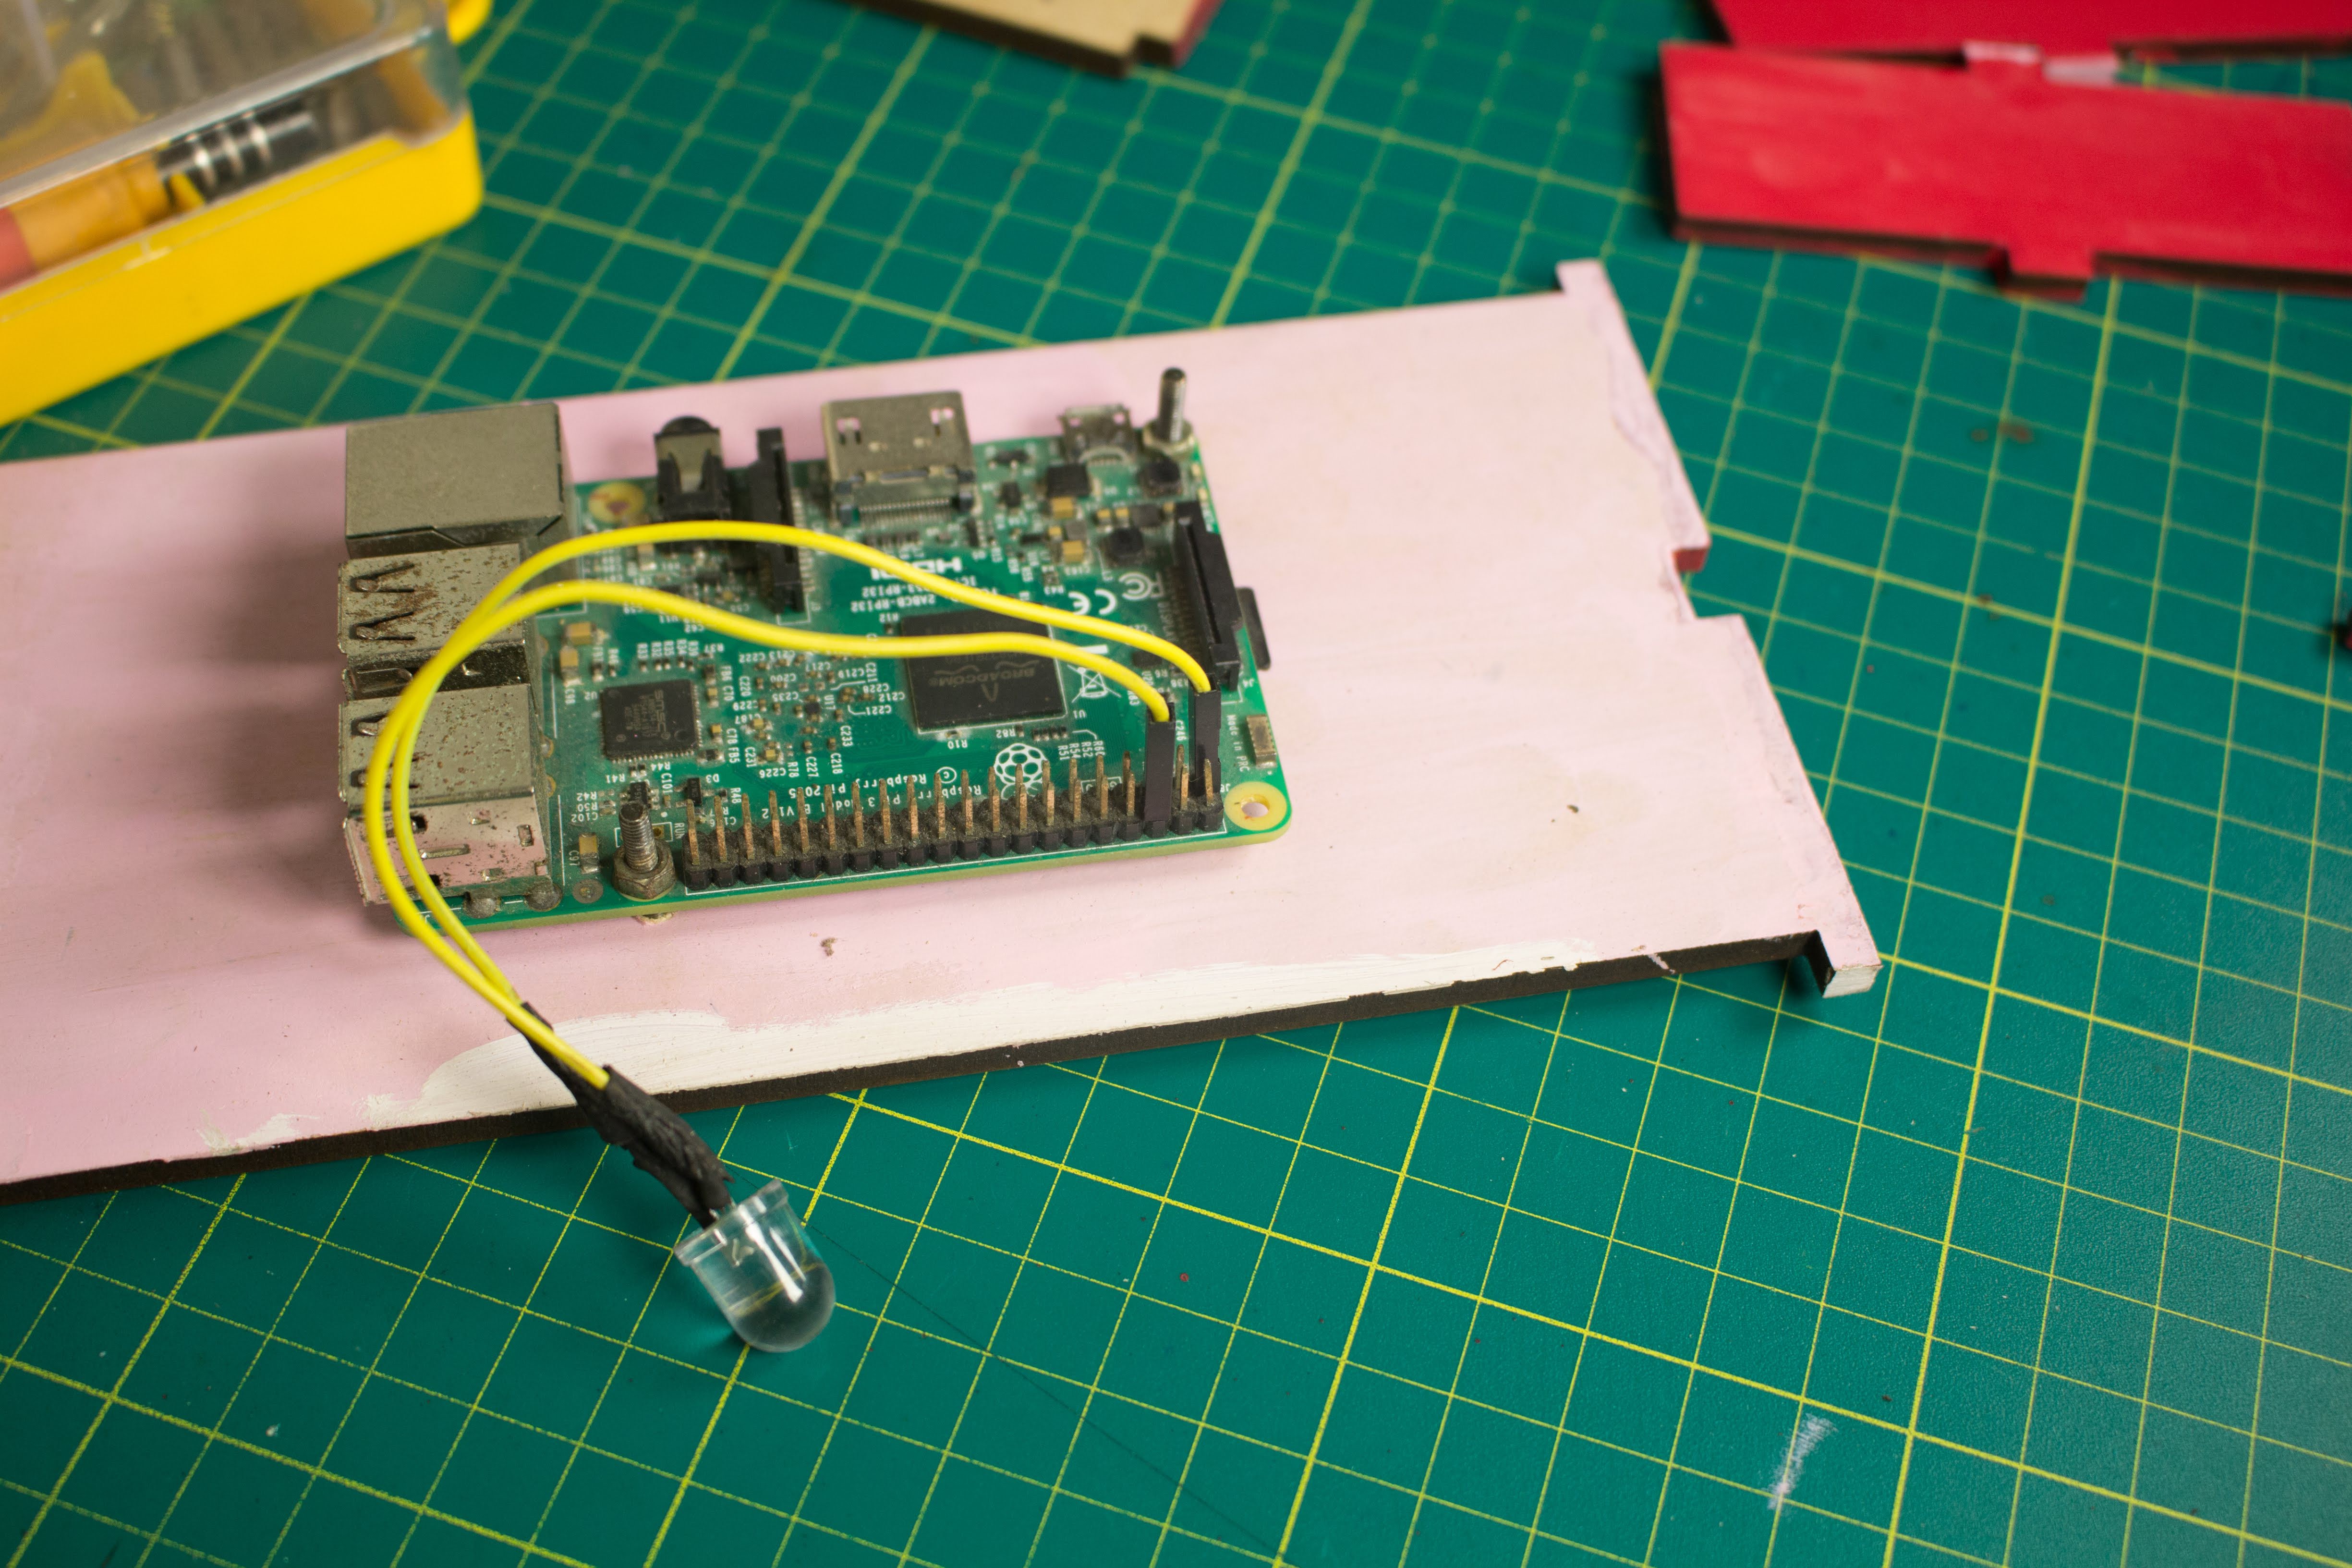
Step 9: Solder the LED
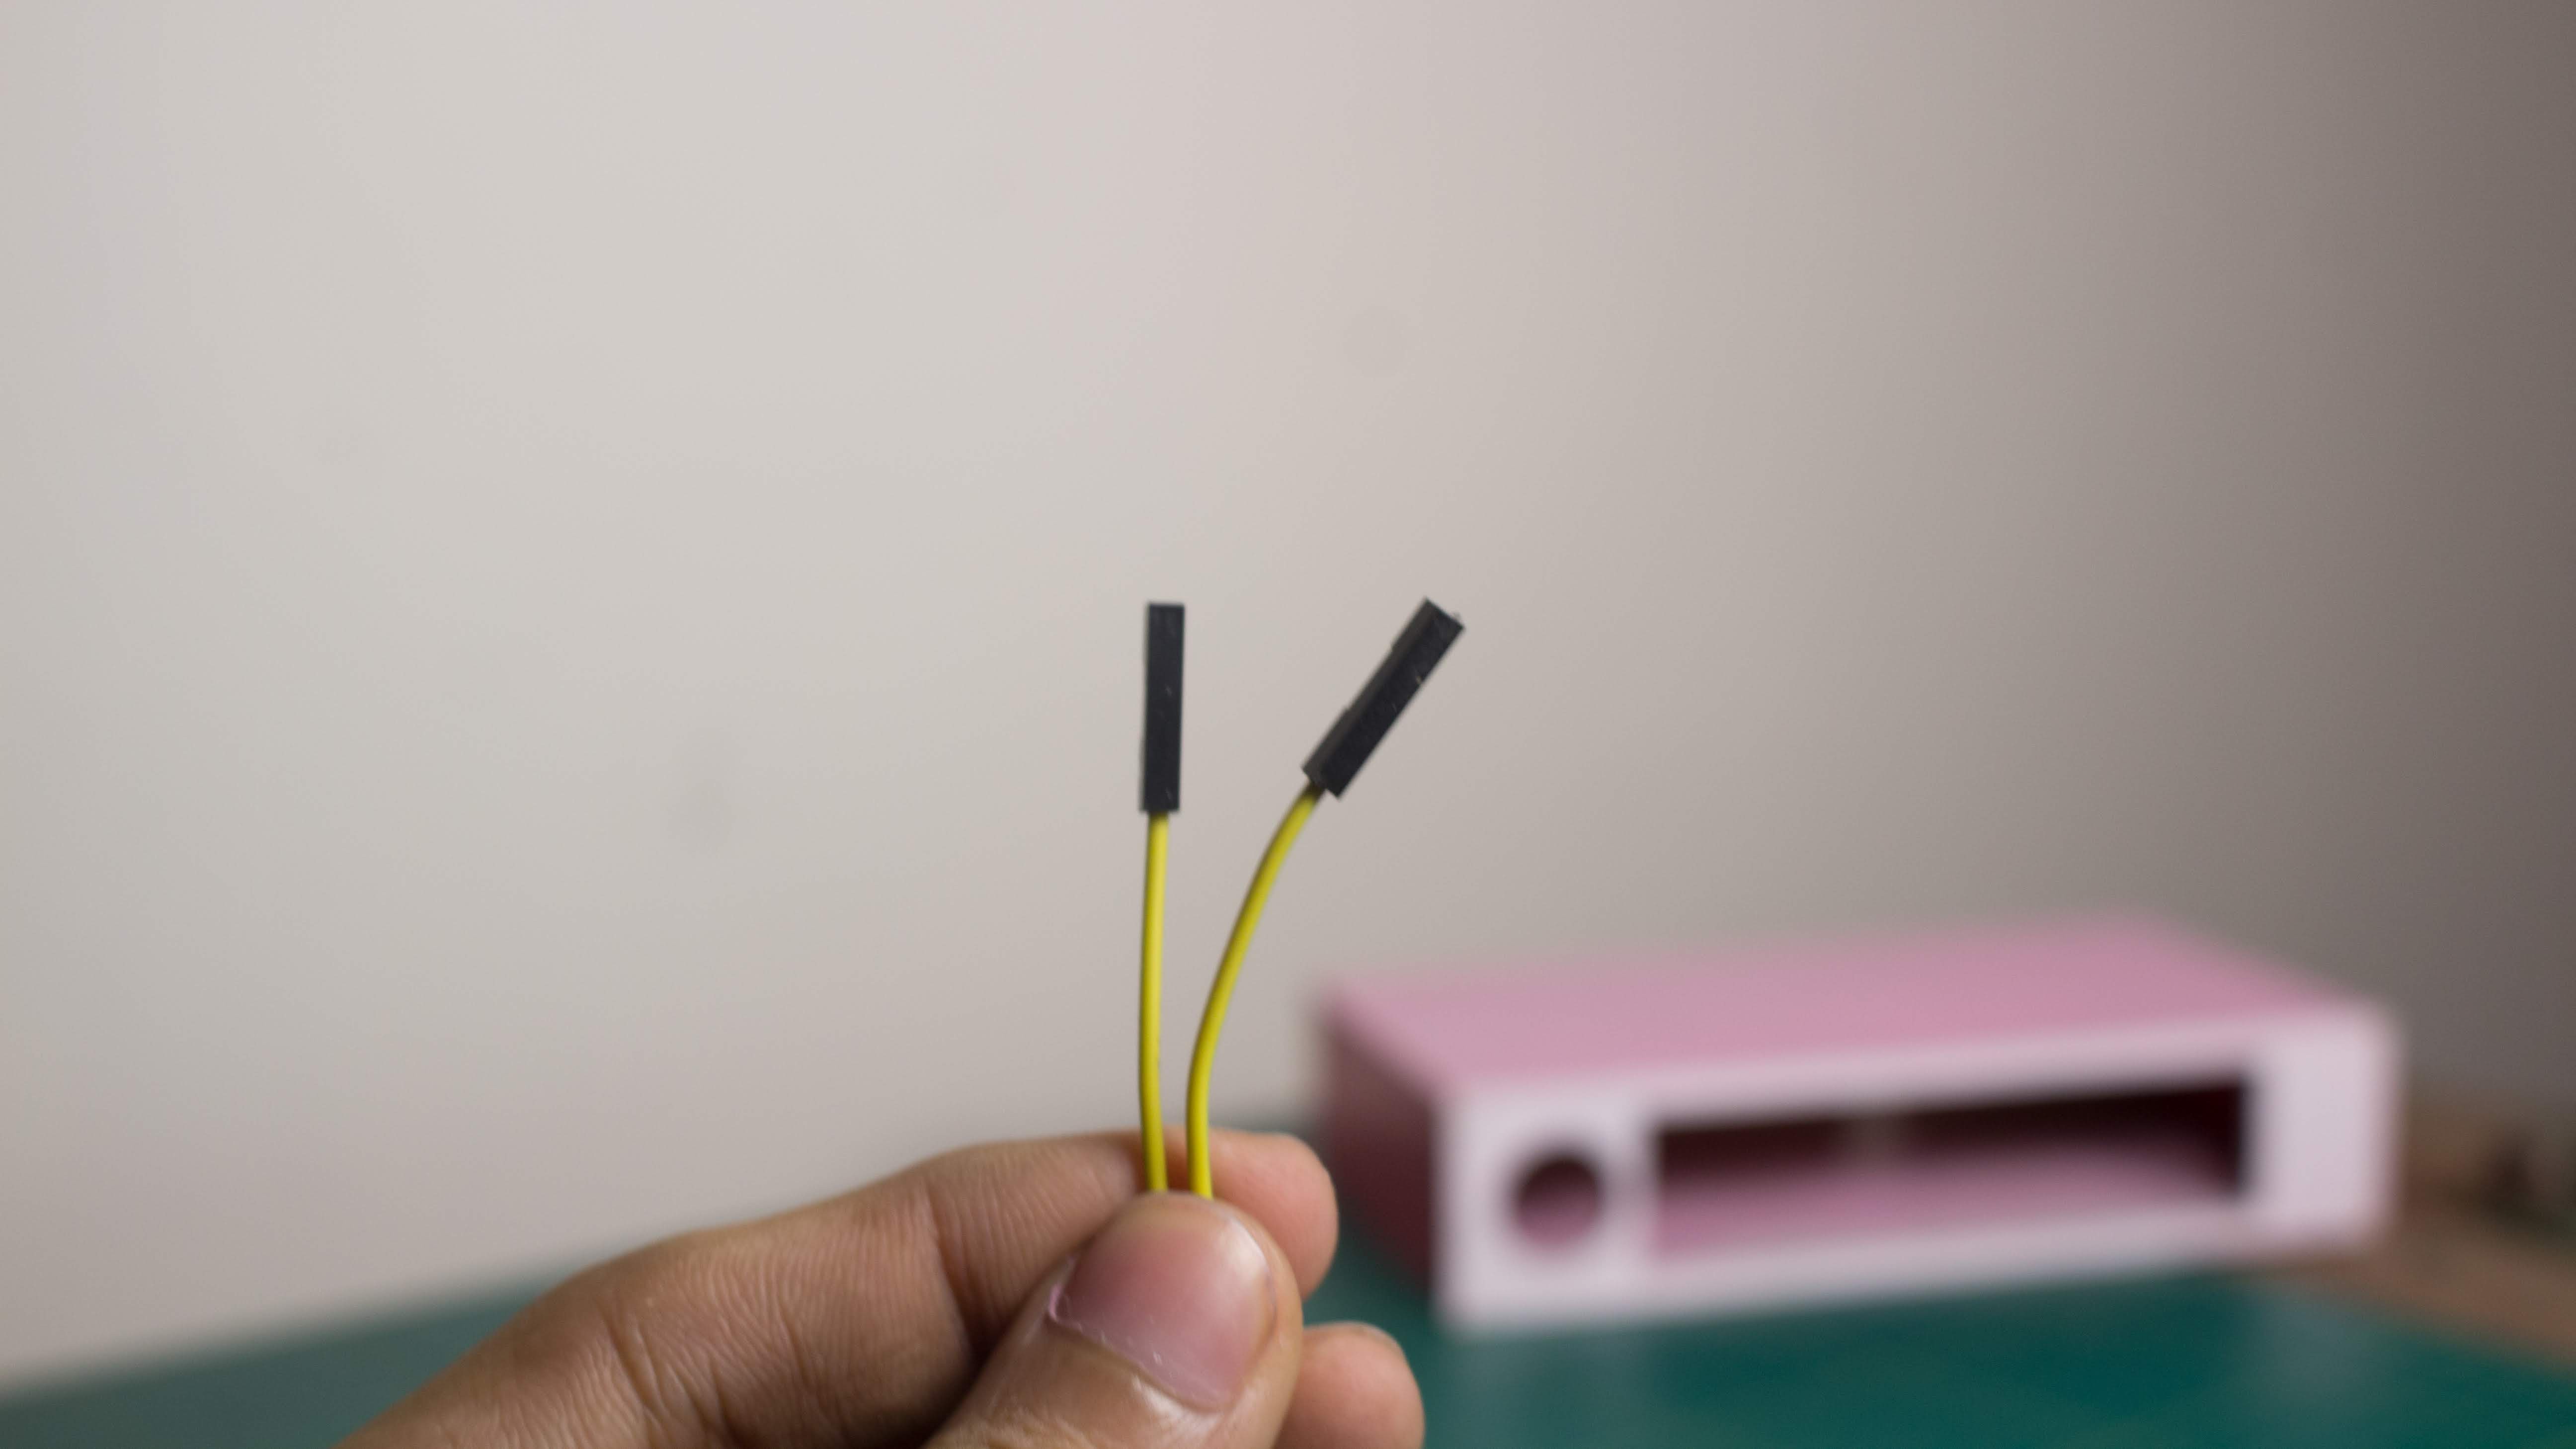
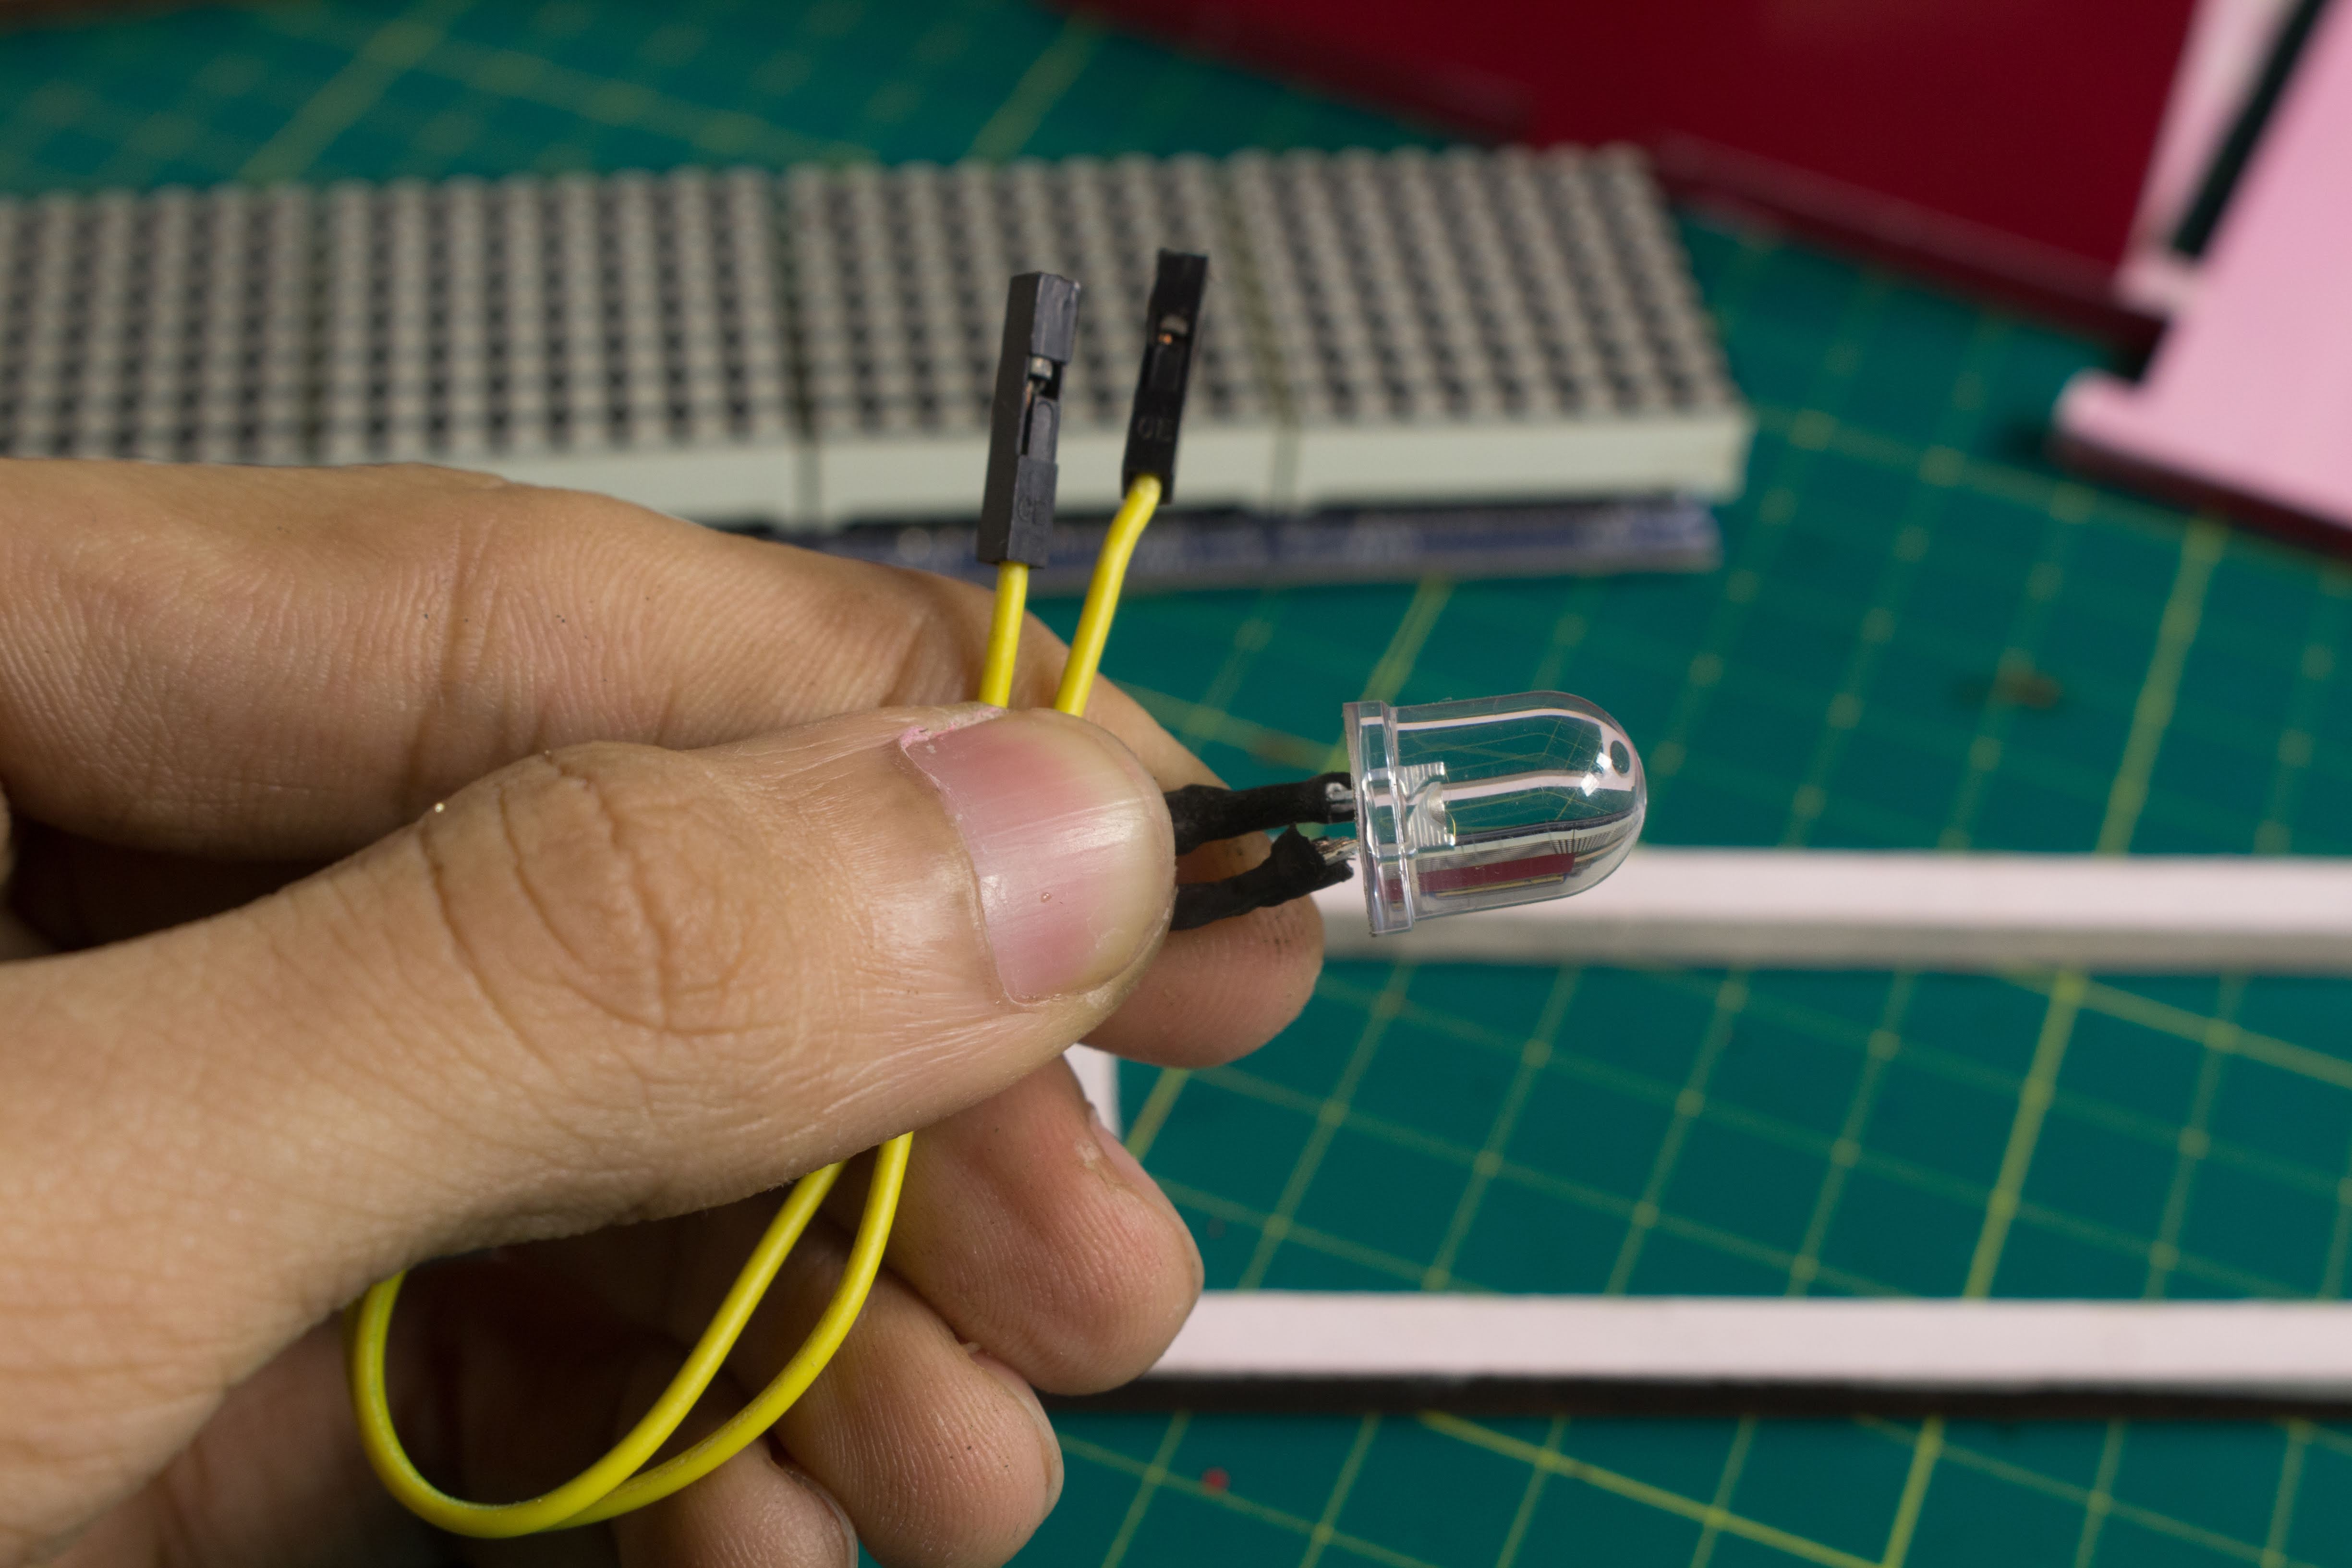
A 10mm White LED is used to light up the Bitcoin Logo through the acrylic diffuser.
I soldered two female header connectors to the LED so that it can be easily connected to the Raspberry Pi. I made sure to add a resistor between the LED's anode(+) and the +3.3V of the Raspberry Pi as shown in the Circuit Schematic.
I sealed the soldered joint with a small piece of heatshrink.
Step 10: Mount the Raspberry Pi
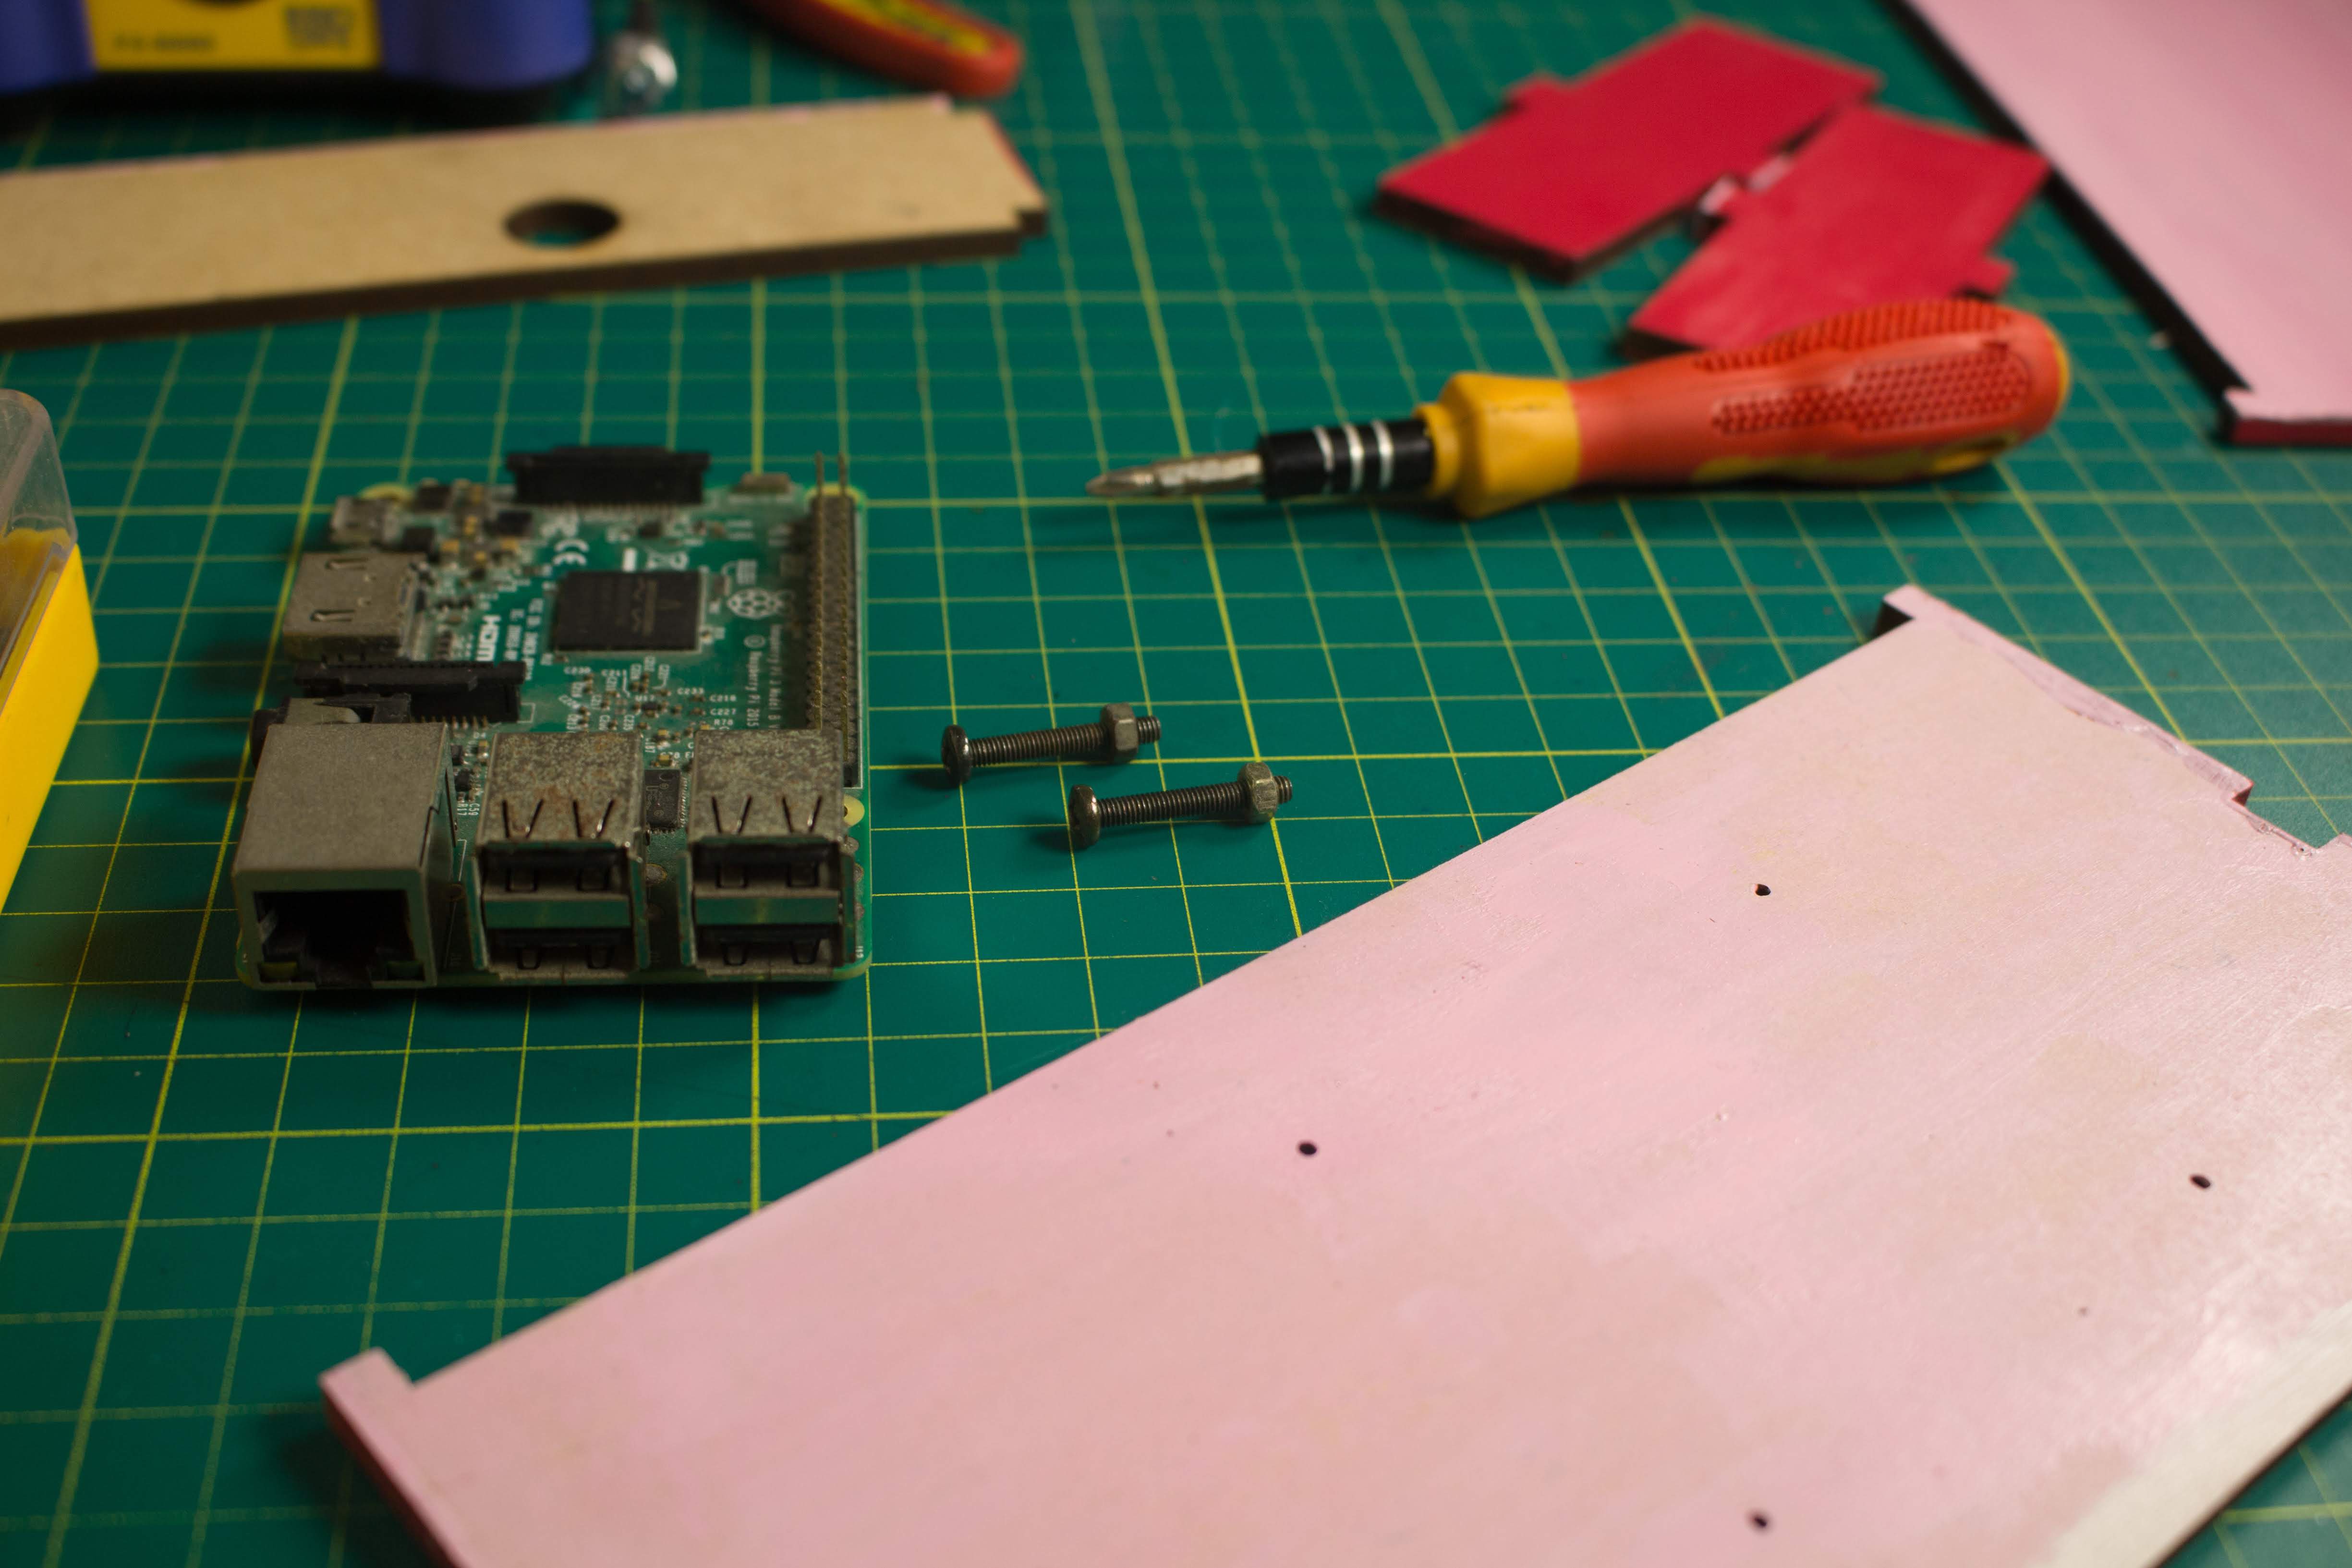
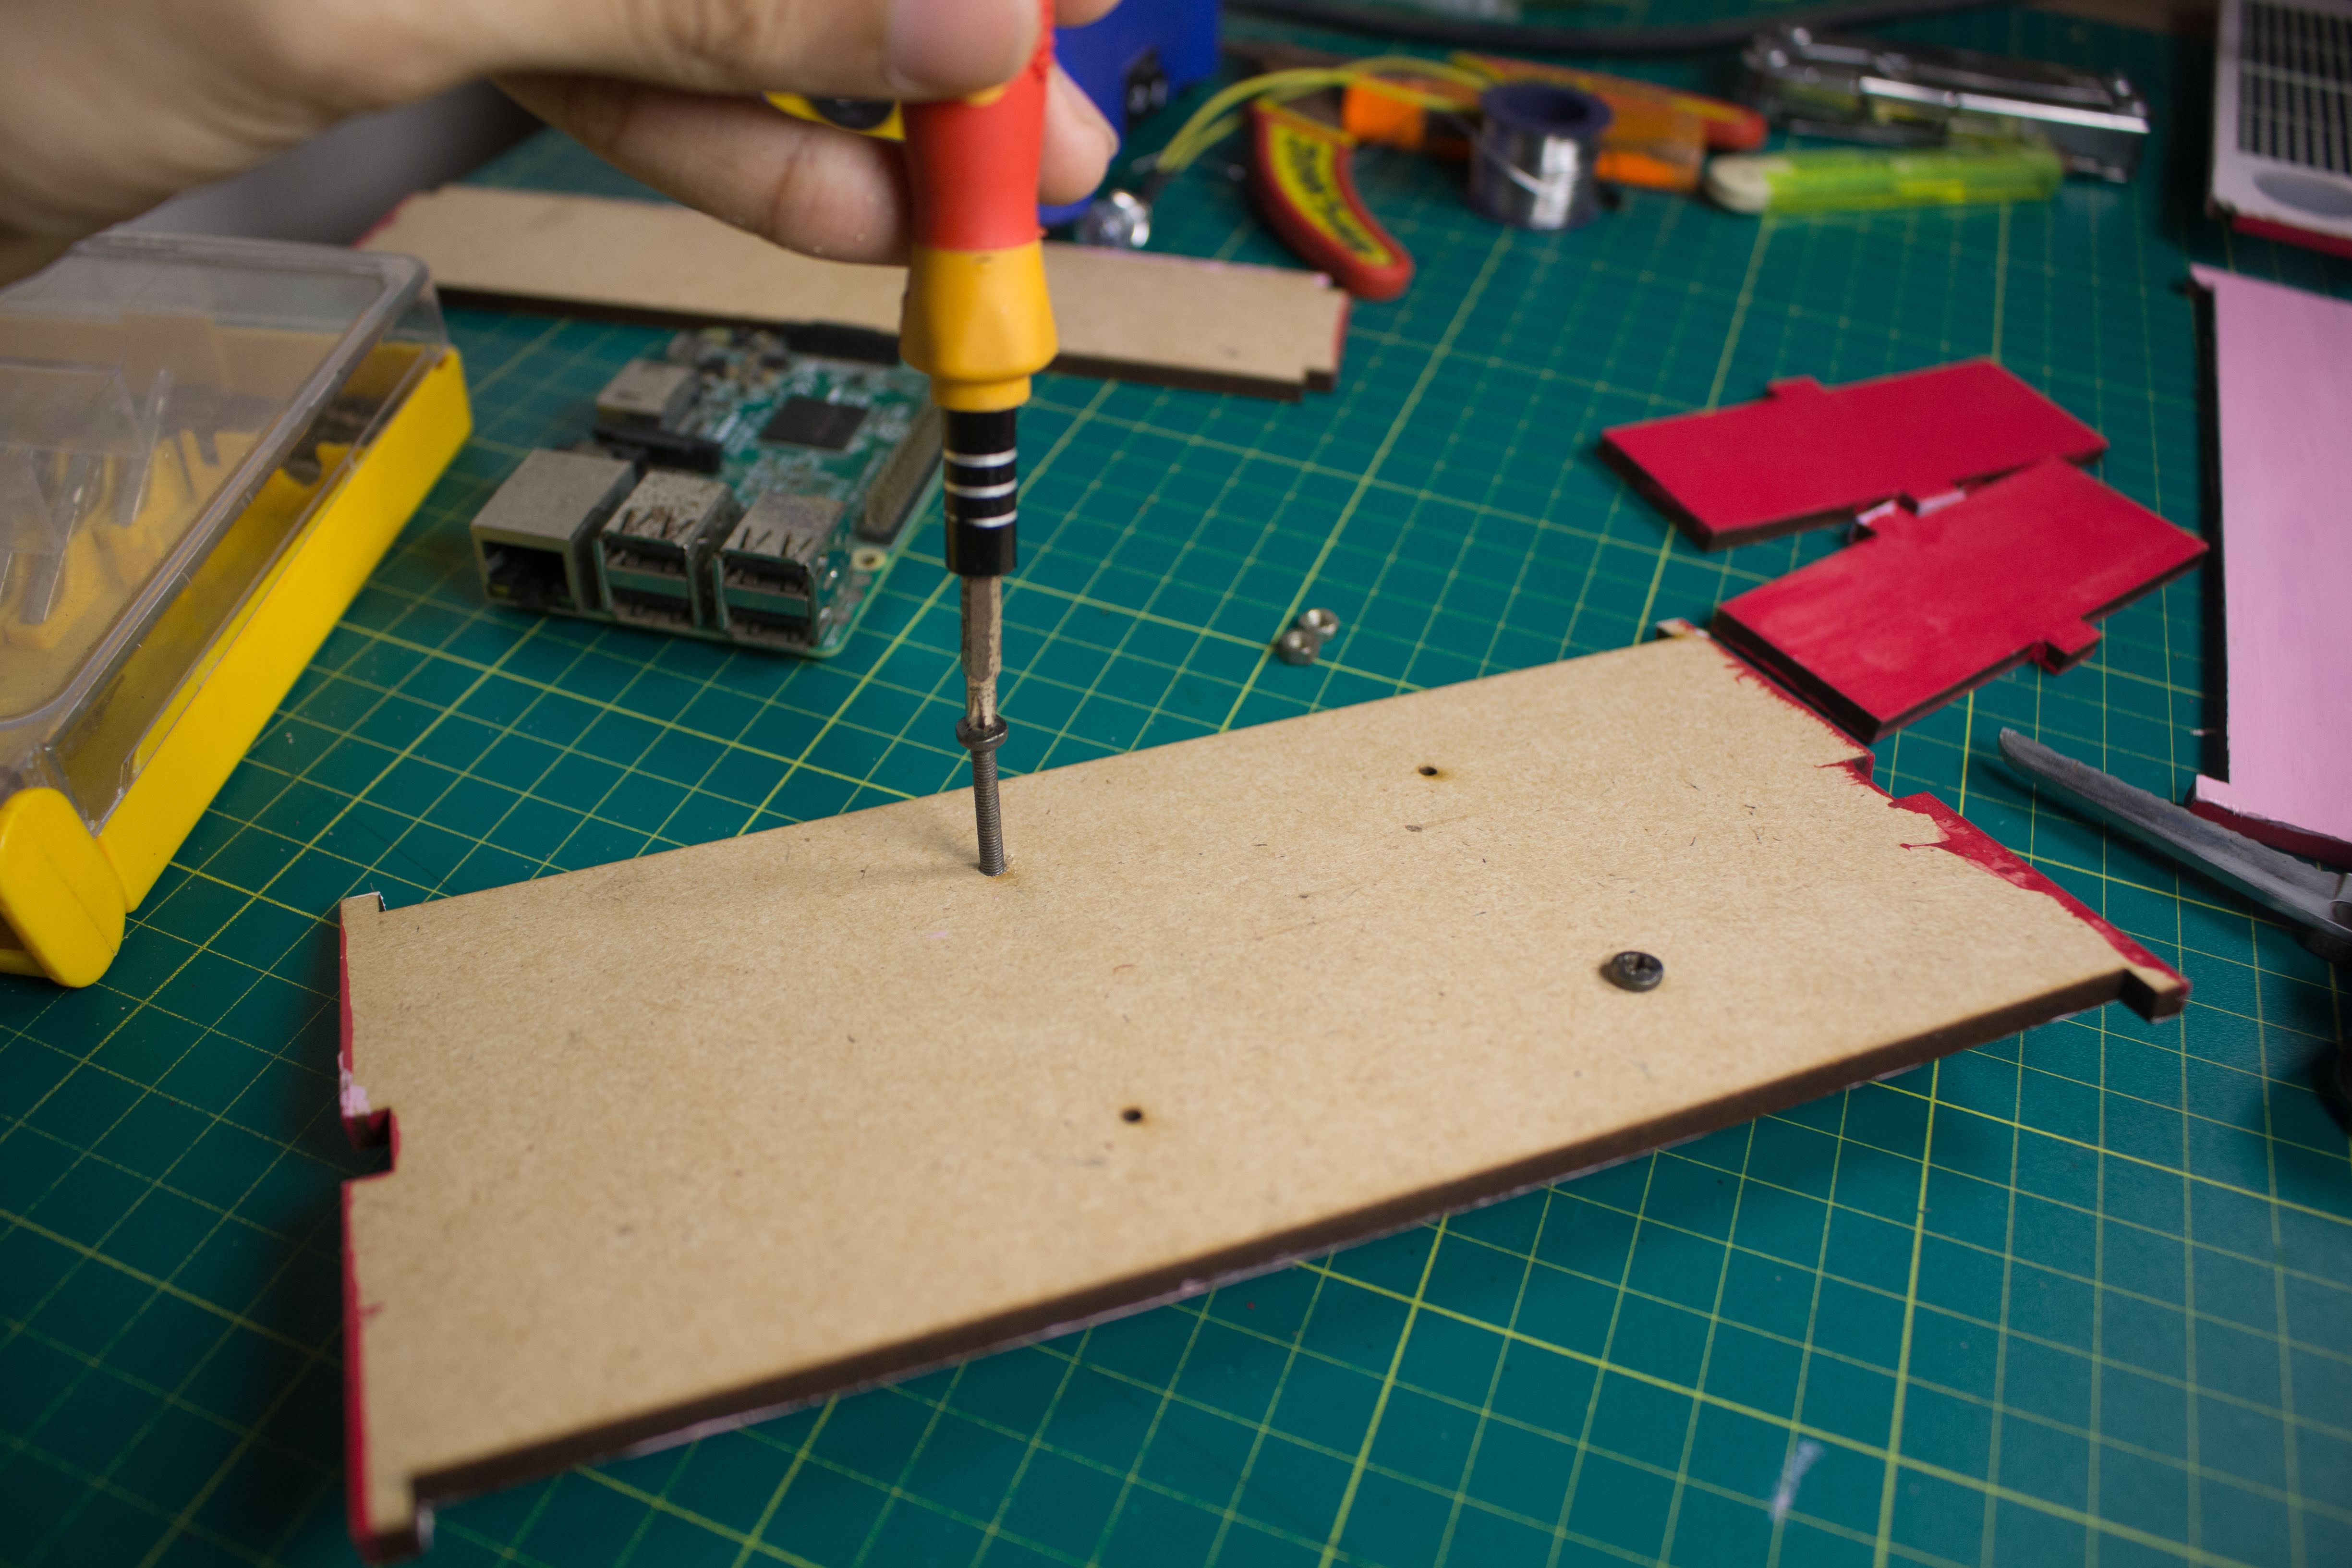

I used nuts & bolts to mount the Raspberry Pi 3 to the Bottom Panel of the MDF Box. This panel has 4 holes that are laser cut into it such that the micro-USB port of the Raspberry Pi 3 aligns perfectly with the slot cut out in the Back Panel of the MDF box meant for the USB power adapter's cable. I will also include the Laser cutting files for the Raspberry Pi Zero in the future.
Step 11: Connect the Electronics
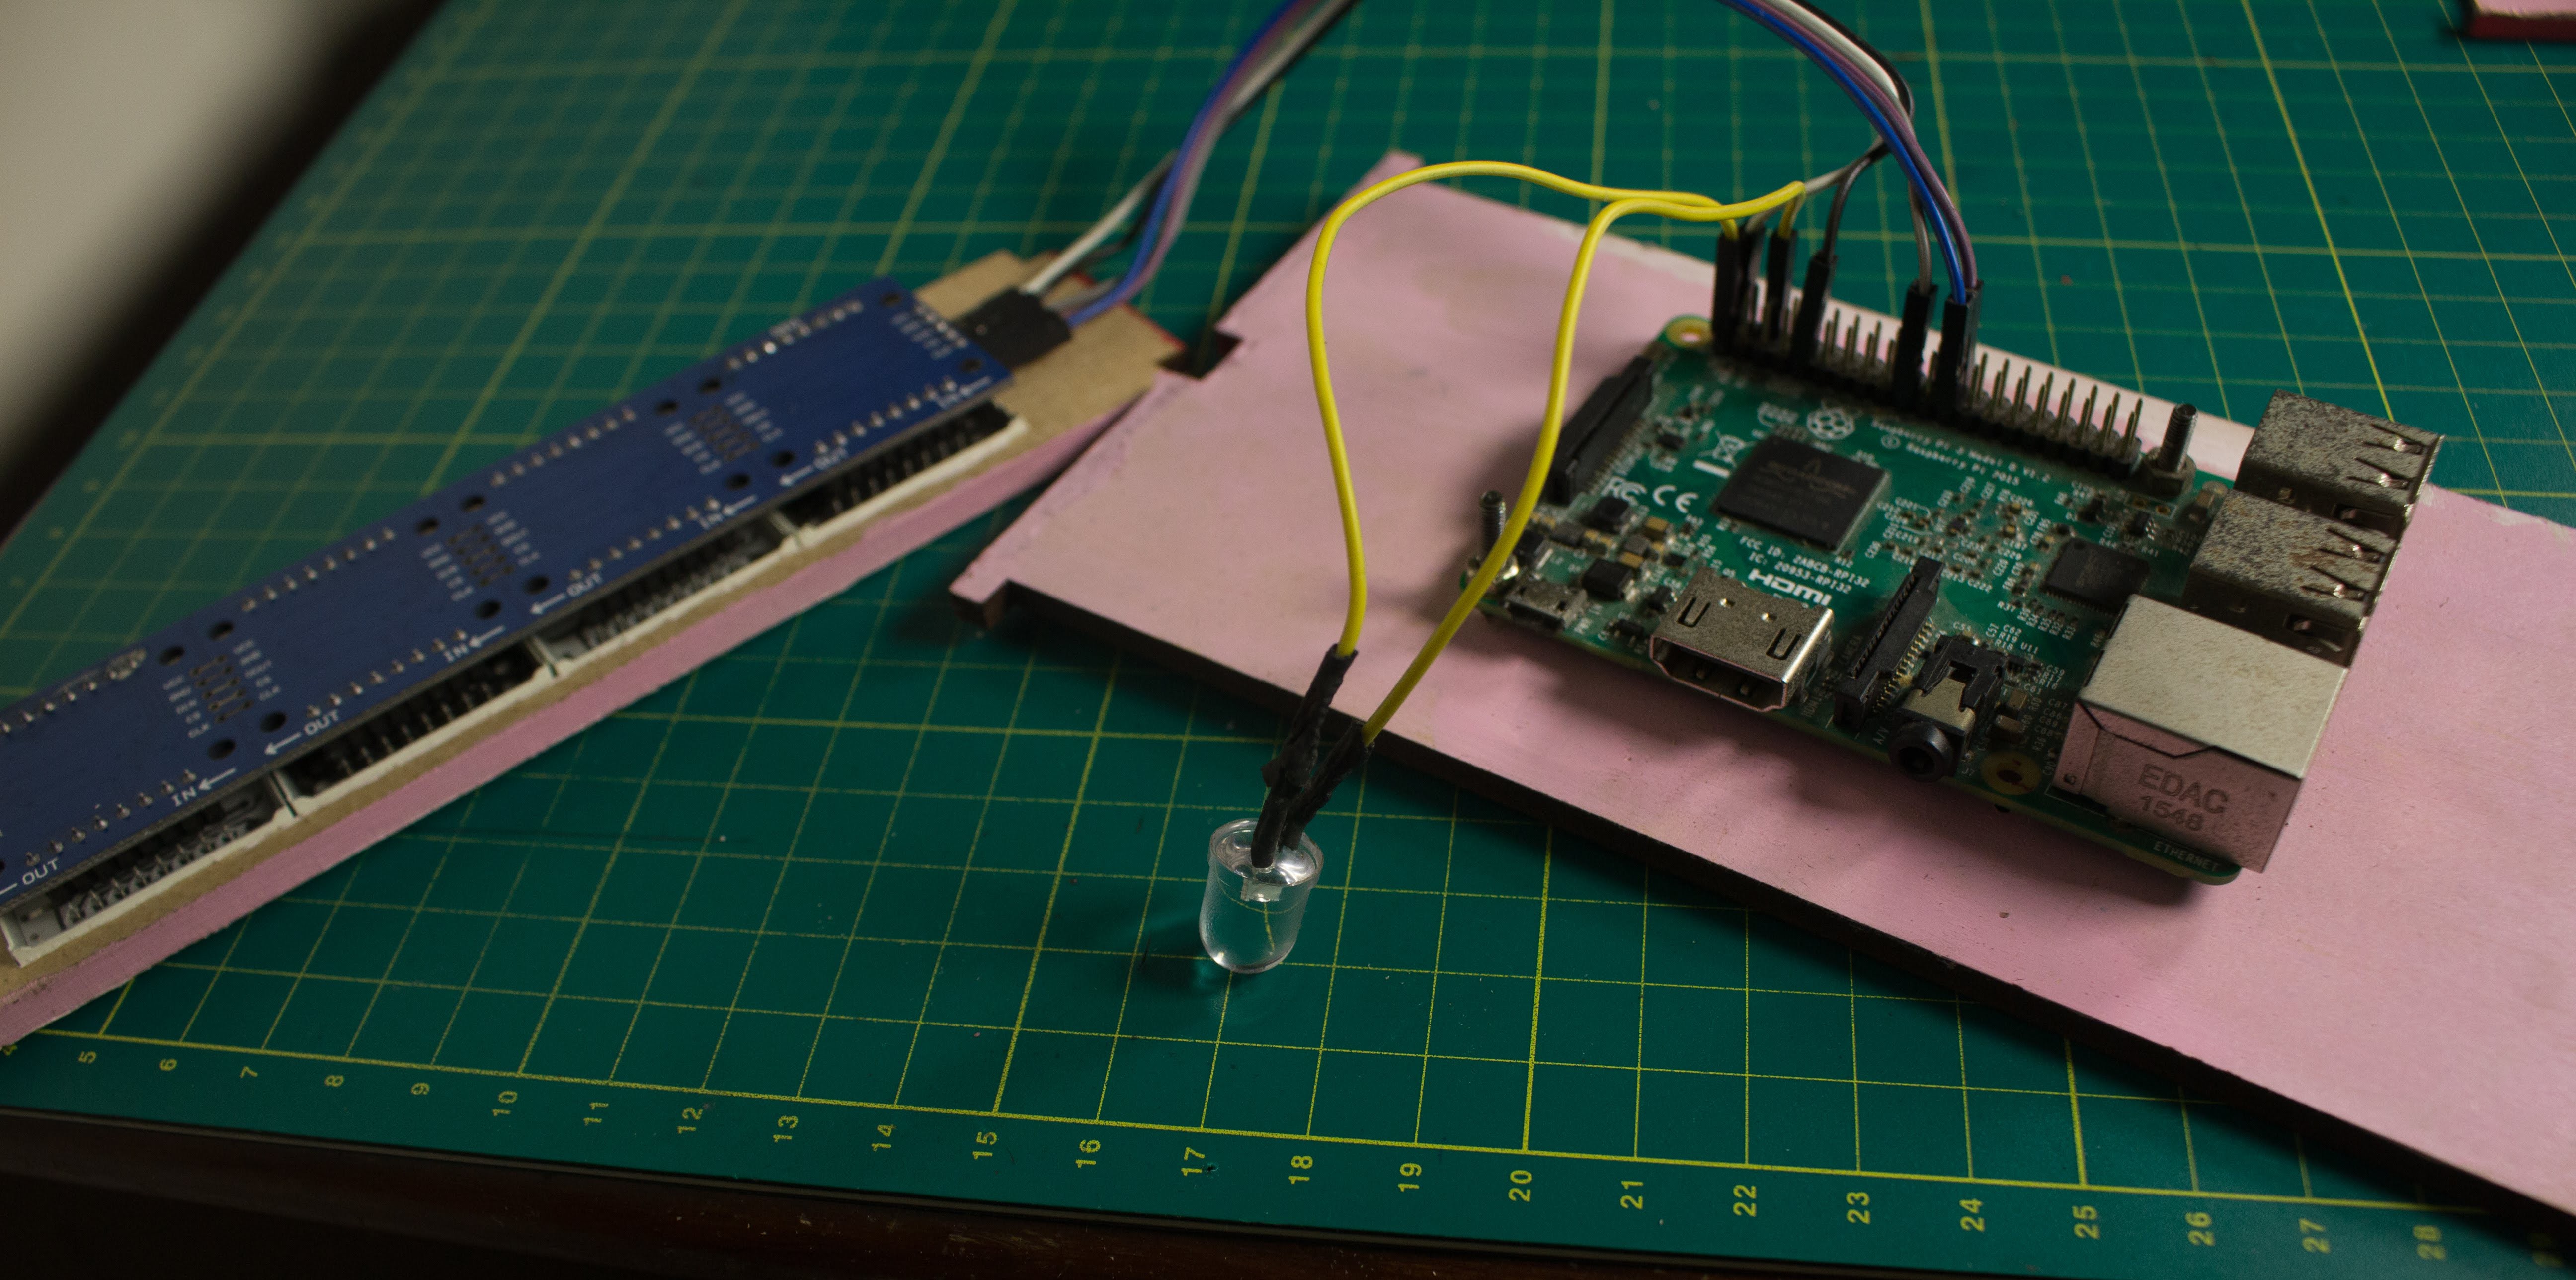
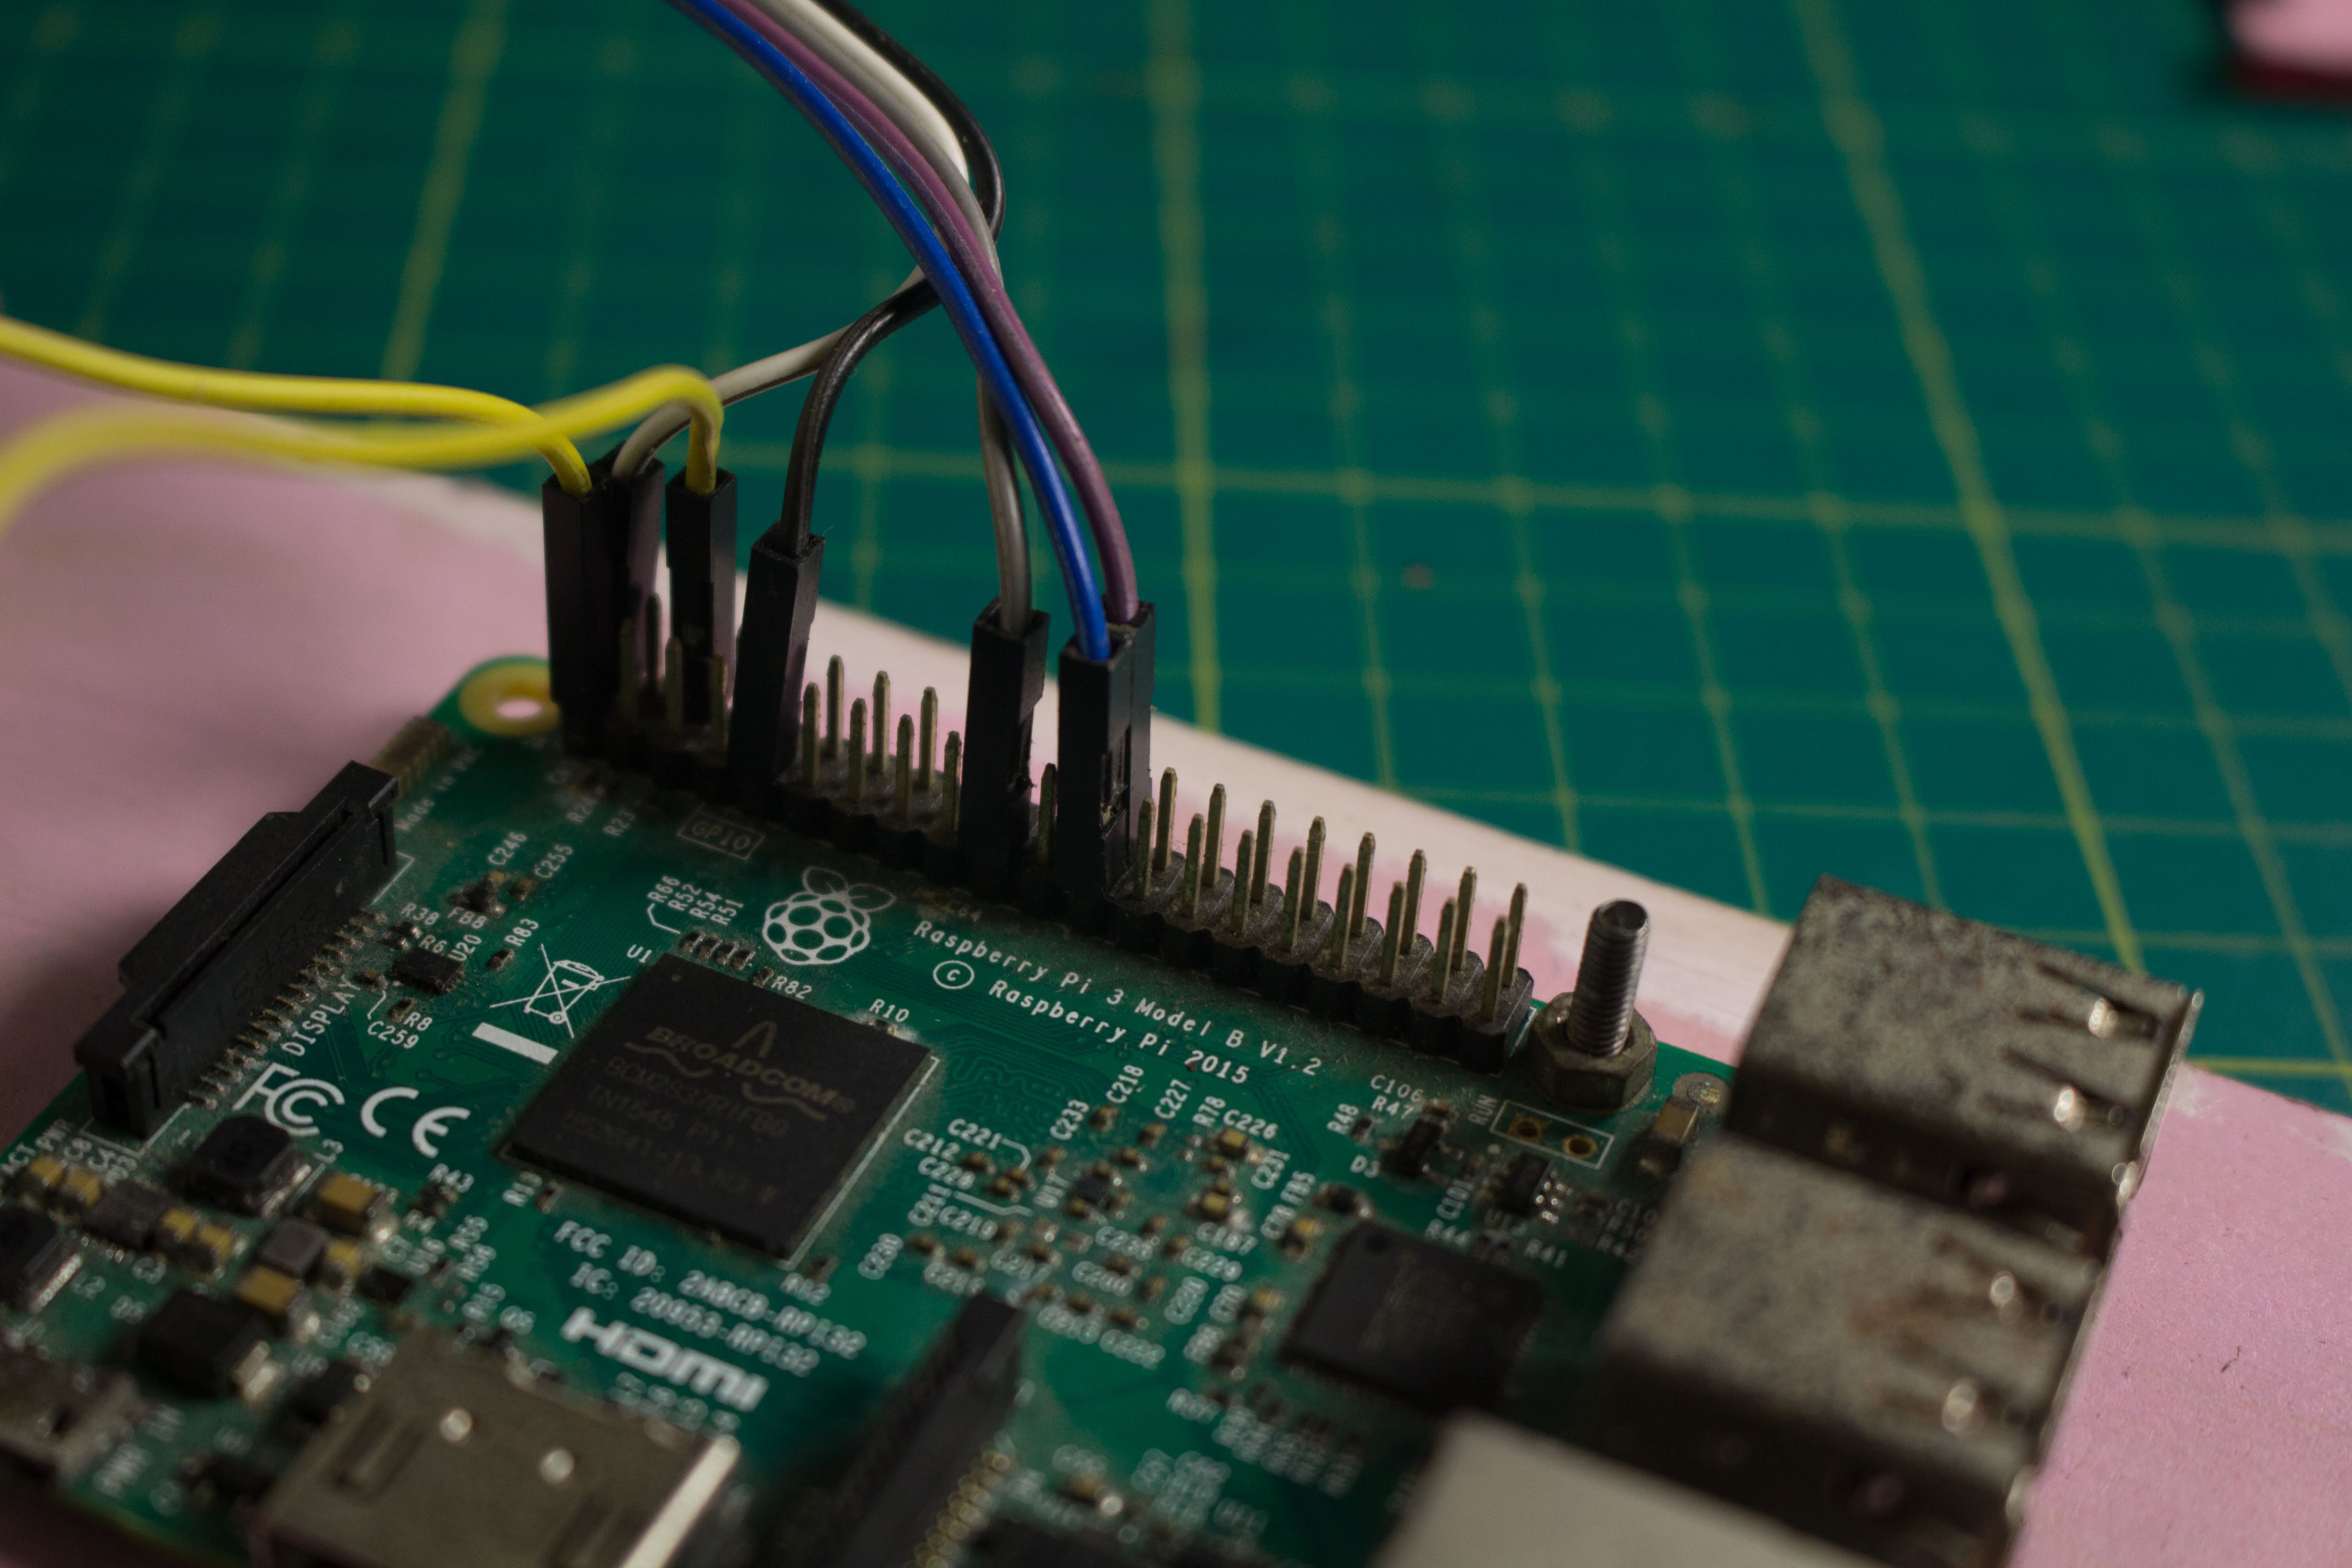
As shown in the Schematic, I connected the 10mm LED to the Raspberry Pi and also connected the LED Matrix Display to the SPI pins of the Raspberry Pi.
Step 12: Stick the LED
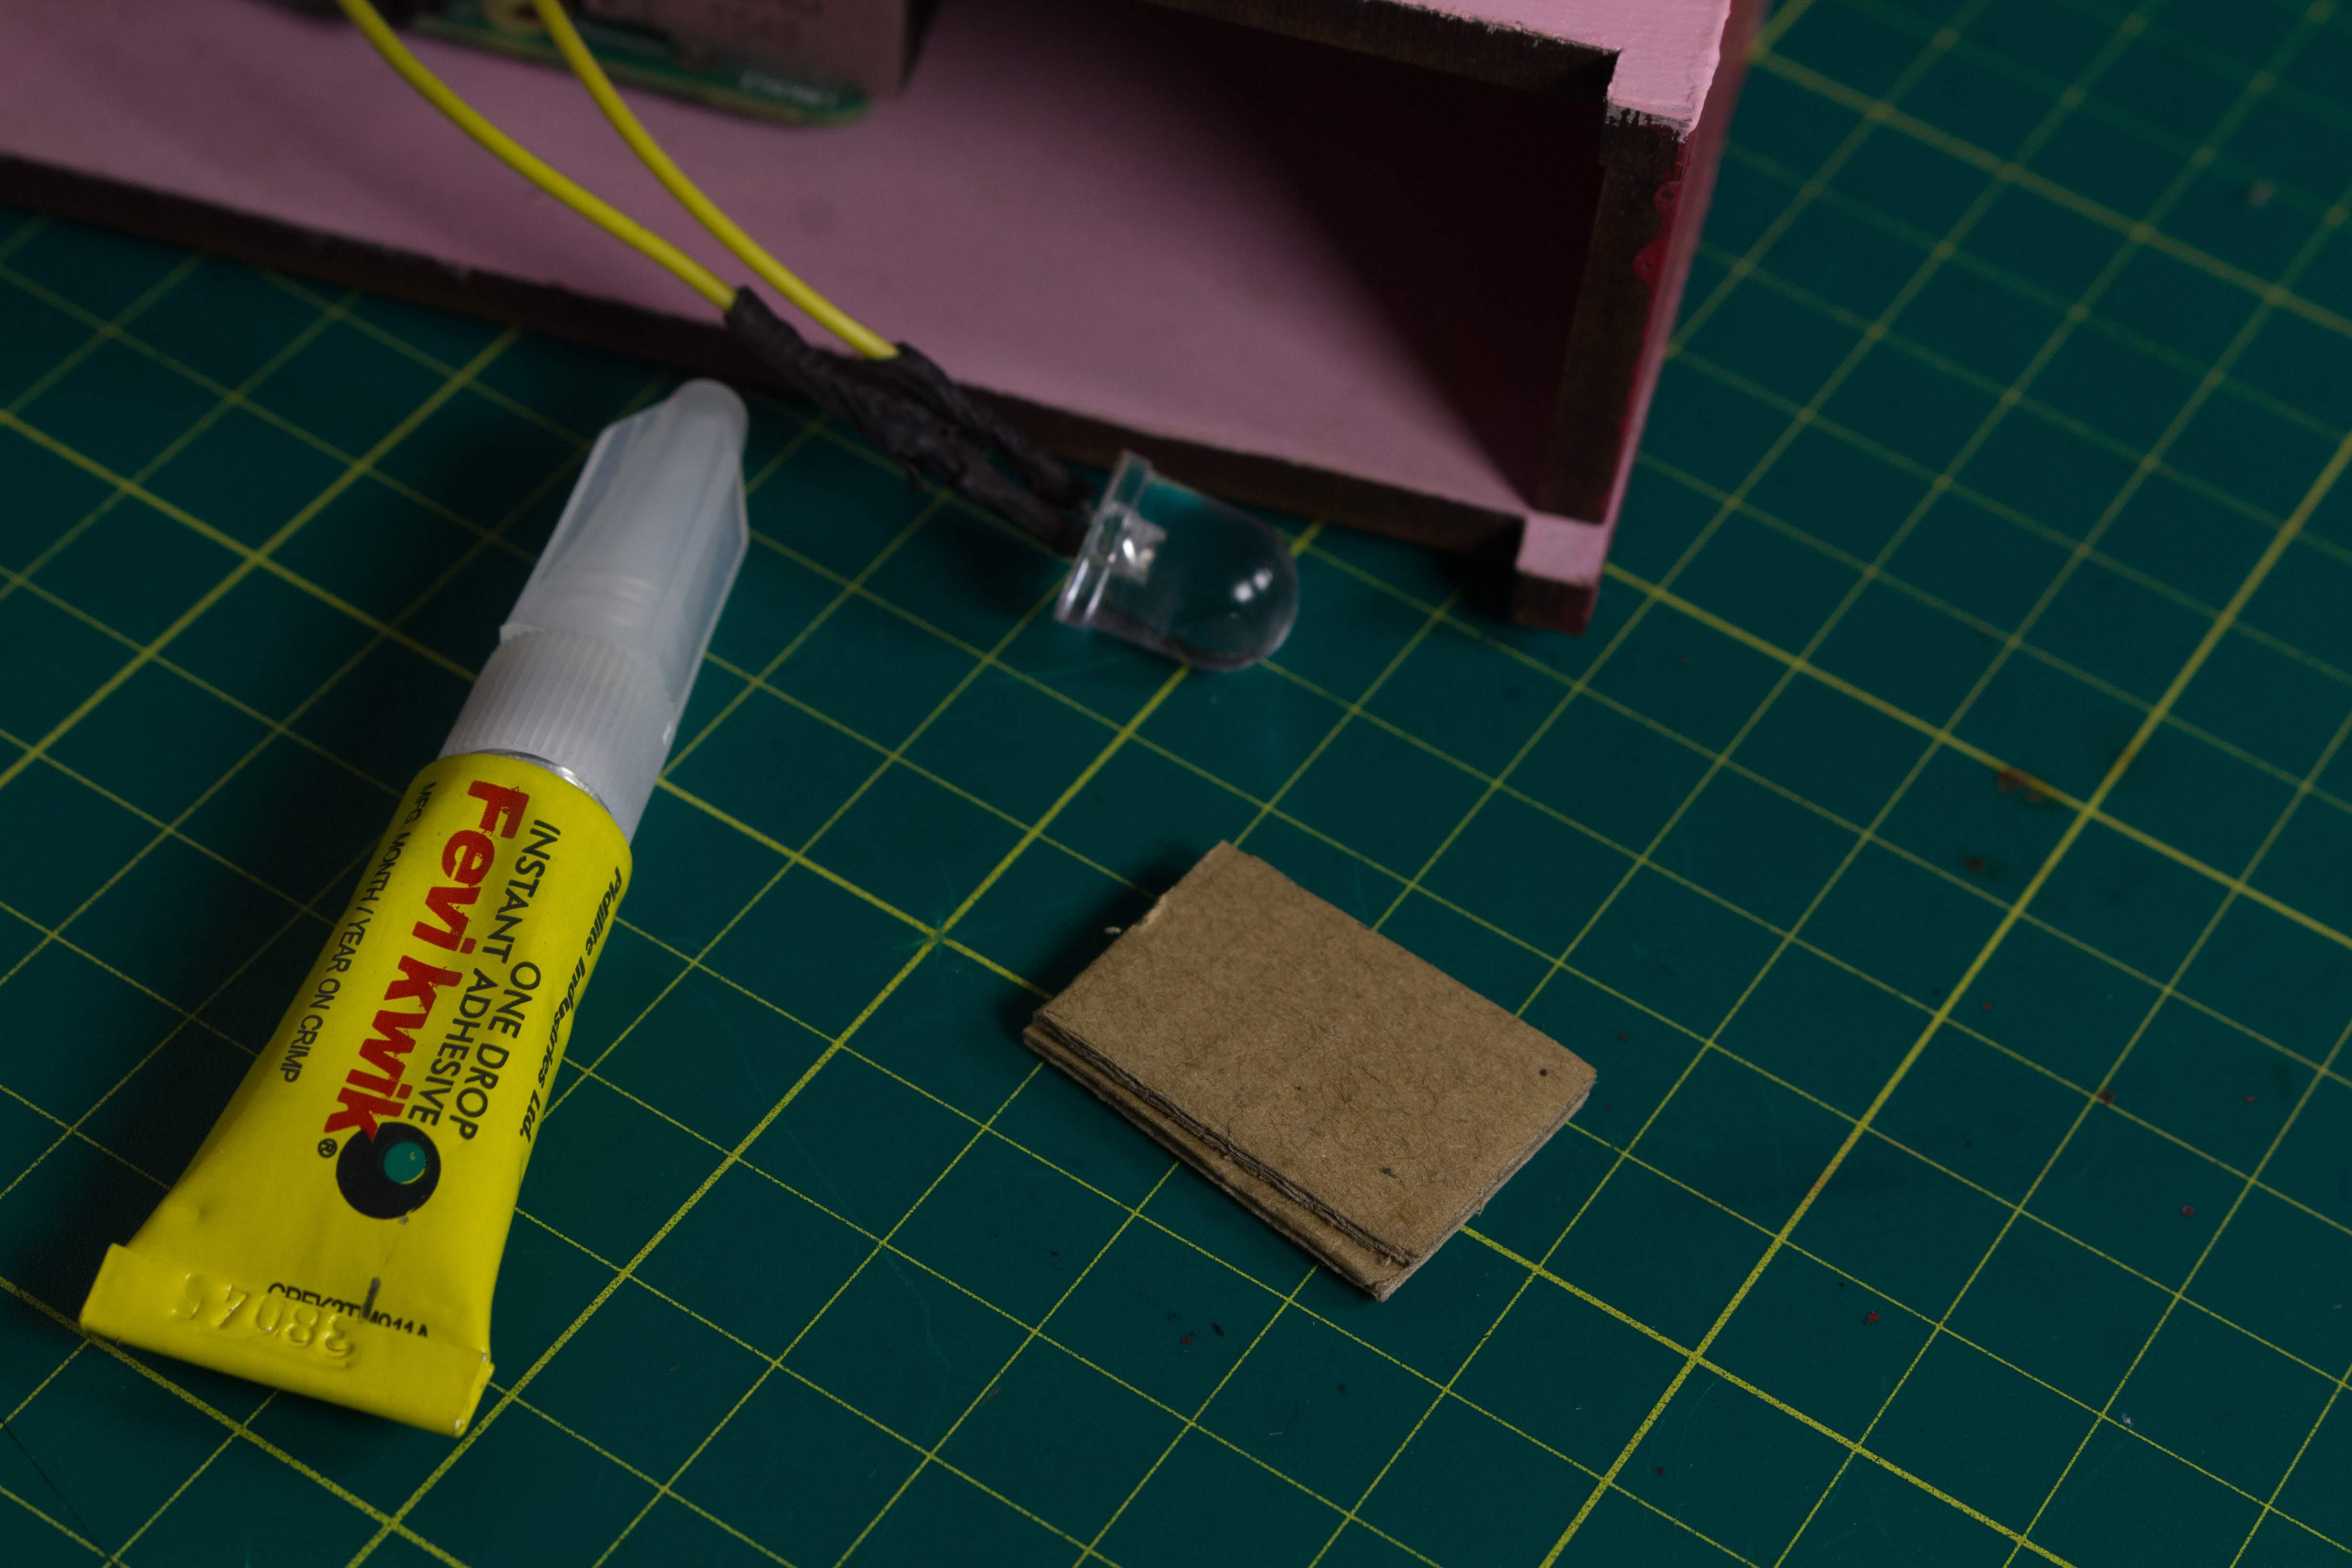
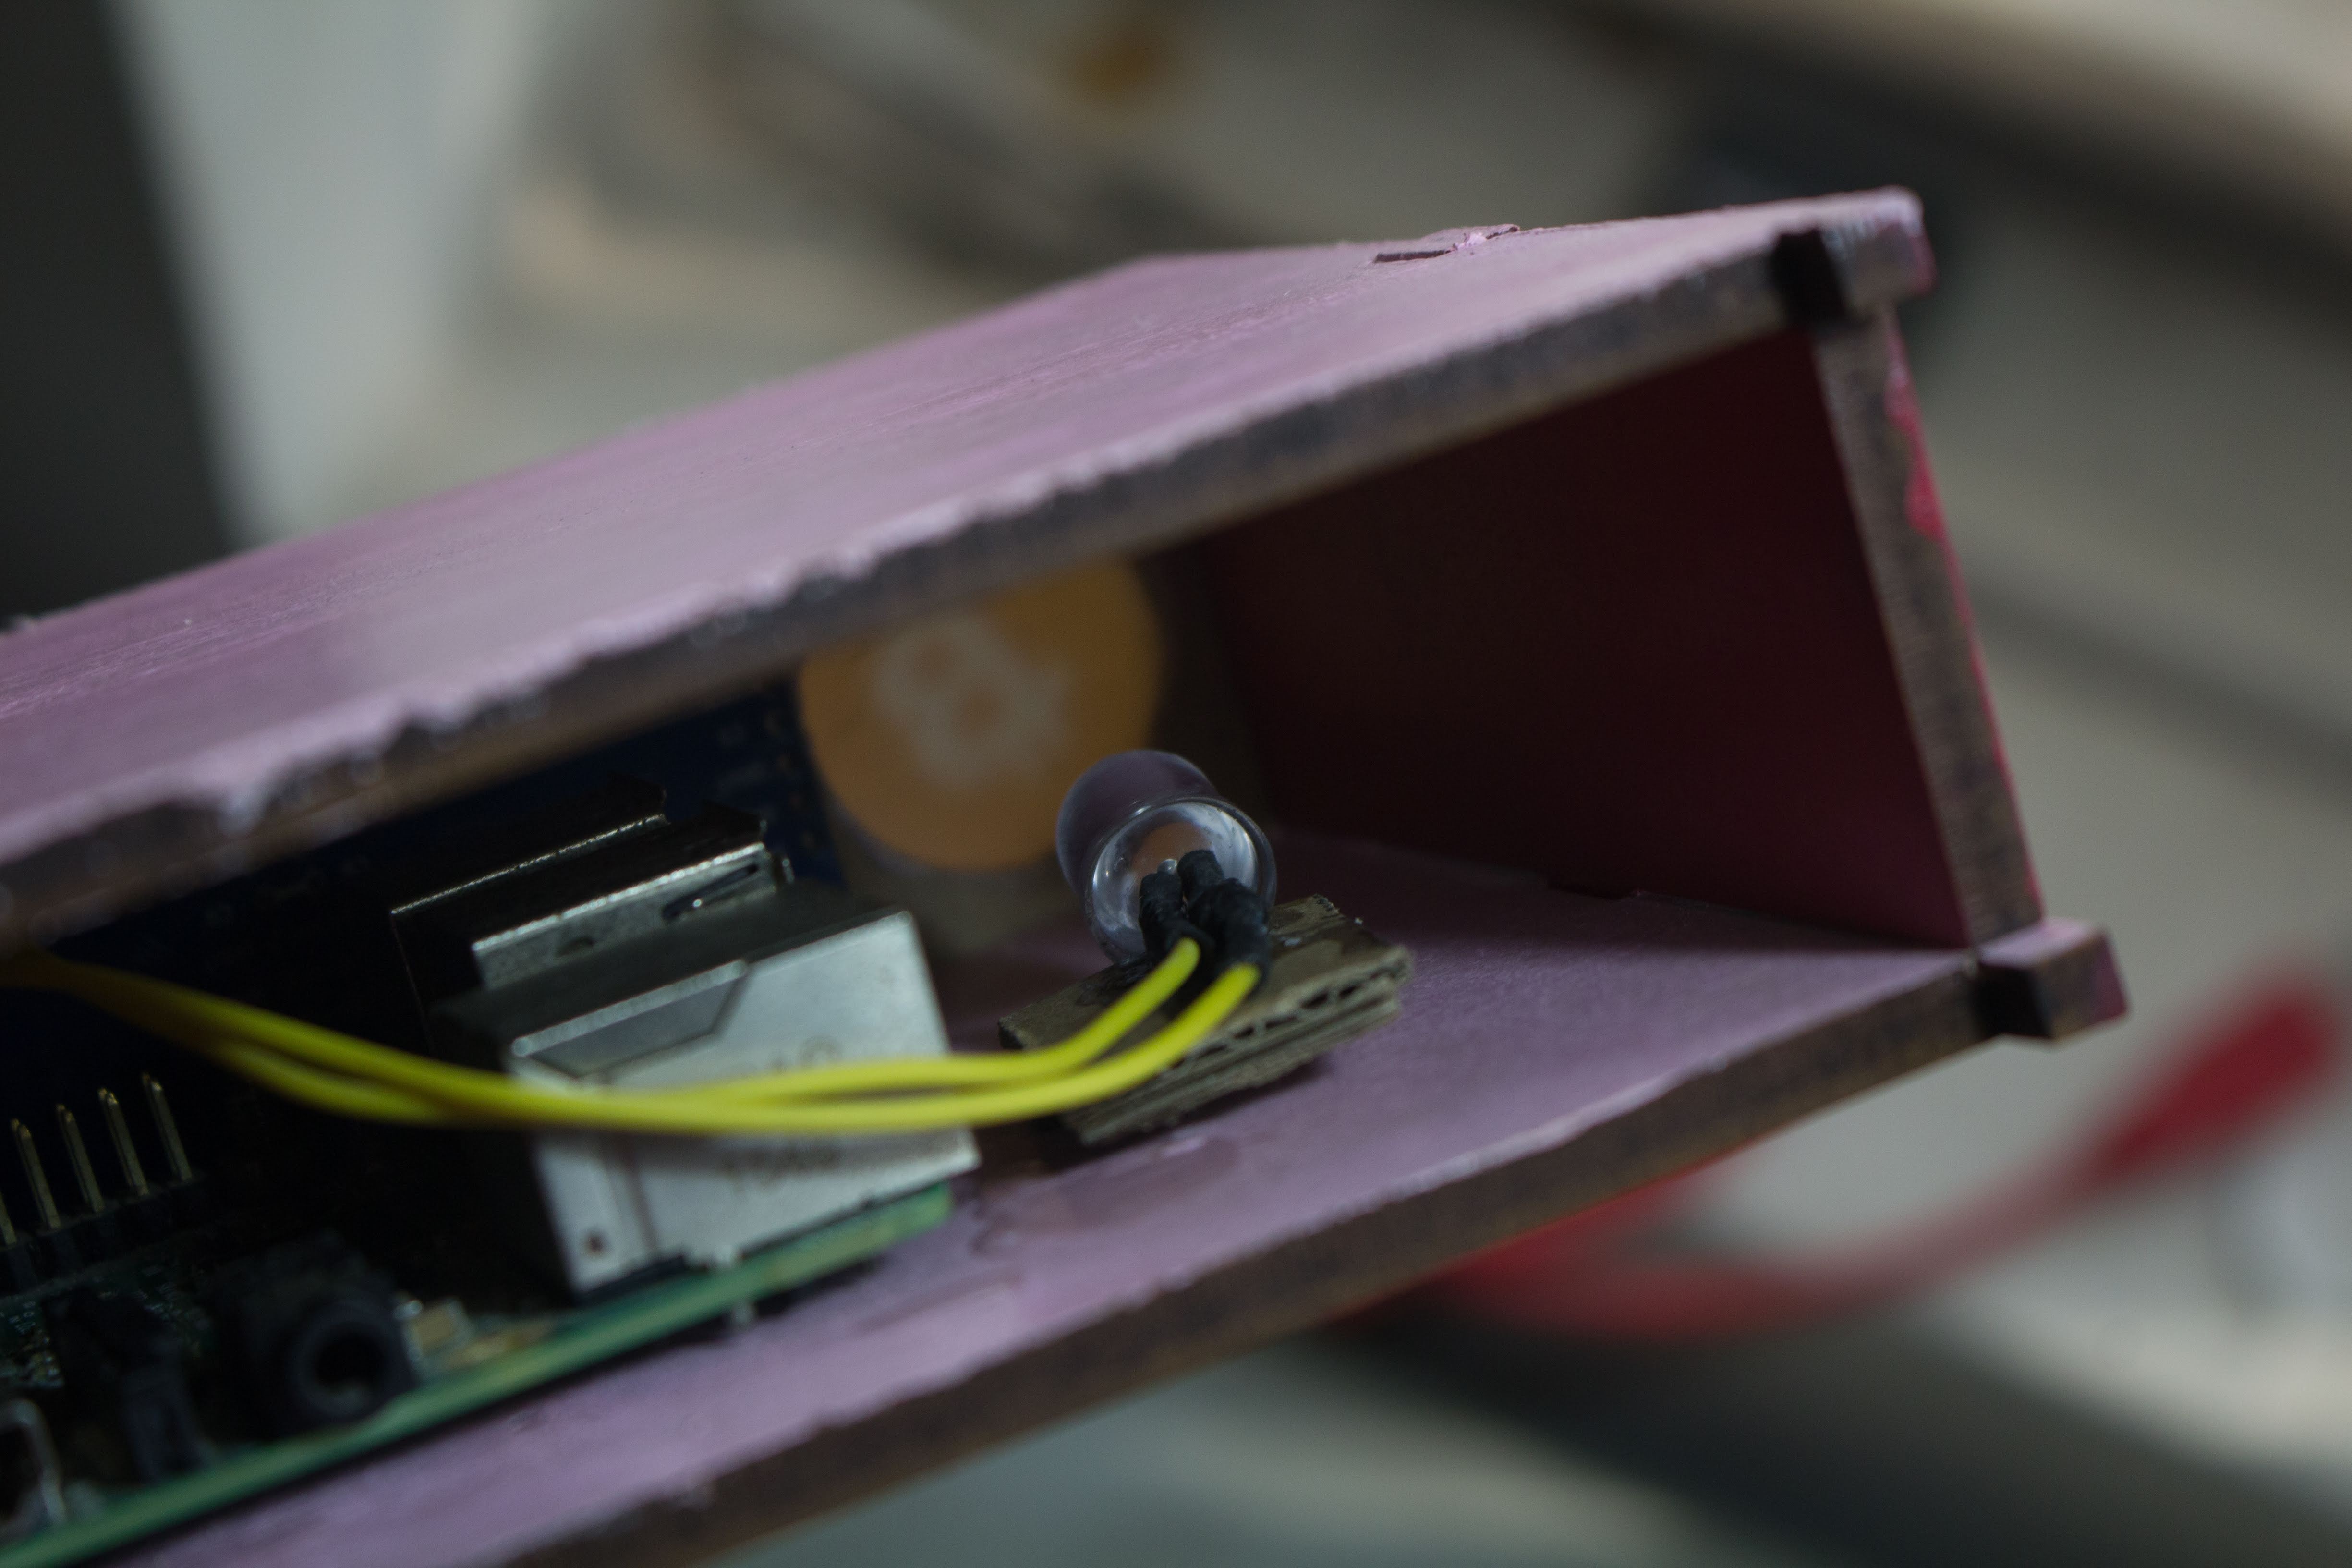
Once you have connected all the electronic components according to the schematic. Stick the 10mm LED into place such that when it is turned ON, the light illuminates the acrylic diffuser evenly. I stuck a small piece of cardboard beneath the LED to tilt it such that the acrylic diffuser was illuminated evenly.
Step 13: Power It Up
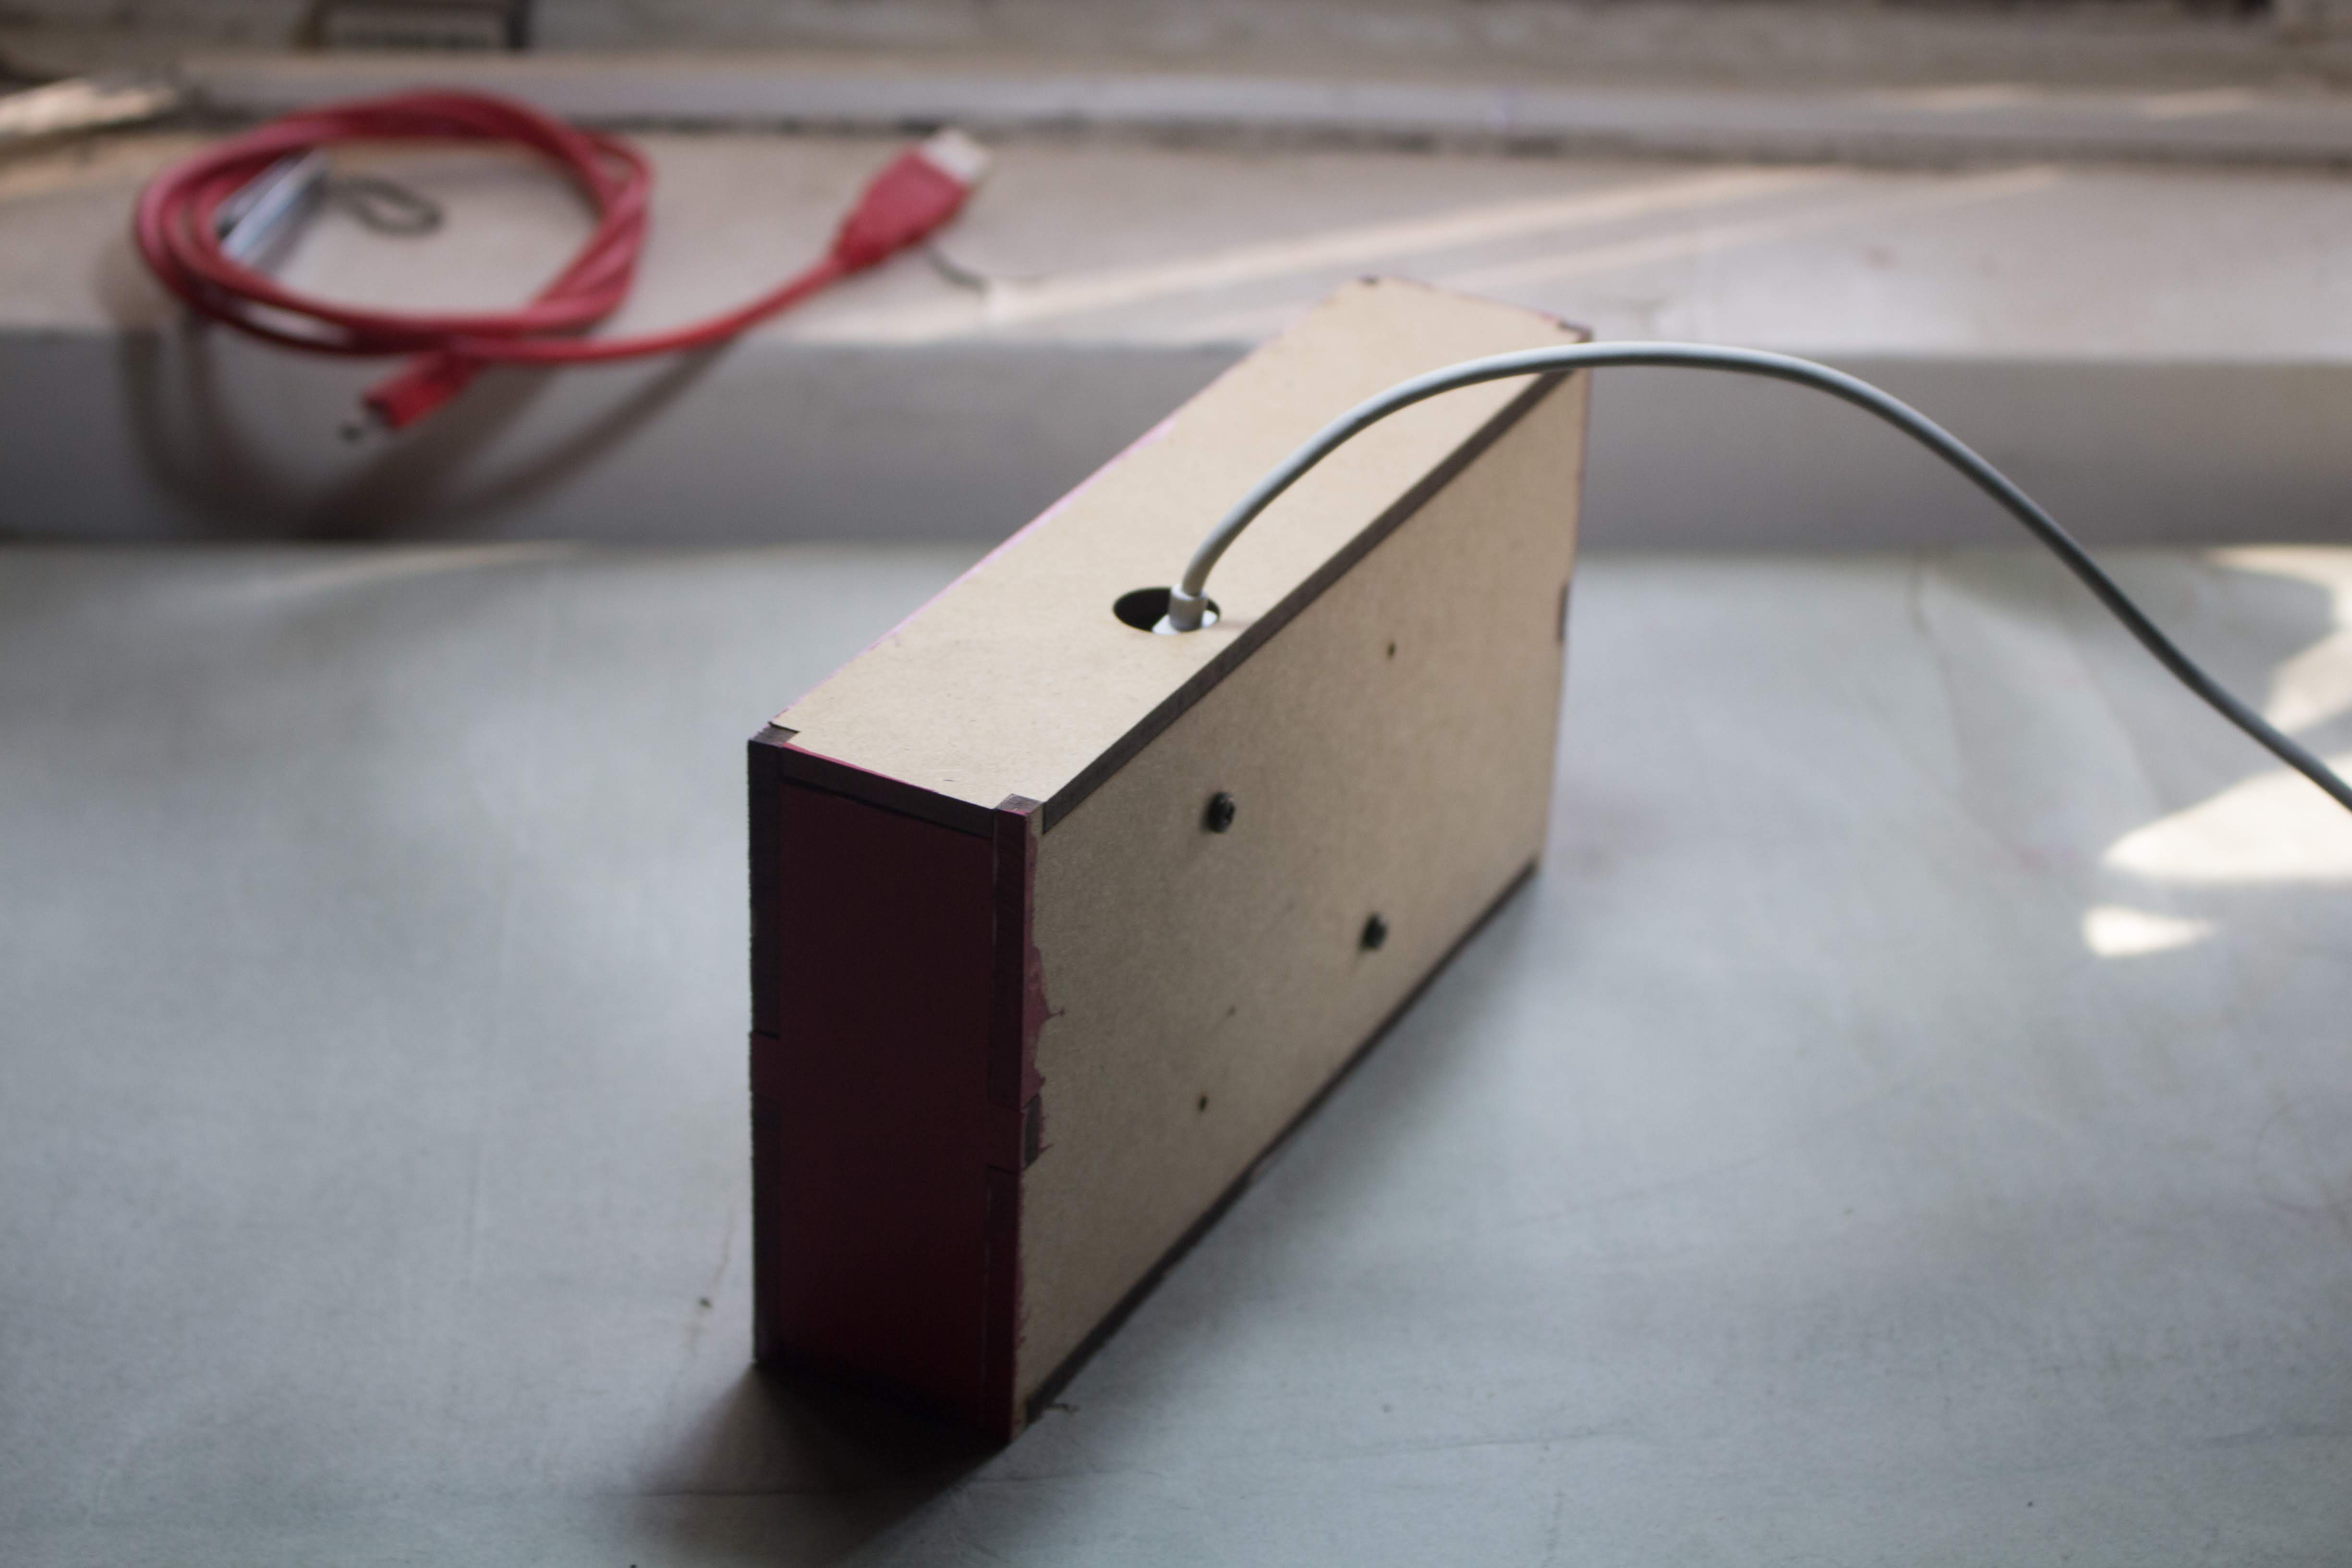
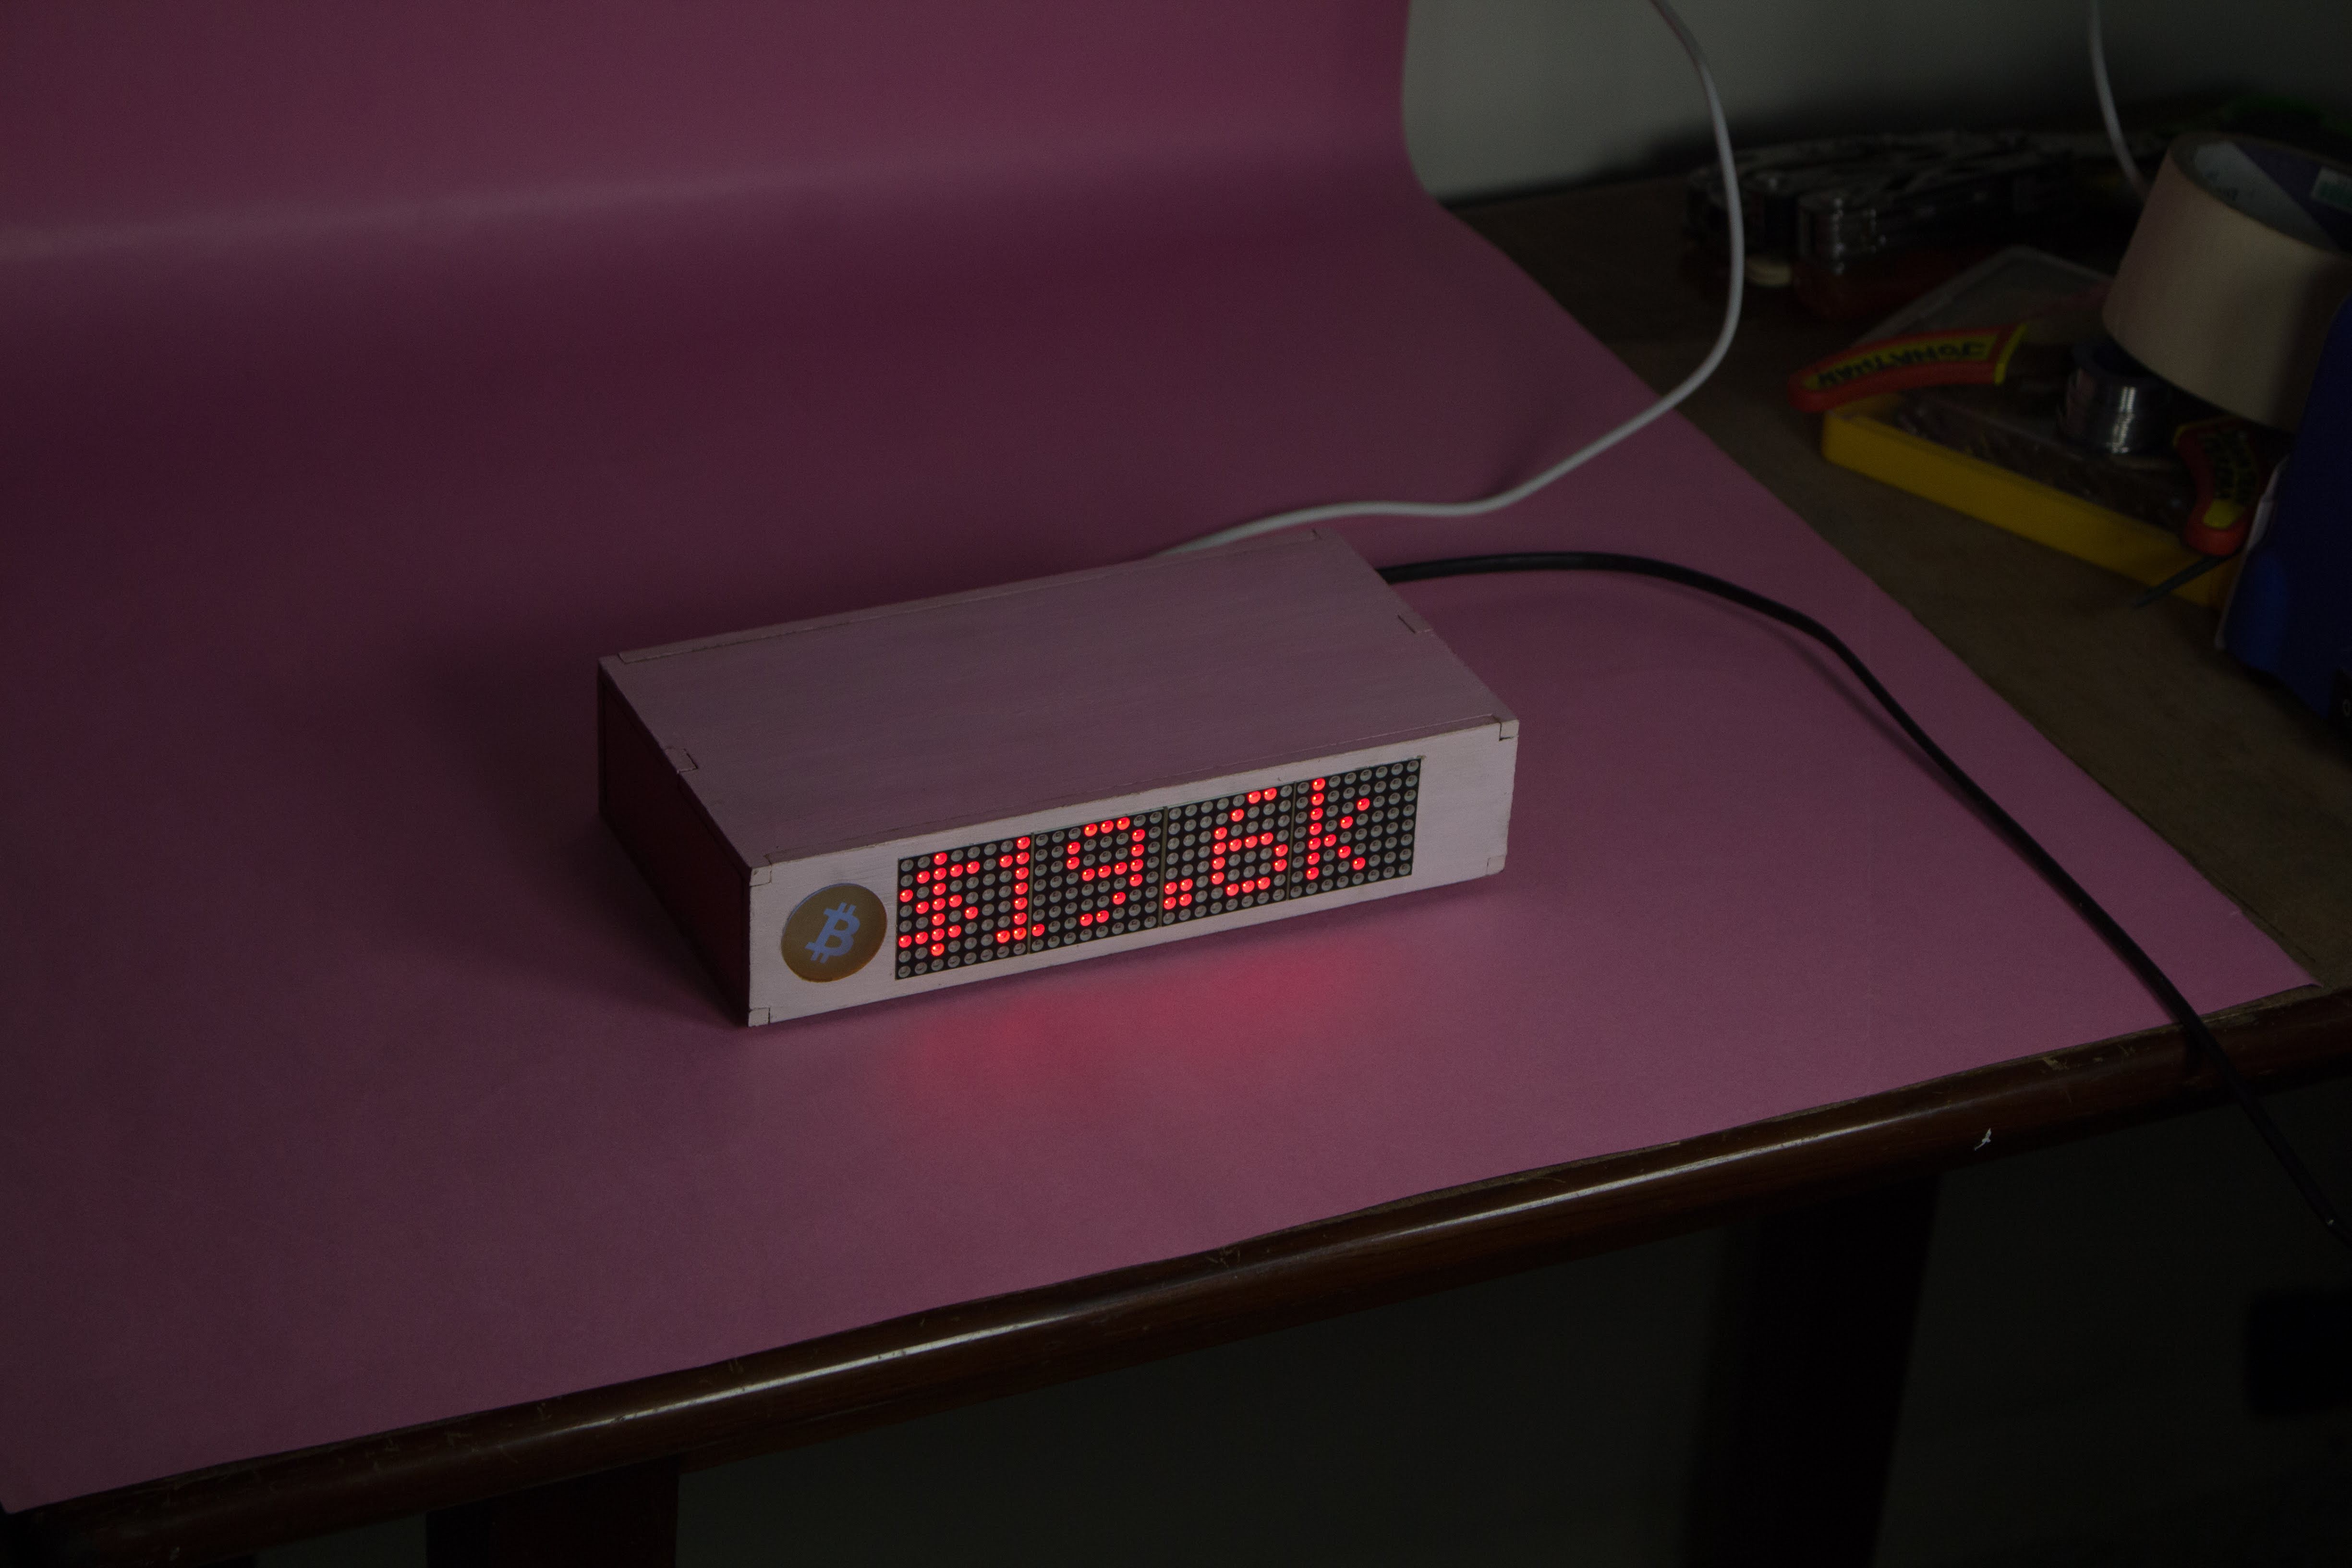
Once all the electronic components are connected & stuck into place, thread the USB Power adapter wire through the hole in the Back Panel & connect it to the Raspberry Pi.
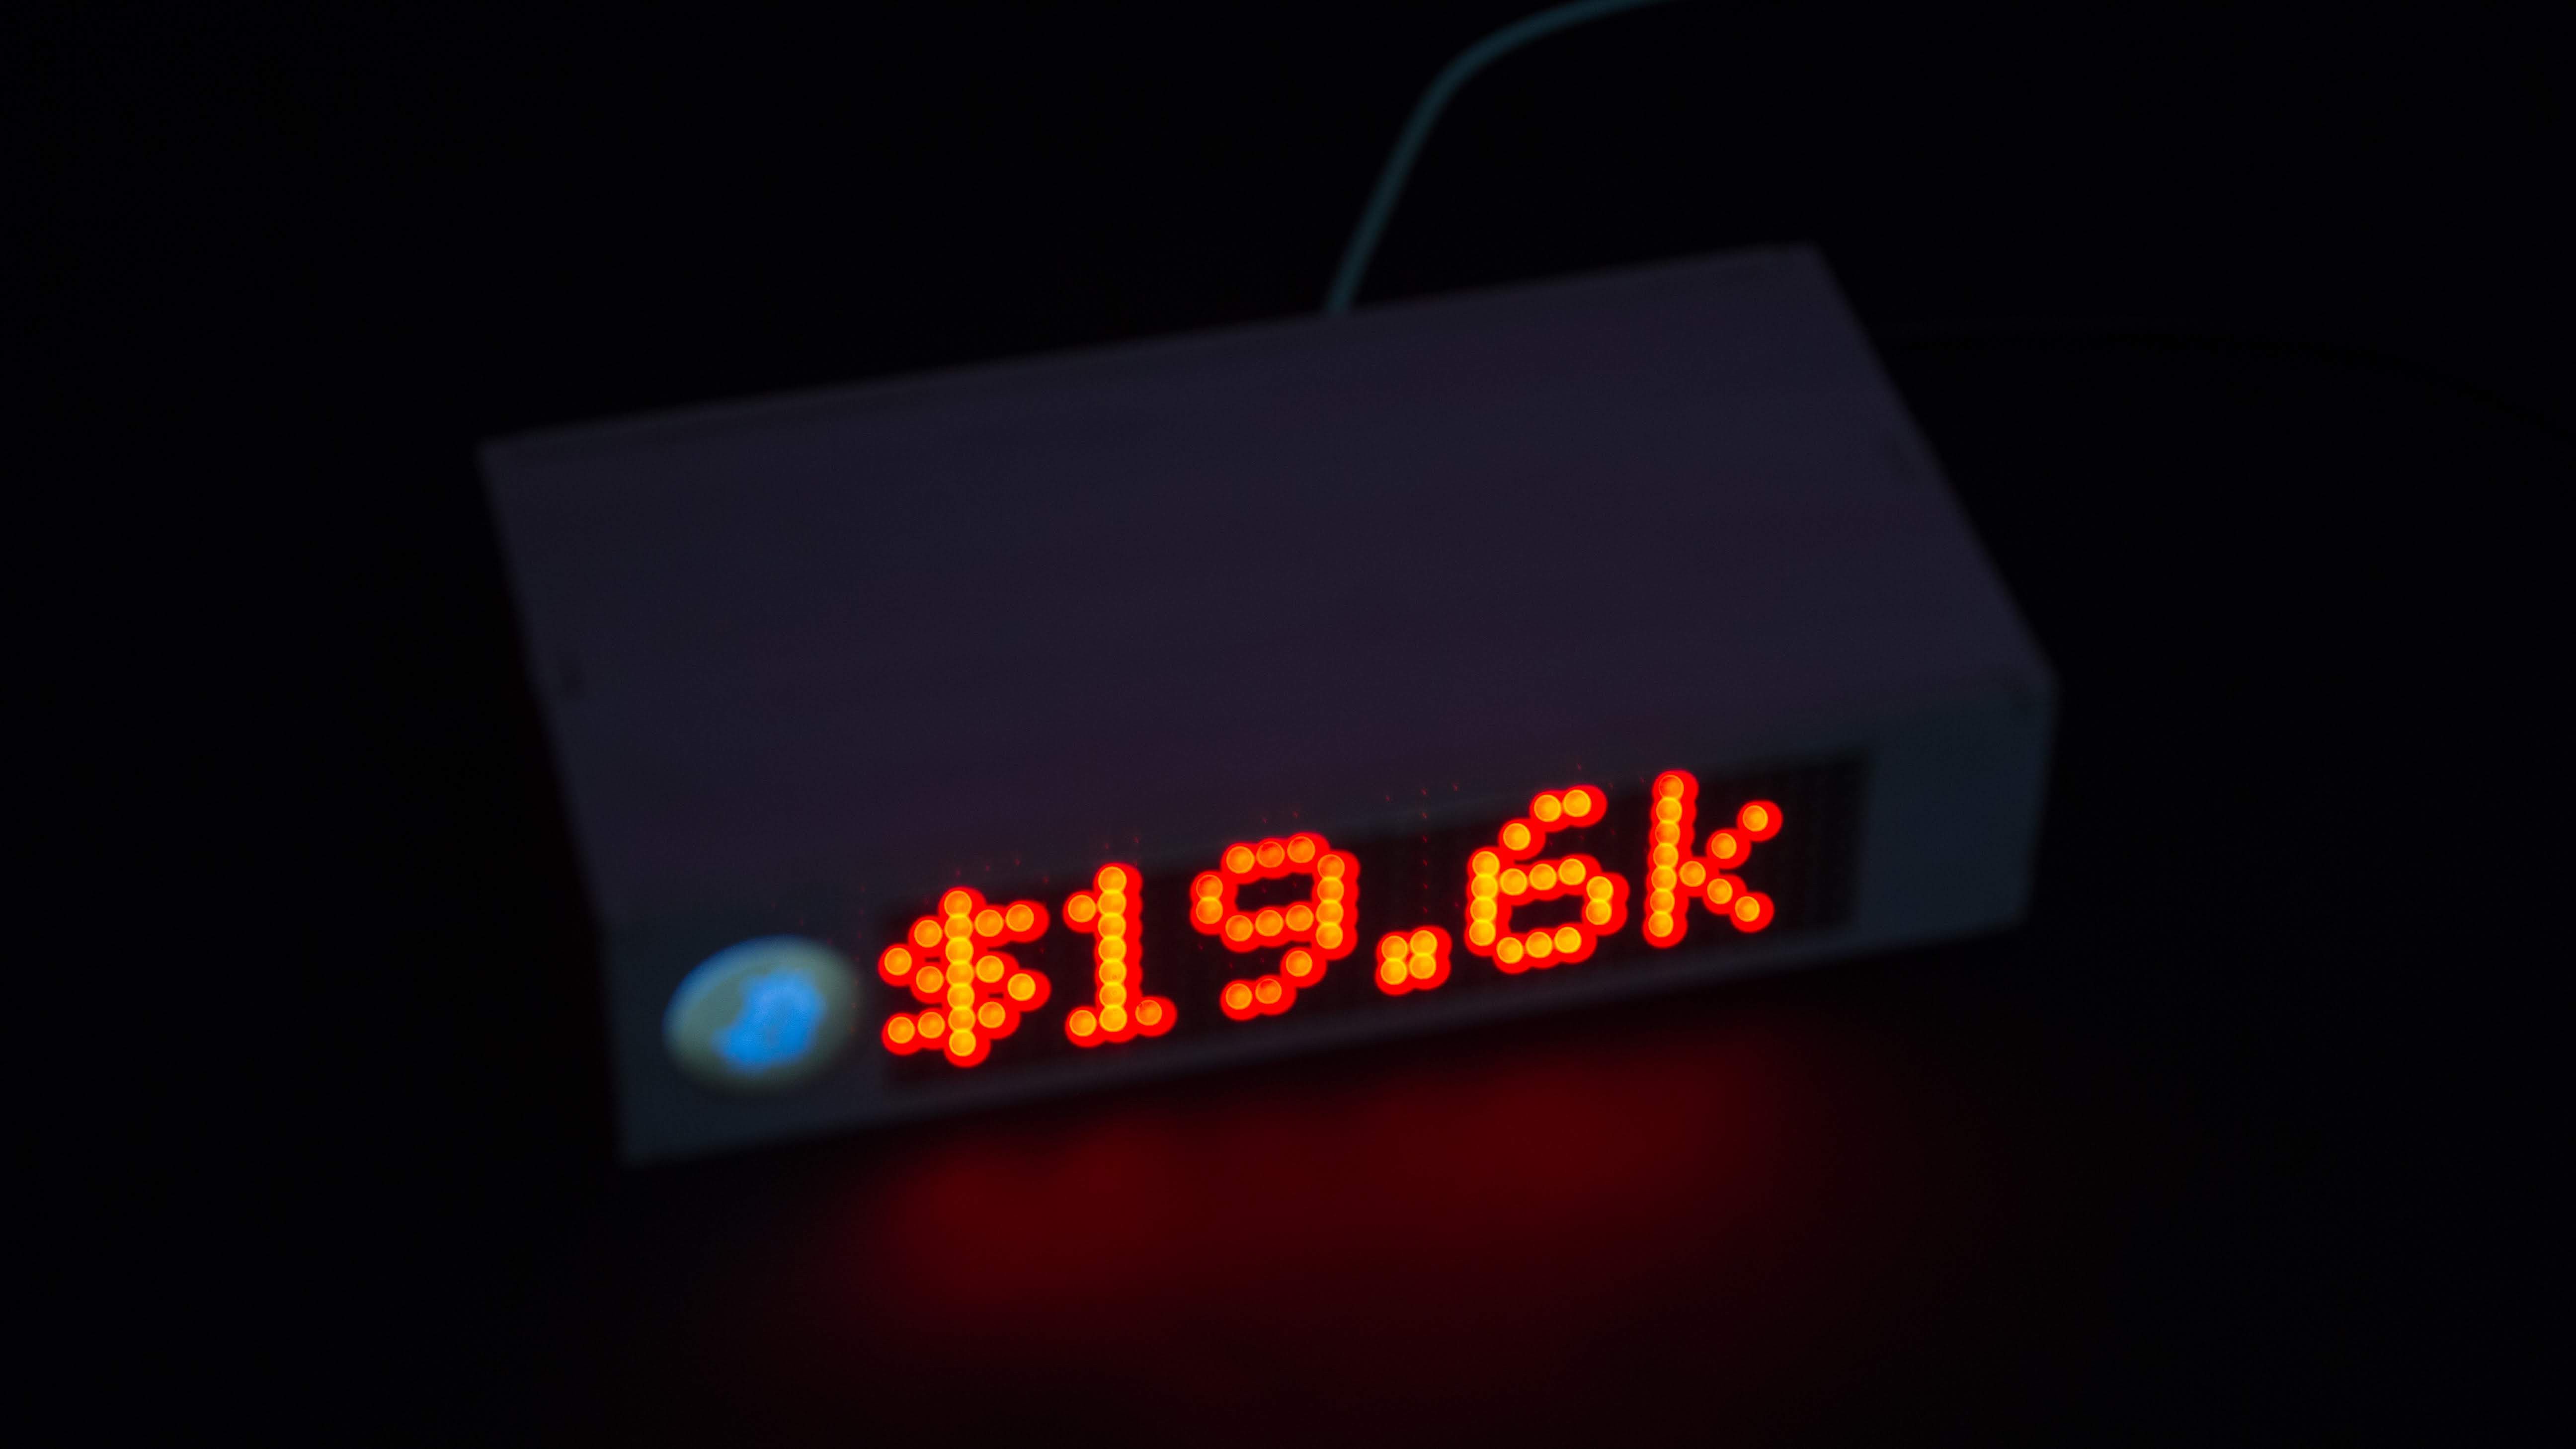
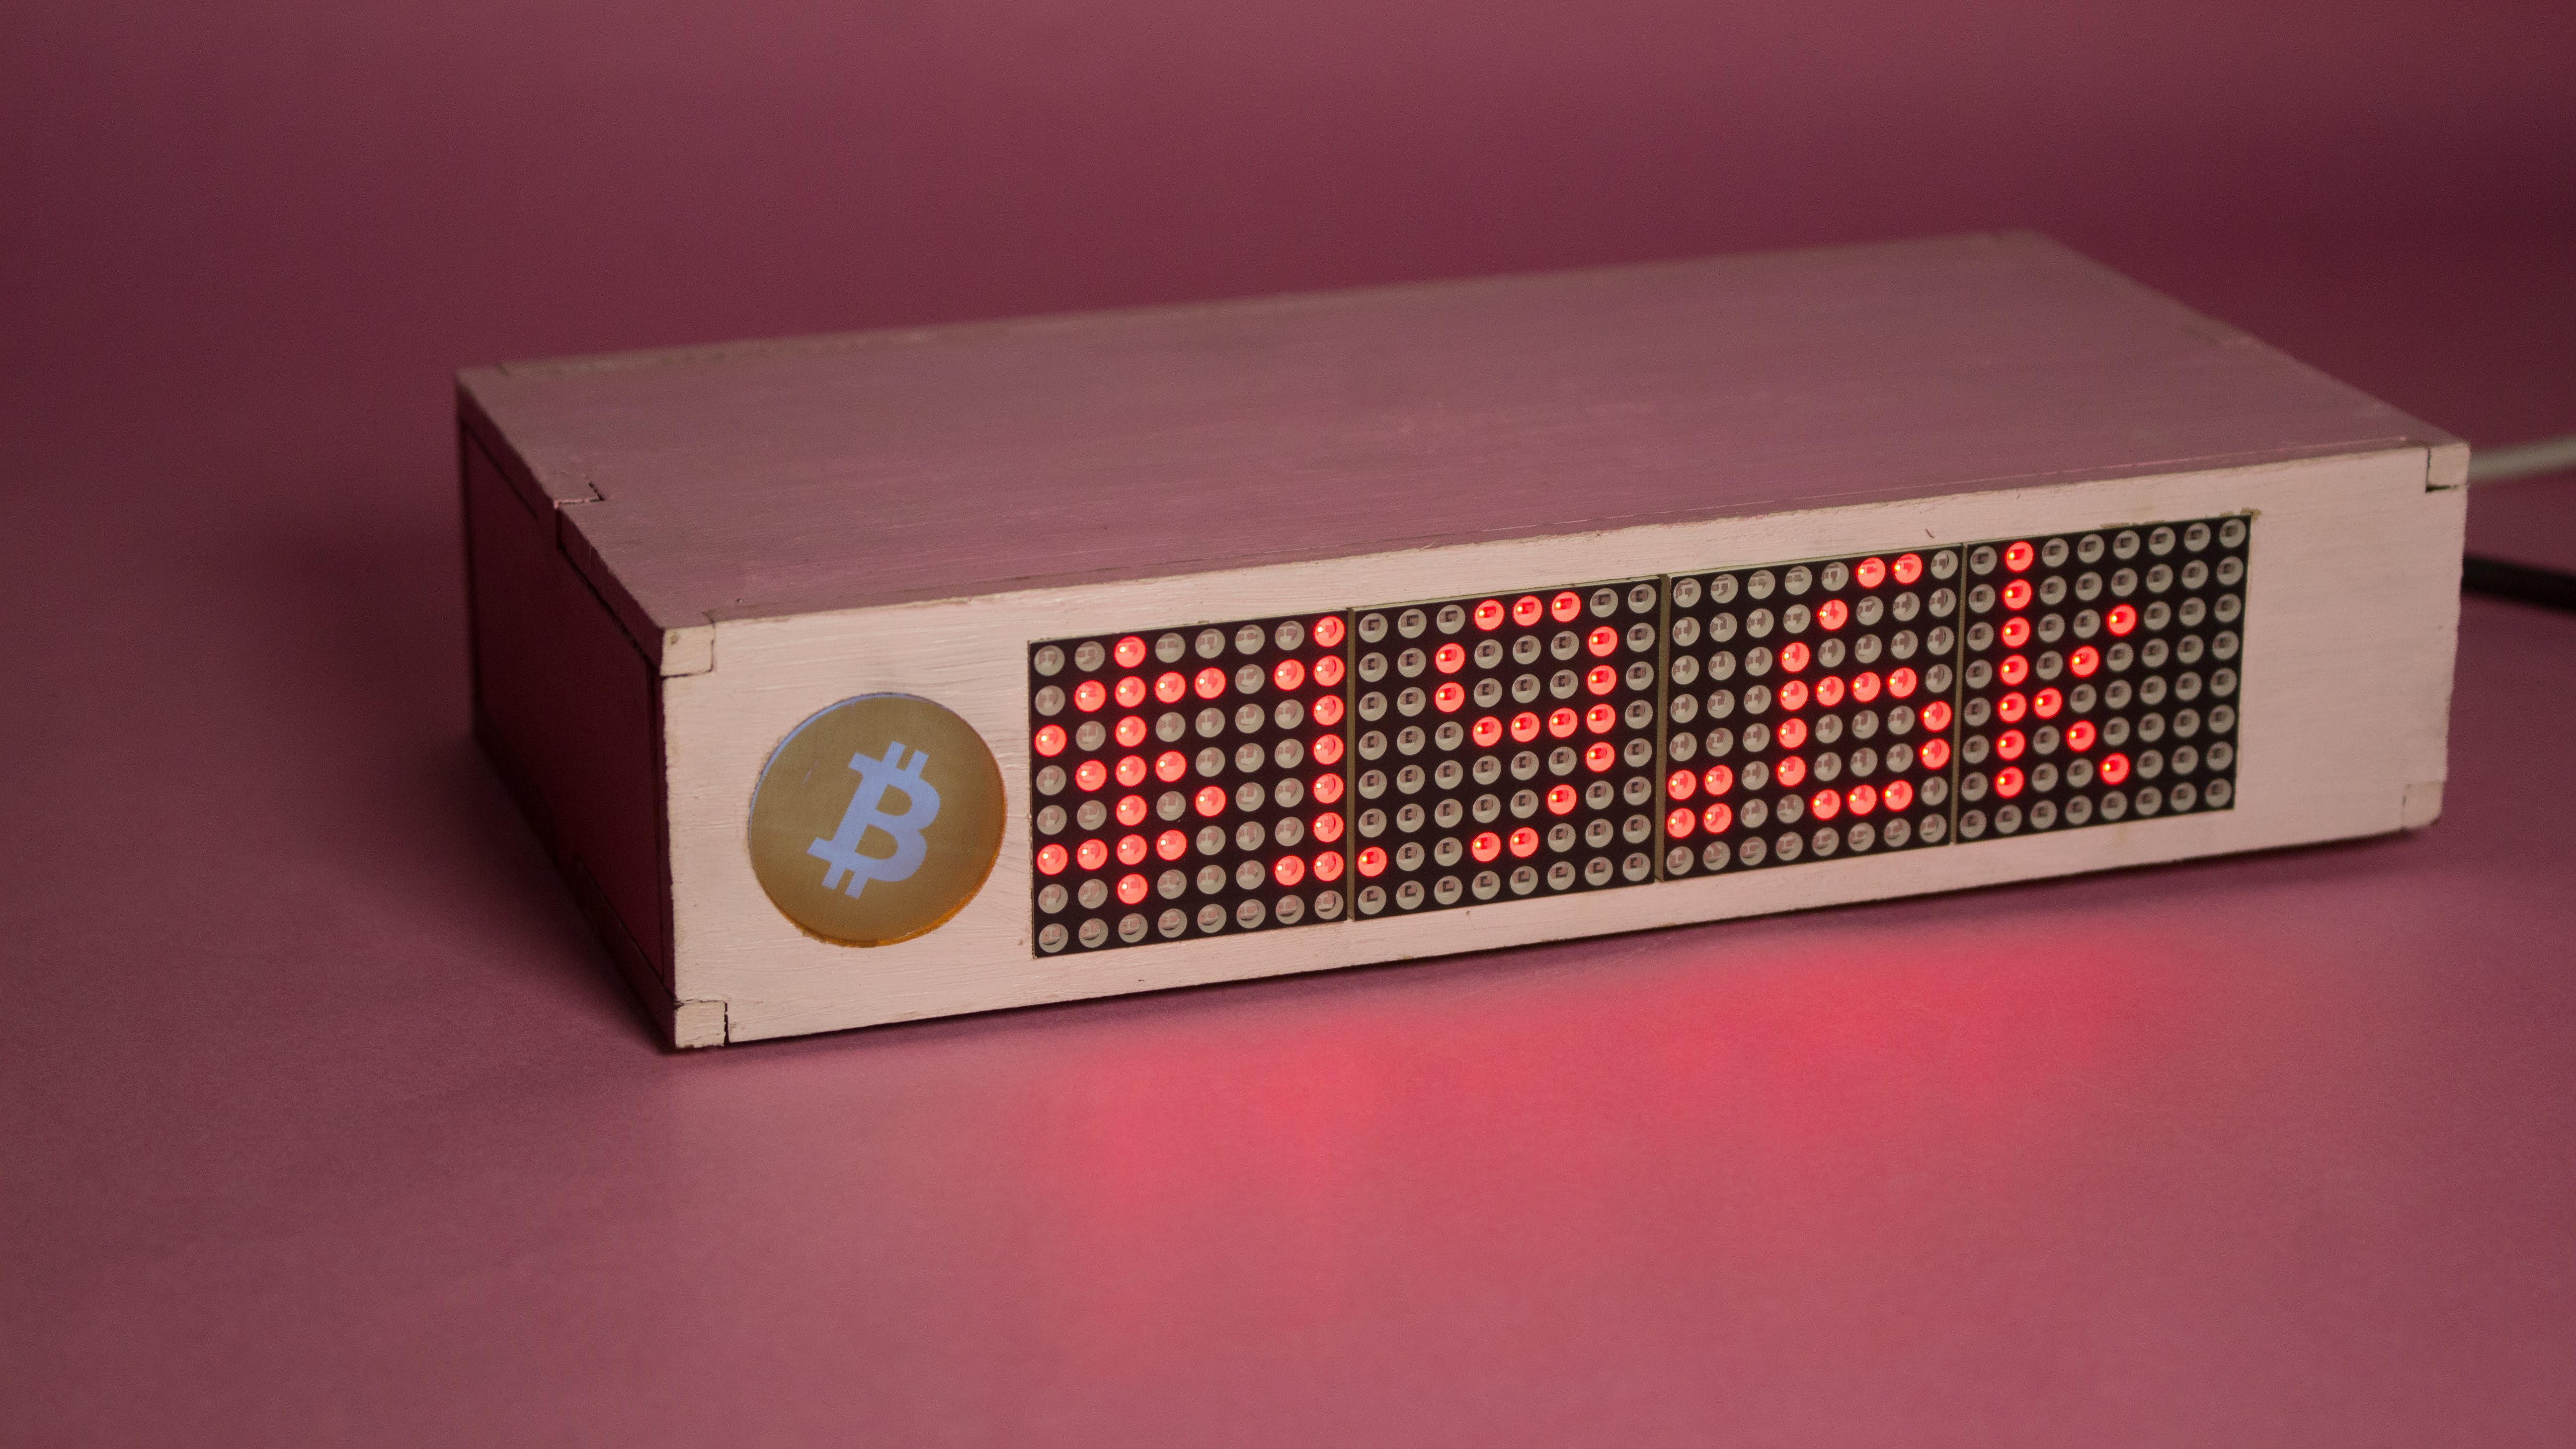
When you turn ON the supply, Bitcoin Bar should automatically display the latest Bitcoin trends and information.
Subscribe:
Help support more projects like these by Subscribing & Following me on:
YouTube: Jonty
GitHub: Jonty
Hackaday: Jonty
If you have any doubts, questions or tips for this project, leave them in the comments section below.