 David Boucher
Last one of these I promise.
One of the problems with producing any sort of keyboard is all of the different layouts. Layouts vary by country, language, country AND language and sometimes there are different layouts for the same country and language.
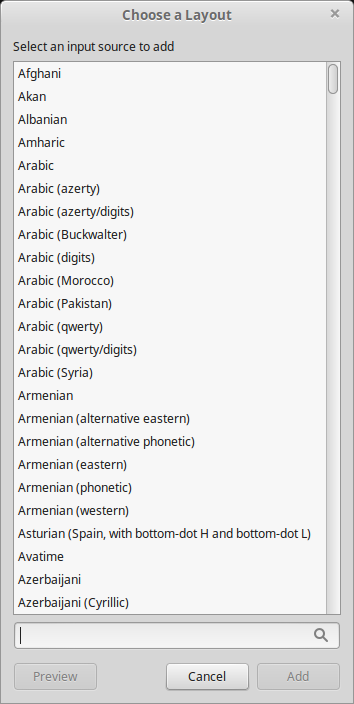 A list of keyboard layouts in Linux Mint (just the 'A's).
One of the main aims of my project is to produce a design that the average electronic hobbyist can build and then customise the layout to their own requirements. Don't like my layout? No problem, you can change it.
There are two forms in which the keyboard layout is represented, the physical markings on the keyboard itself and in software. We'll cover the first of these another time, but I'll finish off this trilogy of logs about keyboard basics by discussing key mapping in software.
So far, we can scan the keyboard and get a series of key press, repeat and release events, but the key itself is only identified by a number. What we need to know is what the key is for. Most keys will represent a printable character of some sort but a few will have other functions.
For my key map, I use a two element structure to represent each key, The first element specifies whether the key is a normal printable key or it it has another "special" function. The second element is either the character to be printed for a normal key, or a value from a #define that indicates which "special" key it is.
To give you an example, my prototype has ten columns and four rows of keys, giving forty in total. If I press the key in the first column of the second row, the scan routine will read the 11th key map entry and find that this is a normal printable key and that it is a "q".
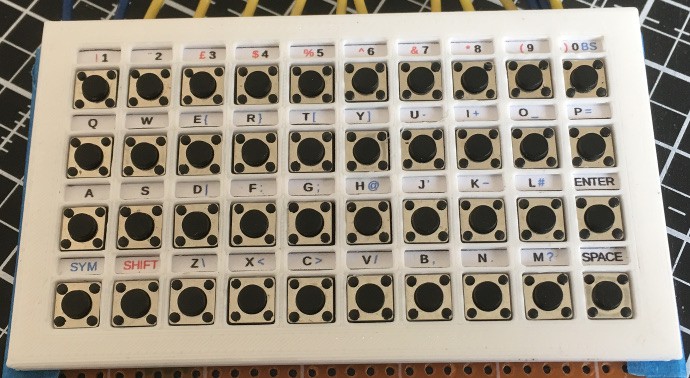
But what if I want an uppercase "Q" instead? I need a shift key for this, which brings us on to modifiers. Modifier keys, when held down, change the function of other keys, which means changing the key map used. I decided to have two modifiers, as I have limited space on the keyboard to print the alternate functions for each key. I also decided not to allow modifiers to be used together, as the keyboard can only reliably detect two simultaneous key presses (see the first keyboard basics log for an explanation).
This gives each key three possible functions, one on its own and one with each modifier, and so three key maps are required. The mapping routine first checks which modifiers are pressed to determine which map to use, then maps the key as explained above. Ta Da! Now we can type "Hello World!" complete with uppercase characters and punctuation.
And so ends this (longer than originally planned) explanation of how to scan a keyboard. I will post the code for this once I have tidied it up a bit and I will also be moving on to the hardware side of things.
Discussions
Become a Hackaday.io Member
Create an account to leave a comment. Already have an account? Log In.