 Ross Bamford
So I finally gathered all the parts I needed, and since I have some time off work this week I managed to build the address decoder. I'm happy to say it was fairly painless although time-consuming - routing all the wires has taken the best part of a day. To be fair, a couple of hours of that were spent debugging a couple of mis-wired connections though.
It looks like this:
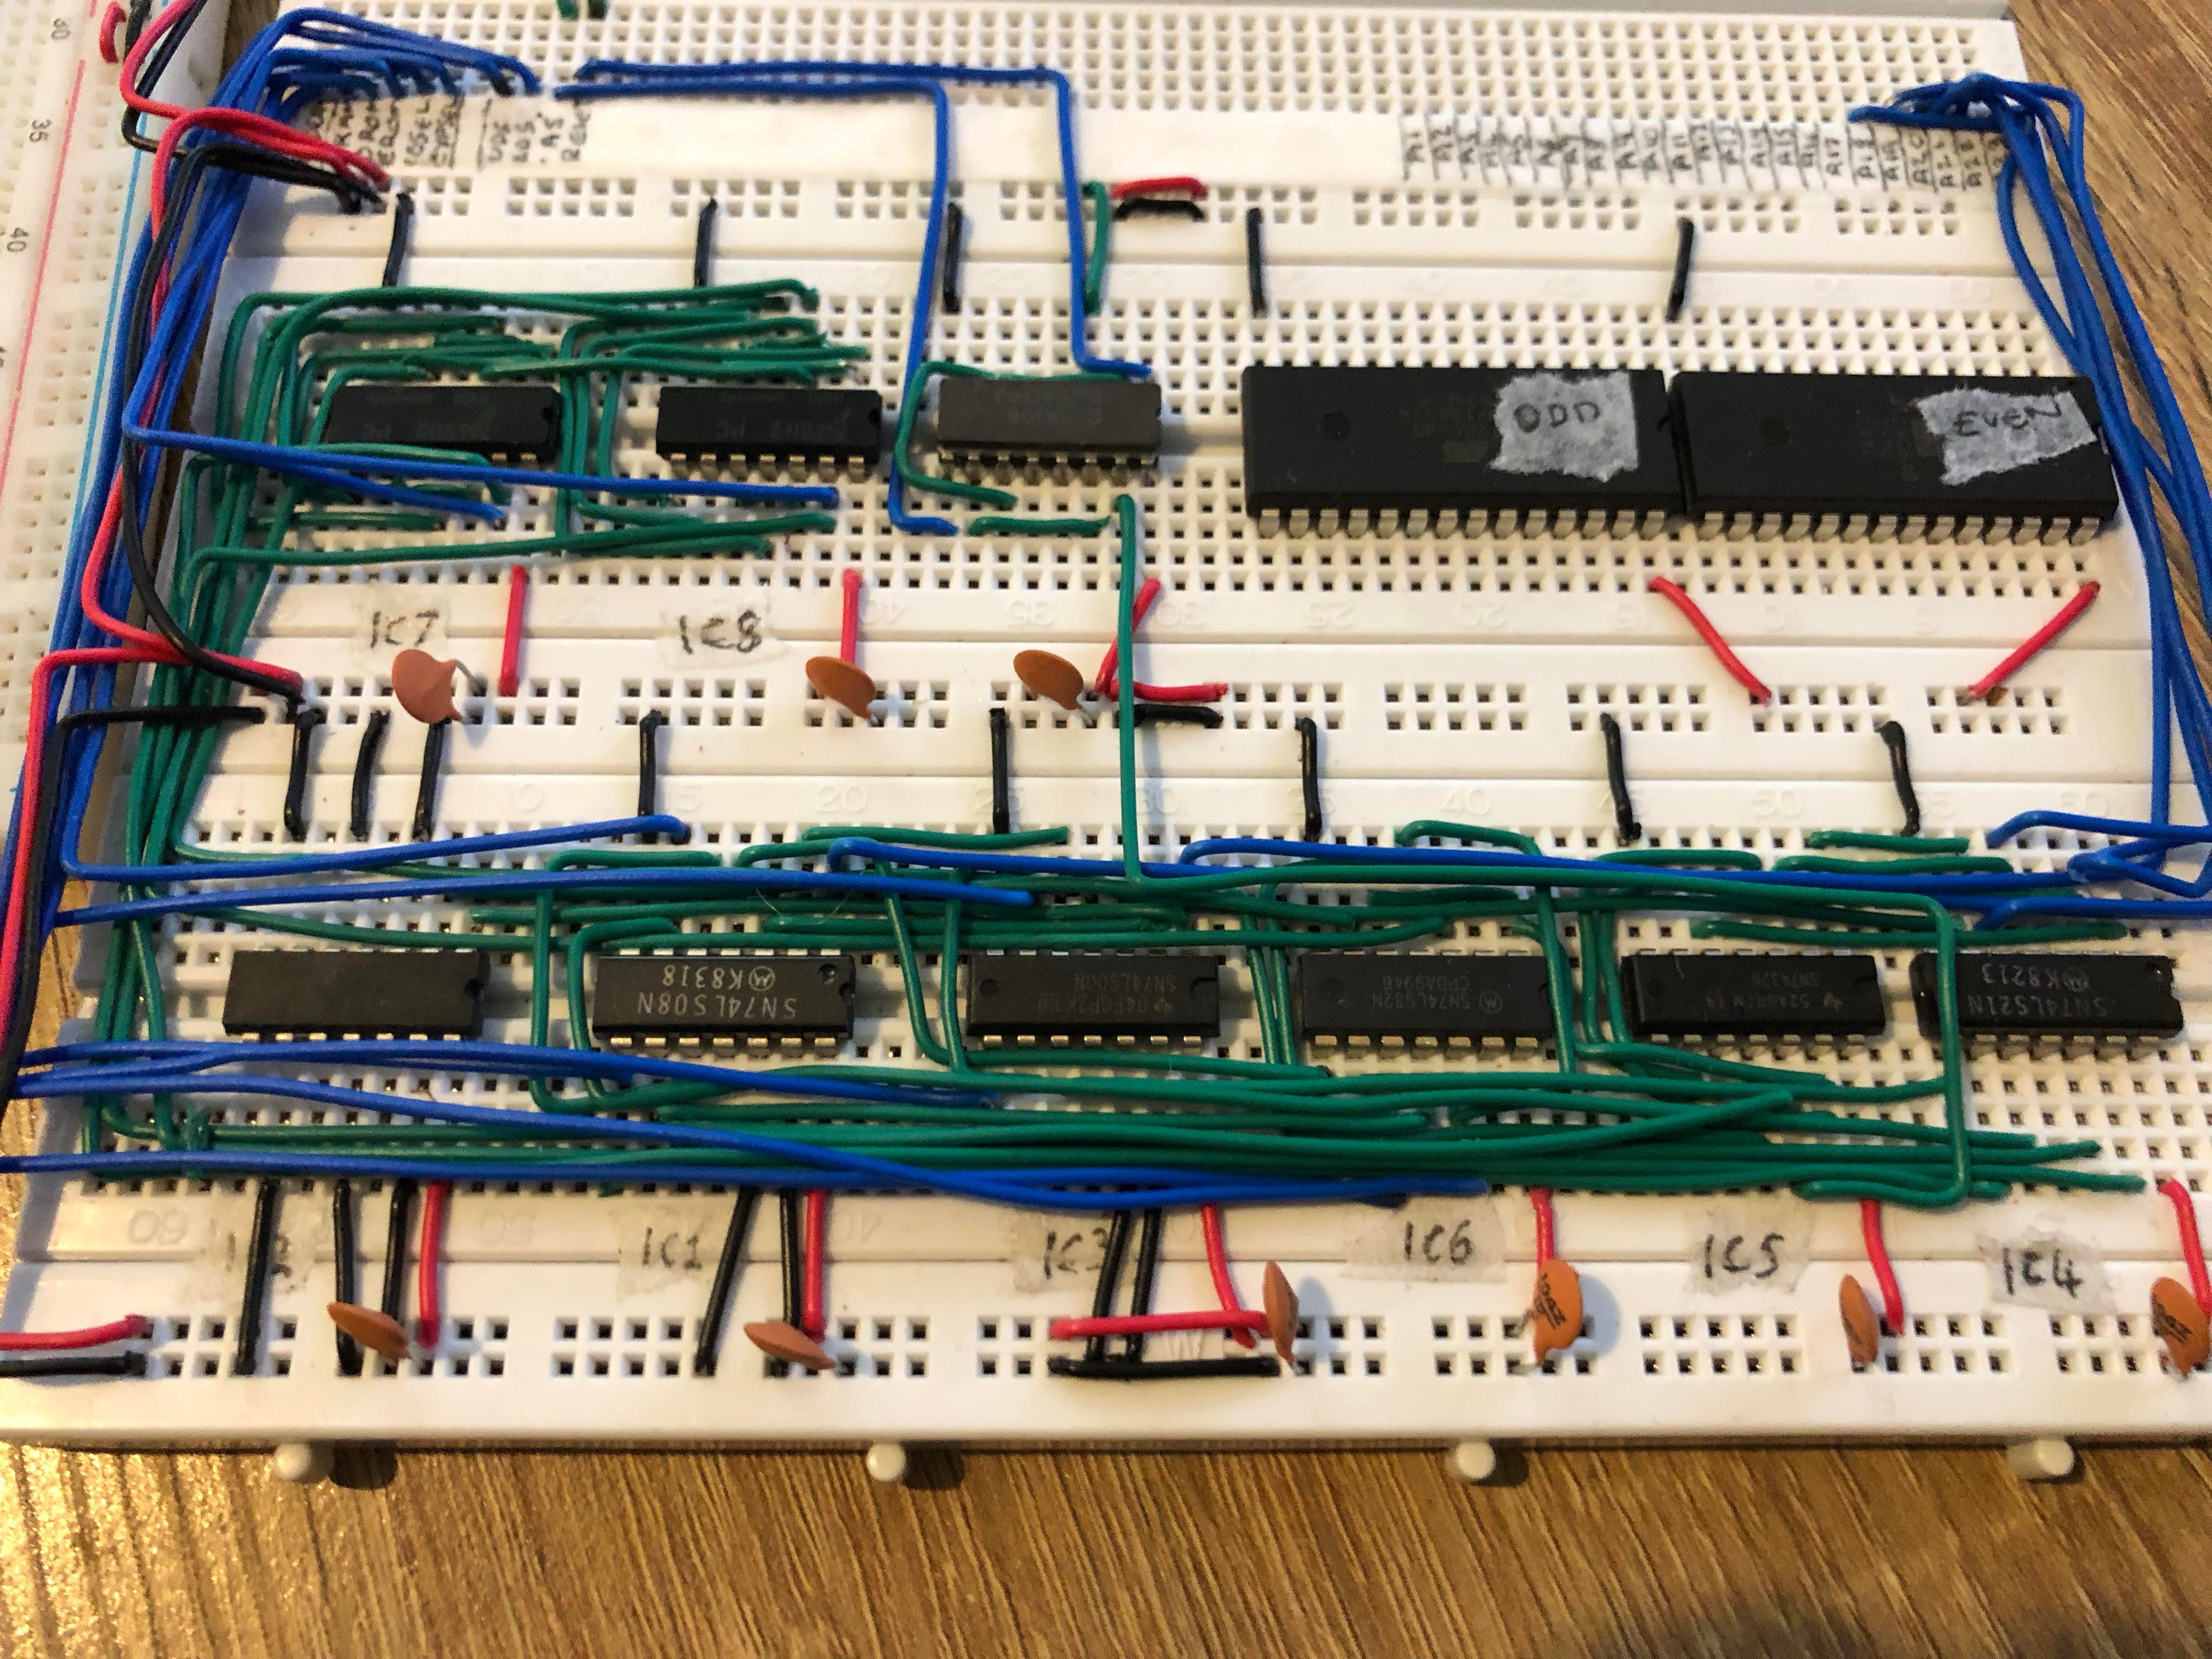
This handles all the address decoding I've talked about previously, and has the /BOOT line generator as well (the slightly out-of-place looking IC in the center top is a DM54174 - a military-grade variant of the 74174 Hex-D Flip-flop I found in my parts bin, and which pulls /BOOT low for 4 memory cycles after reset).
I did realise while building this that I had the odd/even RAM/ROM selects mixed up - the m68k is big-endian of course, so I've fixed that in the build and also pushed new schematics and simulation to Github. I'll also update the previous log in which I showed the address decoder to reflect the fix.
Here's another pic showing the build in-progress, when I had all the inputs wired through jumpers so I could make sure things worked as I built it:
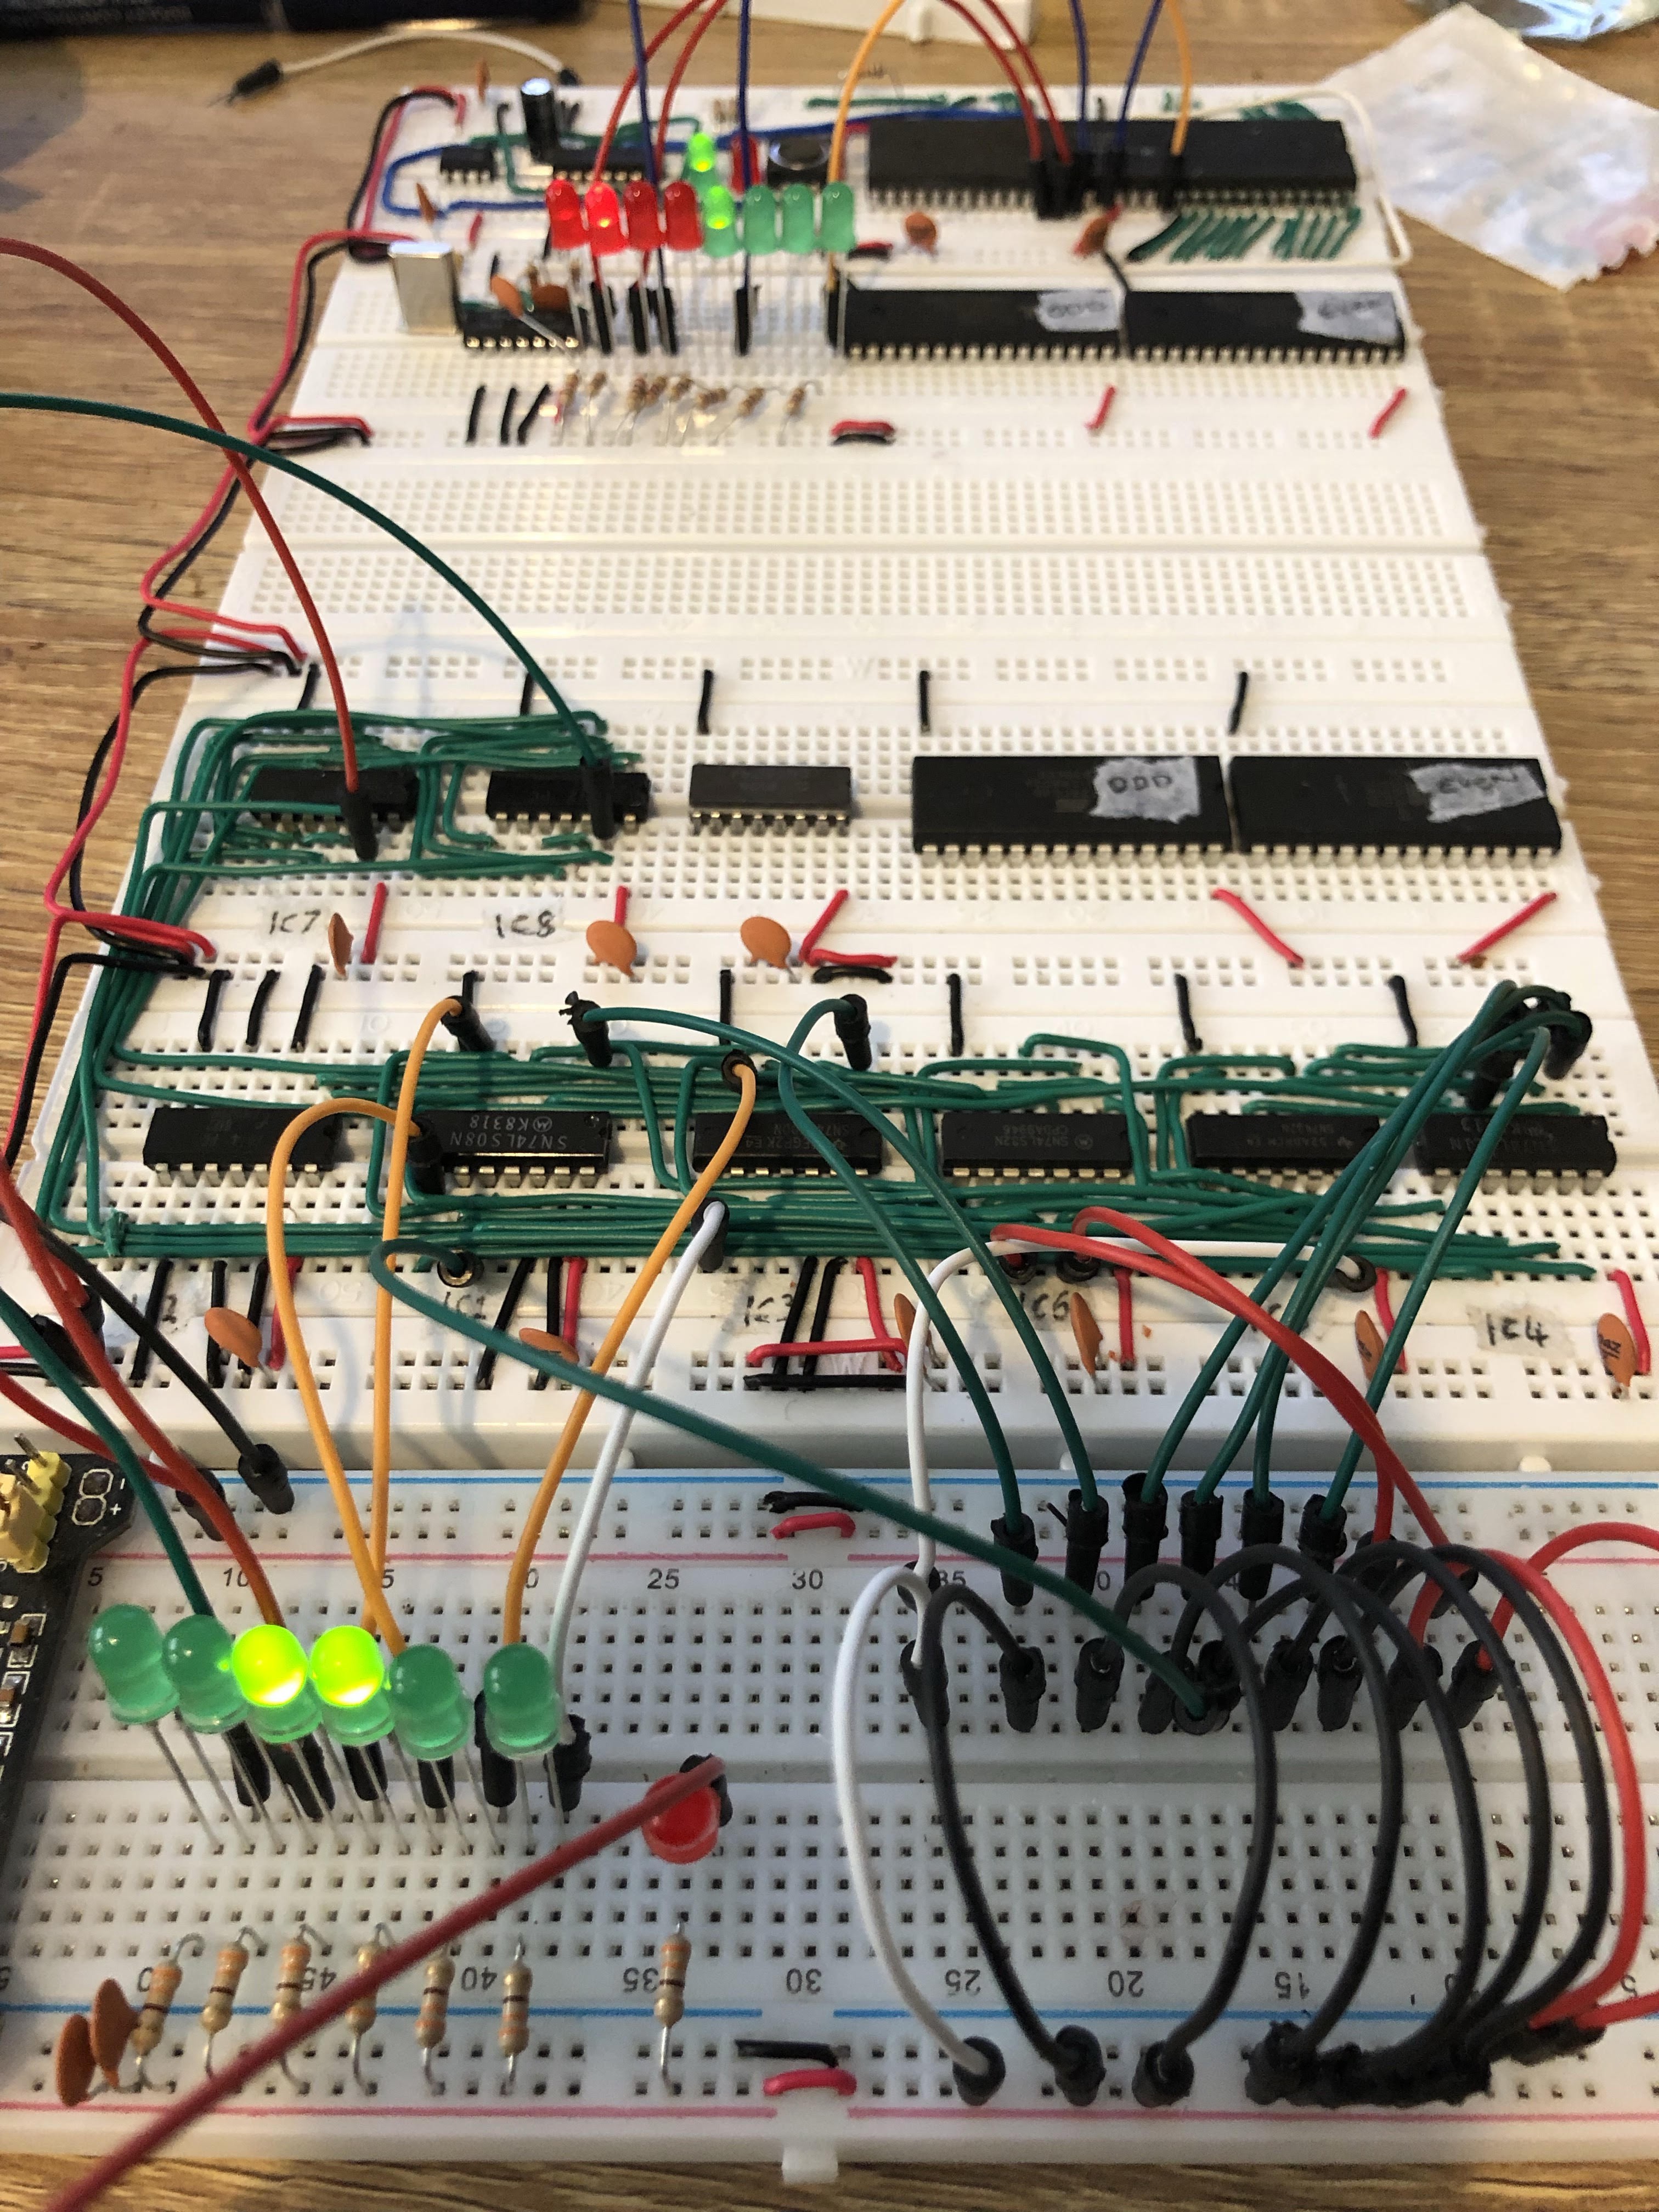
And here is a full shot of the board in its current state. You'll notice that I've added a bare board in the center which I'm using to break out the control, address and data buses (not everything is wired up yet):

Finally, if you want to see it in action, I made a short video where I manually drive the control lines and have some LEDs displaying the output of the decoder:
That's all for now, tomorrow I'm planning to finish hooking up the memory chips, and then burn something simple to the ROMs and get this thing running some real code!
Discussions
Become a Hackaday.io Member
Create an account to leave a comment. Already have an account? Log In.