 Starhawk
I initially wanted to set aside the build phase of this project until I could get all the parts to arrive working. However, after the third time I received a nine-inch screen kit from eBay's Hong Kong / China with no antistatic protections whatsoever -- meaning that the driver board was hopelessly D.O.A. -- it occurred to me that the machine might not get built for some time yet if I didn't get going soon.
(Nota Bene -- I am currently arguing with the seller over that kit and will get my money back tomorrow. I hope. Meanwhile, can anyone tell me what the absolute eff yoo see kay they are putting in the water over there in ShenZhen...?! I'd think it'd be just some sort of mistake or something, but this is three different sellers with three different listings for the only approximately same product.)
So I got to work. The first step was to assemble the keyboard base. This was supposed to be easy, and by and large it was. I had the keyboard and brackets from the original Steampunk Laptop, and a black and silver copier drum to attach to them. That went relatively smoothly, and I took a celebratory photo.
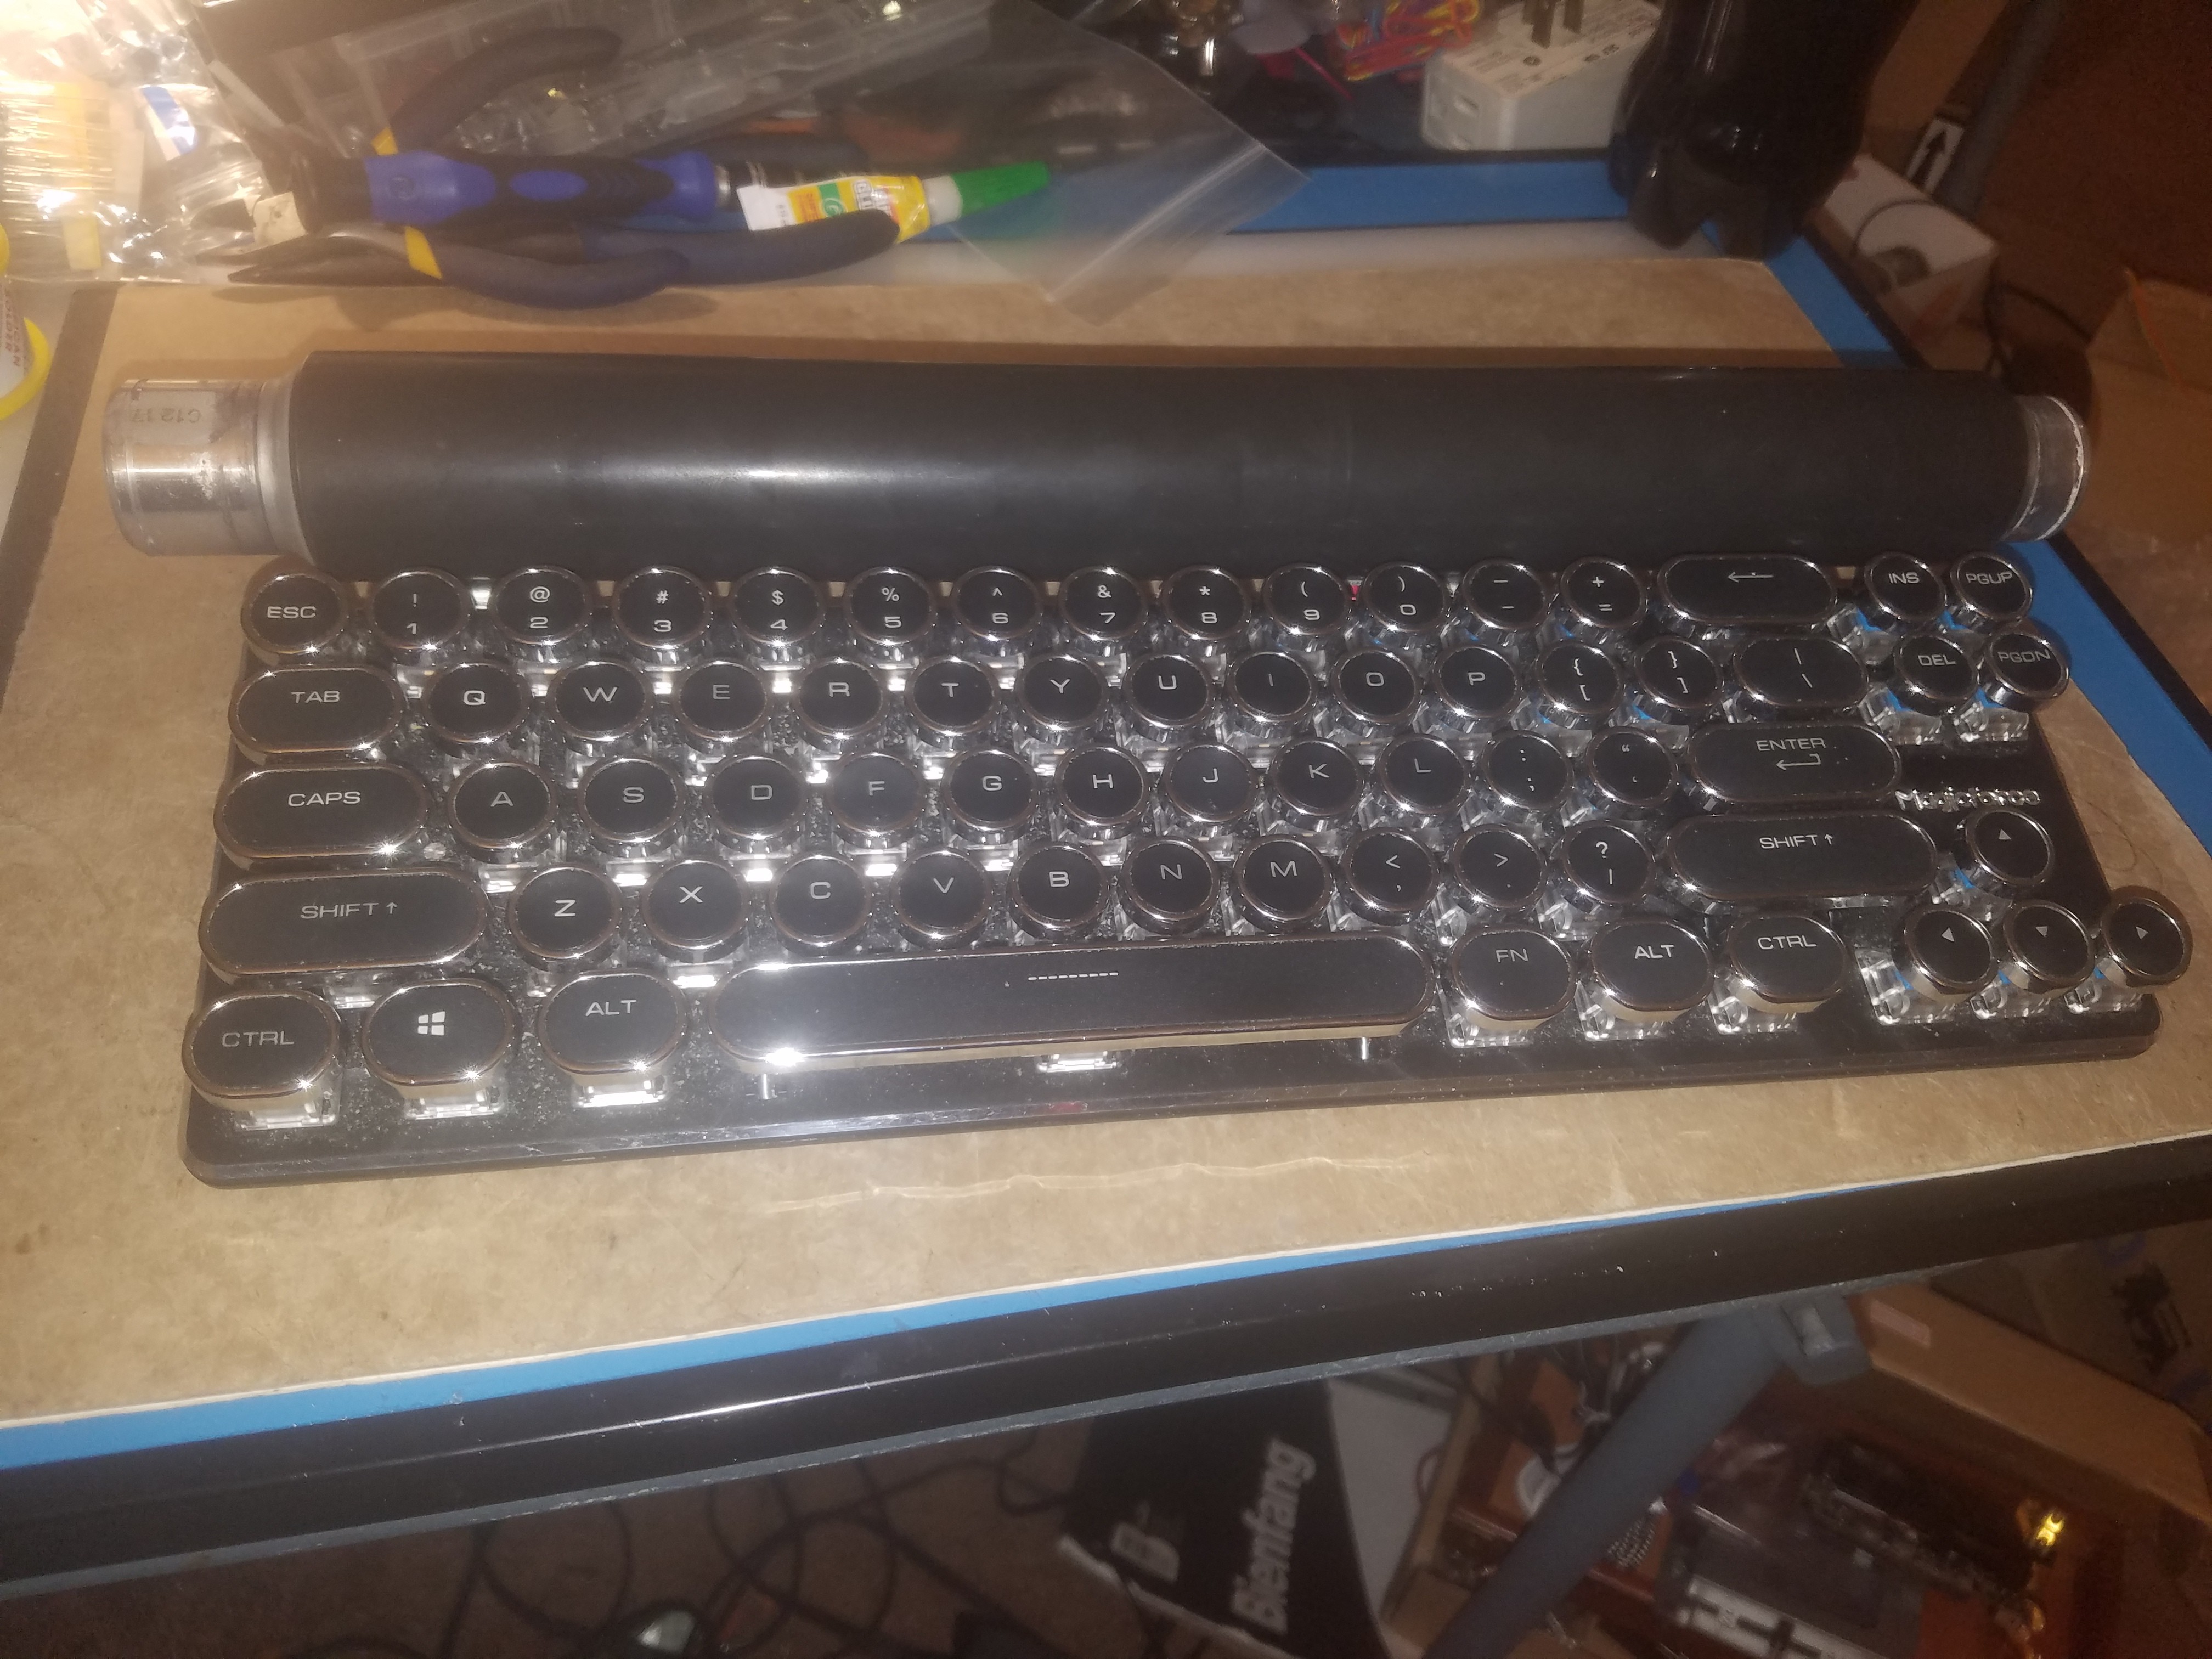
Then there were two knobs and two rotary encoders to wire up so that they went one on either side of the drum, mounted on some little plastic disks I had left over from another project, This was non-trivial but also not that bad, until the part where I had to glue the plastic washers to the drum. I'd planned to use super glue, but since the plastic in question was unfortunately PTFE aka Teflon, I was having a hard time getting the stuff to stick.
Around this time I went over to Mom's house to help her with some things, and I took the materials with me to work on the Steampunk Laptop v2. I soon found a pair of steel fender washers that replaced the teflon disks very nicely, and glued even more nicely.
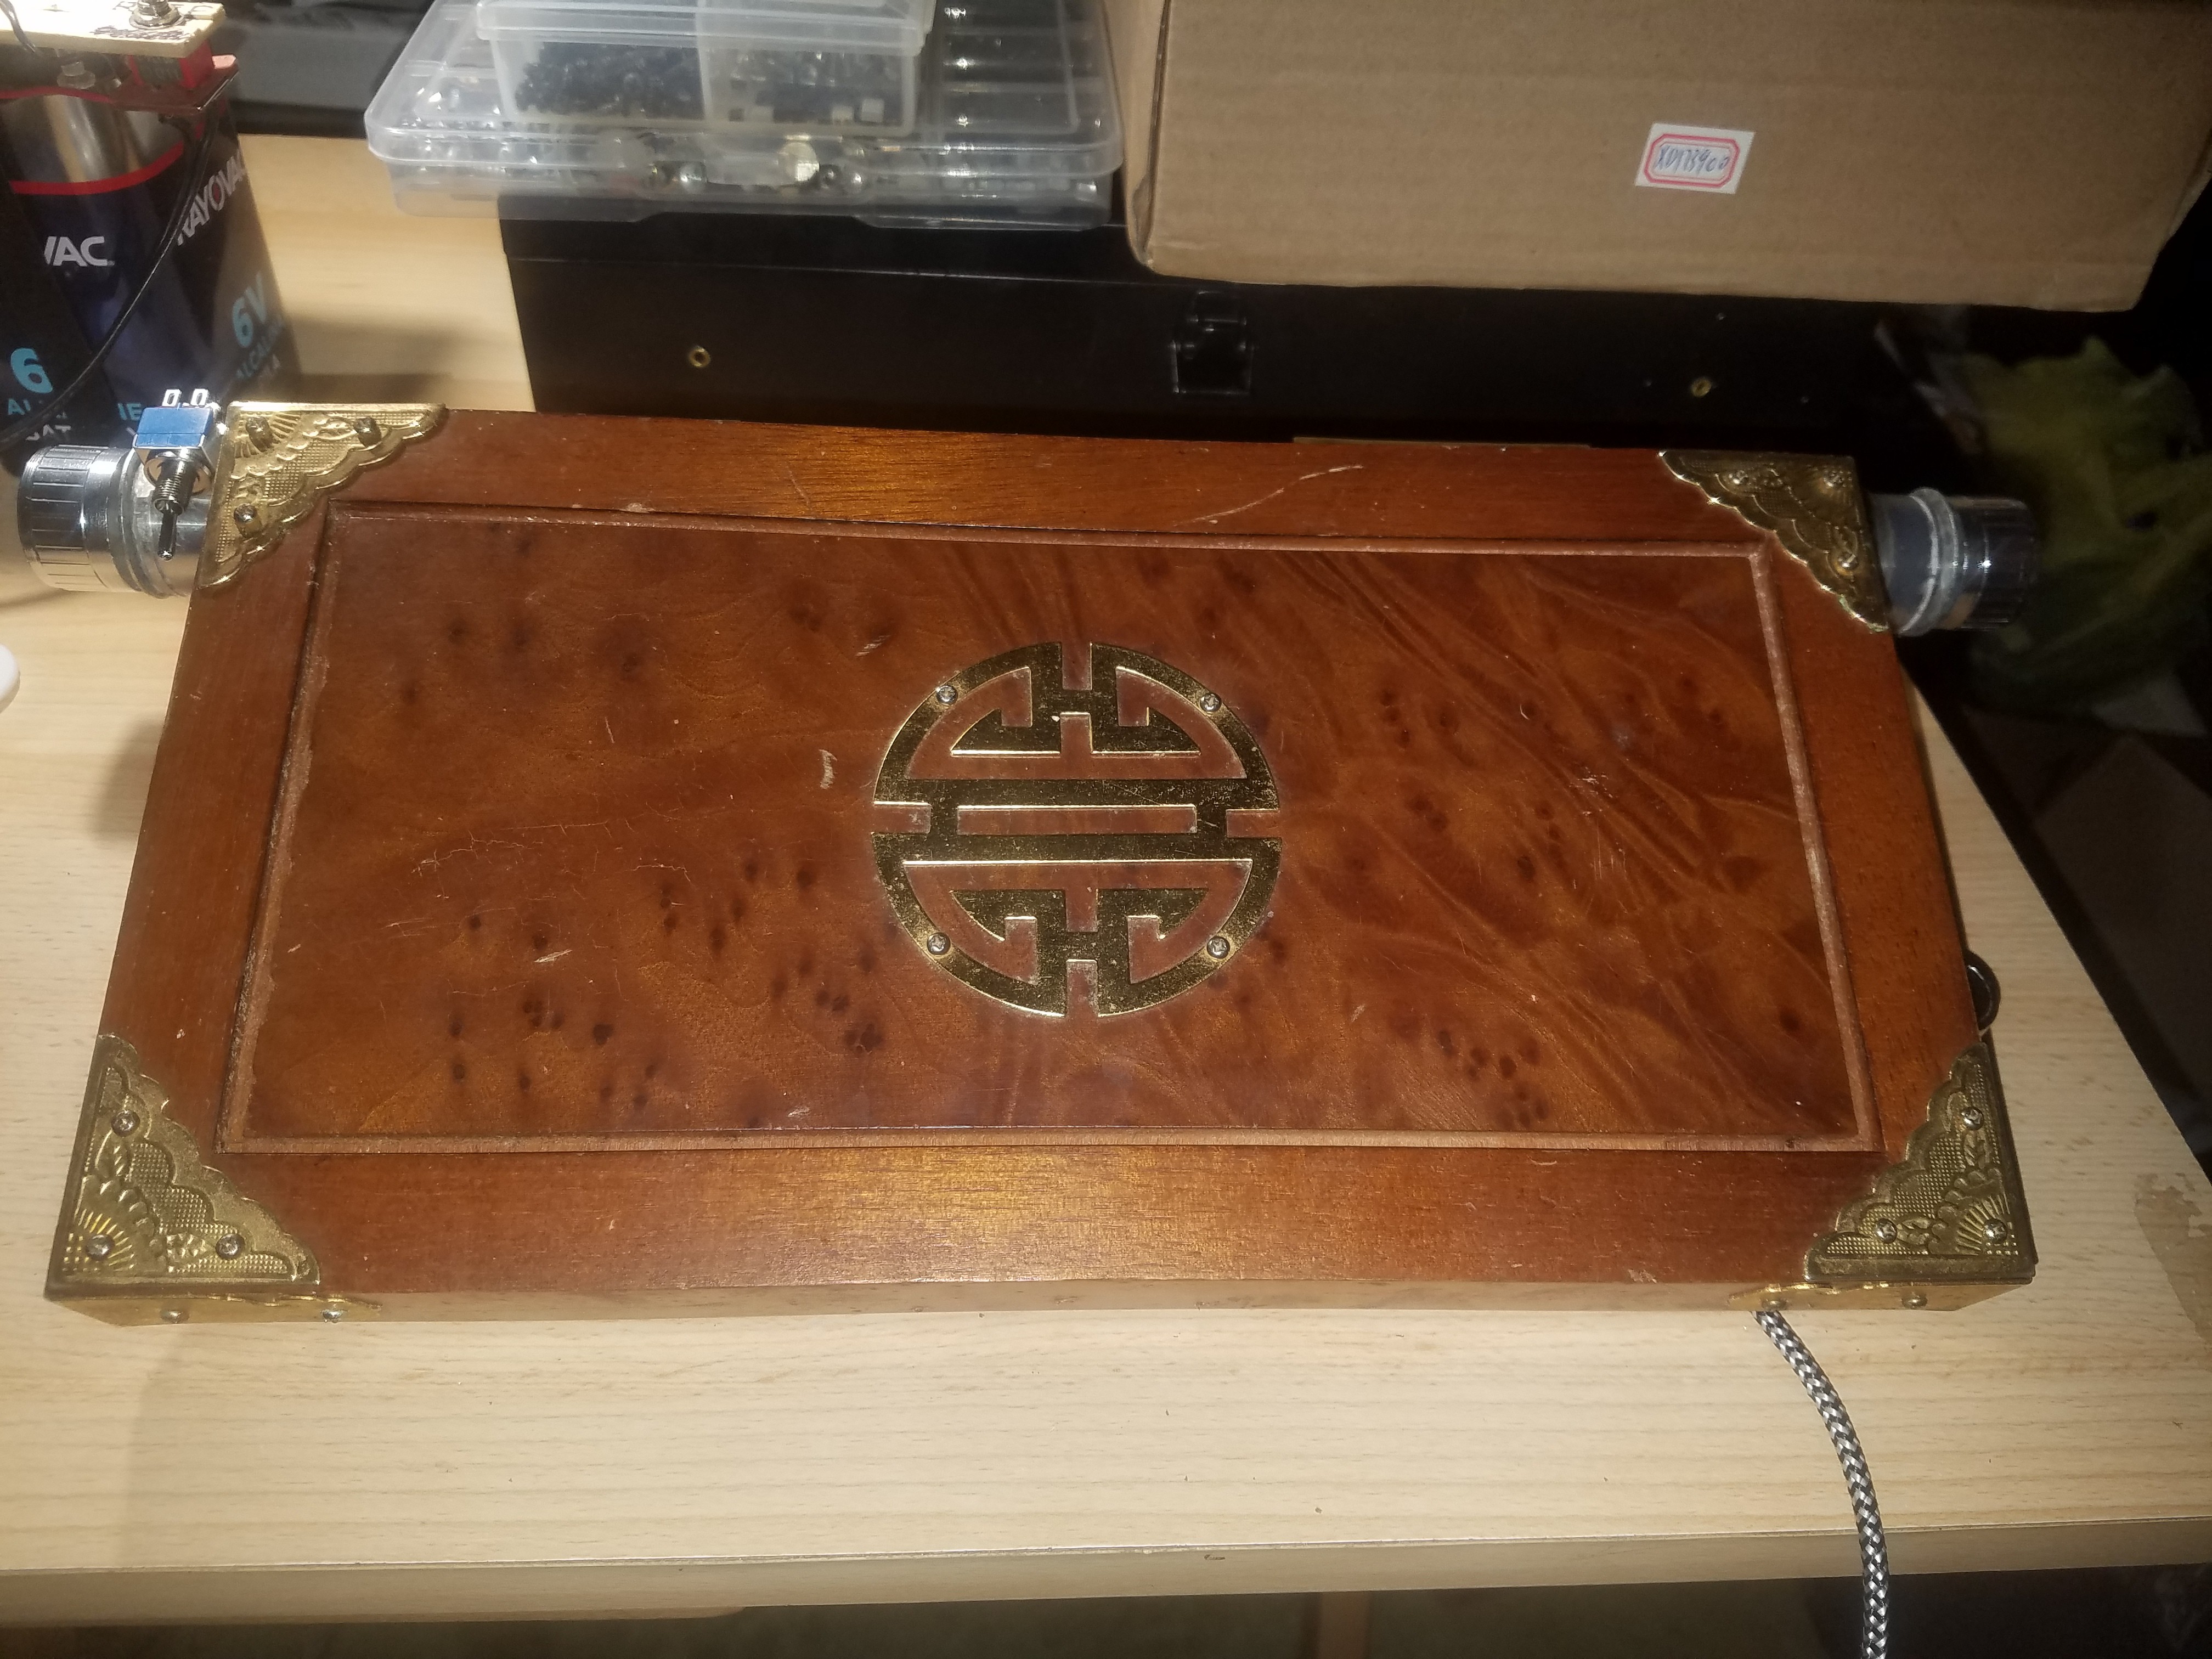
I then tried to attach the laptop hinges I'd bought, so I could fit the lid, and basically hit a roadblock. The hinges were so stiff, and the metal of the copier drum was so thin and pliable, that I basically didn't have screws that would both fit the hinges and grab the copier drum metal, without working loose as soon as I moved the lid. This was rapidly becoming true of the screws I was using to affix the drum to the keyboard brackets as well. After discovering that super glue wouldn't stick to the drum any better than it did teflon, and breaking a drill bit trying to solve the problem in a way that very likely wouldn't have worked anyways, I set the project aside for the night.
The next morning I was able to locate a pair of slim brass door hinges, and I found that if I put a washer on the middle of the three screws that held it on, and used two of the brass screws it came with along with a third, bigger, washer-head screw from God-only-knows-where, the hinges would hold very nicely to the drum. A similar approach with the keyboard brackets yielded similarly positive results. I soon affixed the power supply socket (a Kycon four-pin job, since I would be powering this system with a LaCie Bigger Disk brick) and the master power switch. Then I took some more photos...
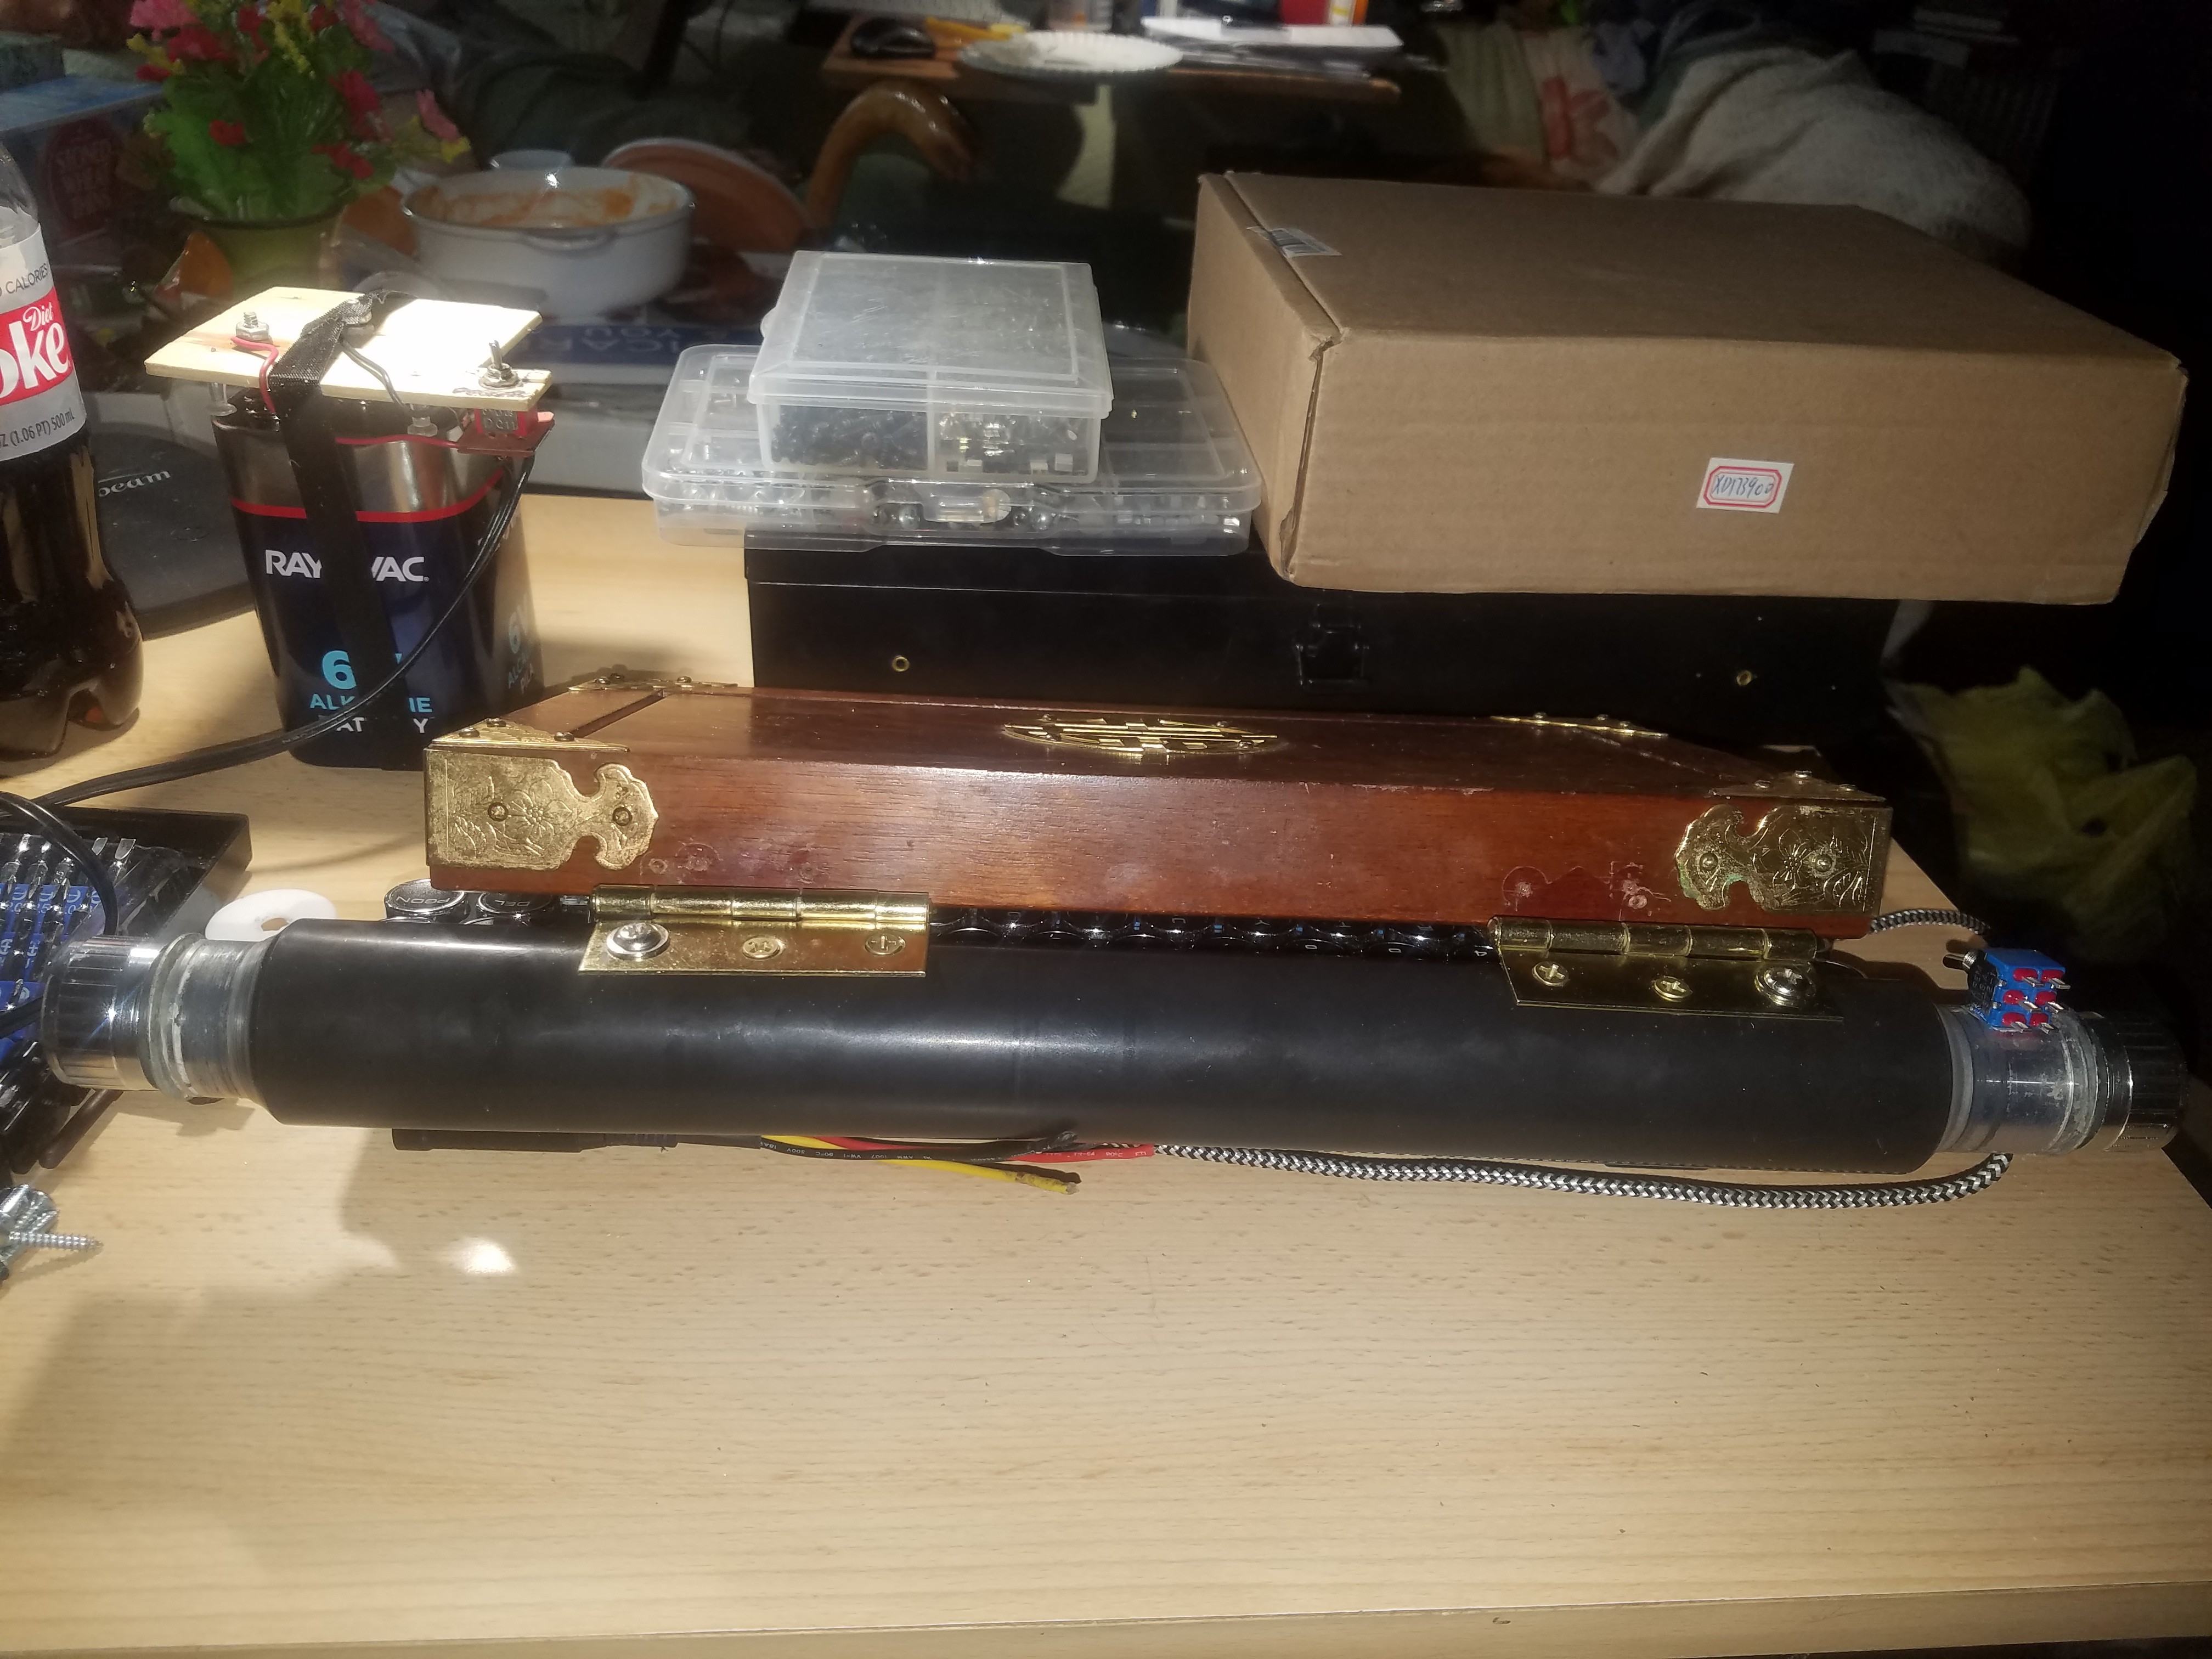
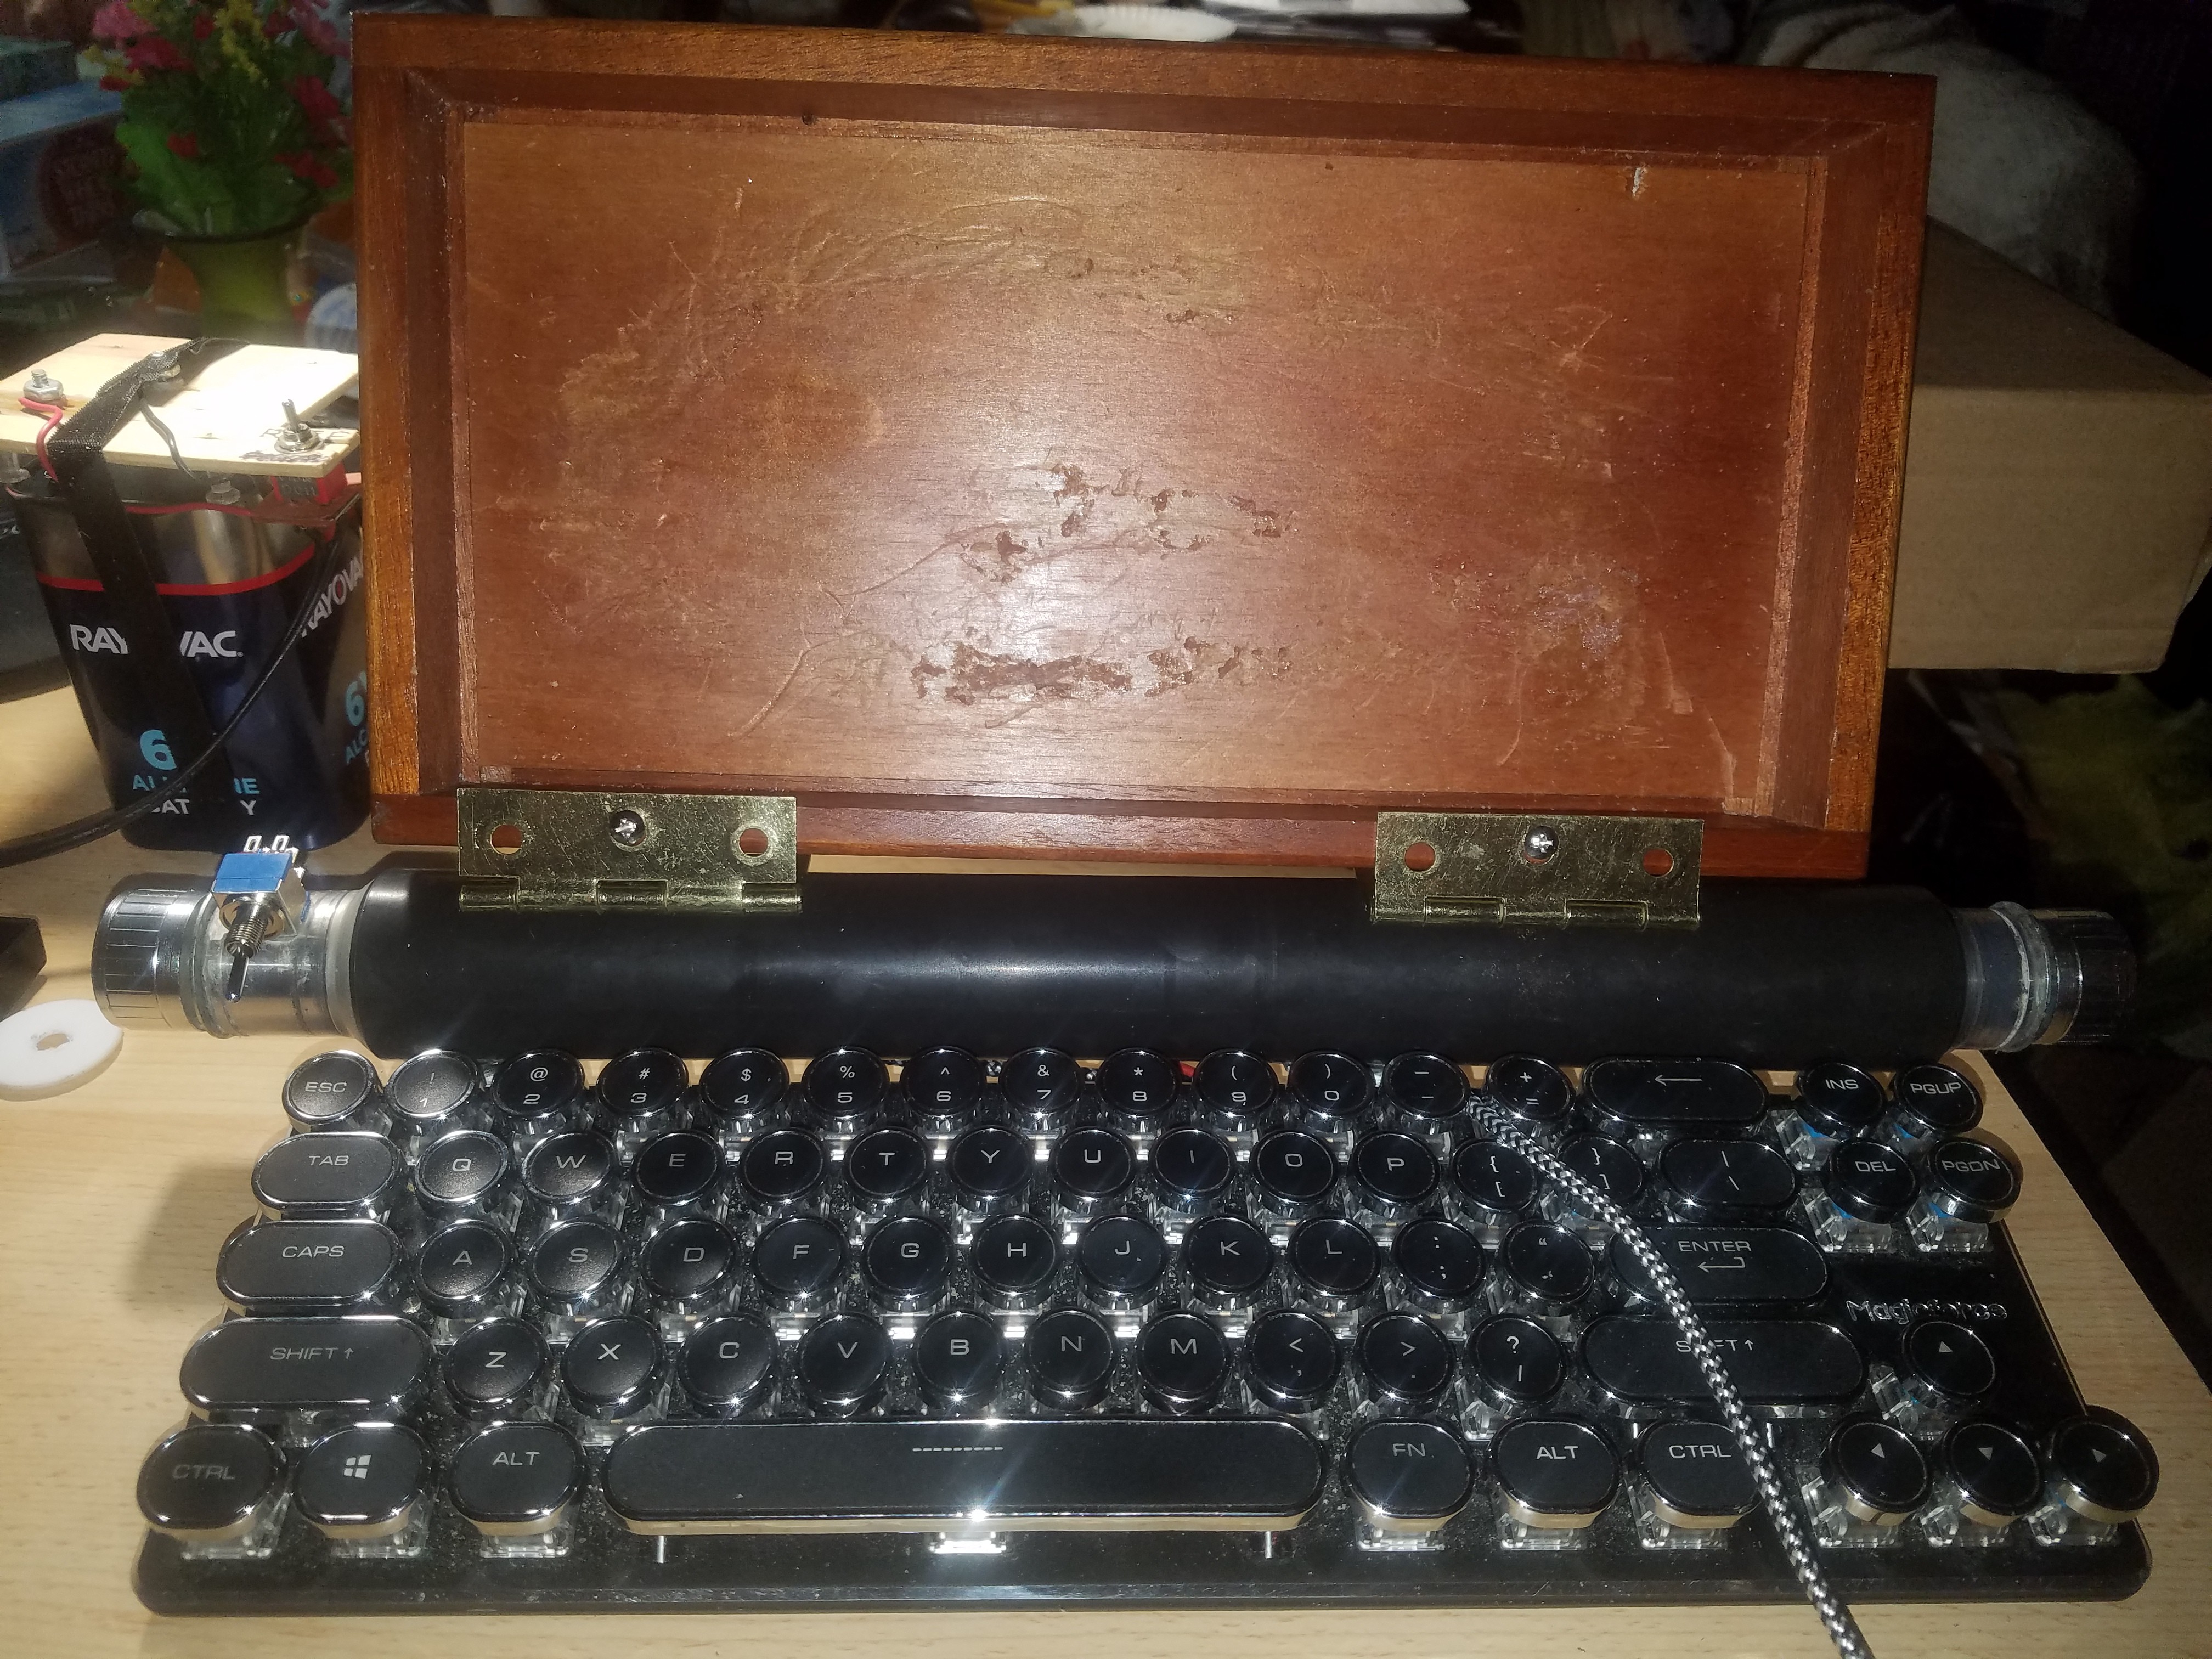
"Now, ain't that jus' purty..."
Discussions
Become a Hackaday.io Member
Create an account to leave a comment. Already have an account? Log In.