 AccidentalRebel
I've been printing at a layer height of 0.2mm and it has been giving me good and consistent results. I wanted to find out how high a resolution my machine can reach so I've done some tests to find out.
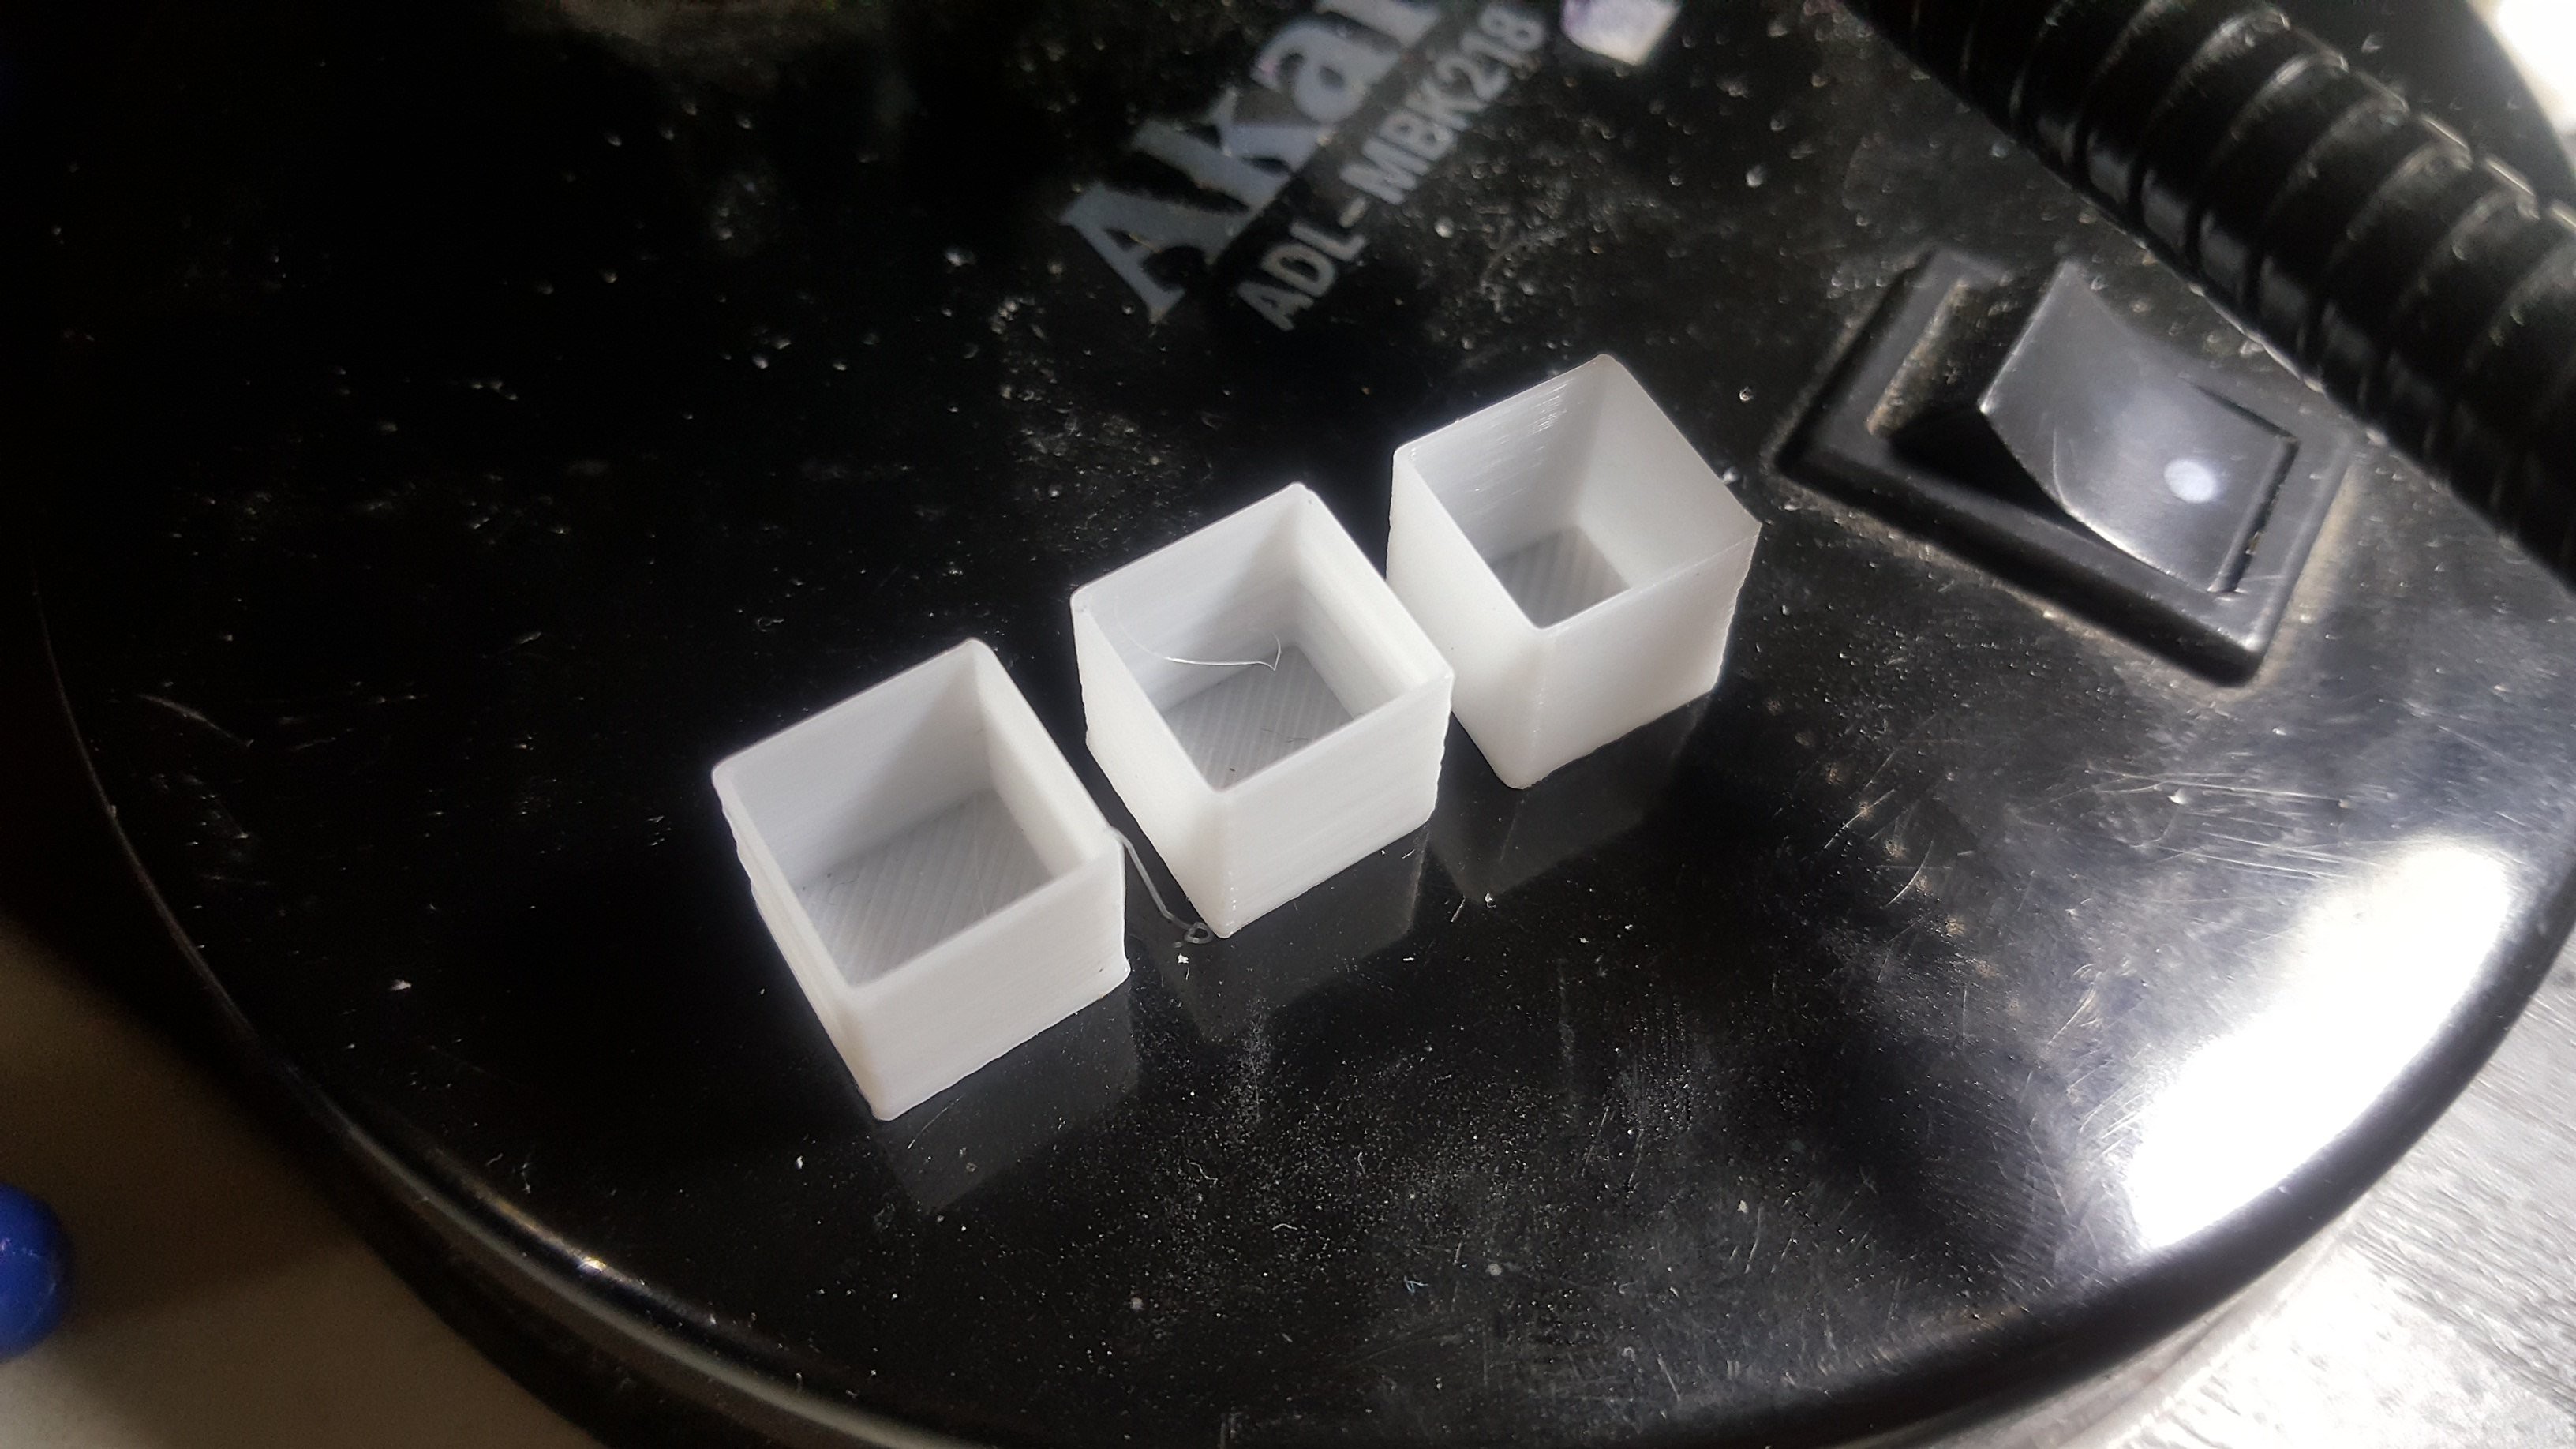
The picture above shows three test prints. From left to right 0.2mm, 0.175mm and 0.15mm. You would need to look at the object closely to see the differences between the prints. 0.15mm is definitely finer which makes it perfect for small scale objects like the one I designed below:
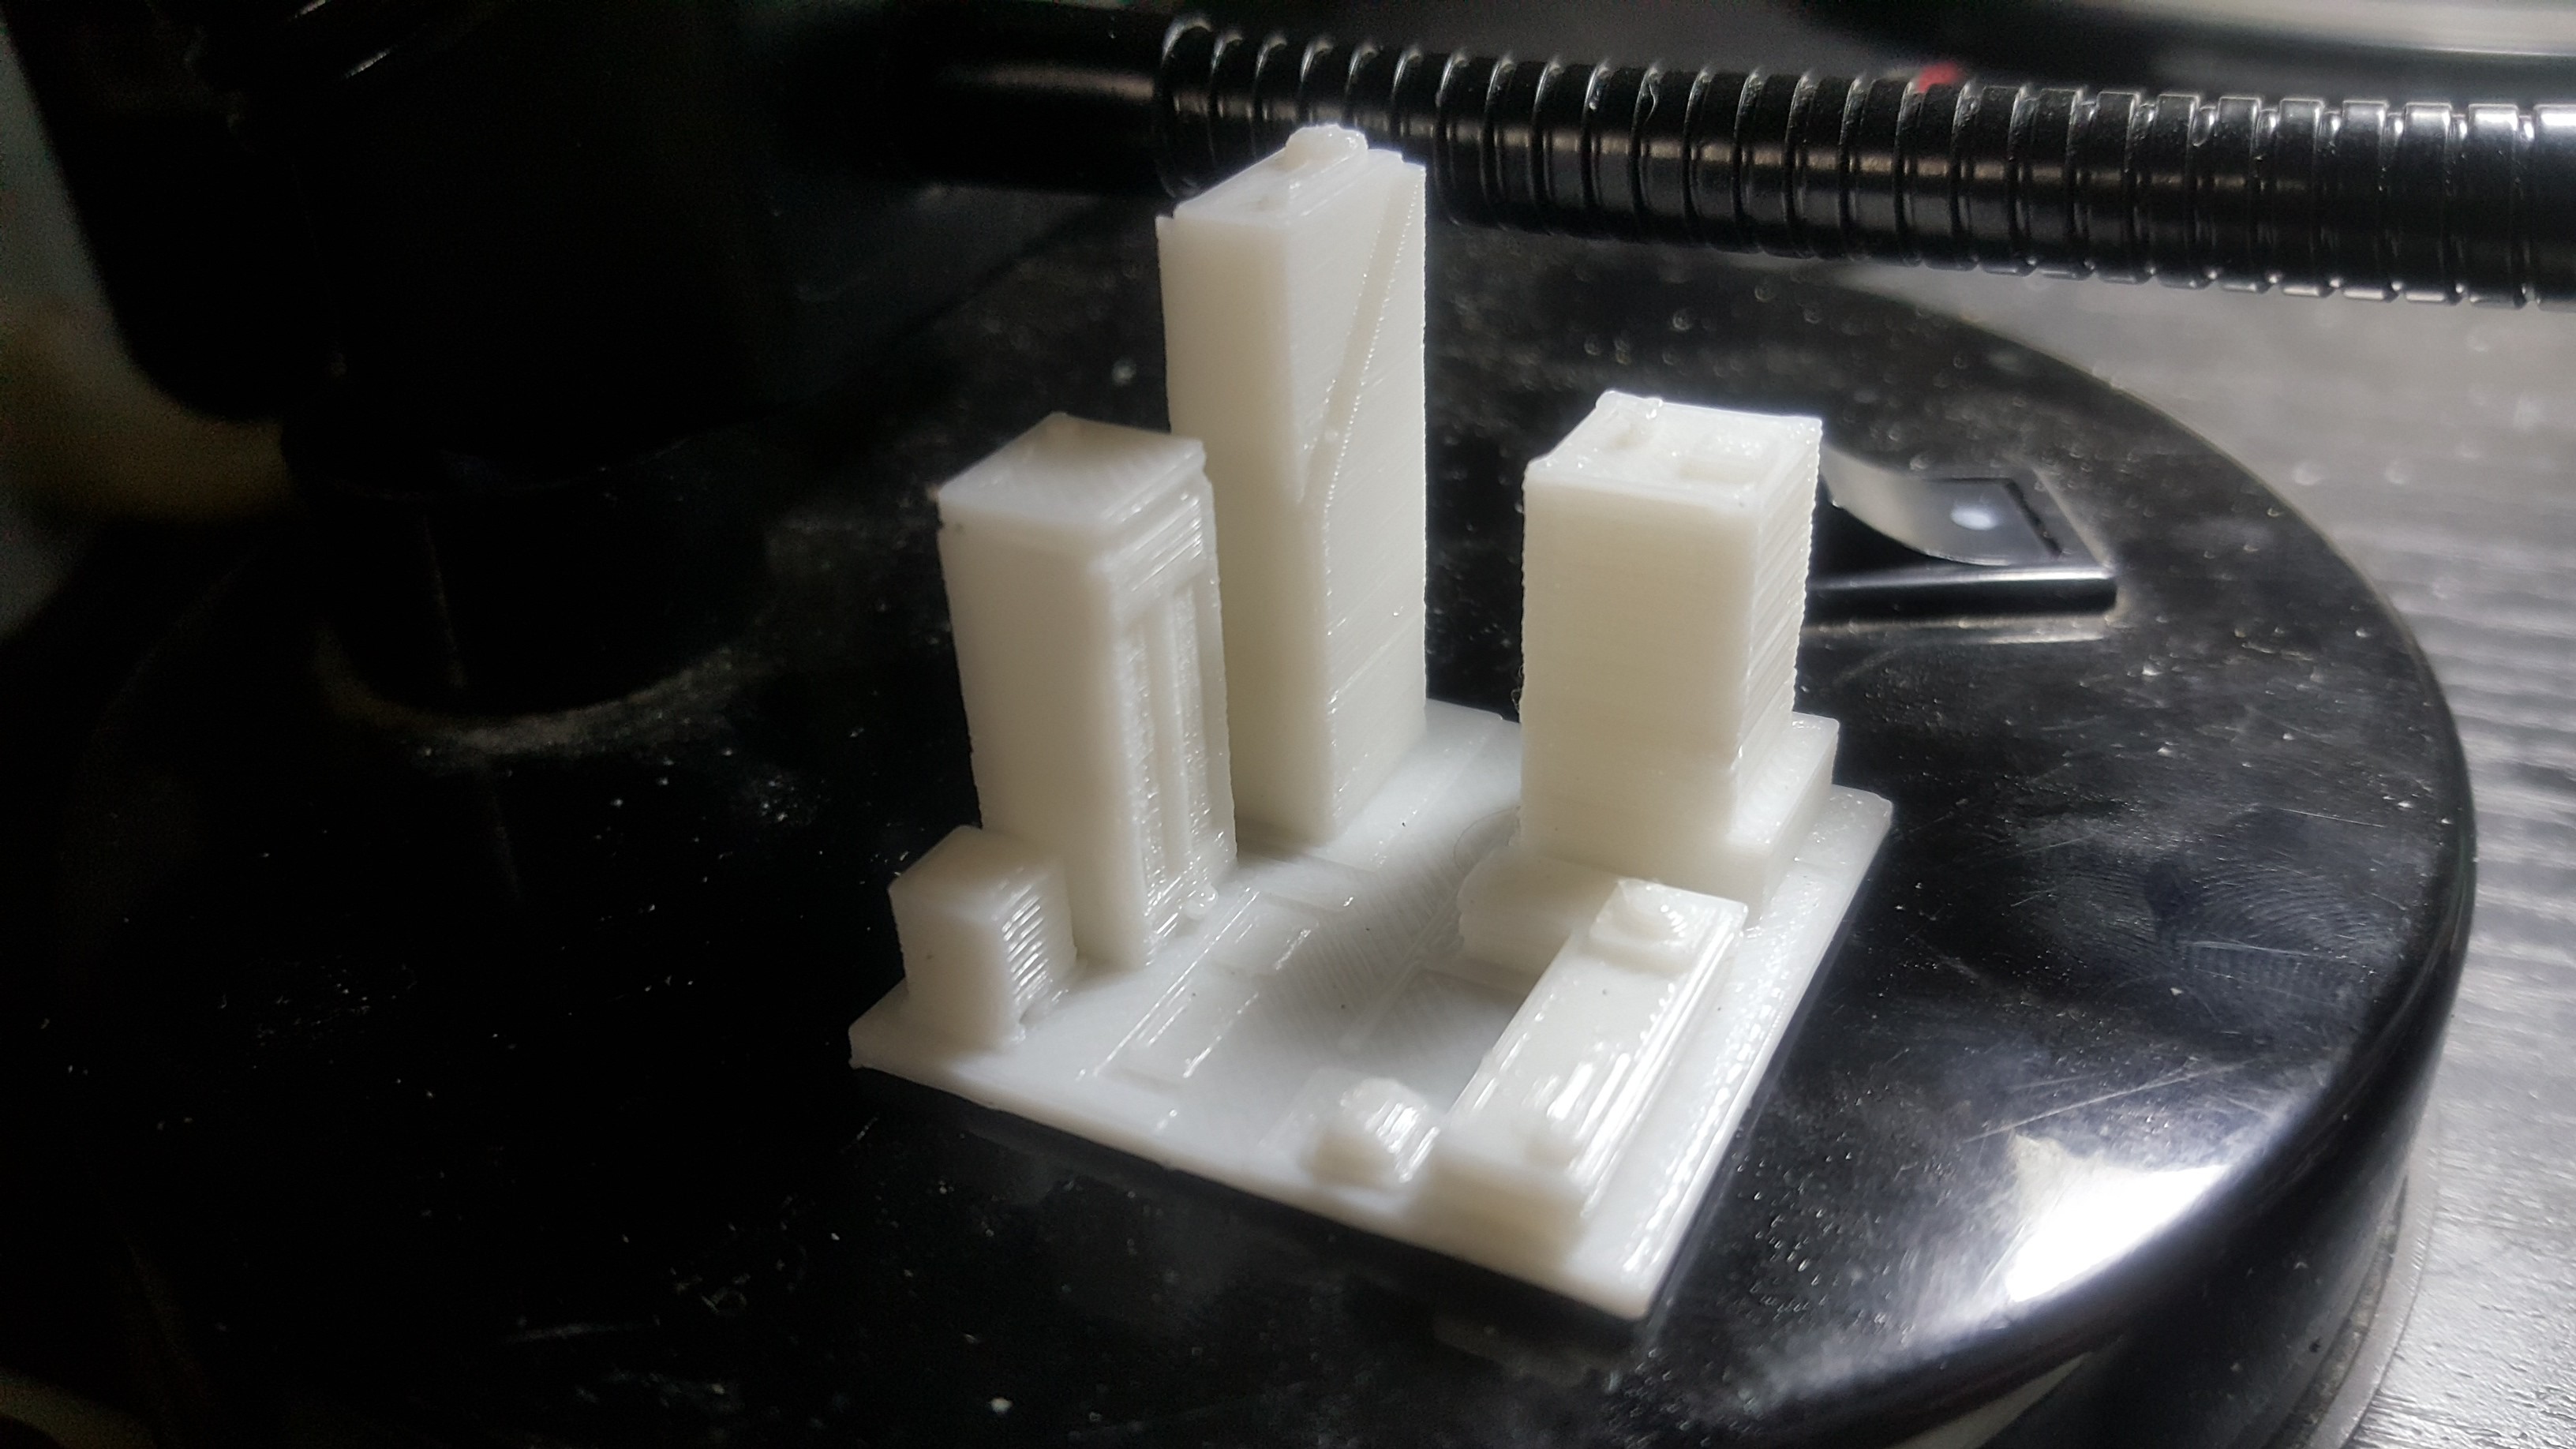
I tried lowering the layer height to 0.125 but the extruder was not extruding anymore. I reckon that the finer movement required to extrude such a small amount could not be achieved anymore by my cheap knockoff stepper motor. It may also be possible that the retraction distance and strength might be sucking the pressure too much that the extruder could not get the pressure back. I'd definitely be looking into this again in the future. Right now I'm actually quite happy with a 0.15mm layer height.
Thanks to the improvements that I made before (details in the last project log), my machine can now run reliably with minimal monitoring on my part. Prints form before were failing quite a lot because of various factors. I constantly had to deal with filament getting tangled in the spool, warping, and sliding layers. These problems don't happen anymore and I could now leave the printer alone and come back after it has finished.
The print in the picture above, took three and a half hours. The longest print time that I've attempted.so far in this machine. It's a nice feeling to not have to worry too much.
I also salvaged two limit switches from an old inkjet printer. One was an optical switch, the other mechanical. I tried hooking up the optical switch but I could not get it to work. It's possible that it only works with the inkjet's motherboard. I think I broke it though as it caused a spark in my Ramps board. The board is still fine, thankfully.
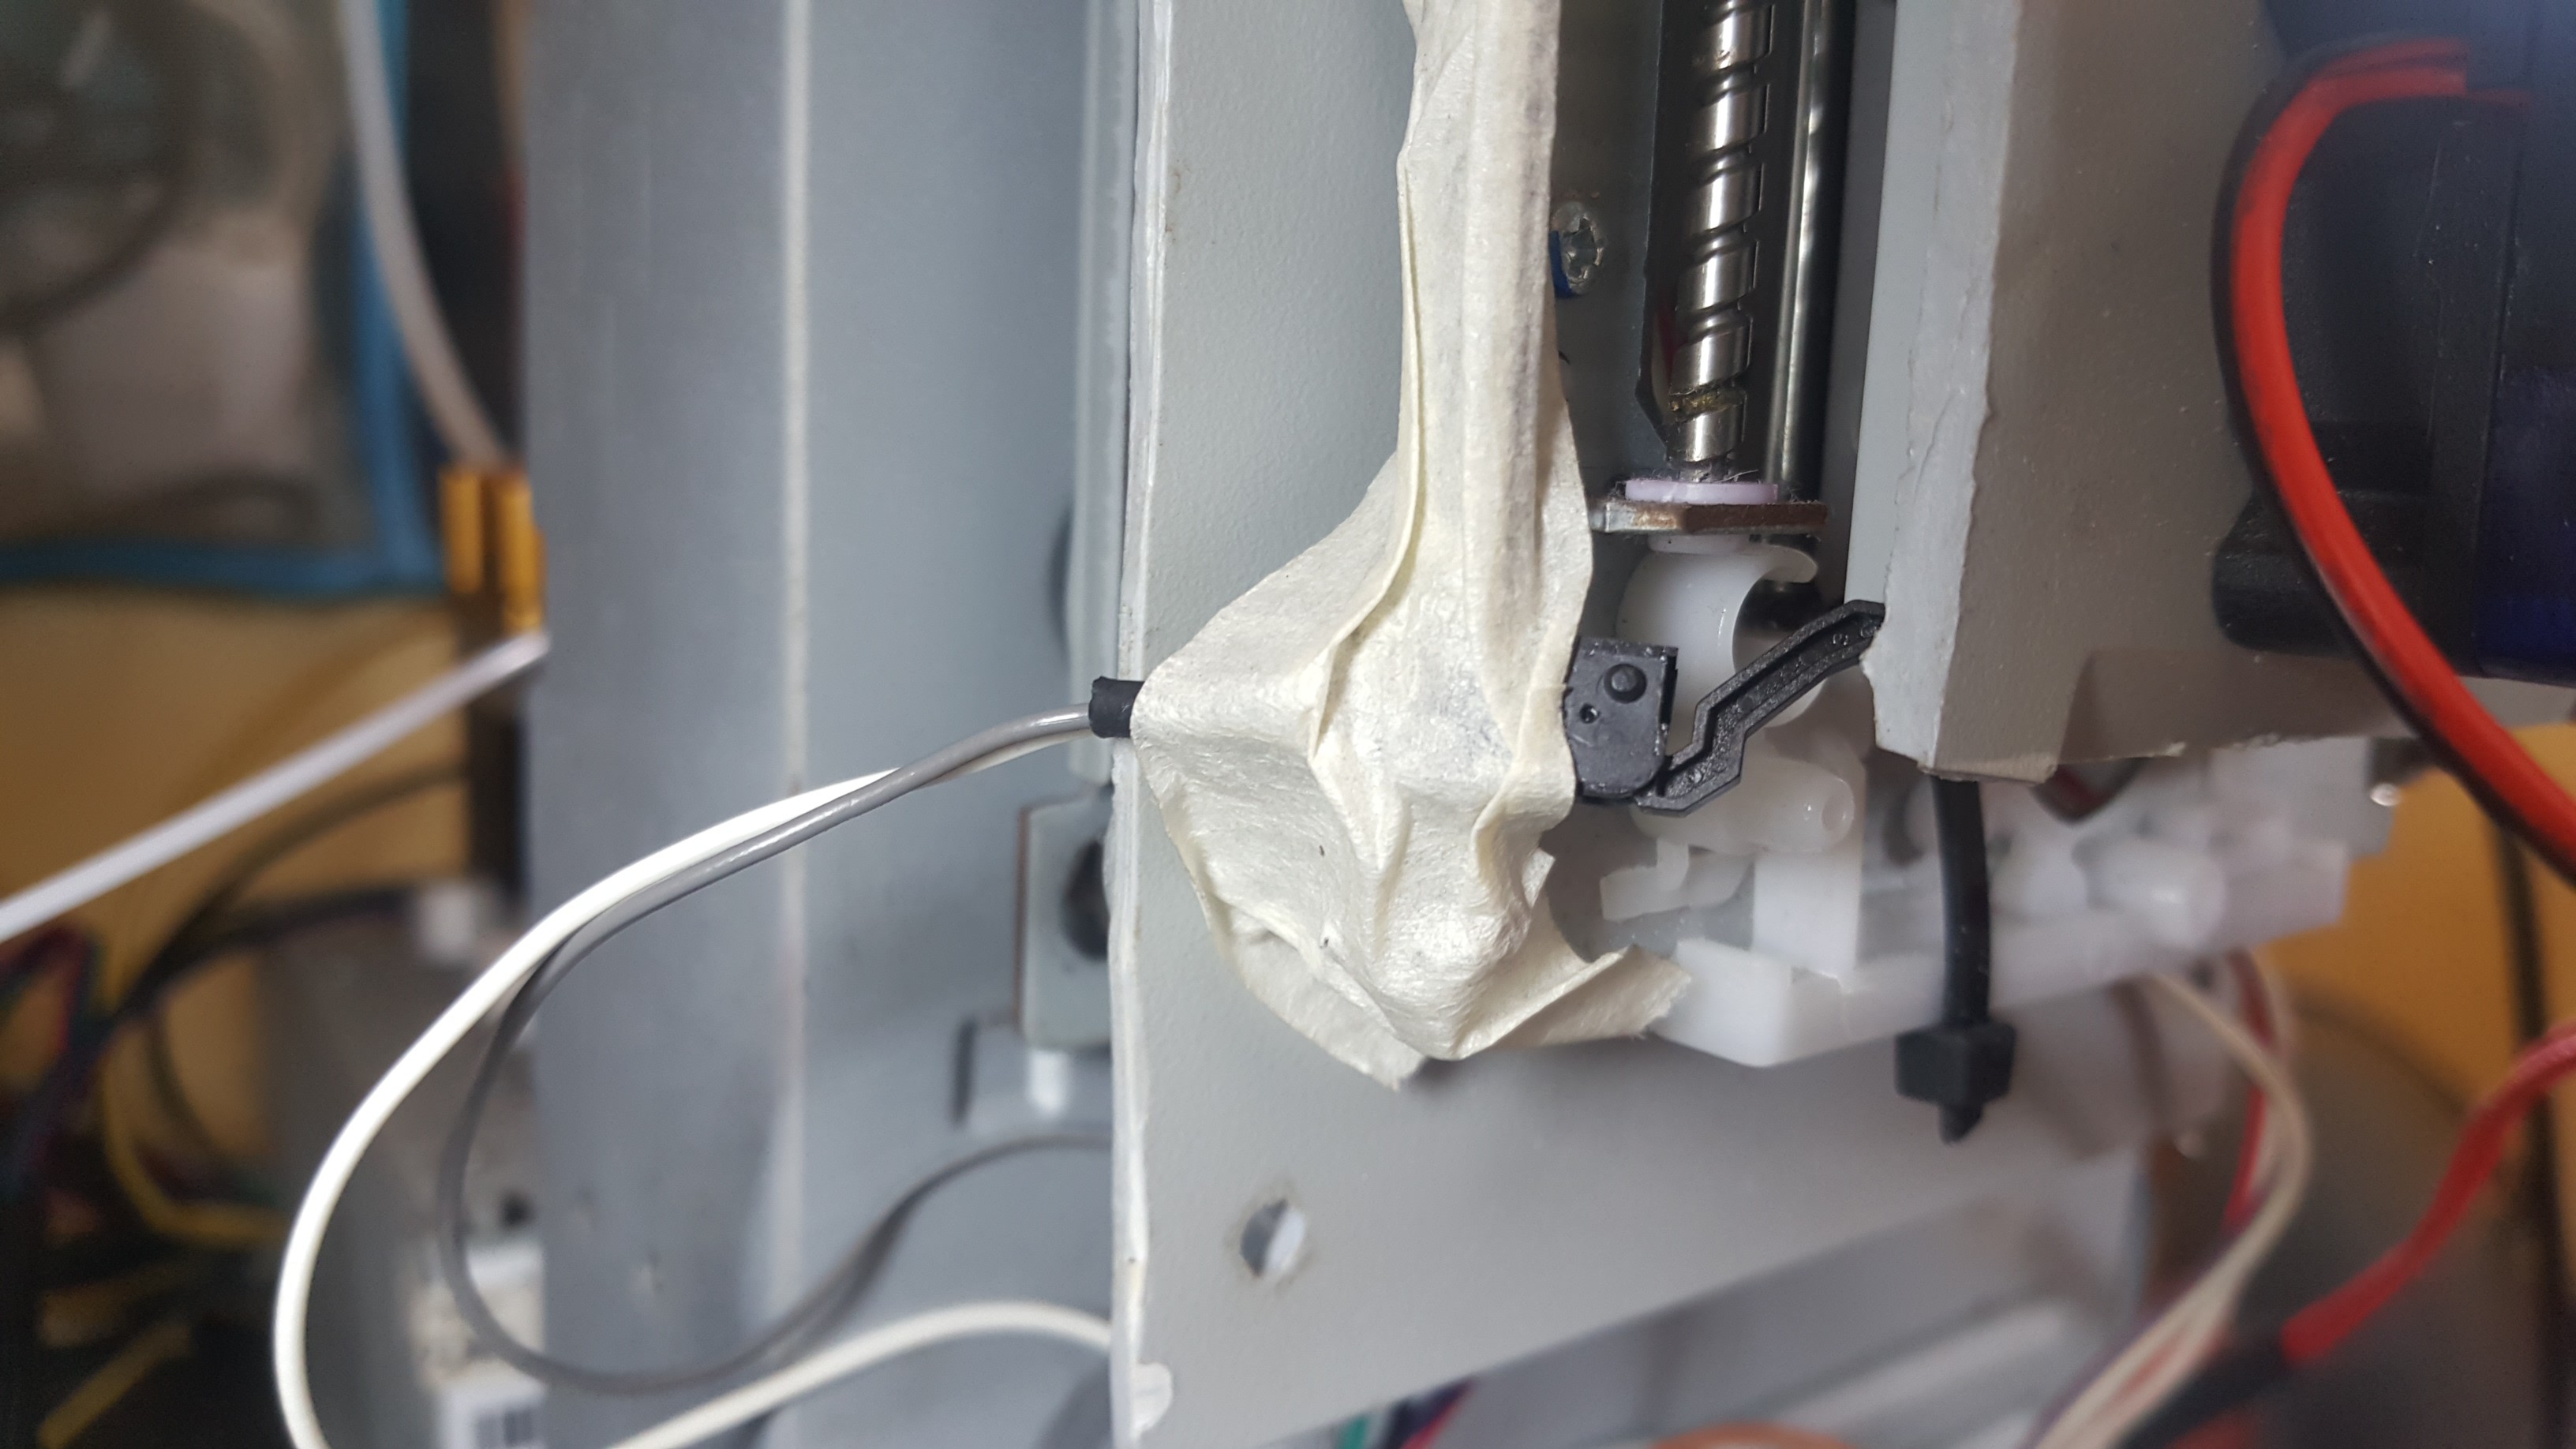
This leaves me with the mechanical switch above, which works accurate enough from what I could tell. I was not sure how to mount it yet so I just taped it up so I could easily move it to different positions. Will definitely make a better mount for this as soon as I find the best place to put it.
Up next: Improving the current spool.
Discussions
Become a Hackaday.io Member
Create an account to leave a comment. Already have an account? Log In.