 AccidentalRebel
The very first thing I did was I opened up my old printer and scanner to see if I could use their motors and rails for my 3D printer similar to this instructable.

I was disappointed to learn that only the scanner was using a stepper motor. The two motors inside the printer were both DC motors. This means I'll have to go with CD-Rom drives for now and just switch to scanner and printer parts once I am in need of a bigger print area.
I wanted to make sure that the electronics that I purchased were working so I concentrated my efforts on making a single stepper motor move. So I hooked up the RAMPs board with the Arduino Mega, uploaded the Marlin firmware, and then sent commands to the board using Pronterface. The motor responded by turning a bit and then went back to it's original position. This is not the correct behavior so I continued sending commands just to see if it would do anything else. It did in the form of an overheating motor. It was so hot that it was enough to burn the skin.

This is when I remembered a helpful tip from this instructable (See step 6) about current intensity regulation. Turns out I needed to limit the current that is sent to the motor to avoid it from overheating. I followed the step and it seemed to have fixed the overheating problem.
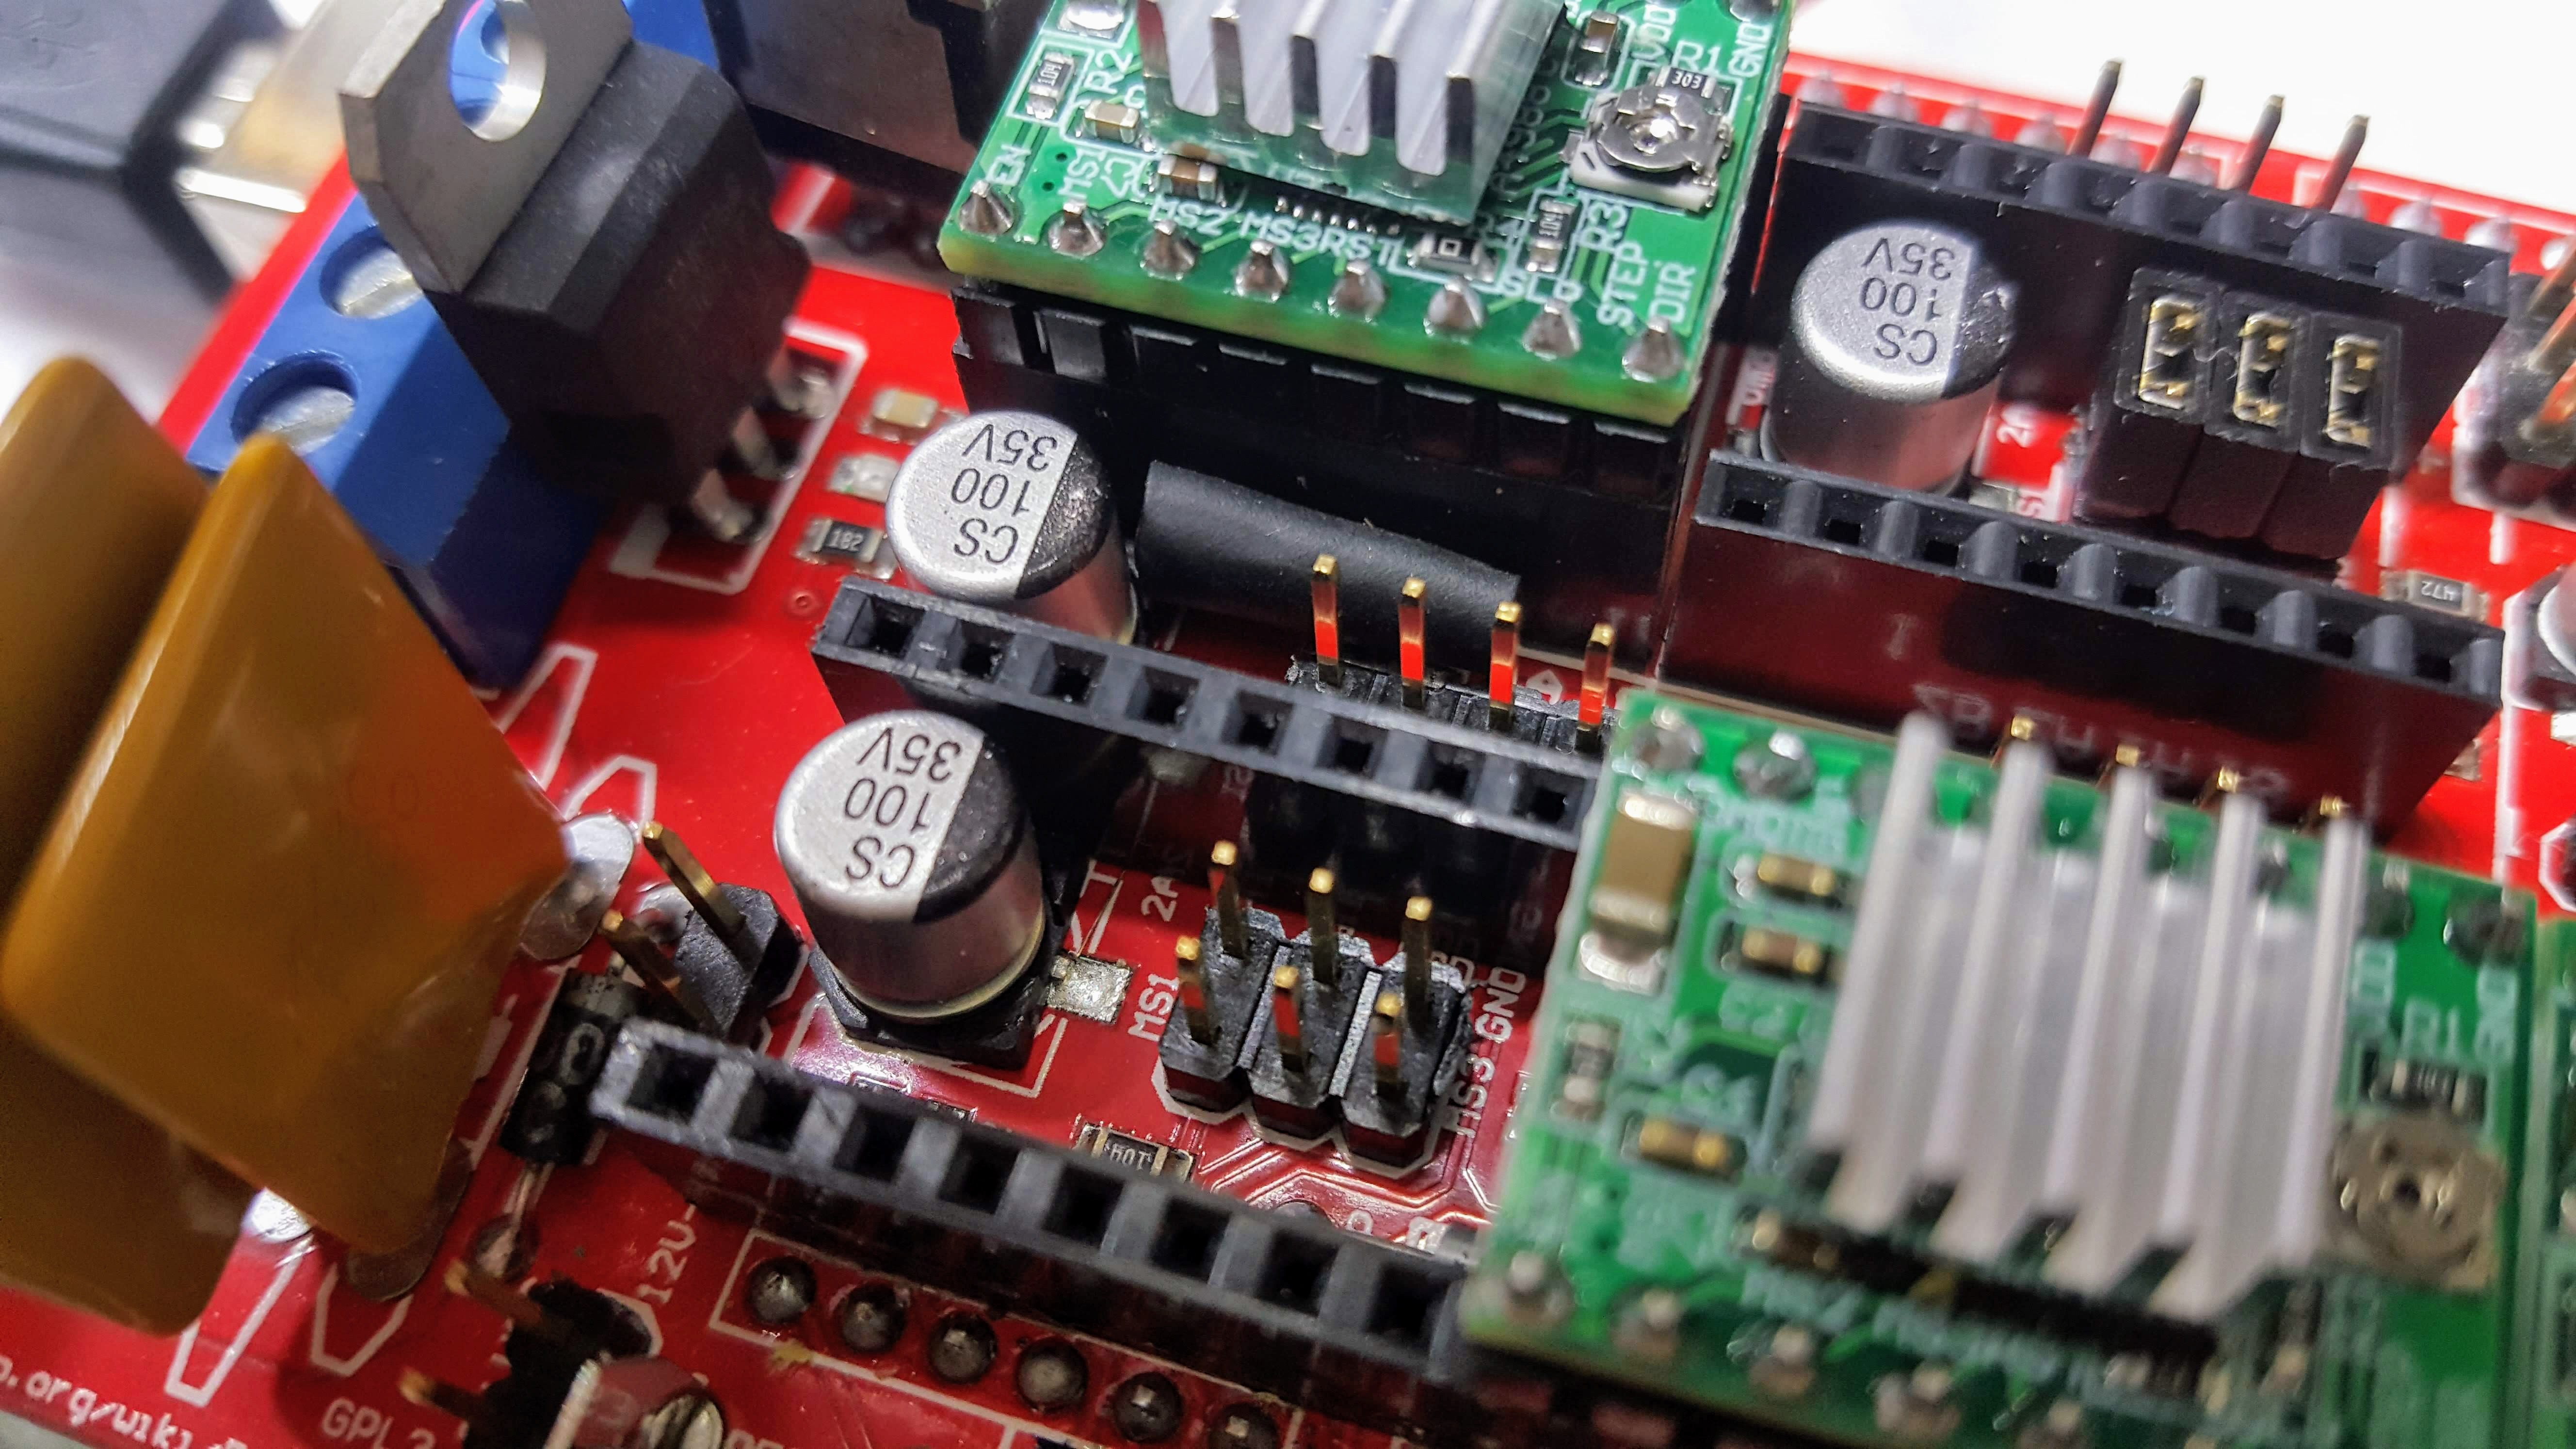
The motor was still not moving though. After a long time of searching I learned that I forgot to install jumpers onto the RAMPS board to enable micro stepping. Turns out some boards have these jumpers already installed. I got the jumpers in a separate bag which meant I had to install them myself. I followed the instruction found here on how to insert the jumpers and it did the trick!
The motor was now moving. But only in one direction! Turns out I needed to move the rail to the home position manually and then send a Home signal from Pronterface. After doing this my motor can now move forward and backwards as can be seen in the video below:
What about endstops? Where do they come in? I thought it was weird that the tutorials that I was following did not use endstops at all. According to the discussion here, endstops can still be used but the printing area would be reduced even further if they are used.

I'll have to research more about this. For now, I'm just happy that I was able to reach the goal of making a motor move.
Up next: Hooking up the other motors from the Y and Z axis, the extruder, and the fan while making sure that the board survives if run for an extended period of time.
Discussions
Become a Hackaday.io Member
Create an account to leave a comment. Already have an account? Log In.