 Squonk42
The main part in the FunKey device is of course the CPU: an AllWinner V3s SoC with integrated 64MB DDR2 DRAM. Not much compared to a Raspberry Pi for example, but it turns out it has just the right capacity for our purpose, and a minimum size because of its integrated DDR2 RAM, without the length and impedance-controlled constraints on PCB trace requirements.
The V3s also features a low power consumption and all the required peripheral that we need.
The V3s CPU is generally used with a companion AXP209 PMIC chip in charge of supplying all the required voltages for the CPU: +3V3, +3V3 (RTC), +3V0, +1V25, most of these using integrated DC/DC buck converters or simpler LDOs for the ones requiring the less power. The AXP209 also features an integrated Coulomb counter for monitoring the available battery power, as well as a soft-power switch controller that acts just like the one in your smartphone!
A separate AP3418KTR-G1 DC/DC converter is sued for providing the DDR2 DRAM +1V8 power.
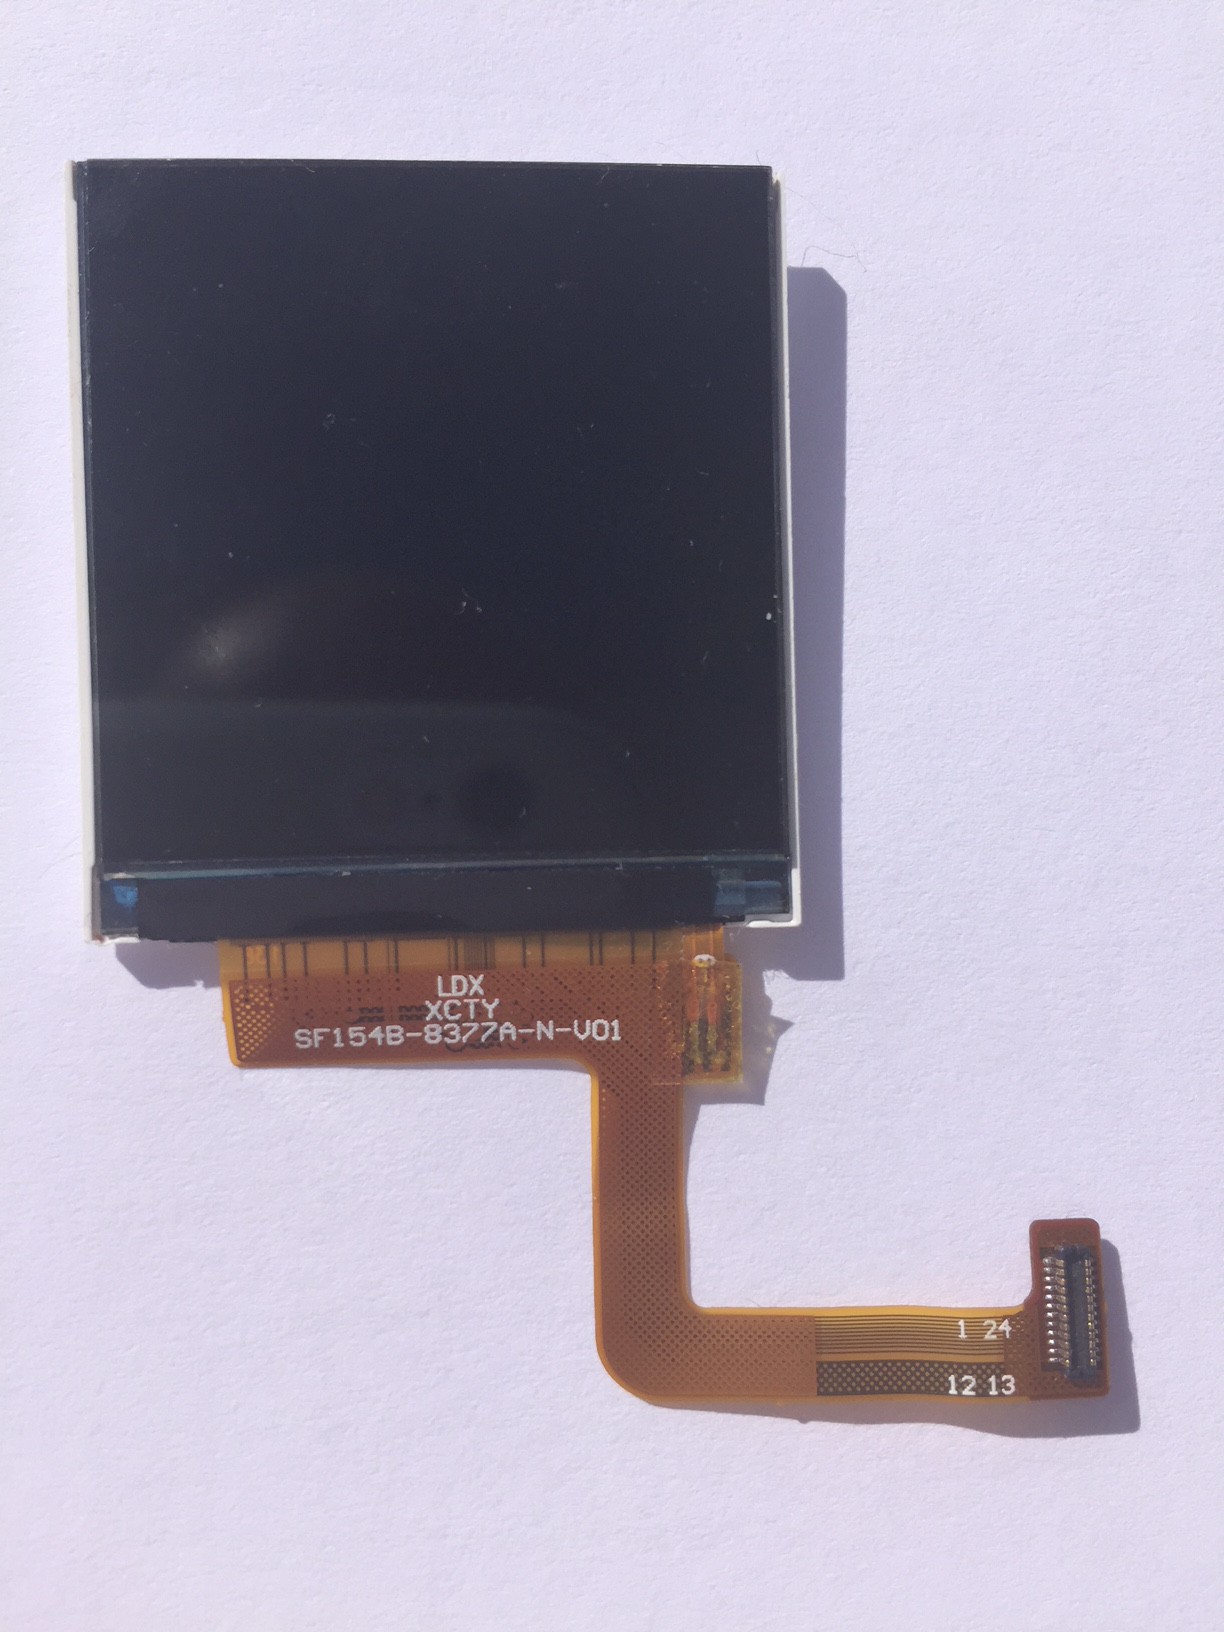
The second most important part in our design is probably our small 1.5" LCD screen. It has an amazing 240 x 240 pixel resolution, while using a simple SPI-based interface and not a complex DSi interface based on the differential high-speed MIPI specification, which requires a dedicated controller that is only available in higher-end SoC:
For audio playback, we wanted to have an internal speaker. But given the reduced dimensions, we tried to find the smallest available one, which has a very small 10 mm diameter, with a total height of 2.9 mm, out of which 1.4 mm can be inserted into a PCB hole, thus only having a height above PCB of 1.5 mm:

We use a simple mono audio playback through a PAM8301AAF amplifier. This amp has all the required characteristics, with a filterless (no capacitor) design.
After testing tactile domes in our FunKey Zero prototype, we decided to go back to standard tactile switches, as their placement can be done by a regular SMT pick&place machine with a very good accuracy, just like all the other components on the PCB, unlike the tactile domes which require an adhesive tape to place them, making them less accurate in their absolute positioning.
We also need some right-angled tactile switches for the rear left and right buttons:

We took the smallest we could get, but we may experiment with softer (no-click) ones for the rear buttons to bring a better play experience.
For the microUSB connector we choose a common mid-mount model with through-hole pins in order to avoid tearing it off the board if you don't pull the chord straight.
The only remaining mechanical part is the small DF37NB-24DS-0.4V(51) connector, matching the LCD screen connector.
For debug, we features a 3-pin 1.27 mm pitch header, with console UART RX, TX and GND pins.
The only remaining active part is a P-MOSFET used to drive the screen backlight from a V3s GPIO pin.
We use TVS diodes on all user-accessible parts to prevent ESD (these are small 0402 TVS), and a dedicated USB ESD protection a close as possible to the USB connector.
All other parts are passive resistors, capacitors or ferrite beads in 0402 form factor whenever possible, as we don't have a lot of available real estate on this board.
As you can see, none of the components was chosen randomly, and finding the right part took us a significant amount of time!
Discussions
Become a Hackaday.io Member
Create an account to leave a comment. Already have an account? Log In.