This is a DIY smart display that you can embed in to your wall. You can control your smart appliance, set timer to control it, get weather info, and act as a cool clock. Let’s get straight into how I made it.
For more details visit https://www.eionix.co.in/2019/06/29/smart-home-display-iot-diy-google-home-hub.html
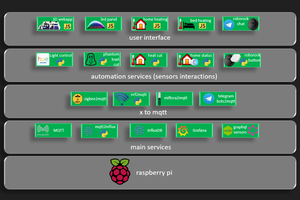
Architecture
Hardware
It consists of
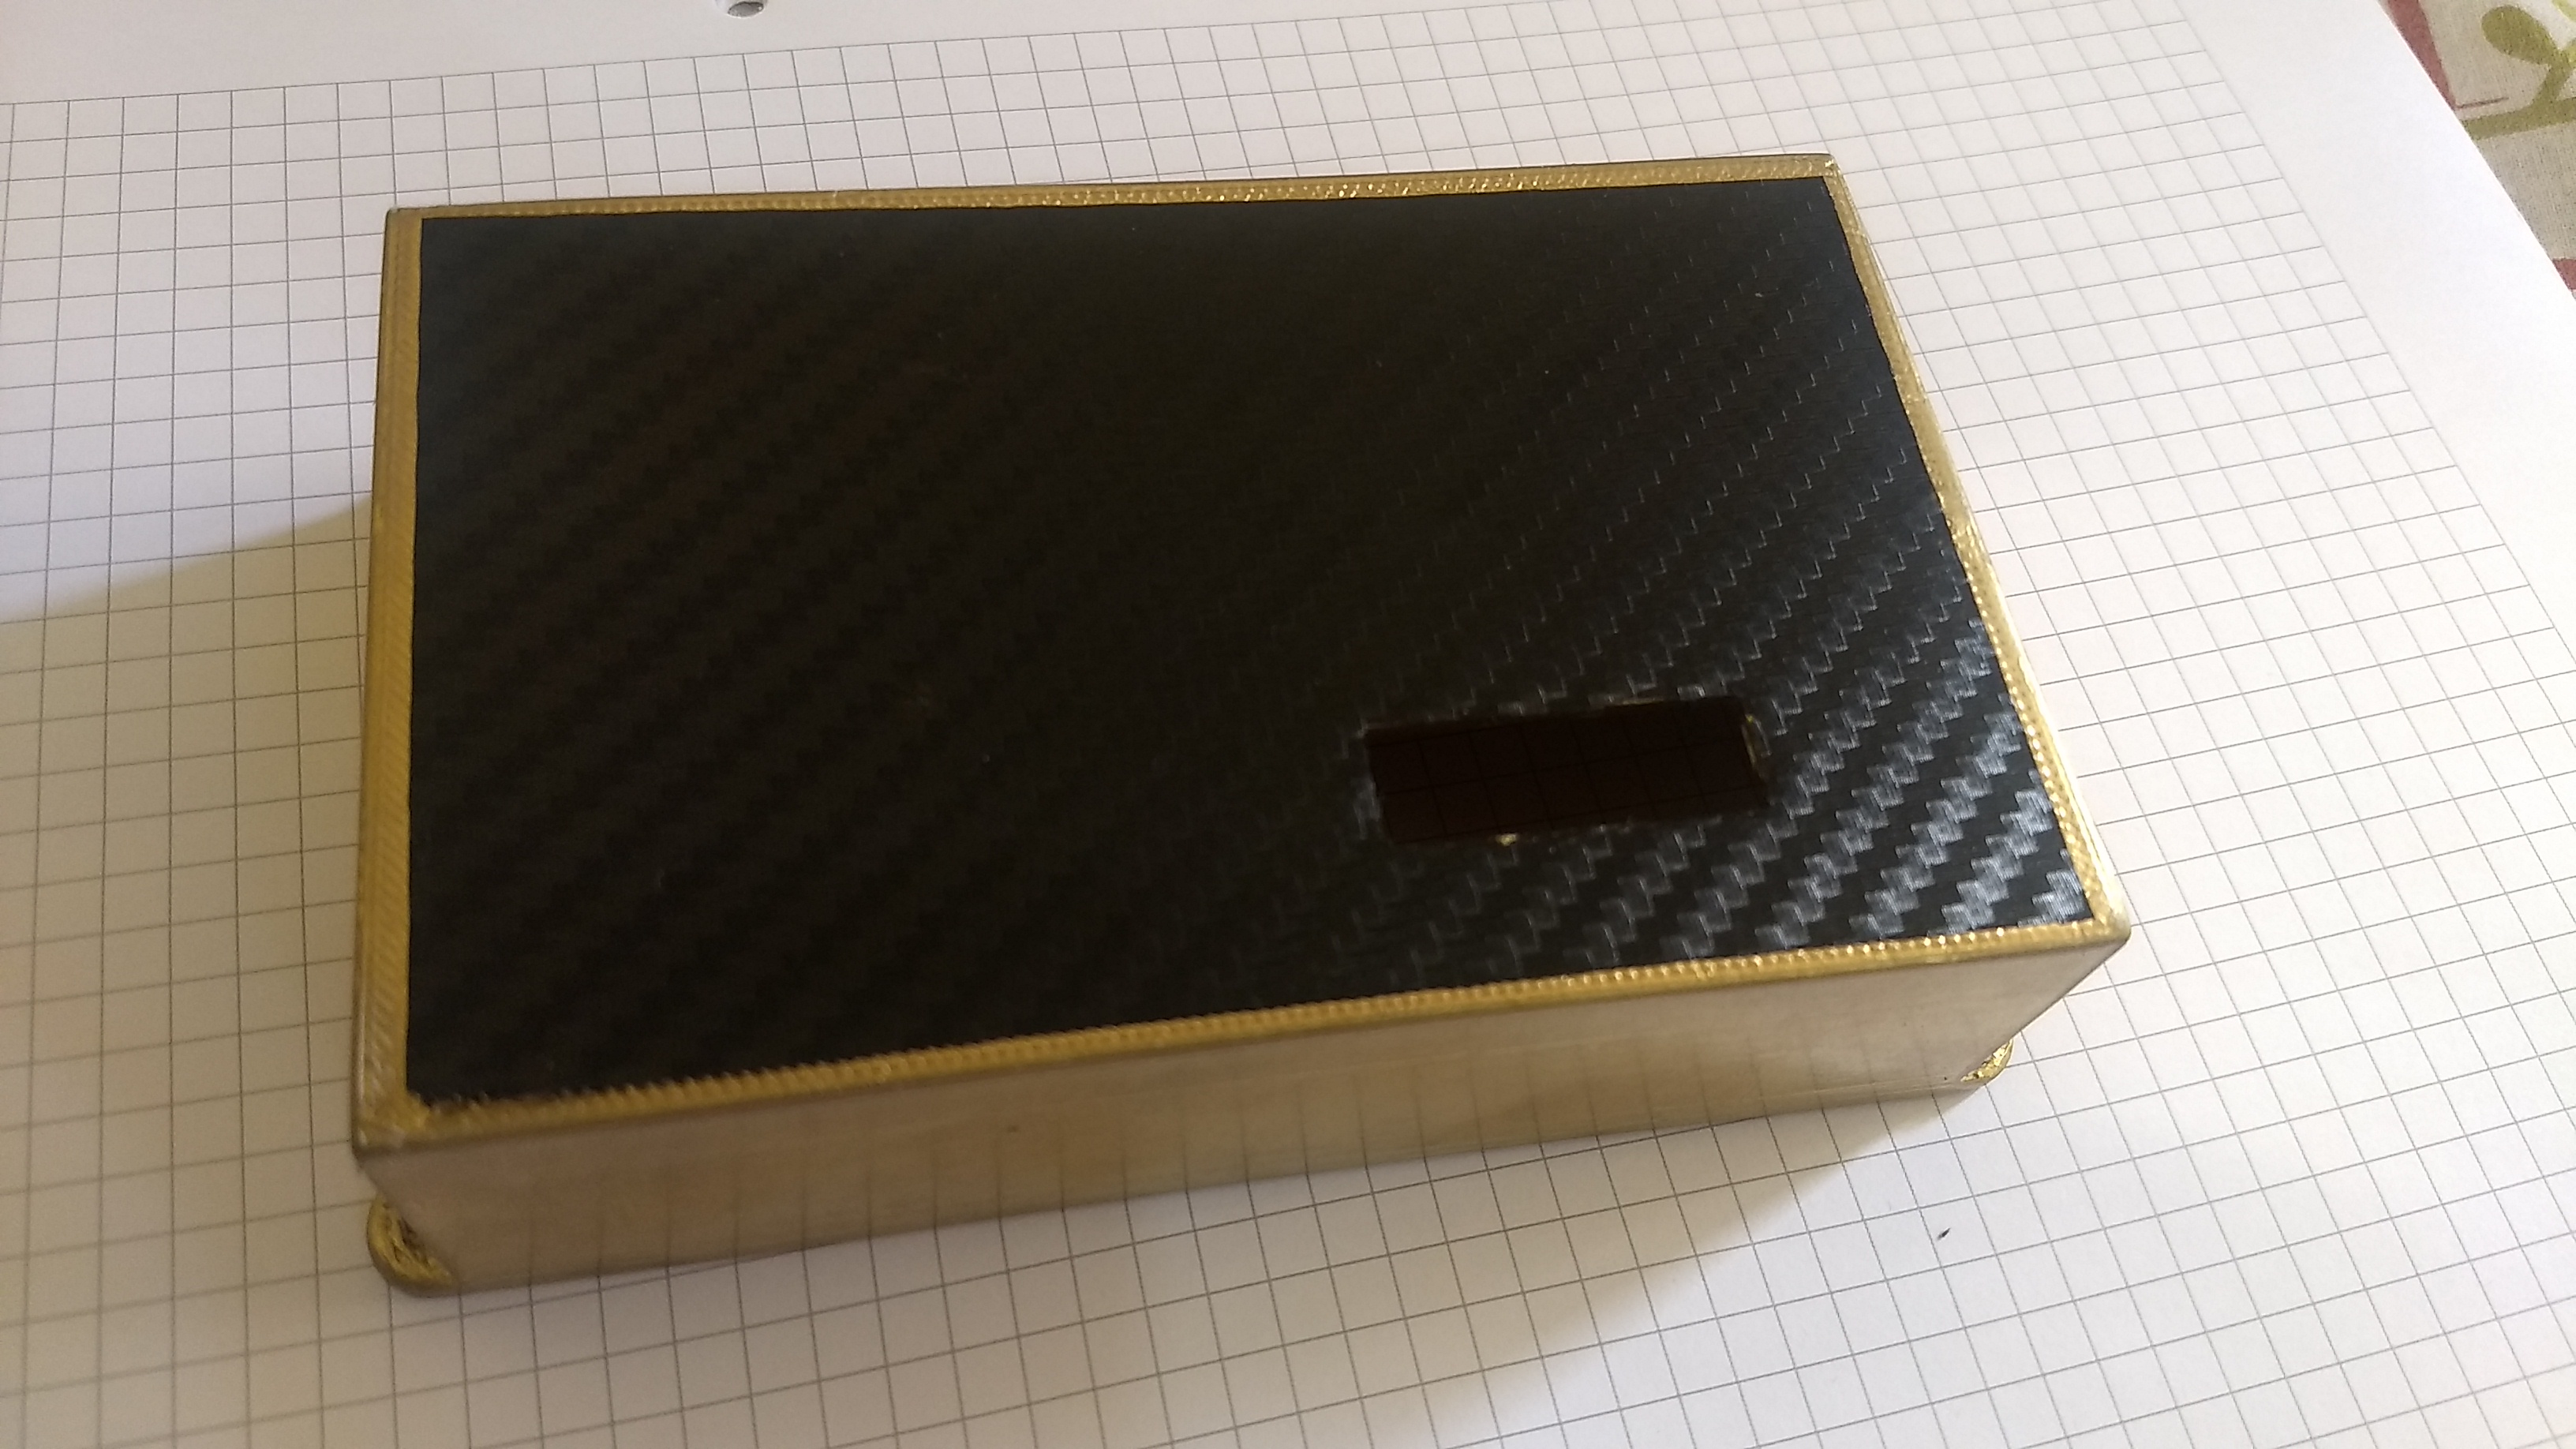
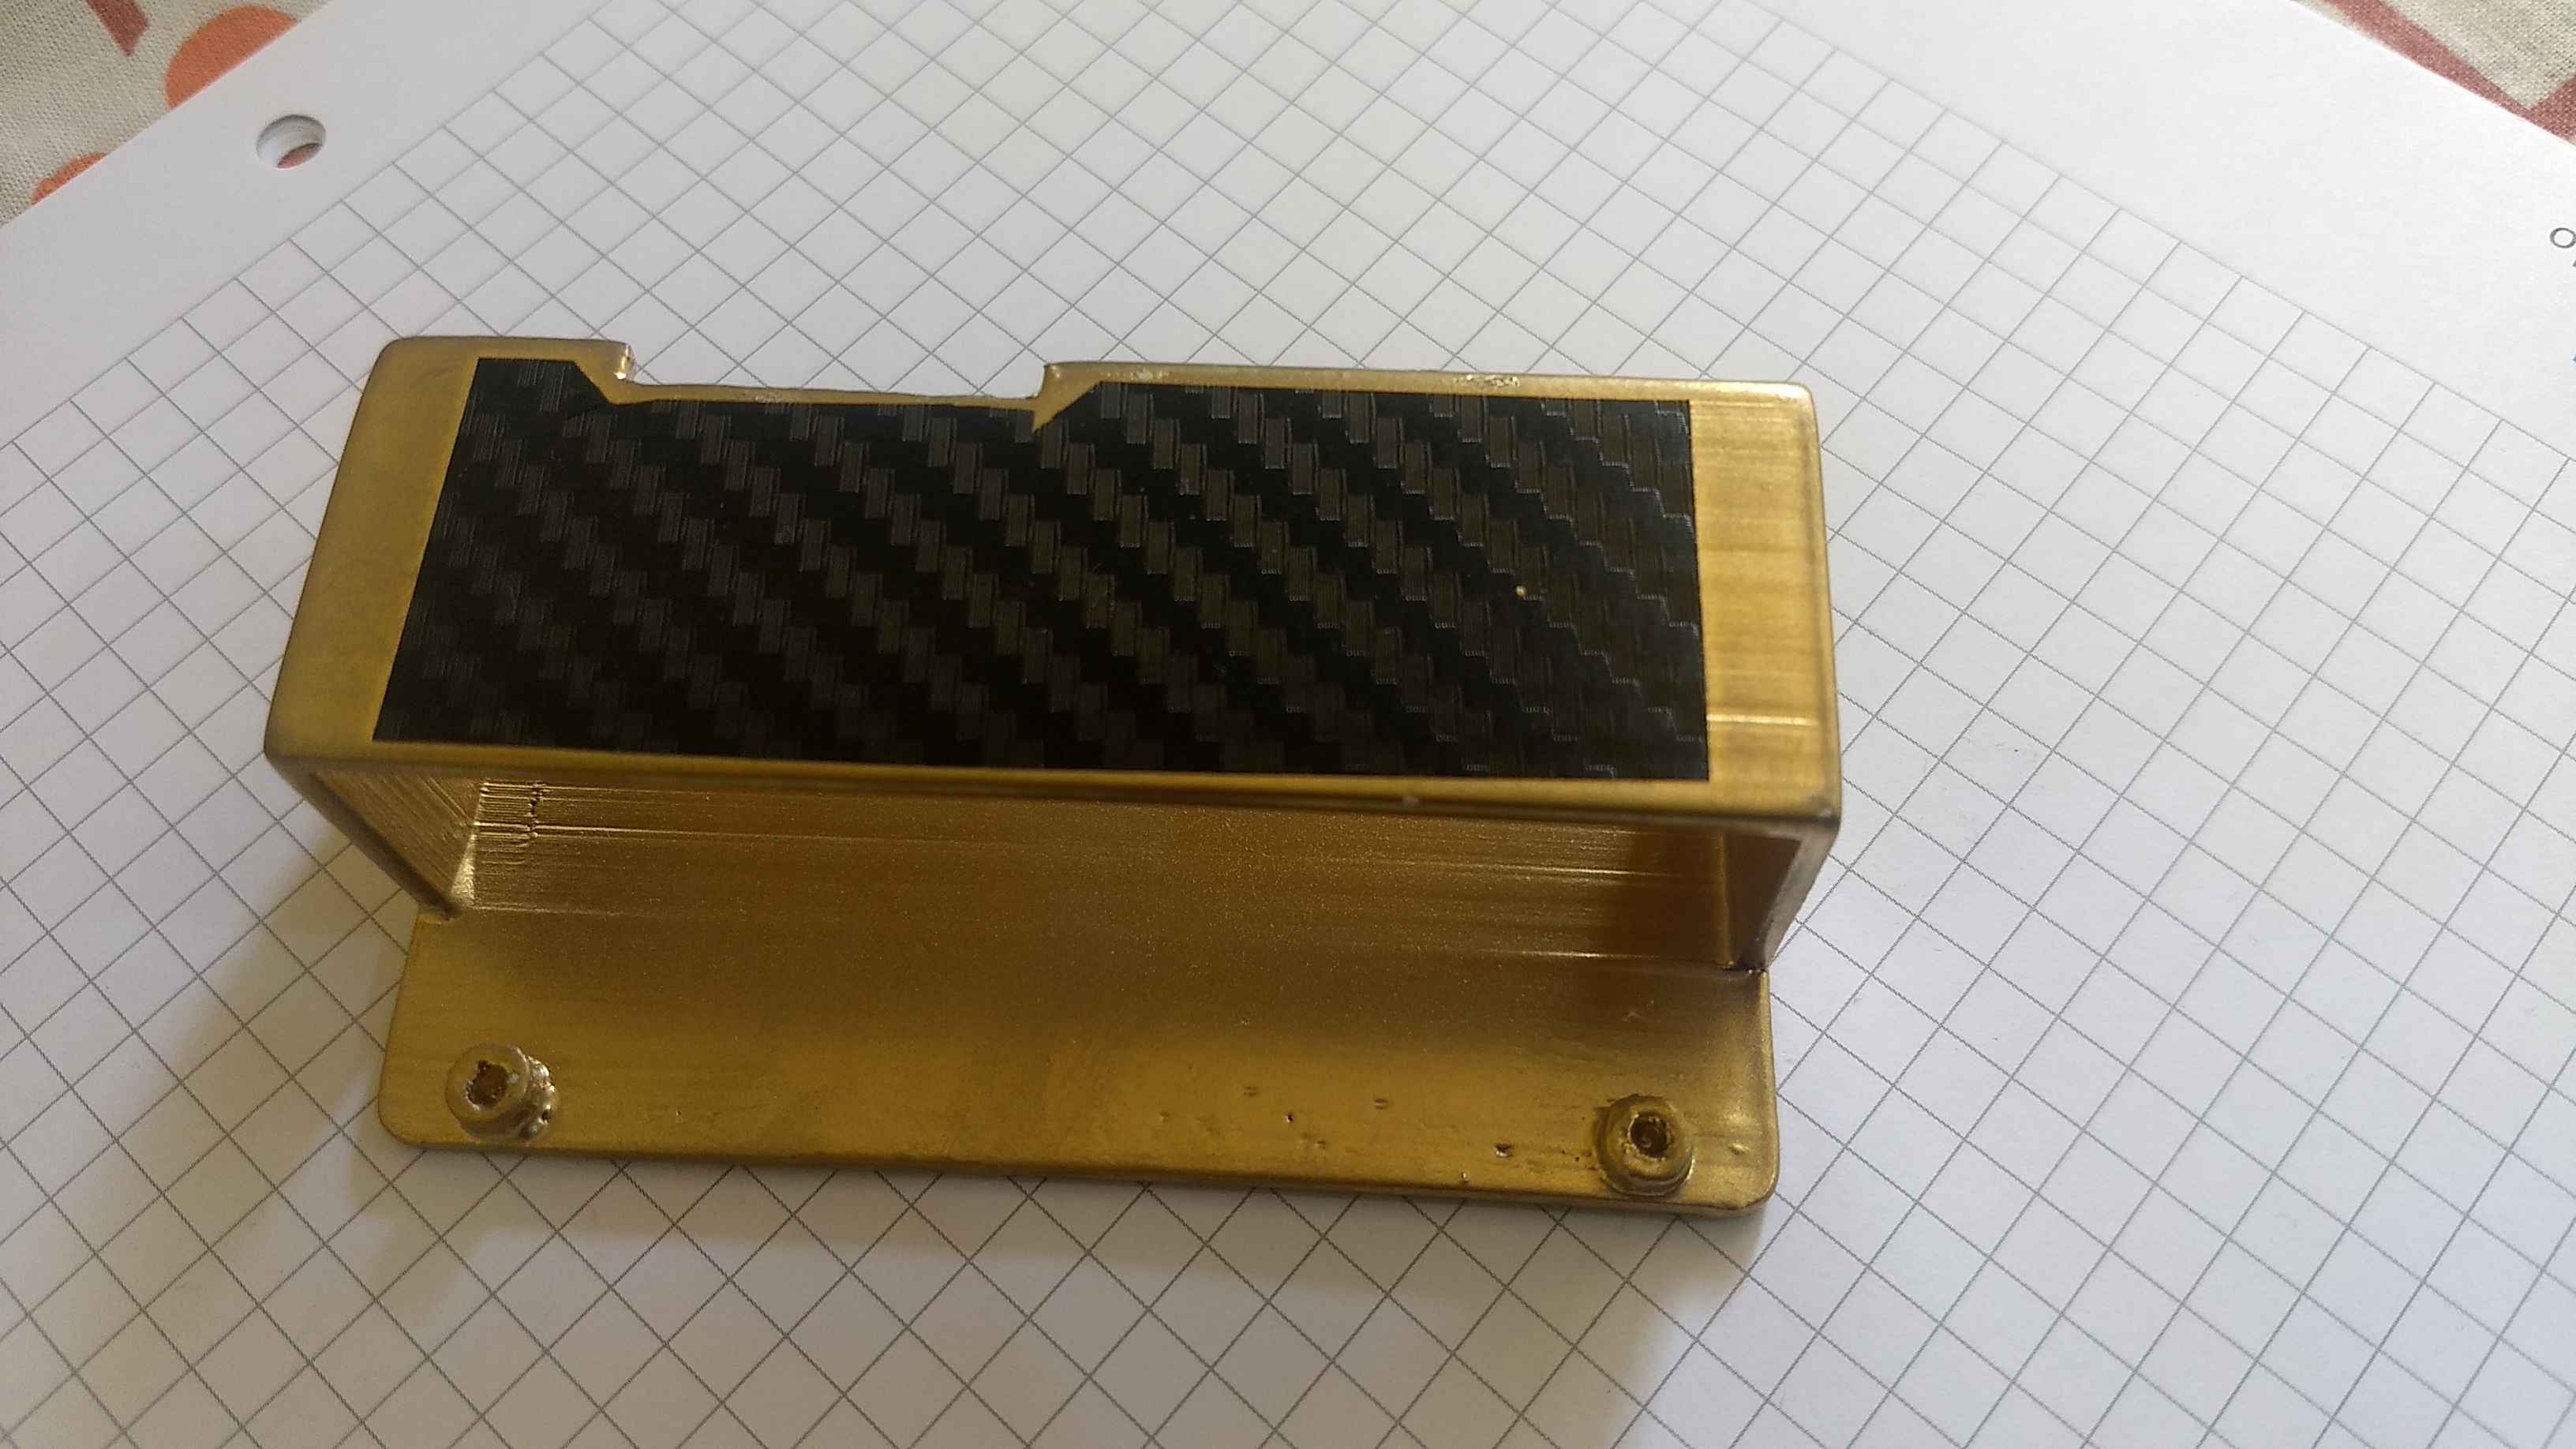
- Frame
- Front panel
- Back panel
- Processing Unit Cover
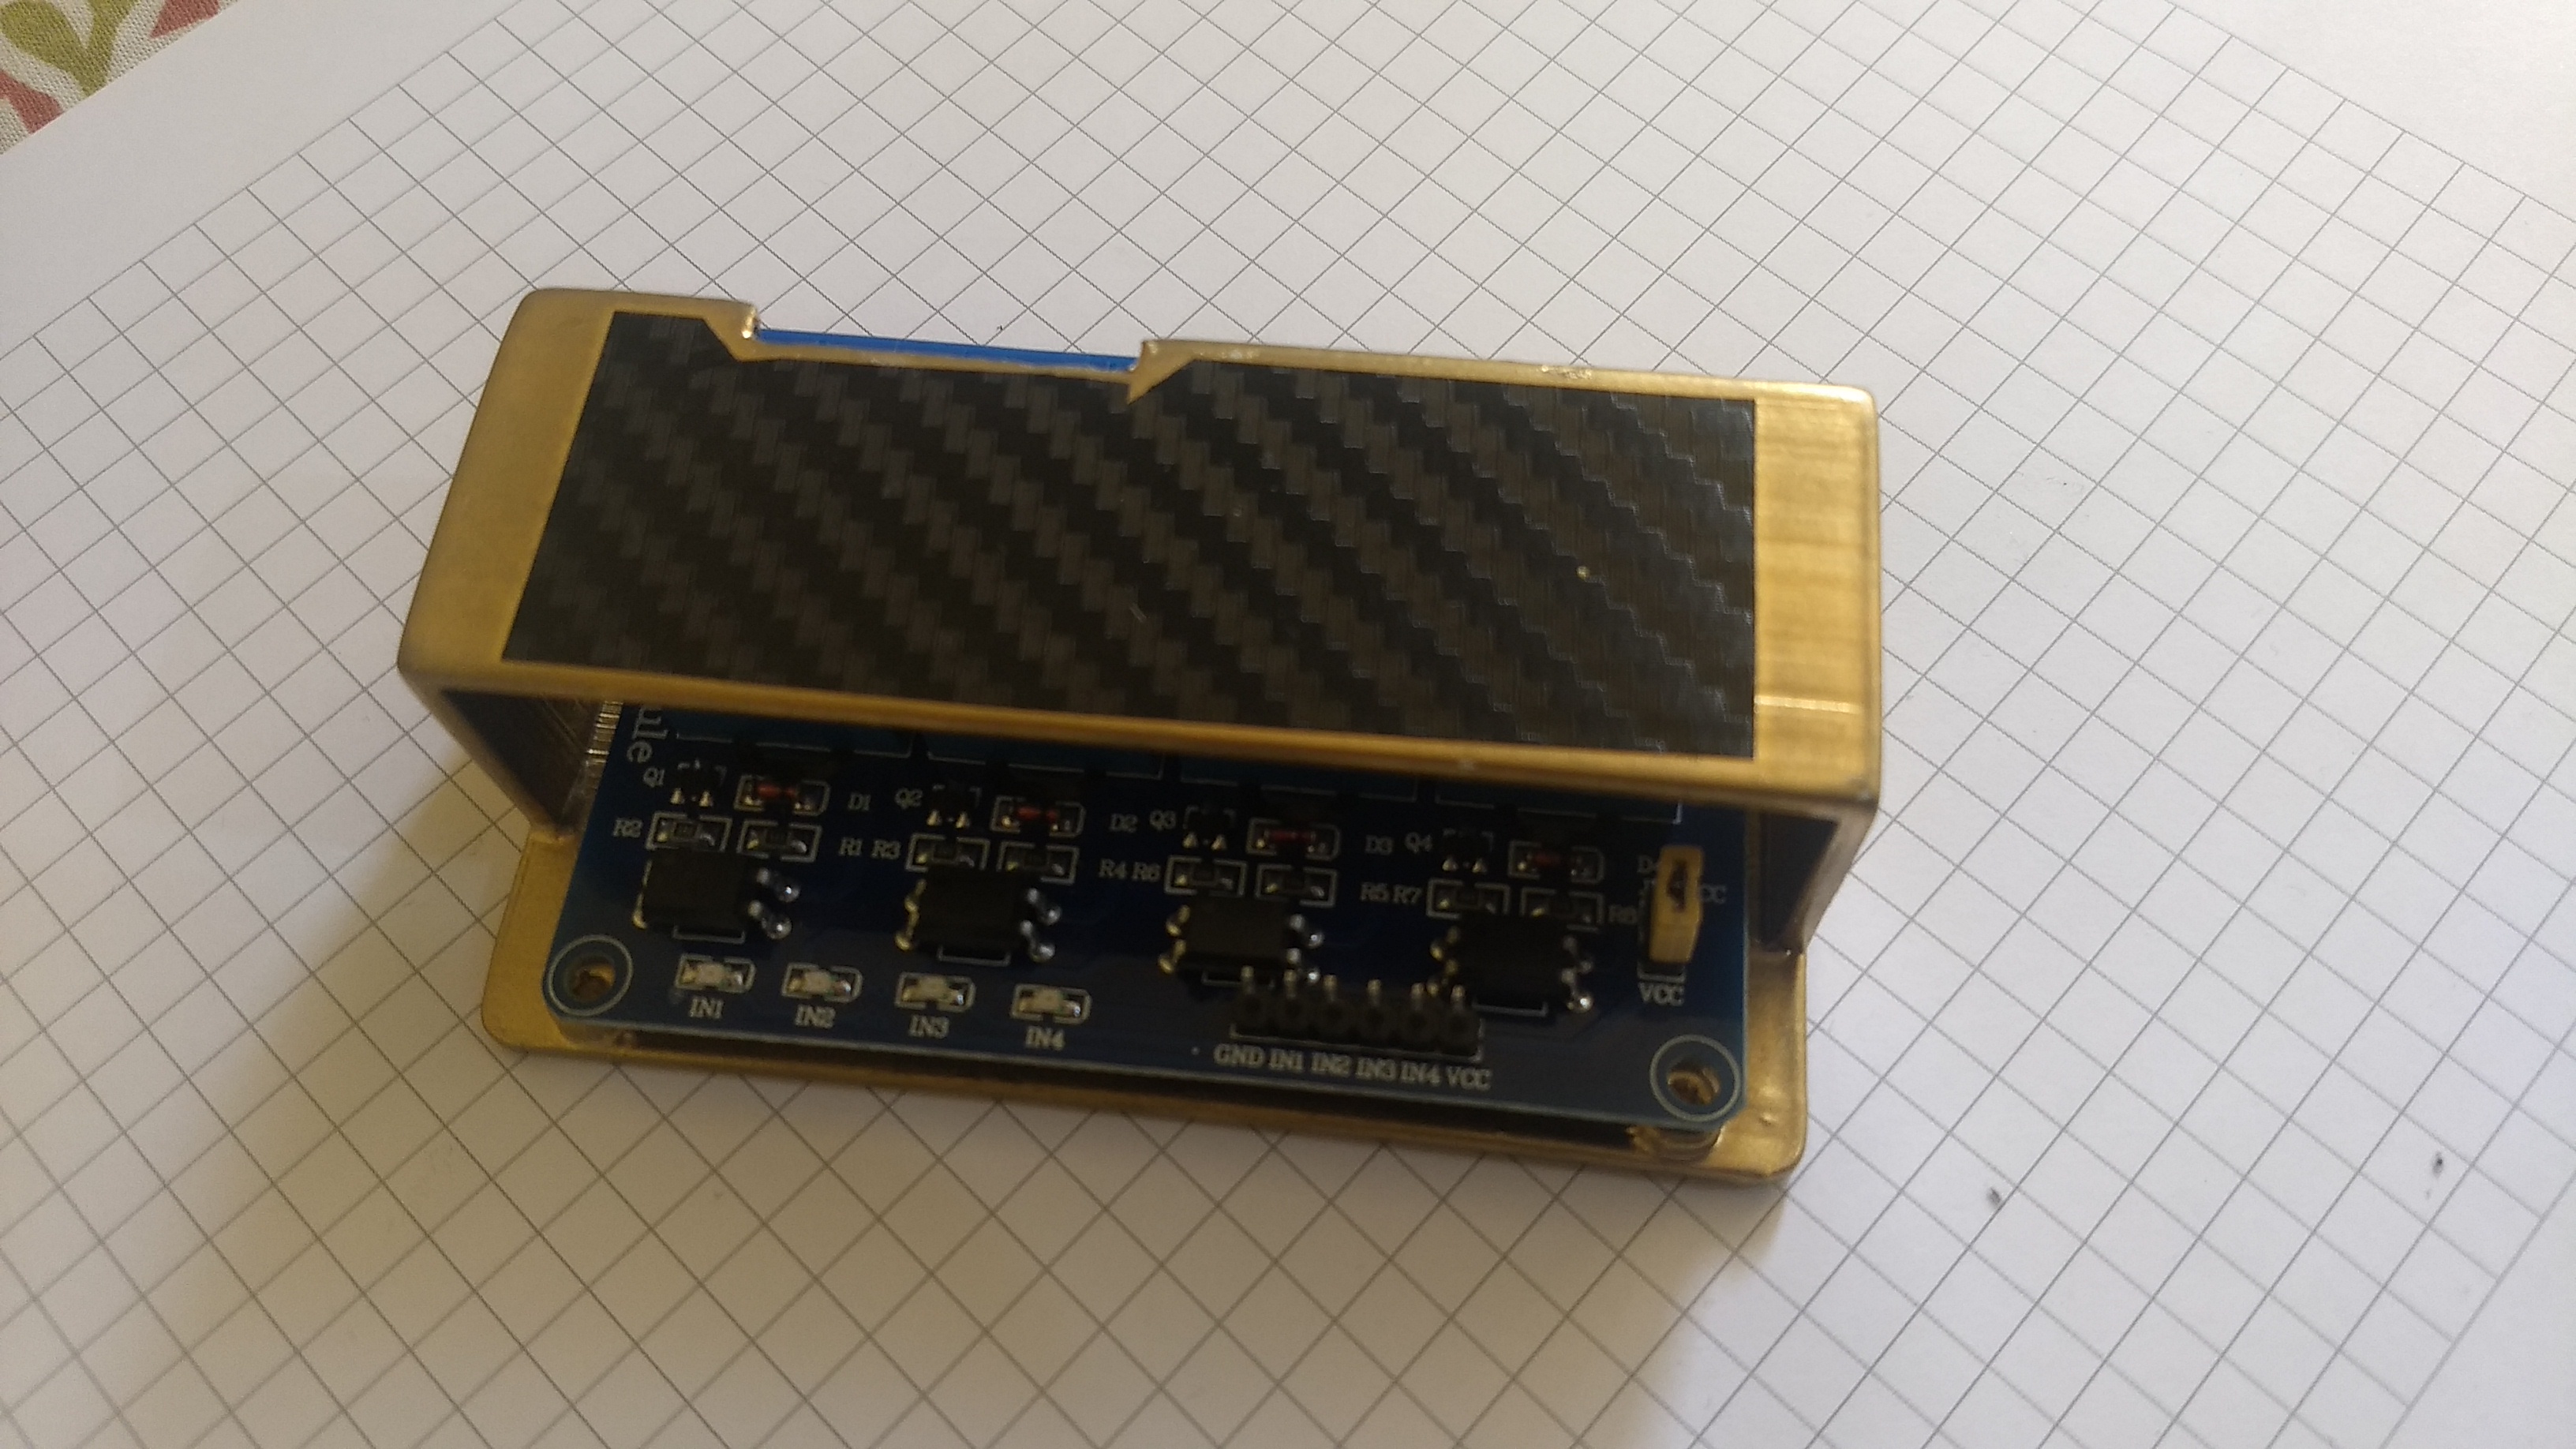
- Relay Cover
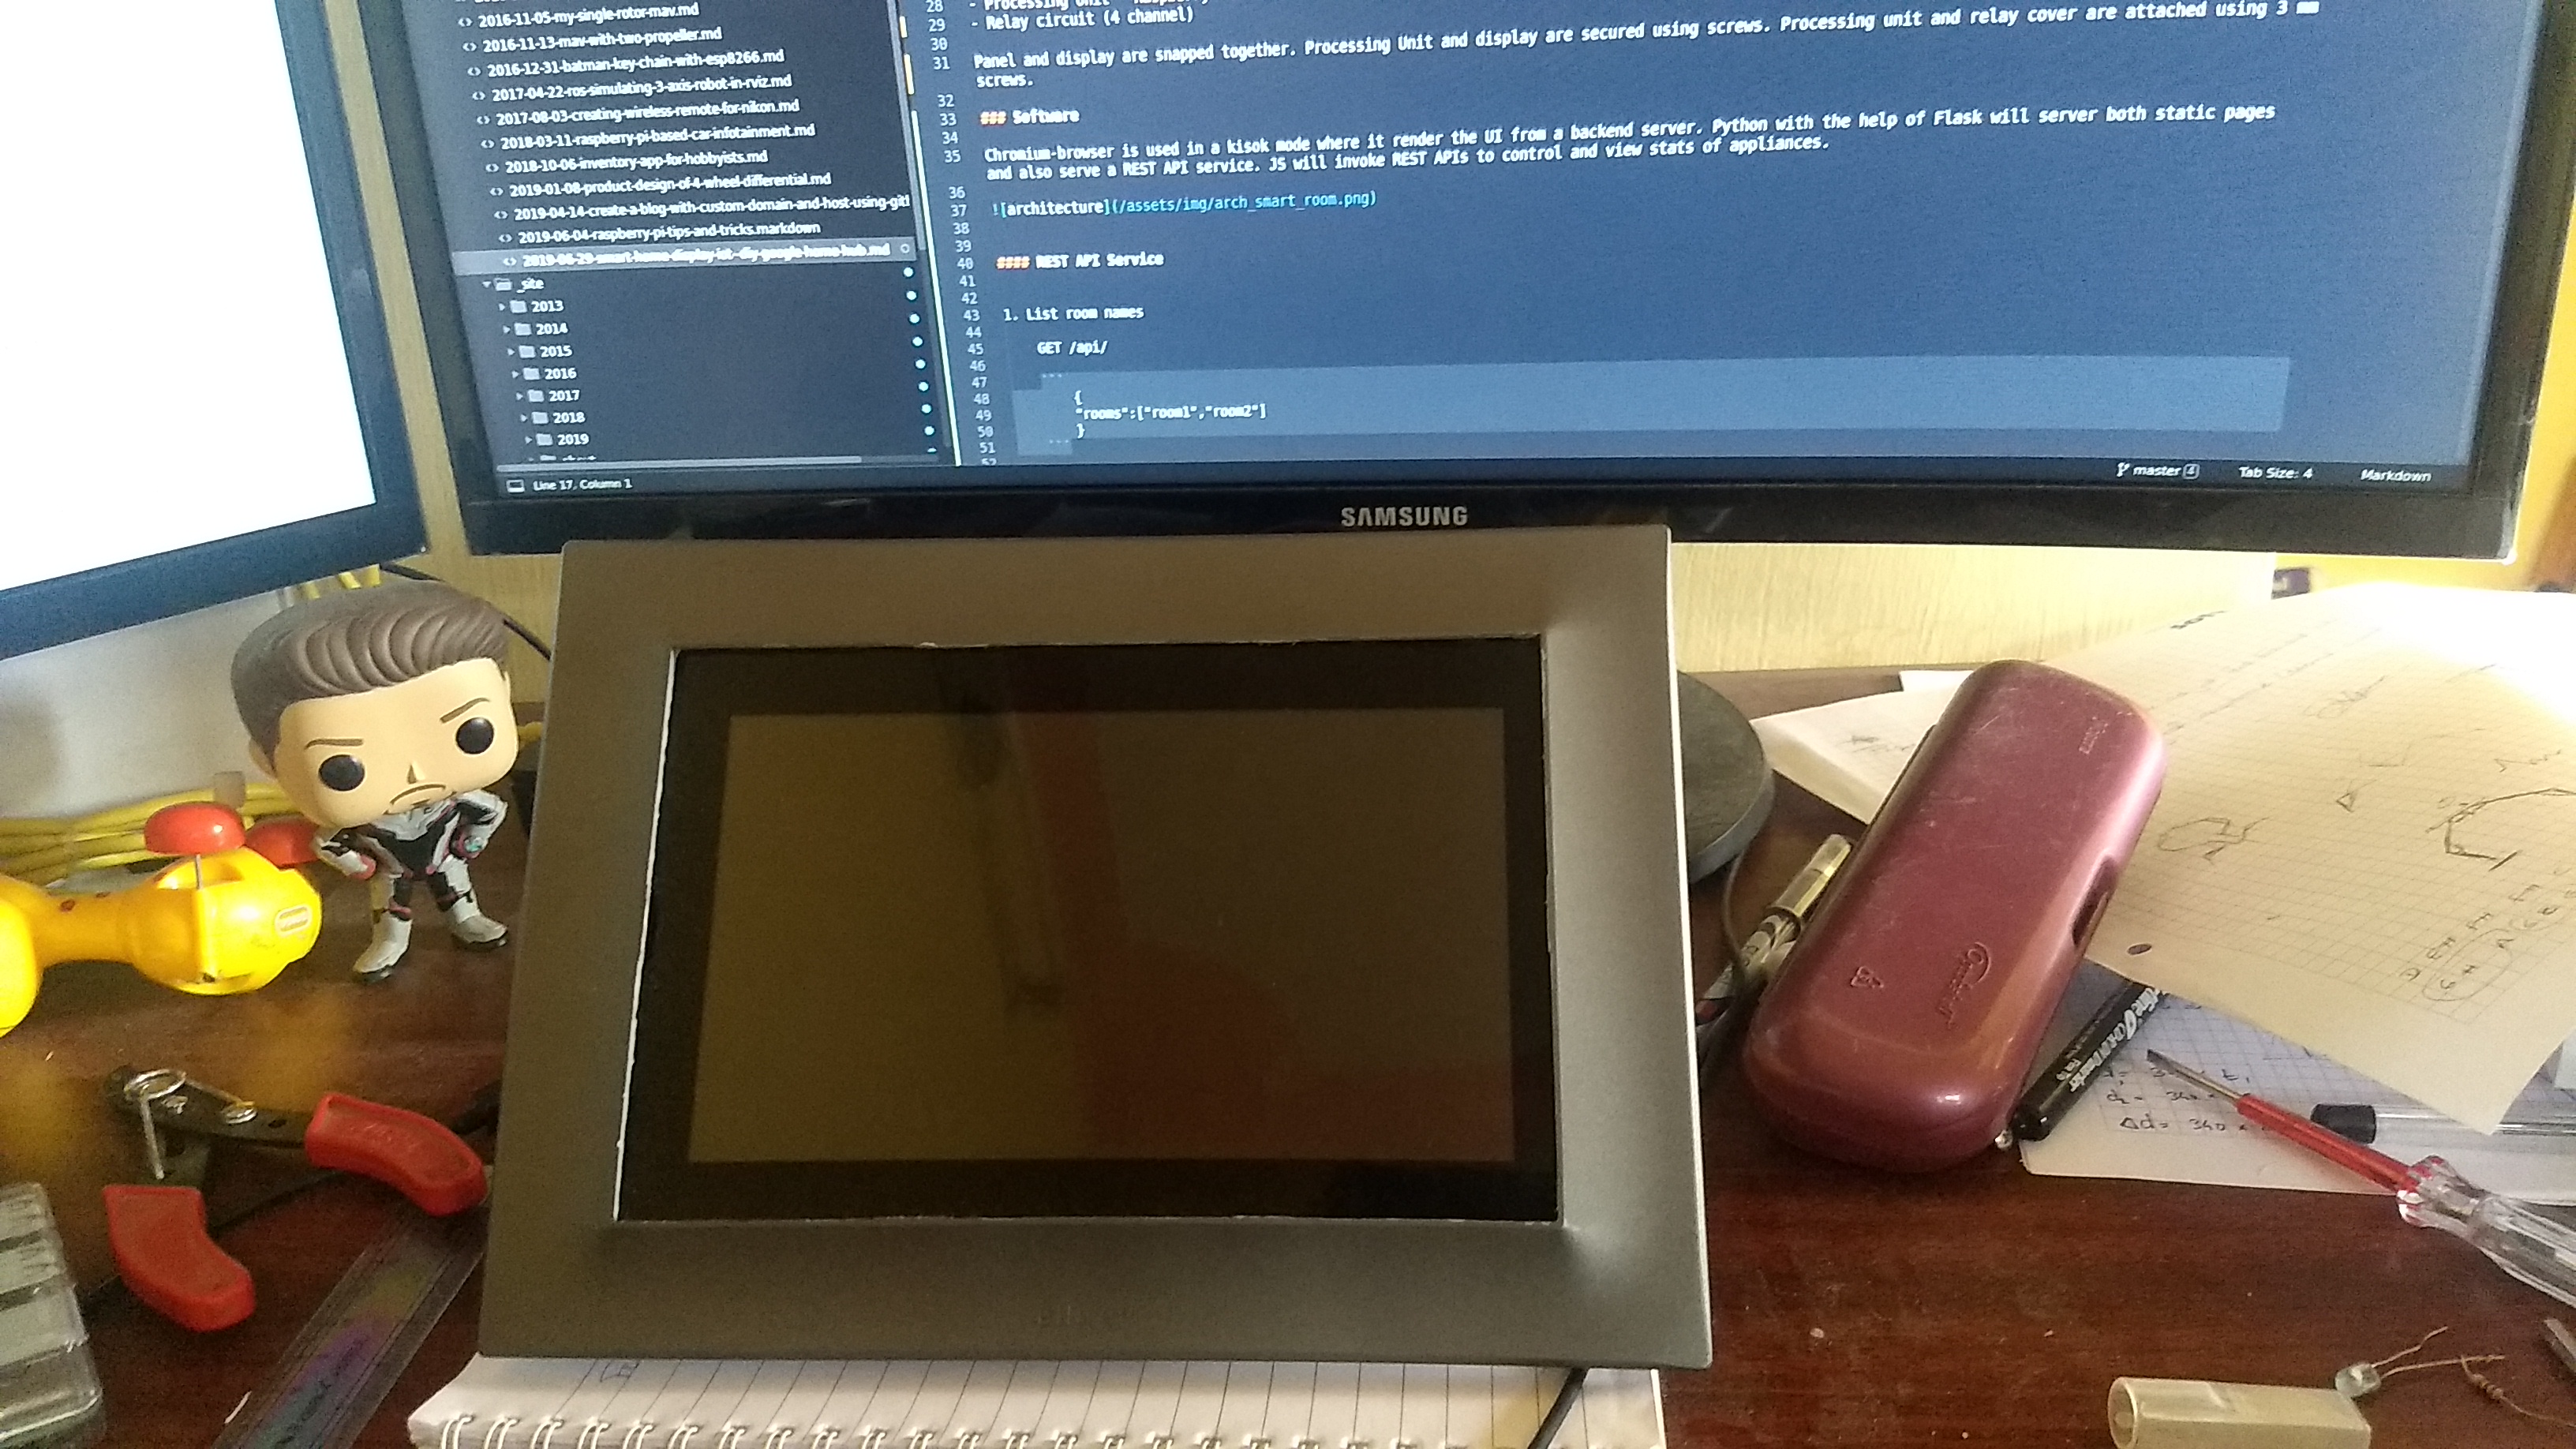
- Display (7 inch 800x480 resolution)
- Processing Unit - Raspberry Pi
- Relay circuit (4 channel)
Panel and display are snapped together. Processing Unit and display are secured using screws. Processing unit and relay cover are attached using 3 mm screws.
Software
Chromium-browser is used in a kiosk mode where it render the UI from a backend server. Python with the help of Flask to serve both static pages and a REST API service. JS will invoke REST APIs to control and view stats of appliances.

REST API Service
- List room names
GET /api/
{ "rooms":["room1","room2"] } - List all appliances in a given room
GET /api/{room_name}
{ "Fan 1": { "power-control": { "enabled": true, "level": 100 }, "status": true, "timer": -1, "type": "fan" }, "Light 1": { "power-control": { "enabled": false, "level": 100 }, "status": true, "timer": -1, "type": "light" }, "Light 2": { "power-control": { "enabled": false, "level": 100 }, "status": true, "timer": -1, "type": "light" } } - Change appliance properties
POST /api/{room_name}/{appliance_name}
{ "status":true, "timer":10, "power-control":{ "level":50 } } - Scan wifi APs
GET /api/wifi_scan
{ "result":["WiFi-1","WiFi-2"] } - Connect to an AP
POST /wifi_connect
{ "ssid":"WiFi-1", "passkey":"password" } - Disconnect already established connection
POST /api/wifi_disconnect
{ } - Get current ip
GET /api/ip
{ "ip": "192.168.1.5" }
UI features
These shows the features that are supported.
CAD Design
I have used fusion 360 to model the parts.
3D printing
Thanks to Sumit Goyl for helping out with 3D printing and beautifully painting the parts.
Final preview

 Wassim
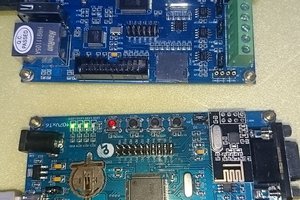
Is the 3D model available for the Pi box for wall mount?