 krzysztof krzeslak
Project goals:
First goal of this project is simple, just creating controller which will make possible to create nice photos of things that are happening really fast in reliable way.
Second is to have possibility to configure it without using computer.
Third is to make interface such simple to be possible to use by photographers without technical knowledge.
Fourth is to make it as elastic as possible, so to have as much as possible ways to extend it's functionalities.
Fifth is to extend it's possibilities more than only for high speed photography, but also for macro photography, time-lapses, astro-photography by using motorised modules.
Long-term/future goal is to extend possibilities of interfacing with camera.
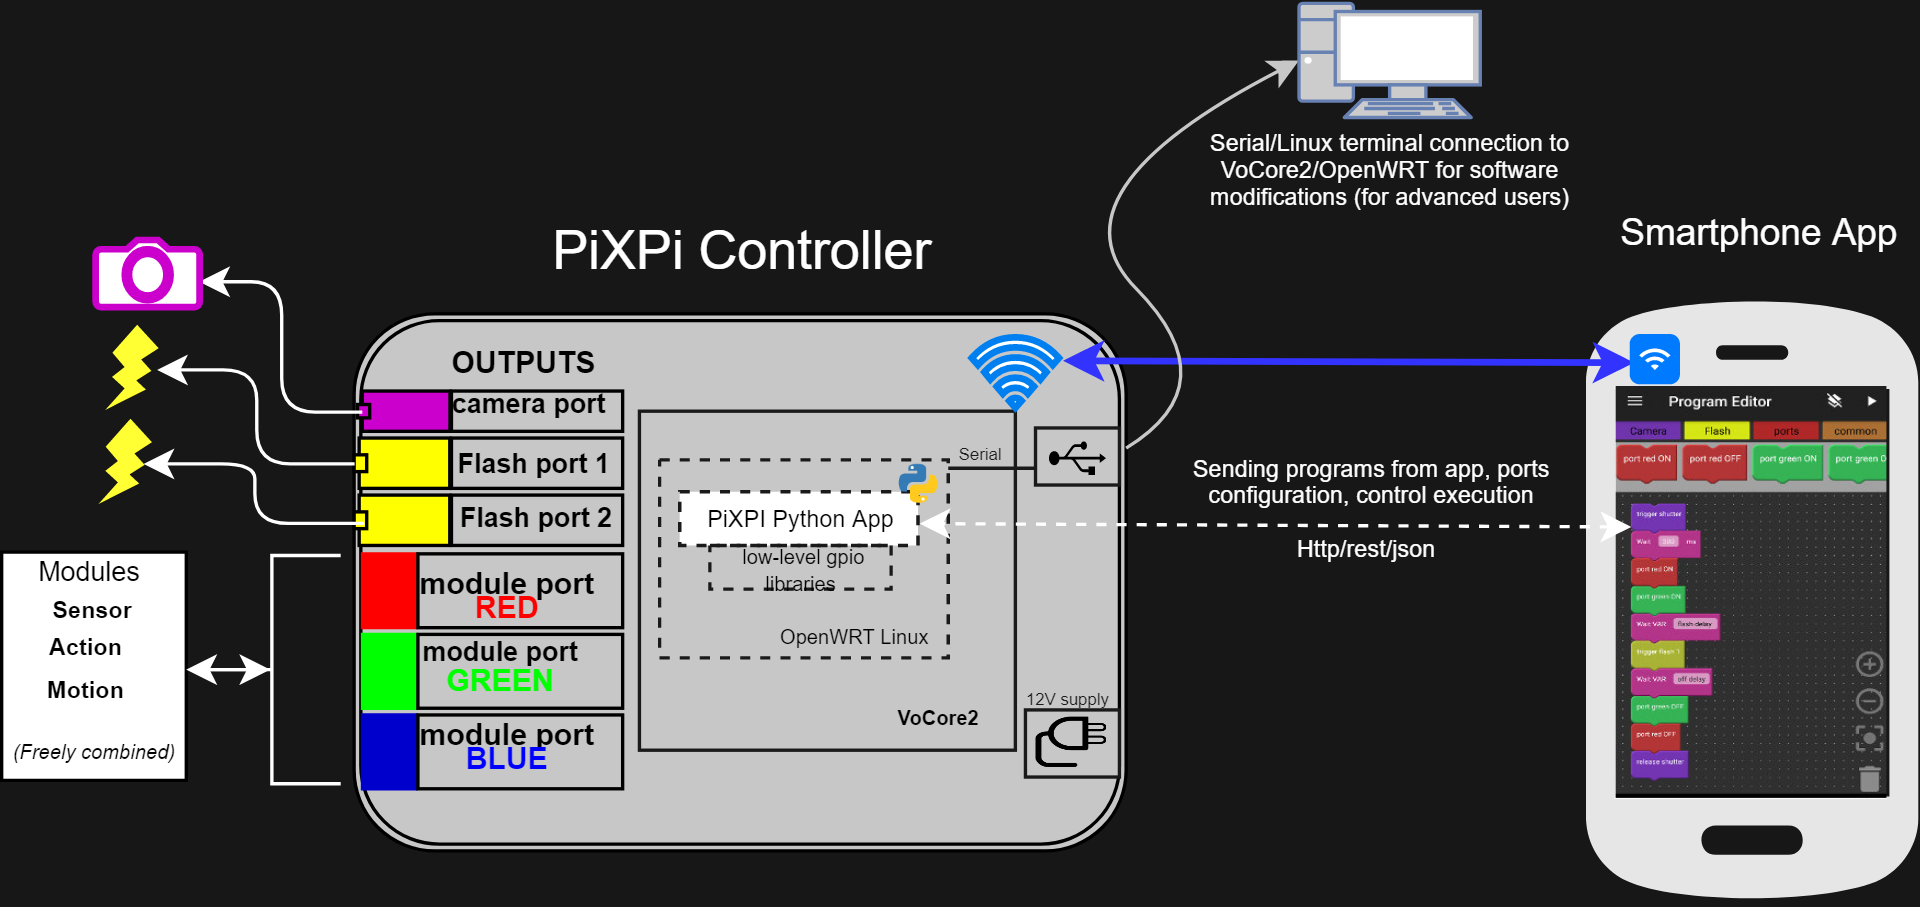
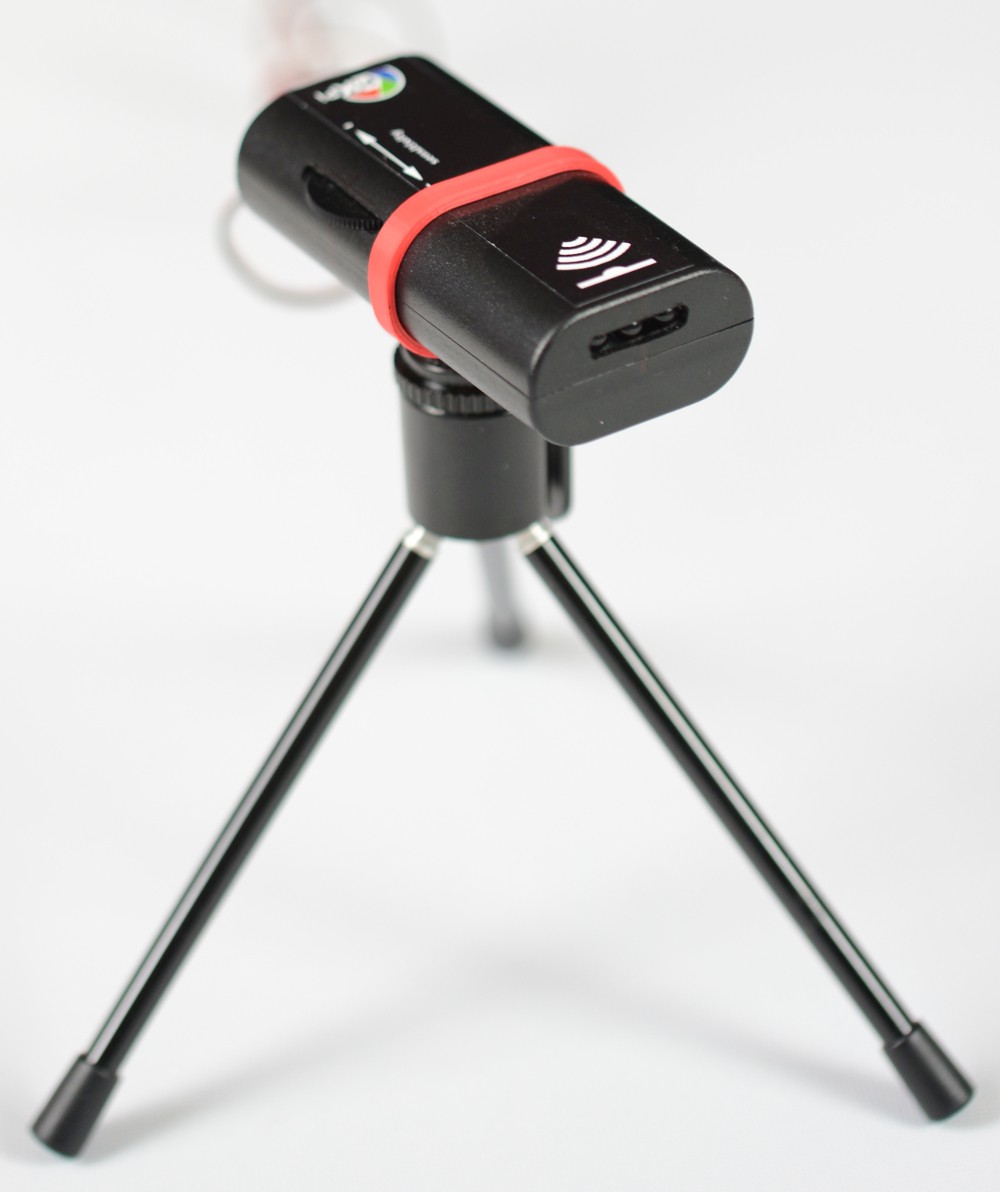
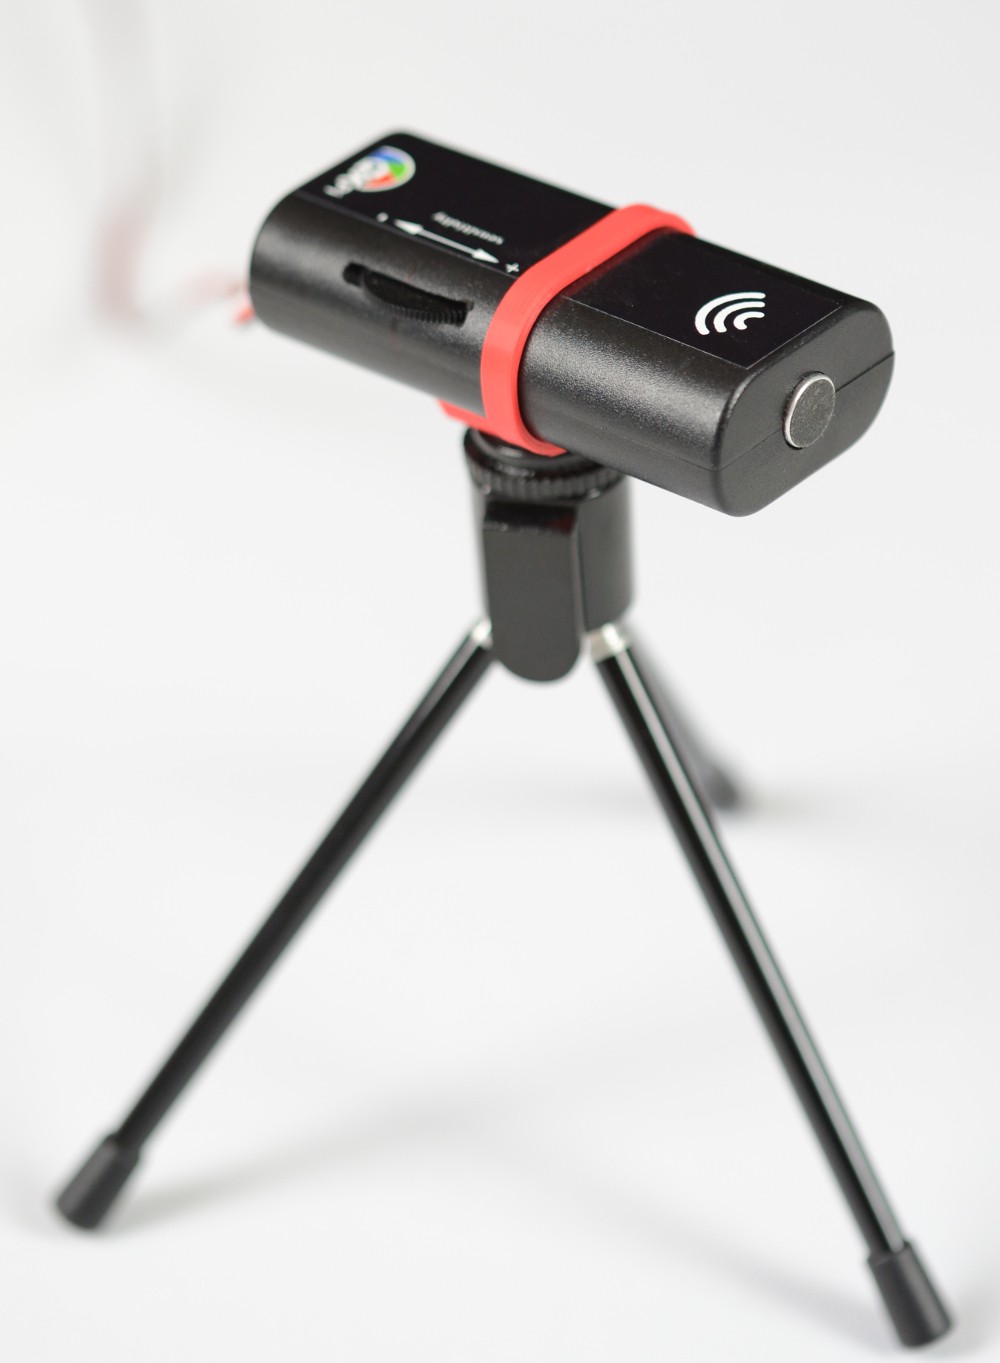
Controller board(PiXPI) is running under Linux(OpenWrt) control, on top of it is a Python application which is responsible for receiving, executing and controlling scripts created and sent from smartphone application, which I wrote for this project.
Smartphone App utilise Google's Blockly library for making creating of those scripts/sequences simple as possible. So in effect you can create them using graphical programming interface, using blocks instead of writing any code, no knowledge of Python programming is required for, user do not see Python code at all, he/she will just see blocks .
Scripts which are sent from smartphone are basically strings of python code, python was chosen as language which is powering controller, as it can execute code from string without compiling.
Scripts are sent from android application using Wifi->http->rest protocols.
Scripts are responsible for orchestrating photo shoot sequence, so camera shutter, flash and modules interfacing.
Those blocks with help of Blockly library are under the hood translated into python code and script is ready to be sent to controller board and and executed on it...
Controller board is powered by VoCore2 system-on-module, it's opensource system-on-module(https://vocore.io/).
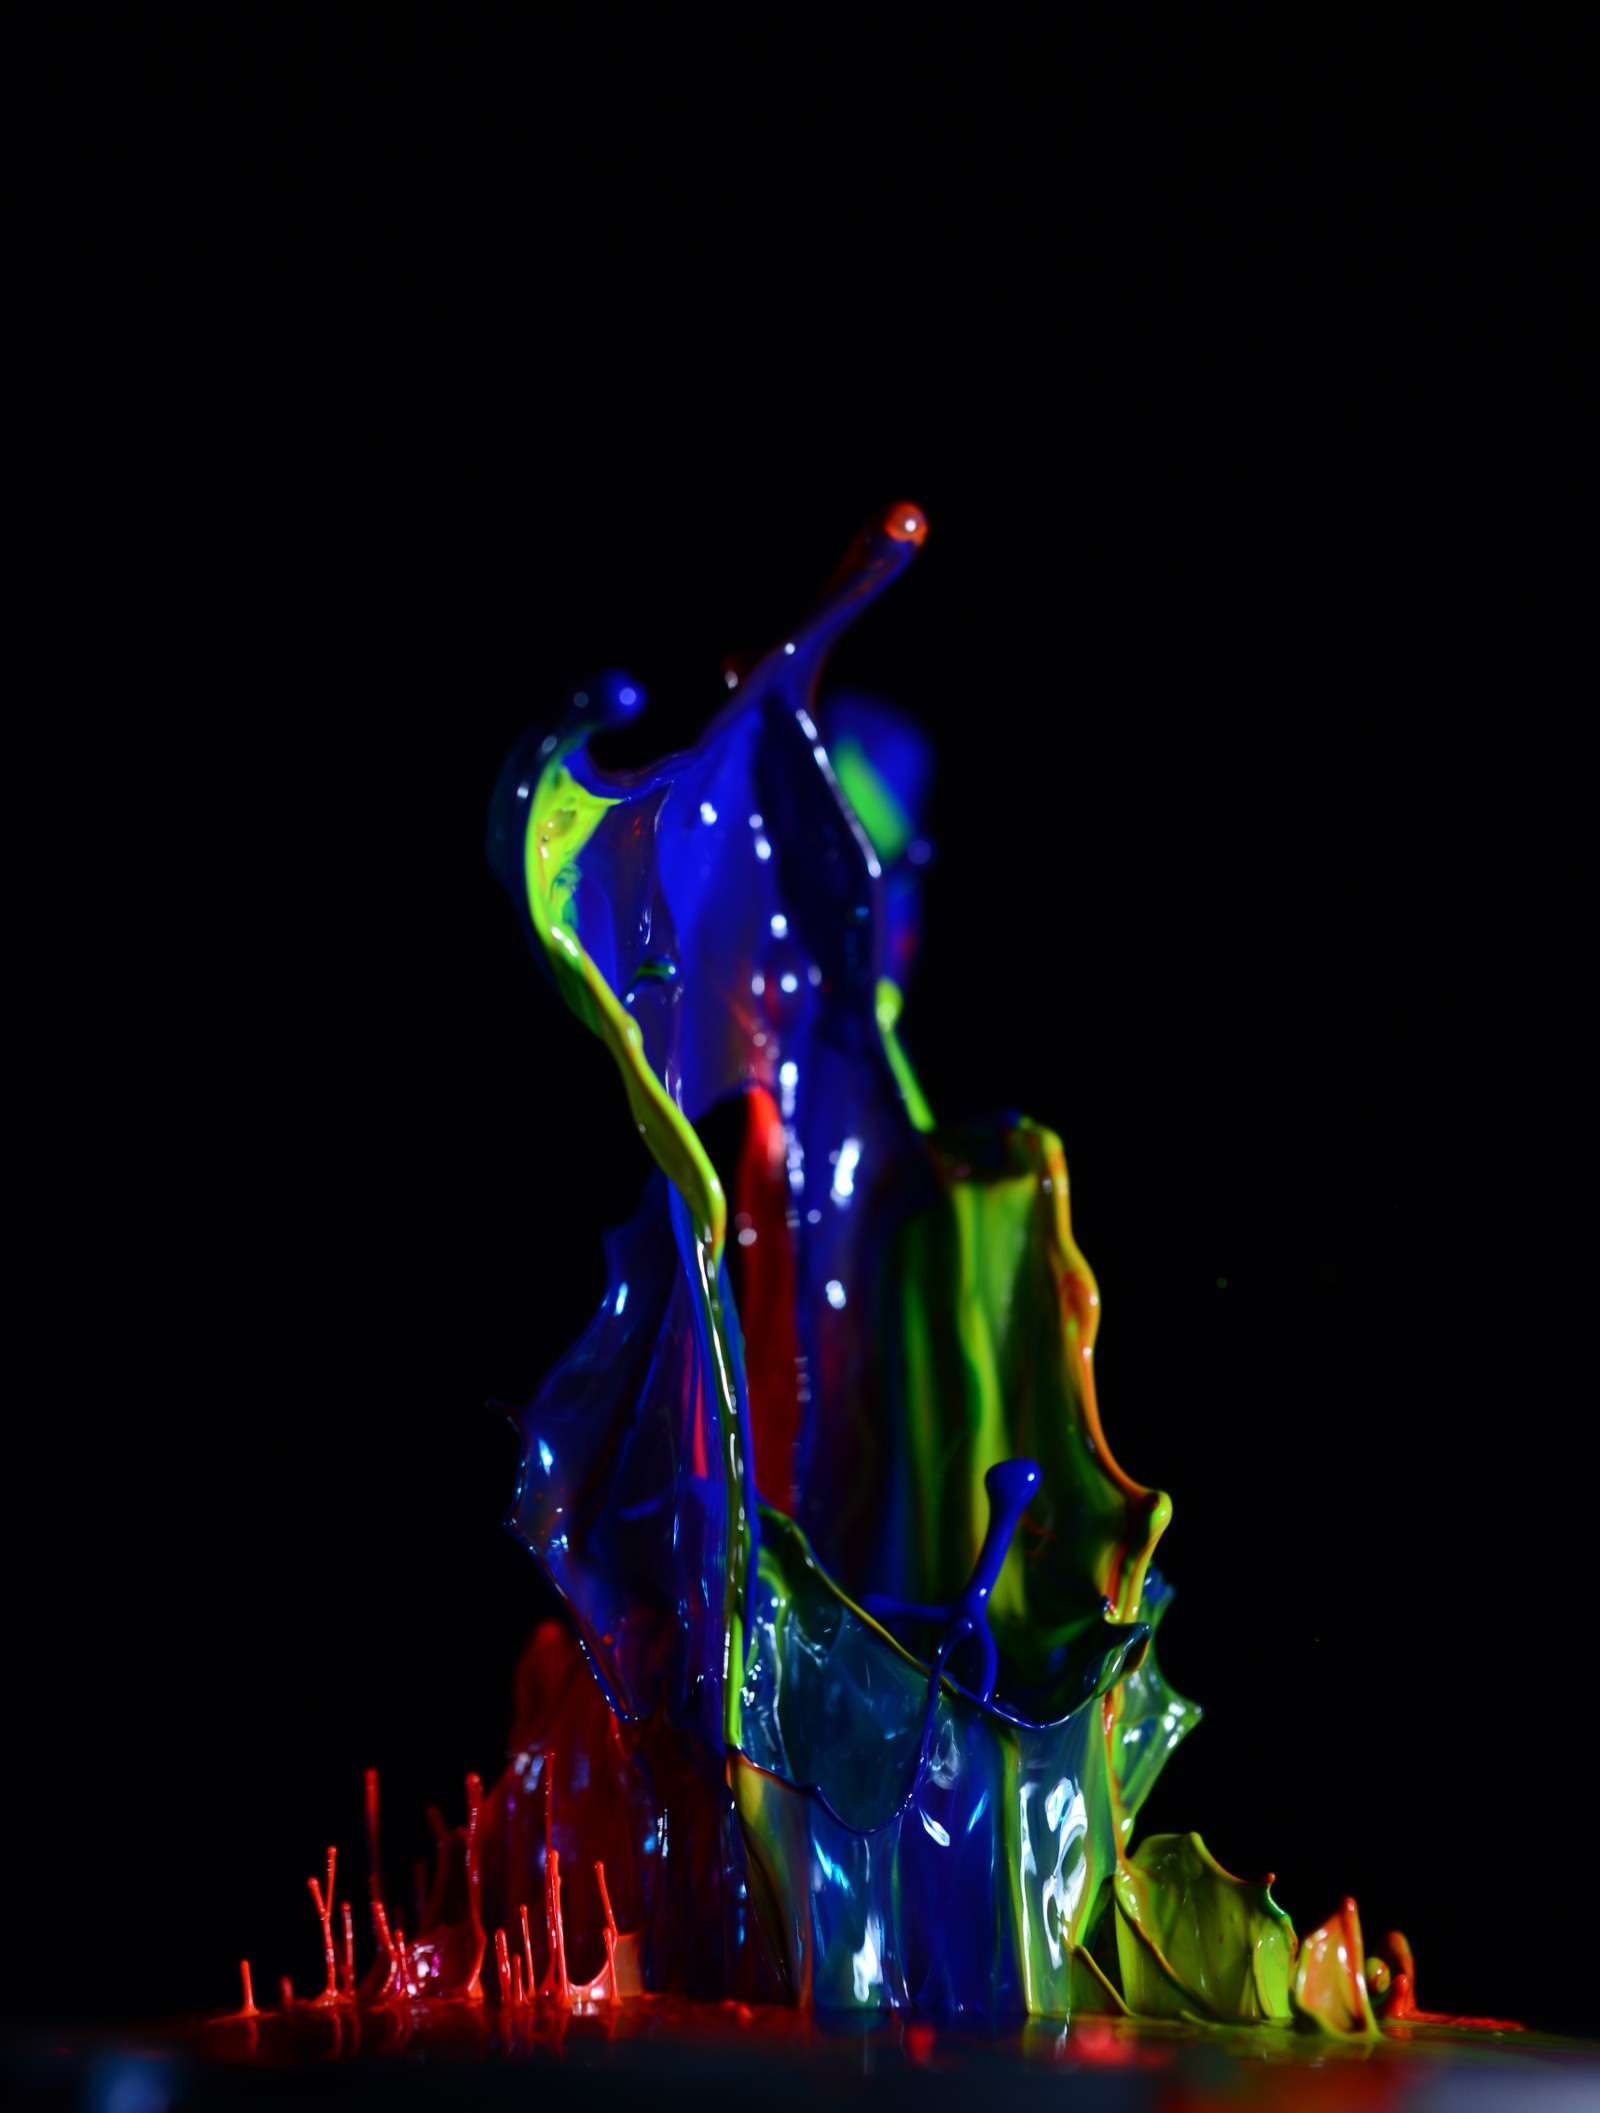
And if you did it right, you will get some nice photos.
how to catch things that are happening very fast?

Simplifying what you need to do is trigger camera(or just flash, but will come to it later) when glass is cracking or droplets are colliding, so just in "right moment", but as this thing are happening very quickly it can be very hard to catch this "right moment" manually(i mean just pressing shutter button) as in 99% of cases you will miss the perfect shoot, as for example colliding drops when you will see splash is about 1-2ms.
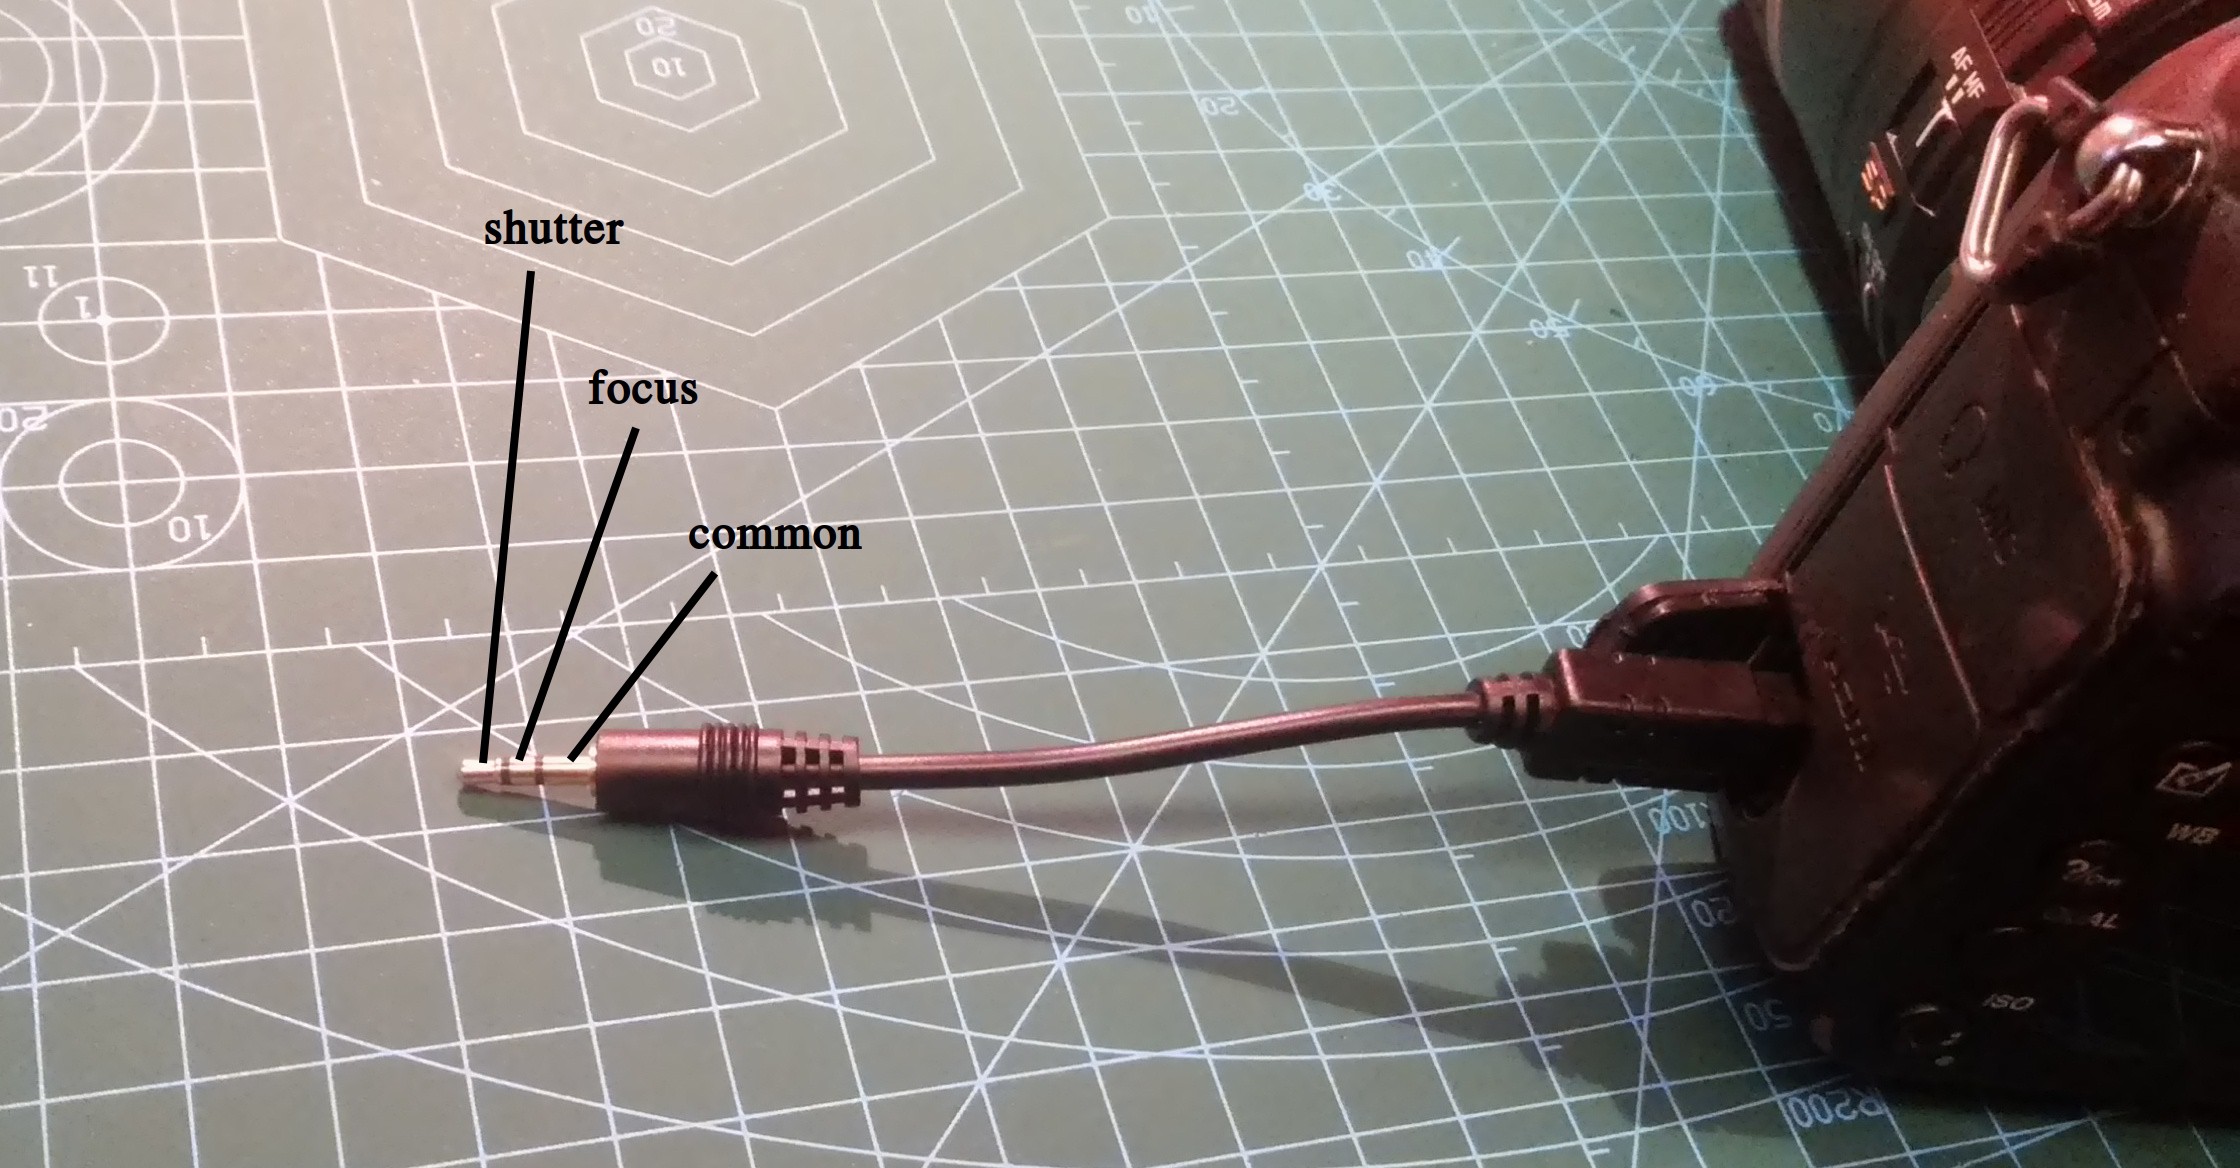
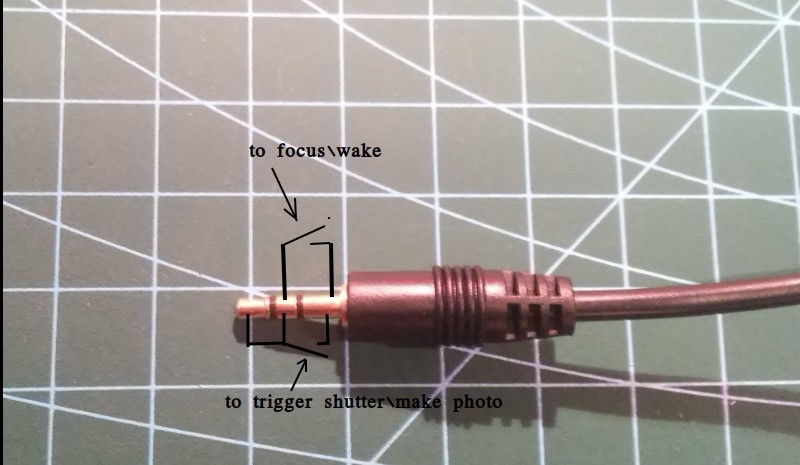
So here external triggering coming with help, all DSLR camera has connector for remote triggering
Future plans are to implement more interfaces to control more than just camera trigger.
Sense an action:
So using external triggering of, what can be done is that you can couple it with something which will trigger camera in proper moment, so let's suppose you want to photograph those colliding droplets
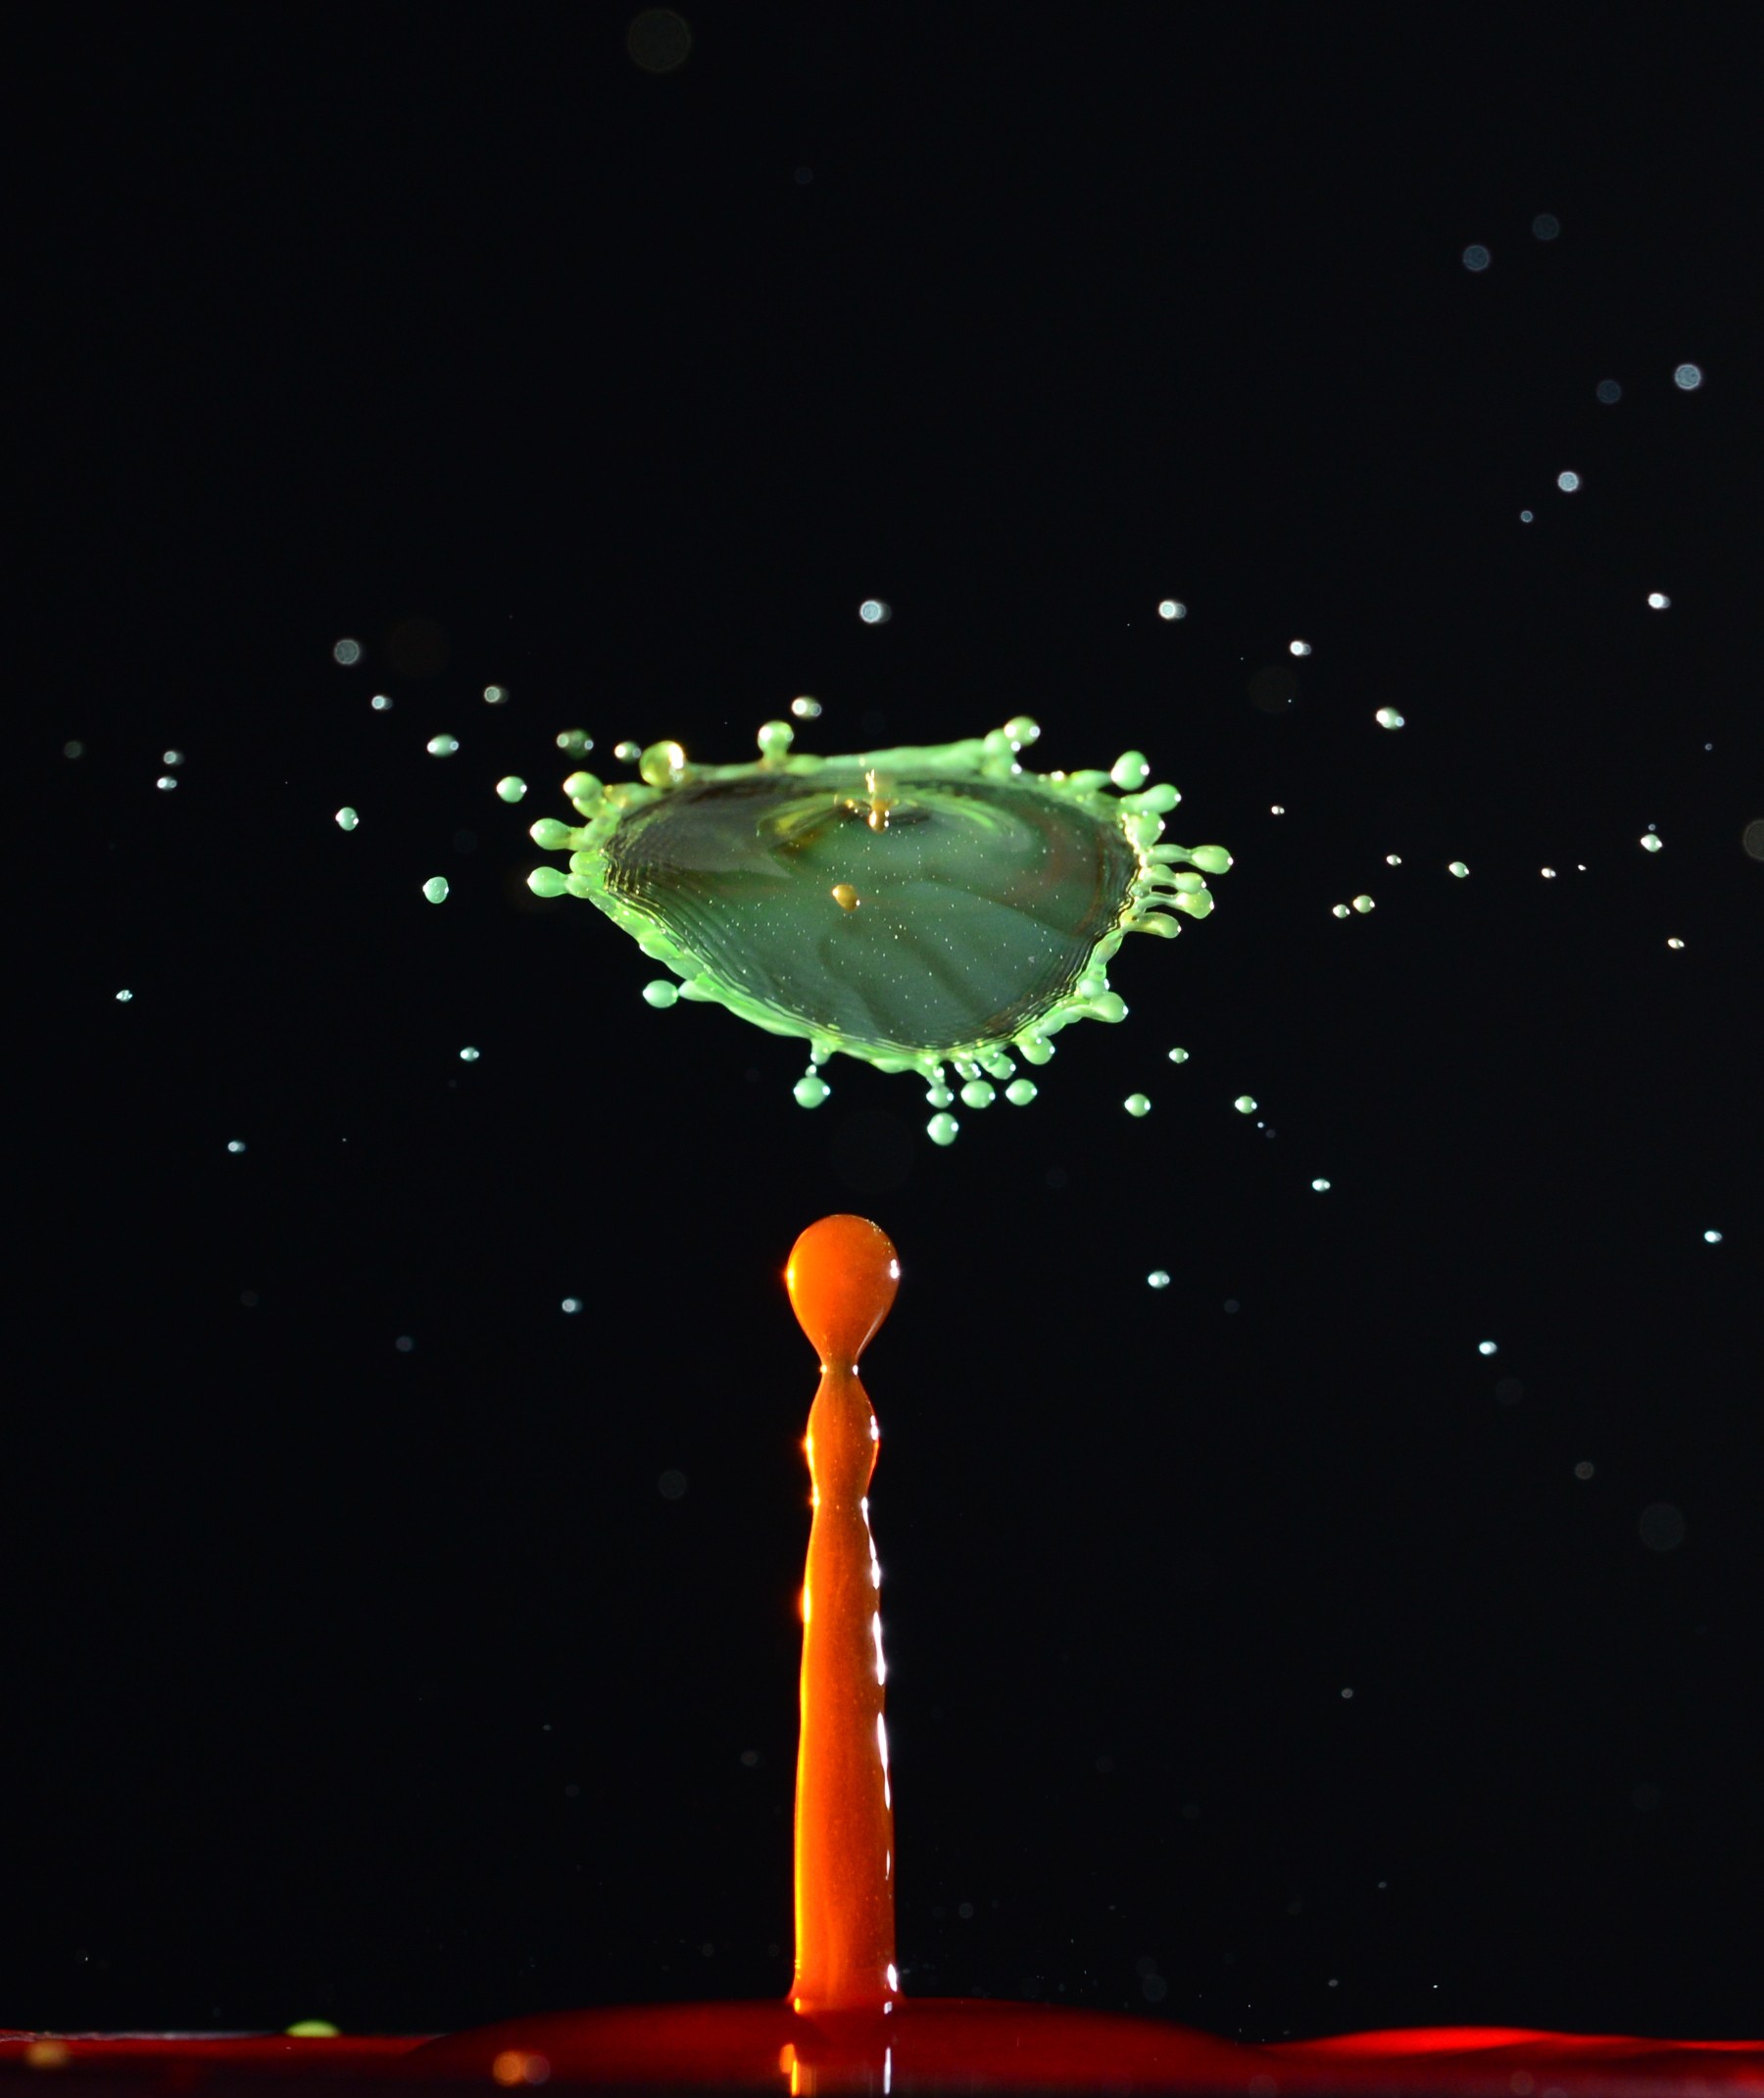
so you can create some droplets with syringe for example, with usage of photo-barrier/optical sensor you can sense when droplets are passing and then with usage of external trigger connection you will trigger camera.
Controlling an action:
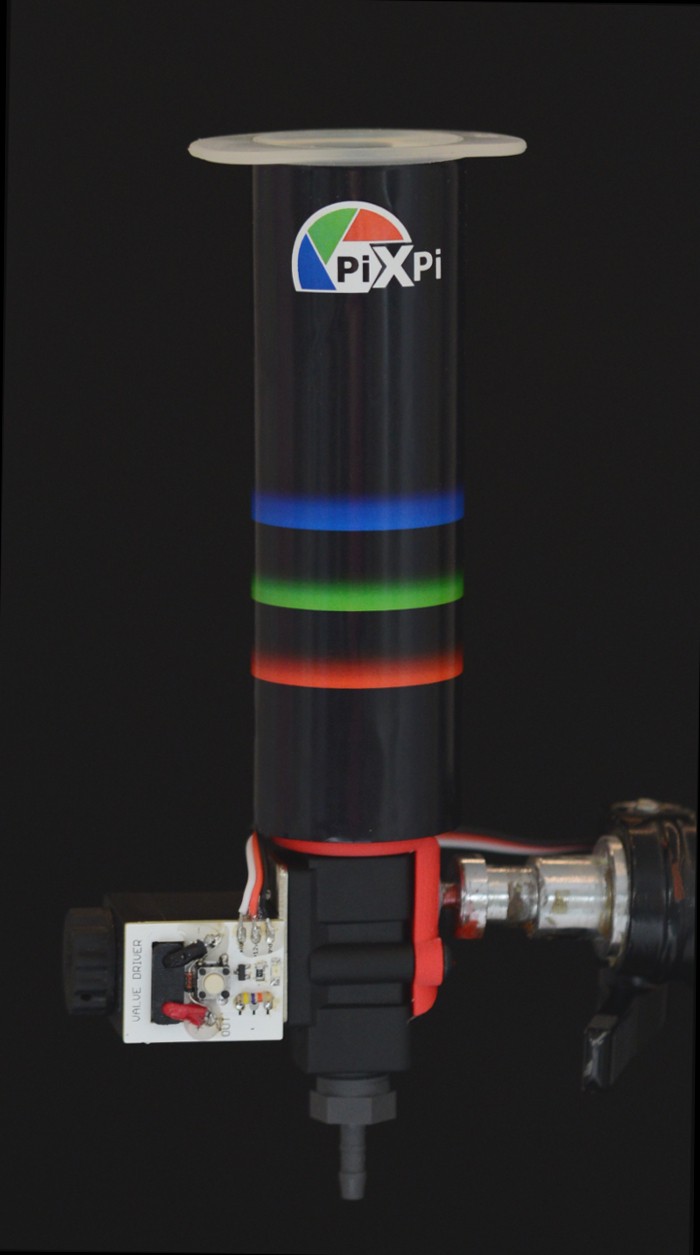
...But there's is also another way, instead of sensing you can control what's happening, what is this mean? Using this droplet example instead of sensing passing droplets we can create some droplets with solenoid-valve.
Which method is better ?
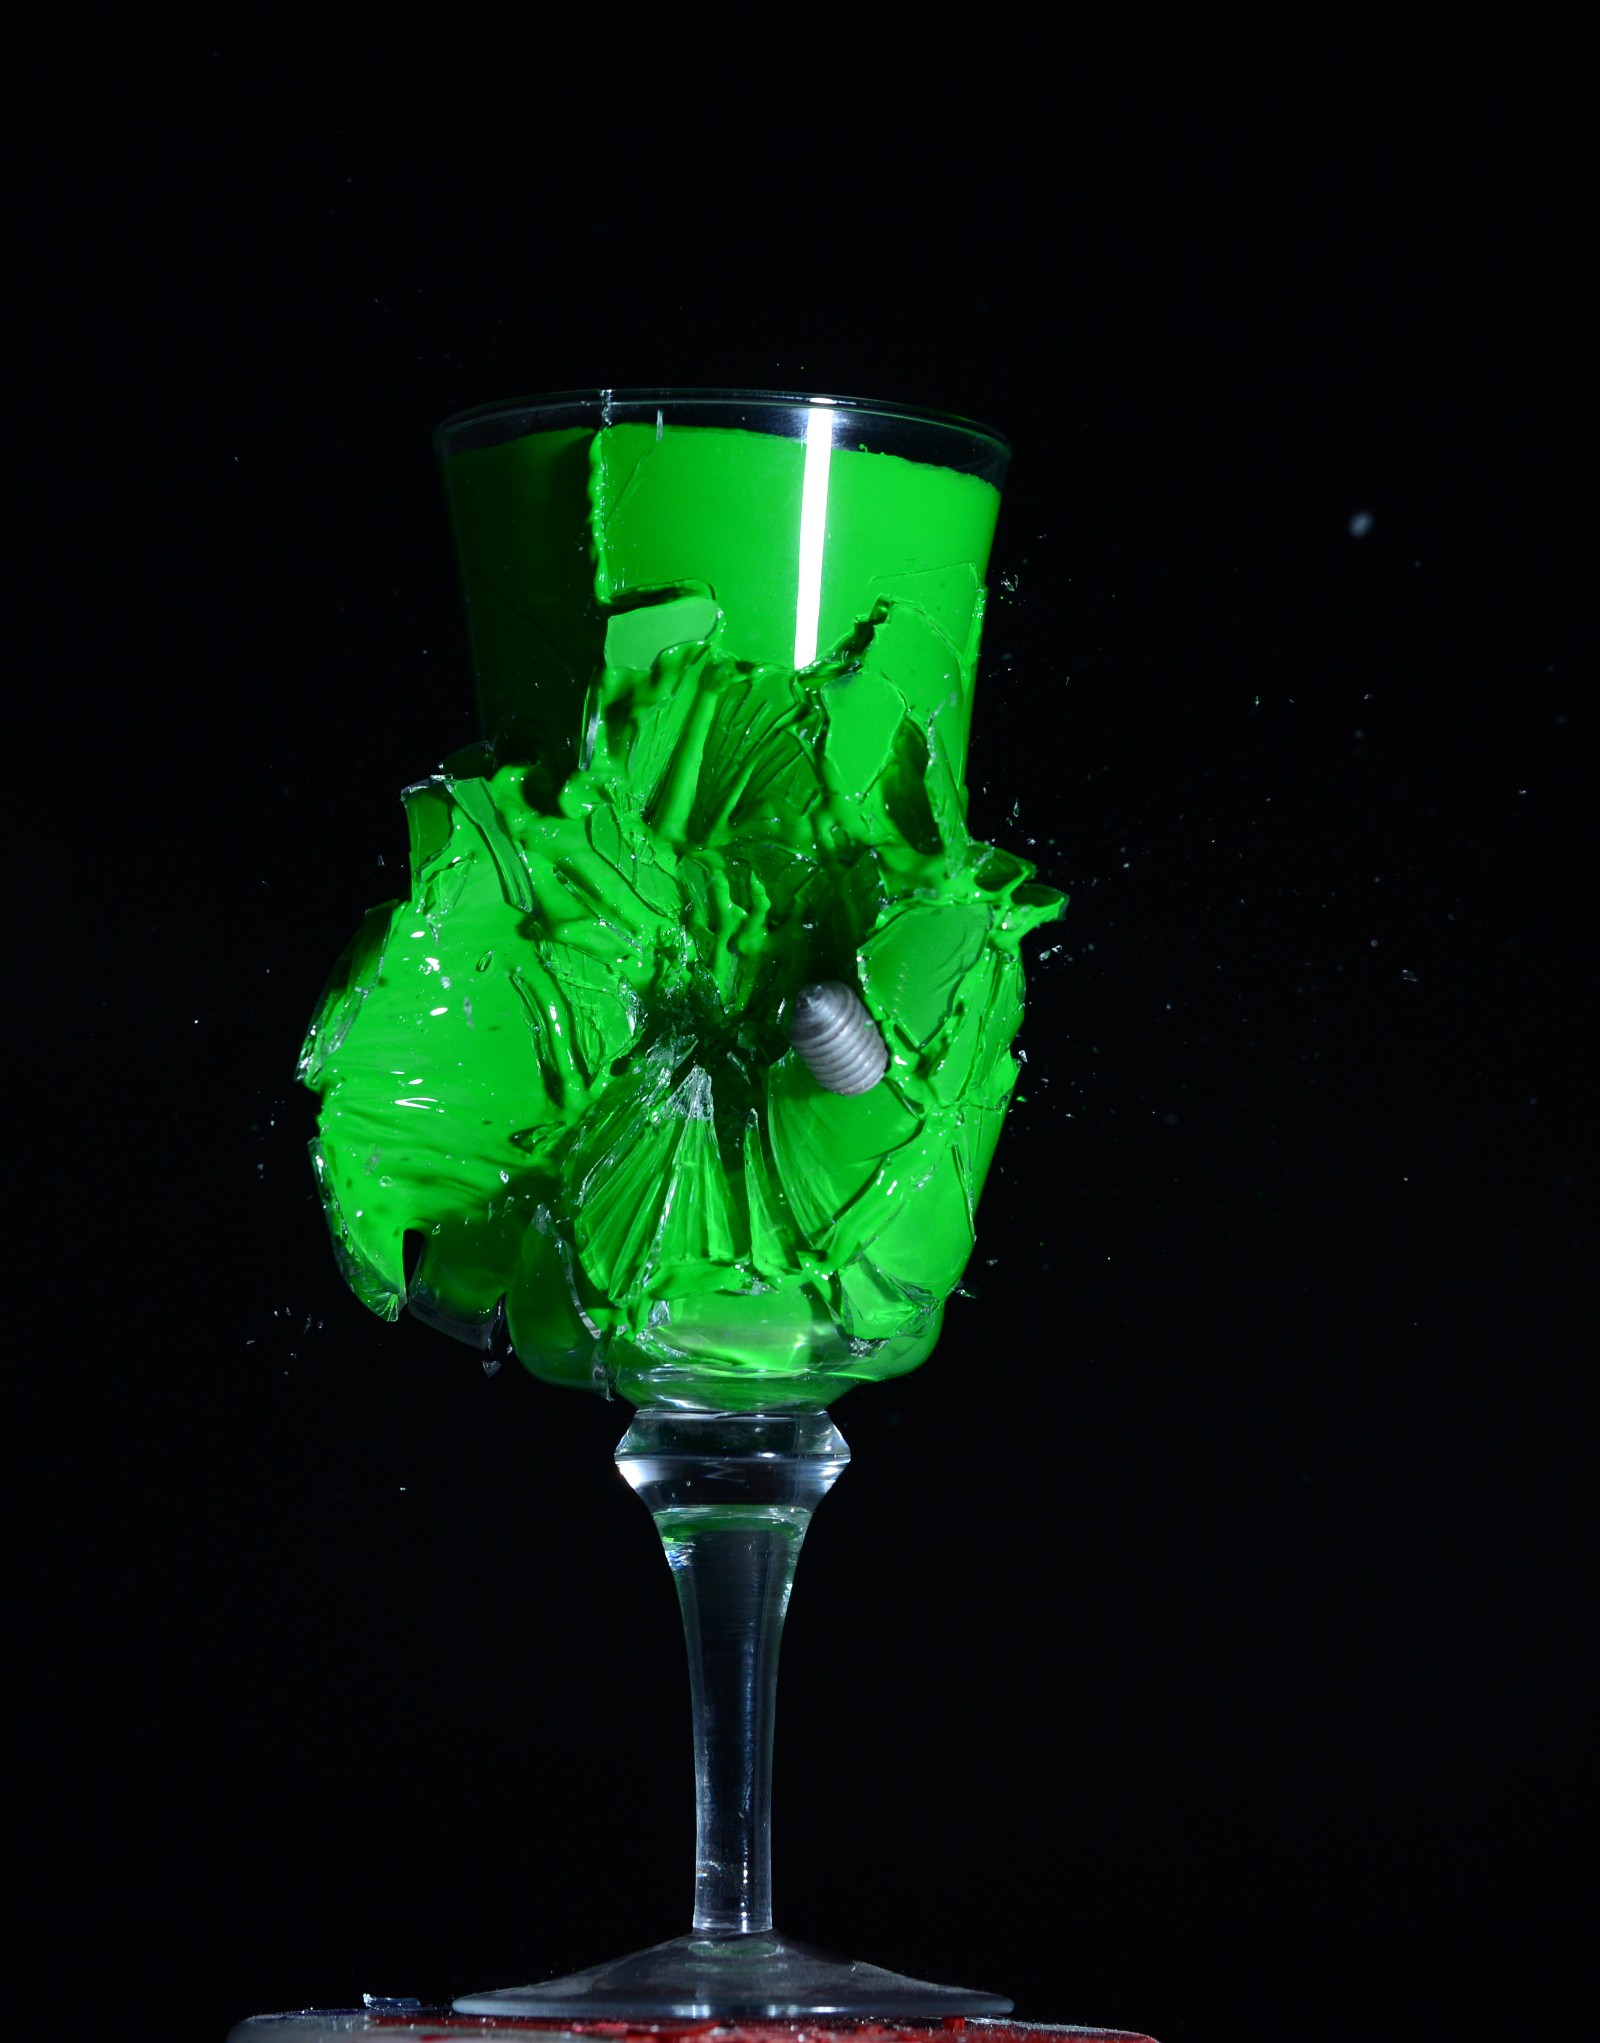
it depends sometimes it's easier to use sensor, sometimes it's easier to "control action" for this particular droplets photography example from my experience(as I tried both) it's easier to use solenoid-valve, but for example when you want to photograph crashing bulb hit with hammer, it's easier to use sound sensor.
How to do this in "pixpi way":
so in case of droplets, just connect droplet module to one of pixpi modules ports, then using android app create program which will control valve from droplet module, camera and flash... and here we go ;) :
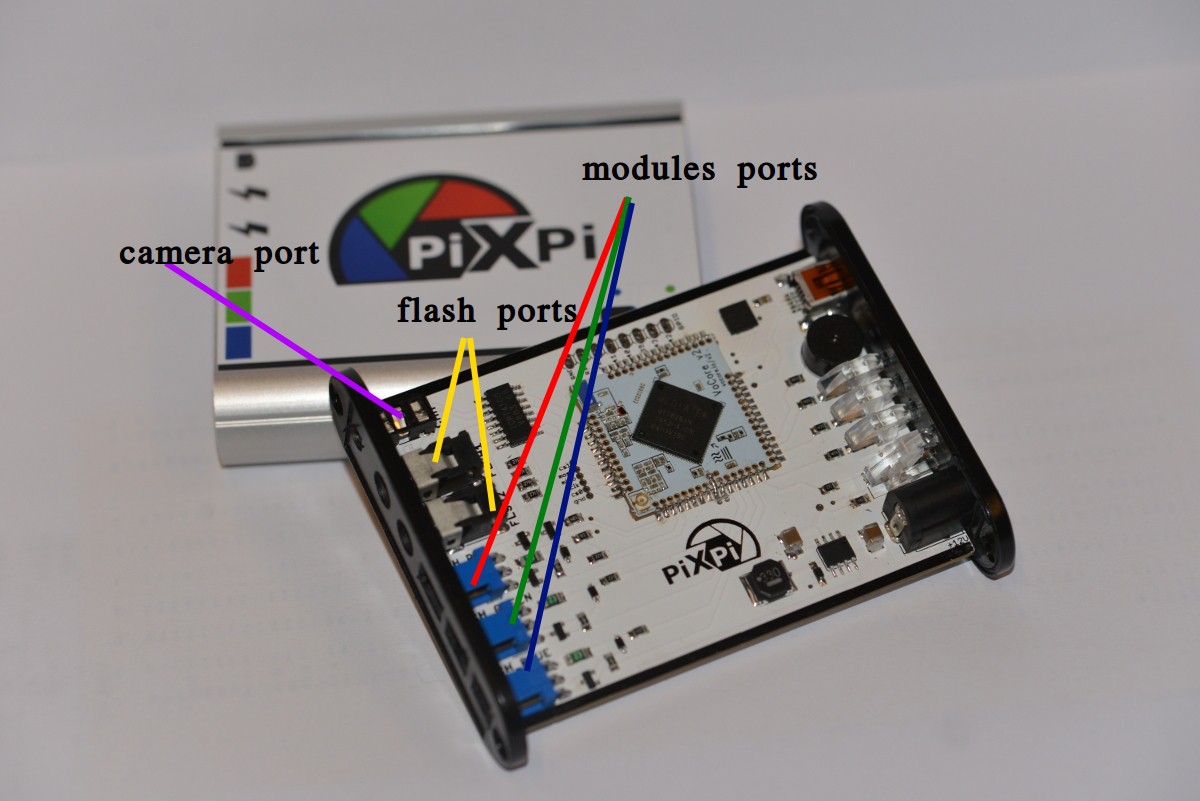
With PiXPi you can control camera shutter, flashes and external modules
Currently I created 3 sensor modules and 3 action modules, but another new modules can be easily added as there's common and simple communication interface for modules, also i'm working now on motion modules(more soon ;) )
light sensor module:
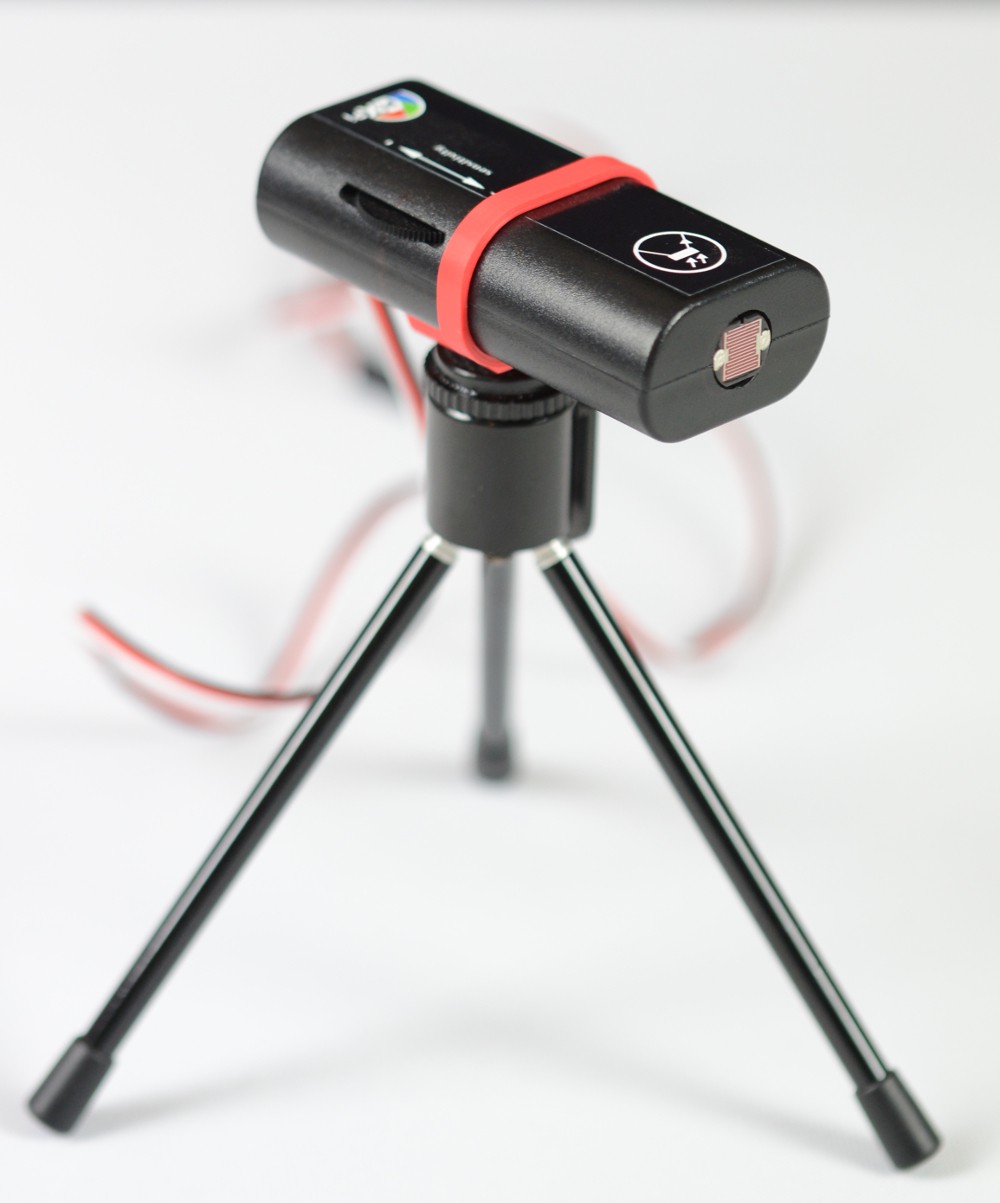
optical/reflective sensor:
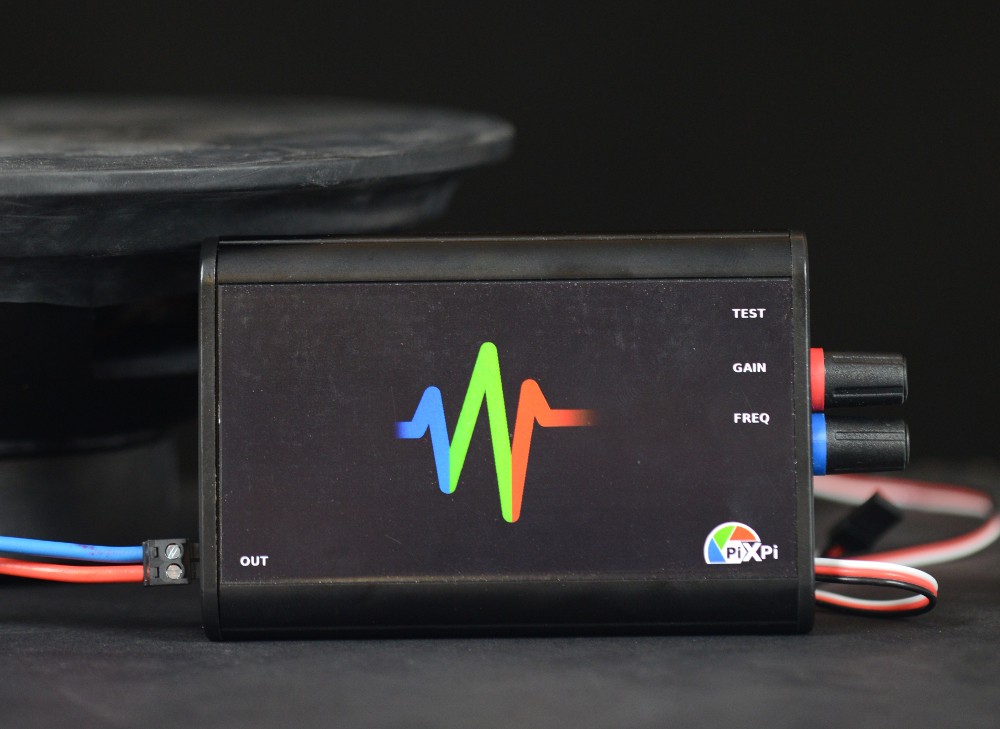
Sound sensor:
droplet module(solenoid valve):
speaker module:
Pneumatic gun module:
...more modules to be added ;), currently I also working on some other type of modules(sliders, rigs driven with steppers, I will publish some details on project logs).
but with combination of above modules and possibility of camera shutter and flashes control using android app(which is utilizing google blockly library for graphical programming interface), you can create sequence/program which will control all elements:
then just execute program... AAnd you can get some nice photos :)
Freezing motion with high speed photography method:
Okay in beegining i wrote that to catch such some perfect timed photos you need to just trigger shutter at right moment, it's partially true as, but even with highest shutters speeds like 1/4000 or even 1/8000 you can see something which is called "motion blur" it will effect with this that things which are moving at high speeds can be blurred even when using 1/8000 shutter can be not enough.
Most of shown photos was made with high-speed photography method, which is about relaying on flash speed instead of shutter speed, so what you will need to do is setup all scene in room that can be set dark for time of making photo, then after setting "bulb" mode in camera and darkening room you can open shutter, trigger some action and trigger flashes for moment which you want to have on photo, also flashes need to be those small compact flashes, for example i'm using Nikon sb900(but also cheeper flashes will do fine) and flashes need to be set on low power as flash duration depends on power of flash, take a look at Nikon SB900 power/flash time table:
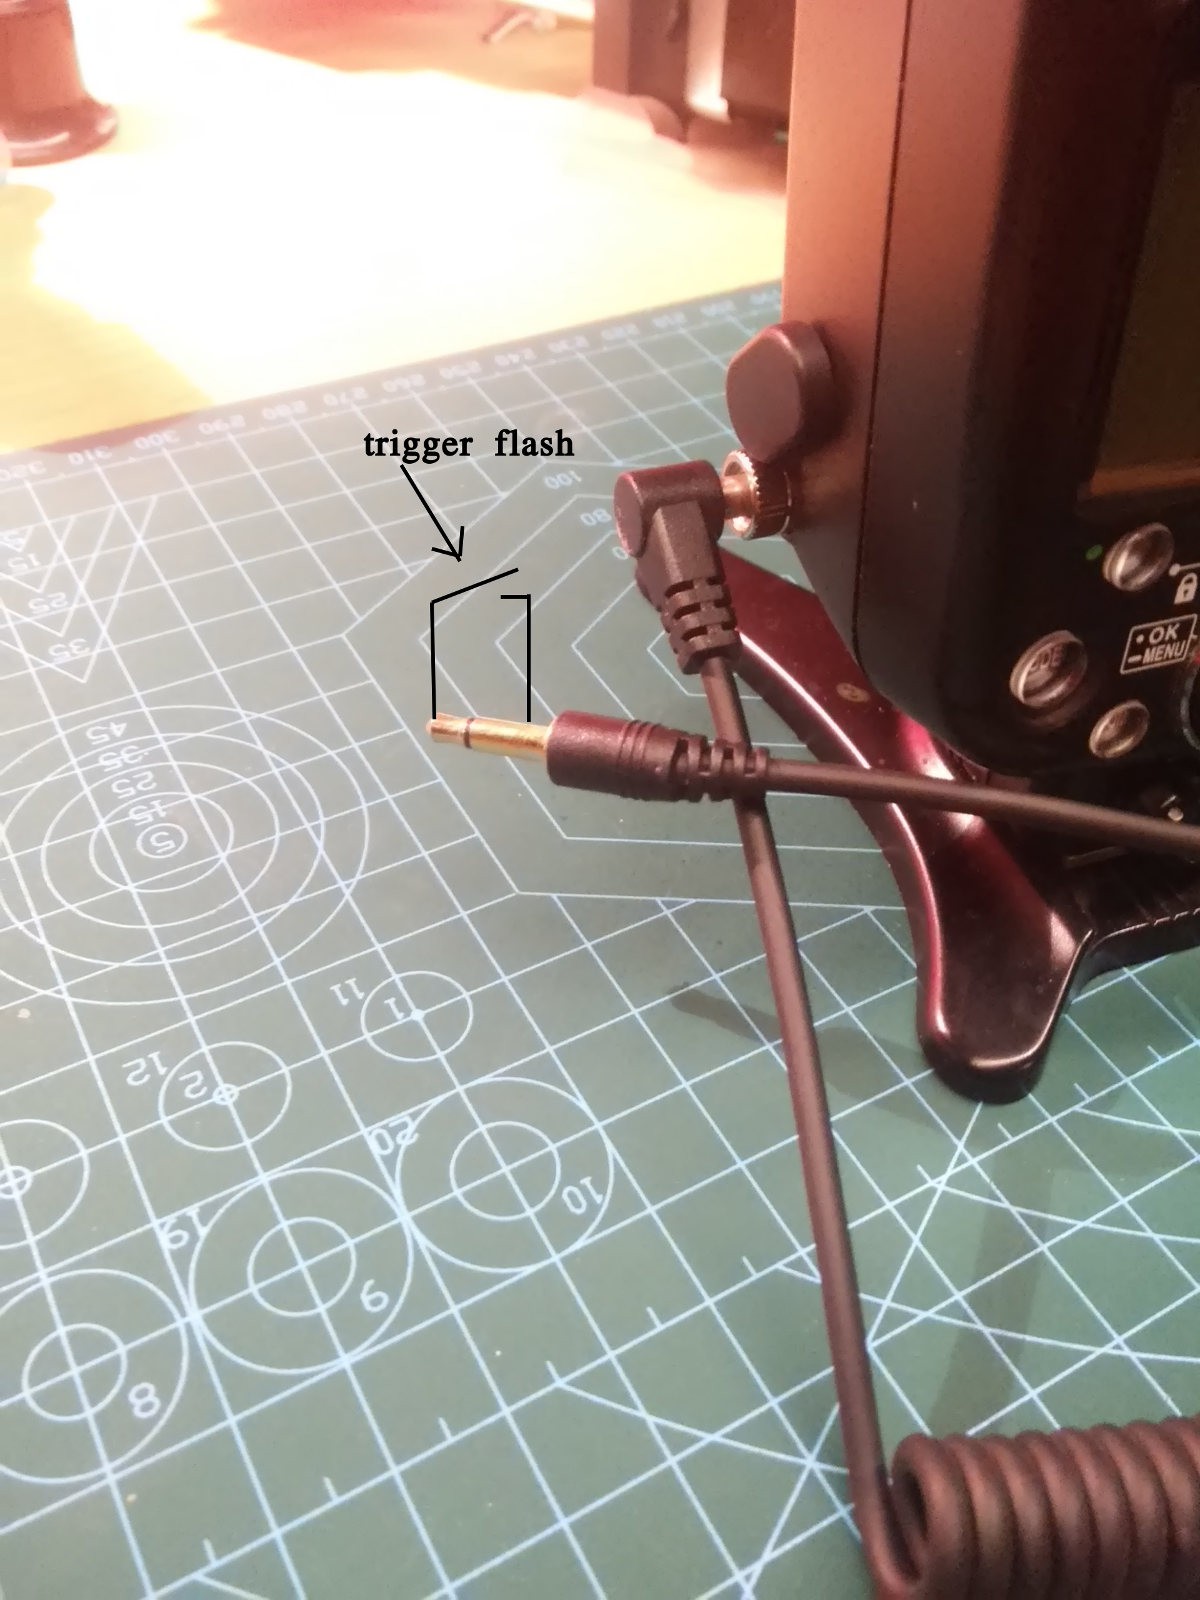
For triggering flash "pc sync" is used, this is interface which all flashes should have and it's generally very simple:
Beginnings:
I made first experiments about 4 year ago I was inspired by video which i found on YouTube:
It was about hooking sound sensor, camera and Arduino together and using proper program to trigger camera shutter in right moment and generally it worked and generally i really liked this project and started to thinking what I can improve.
First of all it was not handy to reprogram Arduino every time I wanted to change something(I needed to take my laptop to basement :p ), of course I could use lcd screen and button to adjust delays and etc, but I think such way will still not be very handy.
Also I was thinking about making something which can be used by photographer which are not really into programming and don't have technical knowledge, so device which can be also used by regular photographers.

So then a lot of thinking, designing and prototyping happened....(for more read to design process log)
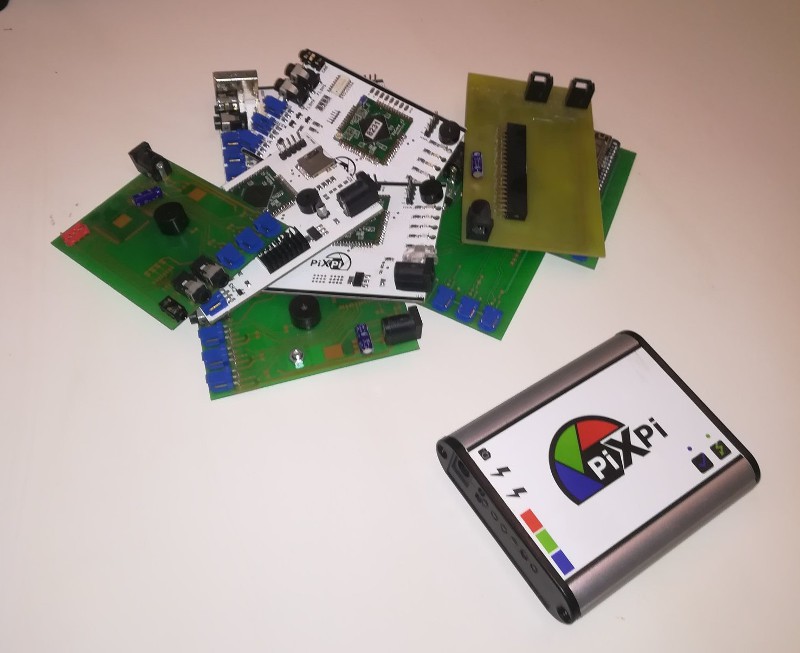
And now after this years I created board which is equipped with interface to camera, flashes and three modules, which can be quickly and easily configured with graphical interface through smartphone app, it has also unified module interface which give possibility to add new modules easily.
last week i also created simple video, which show some example use and I hope will help understand topic a little bit ;) :
*but be aware that for filming purpose above video was took in full light using high shutter speeds on camera, it's little different from "classic" high speed photography method, read chapter "Freezing motion with high speed photography method" for more details on high-speed photography.