 Grant Giesbrecht
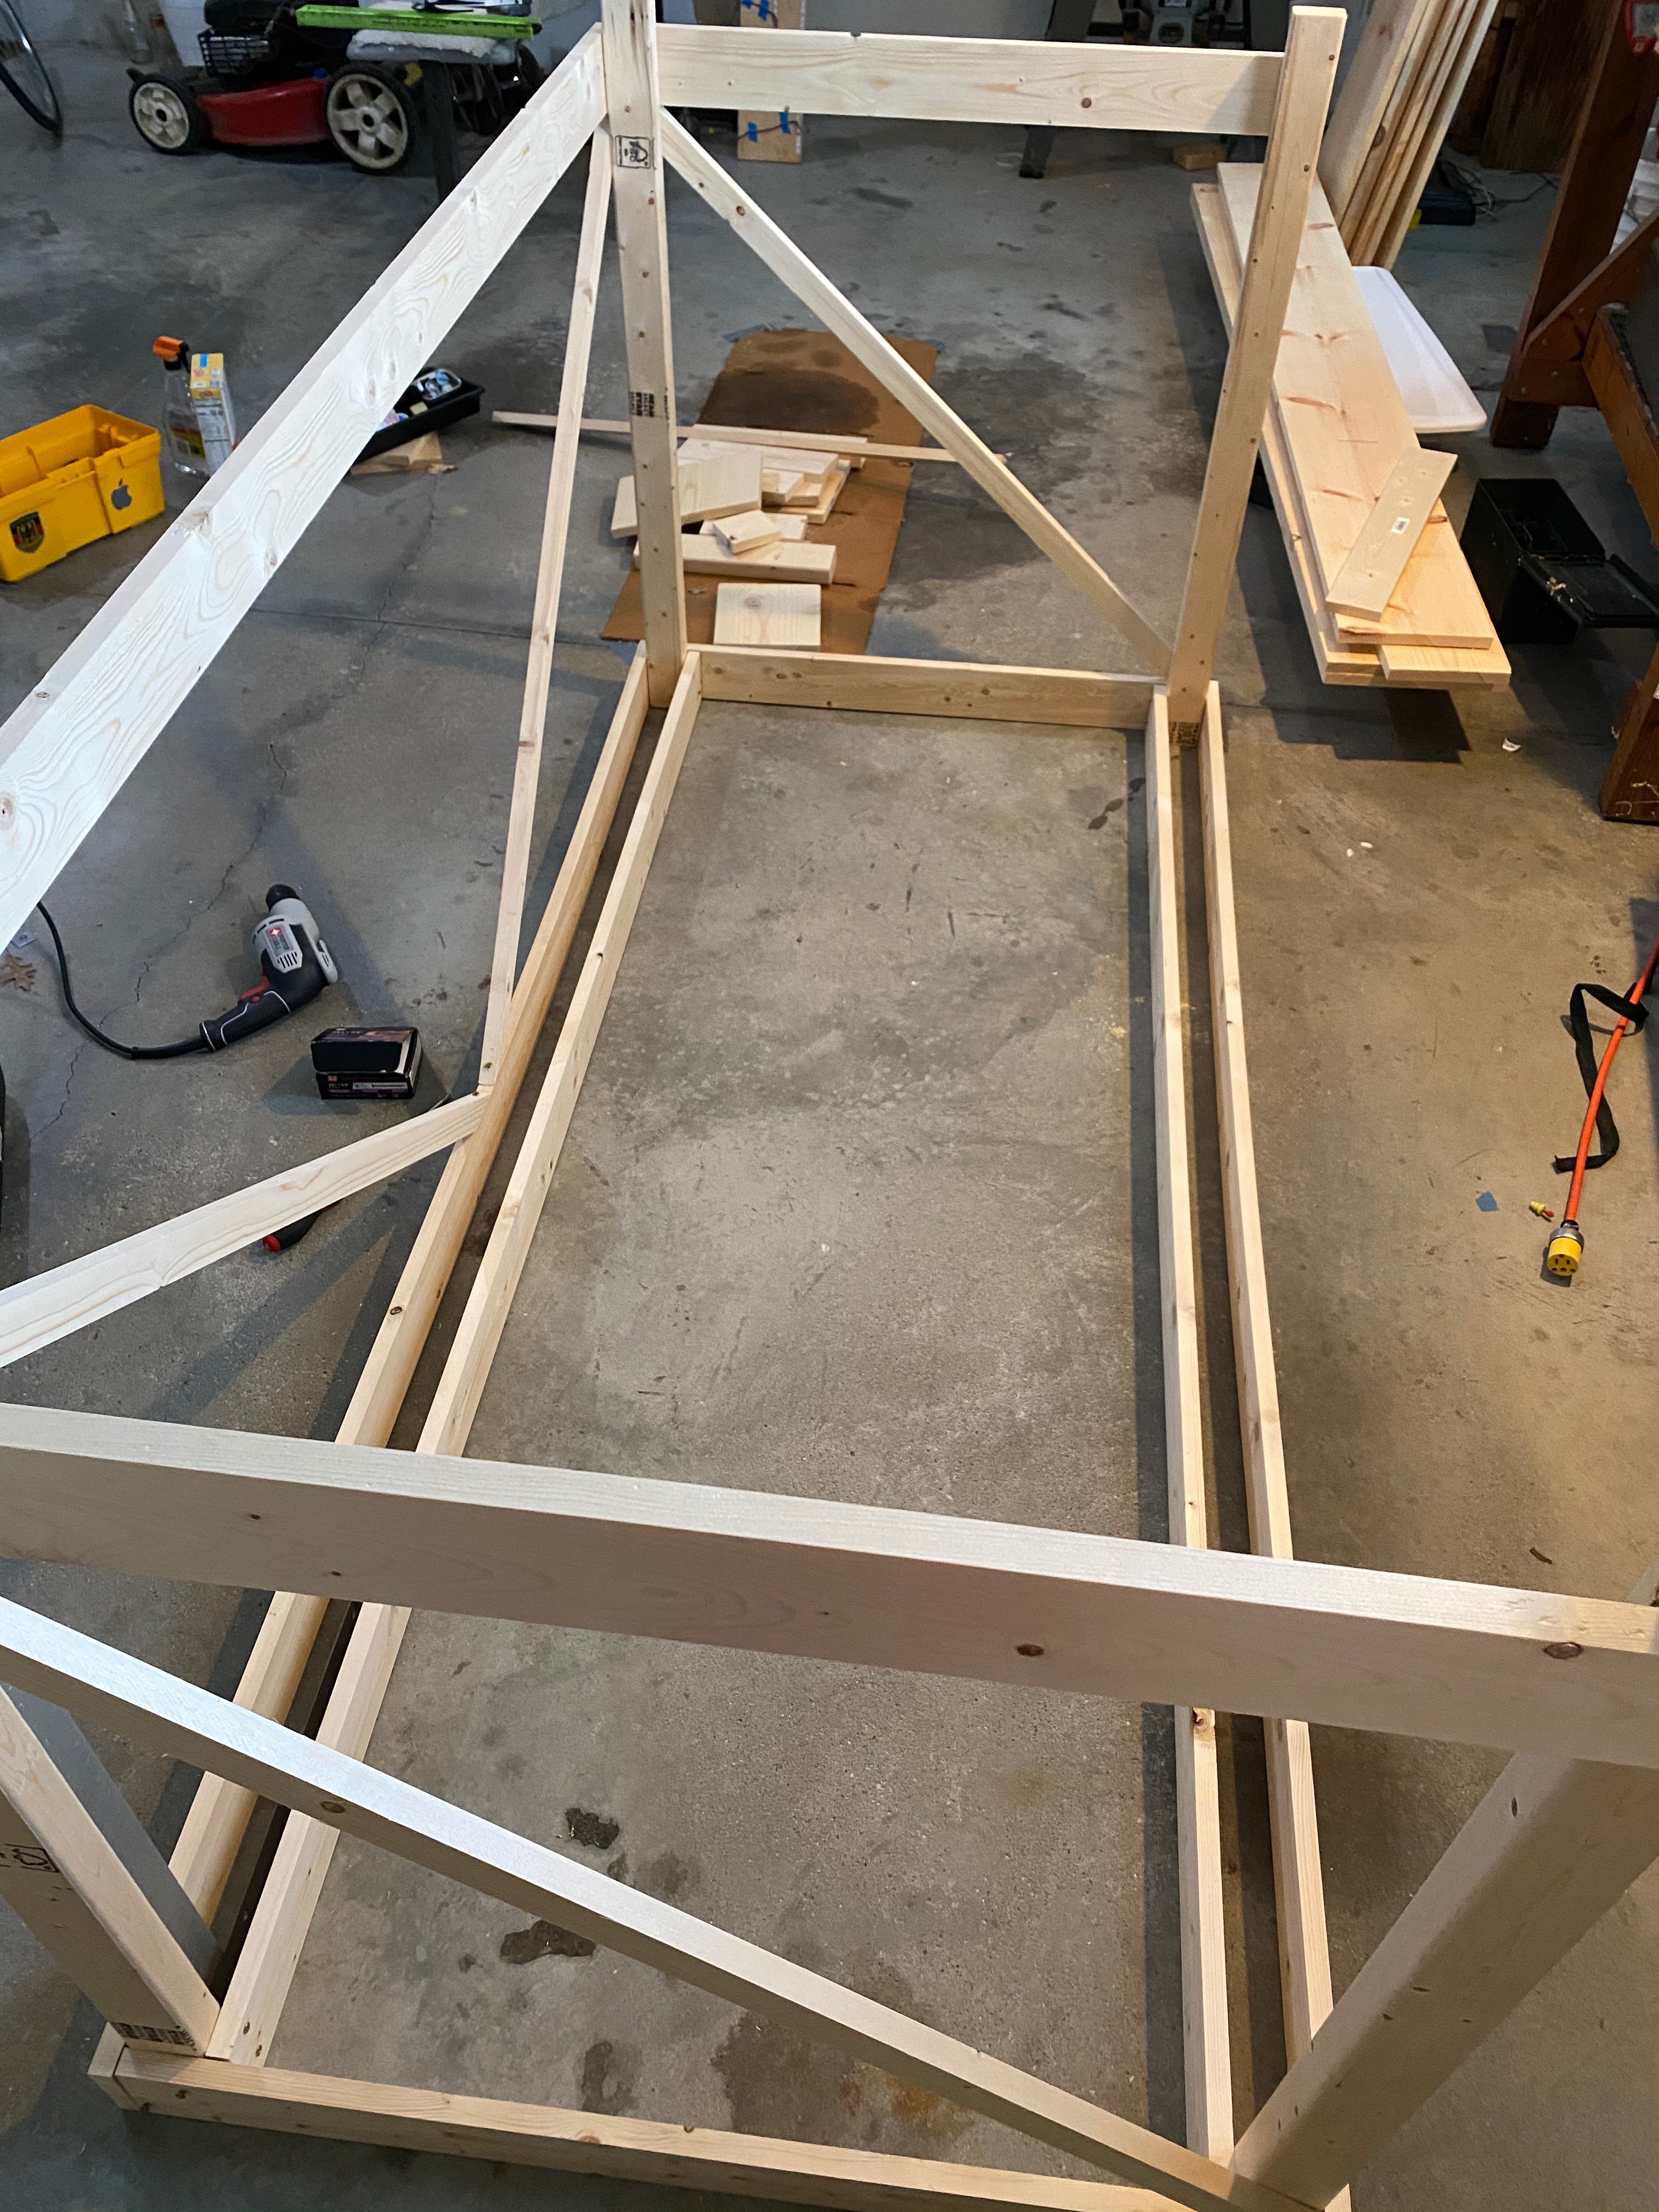
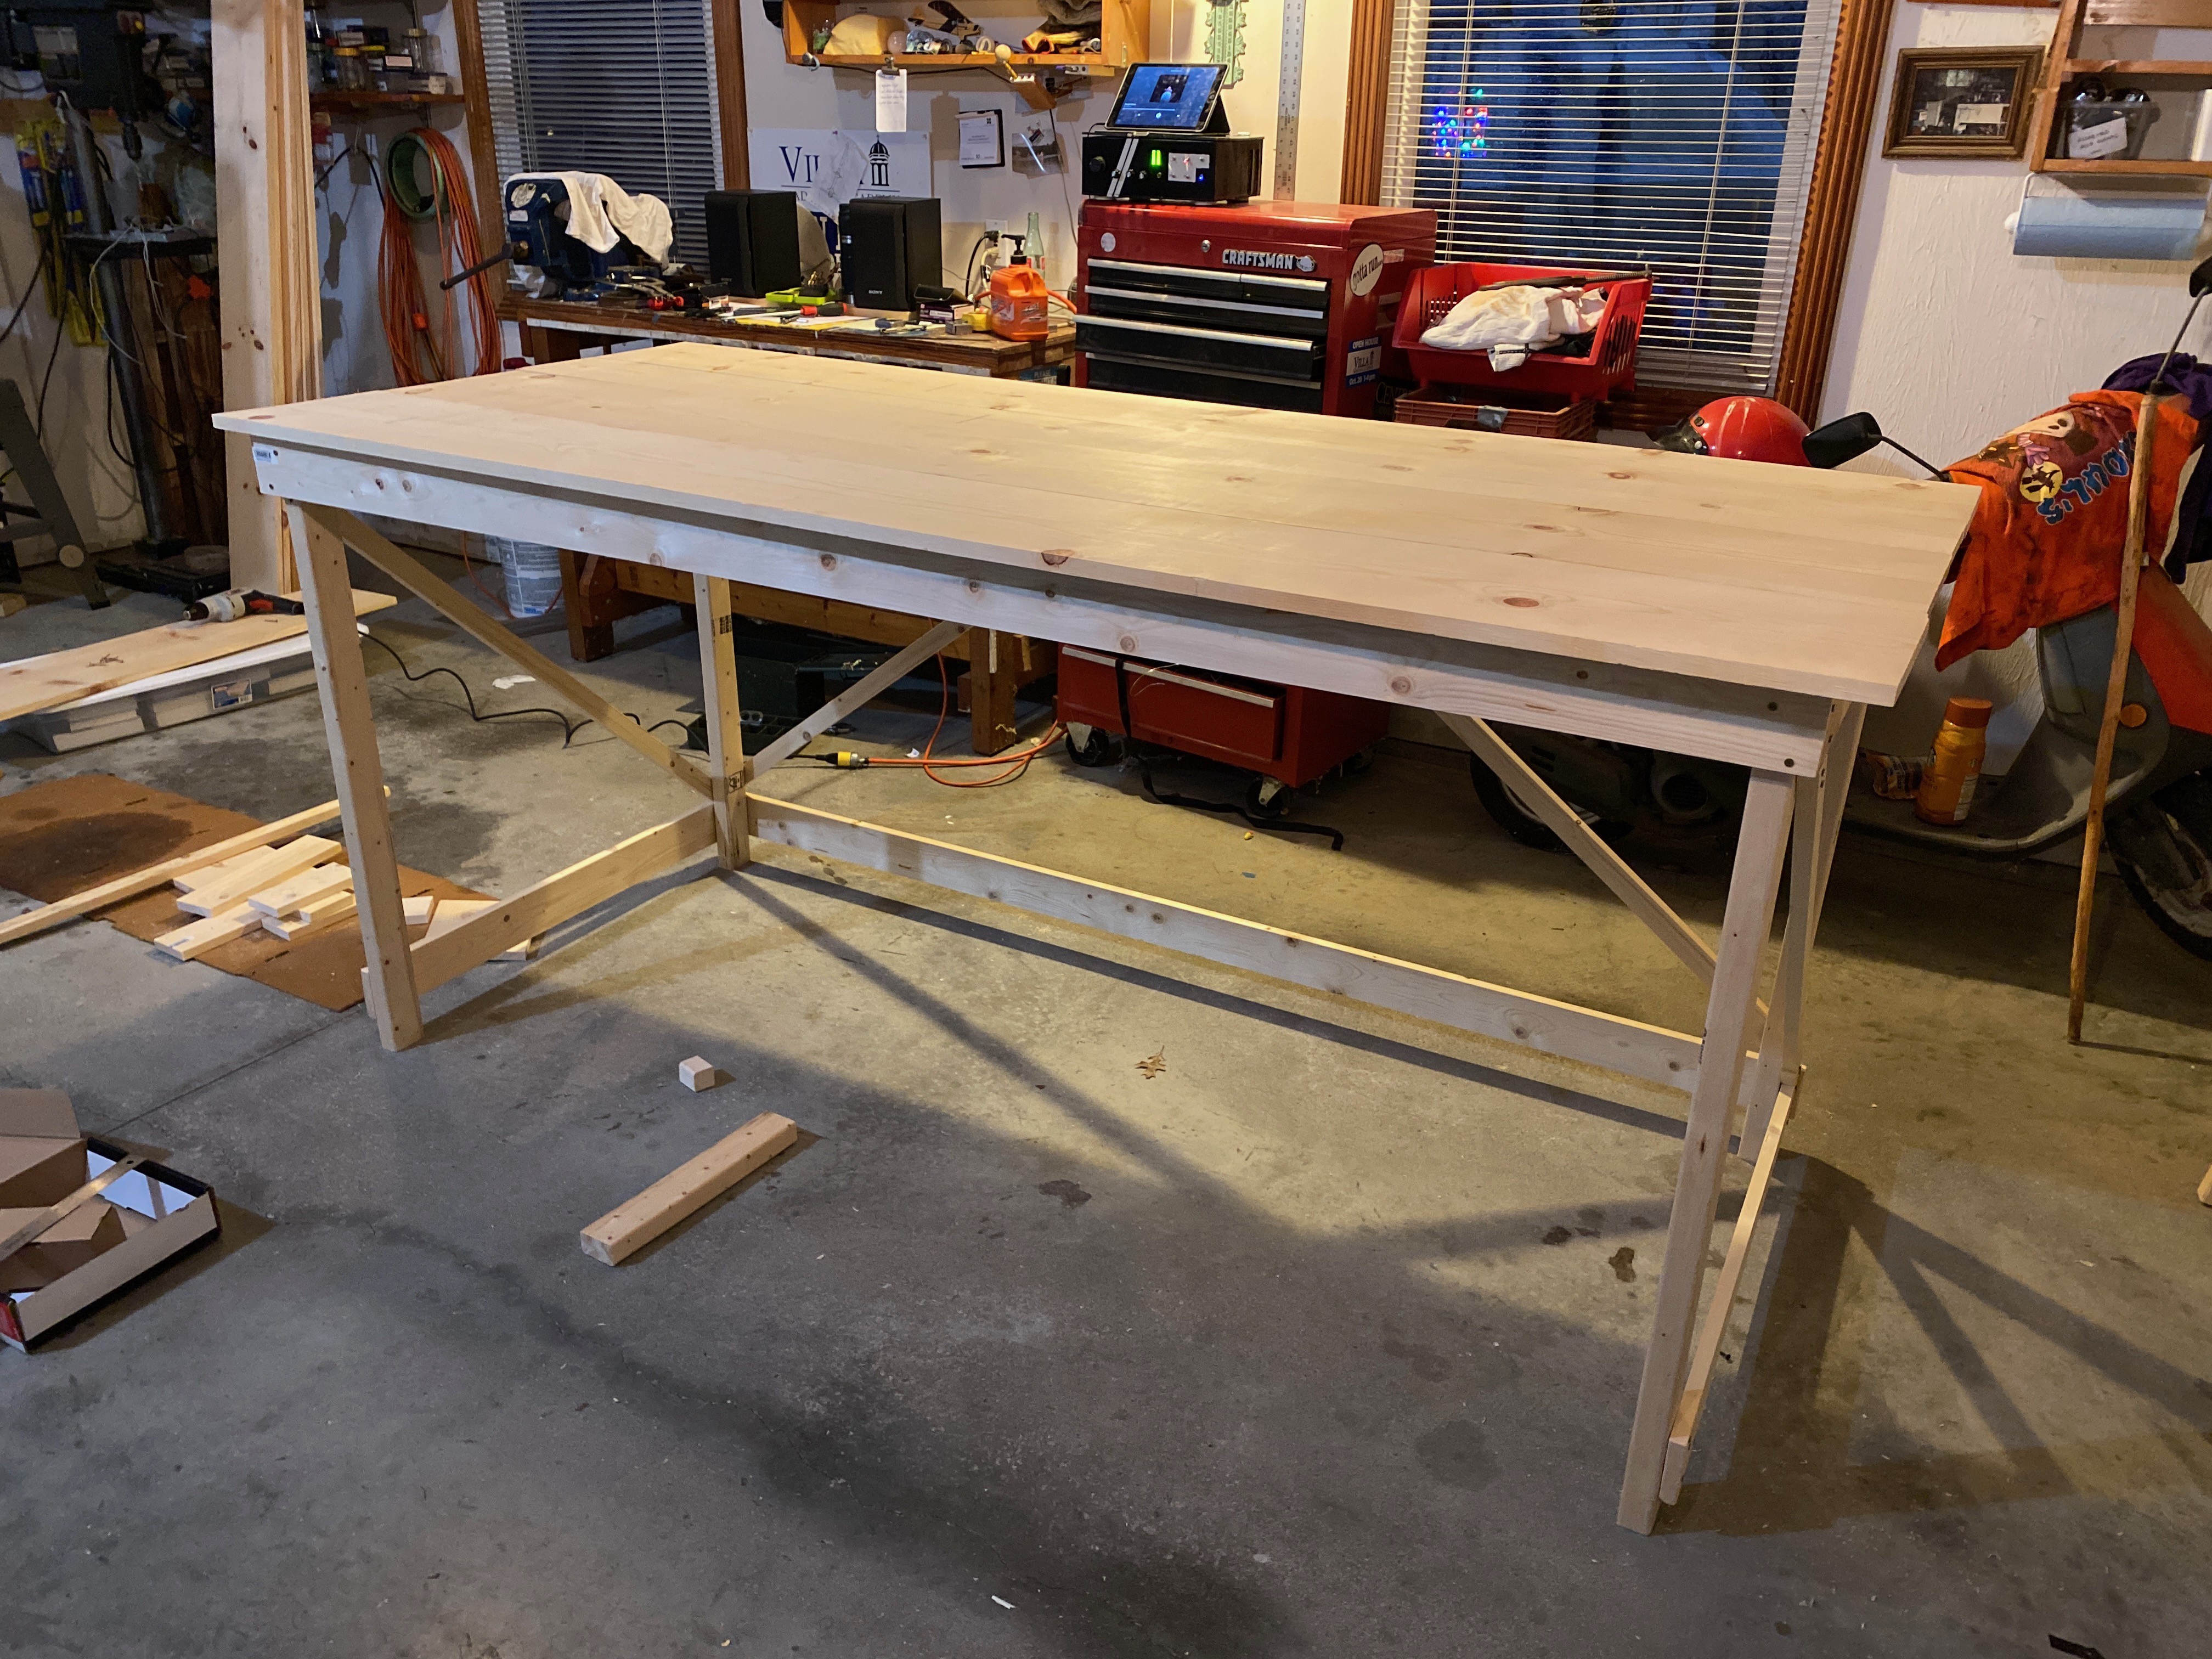
I'm building the actual wooden bench. I'm not going to go into much detail on this part of the build, however the one really important tip I've got for anyone building a bench is to use diagonal beams, especially for the verticals components. It's crazy how much more rigid this will make your bench and how few DIY benches online use them. I swear if you use boards half the size you were planning but add diagonal braces, your bench will be way more rigid than if you try to overbuild your bench with huge beams but no cross-bracing. Pre-drilling your screw holes makes life way better, and ofc don't screw into the end grain! If you want more details on my exact build strategy or diagrams, leave a message in the comments and I'd be happy to help.
The sizes of boards I used are:
- 2x3s for the legs
- 1x4s for the horizontals
- 1x2s for the diagonals
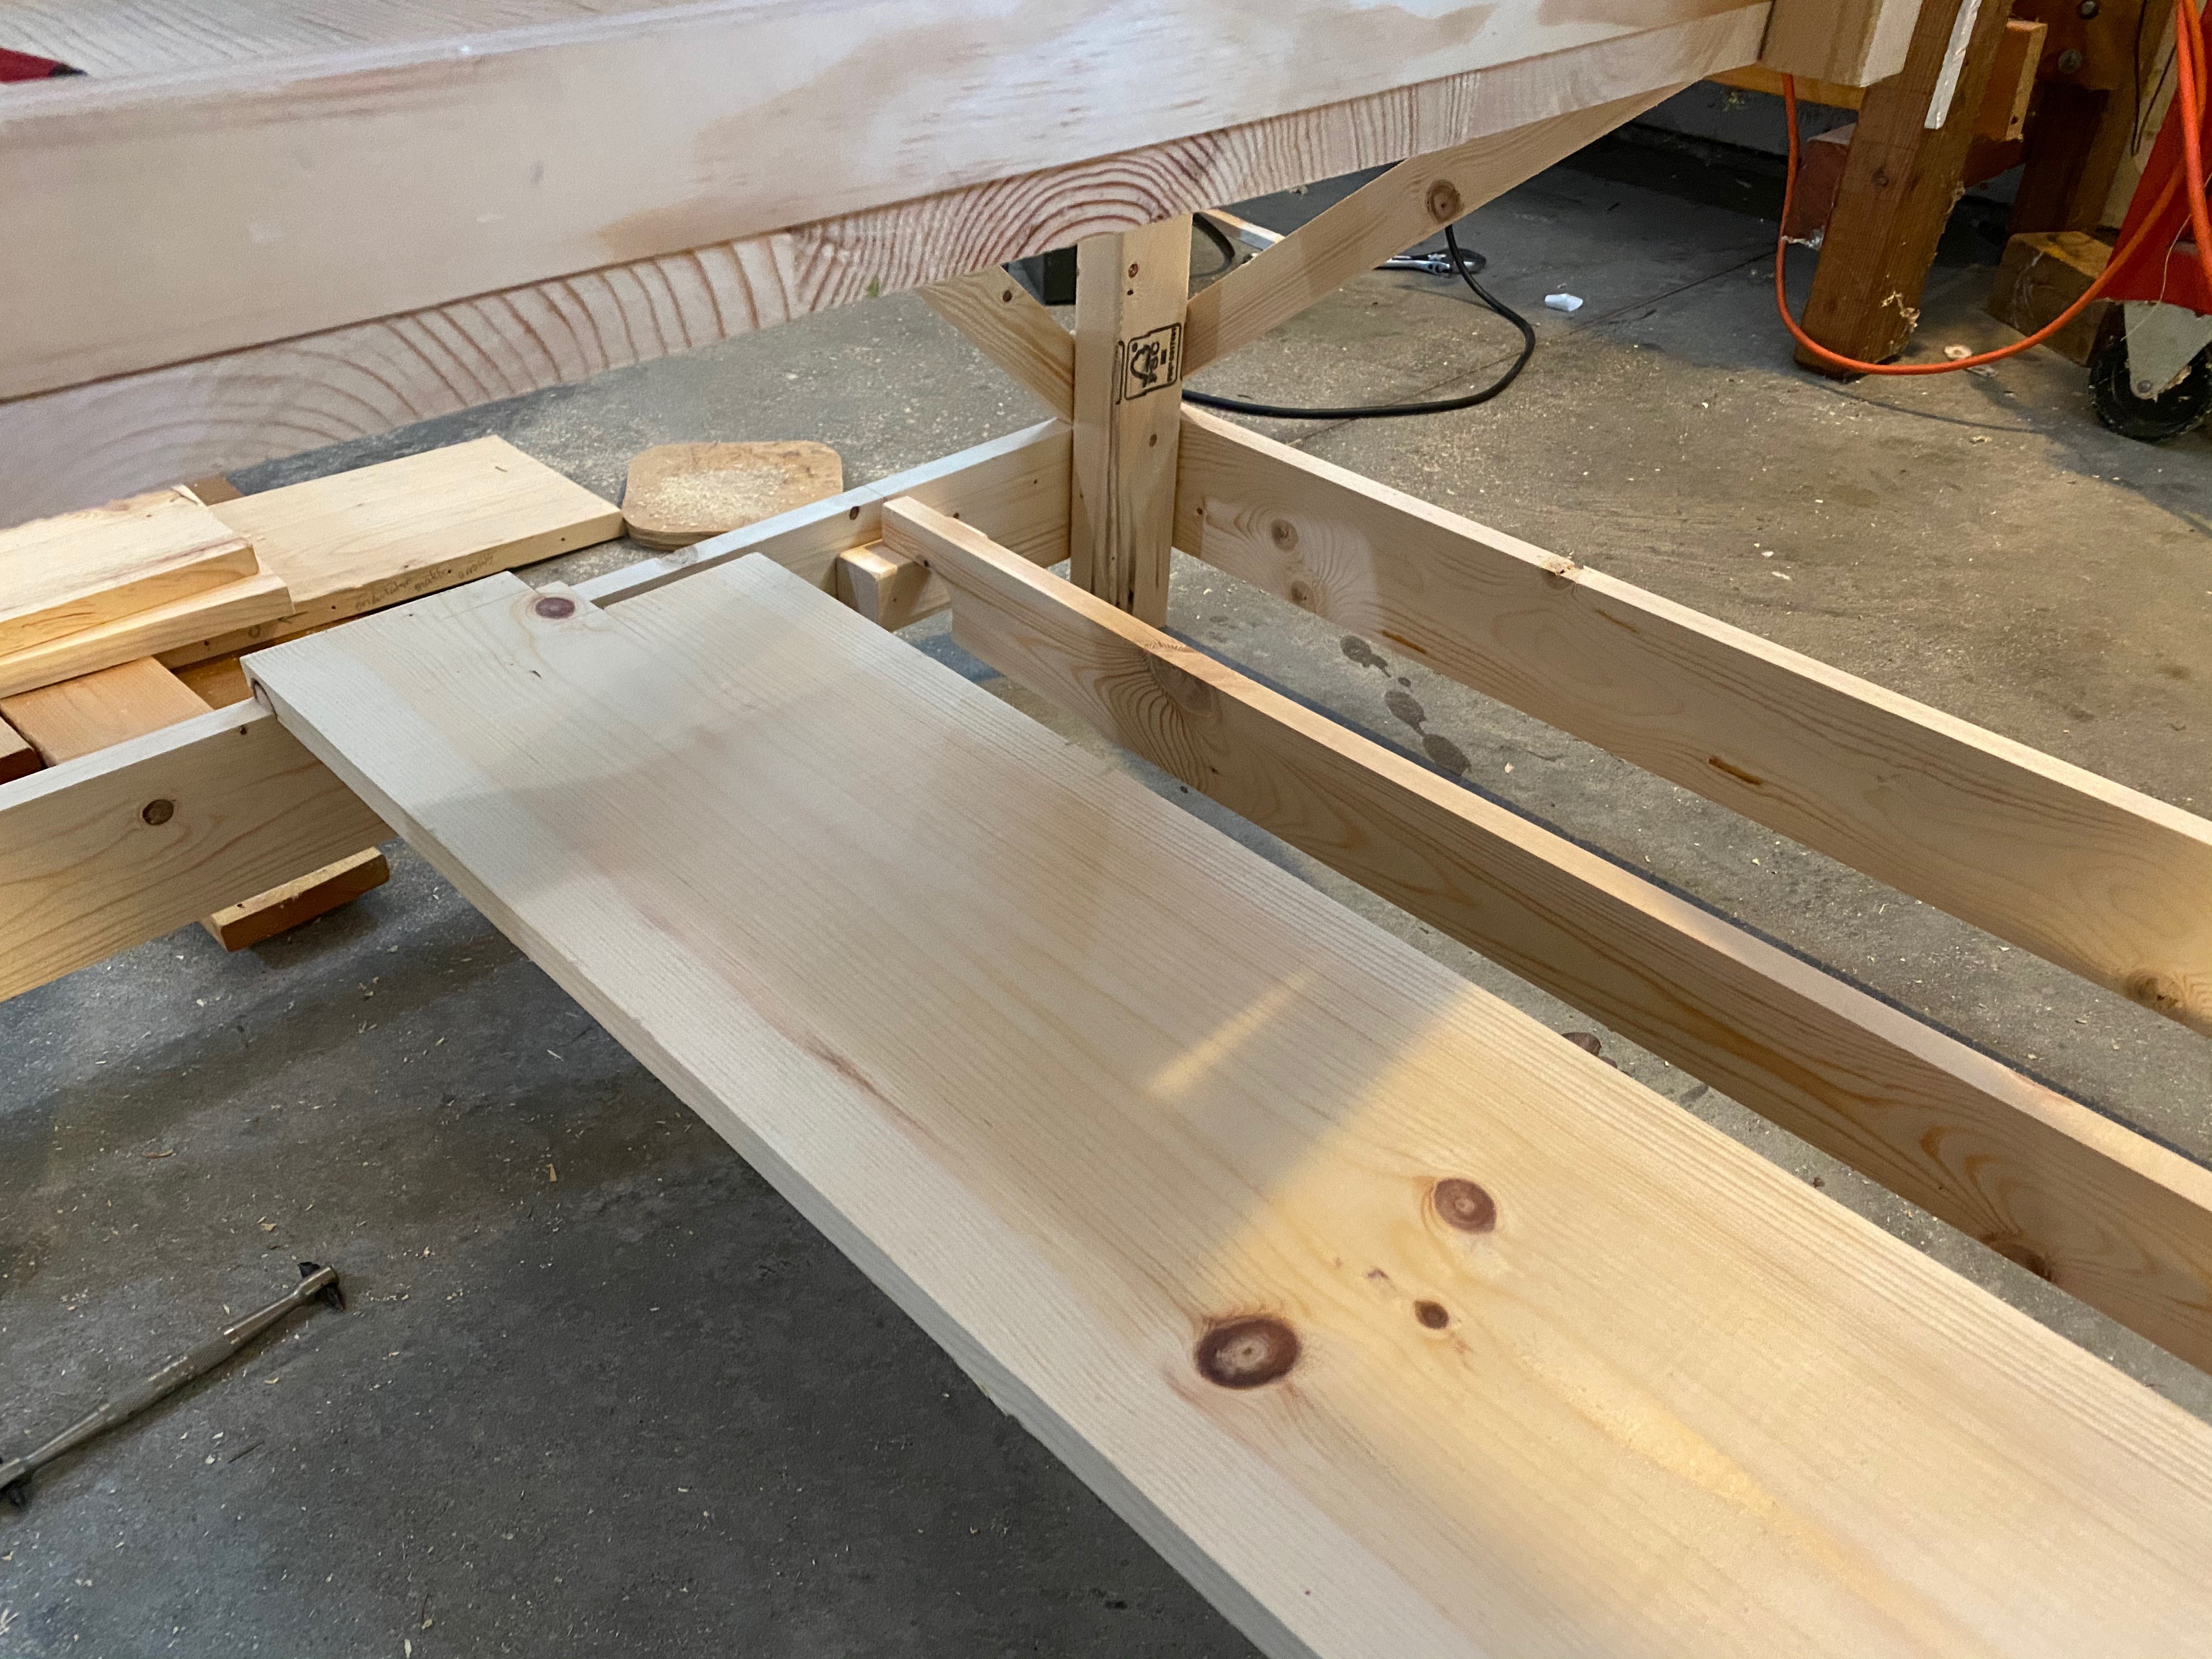
- 1x8s, 1x10s, & 1x12s for the surface boards
Some other specs:
- Height: 1,05 m
- Length: 2,25 m
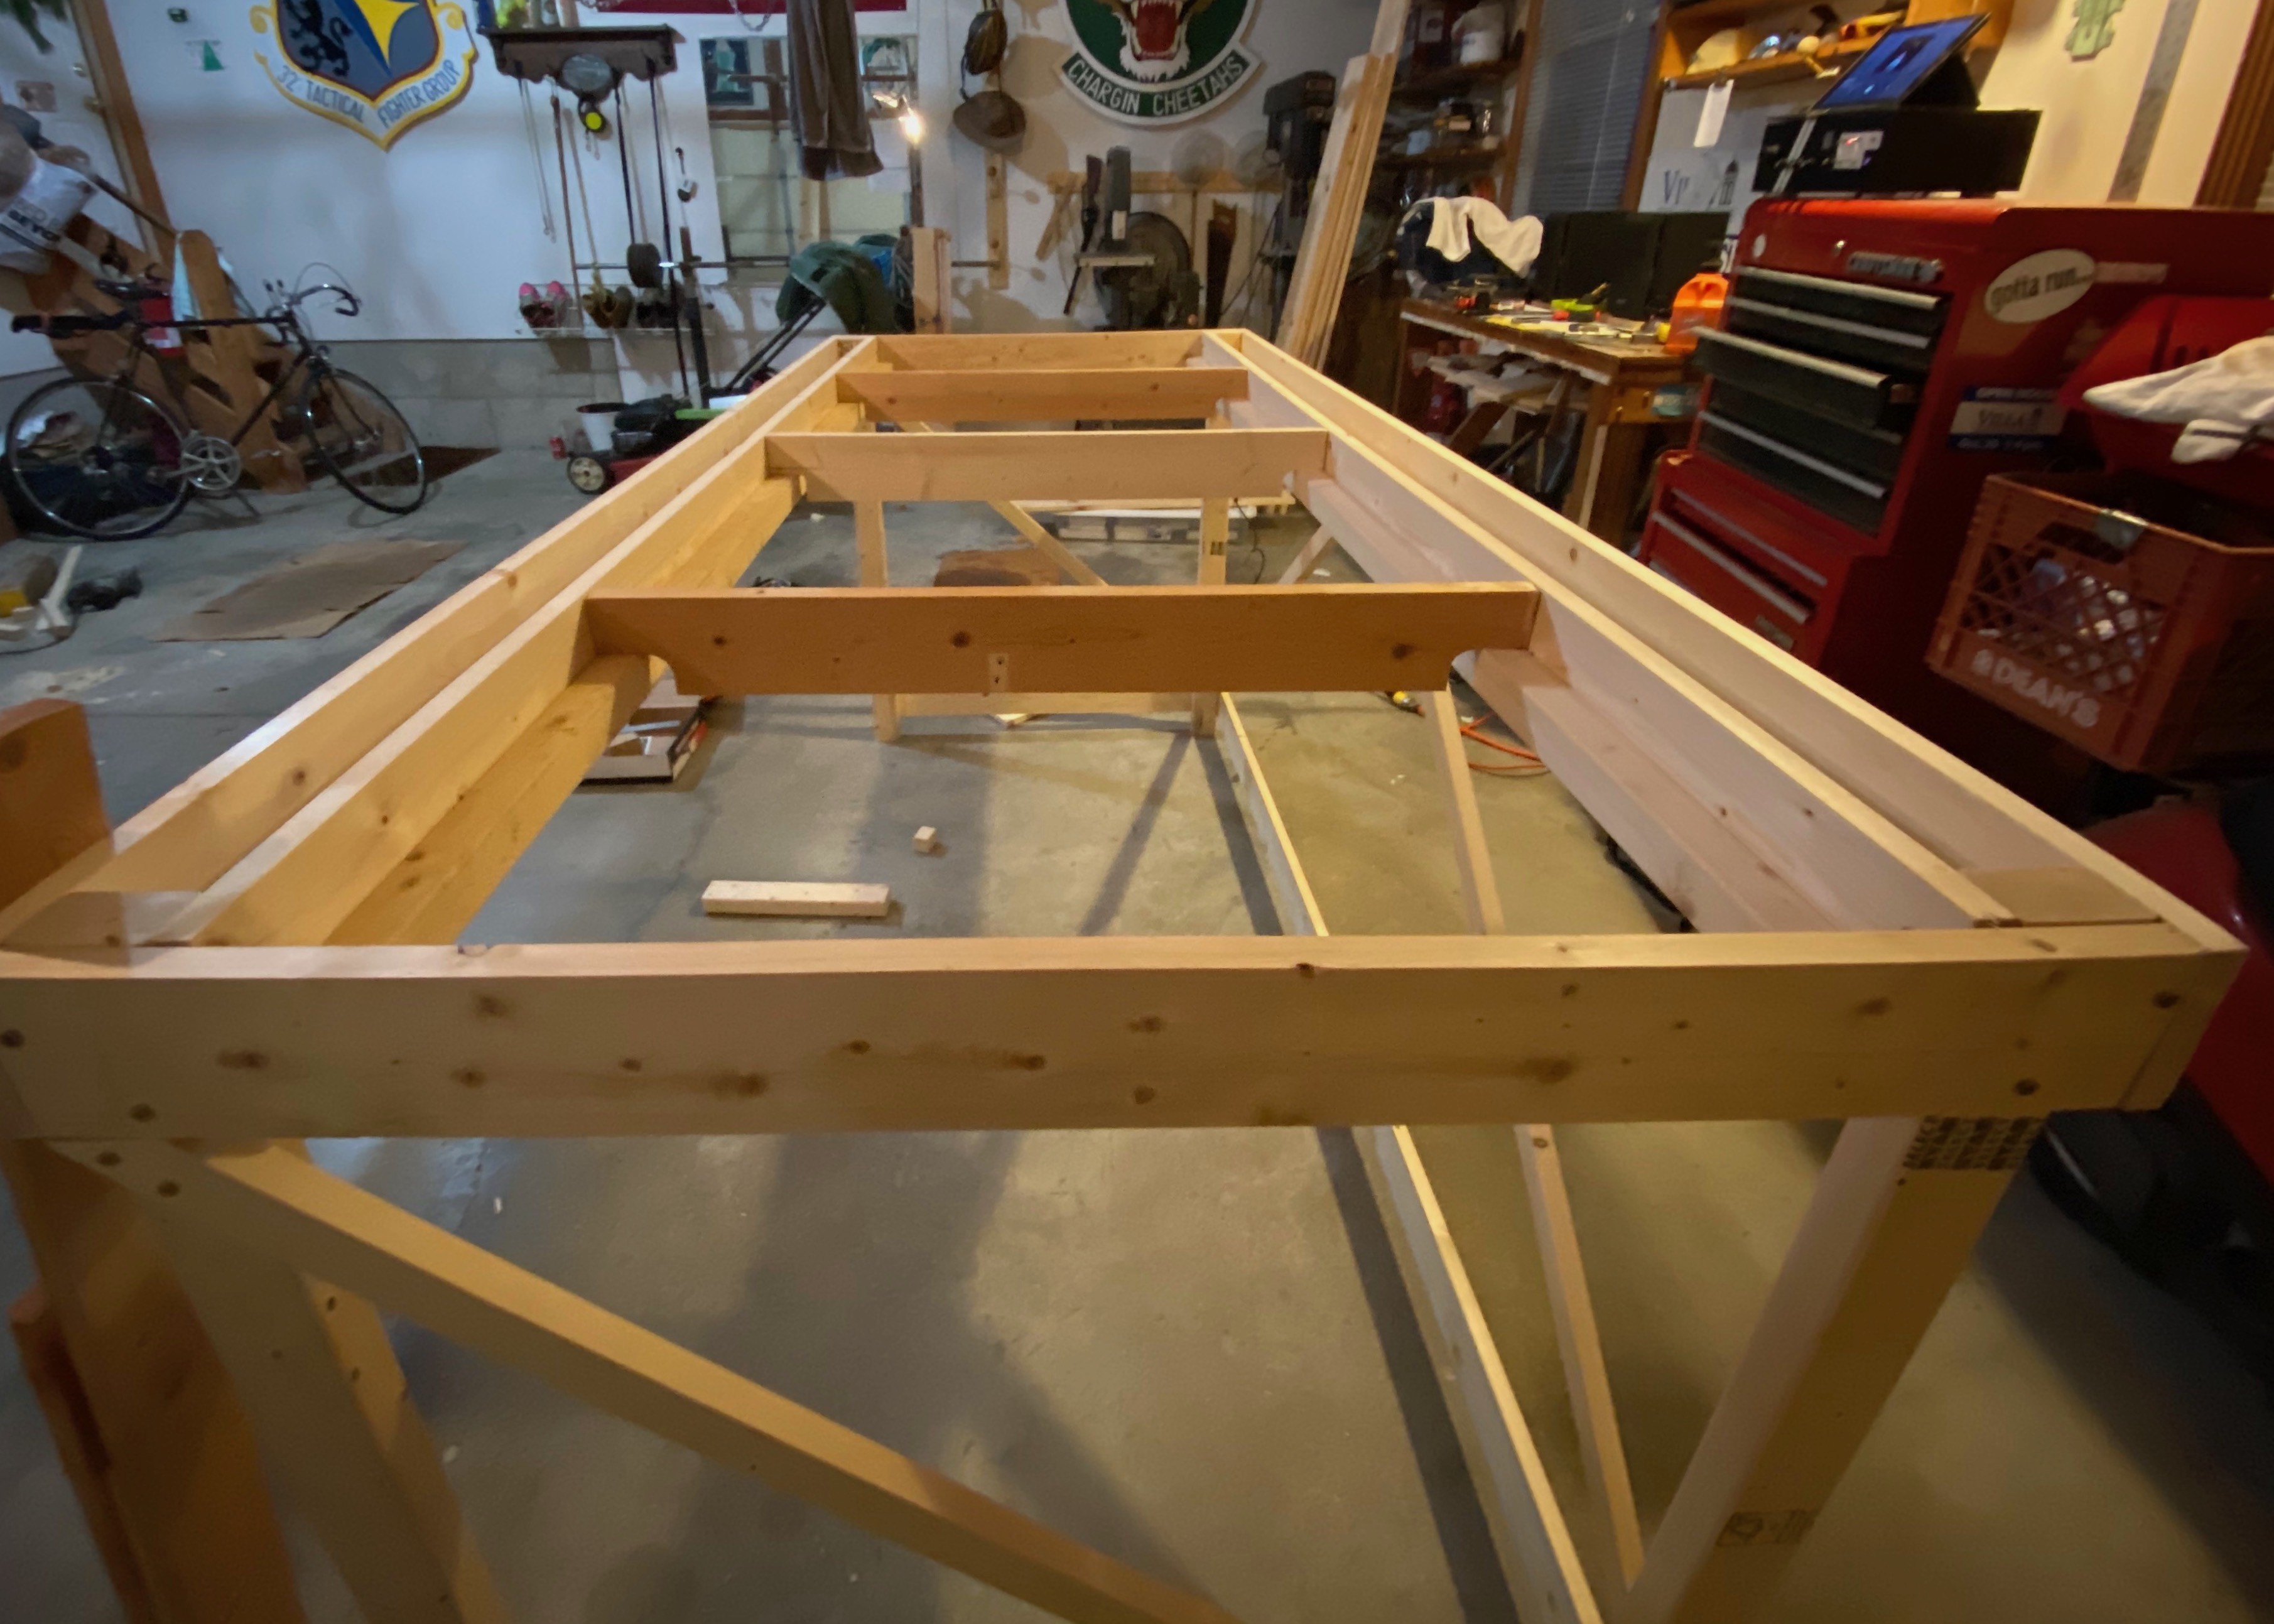
Here are some photos showing my general strategy. The idea was to use four 1x4s as horizontal beams supporting the table surface, then lay 3 across in the perpendicular direction to keep the middle from sagging and to keep all the boards aligned. Everything screws into either the legs, or the ring of 1x4s (which also screw into the legs) around the top and base of the table.


Discussions
Become a Hackaday.io Member
Create an account to leave a comment. Already have an account? Log In.