 Duane Degn
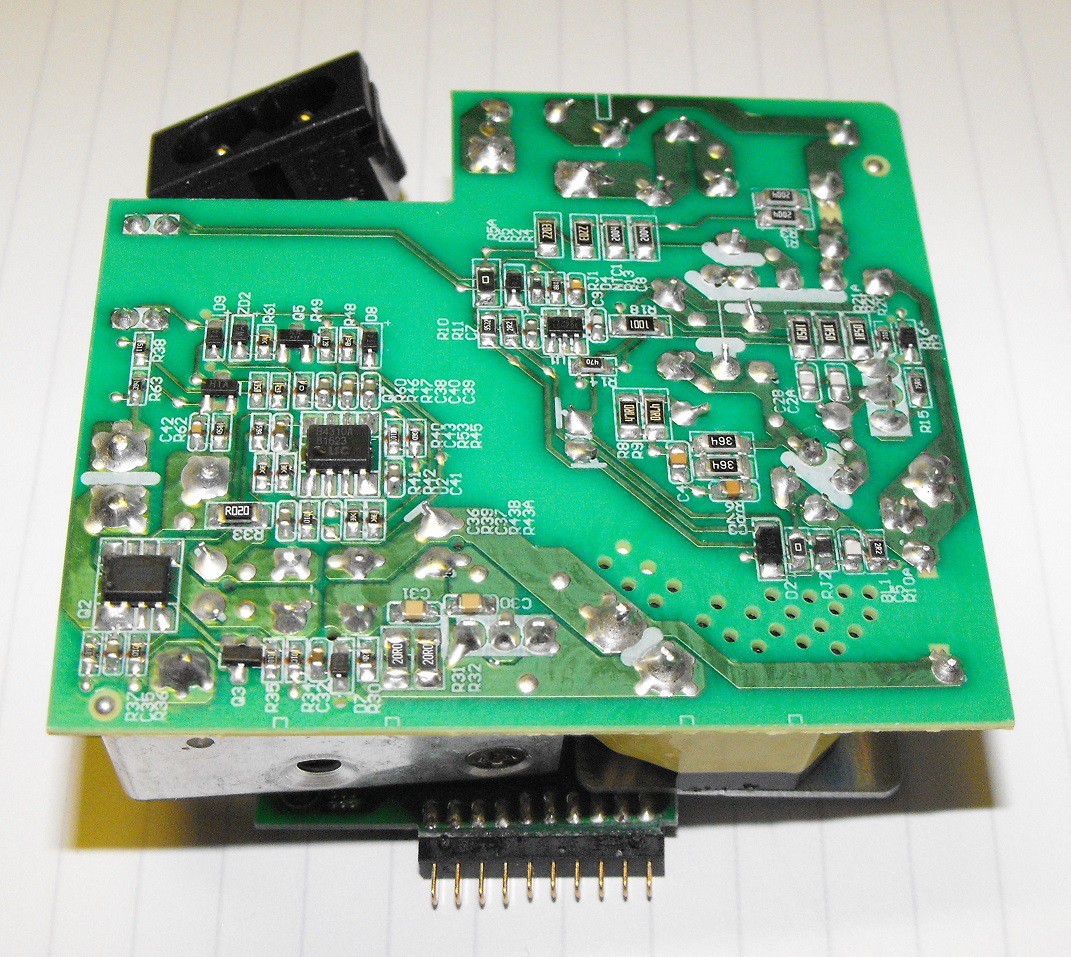
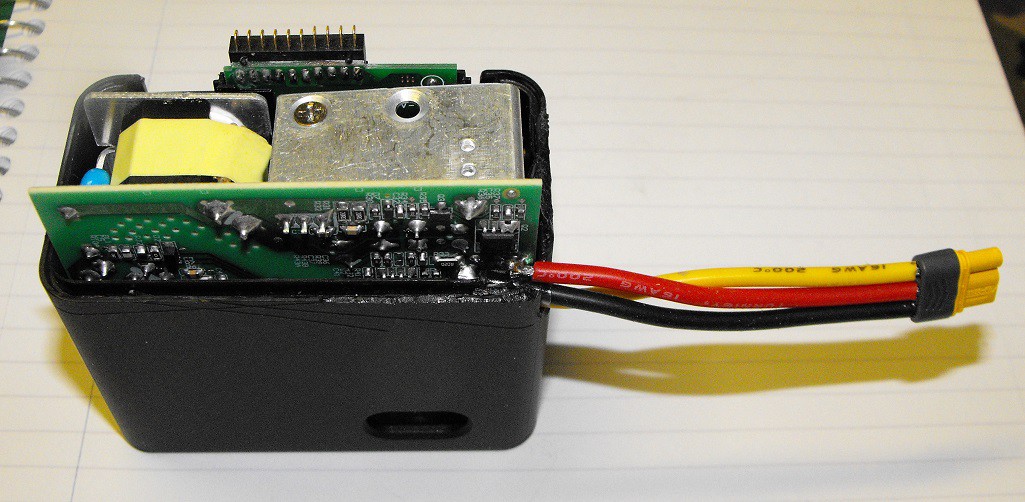
I couldn't find an easy way of opening the charger. I just started cutting with had tools until I had an opening large enough to force a screwdriver inside. I eventually cut and pried the charger open.

I was surprised to see only three connections going from the battery to the charger. The connector used by the robot for the I2C clock is not used by the battery charger. The I2C data line is labeled "IO" on the charger PCBs.
Since my battery was no longer easy to remove from the robot, I wanted a way to charge the battery without removing the battery from the robot.
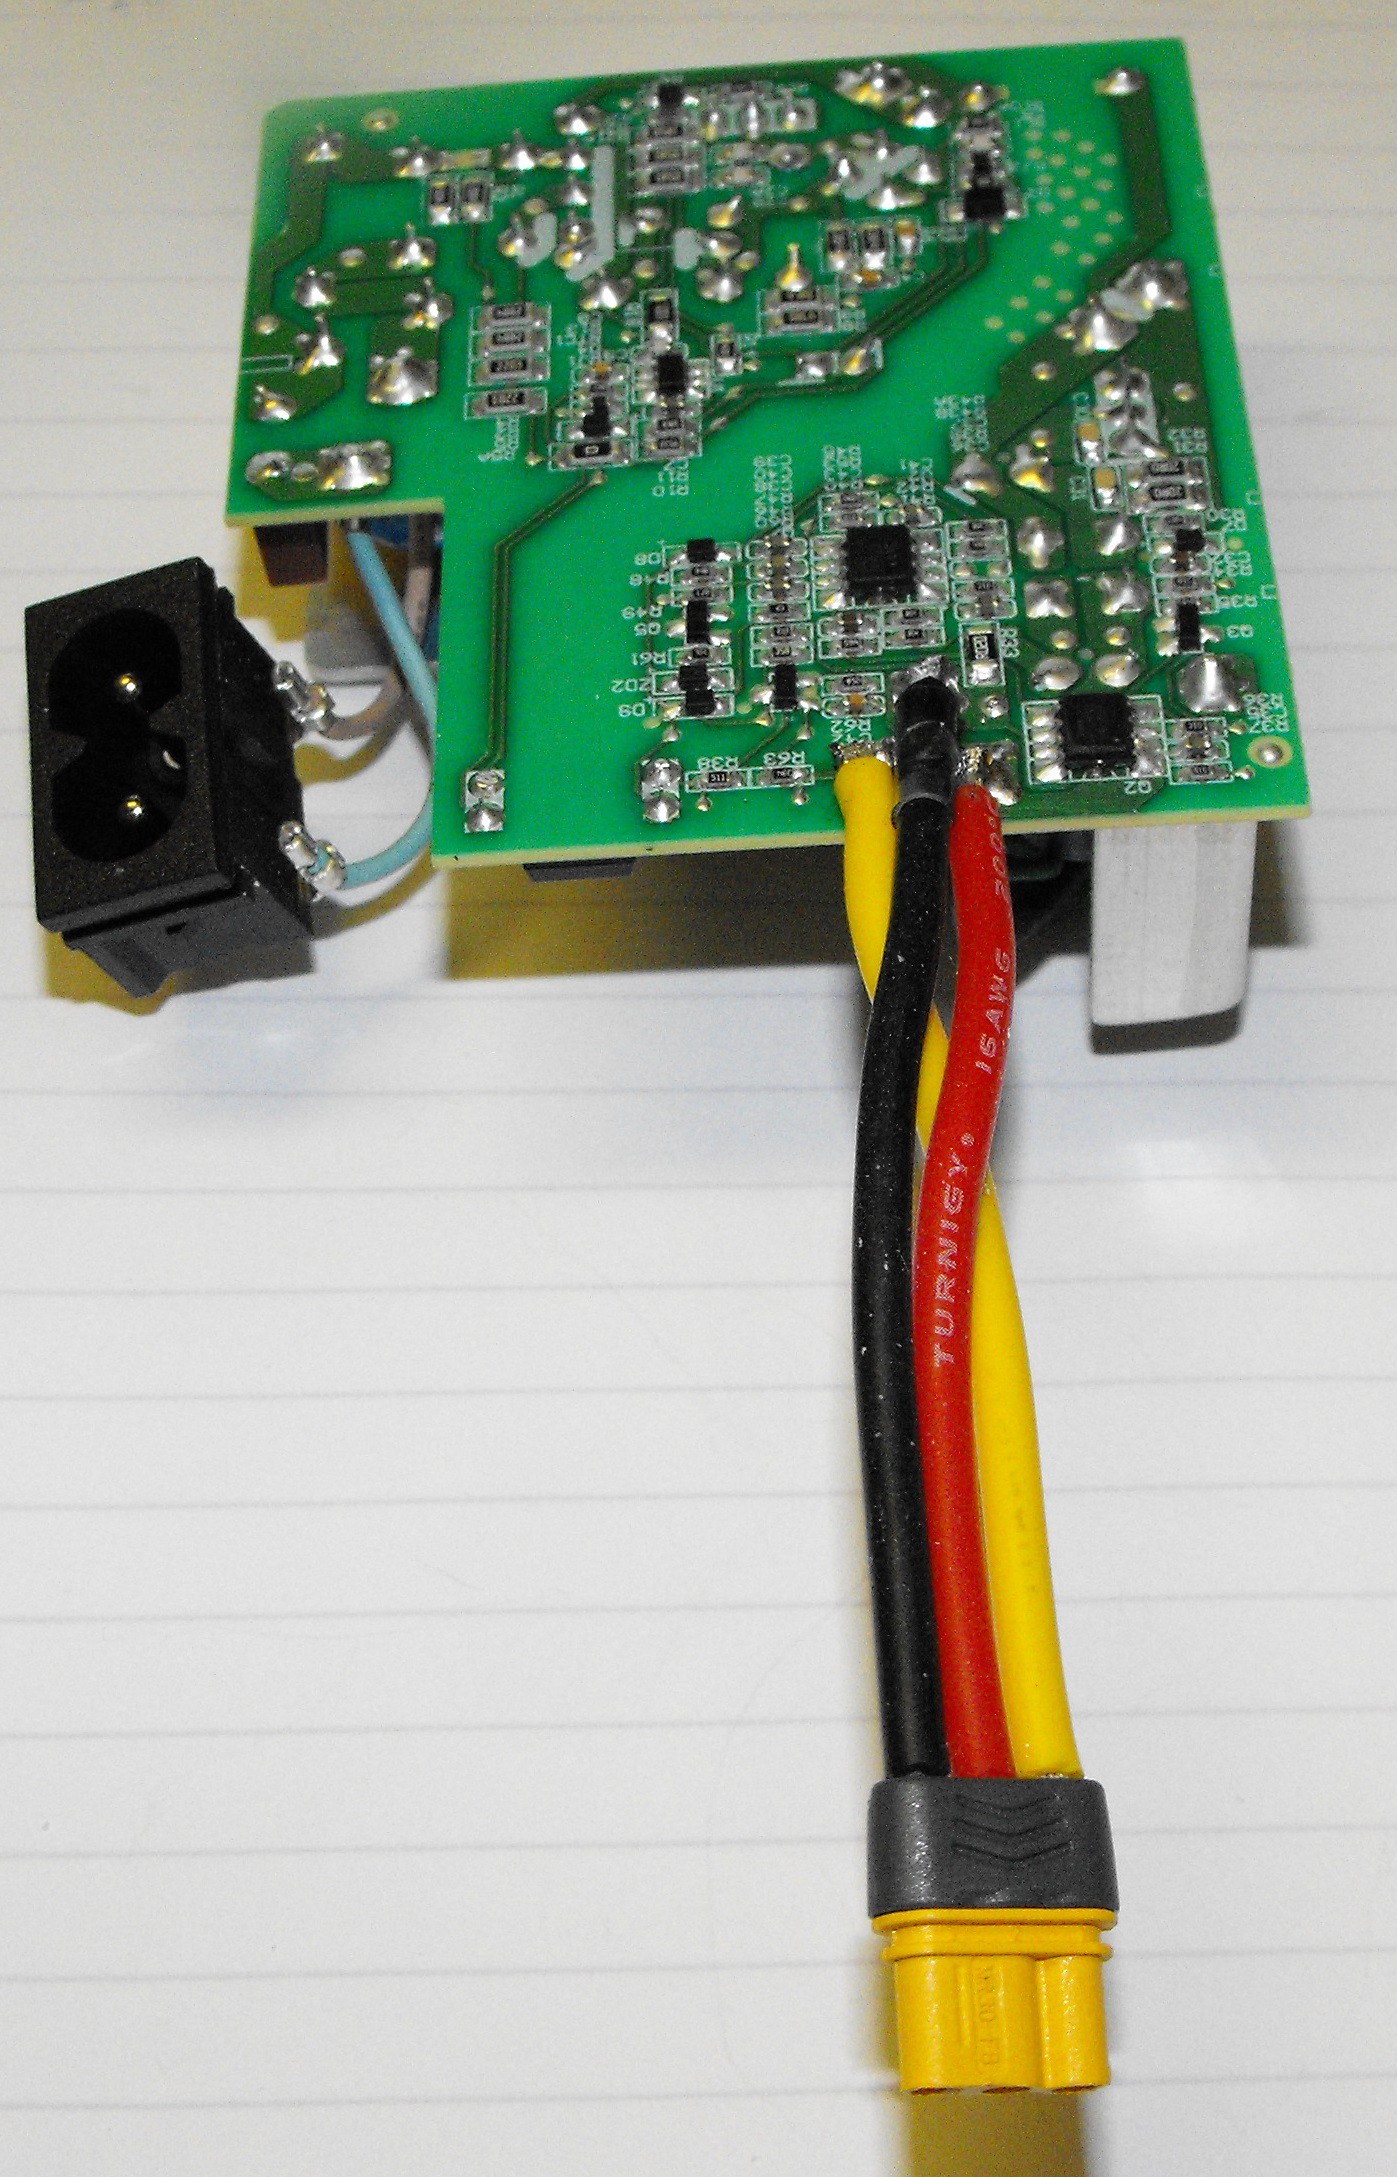
I soldered three wires to main charger PCB.
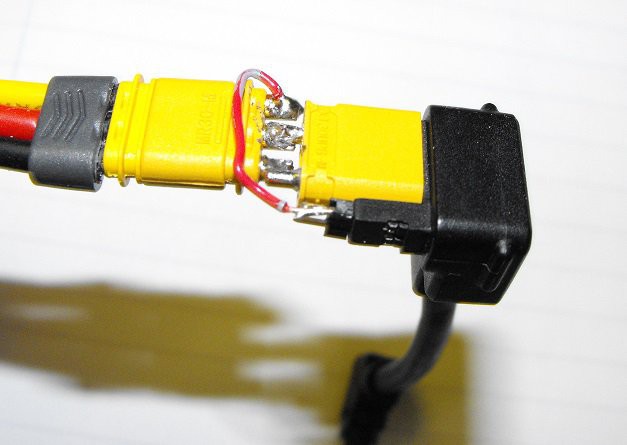
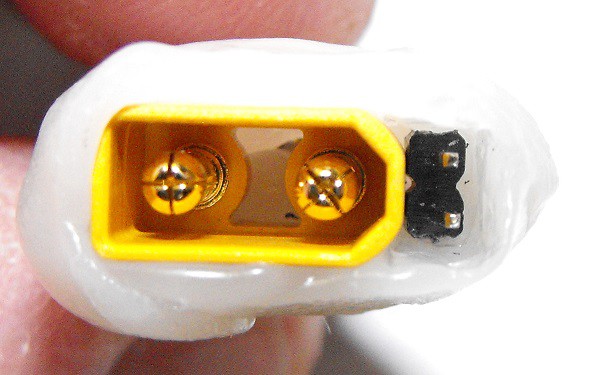
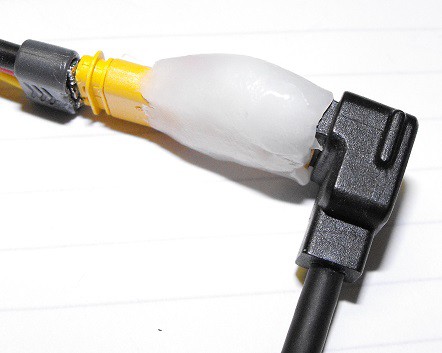
I made a custom connector to connect the three wires to the S1's Motion Controller board. Below is a photo of the connector before adding Polymorph insulation.
I used some aluminum foil to 2mm pitched portion of the robot's power connector to use as a mold to form my Polymorph adapter. Once the Polymorph had cooled, I was able to remove the foil.
This allows the S1's battery cable to plug into the charger. This should allow the battery to be charged while still in the robot.
I need to put the robot back together in order to test if I can really charge the battery without removing the battery from the robot.
Edit (9/2/19): I tested charging the battery while installed in the robot and it worked as expected.
Edit (9/3/19): Here are a few more photos of the charger after the mod.
Charger closed.
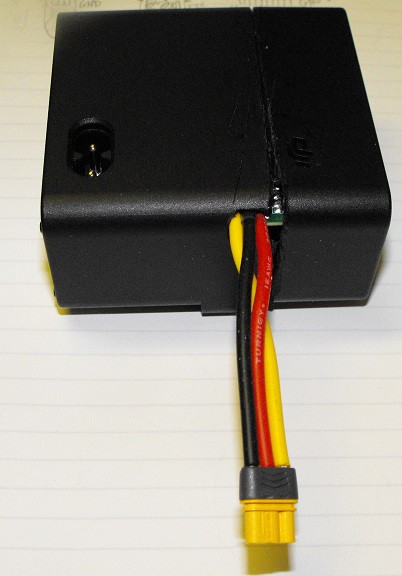
While I had to cut a bit of a slot in order to make space for the wires to attach to the PCB, the charger enclosure looked pretty bad after my brutal method of opening the enclosure. Some of the gouges are visible in the above photo but the photo below reveals more of the damage done to the enclosure.
I suspect I voided the warranty.
After opening a stubborn enclosure like this charger, I often find there was an easier way I could have opened the device. In this case, I don't think there was a way to open the device without significant cutting. The enclosure was very firmly welded shut. I could have made the cuts cleaner but I don't see a way of getting the charger open without cutting plastic.
The yellow wire carries a data signal. It didn't need to be nearly as thick as the 16 gauge wire I used. I decided to use the thicker wire for cosmetic reasons. Just because the enclosure shows obvious hack marks, doesn't mean I don't want to pretend to care about the aesthetics of the HACK (this was a hack in multiple ways). The three conductor connector is normally used to conduct power to the thee phases of a brushless motor (used in quadcopters and RC airplanes).
Discussions
Become a Hackaday.io Member
Create an account to leave a comment. Already have an account? Log In.