 Ben Brooks
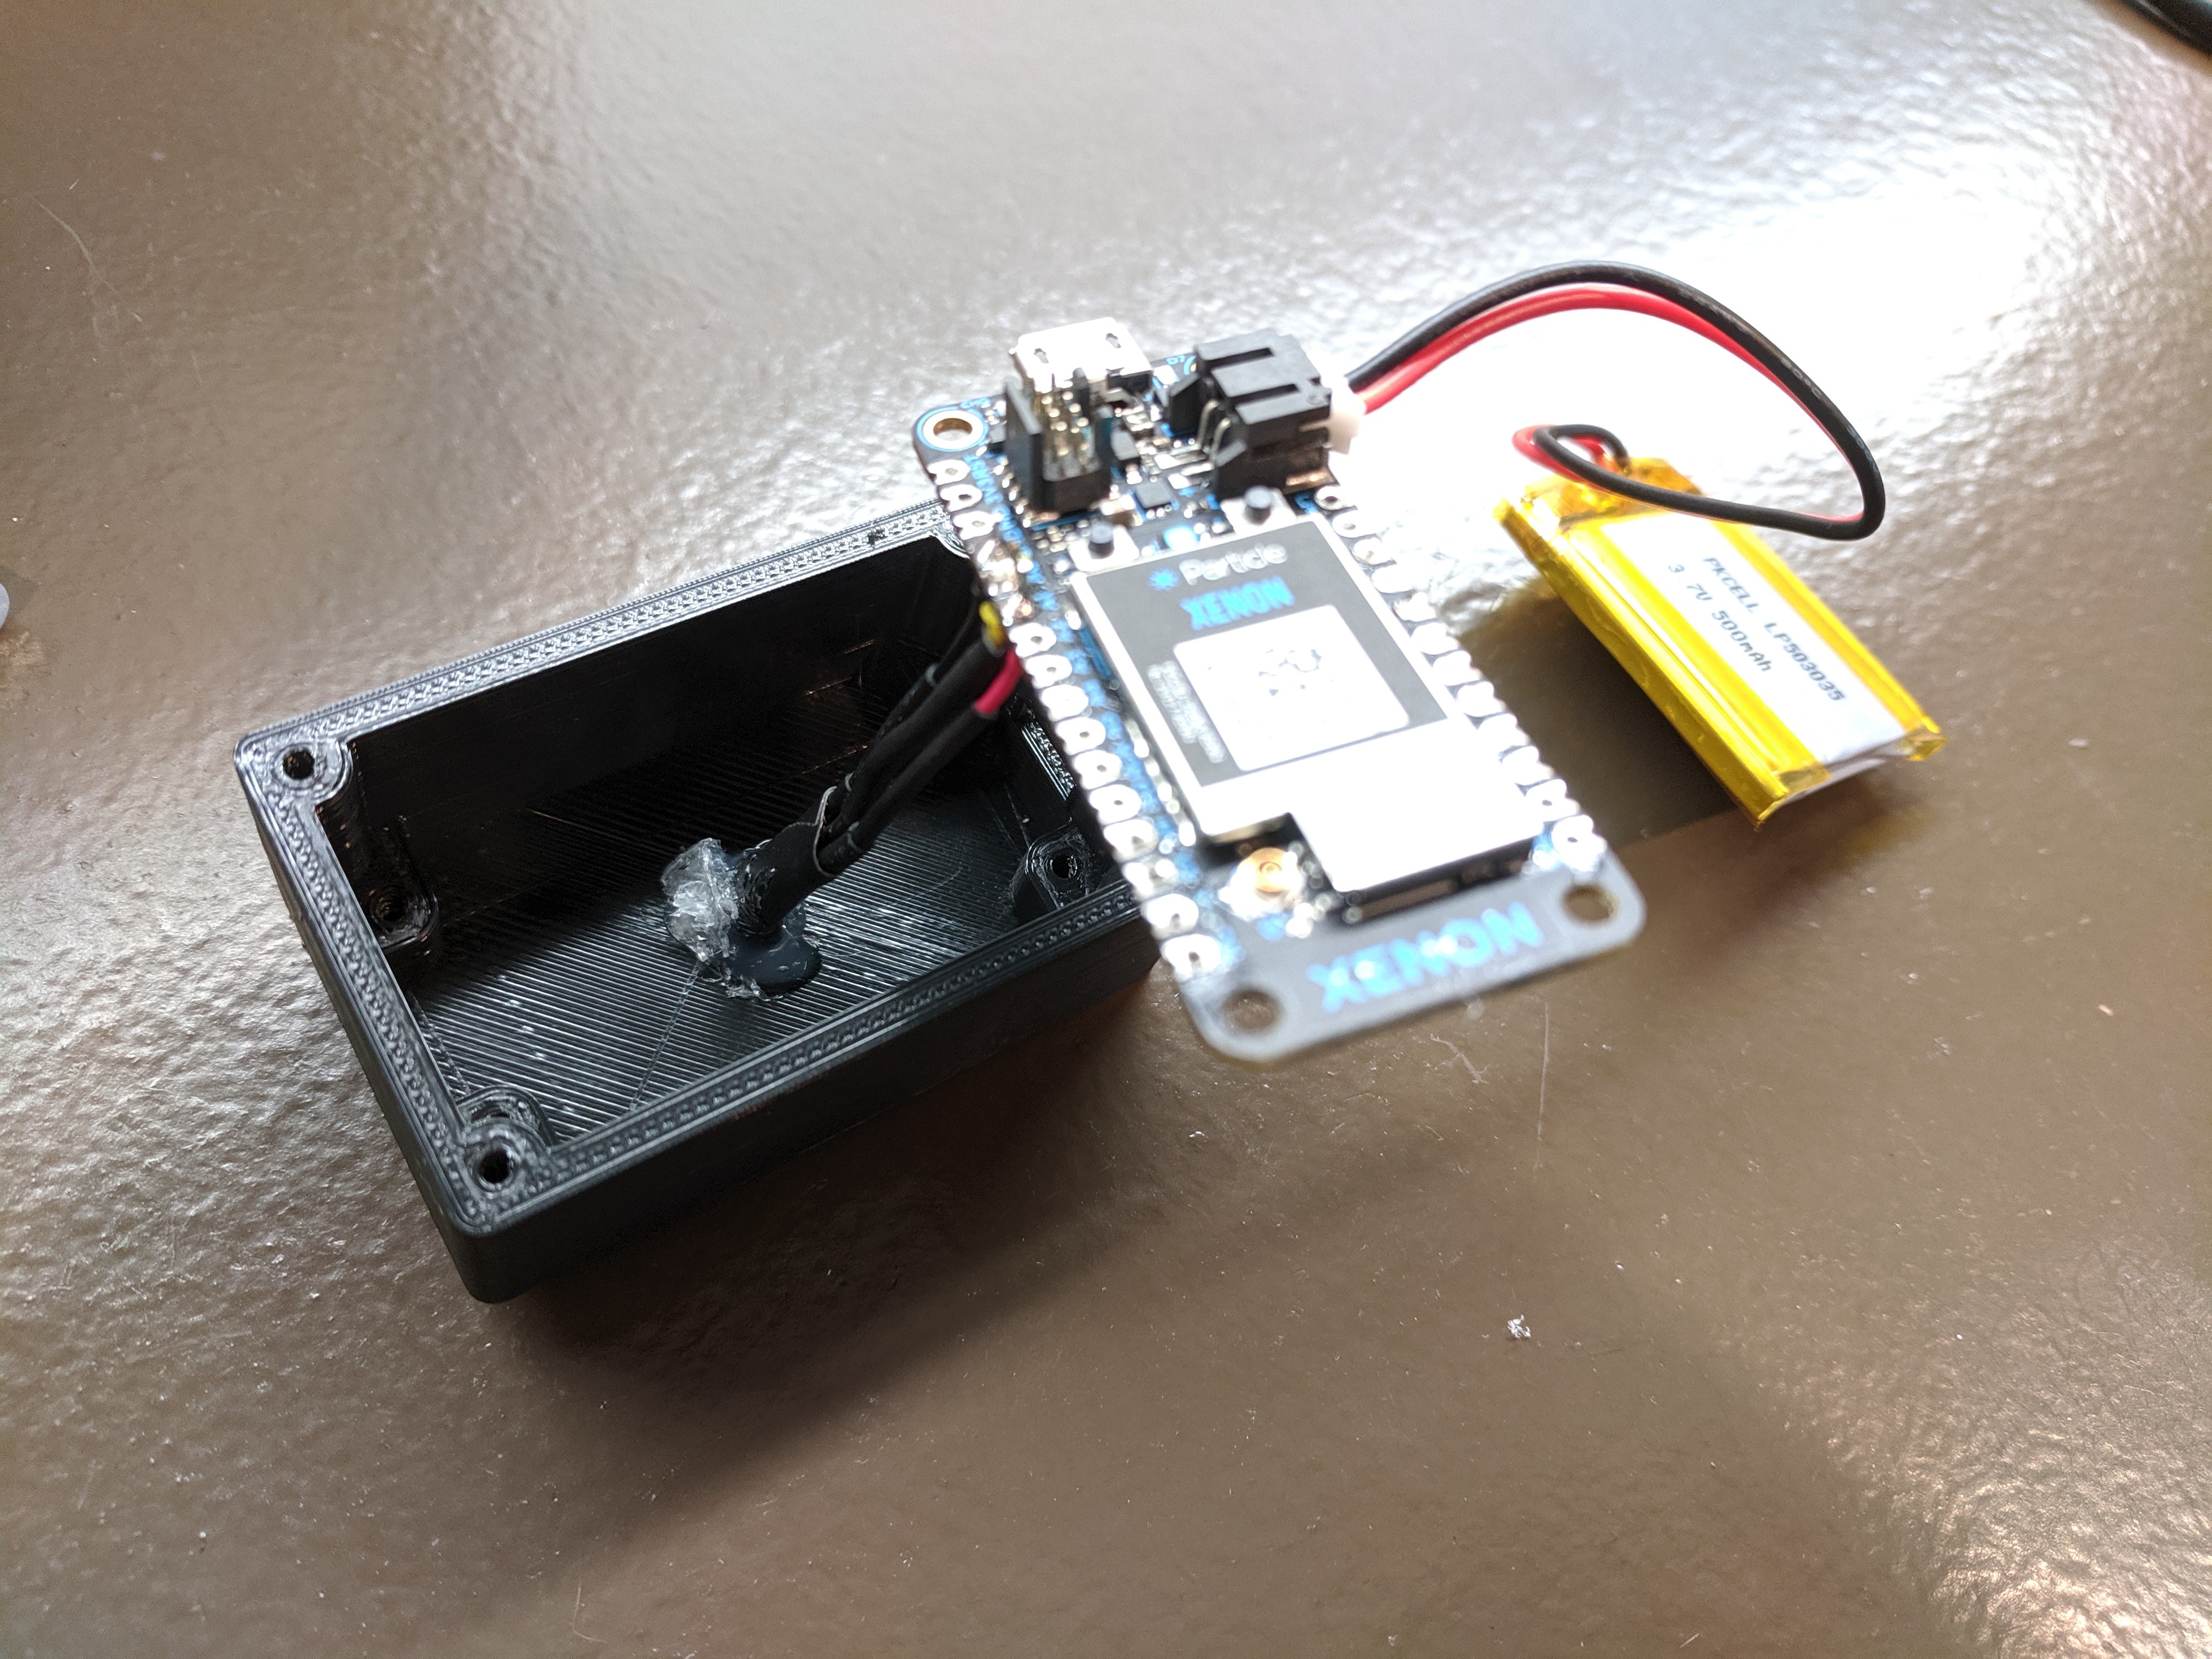
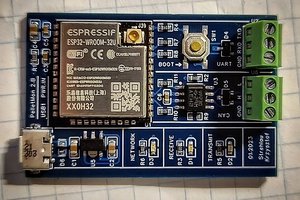
I’m a big fan of Particle Photons and have used them in nearly all of my projects, even ones that don’t actually require internet connectivity (both because I always have a spare sitting around and because it makes remotely flashing new code a breeze). They recently released a series of Mesh devices that create and rely on their own mesh network instead of Wi-Fi and also use significantly less power, making batteries a real option. I had been looking for the right project to try them out and this seemed perfect.
At a high-level, this project has two parts: the controller running the actual fan and then a remote temp sensor running on batteries that reports to the fan on a regular basis and sleeps the rest of the time. When I started on this project, I had just ordered/received the Particle Argon & Xenon and started by playing around with the Xenon to get a feel for how it worked, how long it could run on a battery, etc. As a result, I essentially created the temp sensor before ever specifically trying to.
For the fan (a Vornado 660 I already had), I didn’t know exactly how I would control it. Before opening it up, all I knew was that it had 5 push-buttons: an On/Off button that turned the fan to high when turned on, and then 4 speed buttons that controlled it once it was turned on. Unfortunately, upon plugging the fan in it starts in the ‘off’ state regardless of the previous state, so an off-the-shelf plug controller wasn’t an option.
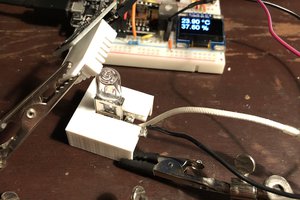
After tearing down the fan, I was able to identify that a Sonix SN8P2501B was controlling it. I found a datasheet quite easily and was also able to trace out which momentary buttons were connected to which pins. In addition, with the datasheet in-hand I was able to identify both 5V and GND on the chip itself. Through some quick verification, I was able to determine that the buttons shorted their connected pins to ground when pushed.
Originally, I soldered leads to 5V and GND on the chip, as well as the pin-side of each of the buttons. I physically shorted each of the buttons to ground to make sure they functioned as I believed they would (which they did). Then, I connected everything to a Photon on a breadboard and plugged in the fan. This is where I ran into problems. Even though I read 5V prior to connecting the Photon, as soon as I plugged it in, it would briefly blink and then the status LED would just BARELY light up. Reading the voltage in this state it was well below 5V (a little over 2V if I remember correctly). I played around with it for a while but unfortunately was never able to get it to work. My assumption is that the Photon requires more power than the control board on the fan is designed for.
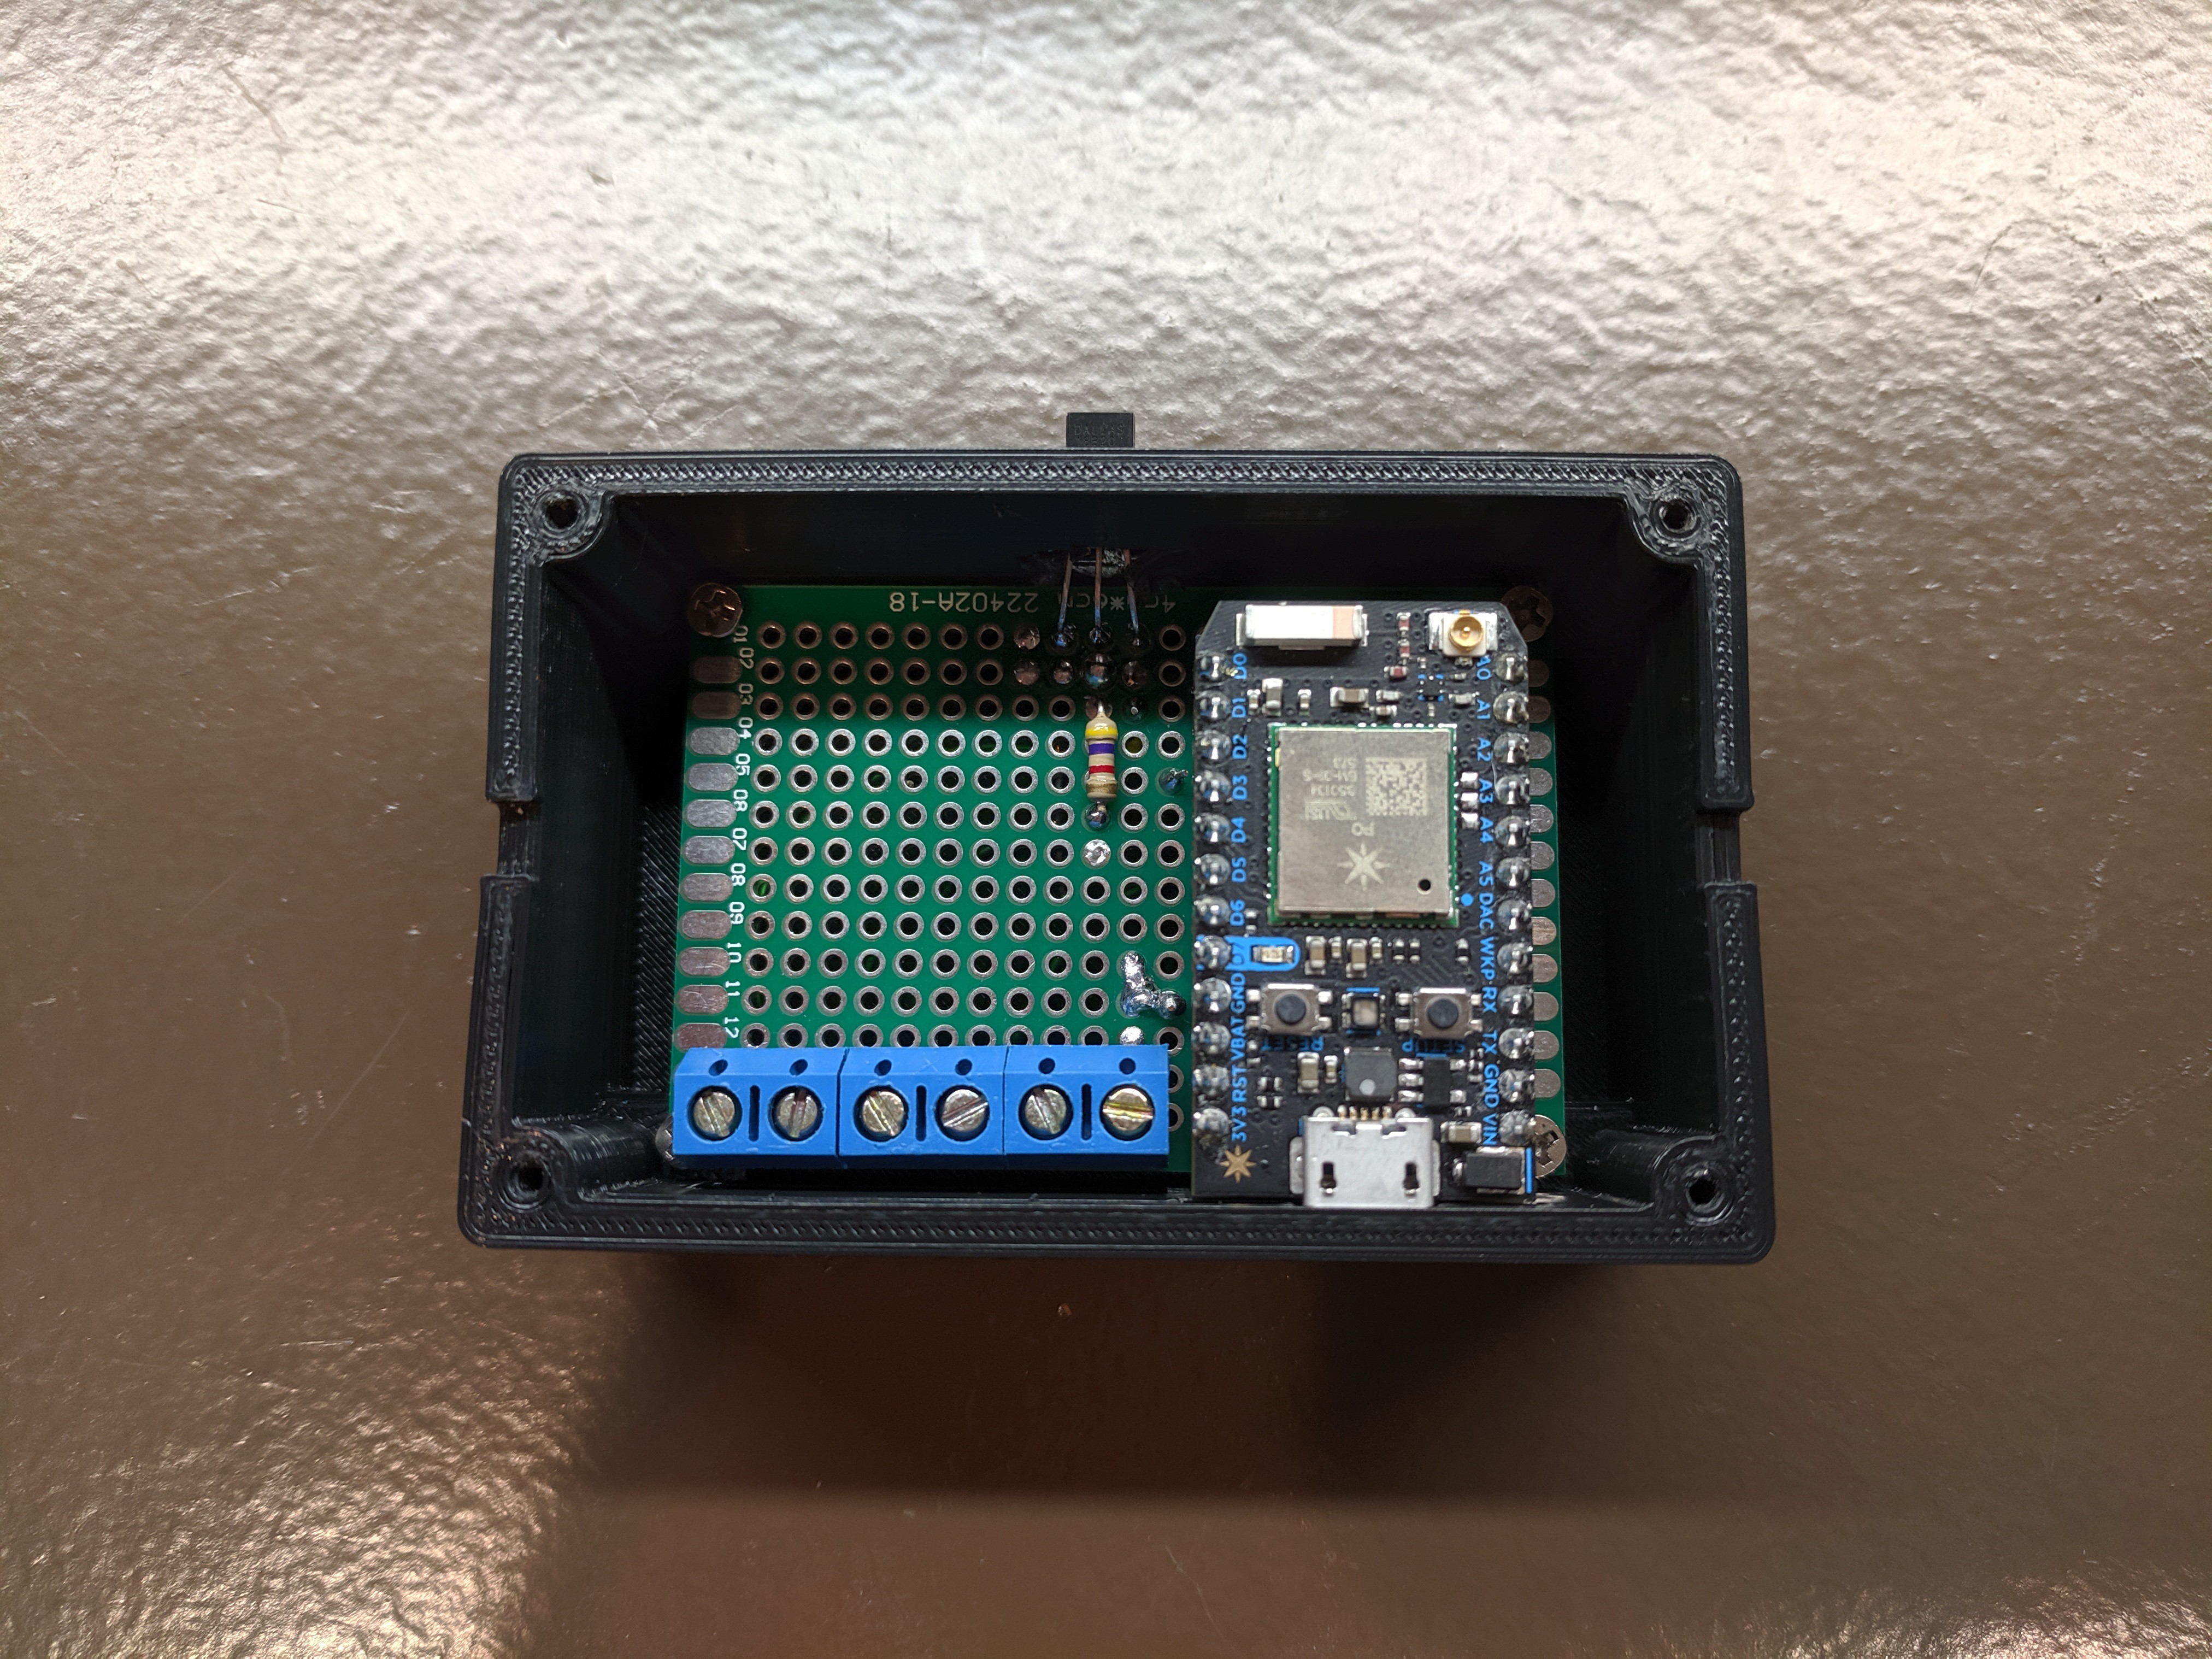
Regardless, I abandoned my original hope of powering the Photon directly off of the fan (I know there are other ways I probably could have done it but I opted for simply powering it via a USB cable). Once powered this way, I was able to find that ~50ms was the amount of time that any of the buttons needed to be shorted to ground in order for the fan controller to register a button press. Additionally, I added some code to continuously monitor each of the buttons to see if a user pushes any of them, thus altering the current state of the fan.
With the fan controller functionality taken care of, I needed to write some code for the temperature sensor to publish its data on a regular basis and sleep the rest of the time so as to prolong the battery life. This turned out to be a little trickier than anticipated as there were several tweaks I had to make to the code in order for it to work properly (while Particle does a good job in general of documenting functions on their devices, with the Mesh devices still being fairly new and the firmware changing rather rapidly it took more digging than normal). The biggest hurdle that wasn’t immediately apparent was that using the Mesh-specific publish function was necessary in conjunction with the sleep function (using the normal publish function...
Read more »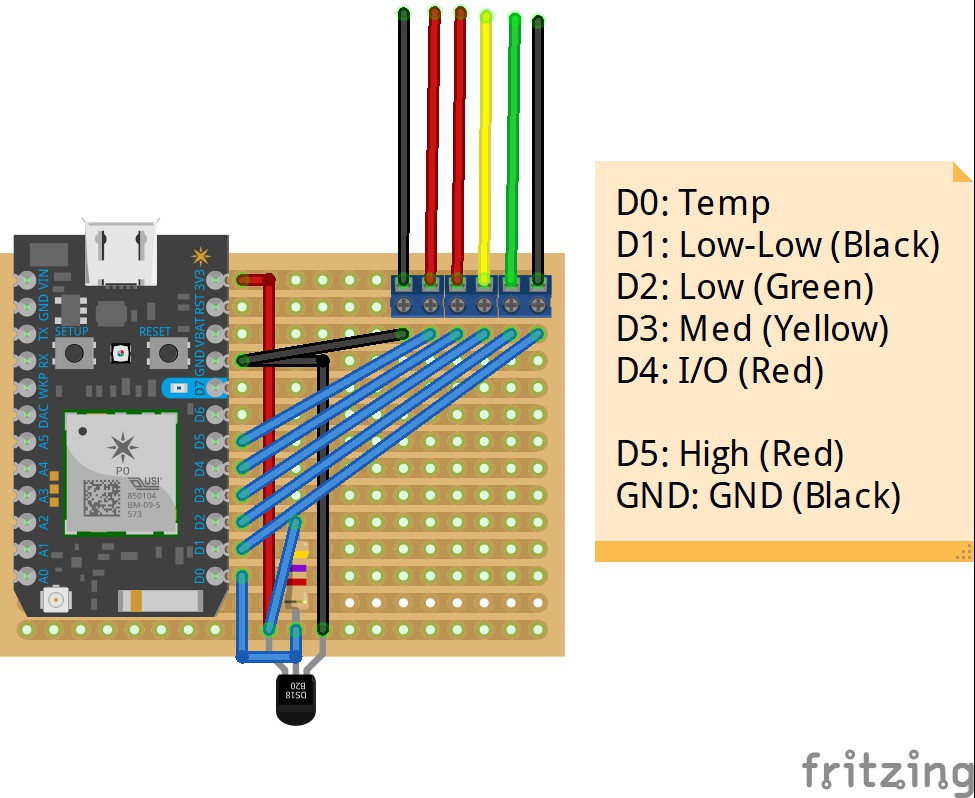

 albert
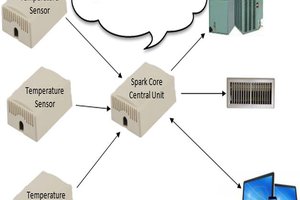
 h4rdc0der
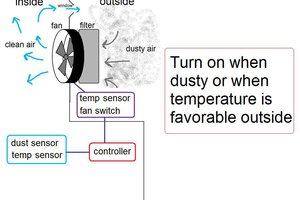
 shlonkin
Thanks, glad you like it! No plans for any future fireplace projects. :)